Updating a Kitchen for a New Generation
April 17, 2023We’re excited to share details from our Destination Restoration series with an inspired kitchen refresh that doesn’t require gutting the entire kitchen. This series demonstrates how you can breathe new life into an older home (in this case, a 4th generation family home), while keeping its structural integrity intact.
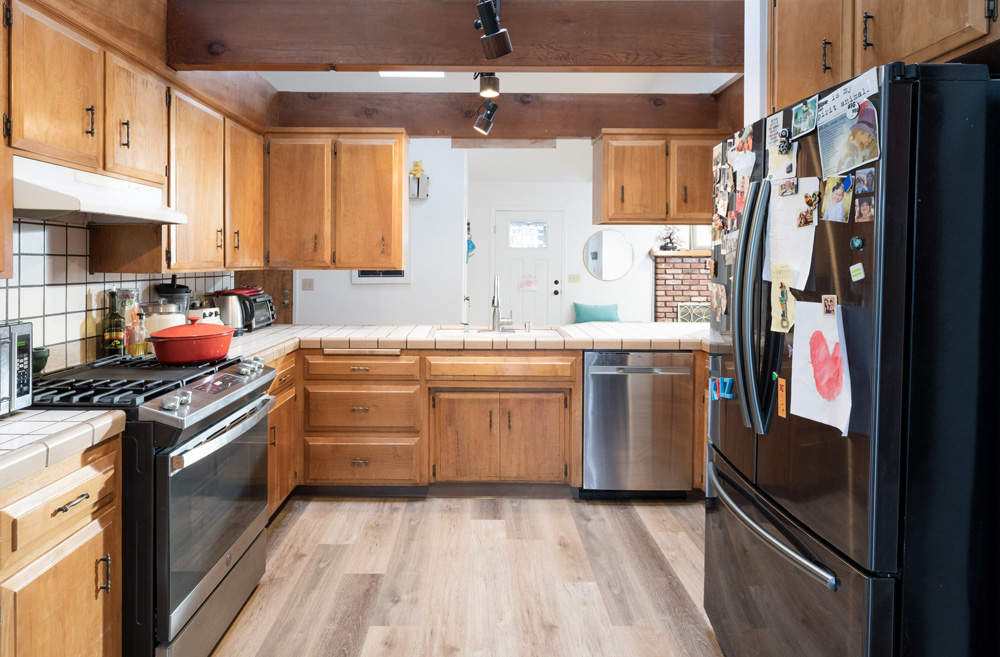
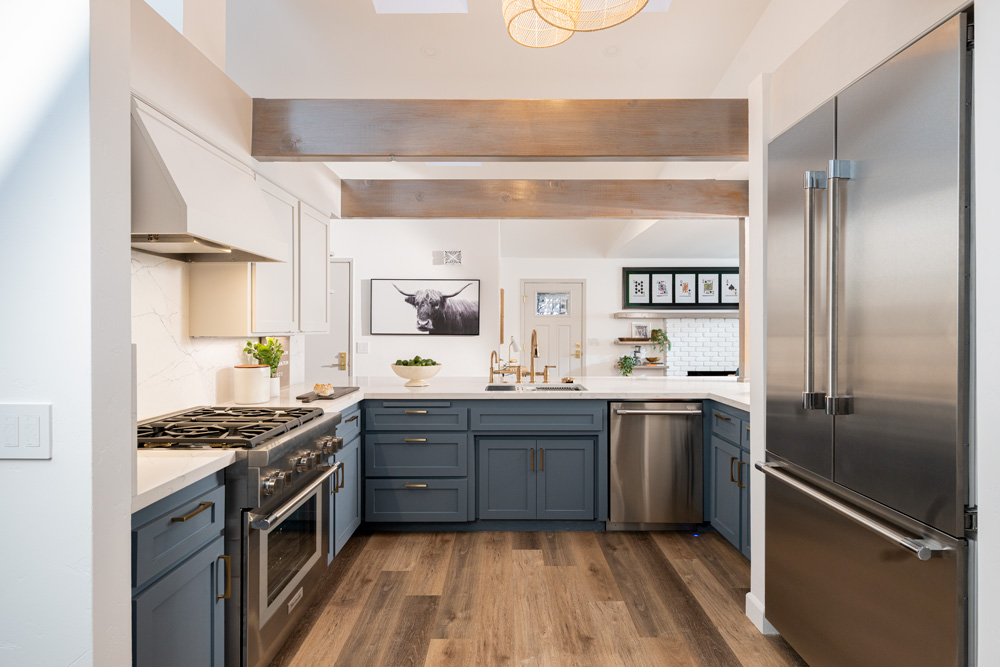
Our expert design and restoration team — Jason Lai (interior designer) and Jared Foster (contractor/pro painter) — worked together to transform a kitchen that was well past its prime. They first conceptualized which cosmetic changes would make the most impact, and then rather than gutting the entire room and starting from scratch, they repurposed and restored. By refreshing dull wooden cabinets, creating bar seating with a stunning new look, replacing heavy black appliances, and updating hardware, countertops, and backsplash, they transformed a dark and dated kitchen into a bright, airy, and modern one, renewing it for years to come.
If it’s your first time restoring a kitchen, it can feel like a big undertaking, which is why we broke down what we did below, so you can get a more detailed understanding of how we upgraded the heart of the home. We’ve also included a step-by-step guide on how to paint kitchen cabinets for a refresh.
Cabinetry
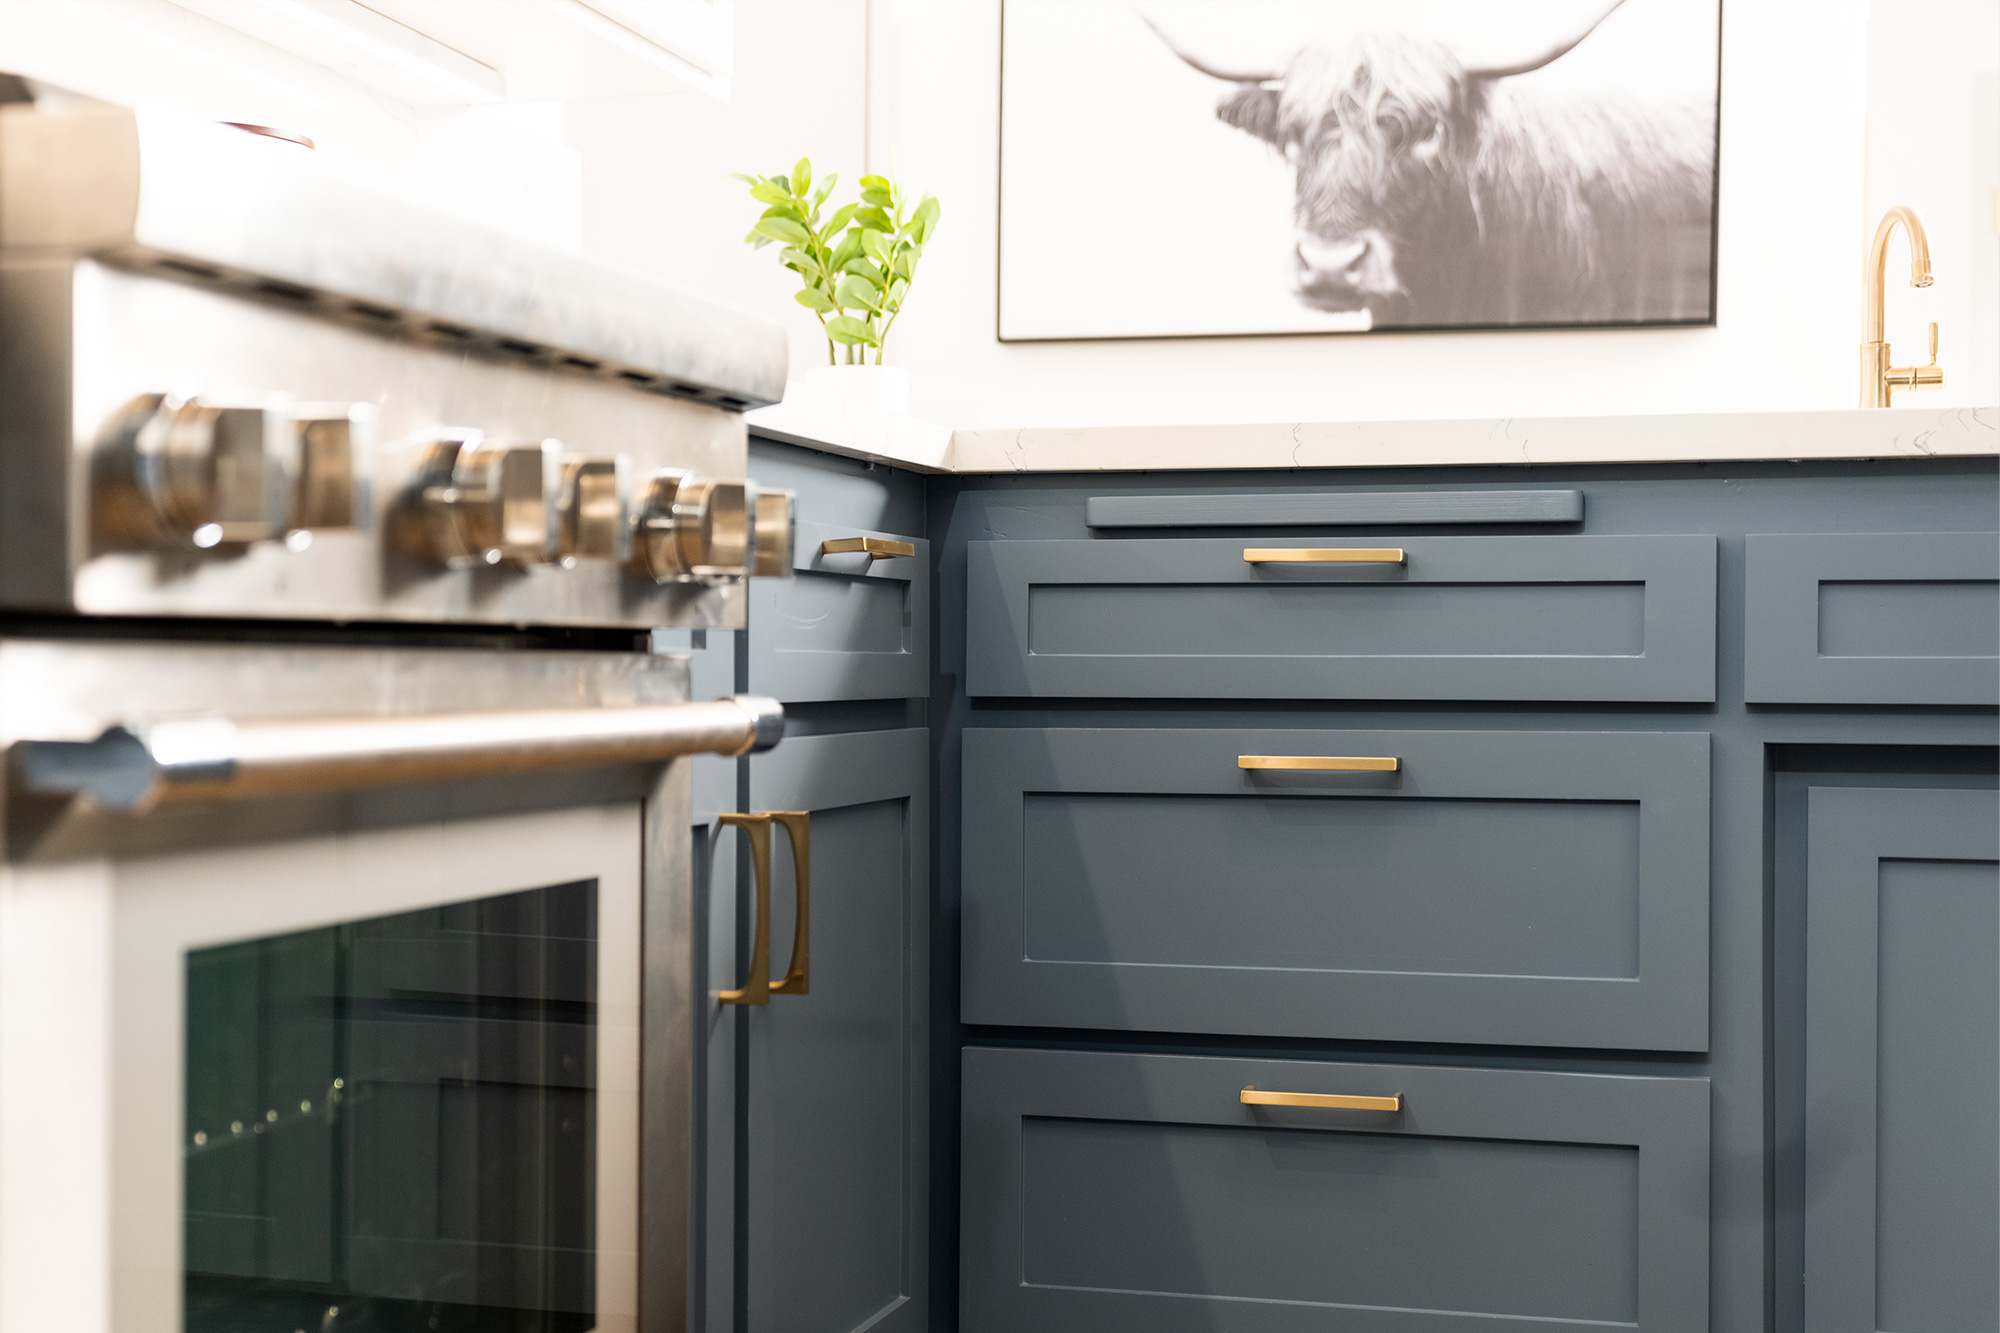
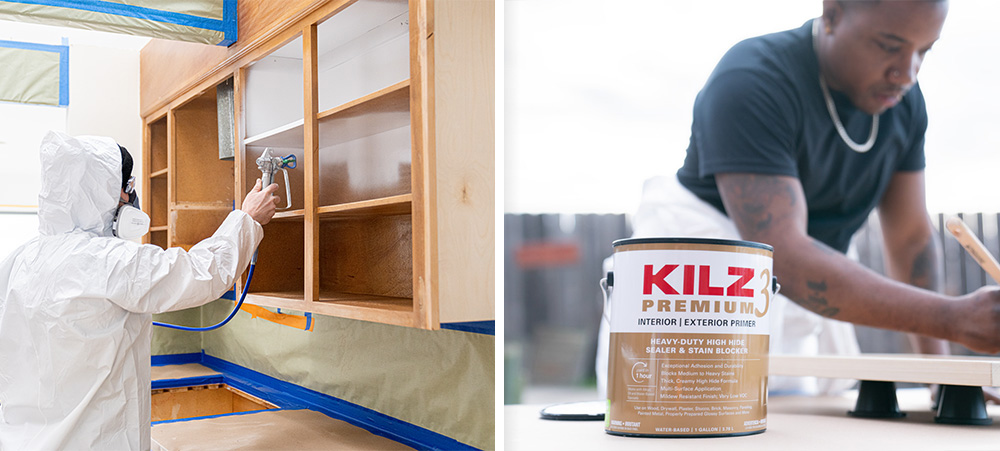
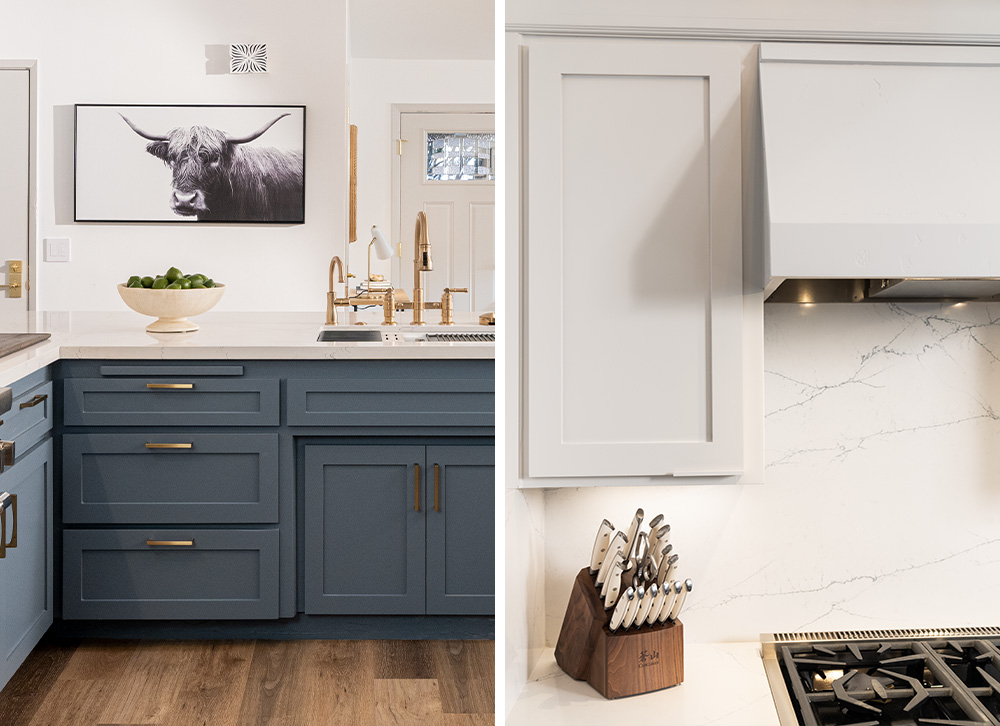
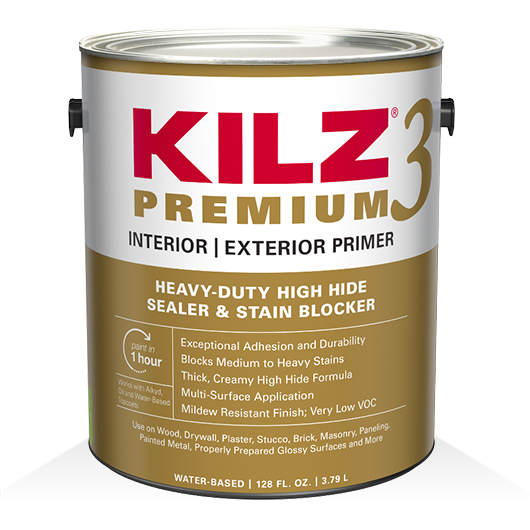
Rather than ripping out and replacing the cabinetry, which can be costly, we gave them a brand-new look and feel with a few simple updates. We removed some of the upper cabinets and modernized the rest by making them shaker style. Then we used KILZ 3® Premium Primer to prep them for a fresh coat of paint. To create some contrast and brightness in the room, we chose Charcoal Blue for the lower cabinets and Chic Grey for the upper, both colors by Behr Paint. Finally, we fitted them with all new hardware.
Ceiling
Because it wasn’t structural, we removed the center beam and stained the remaining beams to match the floors. (Check out the Living/Dining Room restoration to see where that center beam ended up!) We also installed recessed lighting by Kichler Lighting and rattan pendant lights.
Appliances & Additional Lighting
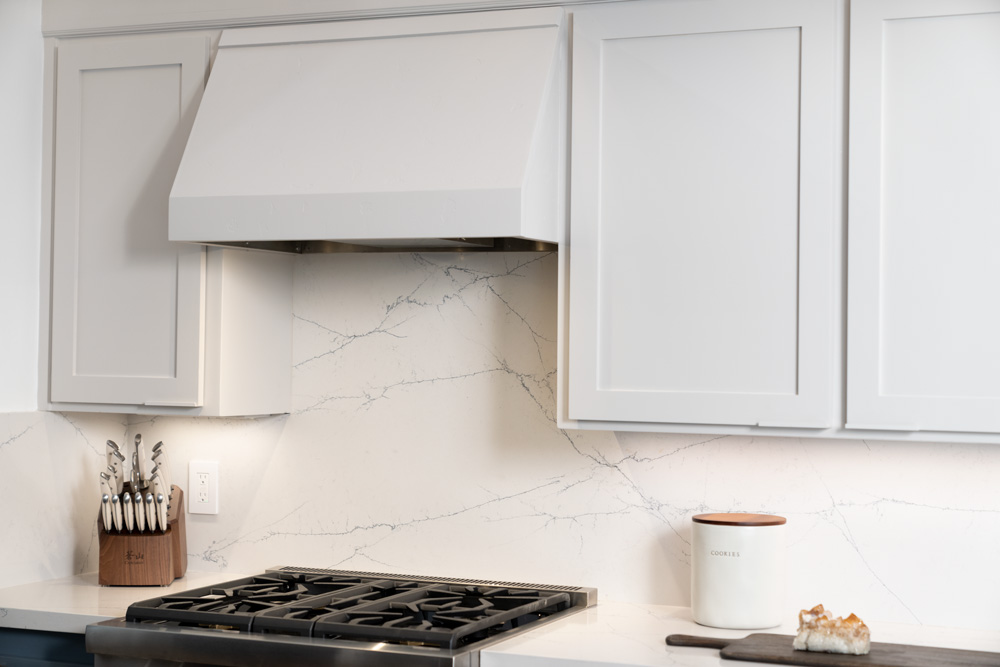
We updated the hood vent, oven, dishwasher, and refrigerator with stainless steel appliances for a sleeker, modern look. To ensure the hood vent matched the upper cabinets, we plastered, primed (again using KILZ 3 Premium Primer) and painted it using the same Chic Grey (a color by Behr). Finally, we installed under cabinet lighting by Kichler, added new electrical outlets throughout, and updated all electrical switches.
Other Changes
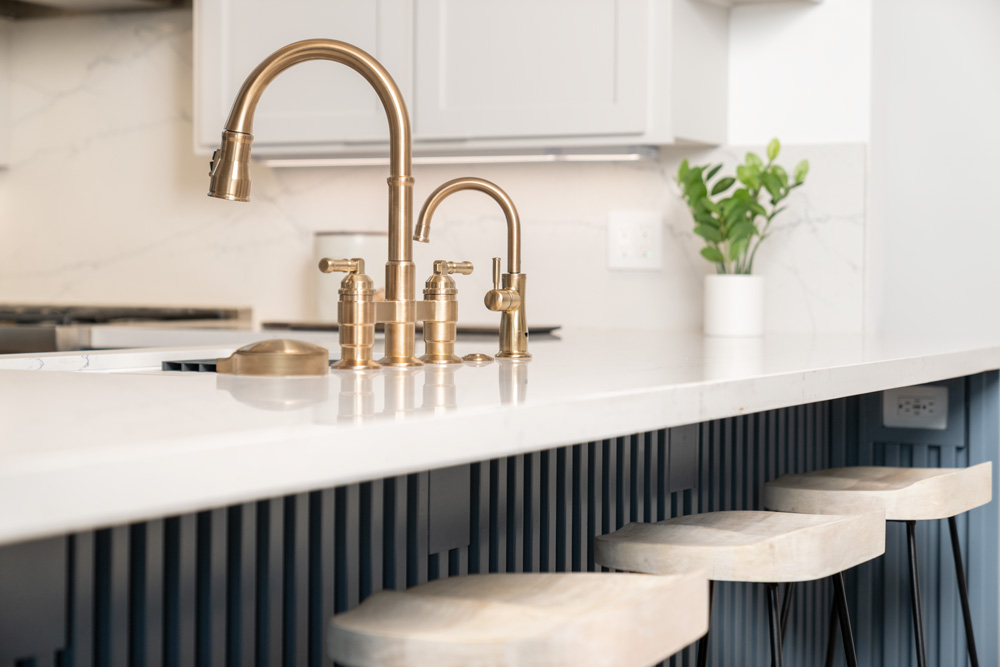
We updated the tile countertops and backsplash with a modern, white marble finish. To extend the bar, we added rounded lower cabinets and primed them (using KILZ 3 Premium Primer) for paint (Charcoal Blue by Behr) to match the others. Lastly, we added a 1×1 rail texture detail under the counter with hidden outlets. The sink, faucet, glass rinser, filtered water faucet, and hardware were all updated new products by Delta Faucet to complement the new look.
Why Do You Need to Prime?
Priming is essential for proper surface preparation for any paint project. It’s the difference between a job done and a job done right. Priming helps solve a wide range of problems, including highly porous surfaces, stains, odors, uneven surfaces, texture differences, and adhesion problems.
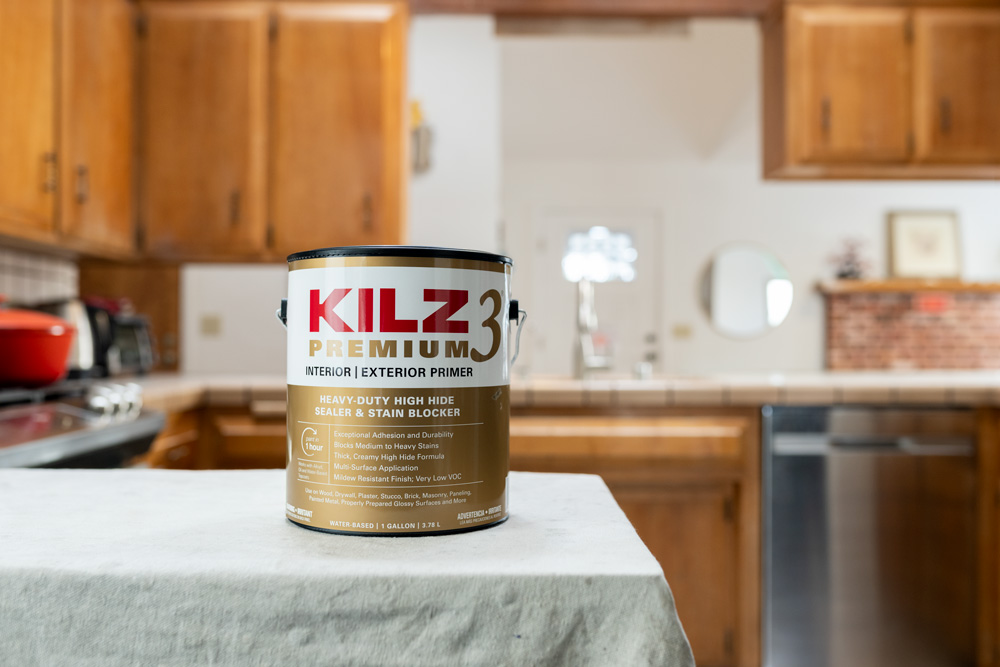
For this kitchen cabinet facelift we used, KILZ 3® Premium Primer, which is ideal for high-touch surfaces and humidity protection. It was perfect for our cabinet refresh thanks to its exceptional adhesion and ability to hide blemishes, stains, and other imperfections, which can accumulate over time, especially in older, generational homes like this one.
Step-By-Step Guide to Refinish Kitchen Cabinets:
Painting wood kitchen cabinets requires a few basic steps to get the smoothest finish and lasting results. Here’s an easy guide to follow for your next project:
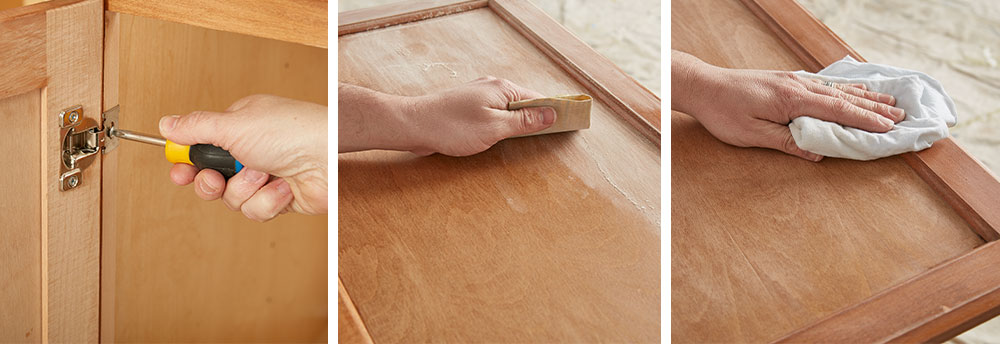
1. Use a screwdriver to remove the cabinet doors and drawers from the cabinet frames and to remove all door handles and hardware.
2. Sand the surfaces of the doors, drawer faces, and cabinet frame to create a smooth surface for priming. Do a first pass with 100-150 grit sandpaper then finish with a second pass of 180-220 grit sandpaper. Remember, the higher the “grit” number, the smoother the finish.
3. When sanding, move the sandpaper in the same direction as the wood grain. If you go against the grain, you will end up with a lot of scratches that will show through your topcoat.
4. After sanding, wipe down the surface with a damp cloth to remove any dust or residue. Allow to dry.
5. Protect your floors and workspace from paint and primer by covering it with a drop cloth.
6. Now it’s time to prime! Using KILZ 3® Premium Primer, use a brush to make smooth strokes that go in the same direction as the wood grain.
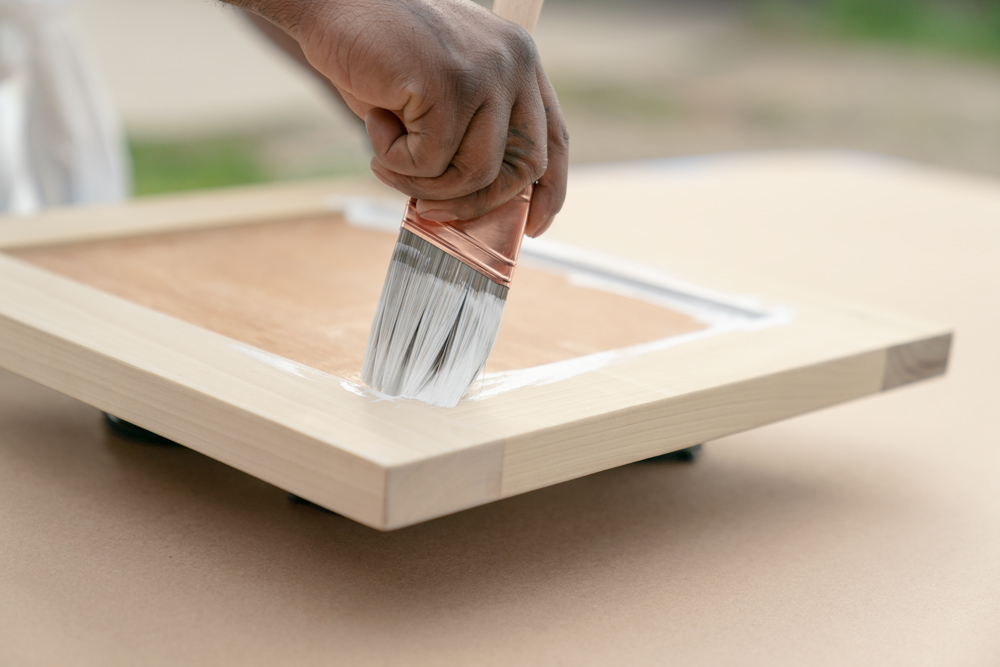
• Pro-tip: To get better coverage along the sides of your door, raise it off your work surface with bricks.
7. Allow to dry for 2 hours.
8. Once the primer is dry, apply your kitchen cabinet paint of choice using the same application process at the primer.
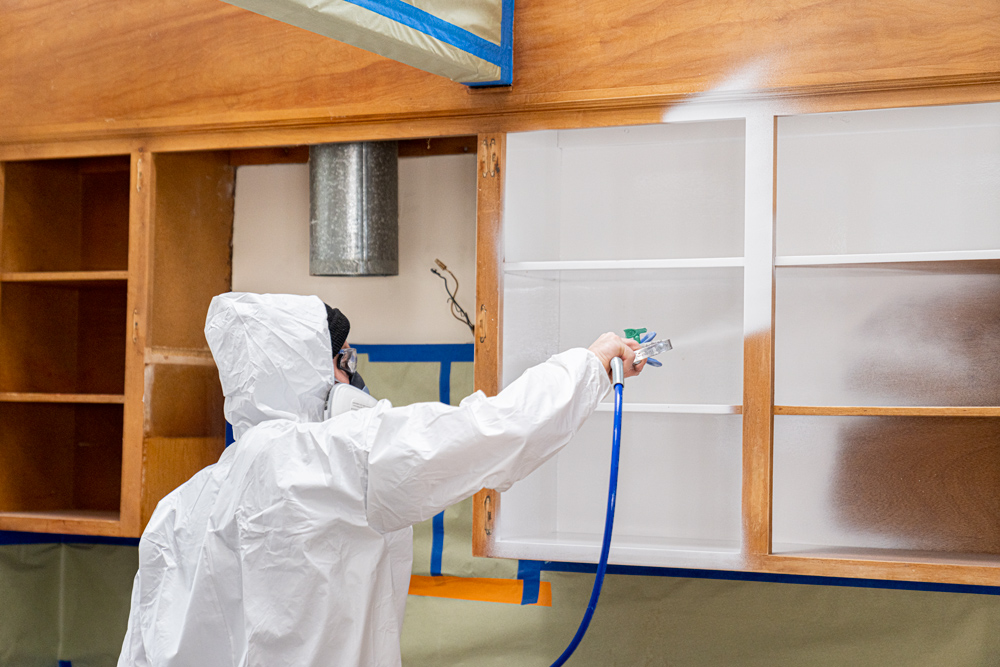
• Pro-tip: For a really great result, apply primer and paint with a sprayer.
You Will Need:
• Screwdriver
• Dust mask
• 100-150 grit and 180-220 grit sandpaper
• Step ladder for hard-to-reach areas
• Rags to wipe dirty and dusty surfaces
• Painter’s tape
• Drop cloths, canvas, or other reusable material
• Paint roller, brush, and paint tray
• Paint of choice
We hope this episode of Destination Restoration inspires you to take on your own kitchen remodel this year. Be sure to keep KILZ® products in mind for your next project, and come back for more ideas, tips, and project inspiration.
If you loved this restoration, be sure to check out the other episodes of Destination Restoration. Jason and Jared took on the Primary Bedroom, Primary Bathroom, and Living/Dining Room.
Always remember to refer to our website kilz.com or product back labels for additional information on which primer is right for your project and detailed instructions on how to apply our products. Check out our Coverage Calculator to understand your estimated paint needs for your upcoming project.

join the conversation:
SHARE this post:
COMMENTS: