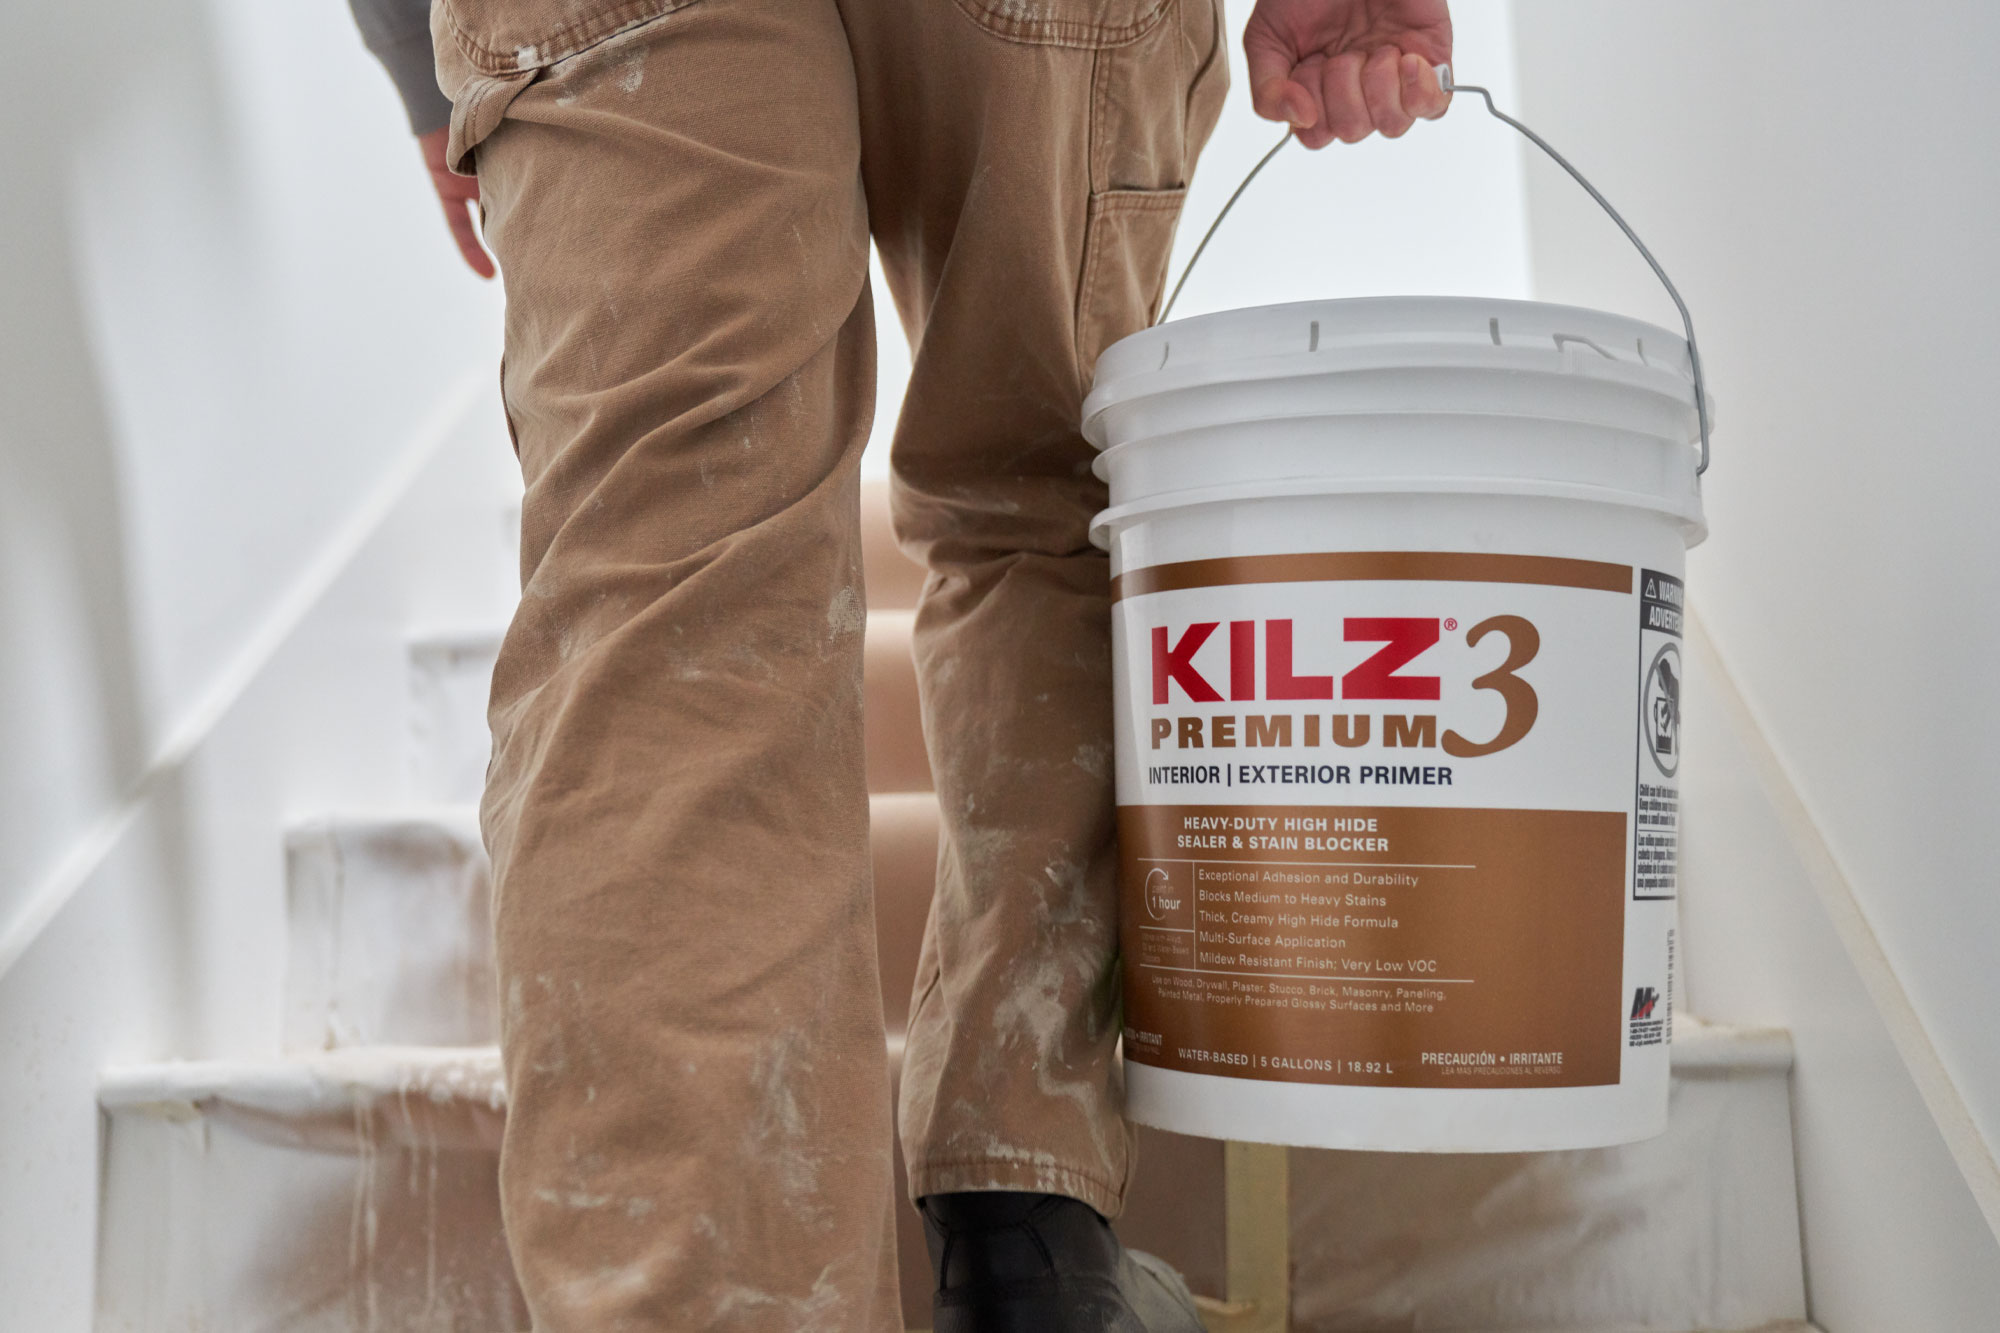
Tips from the Team
January 17, 2023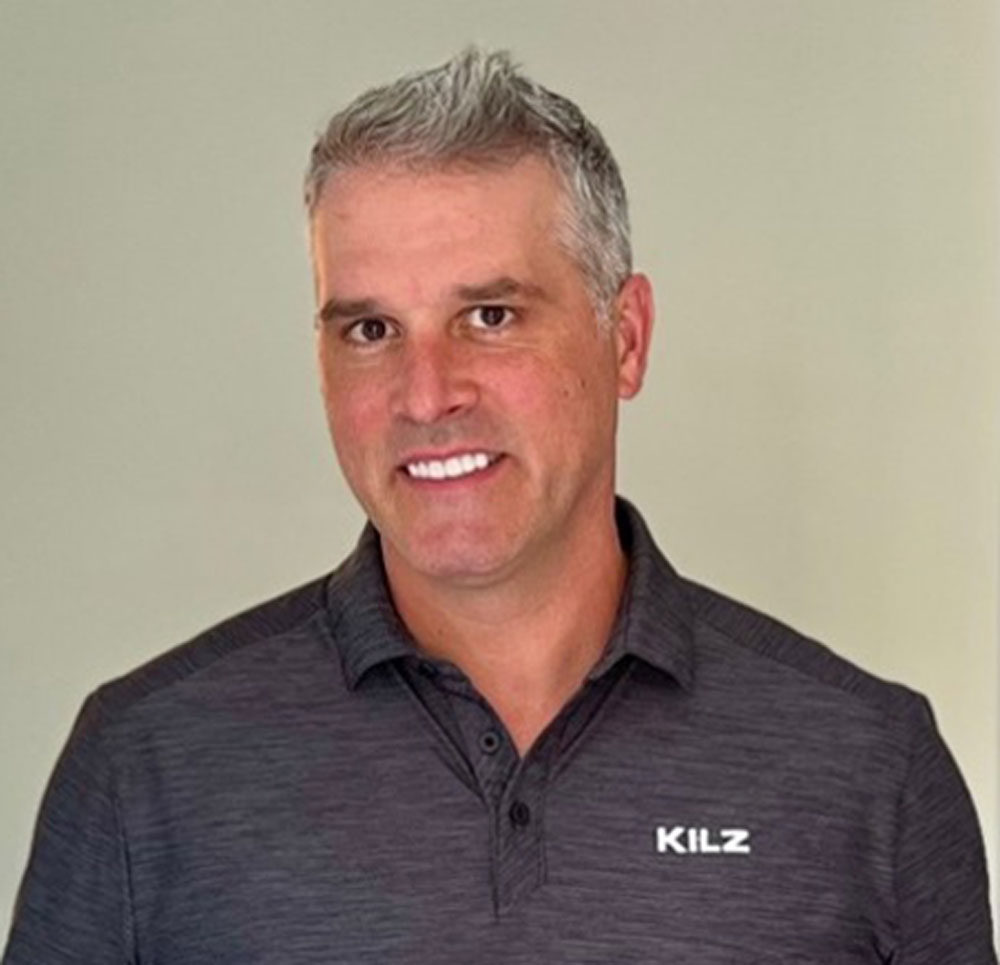
Here on the Perfect Finish, we are starting the year 2023 with our favorite paint category: Primer! Thomas McEvoy, a KILZ product trainer and training content developer, teaches us the importance of preparing the surfaces of your home and using primer during any painting project. Thomas’s favorite part of working for Behr Paint Company and with the KILZ team is the people and their enthusiasm to make the best products and service experience for our customers. Thomas has been with Behr for 20 years and is here to share his experience with you to help get prepared for your painting project.
Why should an individual prep the surfaces of their home?
Preparation is critical because most paint failures, such as paint peeling, old color bleeding through, and wear and tear over time, occur because of skipped prep steps. The best way to prep the surface is to promote adhesion (how the paint sticks to the surface), sealing (adding a protective coat), and stain-blocking if needed. Using a suitable primer promotes adhesion by bonding the surface that adheres to the topcoat. Using the right primer can achieve the aspects of a properly prepared surface.
How do I properly prepare a surface before priming and painting?
Here are a few ways to prepare your surface.
1. Lightly sand hard or slick surfaces to promote adhesionSanding can also remove physical imperfections accumulated over time. Any surface that has been lightly sanded during prep will usually lead to a softer texture after painting.
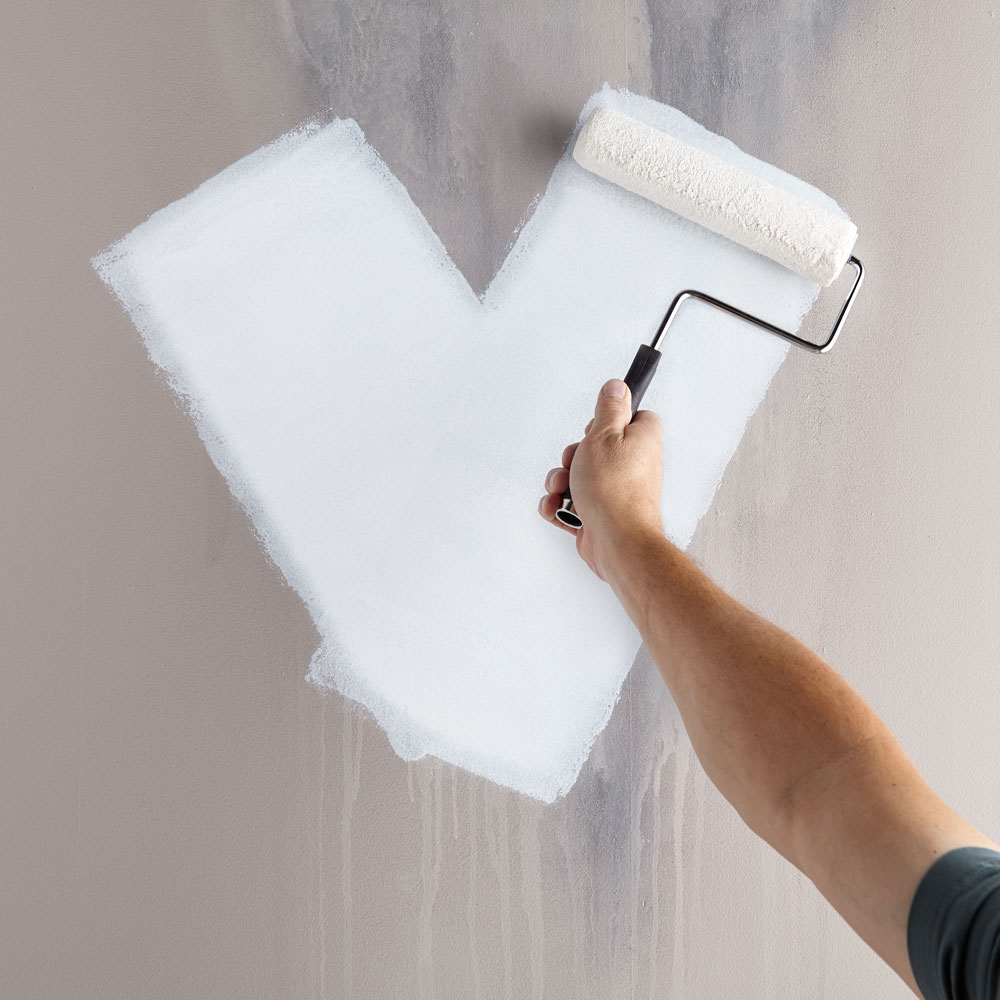
2. Painting over unsealed surfaces can lead to color variation, unevenness in paint sheen, the need to apply more paint, and, eventually, the peeling of the paint. Using a good primer is an important step before painting.
3. When stain-blocking is needed, only the right primer can ensure no bleed through the topcoat. This prep step is critical to ensure we paint over a sound surface.
When is the best time to prepare your surface?
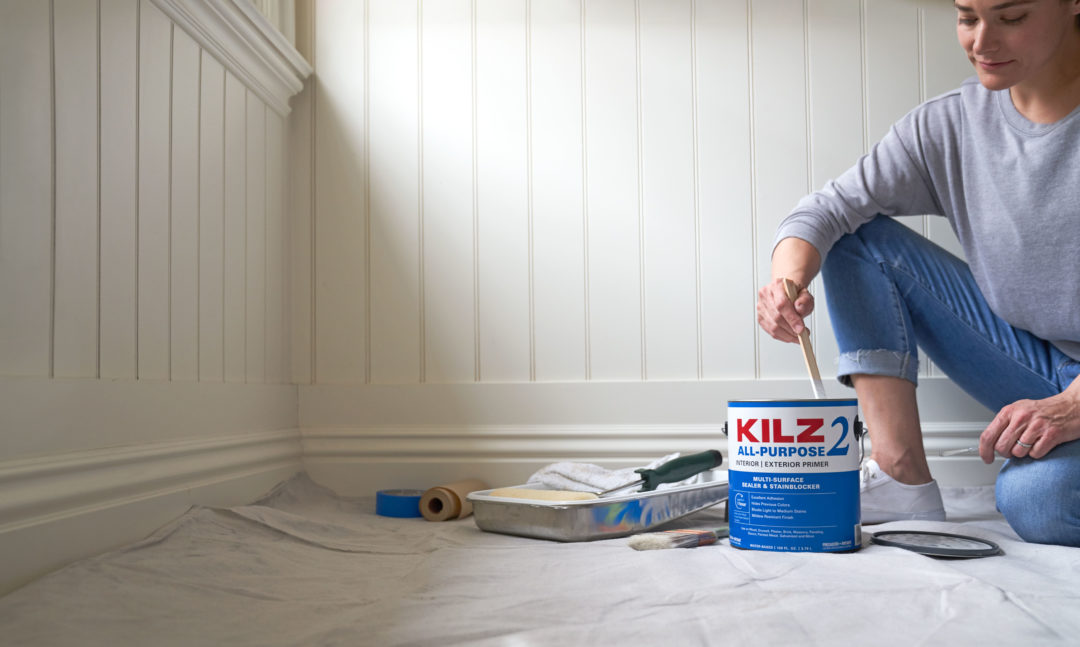
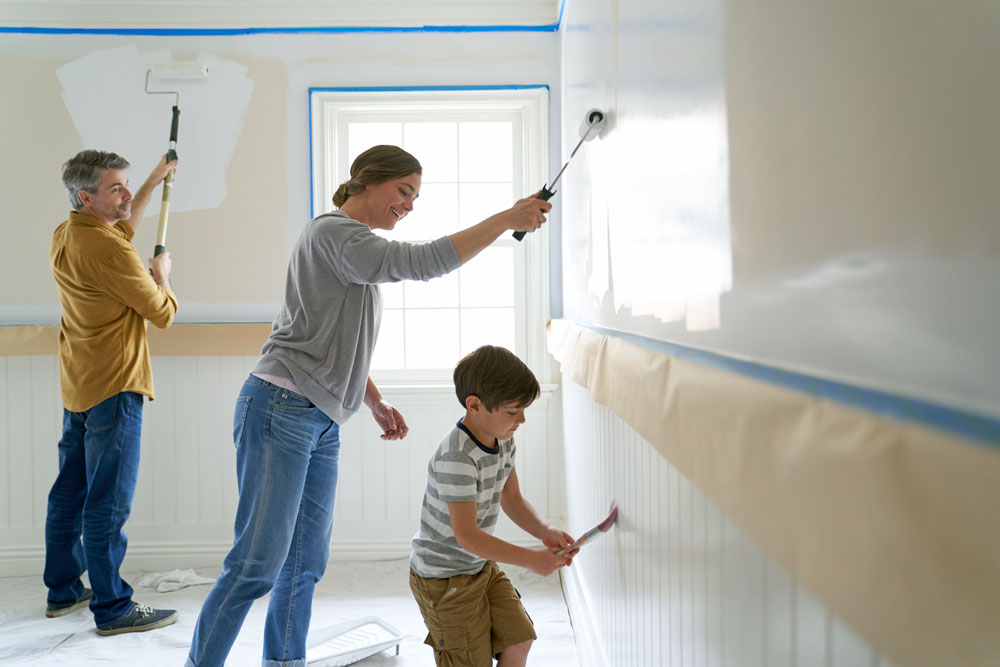
The best time to prep the surface is before you paint and after clearing the space as much as possible and protecting surfaces like carpet and furniture. Time spent on prep will save frustration and added expense later.
What tools do I need to prepare a surface?
There are many tools to have in a paint kit for current and future projects. A large plastic tote can hold several drop cloths and most smaller tools. I recommend the following tools to get the job done right:
• Dust mask
• Sanding pad, 80-200 grit
• Pole sander with sandpaper, 60-80 grit
• Step ladder
• Painter’s tape for protecting baseboards, doors, and window casing
• Drop cloths, canvas, or other reusable material
• Plastic, for protecting furniture
• Rags to wipe dirty and dusty surfaces
Having the right tools is a critical part of project success. Most of these tools can be used again for many other projects.
Where do I go to find the right primer?
Check out KILZ.com to research the right primer for your project. After, visit your local hardware store or retailer to engage with a thoughtful paint associate that can help with what works for you, and secure the rest of the tools needed for a successful project.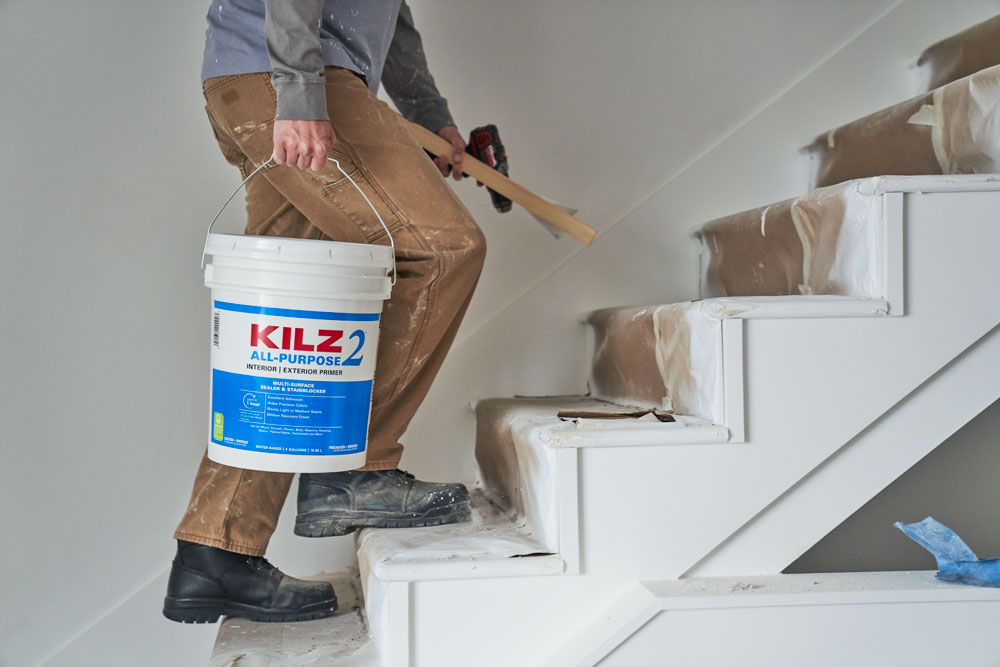
Can I do this myself? Or should I call an expert?
Both are options! You can do this job, or if you prefer, you can call a professional painter to complete your project. Check out your local hardware store and ask a paint associate to help coordinate what is needed for your specific project.
Always remember to refer to our website kilz.com or product back labels for additional information on which primer is right for your project and detailed instructions on how to apply



join the conversation:
SHARE this post:
COMMENTS: