The Right Applicator Can Make a Big Difference
April 27, 2023
When doing a paint project, does the applicator (brush, roller, etc.) make a difference? Why?
The right applicator can make all the difference! I often spend extra time with customers explaining how a quality applicator can save time and frustration during a project. Quality usually comes at a higher price than a cheaper alternative, but the results are worth it. One of my favorite comments to hear from customers is, “I’m glad I ran into you today.”
Besides selecting a quality applicator, the construction of the applicator should be compatible with the chemistry of the coating being applied. Some brushes are built for water-based products, some are designed to work with oil-based products, and some are designed to work with both. Most rollers are compatible with oil- and water-based products. This information is usually listed on the packaging, so make sure to check for it when selecting an applicator. Regardless of how you choose to apply the coating, the quality of the applicator makes a big difference.
How do you choose the right applicator? What should you look for?
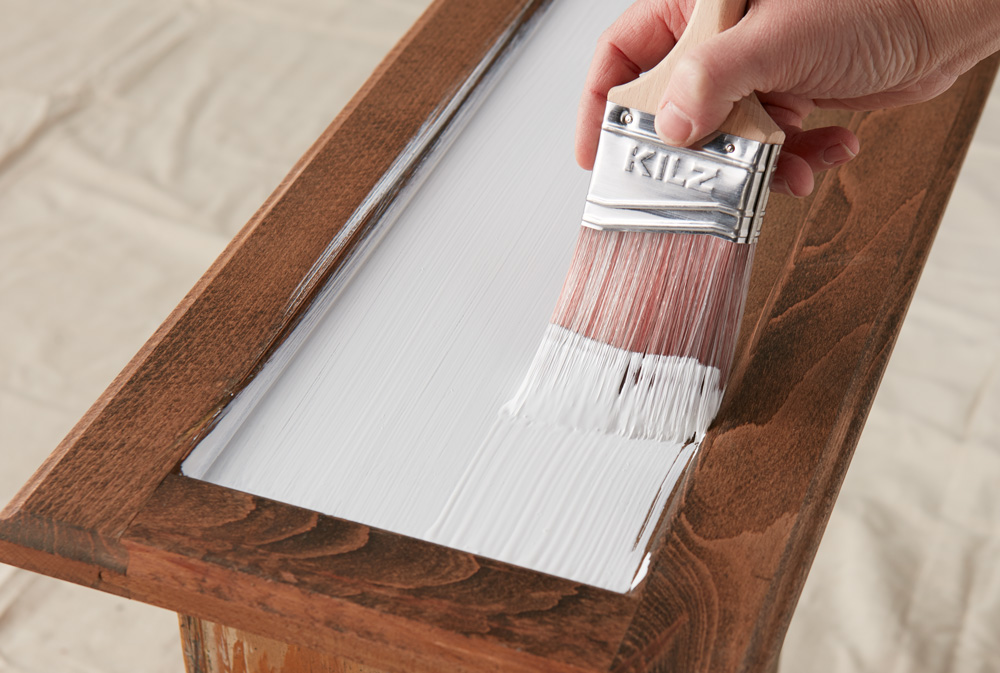
I look for quality applicators that will deliver the best results for the project. The best applicator for the project should have characteristics that match the features of the coating you are applying and the surface conditions. When painting with a higher sheen, like satin or semi-gloss, on doors, trim, or crown molding, customers want the smoothest finish with the fewest brush marks. For this project, use a high-quality brush with nylon bristles. Nylon bristles are soft and compatible with all paints, so they leave a very smooth finish.
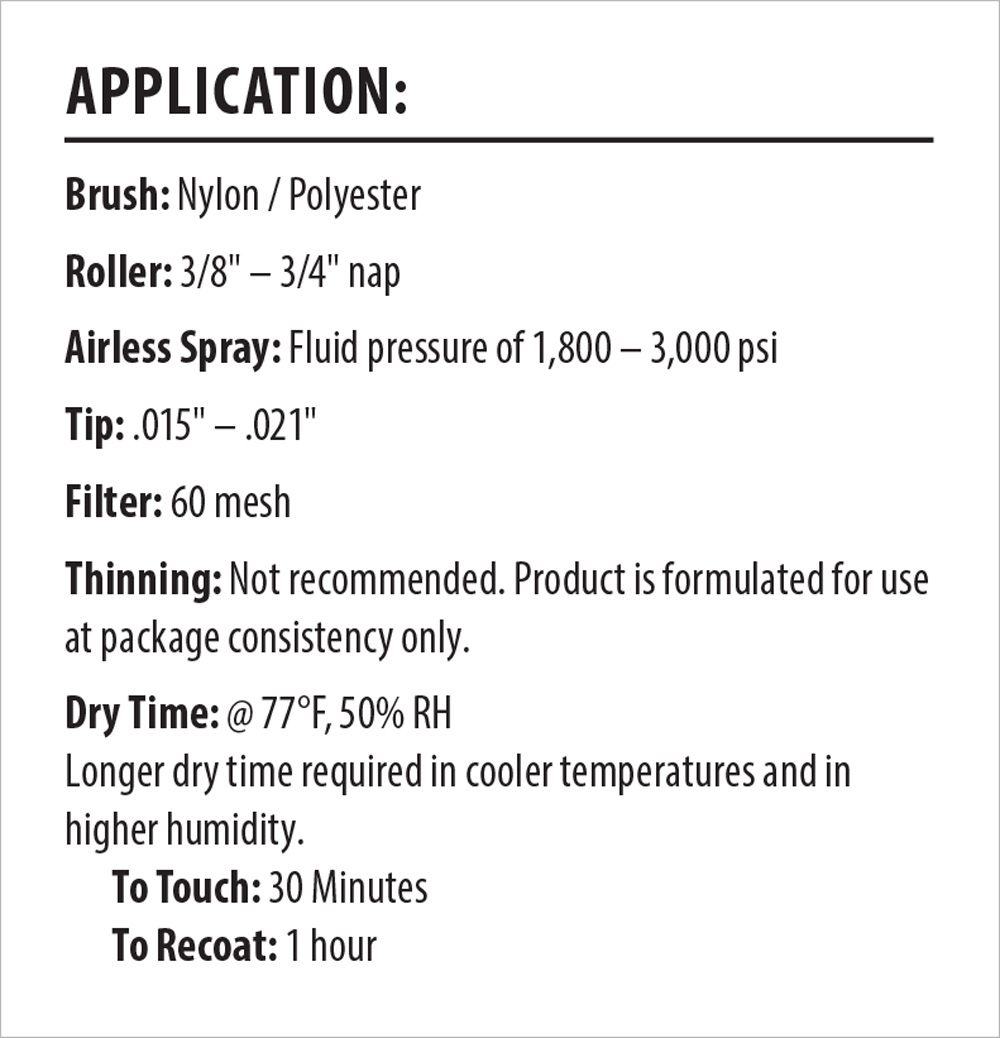
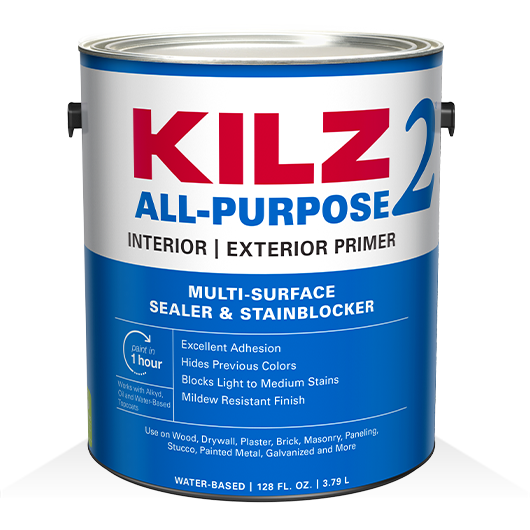
Consumers should look for brushes that are packaged in reusable storage sleeves which usually means better construction and longer life. Rollers should be chosen based on the roughness of the surface: larger nap rollers for rougher surfaces, and shorter nap rollers for smoother surfaces. You can reference the paint can’s label and the technical data sheets (TDS) for application recommendations (see example below).
When should you use a brush vs. a roller vs. sprayer? Are sprayers only for professionals?
The choice between a paint brush, roller, or sprayer depends on the type of surface you are painting, the type of paint you are using, and the results you want to achieve.
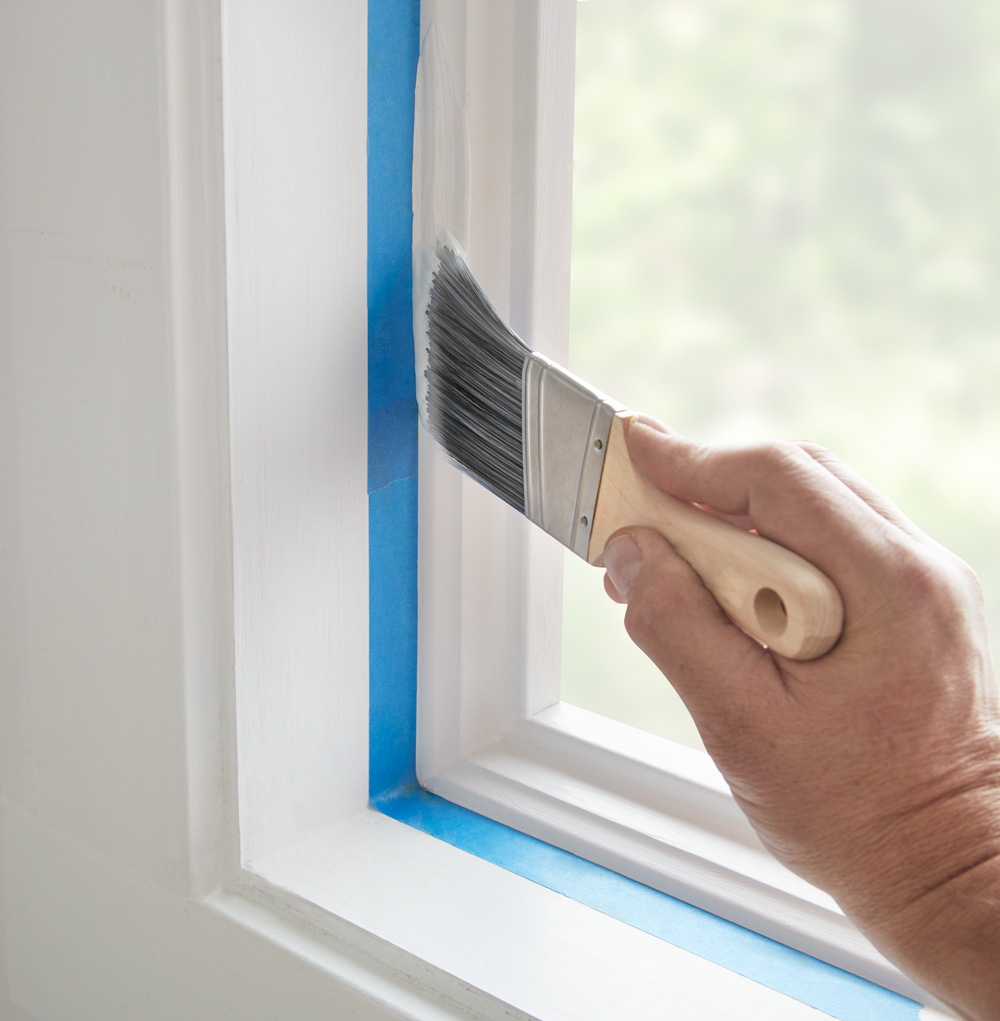
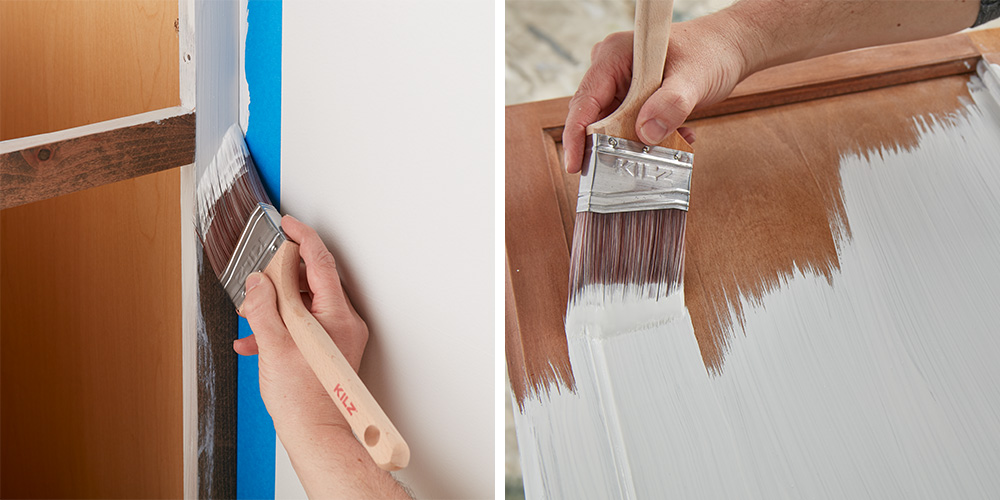
A paint brush is ideal for smaller surfaces such as trim or molding, painting into corners between walls, and where a high degree of precision is required. Brushes offer the most control and the least product drips and spatters (paint thrown off during application). They are also the best choice for thin products like stain or polyurethane. They are very useful on uneven or textured surfaces by allowing you to work the coating into any grooves. Angled brushes are great for painting straight lines and cutting in around trim or door casings. Flat brushes are suitable for filling in large areas like clapboard siding.
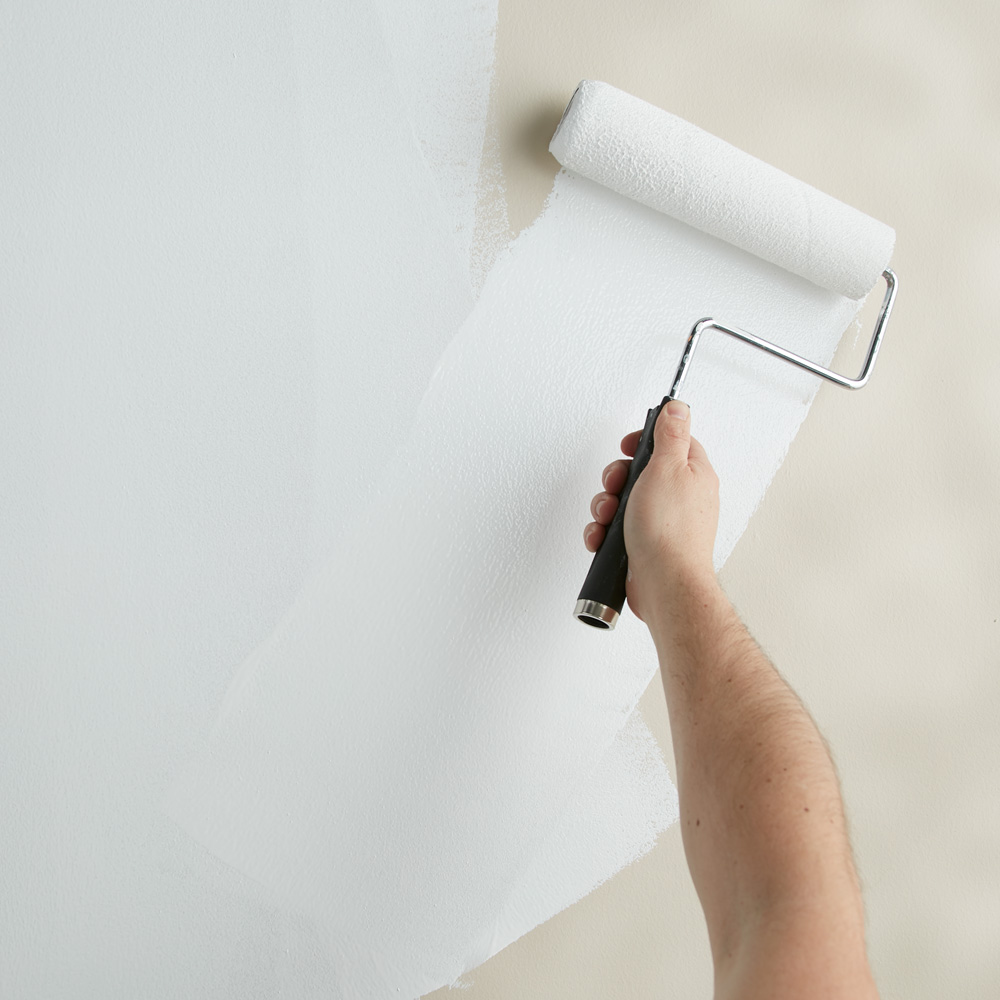
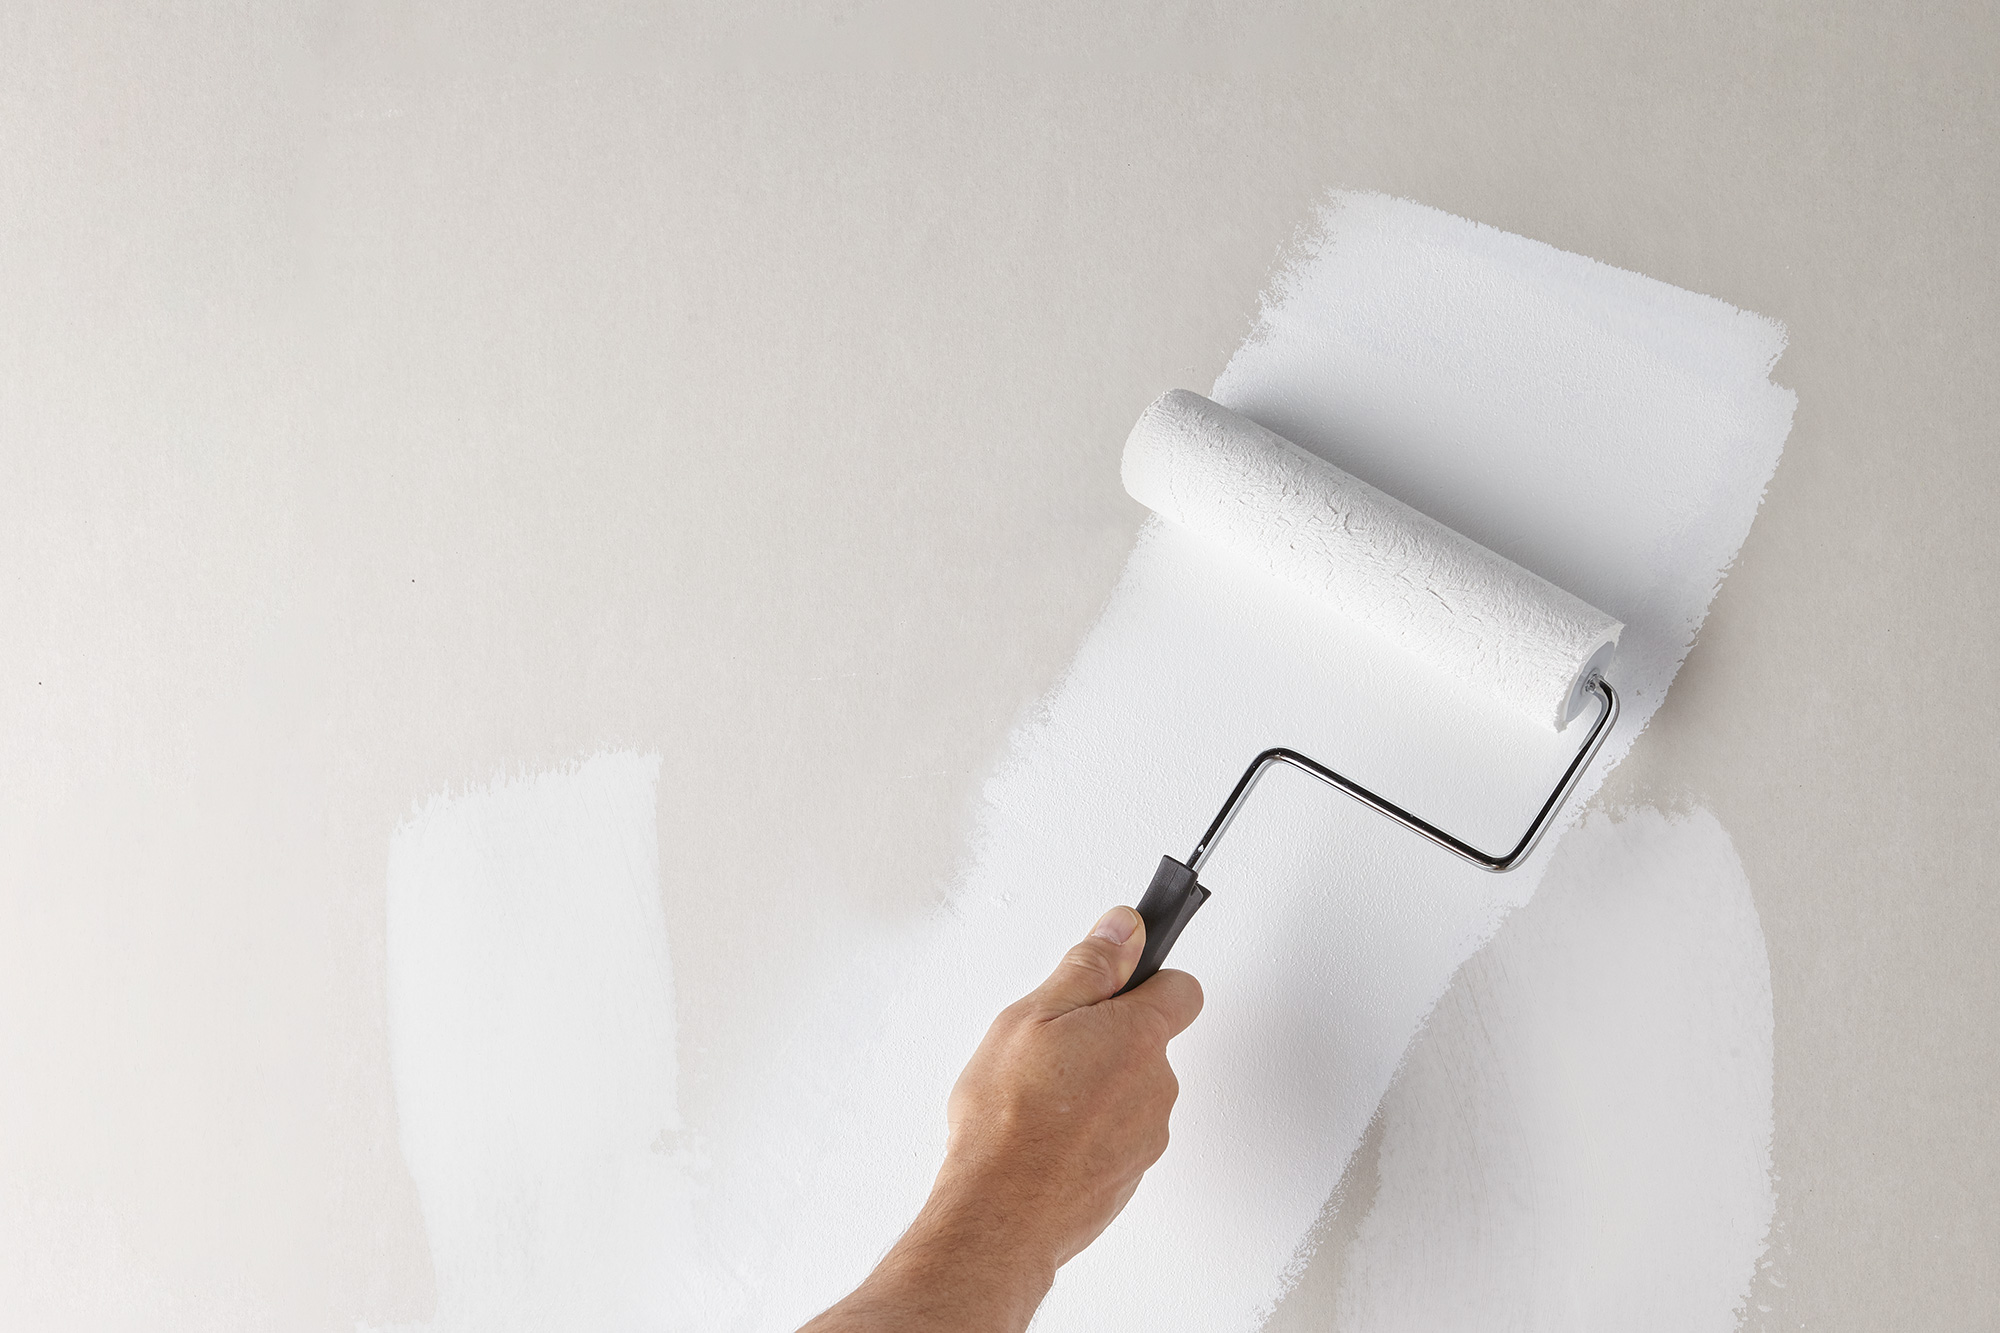
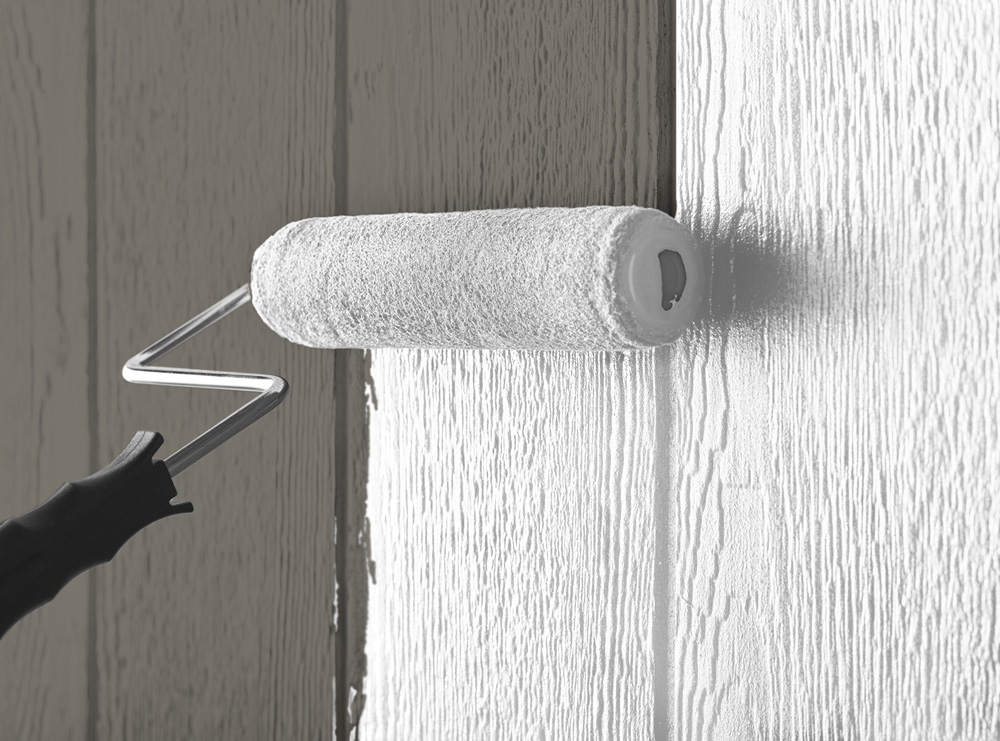
Rollers are great for large, flat, and unbroken surfaces with uniform texture, like ceilings and walls. They are very versatile and can be used to apply wall paints and even heavy-bodied coatings like textured paints. It is important to pick the proper nap length, depending on the coating recommendations and the texture of the surface. Rollers can cause spattering so care should be taken to minimize this to avoid a mess. The choice of high-quality paint, comparable roller cover, and proper pacing usually help mitigate spatter.

Airless paint sprayers offer the best potential finish but require the most preparation and user skill. These sprayers push paint at very high pressure so adjacent surfaces must be thoroughly masked and protected to avoid overspray. You don’t have to be a pro to use a sprayer, but you must take great care to ensure the project is done safely. Anyone interested in using a paint sprayer should carefully follow the instructions from the manufacturer. Some sprayer companies have great how-to videos on their websites and on YouTube for tips and to ensure an excellent project result.
Any tips on how to correctly use a brush or roller?
For Brushes: Hold the brush like a pencil when painting tight, precise areas. This will give you greater control and make it easier to keep straight lines. Place your fingertips on the ferrule (the area where the brush handle connects to the head) and the handle between your thumb and index finger. This will create balance and help with control. Hold the brush with the slightest pressure required to maintain control as this will help reduce fatigue. To fill in large expansive surfaces and smooth any sags before they dry, hold the brush sideways.
For Rollers: Use an extension pole whenever possible to offer leverage and save you from fatigue. Think of the principle of the lever: the longer the handle you can use in the space, the less effort you must exert on the end of the handle to control the roller. Even a short extension pole can make the job a lot easier. Most extension poles are adjustable to allow you to shorten or lengthen as needed.

Listen to the sound the roller makes while applying the product. A properly loaded roller makes application easier and more uniform. A roller that is too dry can lead to uneven coverage or sheen. When the roller cover becomes too dry it will make a sticky sound as it moves over the surface, like an alert to you to reload to ensure uniform performance. This leads to a second reason to use an extension pole; it makes it easier to spin the roller handle while moving from the paint source to the wall. Spinning the handle during this step helps minimize drips from the applicator.
Follow these tips and refer to label recommendations to ensure great project results.
Always remember to refer to our website kilz.com or product back labels for additional information on which primer is right for your project and detailed instructions on how to apply our products. Check out our Coverage Calculator to understand your estimated paint needs for your upcoming project.


join the conversation:
SHARE this post:
COMMENTS: