The Primer Checklist Every DIYer Needs
April 23, 2024Priming Before You Paint
No matter how difficult your project is, KILZ® Primer is here to help you achieve the results you envision with this easy primer checklist.
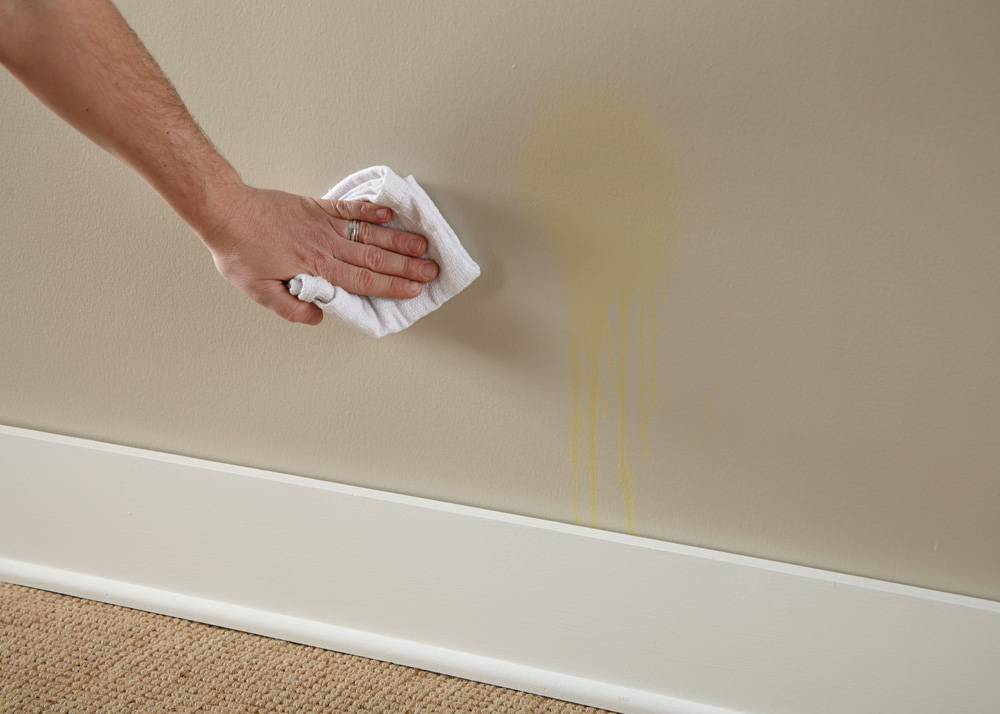
Priming walls before applying a coat of paint is essential to block previous stains and odors, ensure color distribution, and create adhesion for the new coat of paint.
Primer Checklist
First, familiarize yourself with the surfaces and spaces you’ll be painting. Whether you’re priming outdoor or indoor, on wood, glass, metal, or drywall, each scenario requires a specific primer and process.
Choose the Right KILZ® Primer
Getting started requires you to understand which KILZ® Primer is the right product for your surface’s unique demands.
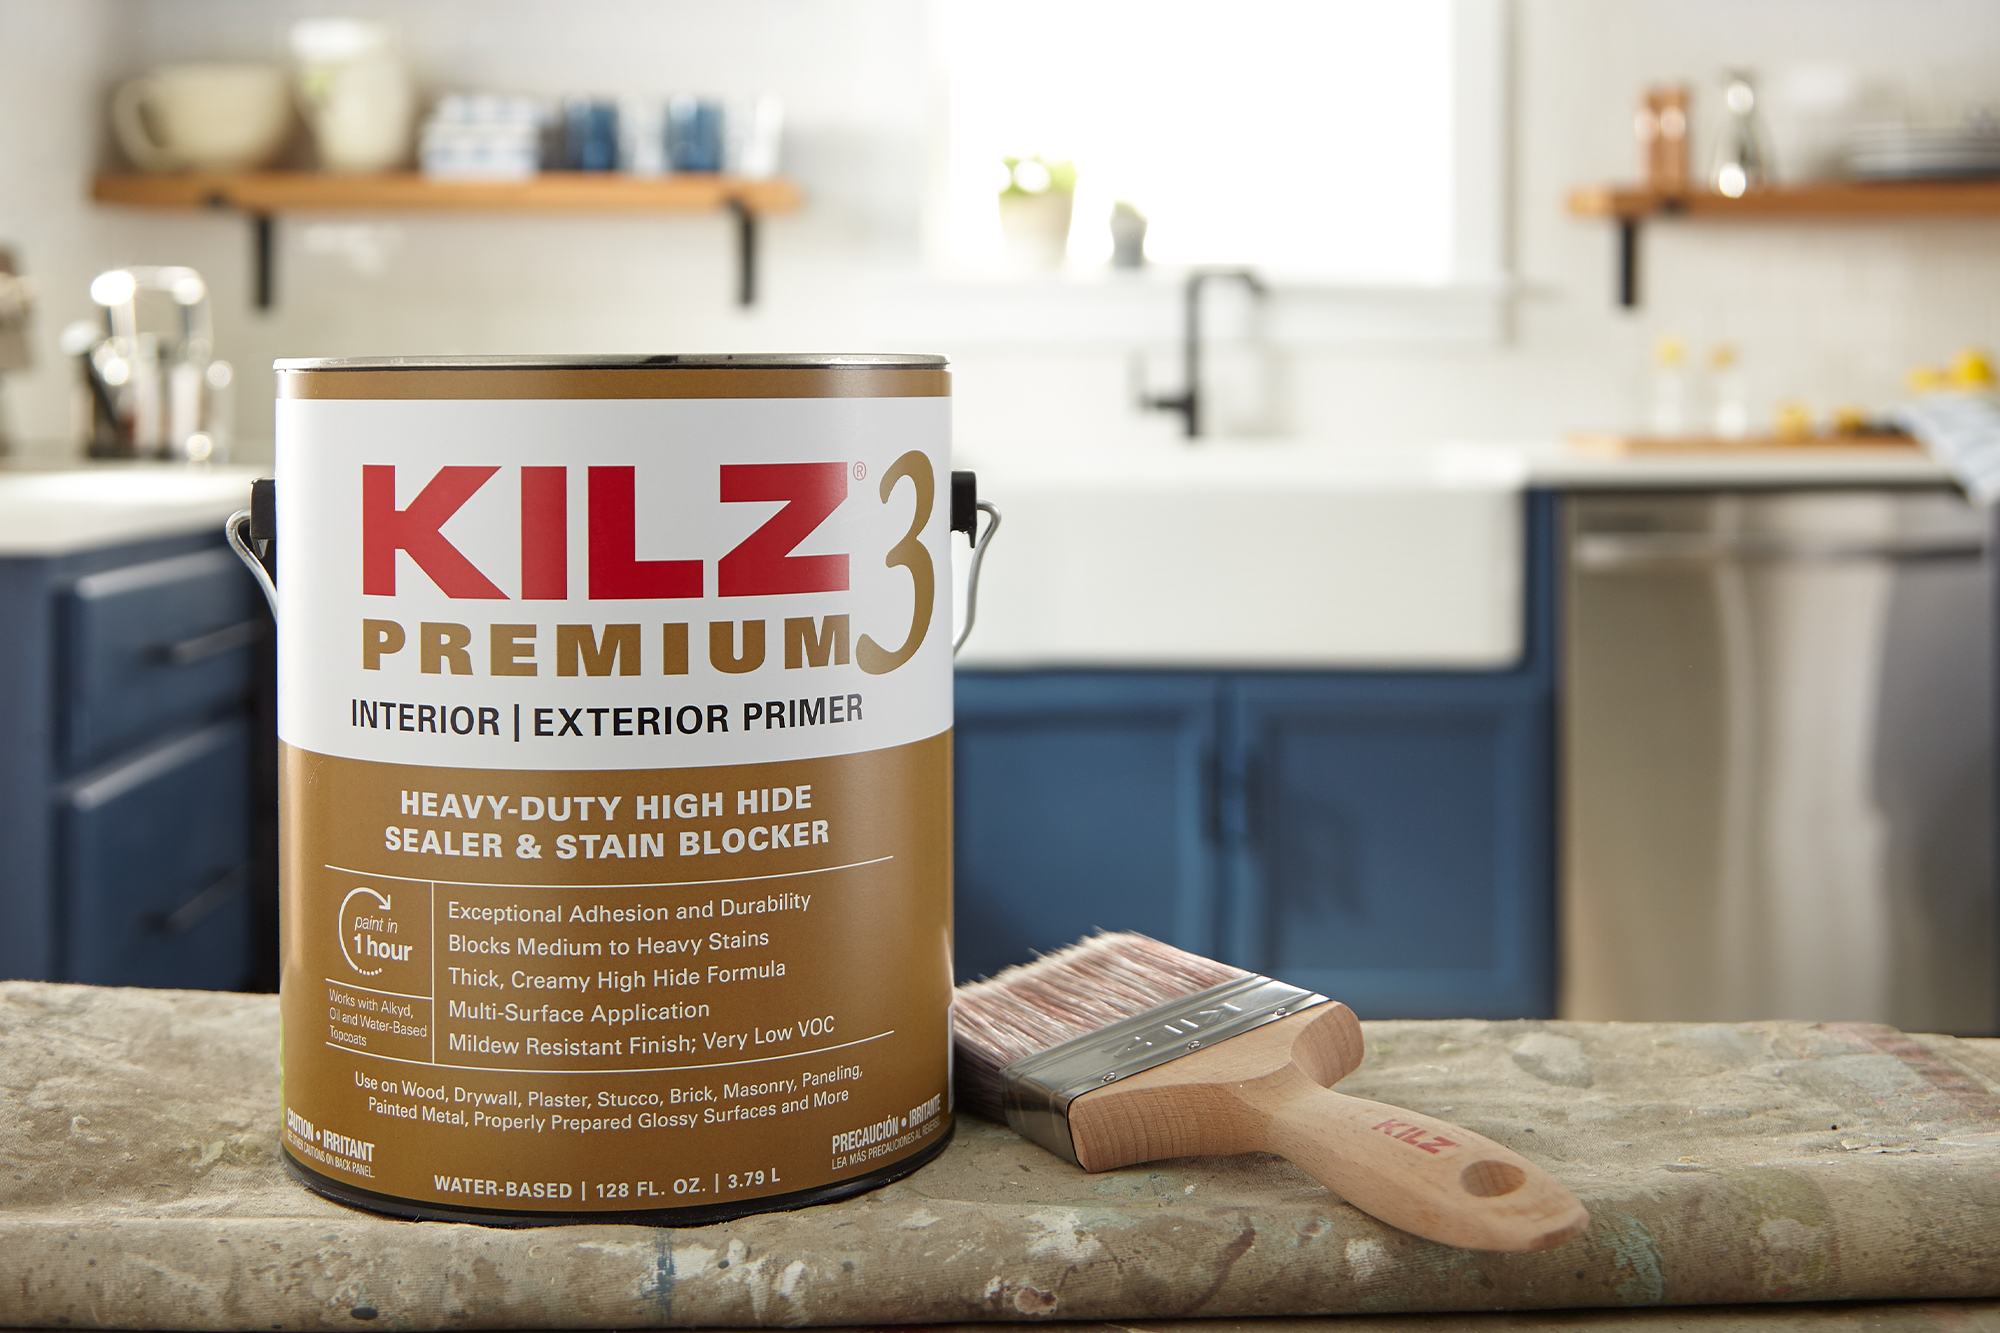
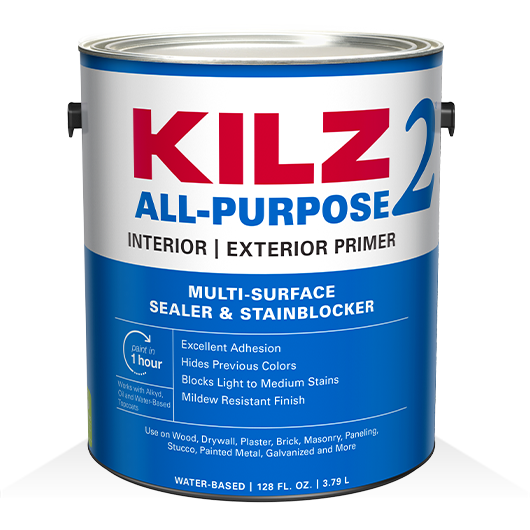
• Both KILZ 2® All Purpose and KILZ 3® Premium are perfect for interior and exterior priming on multiple surfaces. KILZ 3® Premium is the right primer for heavy duty sealing and blocking out stains or dark colors.
• KILZ RESTORATION® is formulated for the toughest coverups, like fire damage or unbearable odors.
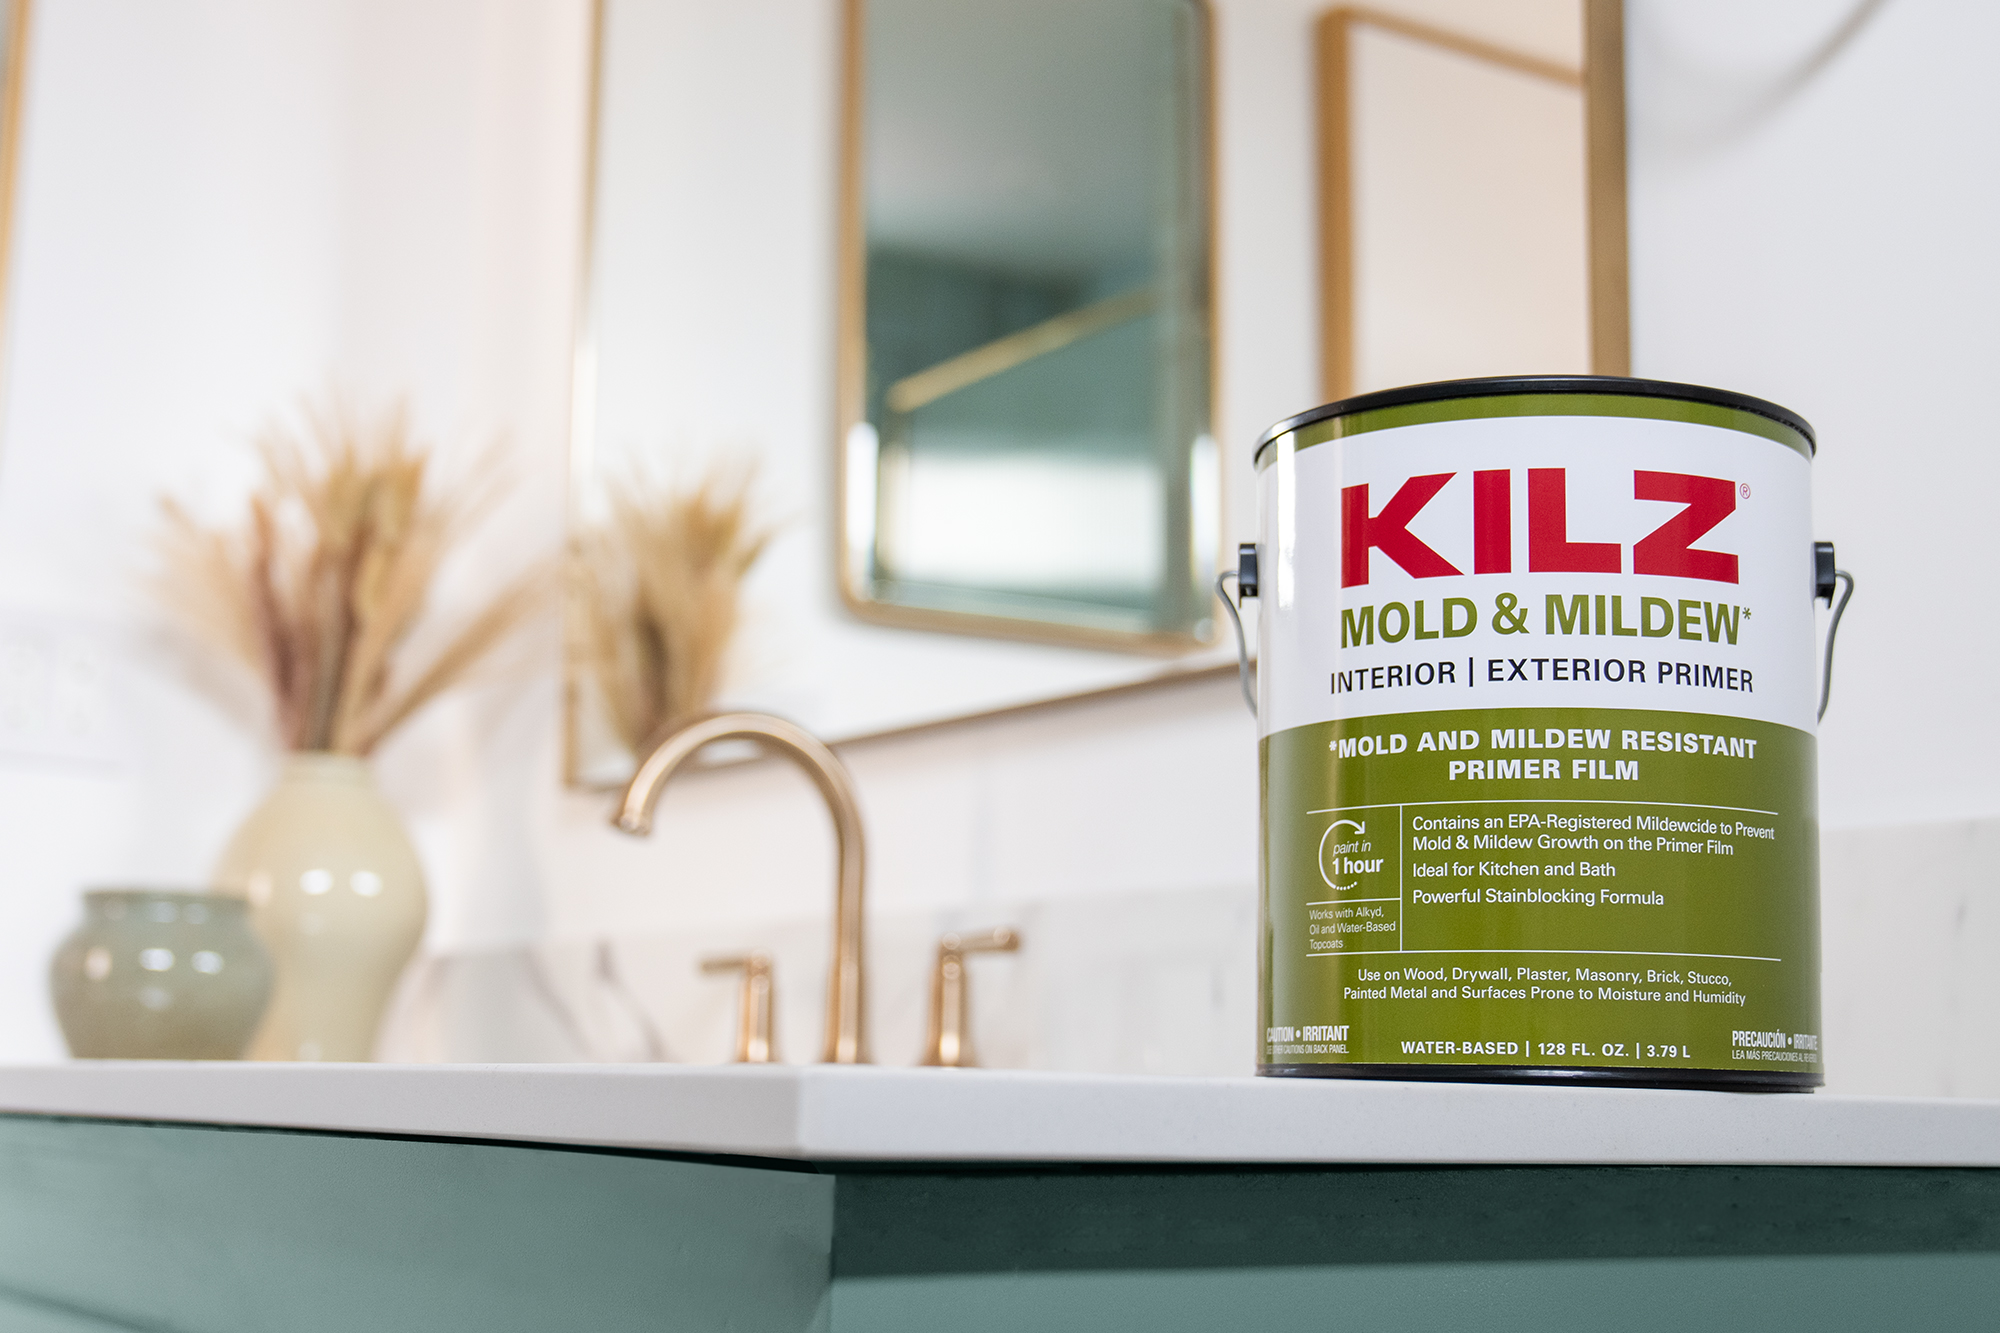
• If you’re applying a new coat of paint in a kitchen or bathroom, mold and mildew resistance should be prioritized with KILZ® Mold and Mildew®.
• For tough-to-paint surfaces like glass, tile, and metal, KILZ® Adhesion ensures that paint stays put.
Application Tools
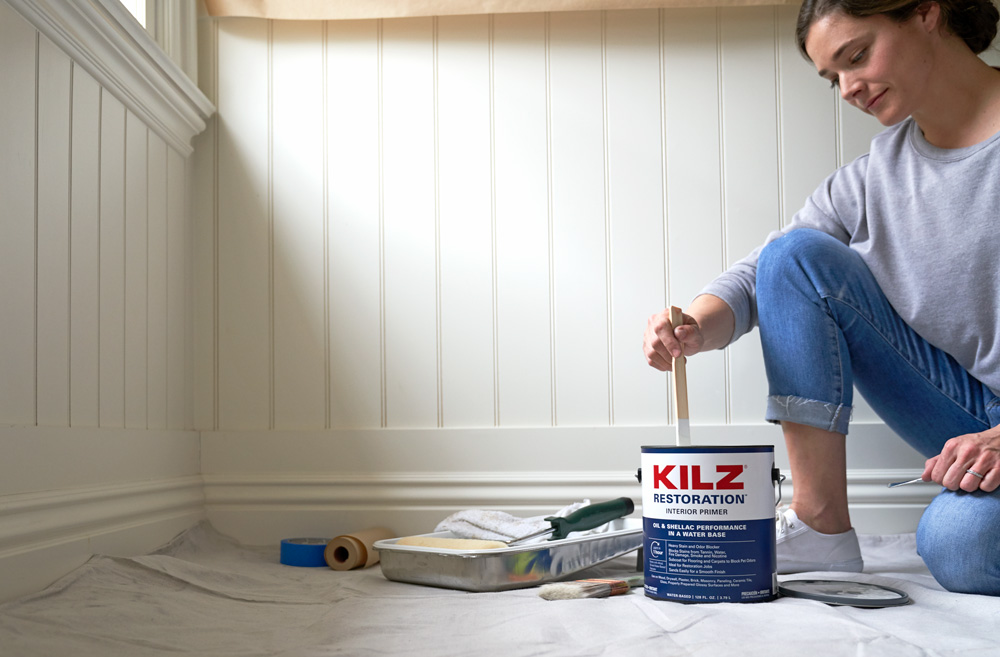
The tools required to prime walls to paint are:
• A drop cloth to protect floors from splatter.
• Painter’s tape for masking off areas you don’t want primer on.
• A 2-inch nylon/polyester paint brush for priming corners.
• A 9-inch paint roller with a ½ inch roller cover to prime large spaces.
• A paint tray to reload your roller with primer you pour into the tray.
• Cardboard or a towel to remove excess primer from your roller or brushes.
• Safety goggles to protect your eyes.
Applying the Primer
• Move any furniture from the space, then cover the floor with your drop cloth.
• Create a paint station to place all your tools.
• Tape off the necessary borders to mask whatever you don’t want your primer to cover.
• Get your paint roller and brushes ready by dampening them with water so they can absorb more primer.
• Outline or “cut in” the wall with 2-3 inches of primer. Where the corners meet, you’ll want to use your 2-inch nylon/polyester paintbrush.
• Fill your paint tray with primer, then dip in your 9-inch paint roller, making sure primer covers the whole roller. Pass the paint roller over the ridged area of the tray to remove any excess primer.
• With your paint roller, apply the primer in vertical strips inside your “cut in” area, working from top to bottom until finished.

Dry Time
Drying times depend on both your primer and surface. If multiple layers are needed, wait until the primer is completely dry before applying another coat. You can decrease drying time by creating air circulation in the room or using a dehumidifier.
• Drywall (about an hour)
• Wood (up to three hours)
• Metal (up to four hours)
Never apply paint before your primer has dried; otherwise, it will not stick, creating a mess.
You’re Ready to Prime
Now that you have an understanding of KILZ® Primers, you can undertake your next project, whether you are an amateur or expert DIYer.

join the conversation:
SHARE this post:
COMMENTS: