Tag: Walls
Three Primers for Exterior Projects
August 11, 2020Priming before painting is an important step for nearly every painting project, and we’ve covered quite a few different project types here on The Perfect Finish – including priming when changing wall colors, priming before painting kitchen cabinets, and even priming in moisture prone rooms in your home. Now in the heat of summer, it’s time to talk about an area of the home we haven’t often covered – the outside!
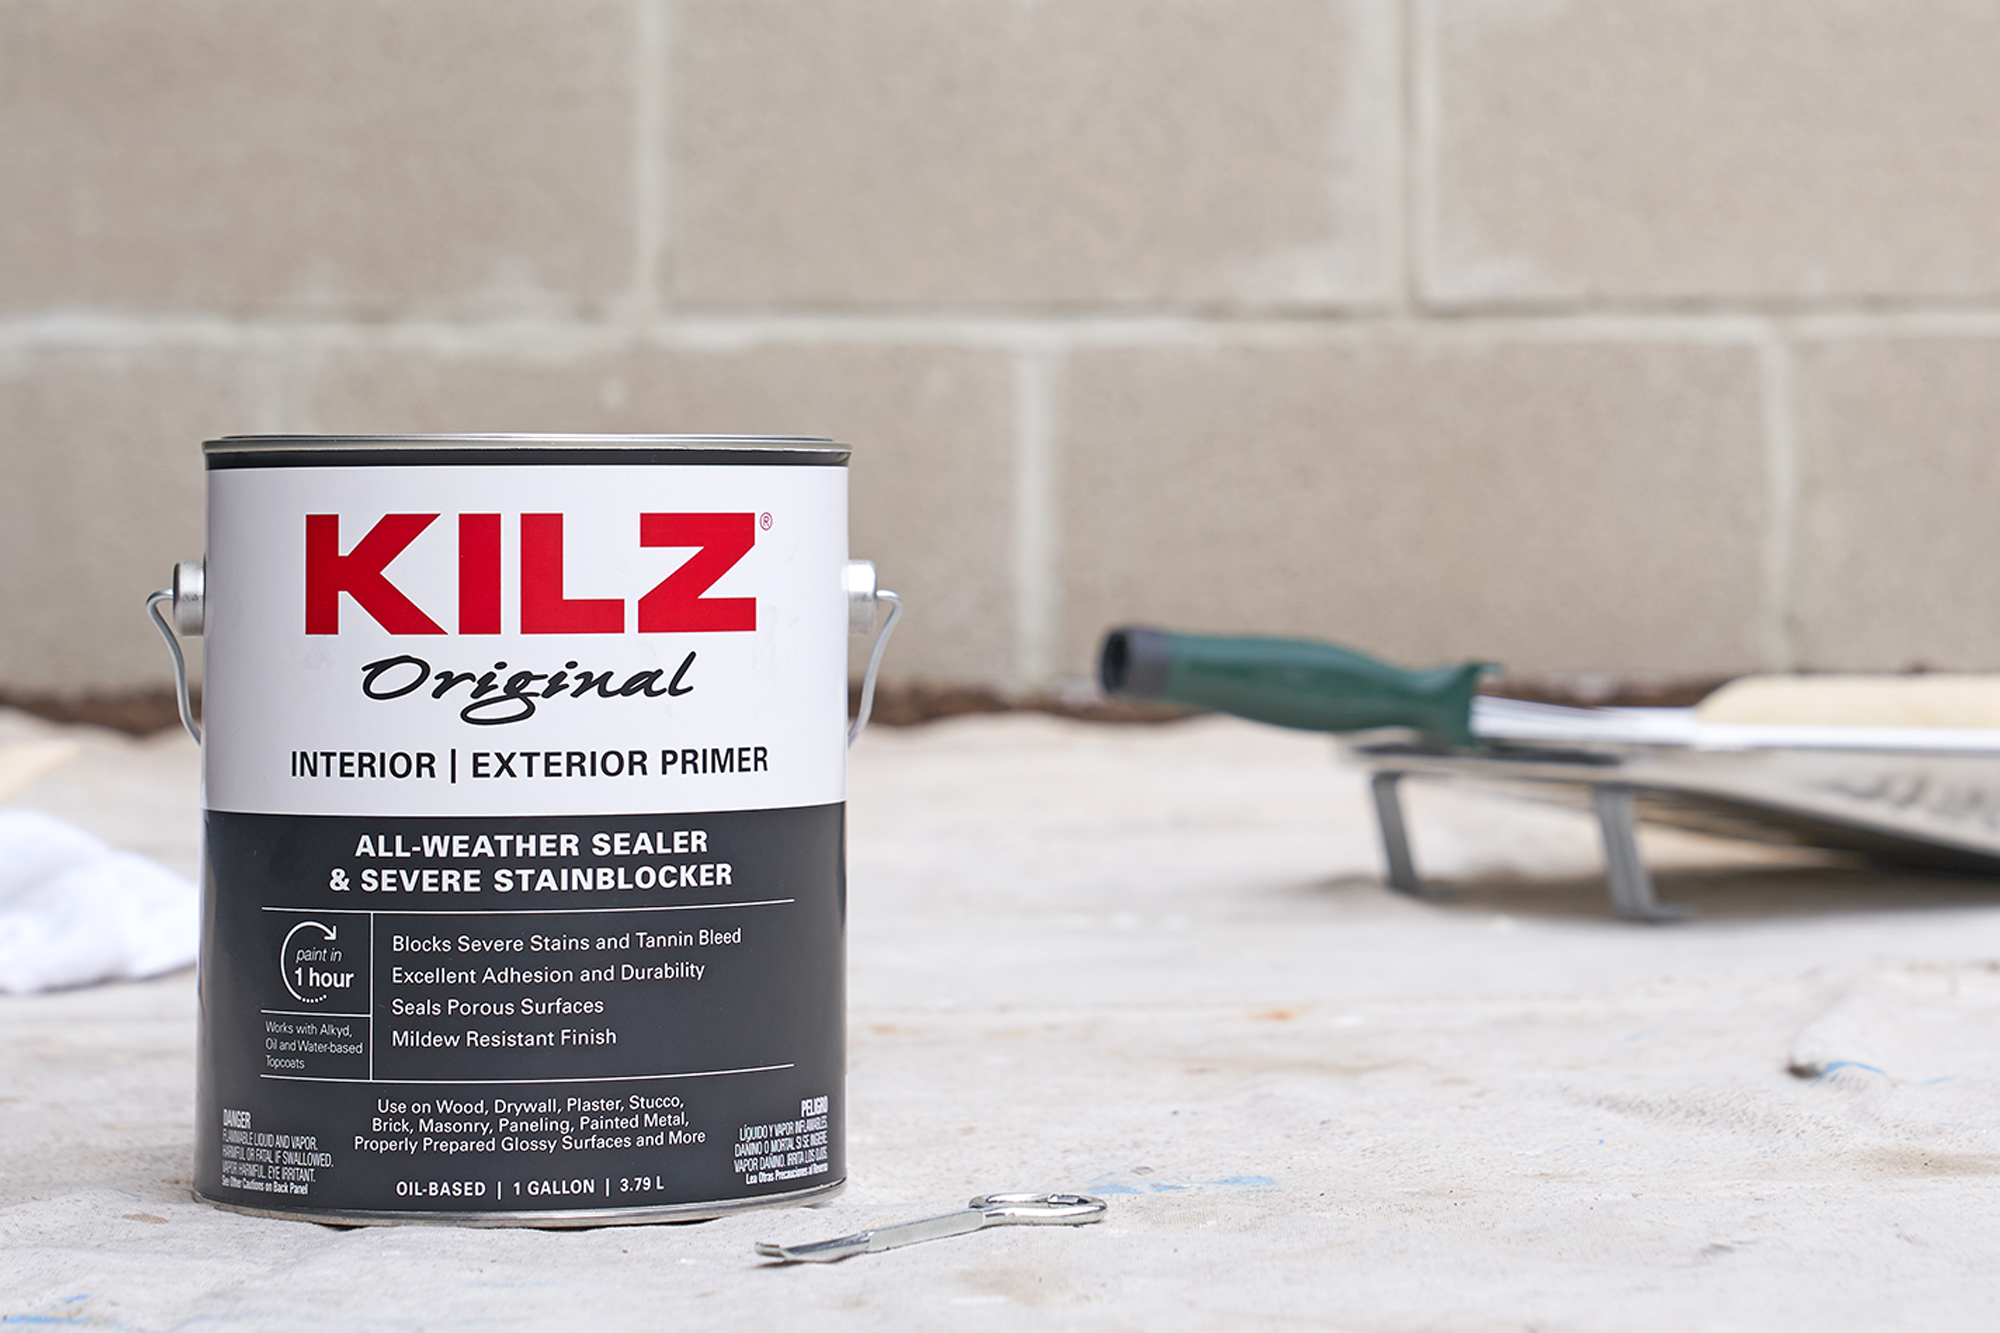
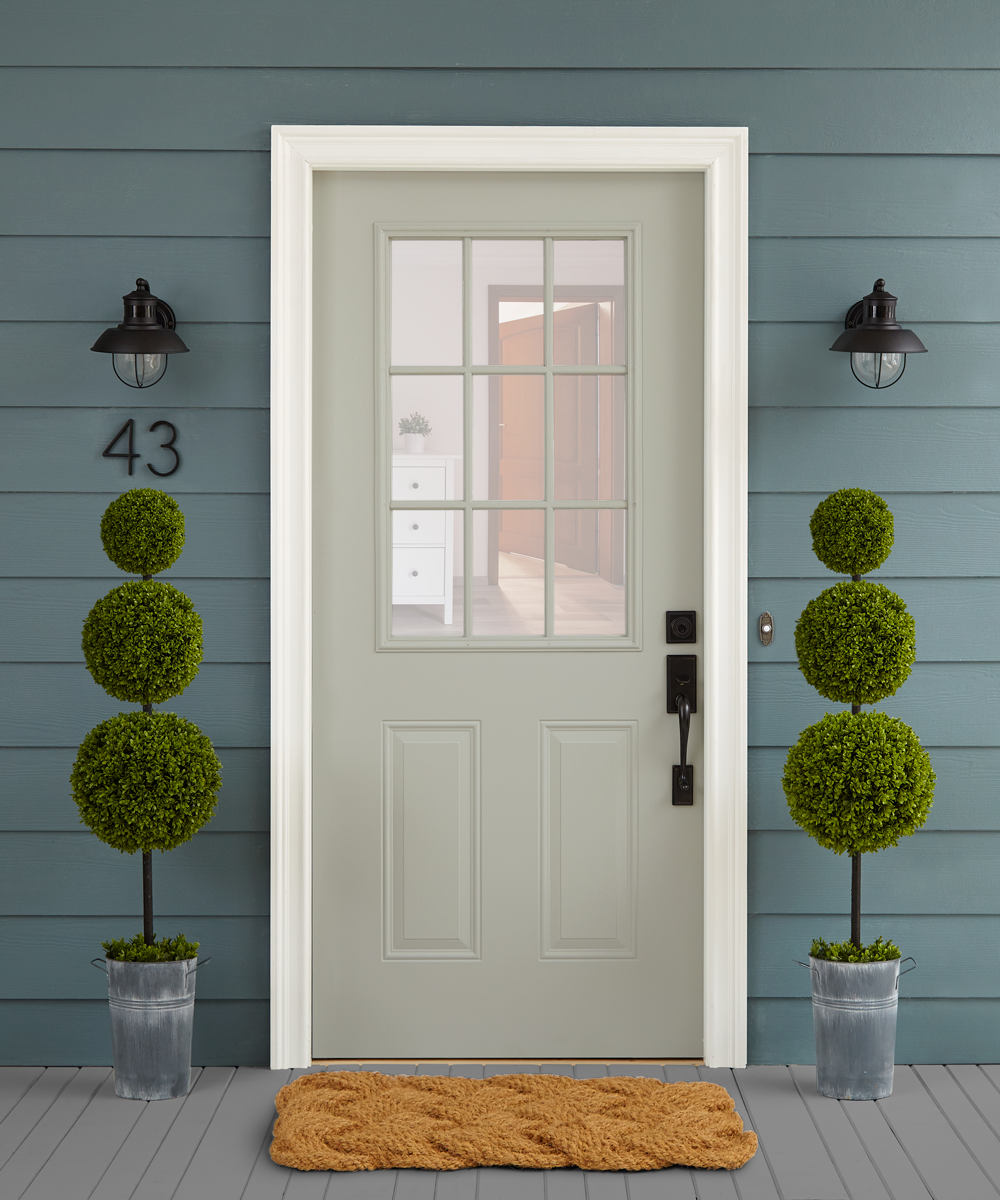
Just as important as proper prep for your indoor painting projects, priming is a critical prep step for outdoor projects. From painting your front door, to the entire exterior of your house, or even a garden fence, KILZ has a primer made for the job. KILZ® Original Primer has been trusted by pros for over 40 years and the KILZ Original lineup includes a primer formulated for outdoor projects. KILZ® Original Interior | Exterior Primer is an all-weather sealer with excellent adhesion to even the toughest to paint surfaces like masonry or bare, porous wood. When using this primer on outdoor brick, stucco or plaster, it’s important to note that the masonry surfaces should be clean, dry and cured for at least 90 days.
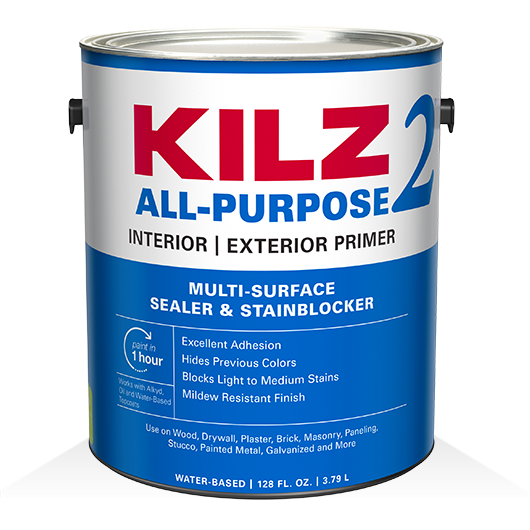
KILZ 2® All-Purpose Primer is another product formulated for both interior and exterior use. This water-based sealer and stain blocker would be an excellent choice for painting your front door or garden fence. Just remember this tip from the pros, if the surface you are painting is unpainted, exterior wood that has been exposed to sun and/or moisture longer than 2-4 weeks prior to painting – be sure to clean and sand it before priming. On new masonry surfaces, KILZ 2 All-Purpose can be used once the surfaces has cured for at least 30 days.
Our third pick for exterior projects is KILZ 3® Premium Primer. This fast drying, water-based primer provides excellent adhesion and a mildew resistant coating, making it ideal for exterior surfaces prone to moisture. It can be used for both interior and exterior projects and has a thicker, high-hiding formula great for blocking stains. If you live in a humid environment, KILZ 3 Premium Primer is a great choice for your outdoor painting projects.
What exterior projects will you tackle this summer?
Always remember to refer to our website kilz.com or product back labels for additional information on which primer is right for your project and detailed instructions on how to apply our products.
3 Secrets to Stain Blocking
June 10, 2019Simply put, stains are a pain. From a marinara sauce splatter on your white pants to a water leak that ruins your once pristine living room wall, stains are often tough to tackle. When it comes to painting over stained walls, you might think that a quick coat of paint will do the trick. But you’ll likely be left with a stain seeping through the new topcoat.
Professional painters know the secrets to successful stain blocking, and it all starts with primer. Don’t know which primer to use? That’s where we come in! We know more than a few professional painters, and we’ve collected their secrets to stain blocking.
Secret #1 – Not All Stains Are Created Equal:
The key to successful stain blocking starts with assessing what kind of stain you’re dealing with.
Light Stains:
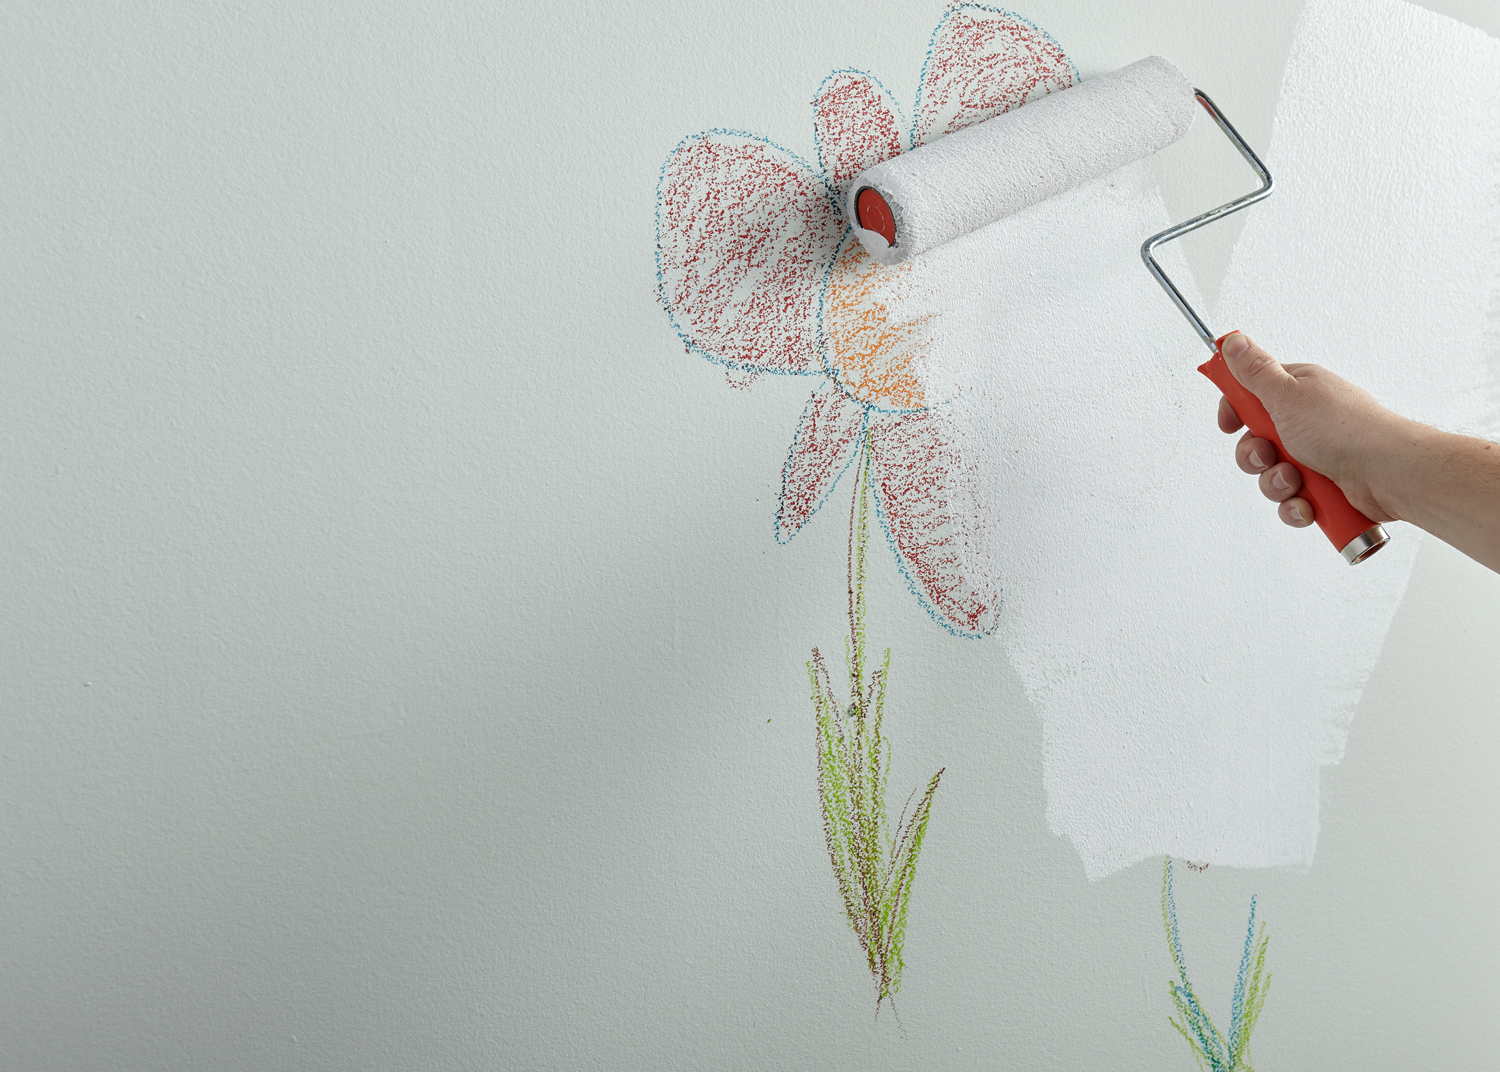
If you’re dealing with a light stain like scuff marks, pencil or crayon, you definitely still want to cover with a coat of primer before applying fresh paint. KILZ 2® All-Purpose is a great choice for blocking light stains – it’s fast drying and will get the job done!
Heavy Stains:
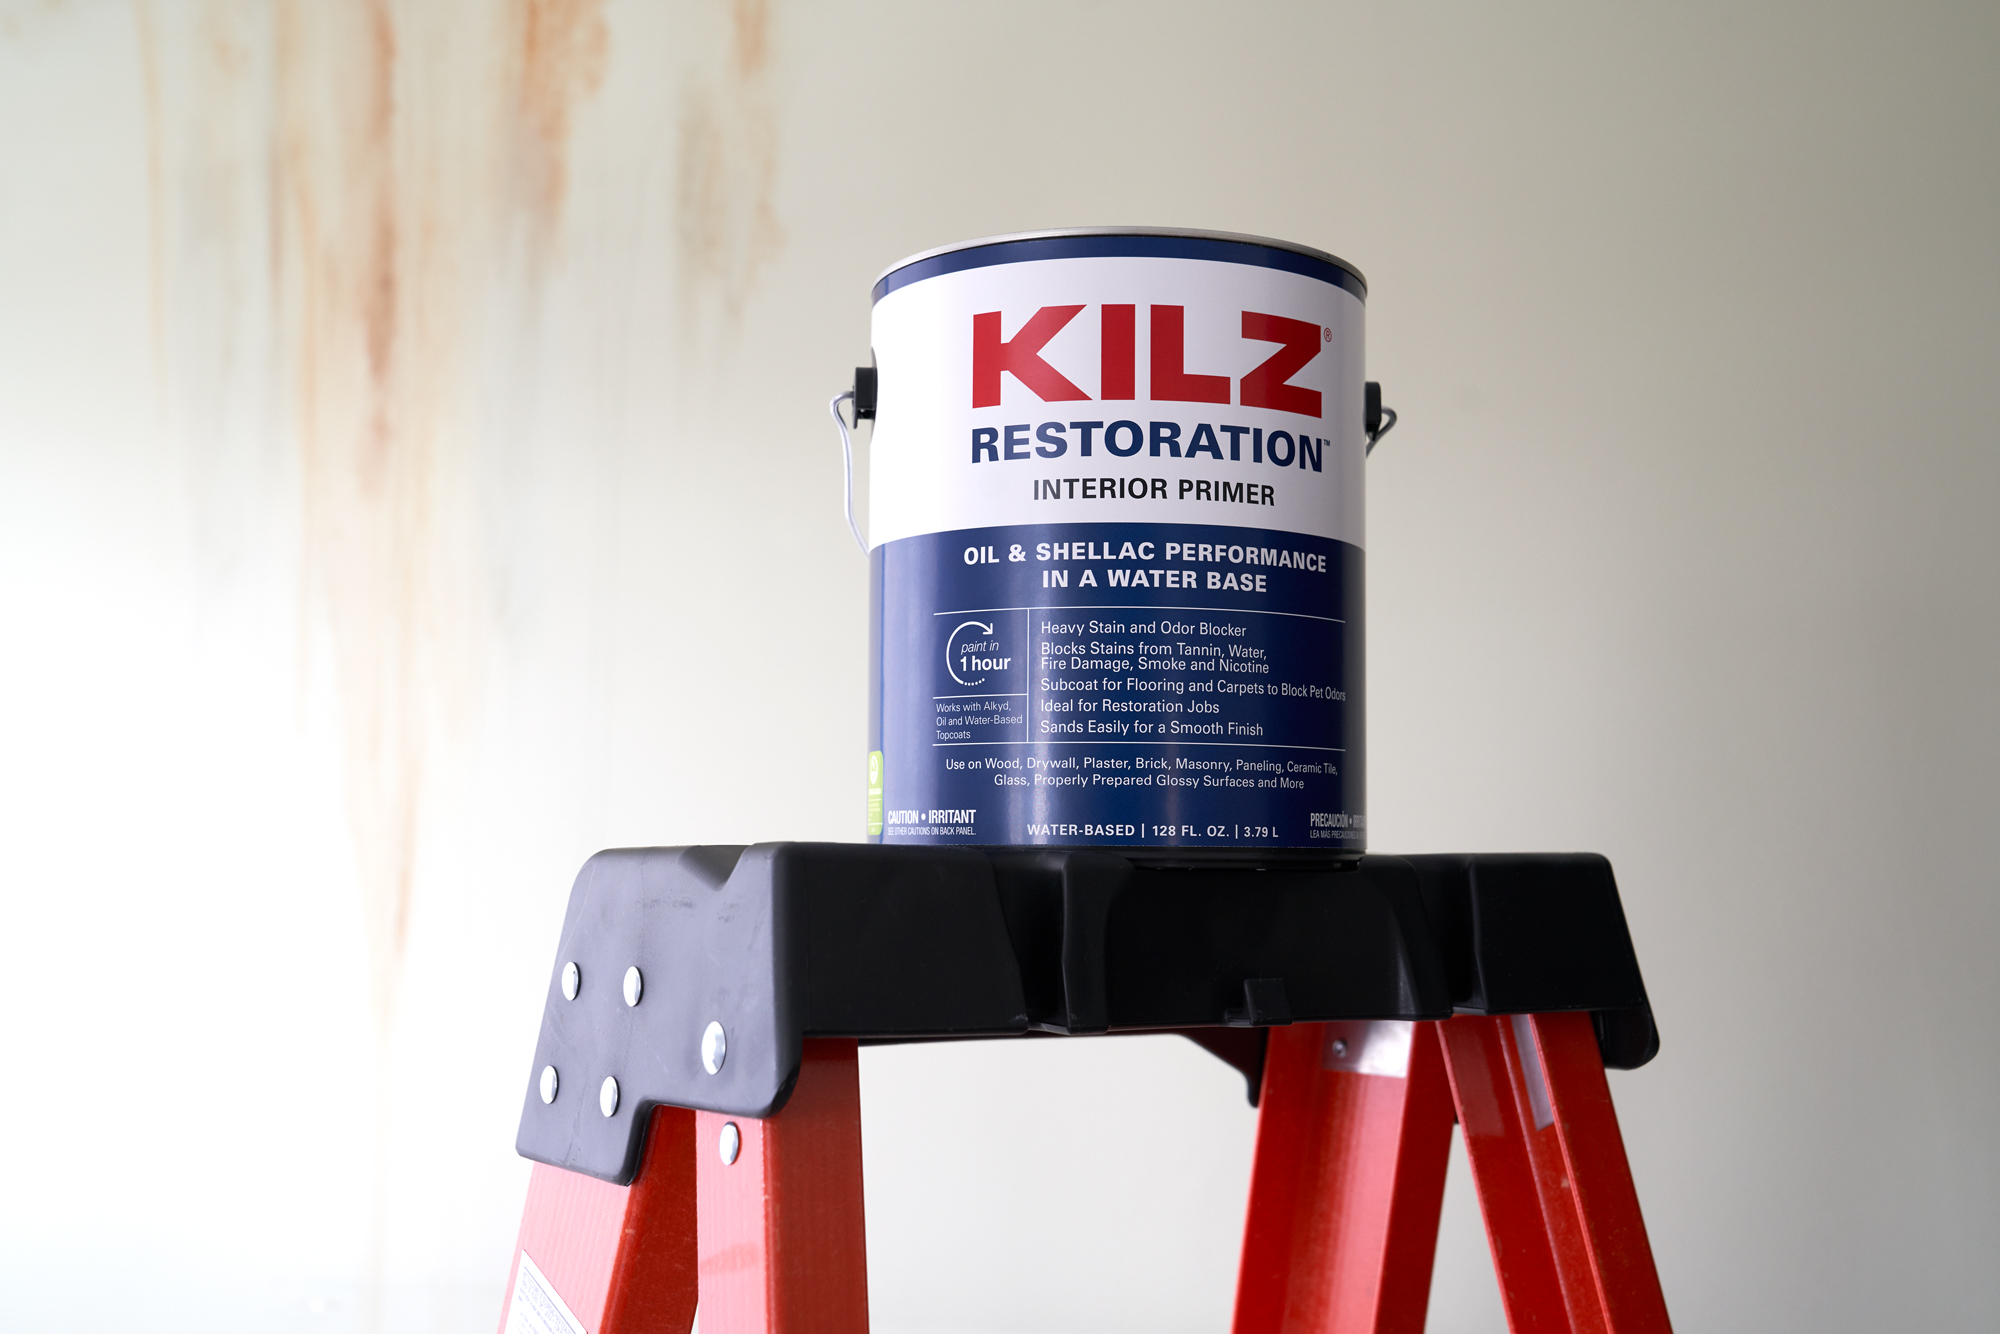
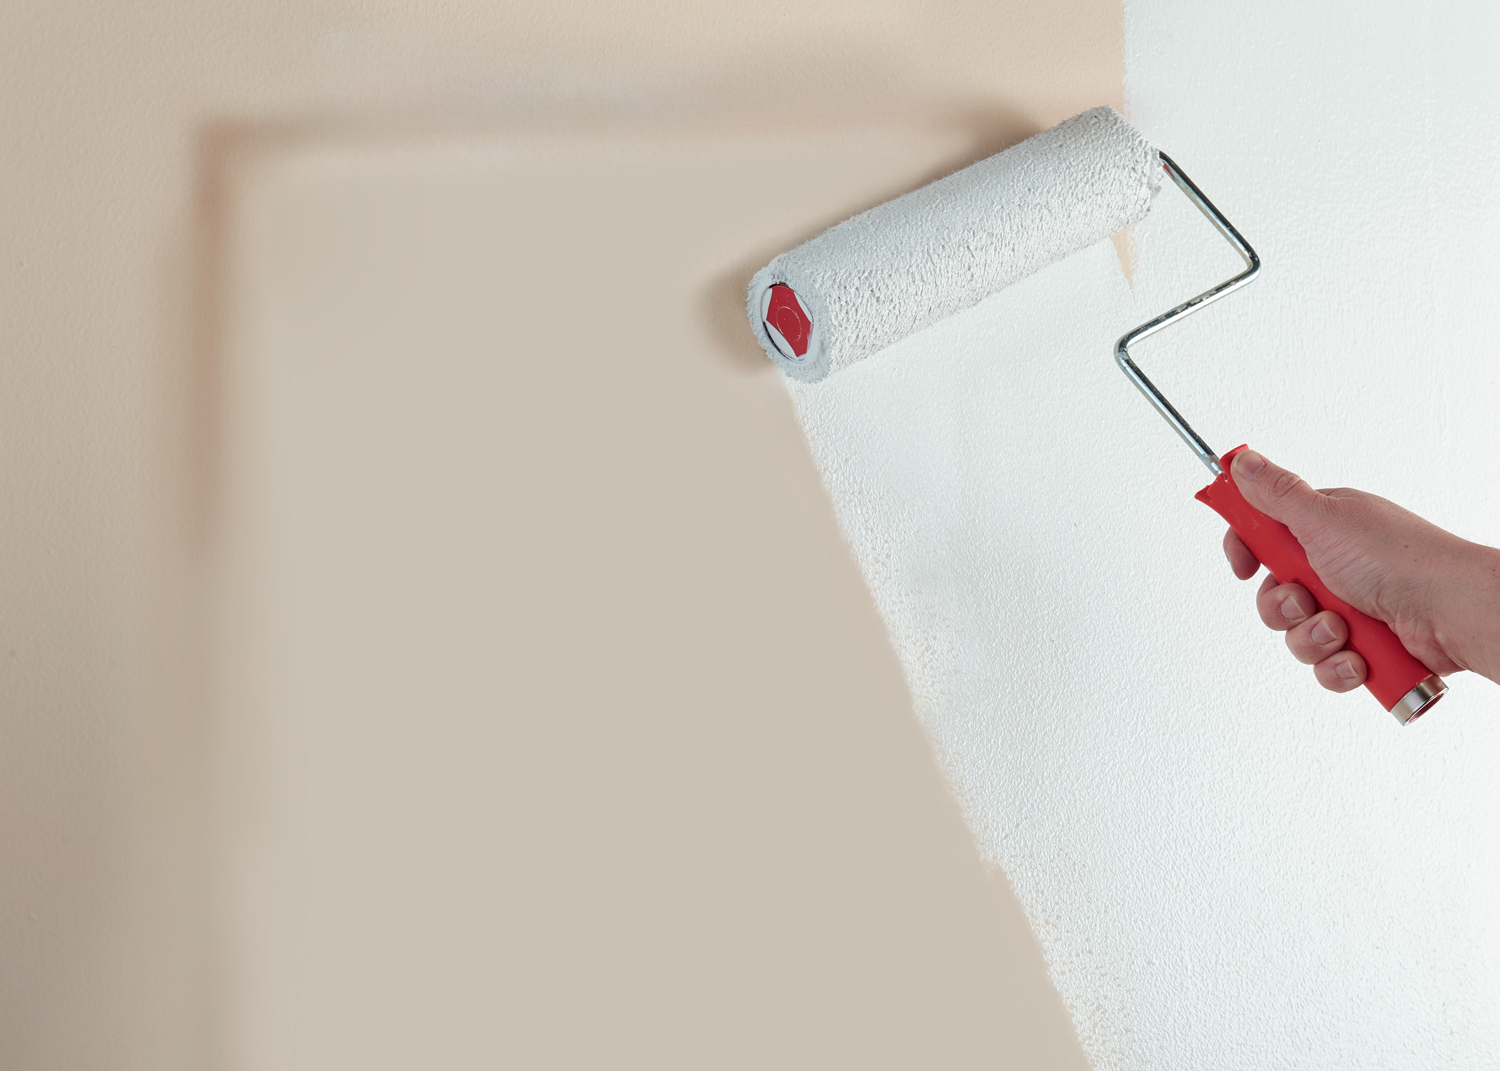
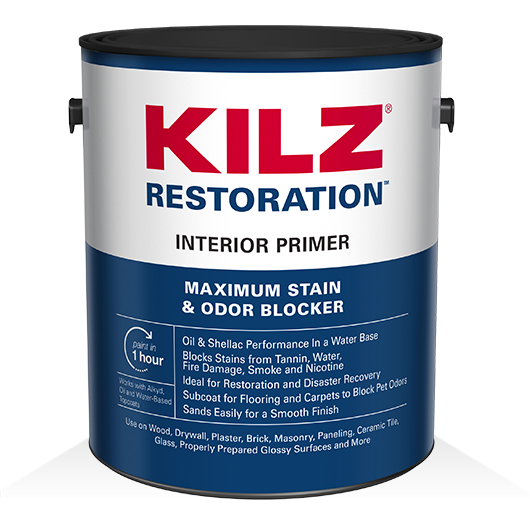
For severe stains like those caused by smoke, grease or tannins from certain types of woods, Pros will tell you it’s time to step up your primer game and use the oil-based KILZ® Original or water-based KILZ Restoration™ . Both are heavy duty stain blockers and trusted by professionals.
Secret #2 – Prep Work Leads to the Best Work:
Once you’ve assessed your stain type and procured the proper primer, it’s time to prepare the surface for stain elimination! Ensure that the surface is clean and free of dust, wipe down with a damp cloth if needed and allow to dry. You’re now ready to apply primer over the stain using a brush or roller.
Secret #3 – Do the Topcoat Test for Severe Stains:
When blocking sever stains you’ll want to test for stain bleed-through. Apply your topcoat paint to a small section after your primer is dry. If the stain bleeds through the topcoat, apply a second coat of primer and test again before top coating the entire area. If bleeding continues, a longer dry time is needed before top coating.
When you start with primer, blocking light and heavy stains doesn’t have to be a challenge!

Stencil Wall Accents
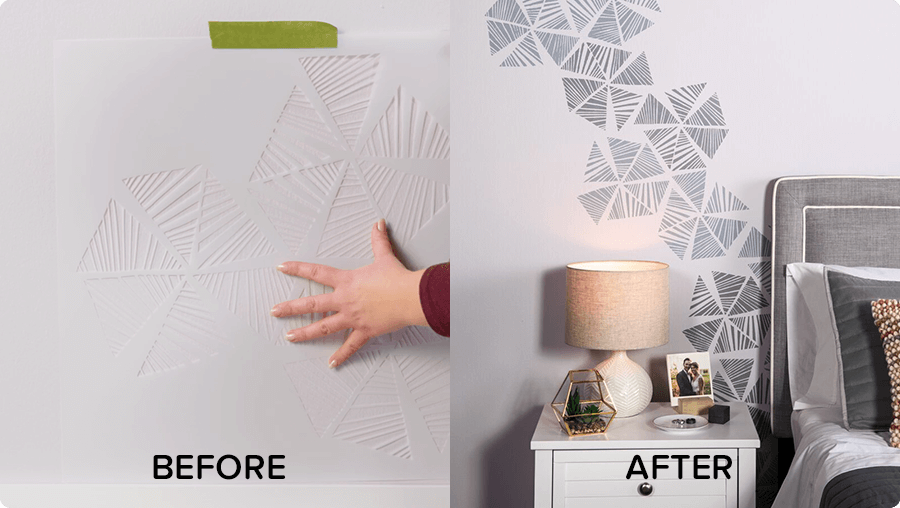
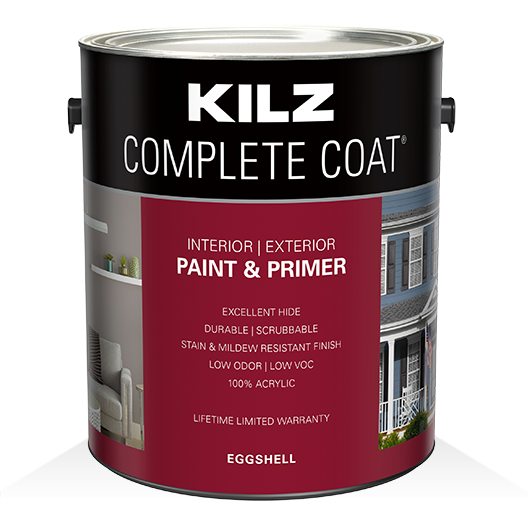
December 8, 2017For this project we used our KILZ COMPLETE COAT® Paint and Primer in One in neutral based colors to transform this plain master bedroom wall into the perfect statement. Although we chose more muted colors for this specific space, you could always go bolder, repeating more (or less) of the stencil patterns to accomplish a louder more extroverted look. The great news is that the stencils come in all types of styles leaving the opportunities virtually endless when it comes to which type of look you want to create.
Mix and match! Using the stencil patterns behind or above furniture pieces is a nice way to really make them feel custom to the room. You could also pull stencils in order to frame artwork or simply add extra dimensions to your décor. The color of the stencil here subtly pulls from other colors in the room. In this case, the tone of the stencil ties in with the bedding and comforter set. We could have also opted for an orange tone to really make the accent pillows pop. This could be a nice effect in a living room space, or even in a dining room above a serving unit.
This project is simple! See below for a full tutorial about how you can achieve this look in your space. Loving it? Explore our full KILZ COMPLETE COAT® palette here.
Project Checklist:
- KILZ COMPLETE COAT® Paint and Primer in One
- Stencil
- Stencil Brush
- Painter’s Tape or Spray Adhesive
- Paper Towels
- Can Key
- Drop Cloth
- Stir Stick
Step 1:
Determine location of pattern to be stenciled on wall.
Step 2:
Stir paint to make sure it is mixed.
Step 3:
Spray stencil with adhesive or secure stencil with painters tape.
Step 4:
Level and then secure your stencil on the top middle of the wall with painter’s tape.
Step 5:
Stencil the pattern by lightly dabbing the paint until the areas are fully covered.
Step 6:
Move on to the second repeat of the pattern by following the registrations that are included in the stencil. These registration marks help you move and place the stencil along the wall perfectly every time!
Step 7:
Allow 2 hours dry time. Then call your best friend and invite them over for coffee because you’re all done.
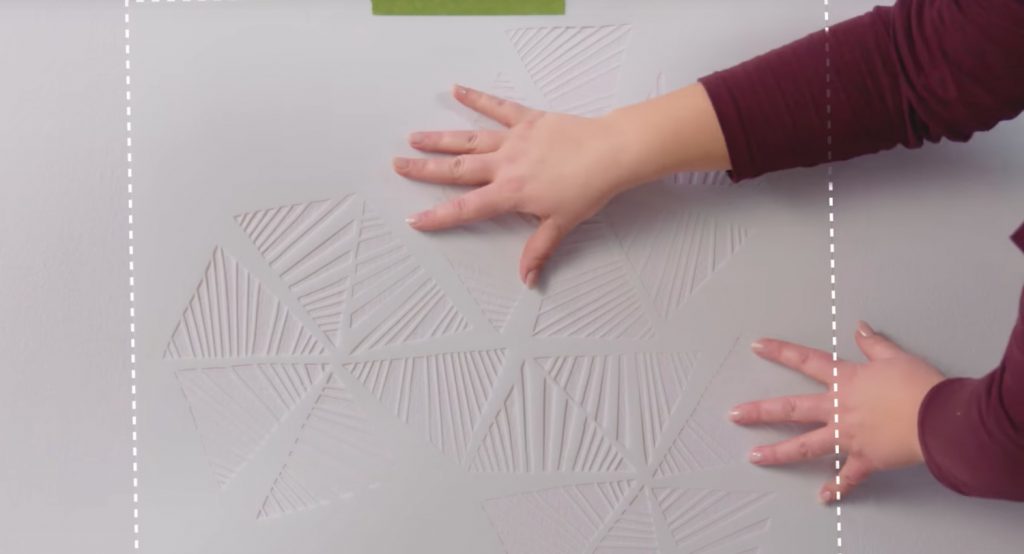 Pro-tip: Make sure the stencil is secure before you add paint.
 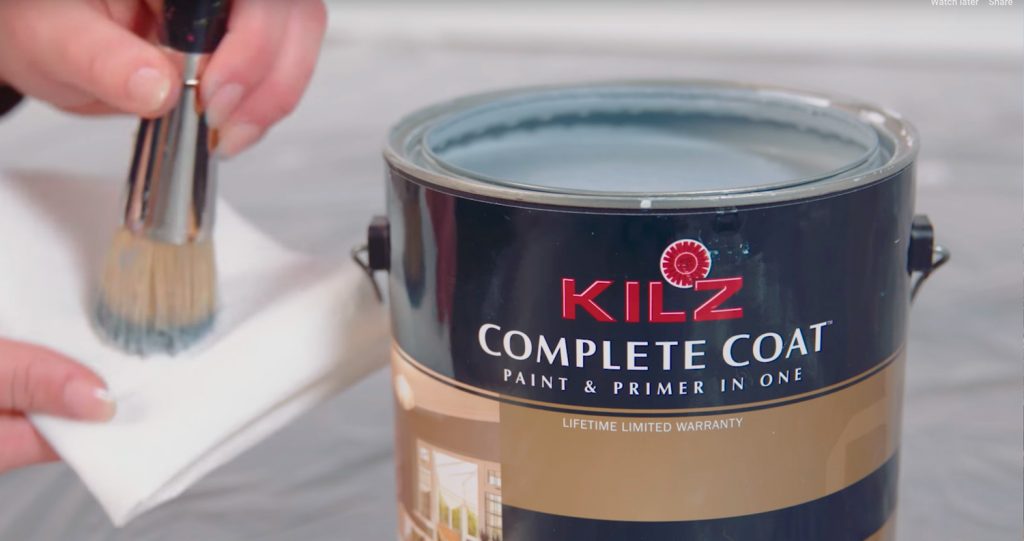 Pro-tip: Load your brush with paint and off-load most of the paint onto a paper towel. Using too much paint when stenciling is the number one reason for bleeding, so make sure to off-load excess paint before starting on the wall.
Mix and match! Using the stencil patterns behind or above furniture pieces is a nice way to really make them feel custom to the room.


join the conversation:
SHARE this post: