Tag: Use Cases
Top Primers for Kitchen Projects
May 1, 2020The key ingredient to a successful kitchen painting project is the right primer. KILZ® makes a family of hardworking primers for use on a variety of surfaces and substrates, and for best results it’s essential to choose a primer that’s specifically formulated for your type of project. Today we’re talking all about kitchens and the top primers for kitchen cabinets and walls.
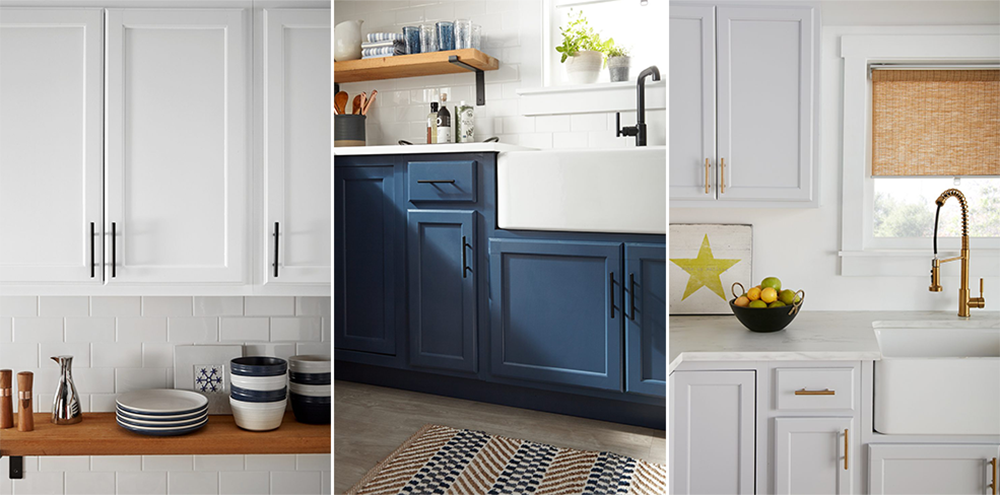
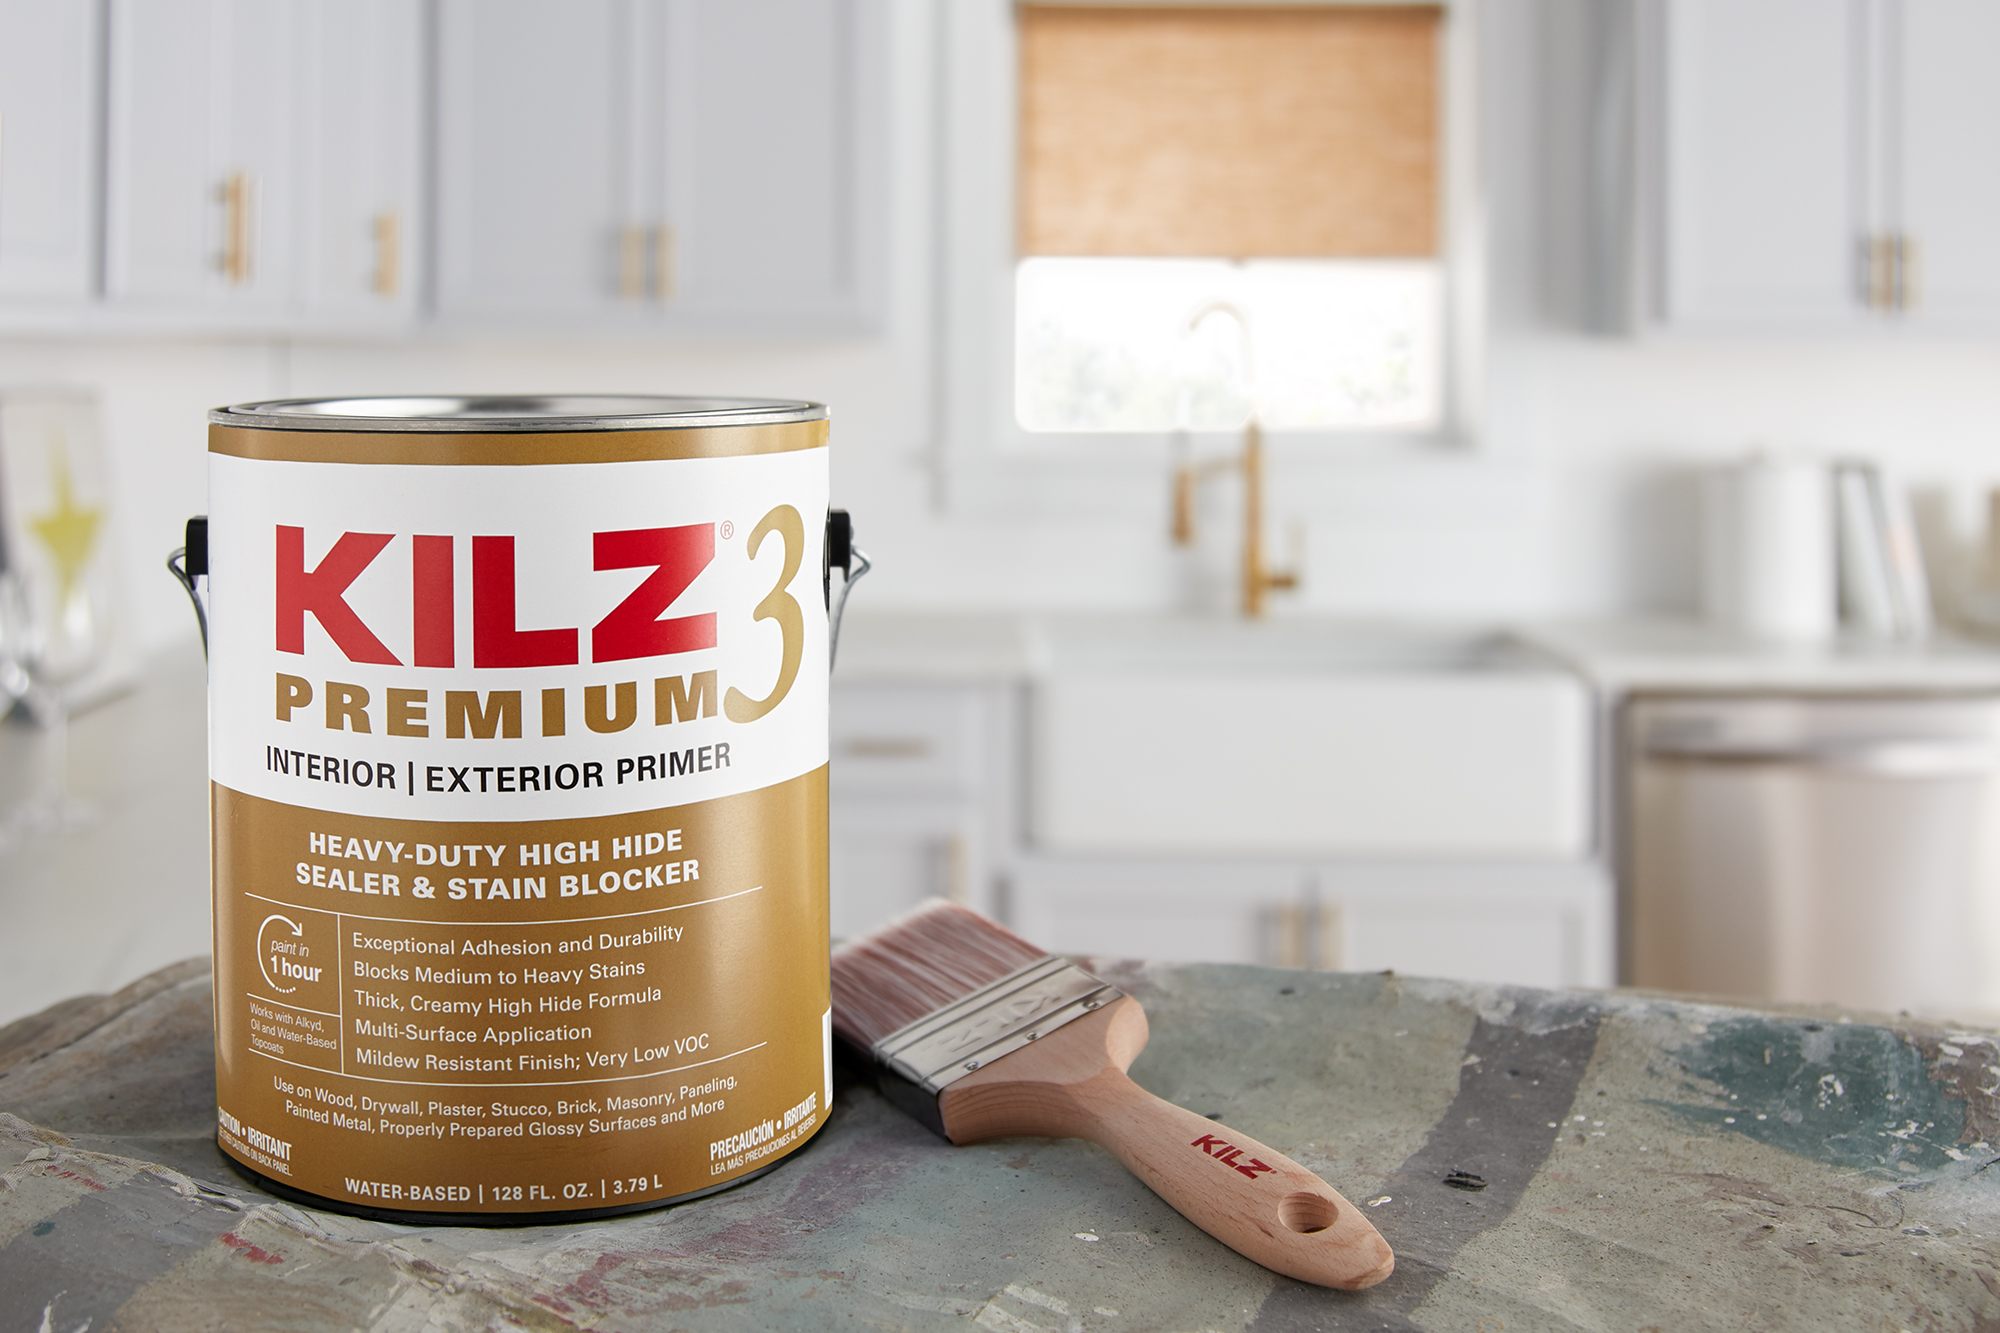
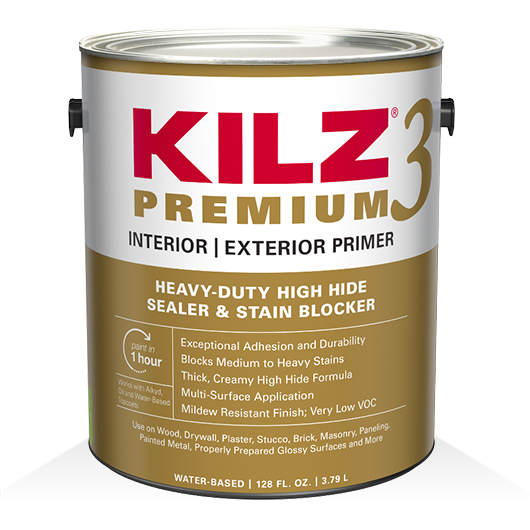
One fundamental benefit of most primers is that they make your paint job more durable. Kitchens are typically high-traffic areas and are often exposed to fluctuating temperatures, which can have an impact on the life of your paint job. Using KILZ® 3 Premium Primer before you paint, a product known for its exceptional adhesion and durability, can help ensure your paint job lasts.
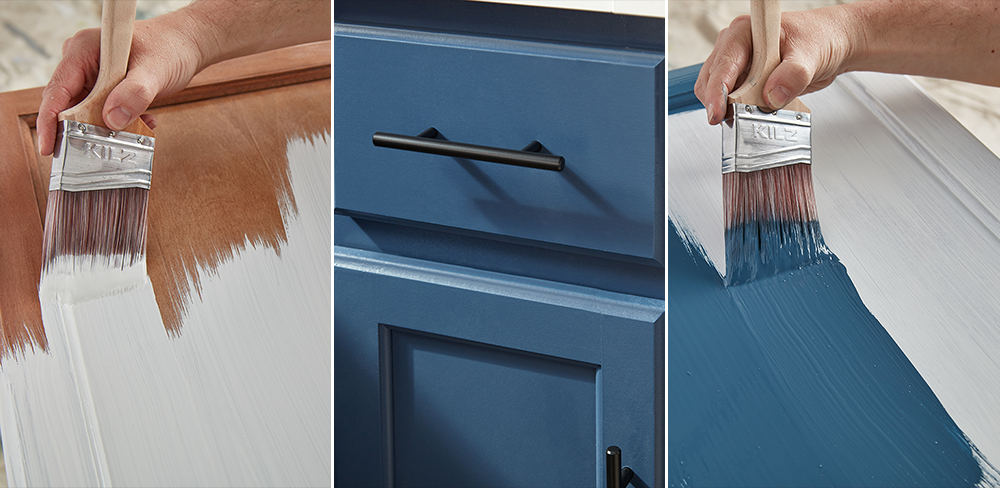
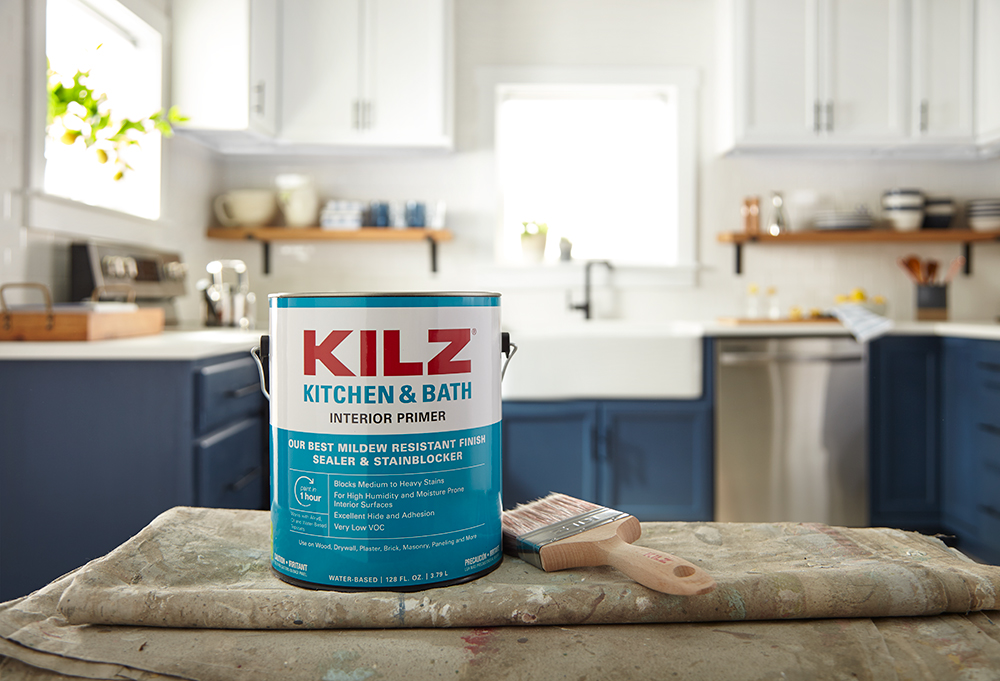
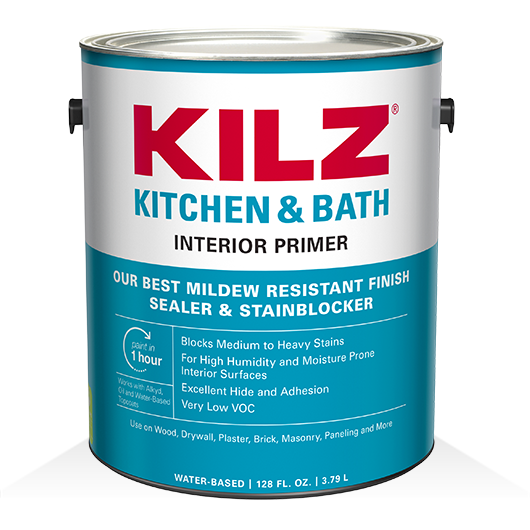
When painting your kitchen cabinets and walls, it’s important to keep in mind that kitchens can often be exposed to high humidity and moisture. These factors can negatively impact your painted surfaces if they’re not properly primed first. Using KILZ® Kitchen & Bath Primer on both cabinets and walls creates a mildew resistant primer film, and also offers excellent adhesion to most interior surfaces.
Now that you’ve found the right primer for your kitchen renovation, it’s time to start cooking up color ideas! For a look at our favorite calming and energizing paint colors, check out this recent post.
Always remember to refer to our website kilz.com or product back labels for additional information on which primer is right for your project and detailed instructions on how to apply our products.
One Living Room Two Ways
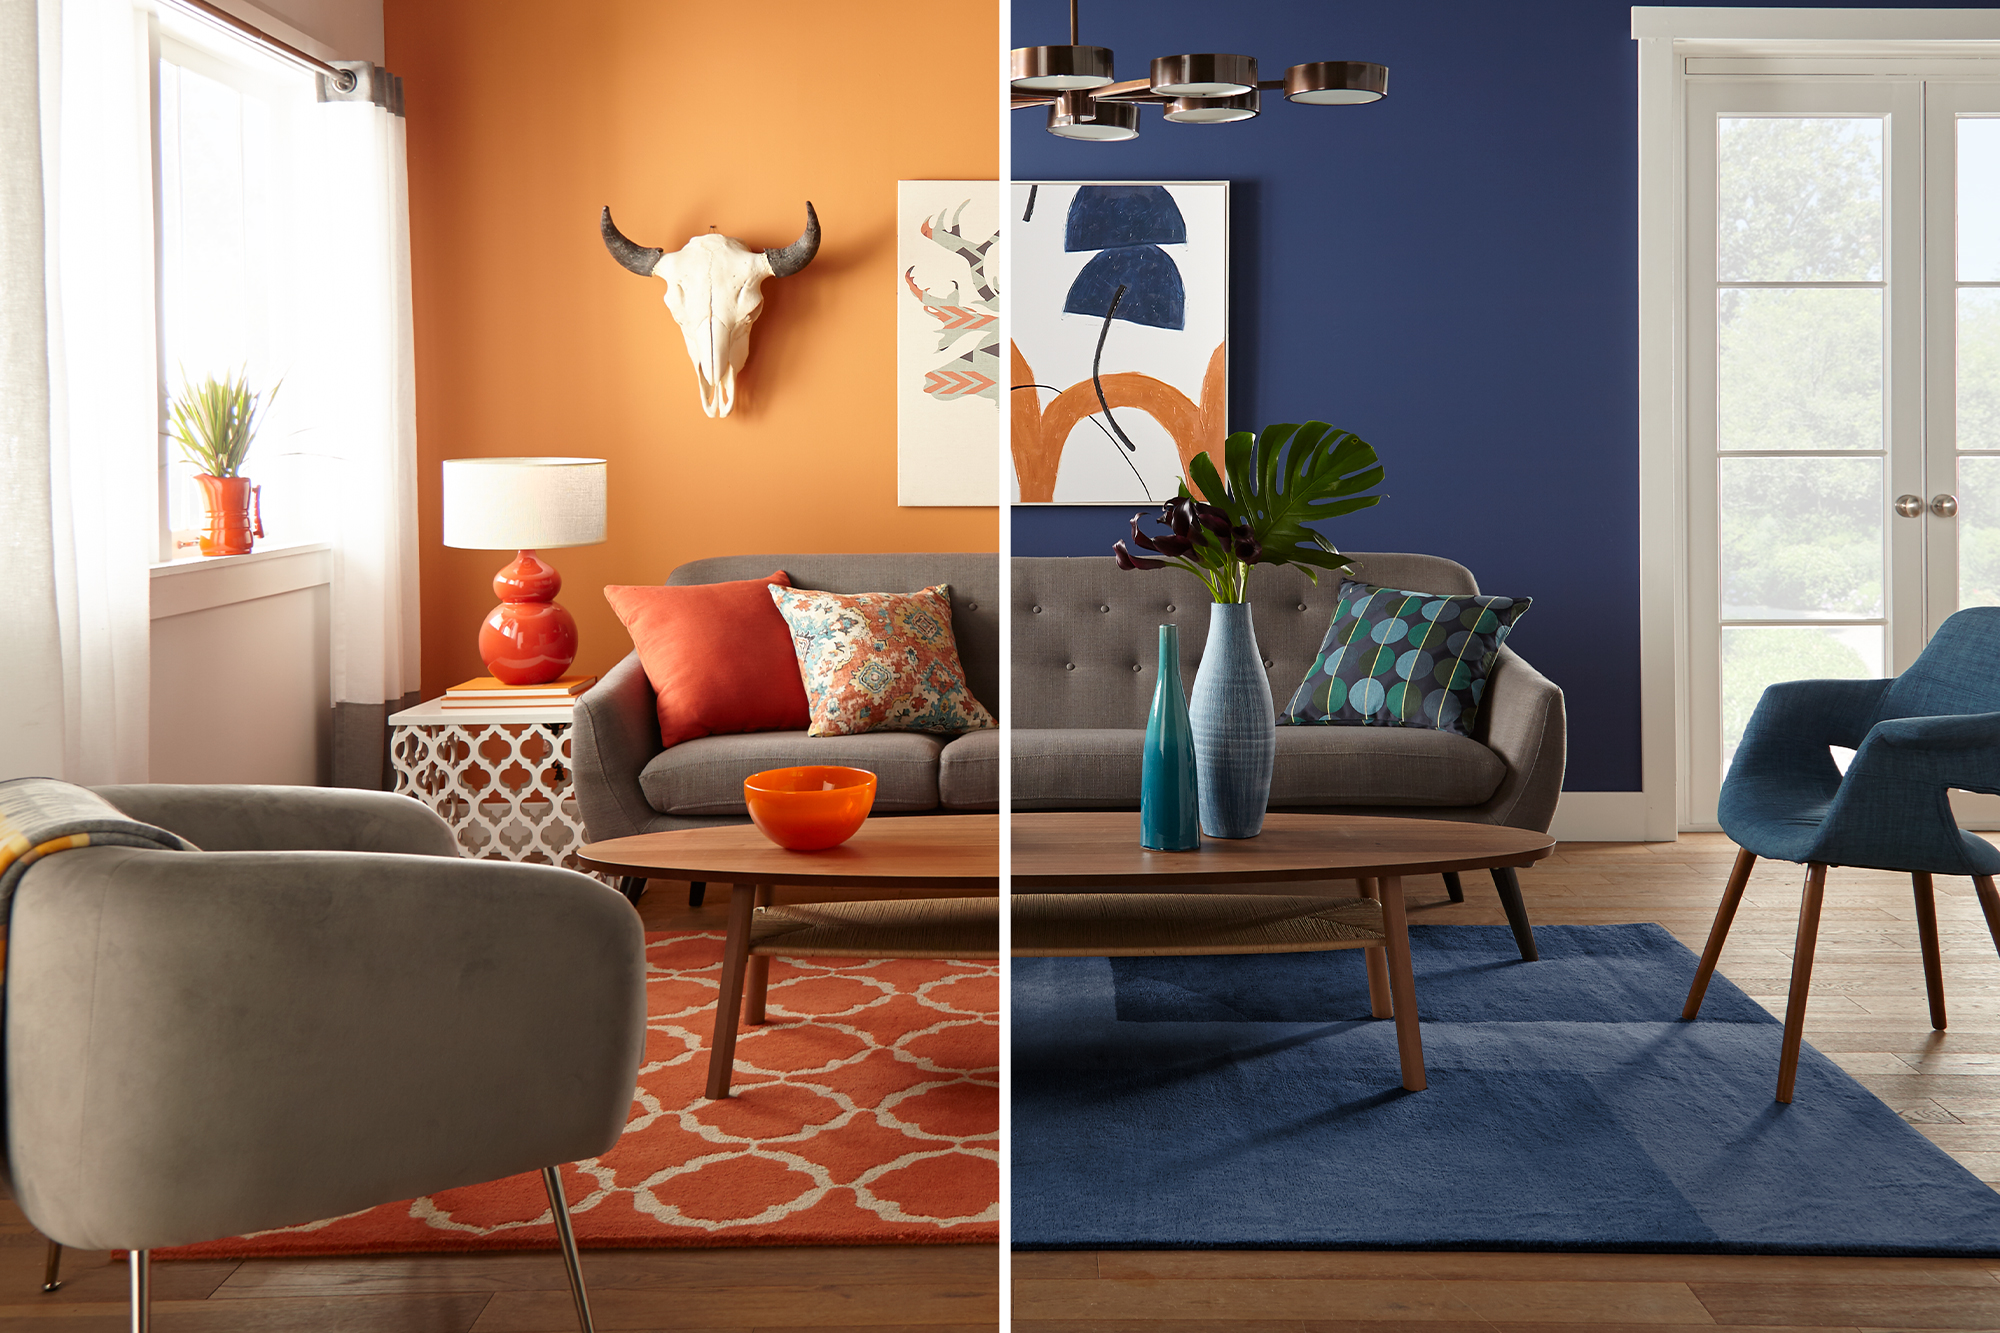
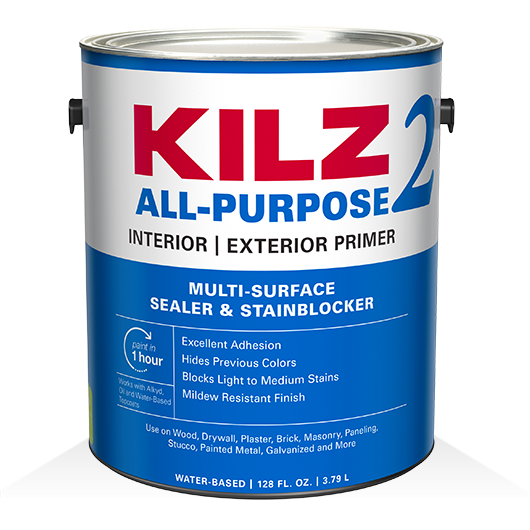
April 1, 2020To demonstrate that a fresh coat of paint can dramatically change the vibe of a space, we took one living room and styled it in two different monochromatic looks. Both designs started with choosing the right paint color! To ensure that the colors popped, the walls were primed with KILZ 2® All-Purpose primer prior to painting. This water-based, multi-surface primer is ideal for use when changing paint colors.
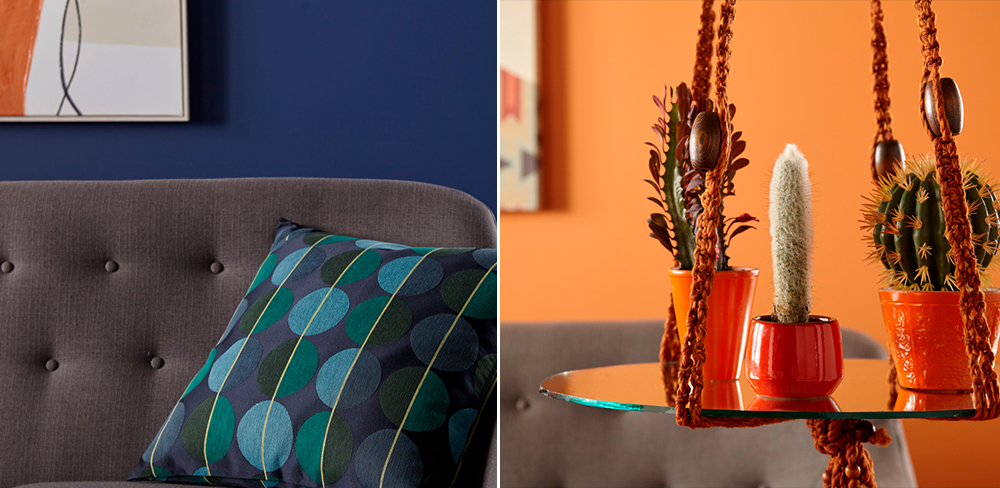
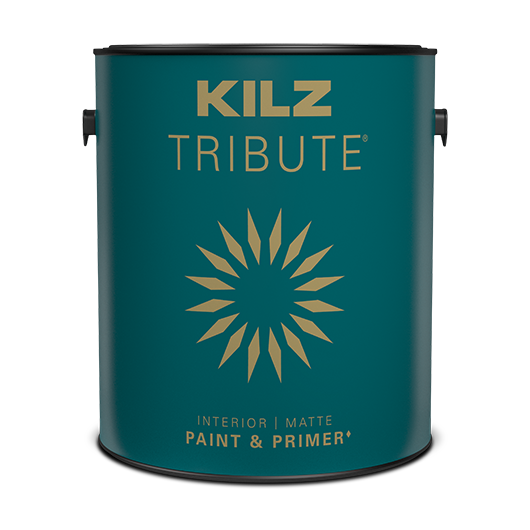
If you read our recent post on 2020 Design Trends, you know that we’re loving all shades of navy blue. The moody color works great in many different room types, and it was the perfect hue to bring some cool drama into this large living room. We chose KILZ Tribute® in Ruling Royalty – a dark blue with a subtle purple undertone that appears as a true navy in most light. KILZ Tribute is a high-quality, water-based paint that provides a durable and scrubbale finish that is ideal for high traffic areas like living rooms.
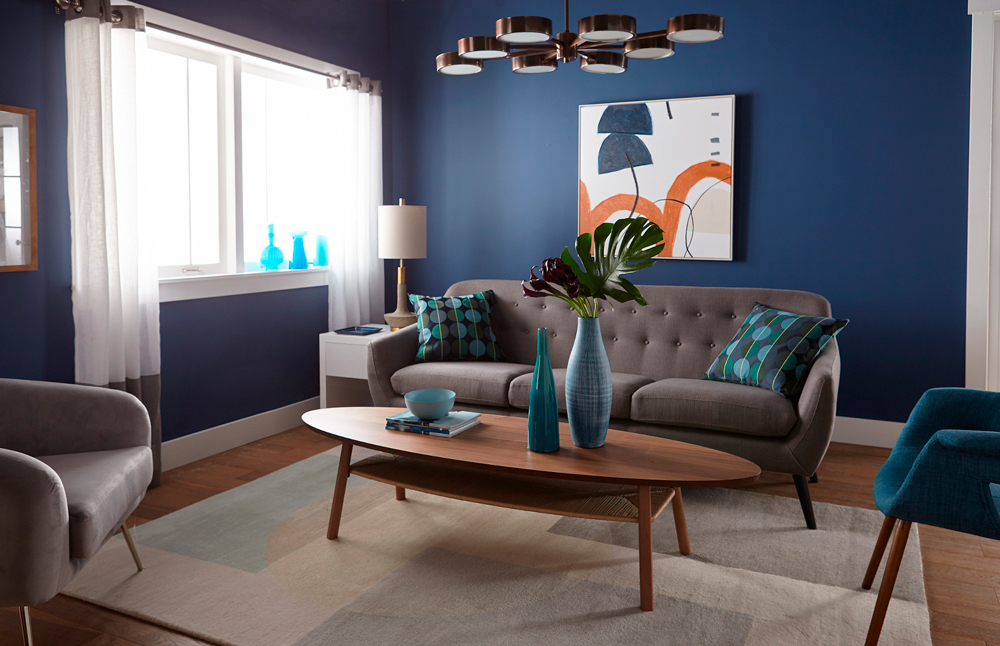
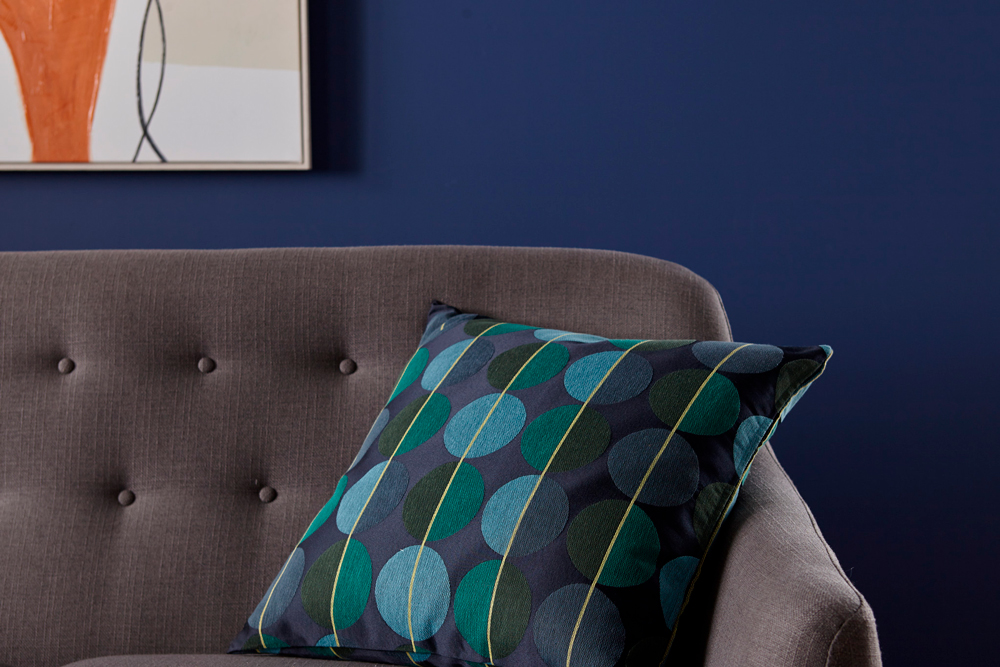
Keeping the same major pieces of furniture for both looks (including the sofa, coffee table and arm chair), the paint color alone made a big difference in the feel of the space. Pillows, plants and other small décor items in a range of blue shades brought in a modern yet minimalist look, while a hint of bright orange in the artwork alluded to the next color that would transform the room.

After priming the walls with KILZ 2 All-Purpose to give us a clean slate, the walls were painted in KILZ Tribute in Bright Marigold, a cheerful marigold hue with a carrot undertone. The new bright orange wall inspired a bohemian, desert vibe for the space – calling for an abundance of accessories including vases, potted desert plants, patterned textiles and three-dimensional artwork.
By simply changing the paint color and accessories, this living room was transformed into two very different design styles – and it all started with the proper primer to make those paint colors pop!
Ruling Royalty
Bright Marigold
Always remember to refer to our website kilz.com or product back labels for additional information on which primer is right for your project and detailed instructions on how to apply our products.
Prep & Paint a Porous Surface
August 20, 2019As with most any painting project, prepping and priming the surface is key before its time to paint. Choosing the right primer depends a lot on the surface type you’re painting, a choice that is second nature to professional painters but can be confusing to some! When selecting a primer, the first step is recognizing the surface you will be painting and taking into account its condition – and some surfaces are trickier than others.
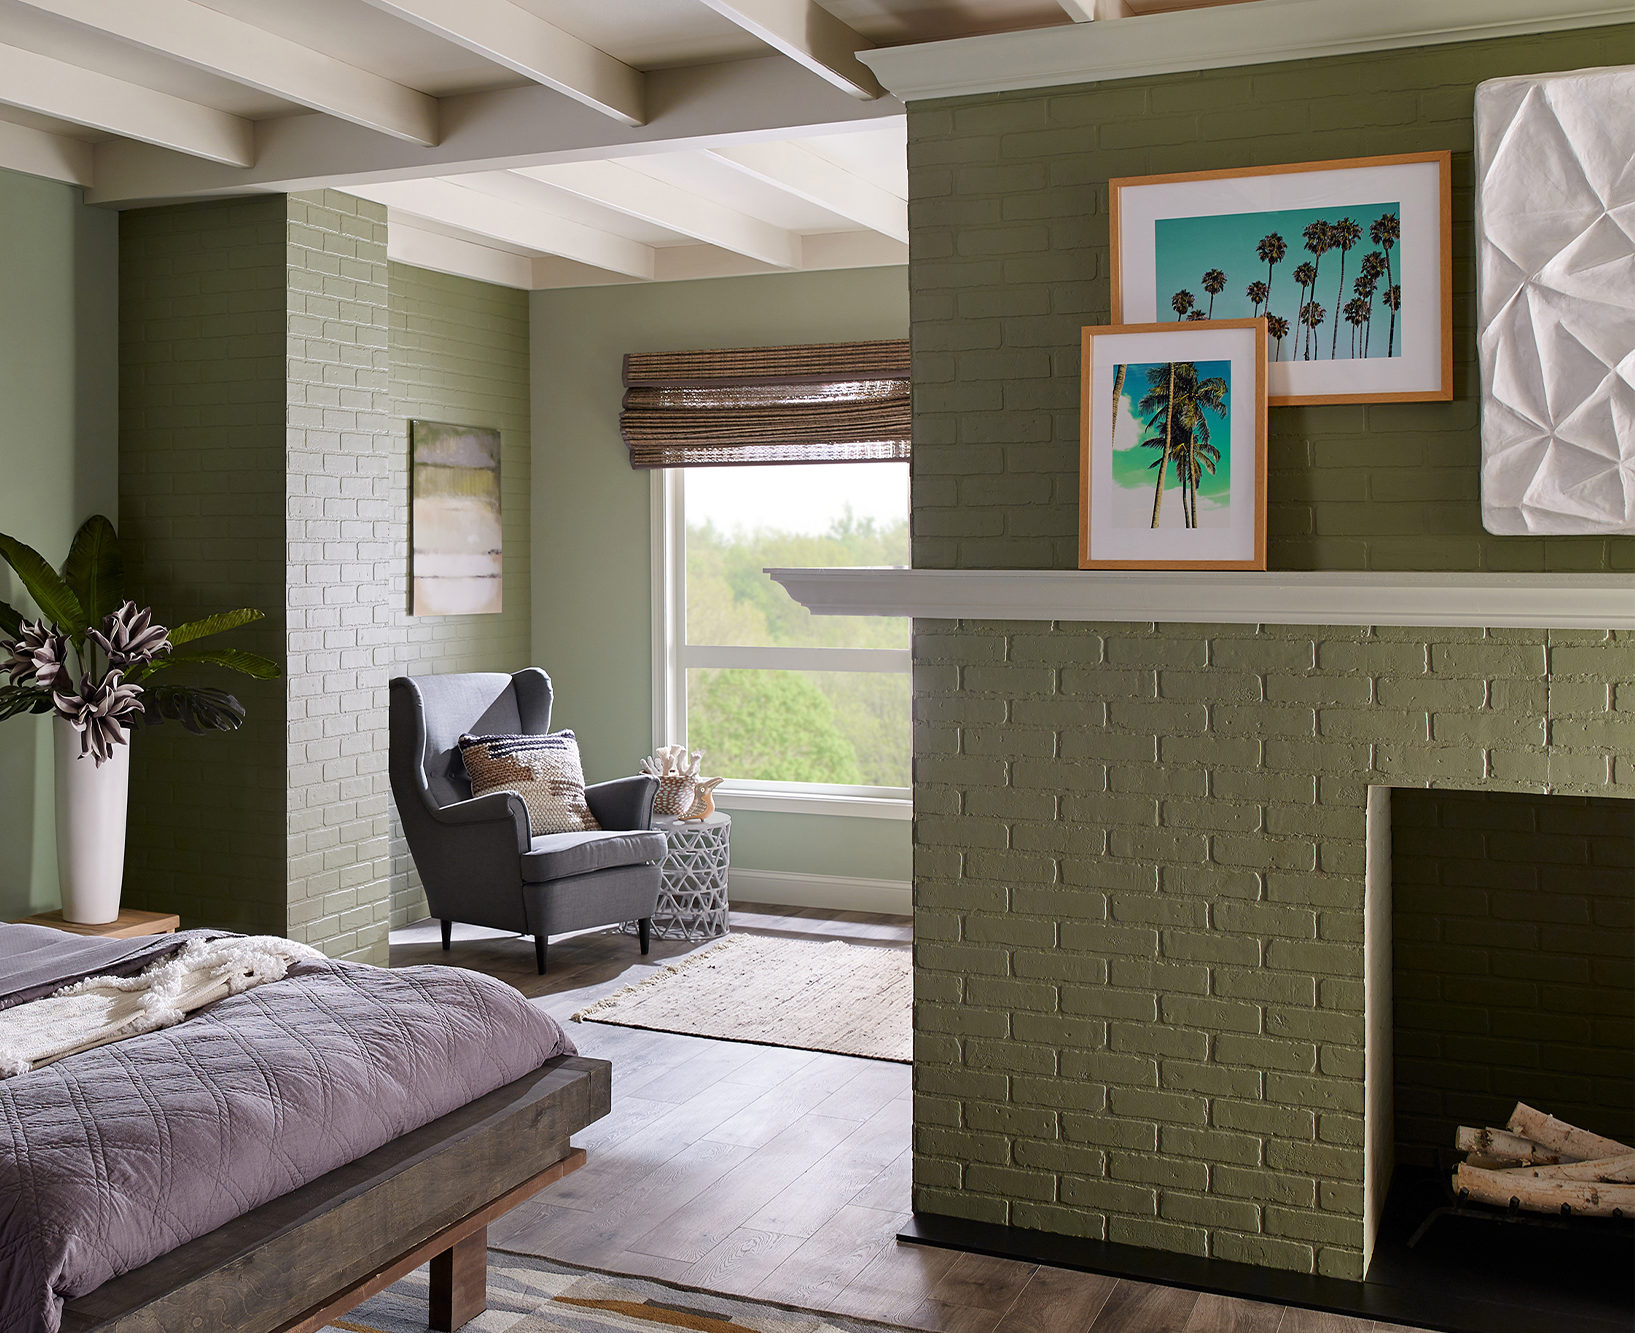
In this gorgeous green bedroom, the red brick fireplace was drawing too much attention and taking away from the serene and calming feel that was desired. The fix was easy, paint the fireplace! This led us to the first step in selecting the right primer – knowing and assessing the surface that will be painted. In this case, brick, a porous surface that if not properly sealed can soak up a lot of paint. And that can cost time and money!
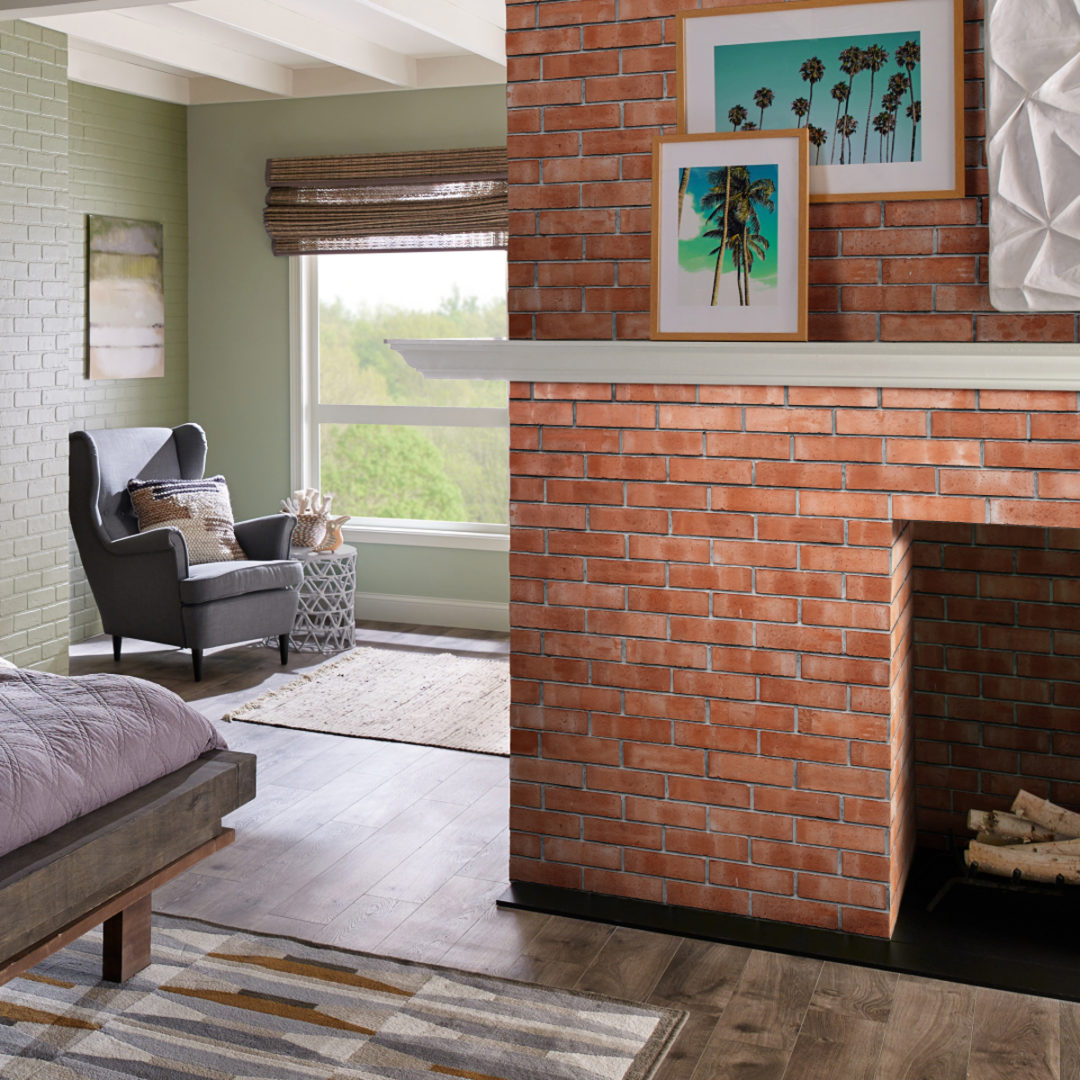
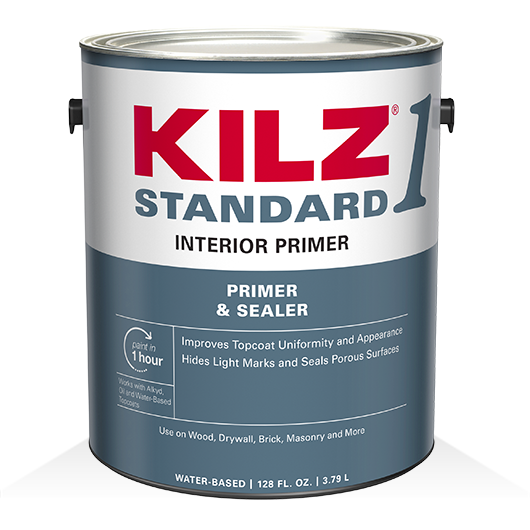
To prep this brick fireplace for painting we took a cue from the pros and chose KILZ® 1 Standard to seal the porous surface and ensure a professional looking finish. Other porous surfaces that are commonly painted include concrete, new wood and drywall. For any of these KILZ® 1 Standard or KILZ 2® All-Purpose are both great primers to choose.
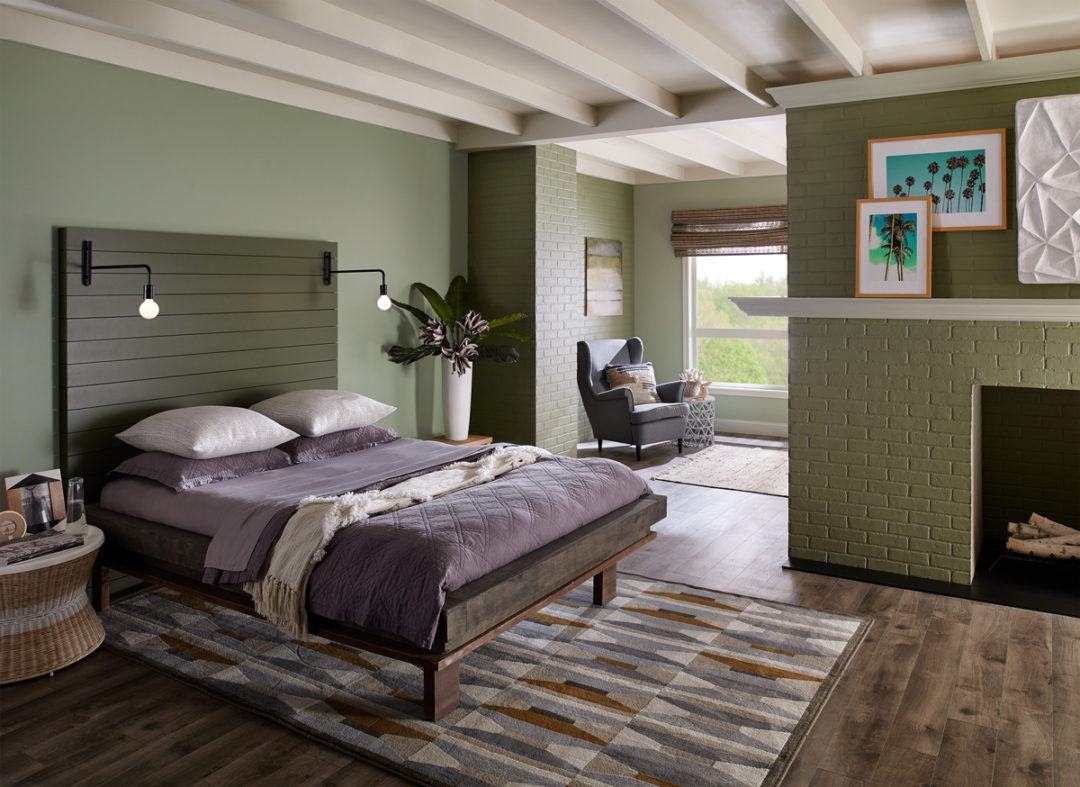
Priming a porous surface before painting ensures your topcoat will look its best.
Prep Mildew Prone Areas Like a Pro
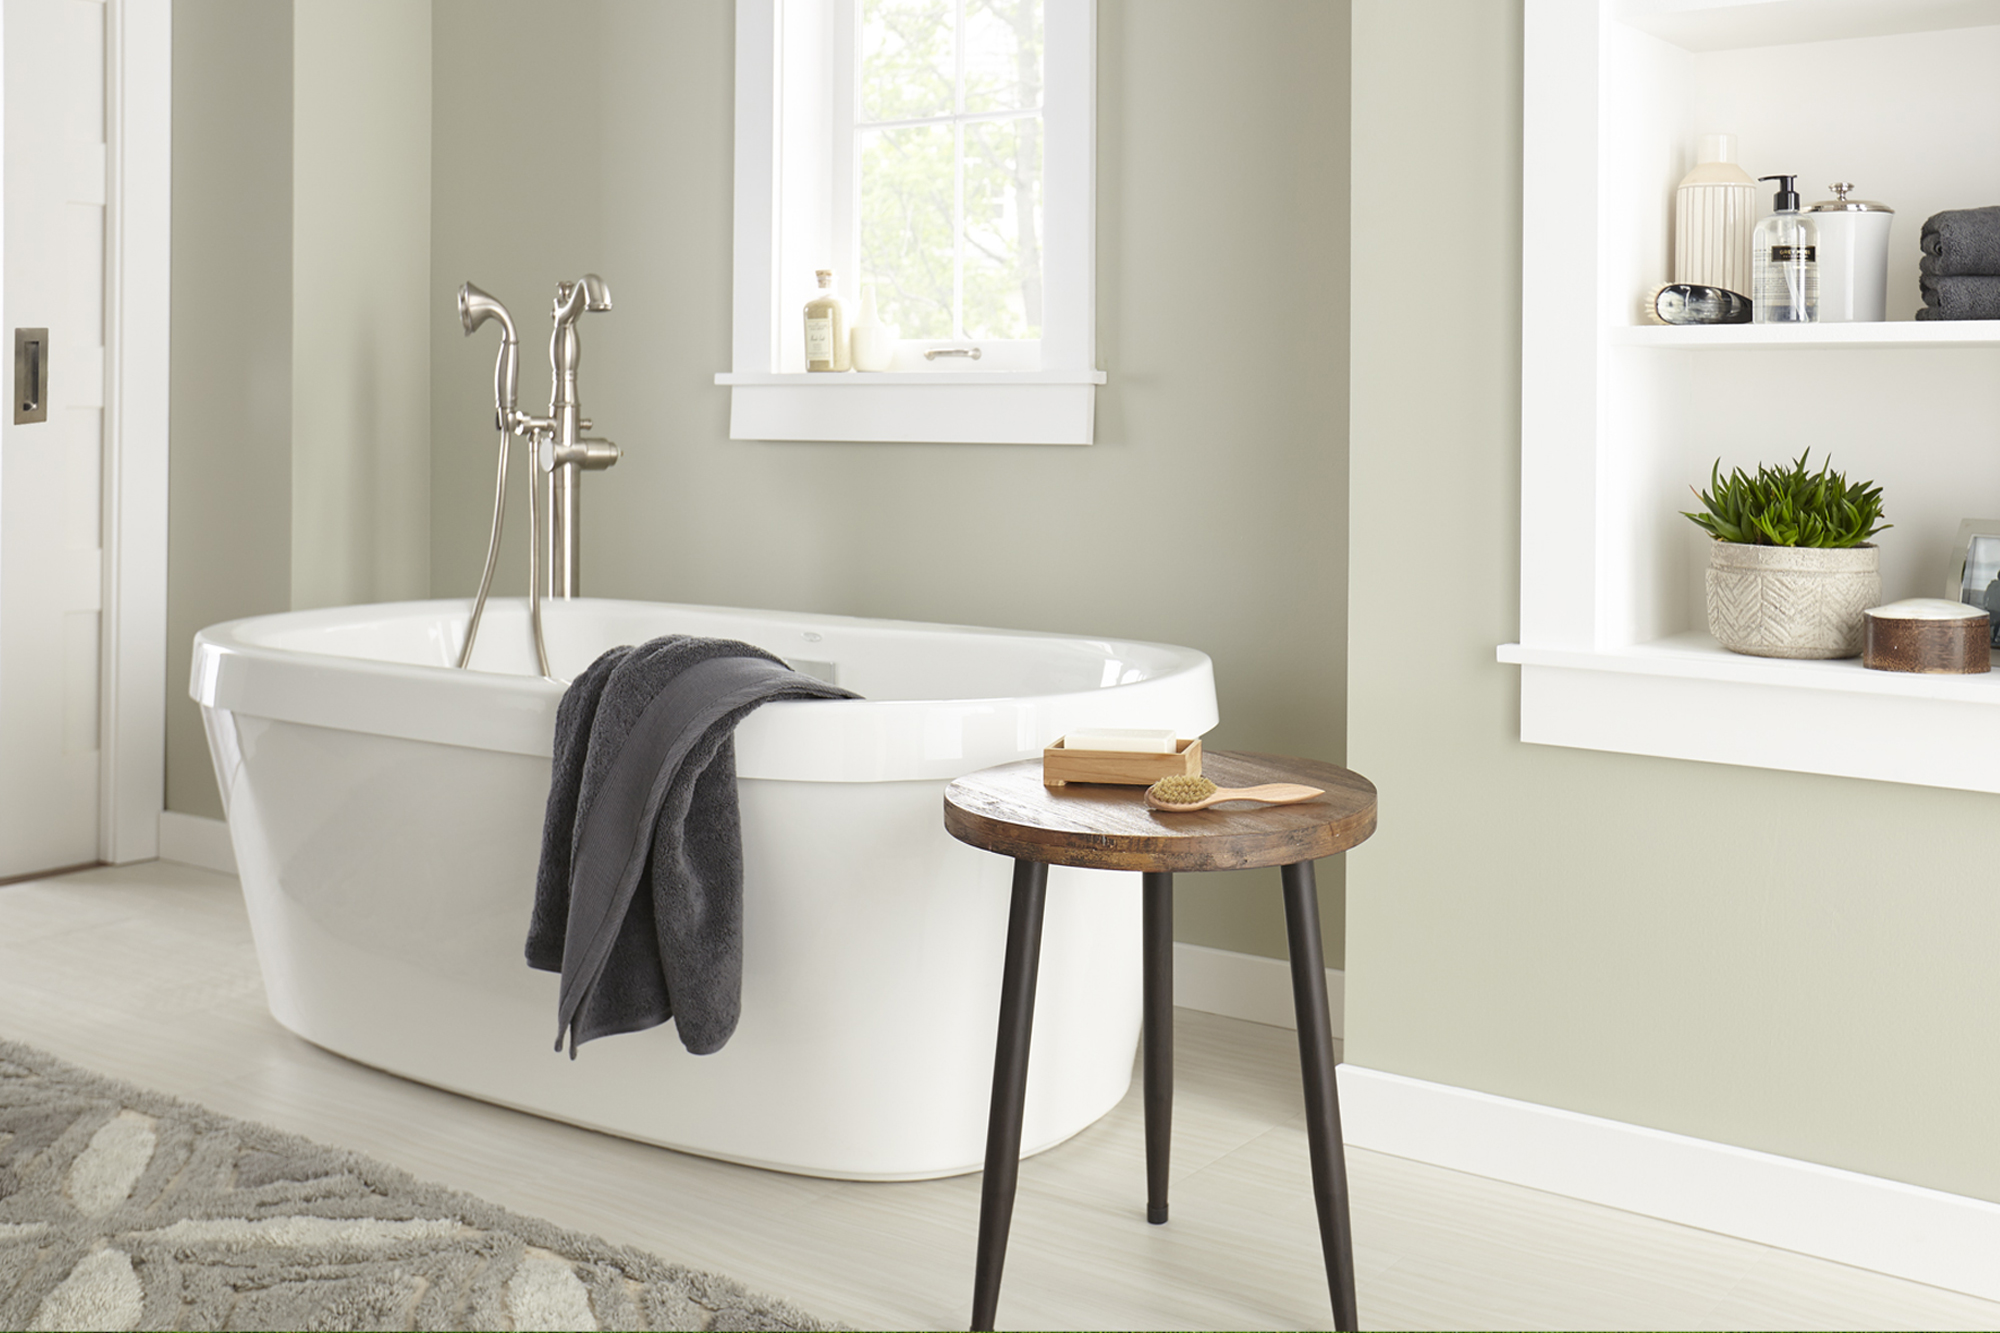
August 6, 2019Professional painters know that priming can be a crucial step for any paint project. Whether you’re painting fresh drywall or looking to hide a previous wall color, a primer should always be properly applied before your topcoat. The necessity of this prep step is even more advantageous in mildew prone areas like kitchens, bathrooms and laundry rooms. These rooms often have excessive moisture making mildew a common problem, and simply painting over the issue is only a temporary solution.
For results that last, a primer created with specific mildew-resistant properties is what professionals often choose. The last thing you want is a mildew ridden kitchen or smelly bathroom and KILZ® primer is here to help with professional tips for ensuring a mildew-resistant finish on your next paint project.
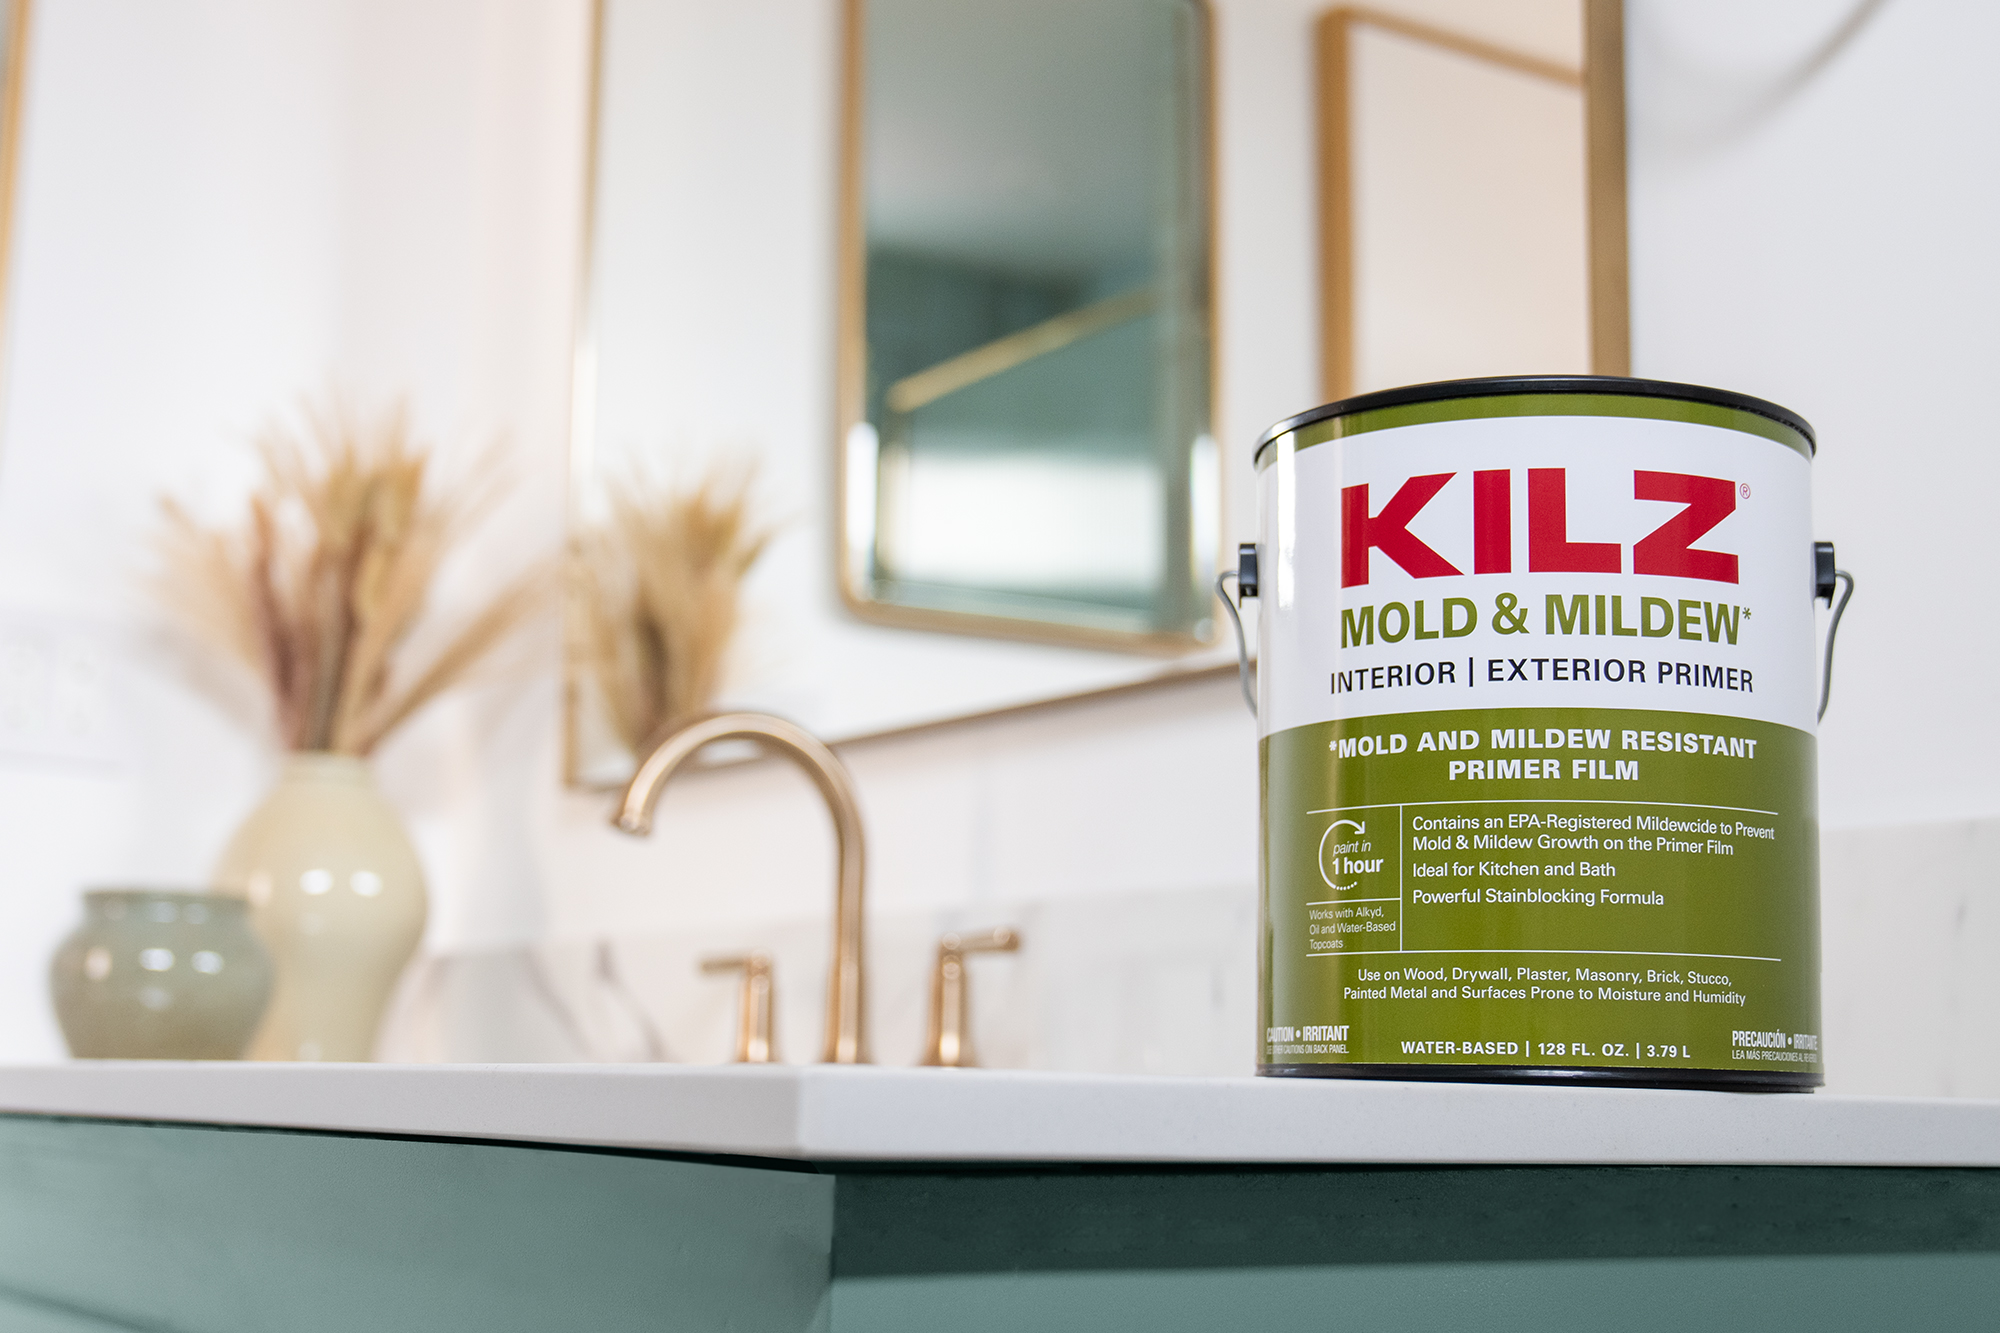
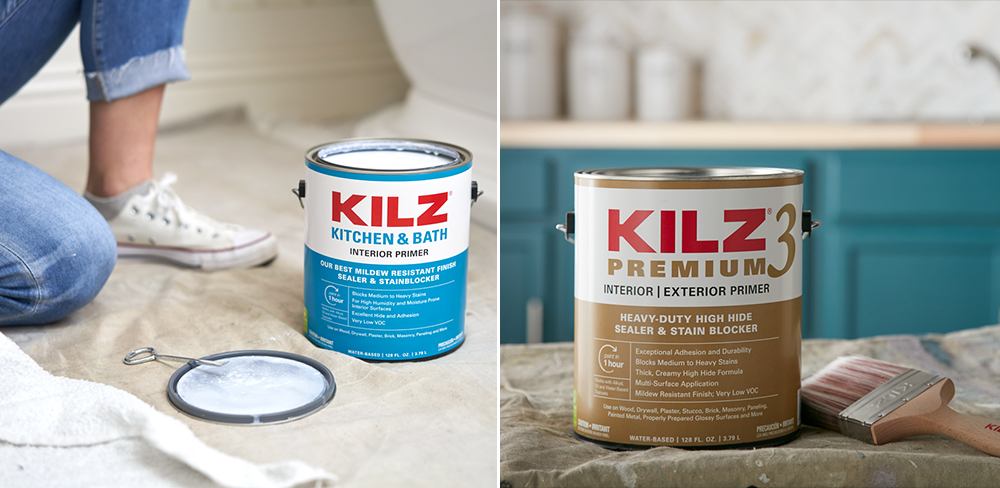 First things first, start by choosing the right primer. KILZ® Kitchen & Bath is specially designed for high-humidity and moisture-prone rooms like kitchens, laundry rooms and bathrooms. It has an enhanced mildew-resistant film that protects the primer from mildew growth. Another professional quality choice is KILZ 3™ Premium. Formulated for both interior and exterior use, this water-based primer works well for a variety of home improvement projects.
Now you’ve got the right primer, what’s next? Start by cleaning any existing mold or mildew off the surface you’re going to be priming and painting. Once the surface is fully dry, it’s time to prime!
For results that last, a primer created with specific mildew-resistant properties is what professionals often choose.
3 Secrets to Stain Blocking
June 10, 2019Simply put, stains are a pain. From a marinara sauce splatter on your white pants to a water leak that ruins your once pristine living room wall, stains are often tough to tackle. When it comes to painting over stained walls, you might think that a quick coat of paint will do the trick. But you’ll likely be left with a stain seeping through the new topcoat.
Professional painters know the secrets to successful stain blocking, and it all starts with primer. Don’t know which primer to use? That’s where we come in! We know more than a few professional painters, and we’ve collected their secrets to stain blocking.
Secret #1 – Not All Stains Are Created Equal:
The key to successful stain blocking starts with assessing what kind of stain you’re dealing with.
Light Stains:
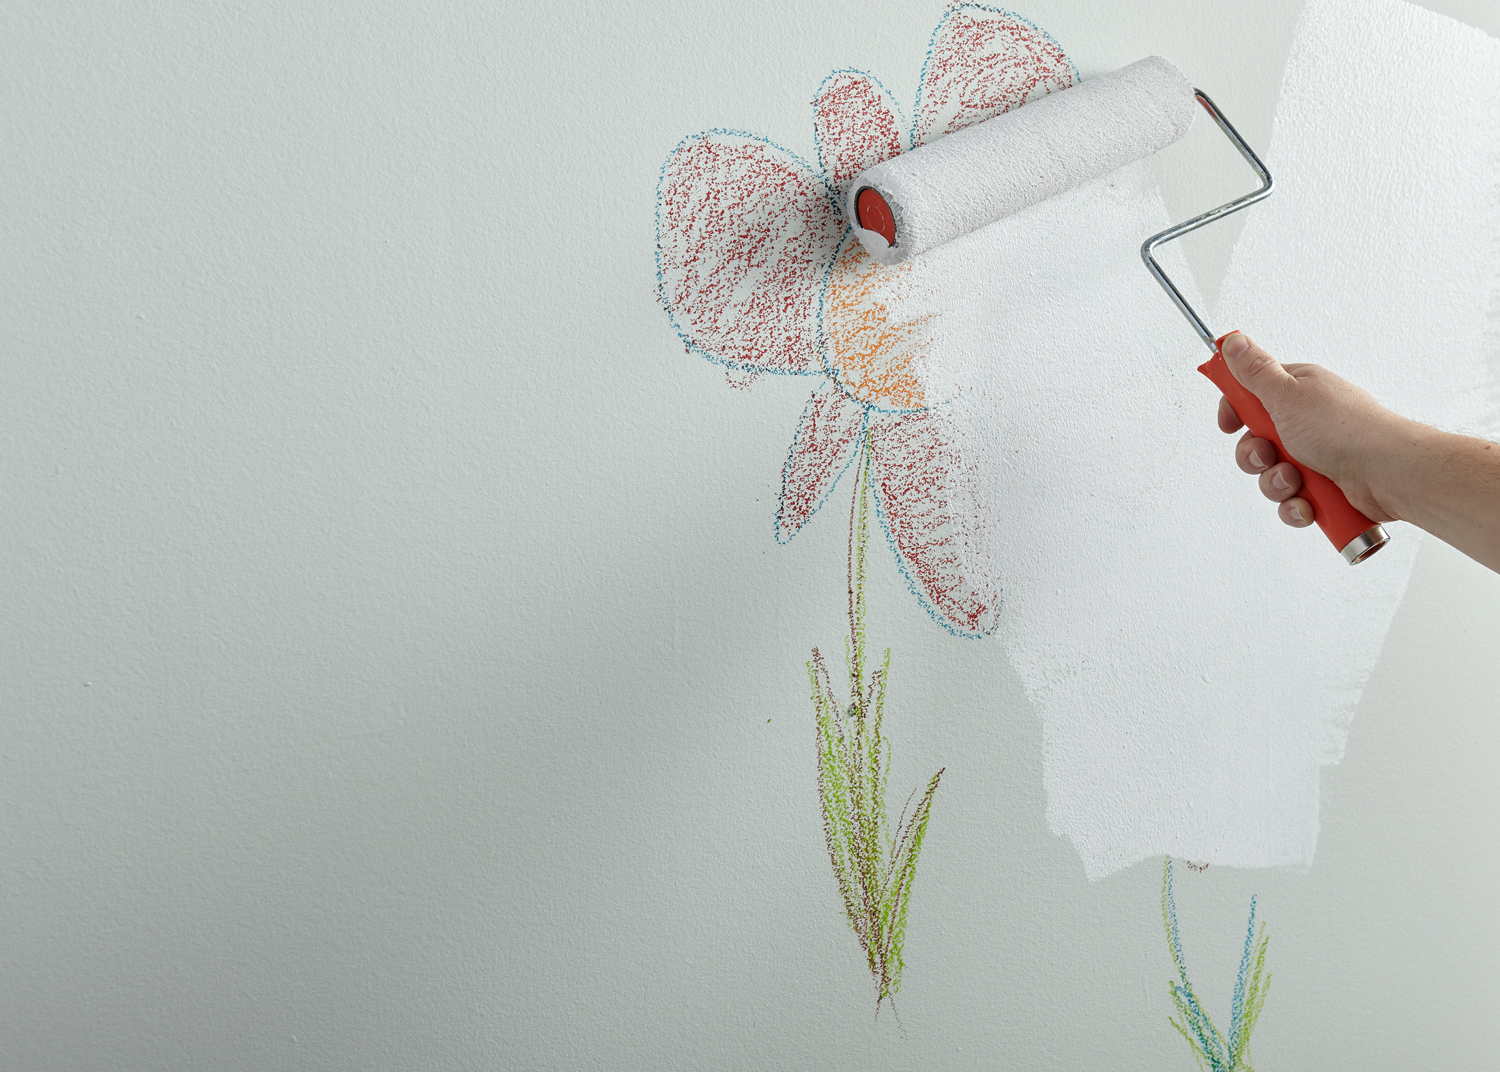
If you’re dealing with a light stain like scuff marks, pencil or crayon, you definitely still want to cover with a coat of primer before applying fresh paint. KILZ 2® All-Purpose is a great choice for blocking light stains – it’s fast drying and will get the job done!
Heavy Stains:
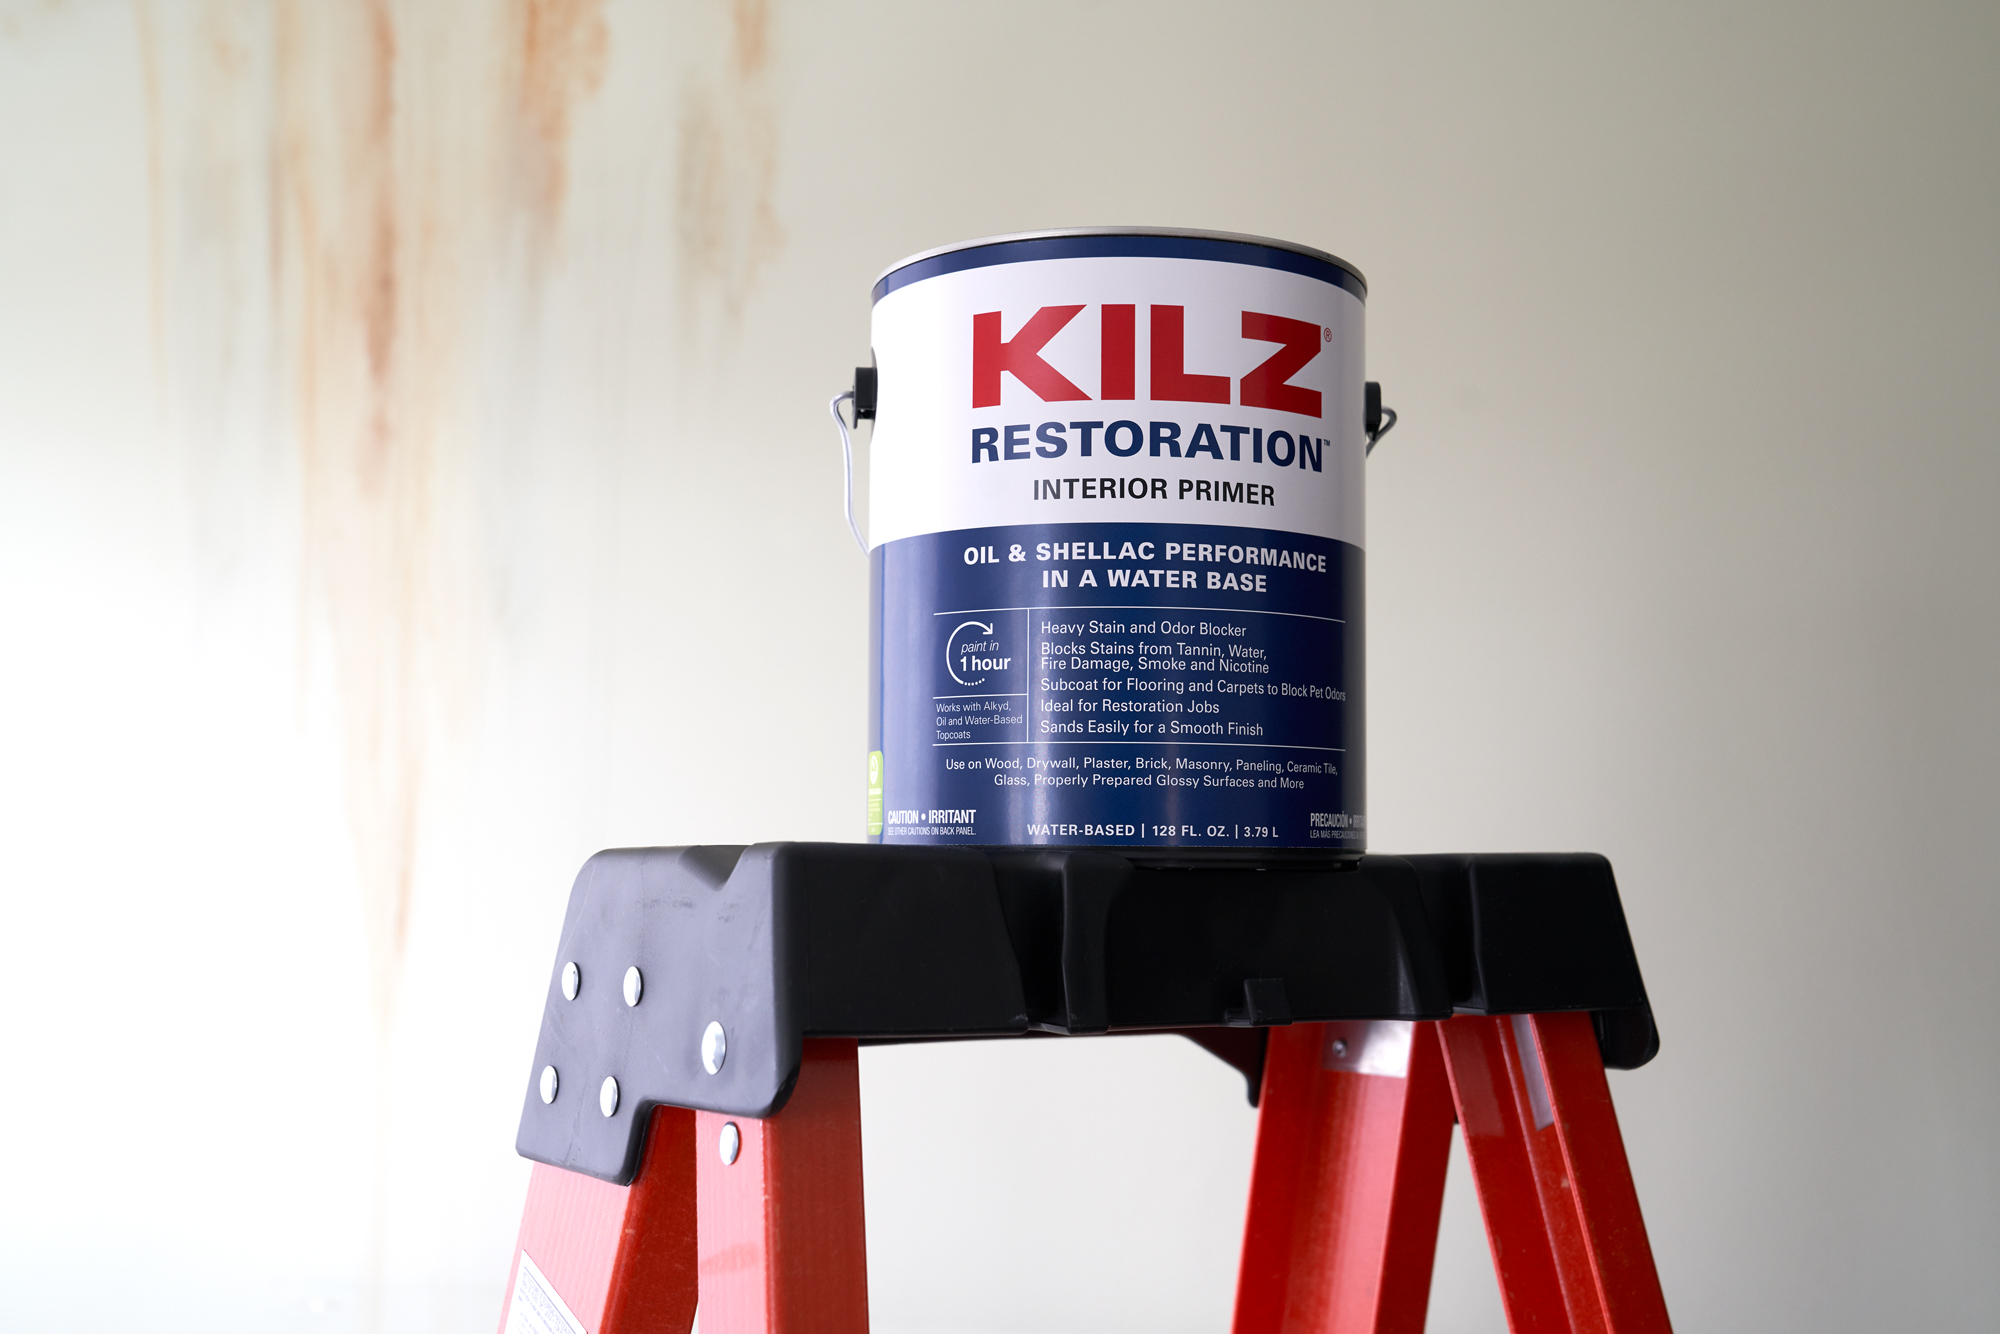
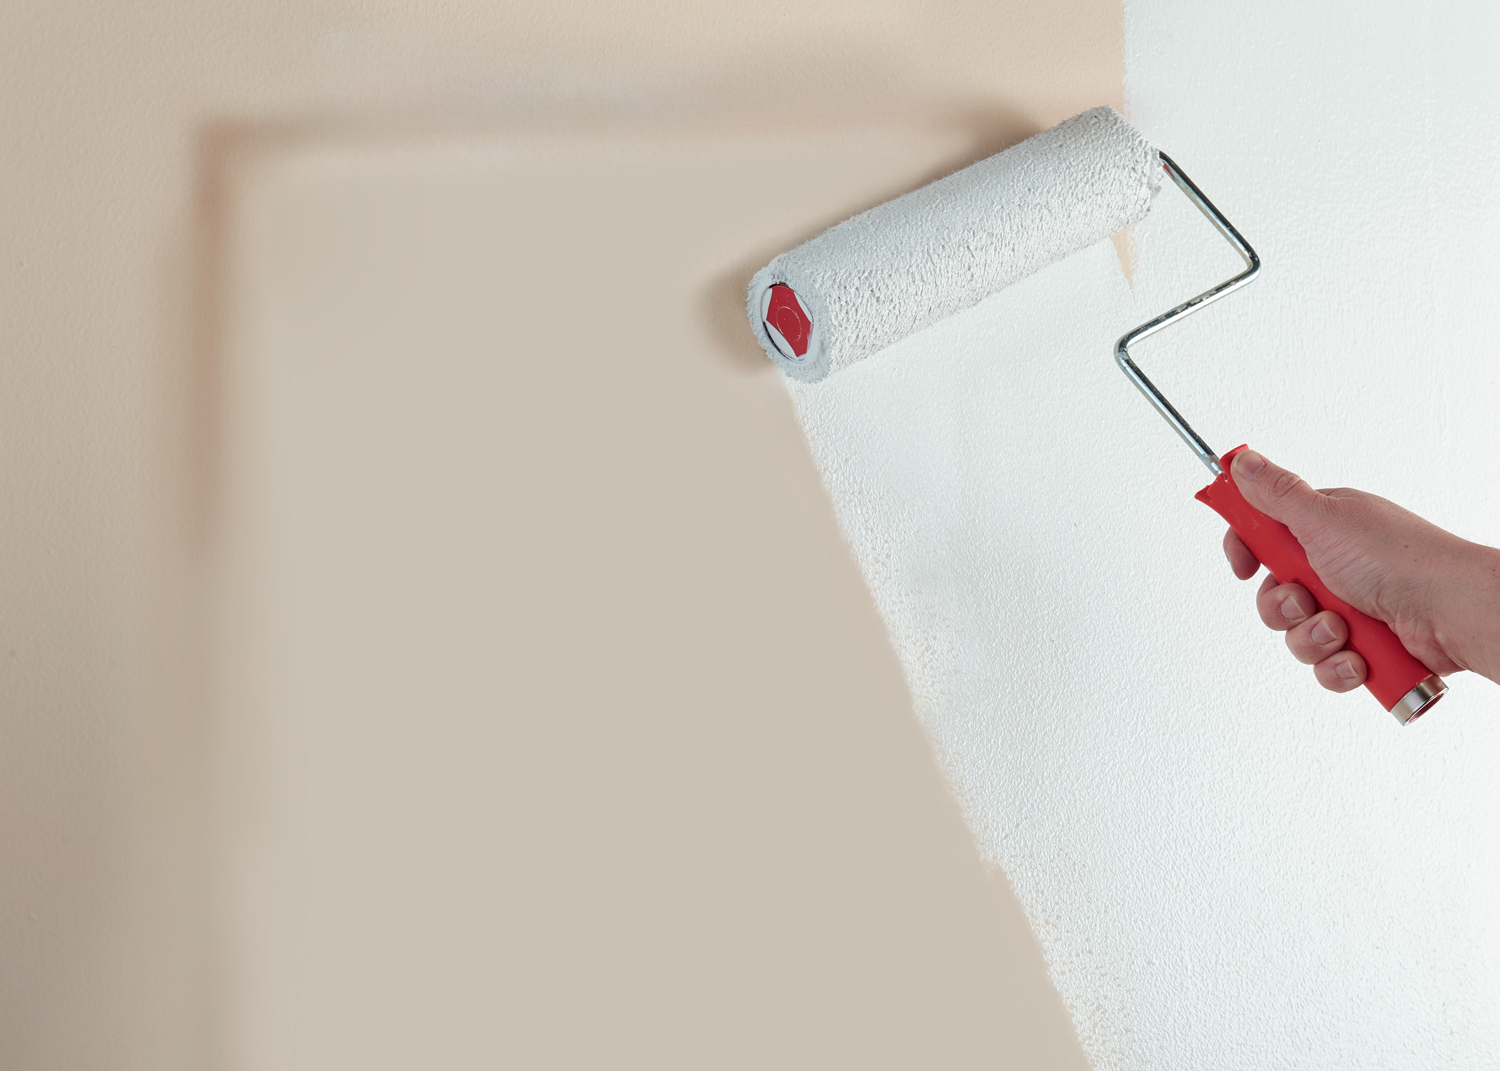
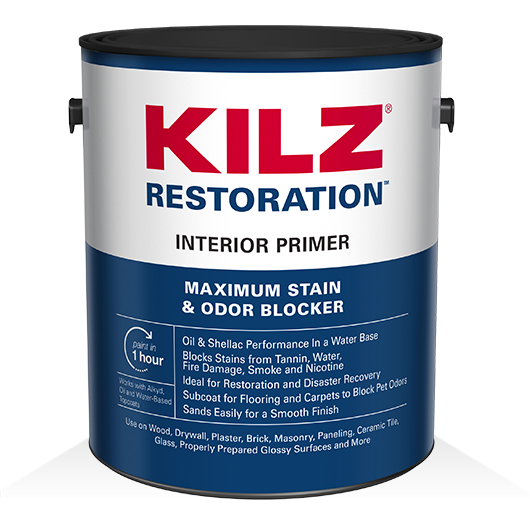
For severe stains like those caused by smoke, grease or tannins from certain types of woods, Pros will tell you it’s time to step up your primer game and use the oil-based KILZ® Original or water-based KILZ Restoration™ . Both are heavy duty stain blockers and trusted by professionals.
Secret #2 – Prep Work Leads to the Best Work:
Once you’ve assessed your stain type and procured the proper primer, it’s time to prepare the surface for stain elimination! Ensure that the surface is clean and free of dust, wipe down with a damp cloth if needed and allow to dry. You’re now ready to apply primer over the stain using a brush or roller.
Secret #3 – Do the Topcoat Test for Severe Stains:
When blocking sever stains you’ll want to test for stain bleed-through. Apply your topcoat paint to a small section after your primer is dry. If the stain bleeds through the topcoat, apply a second coat of primer and test again before top coating the entire area. If bleeding continues, a longer dry time is needed before top coating.
When you start with primer, blocking light and heavy stains doesn’t have to be a challenge!



join the conversation:
SHARE this post: