Tag: Seal
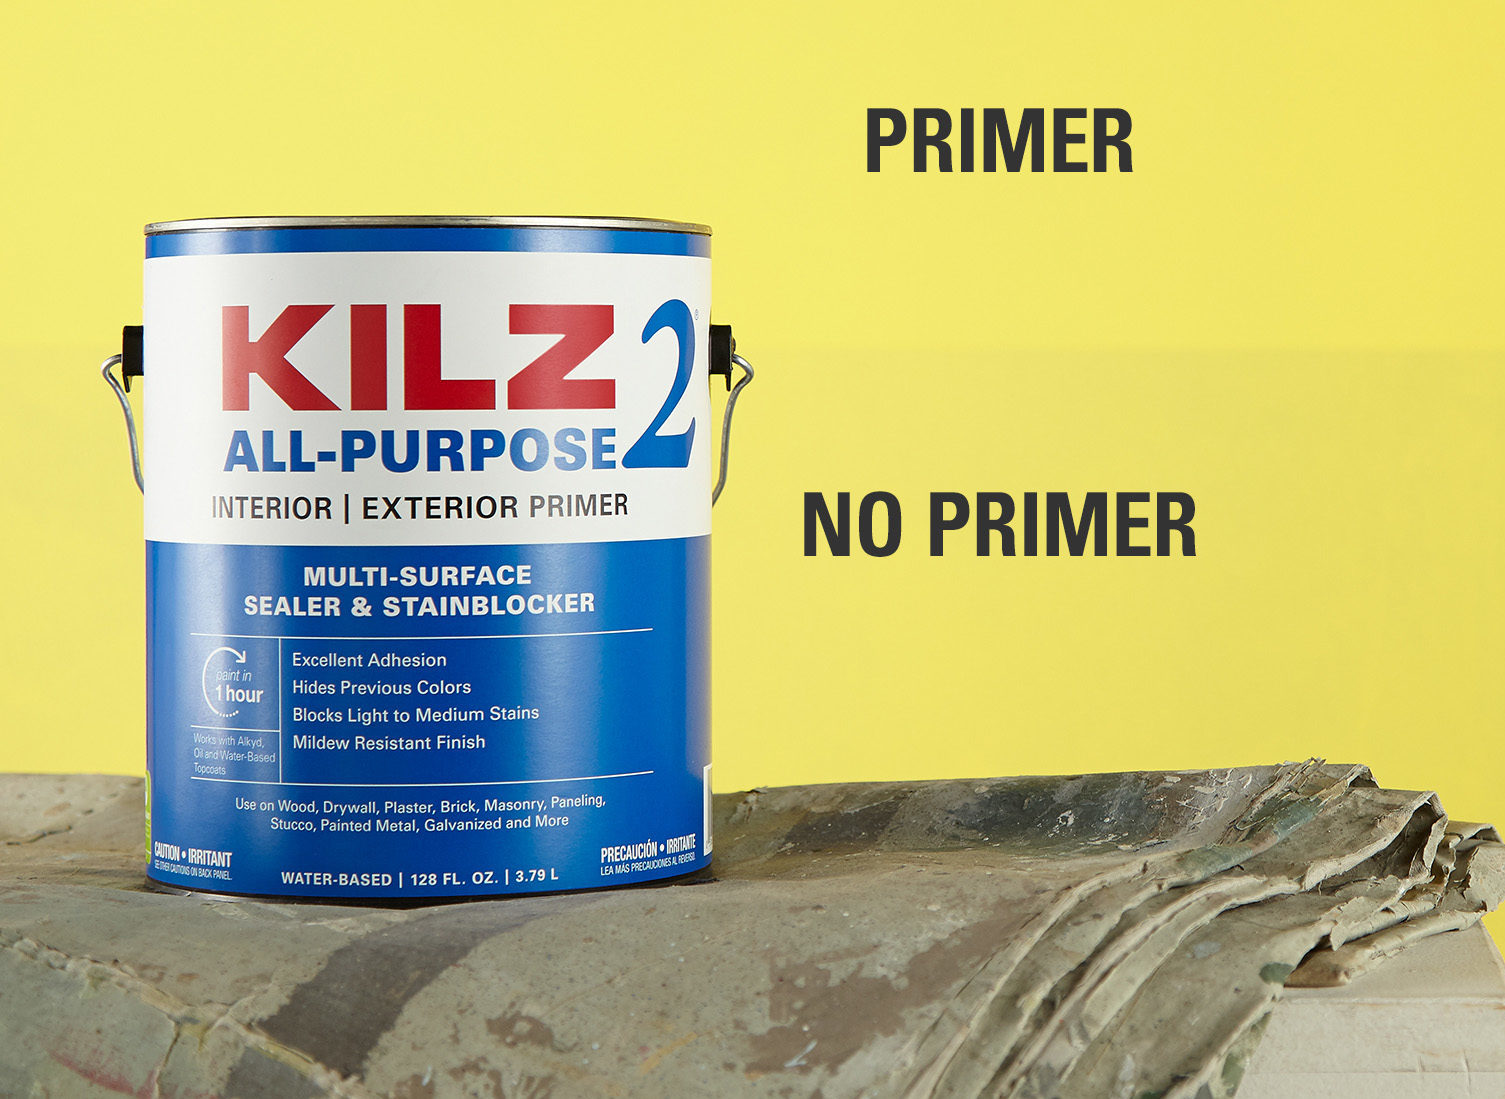
Truer Color Starts Here
March 30, 2020Imagine that you’ve spent hours scrolling through social media sites and flipping through magazines, on the hunt for the perfect paint color. Eventually, you zero in on a color family and visit a home improvement store to select a few paint chips or samples to take home. And finally, you’ve done it! You have your perfect paint color chosen and you’re ready to transform your space. But what if, when it’s finally on your walls, it doesn’t appear to be the color you selected? If you don’t use the right primer before painting, this could happen to you.
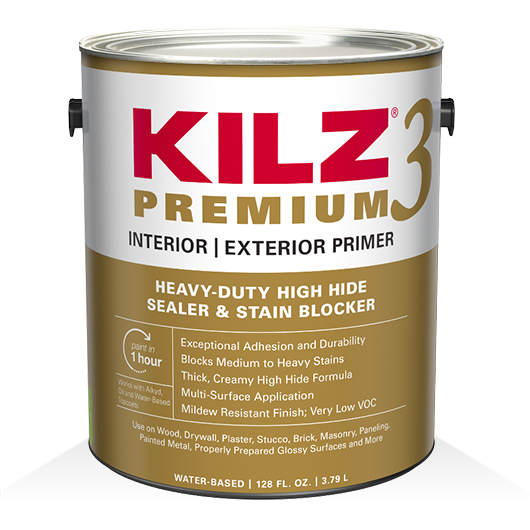
When painting a light color over an existing dark color, a primer with a high-hiding formula is recommended. KILZ® 3 Premium primer is a water-based primer that has a thicker formula with enhanced hiding. Priming a dark wall with KILZ 3 Premium before you paint over it with a lighter color will assist in a truer and richer color from your topcoat.
Specific surface types you might be painting can also affect how the final paint color turns out if the right primer isn’t applied first. If not properly sealed, porous surface like brick can soak up a lot of paint and cost you valuable time and money. Not to mention that if not properly primed, the typical red color of most brick can change the appearance of your paint color if the brick is not primed before it’s painted. For brick surfaces, we often recommend KILZ 2 All-Purpose or KILZ 3 Premium, depending on the color and current state of the brick surface.
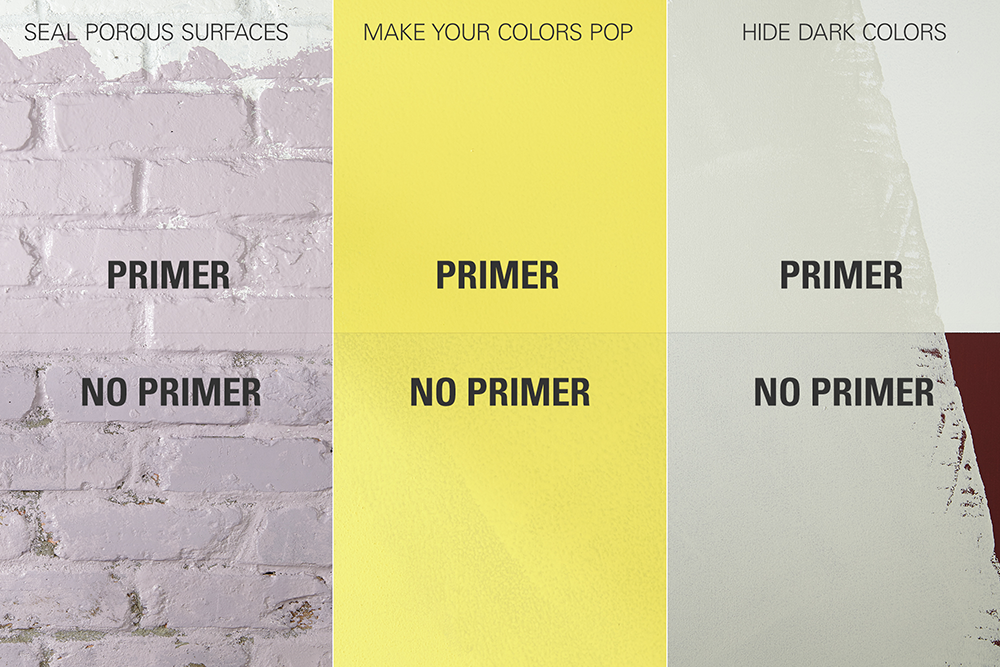
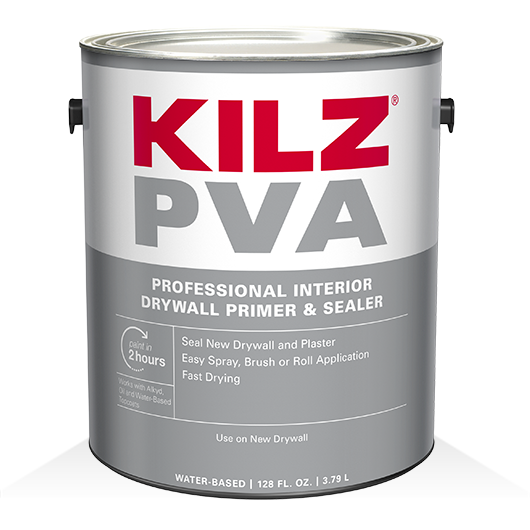
New drywall is another porous surface on which the right primer can make a big difference. When painting over new drywall, we recommend priming first with KILZ® PVA Drywall Primer – a fast-drying, interior water-based primer formulated to prime and seal new, uncoated drywall. KILZ 1 Standard primer is another great primer to use on drywall.
For almost any surface you’re working with, priming before painting is key to ensure that the paint color you selected will show up in its truest state
Always remember to refer to our website kilz.com or product back labels for additional information on which primer is right for your project and detailed instructions on how to apply our products.
Craving a Kitchen Makeover? Start with the Cabinets!
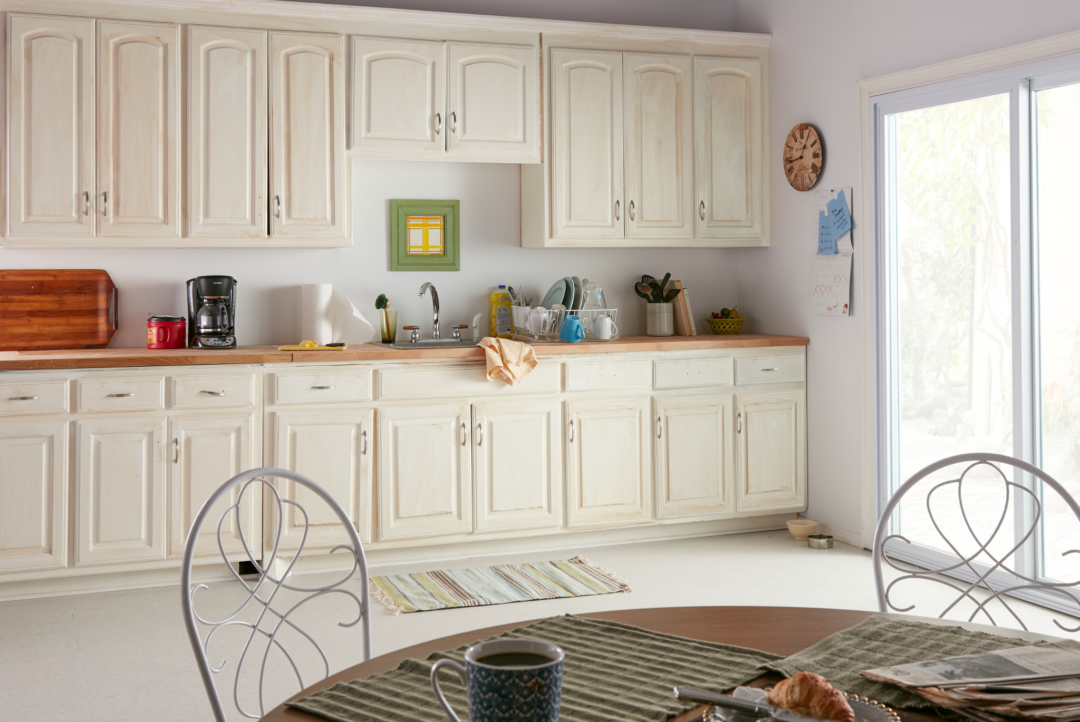
January 9, 2020Does the new year starting have you dreaming of a new kitchen? A complete kitchen overhaul can seem like a daunting task, especially if heavy demolition work is involved. But in many cases, you don’t need to break out the sledge hammer and start from scratch to achieve a fresh new look in your kitchen. Simply repainting your cabinets can have a big impact on the overall look and feel of your kitchen.
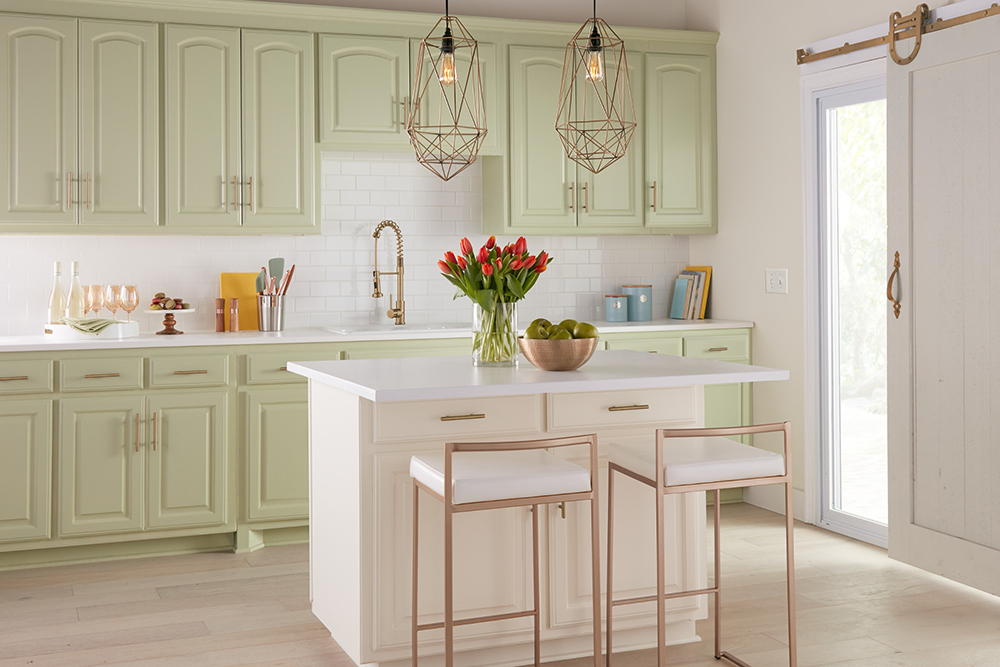
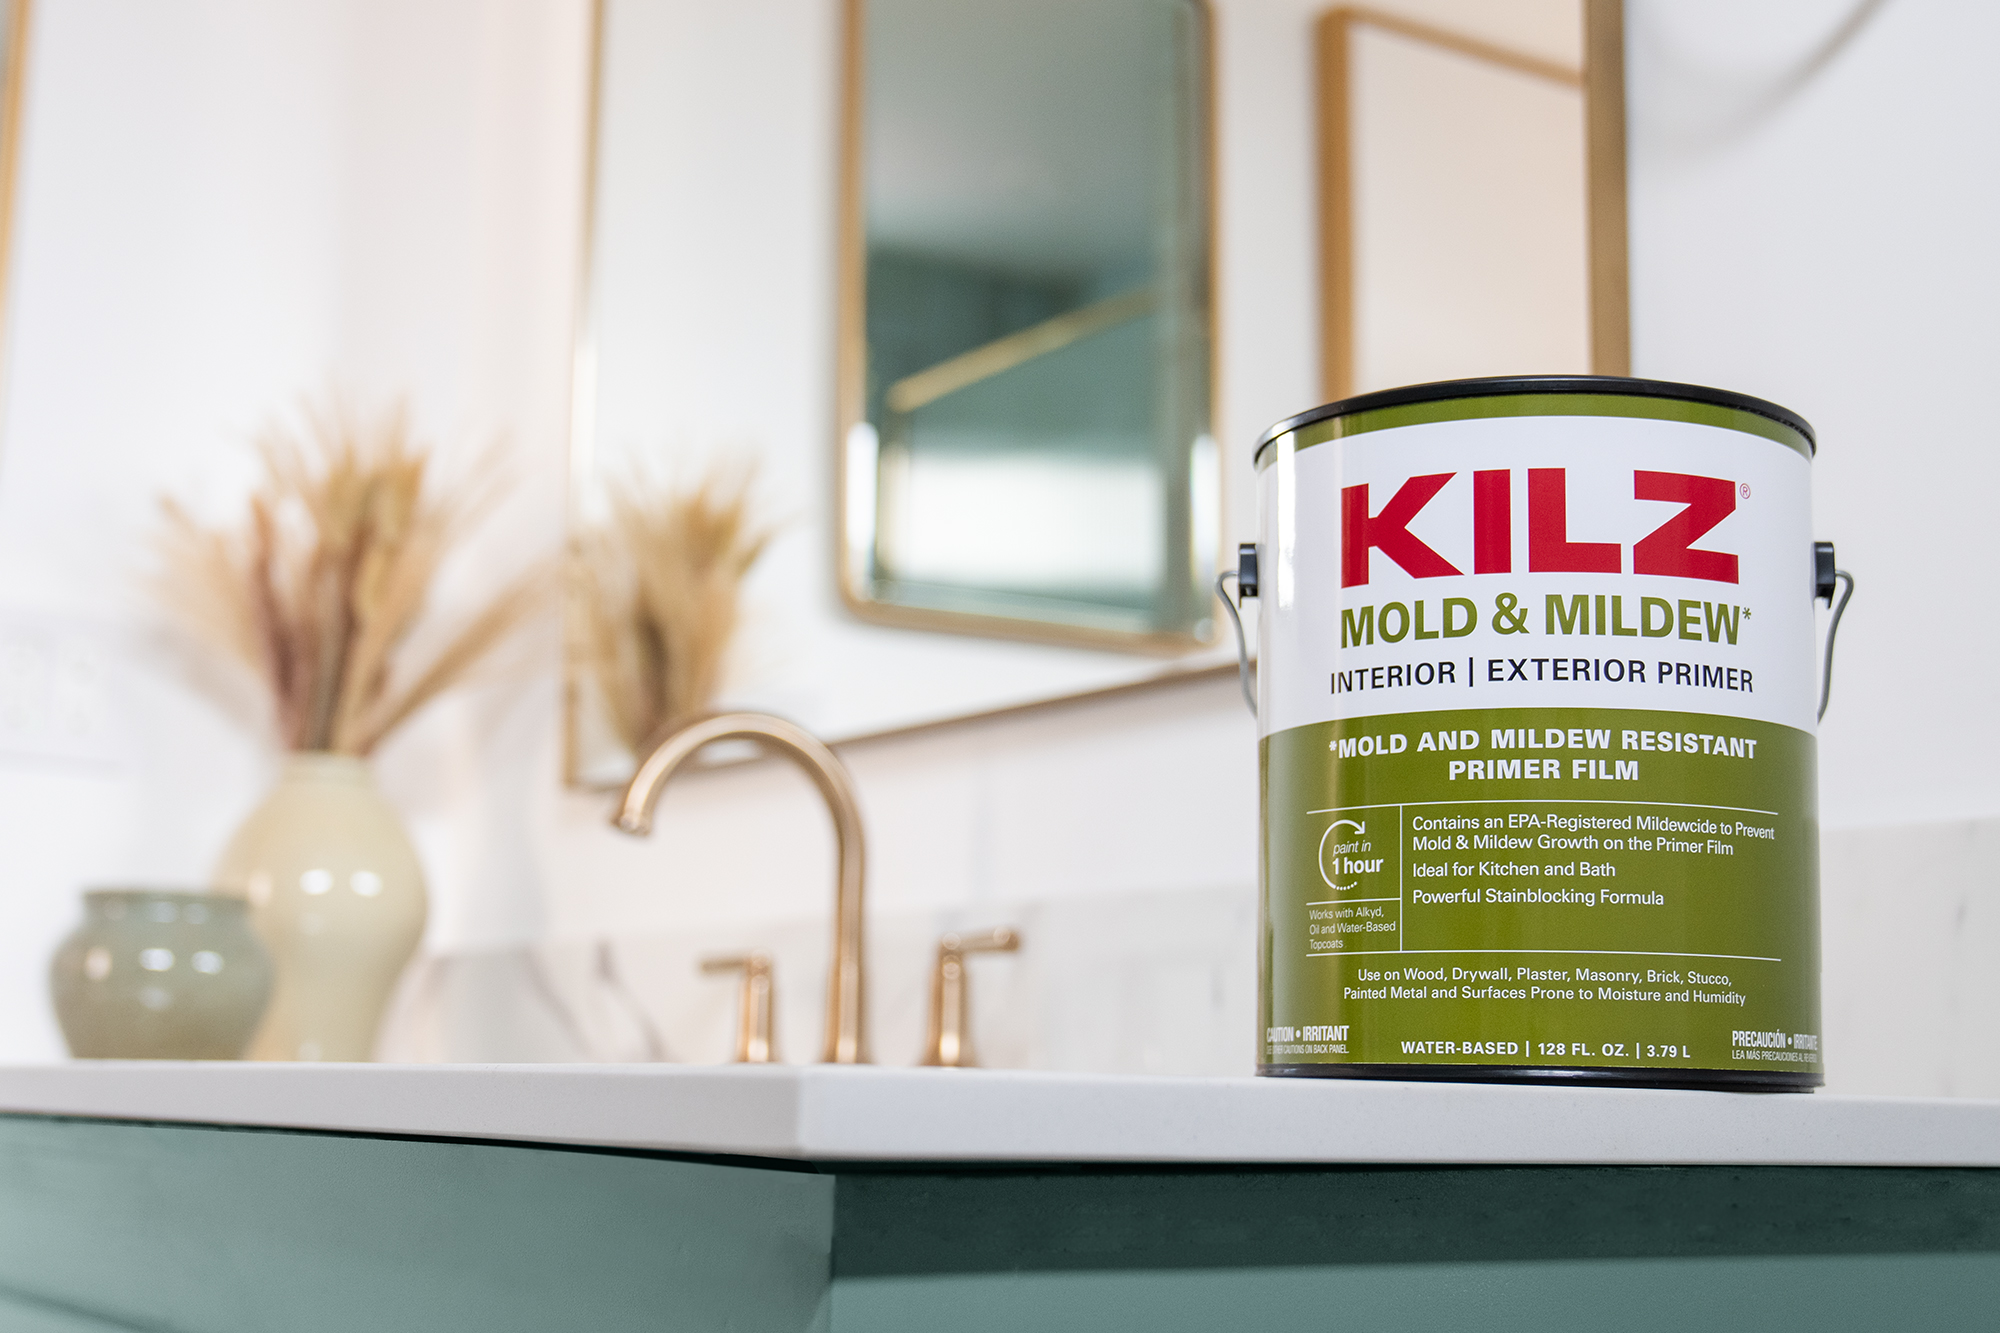
For a kitchen cabinet makeover that is both beautiful and durable, start with KILZ 3™ Premium Primer. This superior sealer-stain blocker provides excellent adhesion and a kitchen-essential mildew resistant primer coating. In this kitchen makeover, a celery-green paint color for the cabinets created a space that is cheerful, airy and inviting. The makeover went step further and also added new counter tops, a kitchen island (an addition that luckily didn’t involve tearing down any existing cabinetry!) and new modern gold light fixtures and hardware.
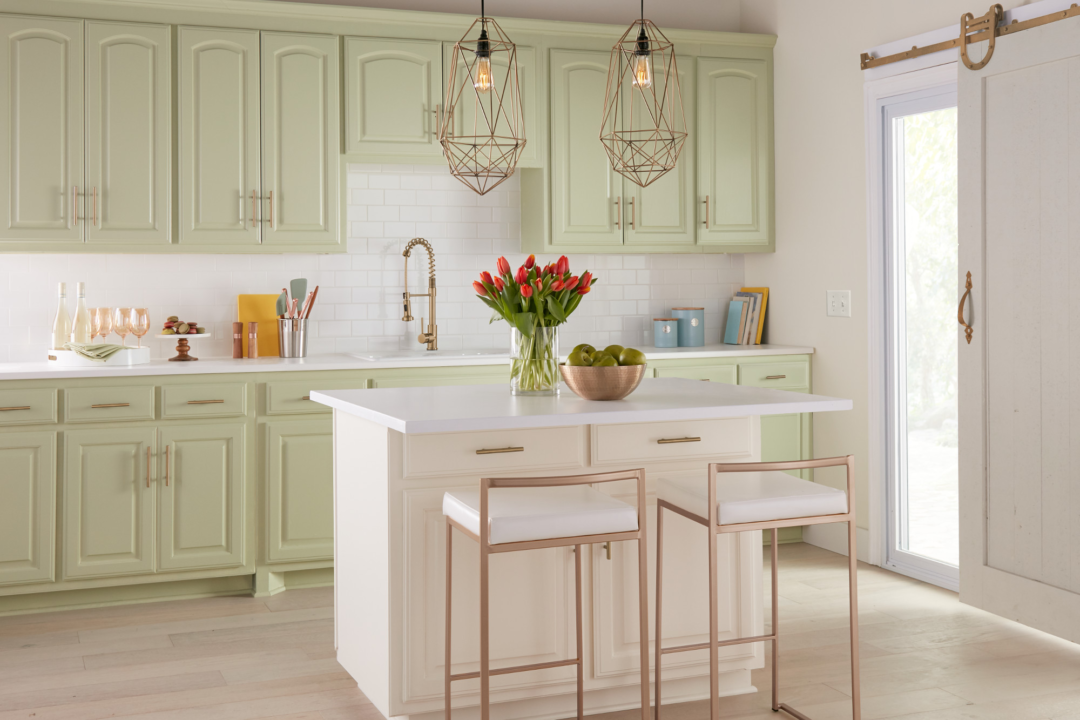
Is a kitchen renovation on your upcoming DIY project menu? The first step to a brand-new kitchen might be as easy as a new hue for your cabinets!
Read on for a step by step recipe for painting your kitchen cabinets:
Step 1: Remove the Hardware
Use a screwdriver to remove all door handles and hardware. It’s always best to put each screw back exactly where it came from to ensure the least amount of stress on the wood. Next, remove the cabinet doors and drawers from the cabinet frame.
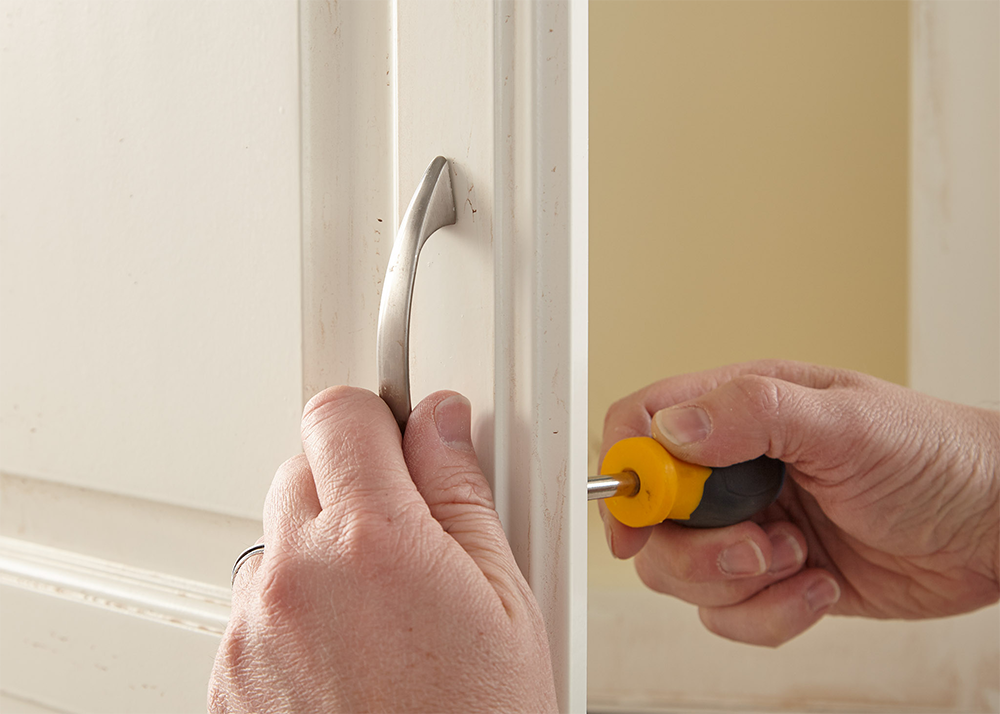
Step 2: Prepare the Cabinet Frame and Doors for Priming
Sand the doors, drawer faces and cabinet frame. Do a first pass with 100-150 grit sandpaper then finish with a second pass of 180-220 grit sandpaper, always moving in the direction of the wood grain. After sanding, wipe down the surface with a damp cloth to remove any dust or residue and allow the surface to dry. Next, tape around the cabinet frame to protect the walls and any areas you don’t want to get primer or paint on.
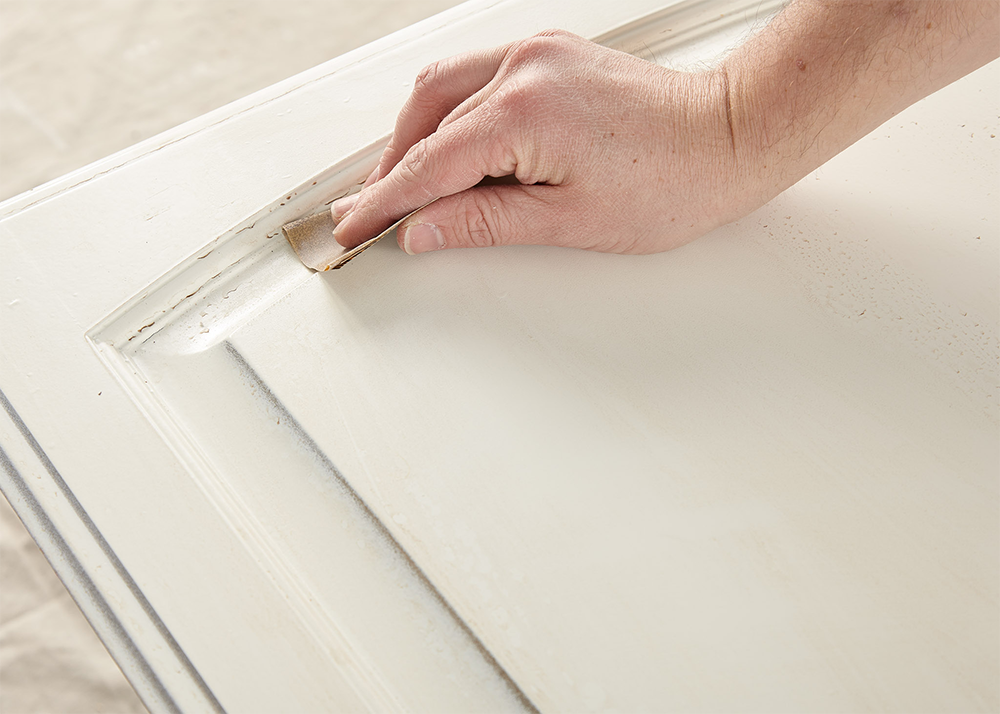
Step 3: Prime the Cabinet Frame and Doors
Apply KILZ 3™ Premium Primer on the doors, drawer faces and cabinet frame using a brush to ensure a mildew resistant finish. Stir thoroughly before and occasionally during use. Allow 1-hour of dry time.
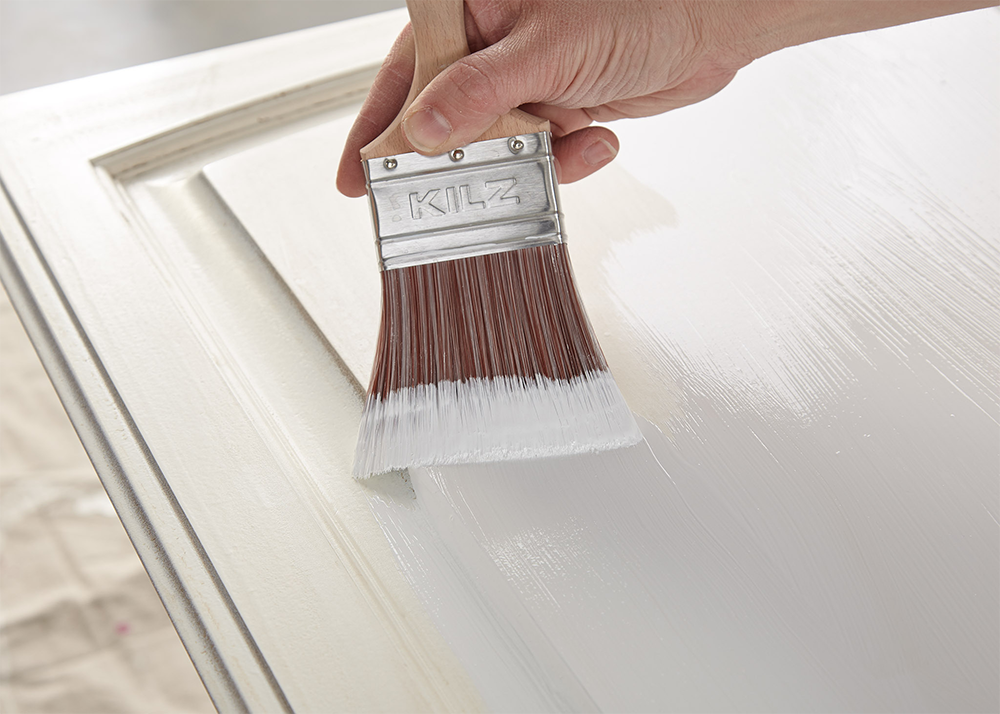
Step 4: Paint the Cabinet Frame and Doors
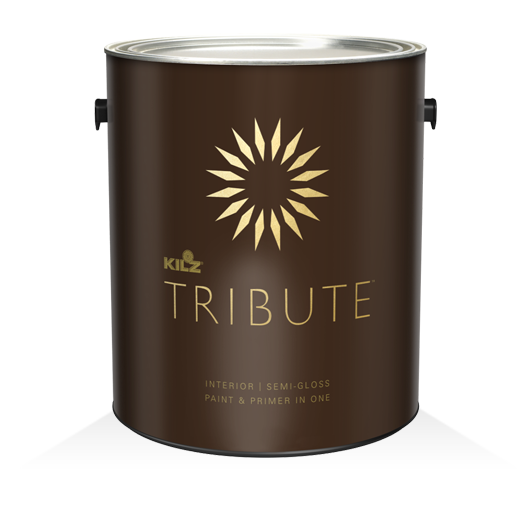
Apply KILZ® Tribute® paint in Subtle Celery TB-74 with a brush to the cabinet frame and doors, moving in smooth strokes in the same direction as the wood grain. Remove your tape around the cabinet frame before the paint is fully dry. Once dry, reattach hardware to doors and then reattach doors to cabinets. Now it’s time to decide what delicious dish to whip up first in your refreshed kitchen!
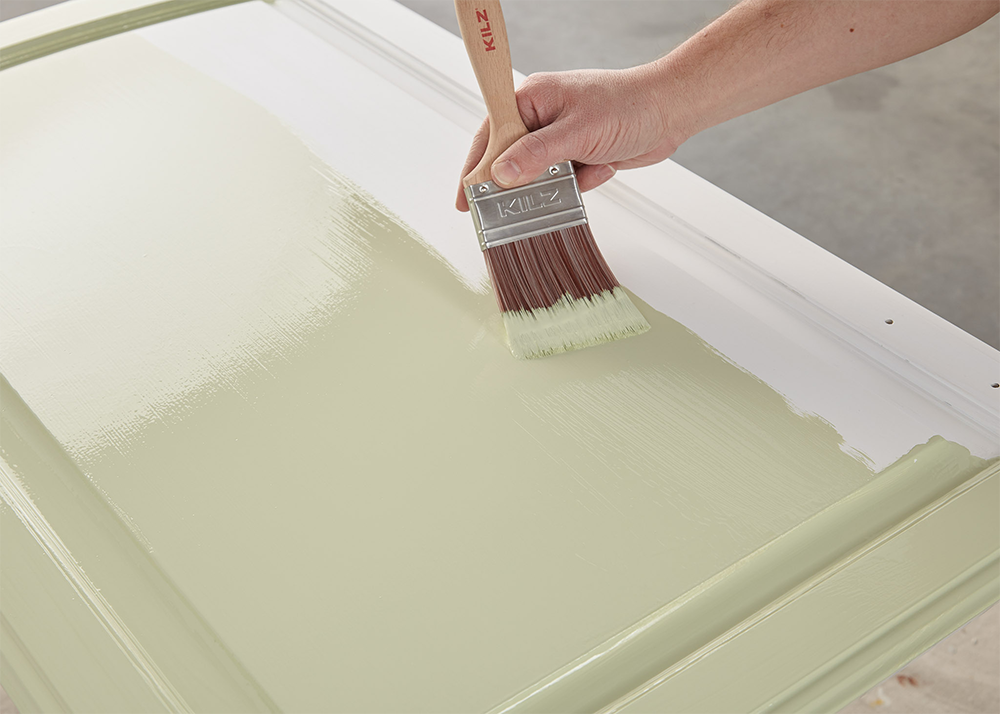
Always remember to refer to our website (kilz.com) or product back labels for additional information on how to apply our products.

join the conversation:
SHARE this post: