Tag: Restoration

From Stained to Stunning: Restoring a Primary Bedroom
April 17, 2023On this episode of Destination Restoration, we show you how to restore a room that’s suffered a bit of damage. Older generational homes can accumulate imperfections over time, especially stains from things like water damage. In the case of today’s refresh, not only do we take a standard primary bedroom and update it for a new era, but we also tackle how to restore unsightly, odorous stains using primer and a fresh coat of paint.
This series demonstrates how you can breathe new life into an older home (in this case, a 4th generation family home), while keeping its structural integrity intact.
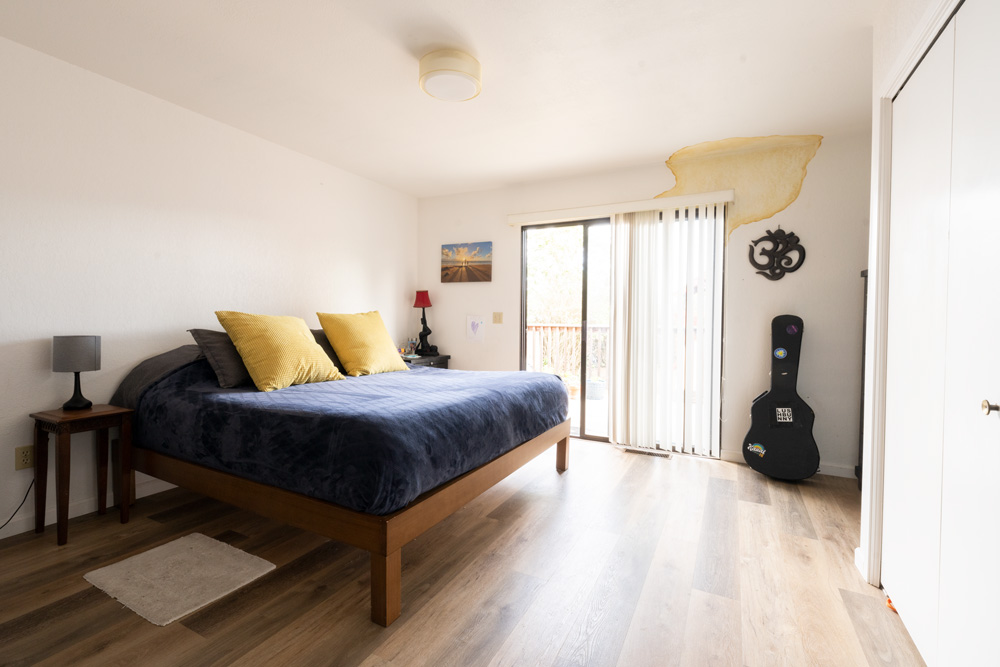
Once again, our fabulous design duo—Jason Lai (interior designer) and Jared Foster (contractor/pro painter) —found a way to update this modest room while addressing the large yellow stain that had leaked its way around the sliding glass door. Our goal was to both cover it up and ensure it wouldn’t show through, which we achieved with a thorough coat of primer and a new coat of paint. Due to the lack of storage in the room, we also wanted to install a custom unit, with ample cabinets to make the space more functional and a modern haven for the parents of this lovely family home.
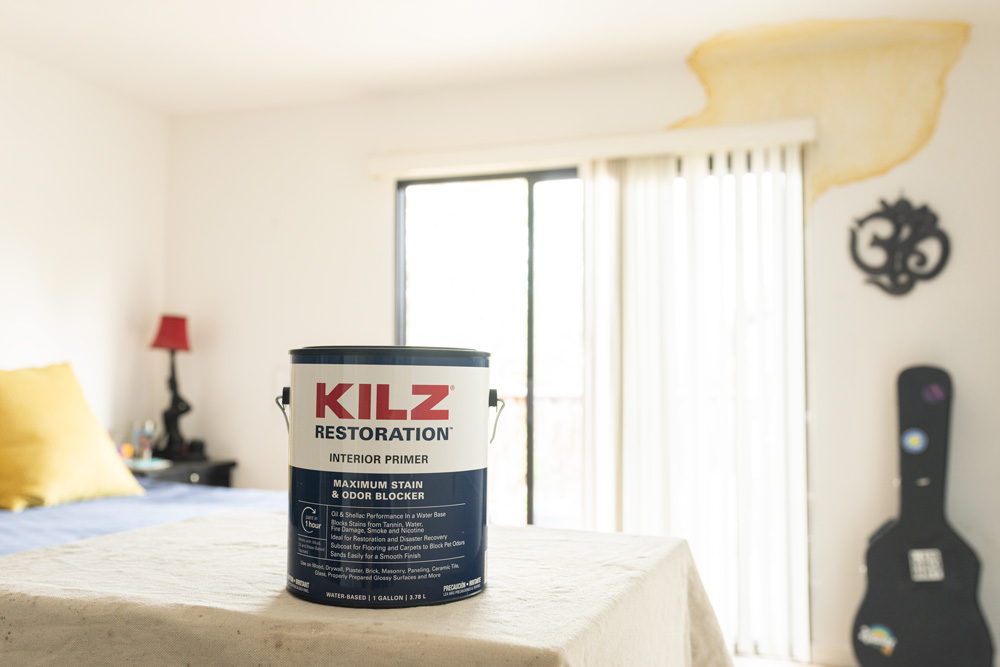
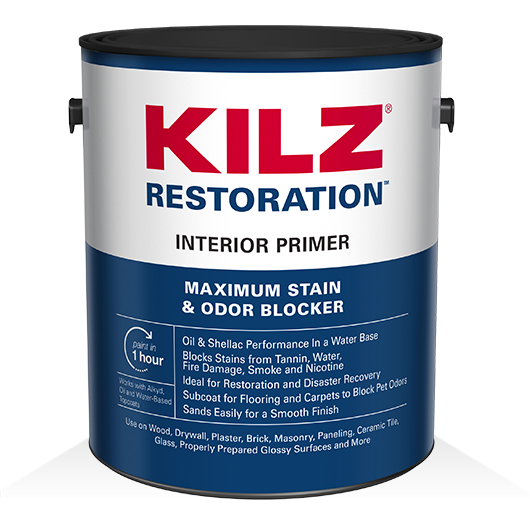
Covering up stains takes a little extra effort but is totally doable with the right tools. Make sure you choose a sturdy primer that’s right for the job, like KILZ RESTORATION® Interior Primer when tackling a similar project of your own, and follow along to see how our pros approached this room makeover. We’ve also included a step-by-step guide on how to paint over water stains using primer.

Stain Coverage
The main goal of this room refresh was to remove any trace of the water stain and get rid of its foul odor at the same time. To do this, we primed over the water stain using KILZ RESTORATION® Interior Primer then painted the walls, ceiling, and molding with Rio Rust, a color by Behr Paint.
Extra Storage
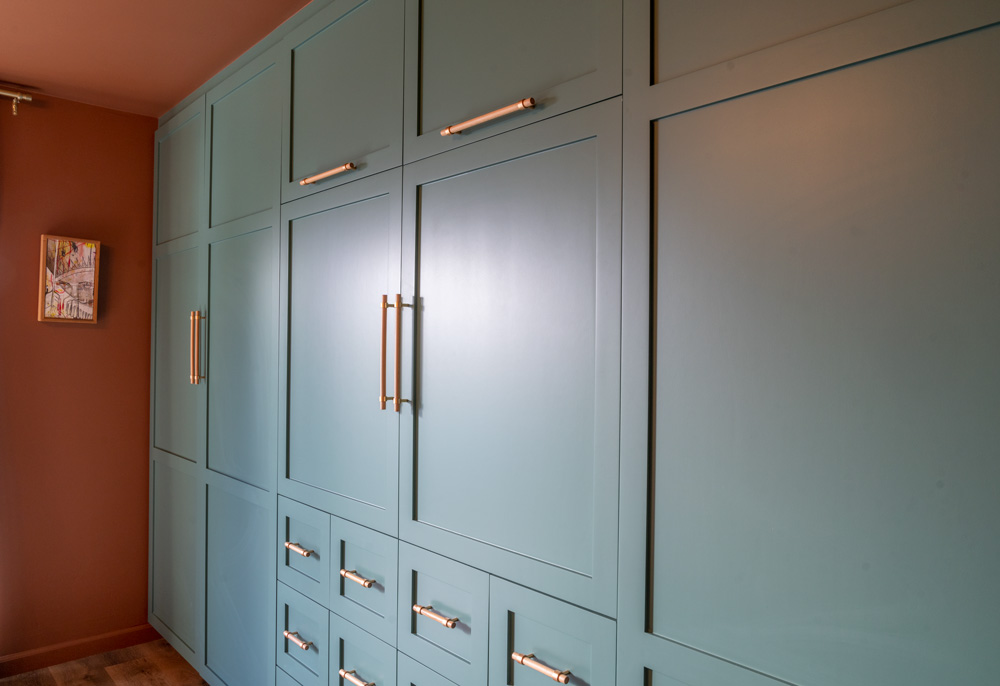
To replace the lackluster closet, we added a custom, built-in closet system with a hidden TV display, perfect for unwinding after a long day. We primed the unit, and then painted it with Forest Edge, a color by Behr Paint, for its ability to stand out and complement the color of the rest of the room. Together, these colors elevated the room and gave it a warm, modern, and cozy feel.
Other Changes

We wanted to update the existing lighting to complement the new design and bring more warmth to the space, so we added a modern chandelier by Kichler Lighting, as well as additional recessed lighting fixtures on the ceiling. We also replaced the door hardware, updated the electrical throughout, and added carefully chosen décor to bring this refined boho-chic look together.
Why Do You Need to Prime?
Priming is essential for proper surface preparation for any paint project. It’s the difference between a job done and a job done right. Priming helps solve a wide range of problems, including highly porous surfaces, stains, odors, uneven surfaces, texture differences, and adhesion problems.
Because this room required stain coverage we used, KILZ RESTORATION® Interior Primer for its superior, water-based sealing and stain blocking formula. It can tackle tough stains from heavy water damage, rust, smoke, nicotine, grease, tannin, ink, pencil, felt marker, pet stains and more. It’s also a champion odor blocker and can be used on many interior surfaces including drywall, woodwork, plaster, masonry, brick, painted metal, ceramic tile, glass, and most other glossy surfaces.
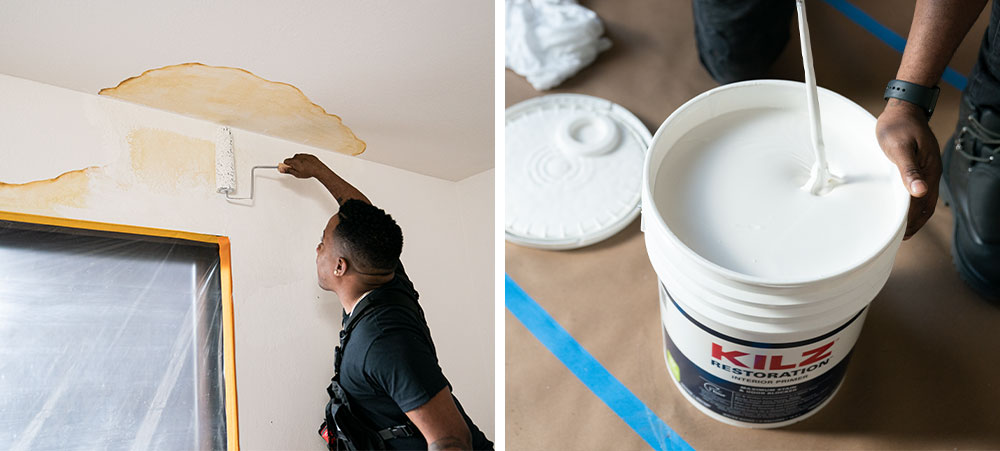
Step-By-Step Guide to Stain Blocking and Priming Walls:
Painting over water stains requires a few basic steps from start to finish. Here’s an easy guide to follow for your next project:
1. Patch any holes from damage and sand smooth to prep the surface (if needed)
2.Thoroughly clean your surfaces with a damp cloth to ensure they are clean and free of dust. Allow to dry.
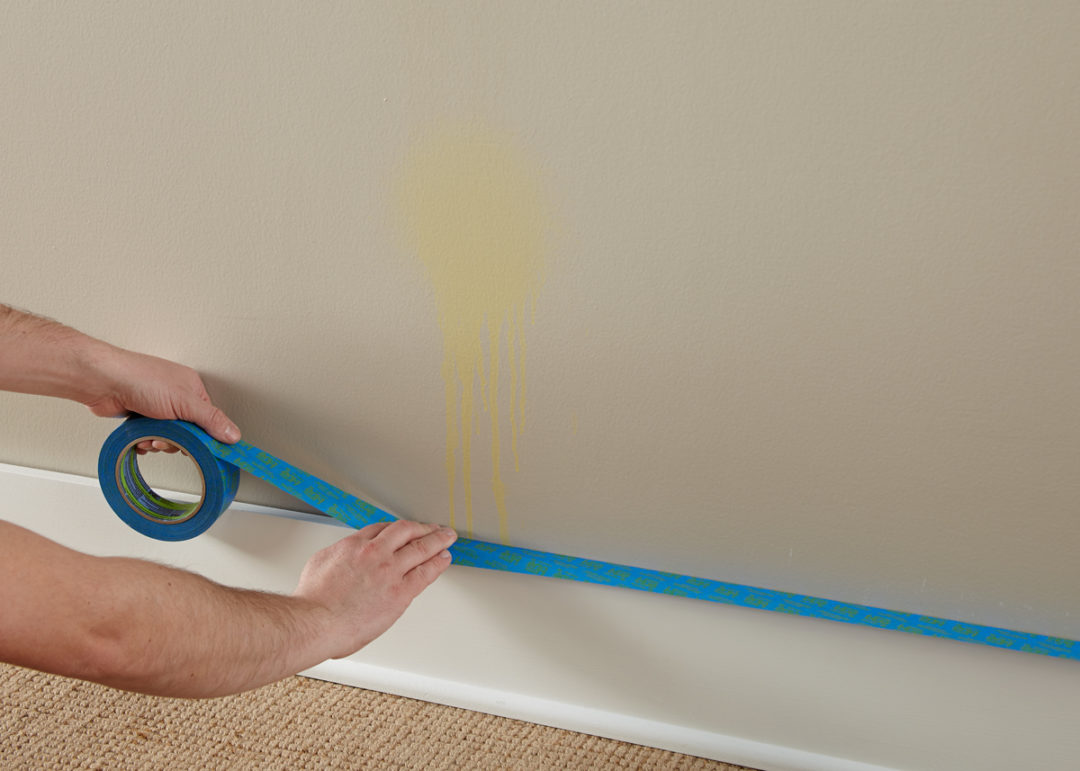
3. Tape around the baseboards, trim and moldings.
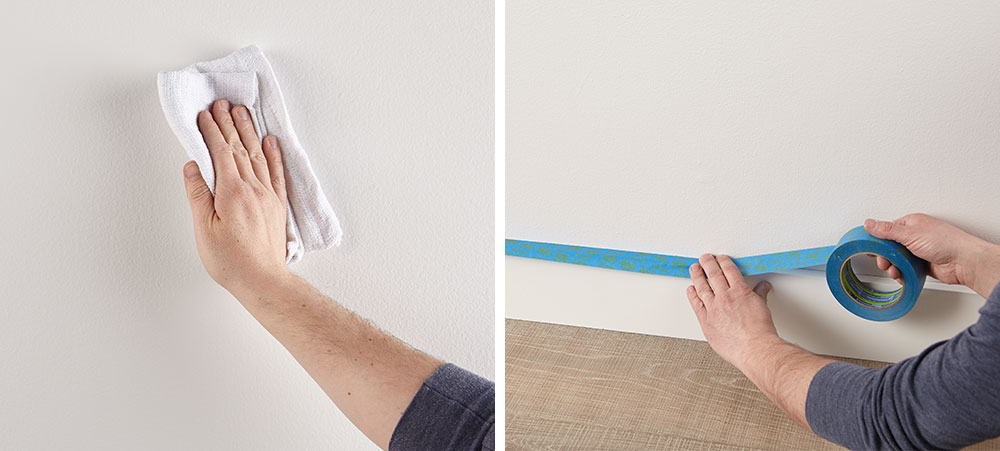
4. Protect your floors and furniture from paint and primer by covering it with a drop cloth or plastic sheets.
5. For major stains like water, grease, or smoke, select a heavy-duty stain blocker like KILZ RESTORATION® Interior Primer.
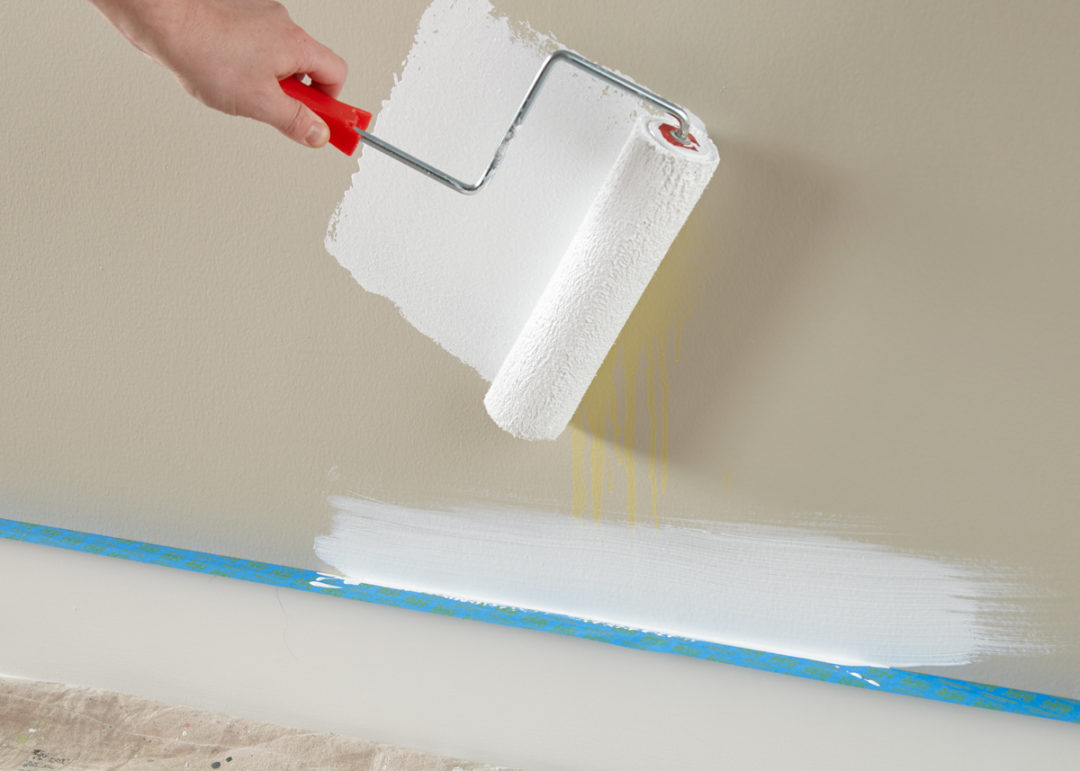
6. Now it’s time to prime! Using a brush first to “cut in” around the edges and small crevices, then use a roller to fill in the larger areas.
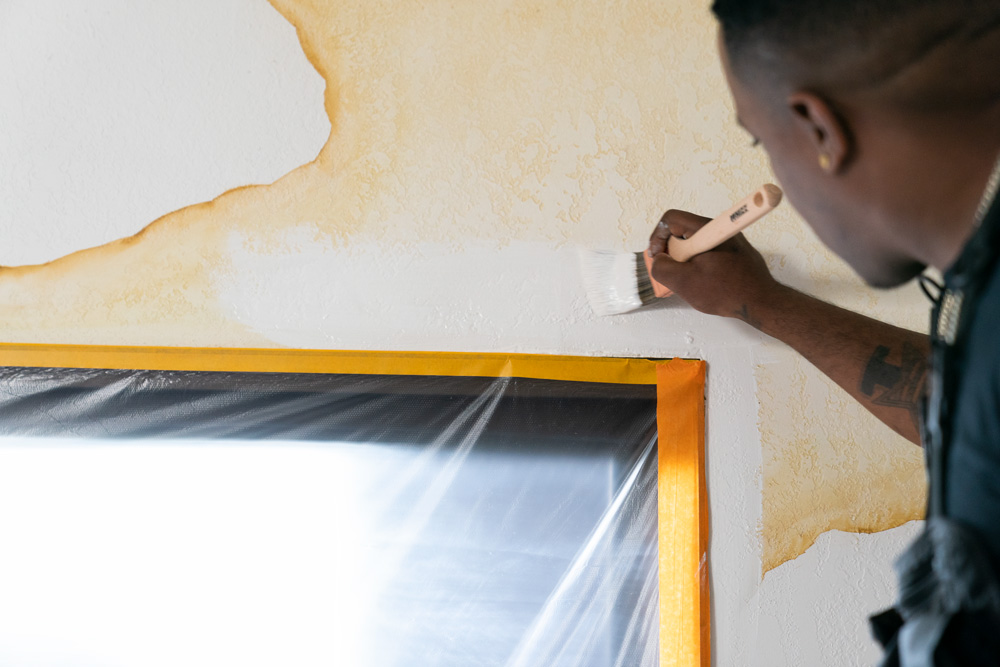
7. Allow to dry for 1 hour.
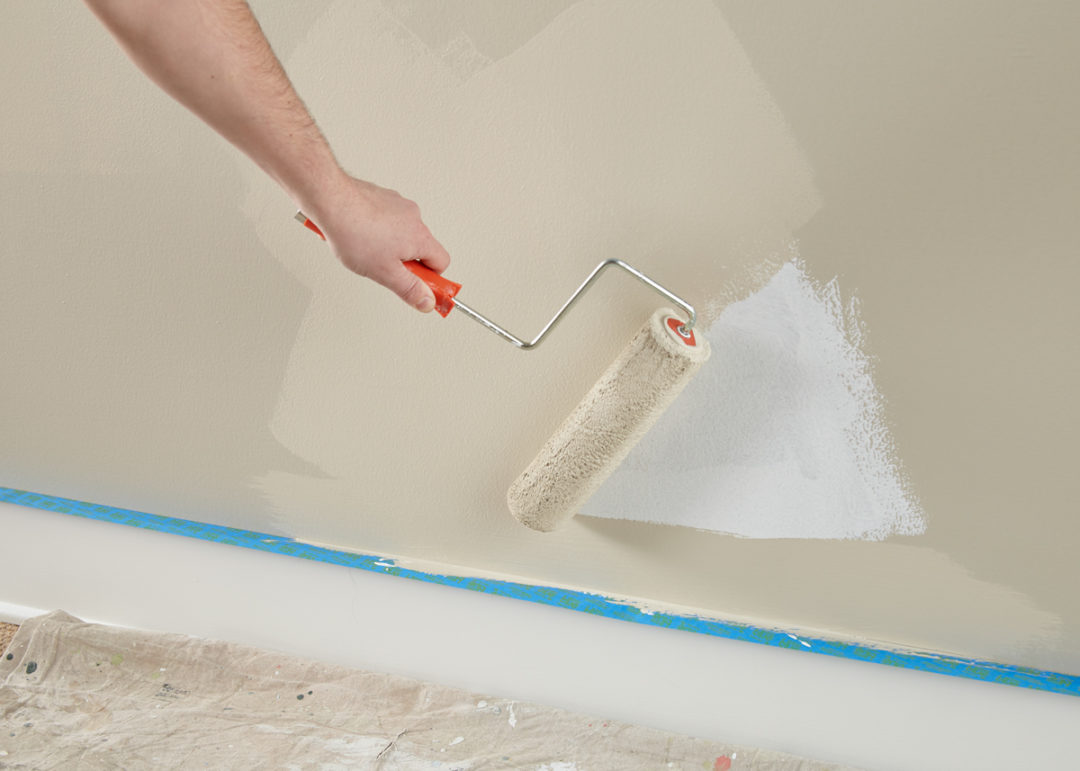
8. Once the primer is dry, apply paint of your choice using the same application process at the primer.
9. Remove the painter’s tape before your paint is fully dry.
You Will Need:
• Dust mask
• Pole sander with sandpaper, 60-80 grit
• Extension pole for prep and painting, 3’-7′
• Step ladder for hard-to-reach areas
• Rags to wipe dirty and dusty surfaces
• Painter’s tape
• Drop cloths, canvas, or other reusable material
• Plastic sheets, for protecting furniture
• Spackle and applicator
• Paint roller, brush, and paint tray
• Paint of choice
• KILZ RESTORATION® Interior Primer
We hope this episode of Destination Restoration inspires you to tackle your own bedroom remodel this year. Be sure to keep KILZ® products in mind for your next project, and come back for more ideas, tips, and project inspiration.
If you loved this restoration, be sure to check out the other episodes of Destination Restoration. Jason and Jared took on the Kitchen, Living/Dining Room, and Primary Bathroom.
Always remember to refer to our website kilz.com or product back labels for additional information on which primer is right for your project and detailed instructions on how to apply our products. Check out our Coverage Calculator to understand your estimated paint needs for your upcoming project.
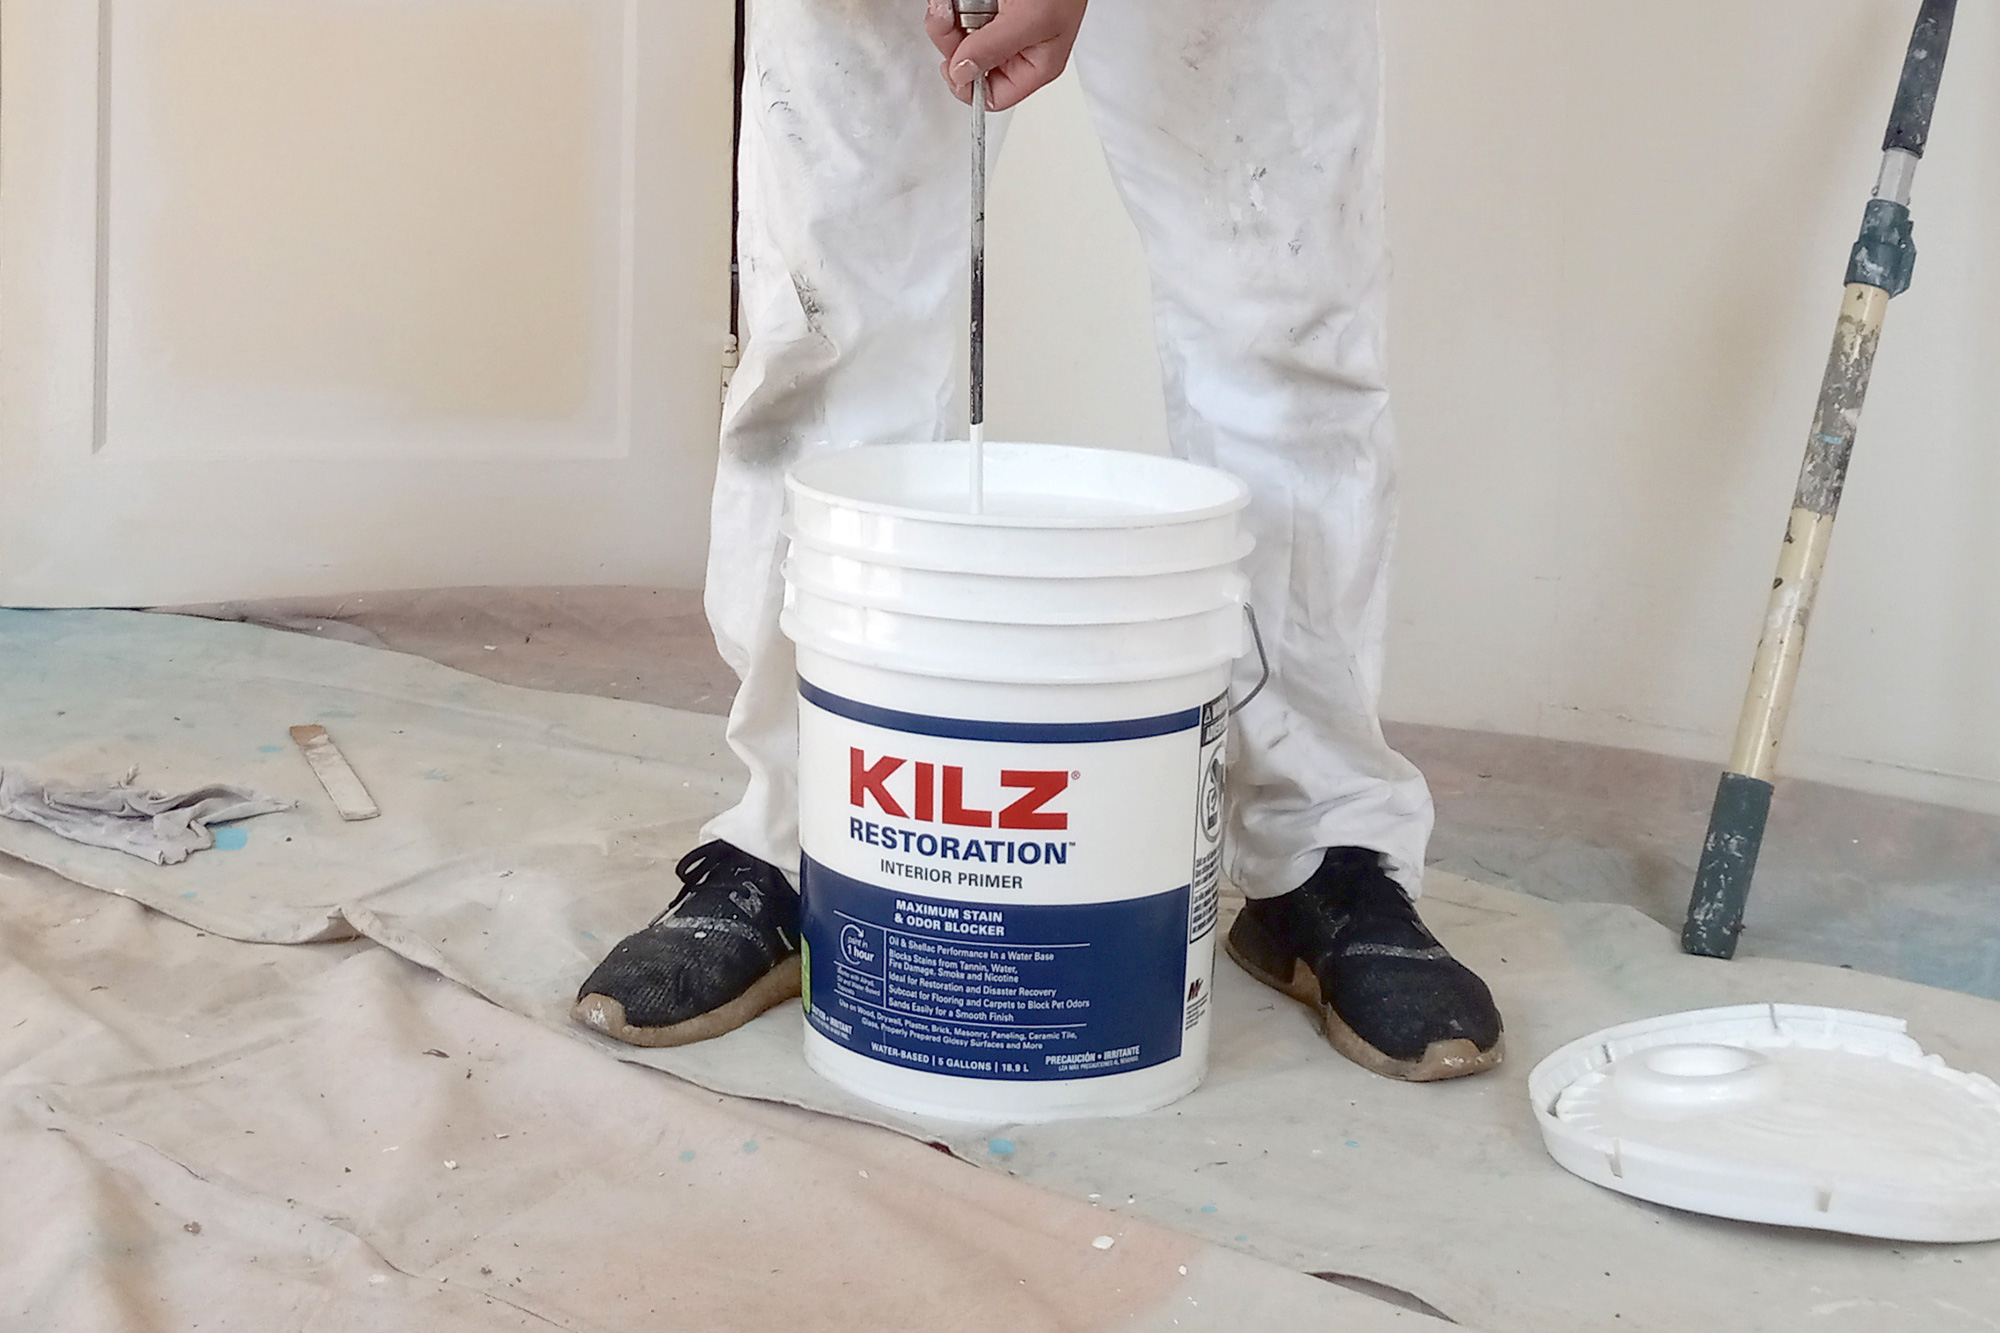
Pro Spotlight: KILZ Restoration Tips with Daniel Ruiz
May 26, 2022Let’s take a deep dive into the life of a professional painter, Daniel Ruiz. Daniel brings over 22 years of painting experience with the mission to enhance and beautify people’s ideas and help bring those ideas to fruition. His father was the jack of all trades that carried his skills from their hometown in Mexico to the states. As his family grew, so did their home and he enjoyed working side by side with his father, grabbing hammers, screwdrivers, nails, etc., to eventually completing a painting project. As a teenager, he was always intrigued by art on the freeways and later combined his love of street art with his painting skills for additional income. Here on the Perfect Finish, we are going to dive into a few questions with Daniel on how he gets the job done right.
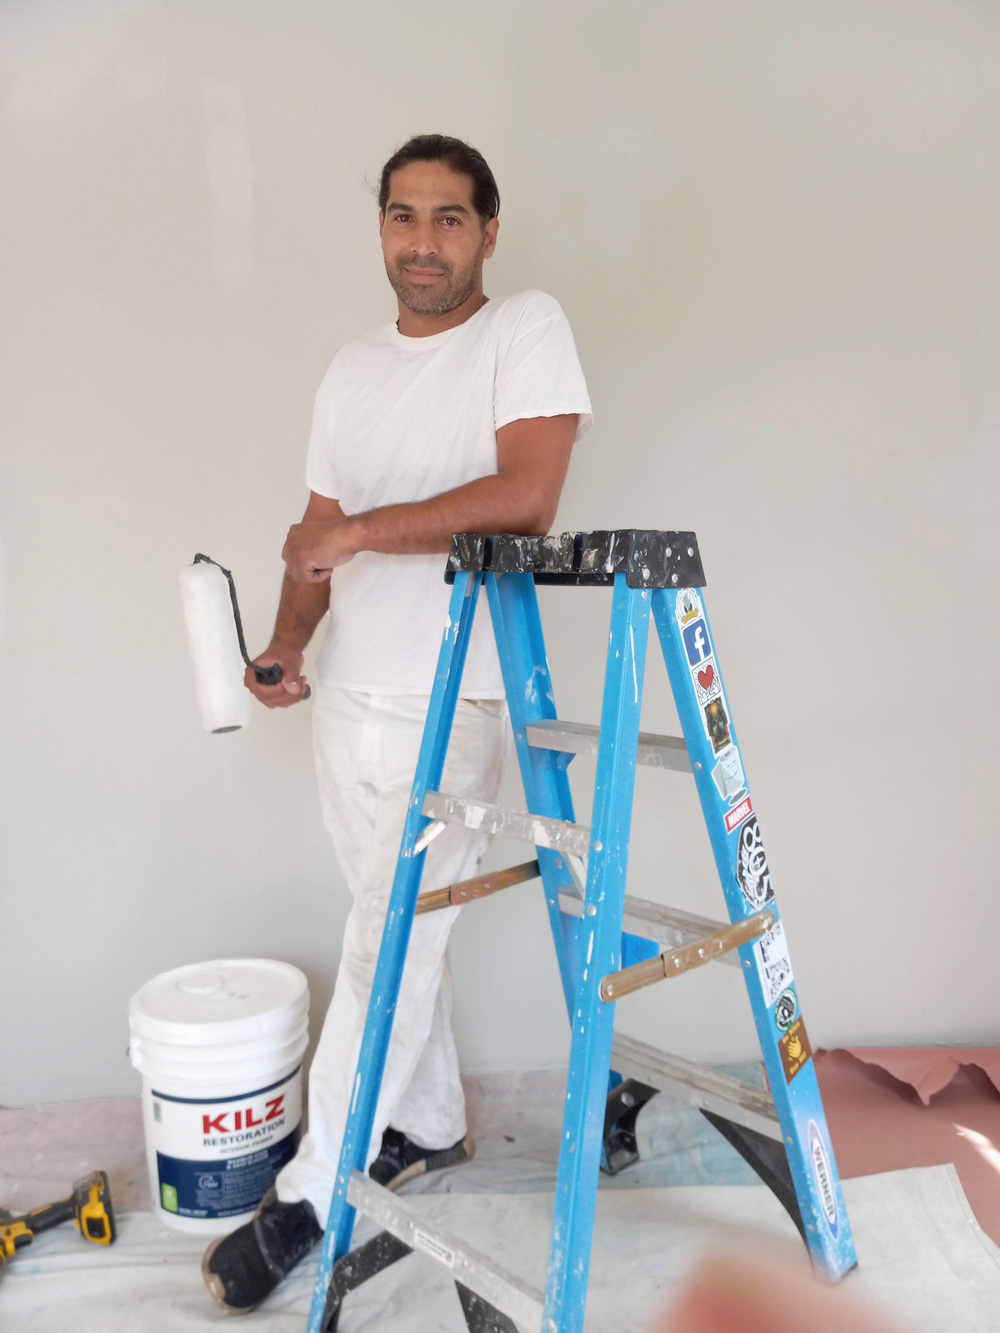
What projects do you (Daniel) enjoy the most?
Most of my projects are residential projects on the interior and exterior of the home. I like changing personal spaces. Kitchens, bedrooms, I really feel like color helps change the atmosphere and the feel of a space. Could make them feel more at home or open the space and that makes them feel good which makes me feel good.
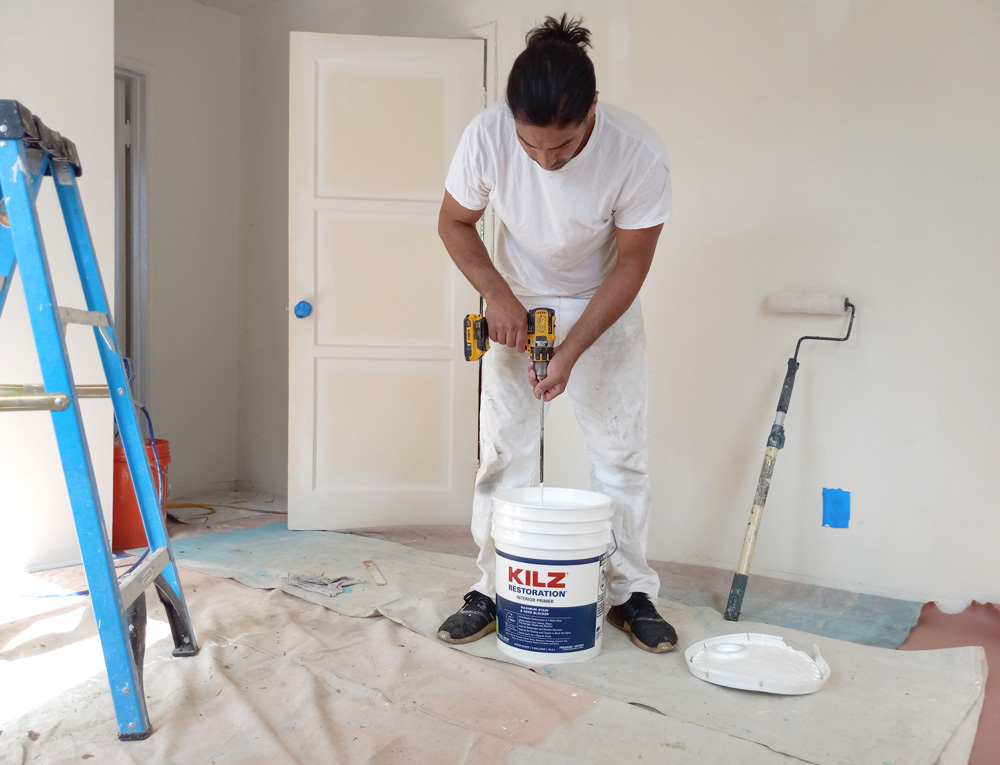
Why is a primer important and do you need to use a primer for every paint job?
Primer is the layer of protection that gives your paint a better base and grips to your paint as well as helps to bring out the true color of your paint. It is the best thing to do to make sure your job starts off with a clean canvas. Prime every time before you paint. Wash your walls, prime with a coat of primer and two coats of paint. This provides your wall with multiple coats of protection.
Why choose KILZ Primers?
KILZ Primer is available, front and center, at most hardware stores. It is my go-to brand because it’s available, trustworthy, and I can rely on it for all my projects. It impacts my reputation that I can paint once and create long lasting coverage that speaks volumes to my customers.
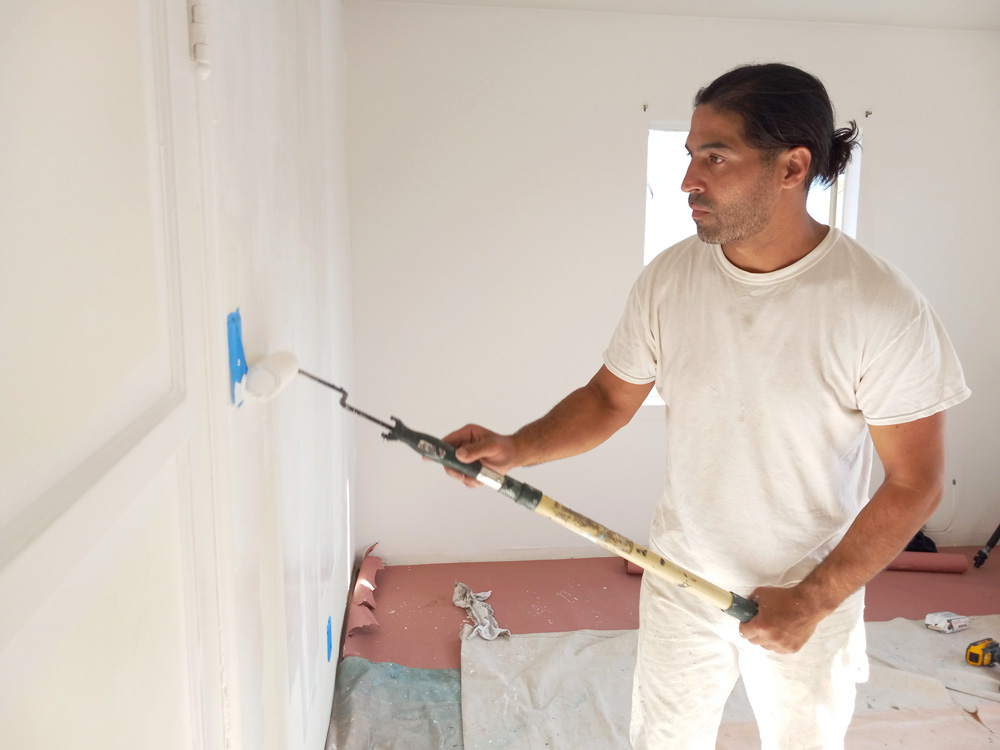
For people who aren’t sure, when would you spray, roll, or brush when applying primer and paint products?
It is all about the different textures. Sprayers will have the finest finish, rollers will leave the best texture for high traffic areas, and brush for smaller areas, touch-ups, and cutting in. Brushes and rollers leave the best texture for high-traffic areas. I like sprayer applications because you can get into every nook and cranny. Sometimes spraying in homes can be difficult due to over-spray and lingering odors. It is also the quickest method.
Why did you specifically choose KILZ Restoration® Primer for this job?
The previous tenant was a smoker and KILZ Restoration Primer helps block out the smoke smell and lingering odors in the ceiling and walls.
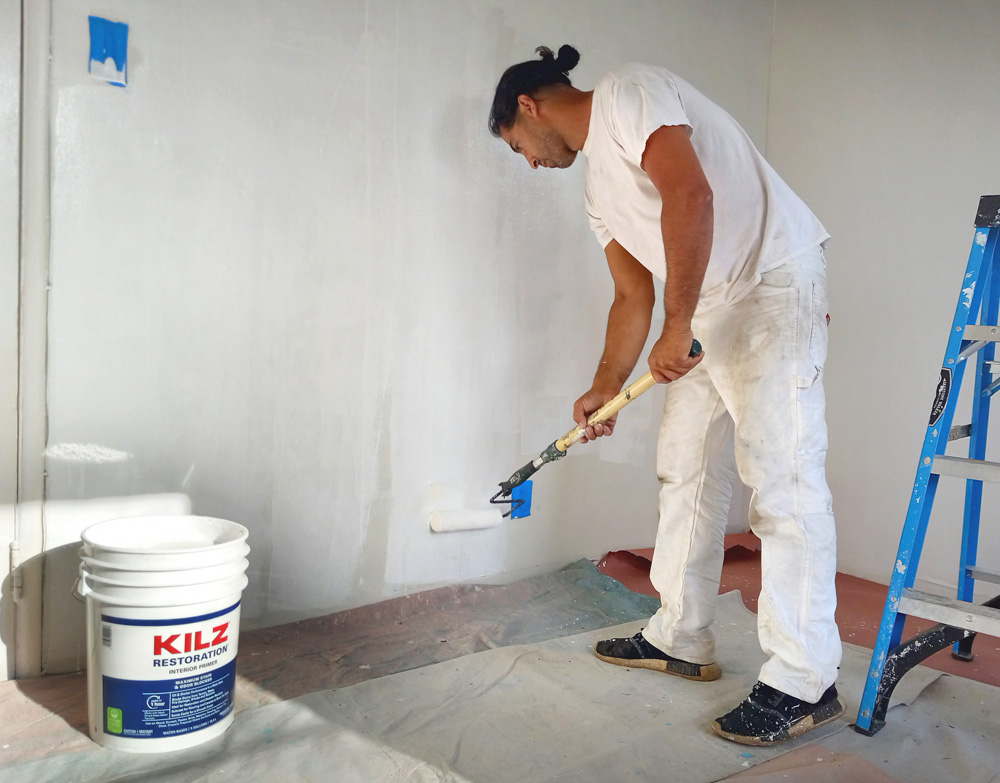
What general advice would you have for someone who has never done a DIY project?
1. Research – Most hardware stores have samples. Always pick up a few options and paint a section of the room. Get a feel for how the color works with the lighting in the space or the furniture in your home. The color may look nice in store but might not compliment the things you already own.
2. Be Prepared – Protect the space with drop cloths or plastic wrapping. Paint is like water and can get everywhere. Make sure you get everything out of the way and cover all the items you don’t want painted. A little bit of extra prep-work goes a long way.
3. Buying Product – In the past, I would always say go to the store and inspect everything in person, especially for first time DIYers. Since I am a professional painter, I know what types of tools I like to work with so I will order products online and while I wait for them to arrive, I use the time to do all my prep work. Masking the floor, covering the furniture, and putting all our drop cloths down in just the right place.
This is a paid partnership with Daniel Ruiz.
Always remember to refer to our website kilz.com or product back labels for additional information on which primer is right for your project and detailed instructions on how to apply our products. Check out our KILZ Coverage Calculator to understand your estimated paint needs for your upcoming project.
Ask the Pro: KILZ Restoration®
October 27, 2021
Here on The Perfect Finish, we have shared the importance of Primer in a variety of room transformation projects, from changing paint colors to painting kitchen cabinets. In this post, we are taking the conversation to a larger scale, looking at whole home renovations from a Pro’s perspective. We were excited to chat with Dustin Almquist, a contractor in Pennsylvania with experience in both real estate and property investment.
Dustin shares how KILZ Restoration® Interior Primer is vital to his whole home renovation jobs and why he believes a transformation of a whole house can change the perspective of the entire neighborhood. Read on to learn how he gets the job done right every time.
Tell us about your recent restoration job using KILZ Restoration Primer.
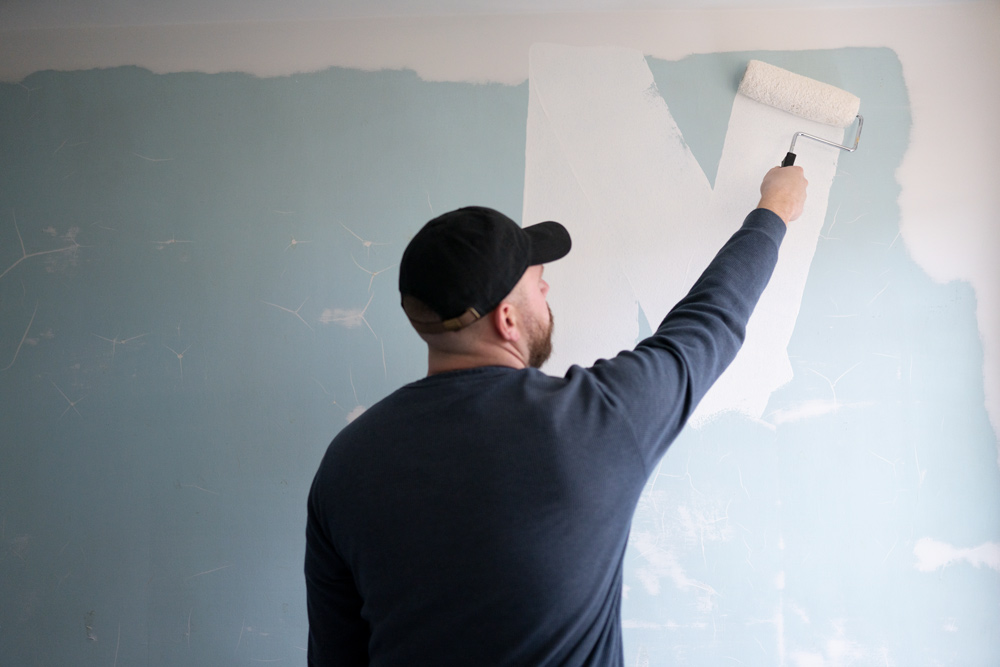
This project was a full house renovation. The last owners had the home for decades, and regular maintenance wasn’t done. It needed new electricity, plumbing, kitchen, bathroom, roof, windows, flooring, and of course primer and paint. The walls were old plaster that had some major cracking. After making extensive repairs, it was important to prep the walls for paint. Since many of the walls had old oil-based paint or paneling, it was important to use a primer that I could trust.
Why did you choose KILZ Restoration® Primer for this project?
This property is used as a rental. I wanted to ensure that I am getting a long-lasting, durable wall coating. When it is time for a topcoat, I need to know that I won’t have adhesion issues. KILZ Restoration® Primer gave me the security that a topcoat will apply evenly and have great adhesion. Additionally, the coverage of the old surface was going to need a serious primer. Using a lesser primer would have left me with exposed stains and old wall color bleed through.
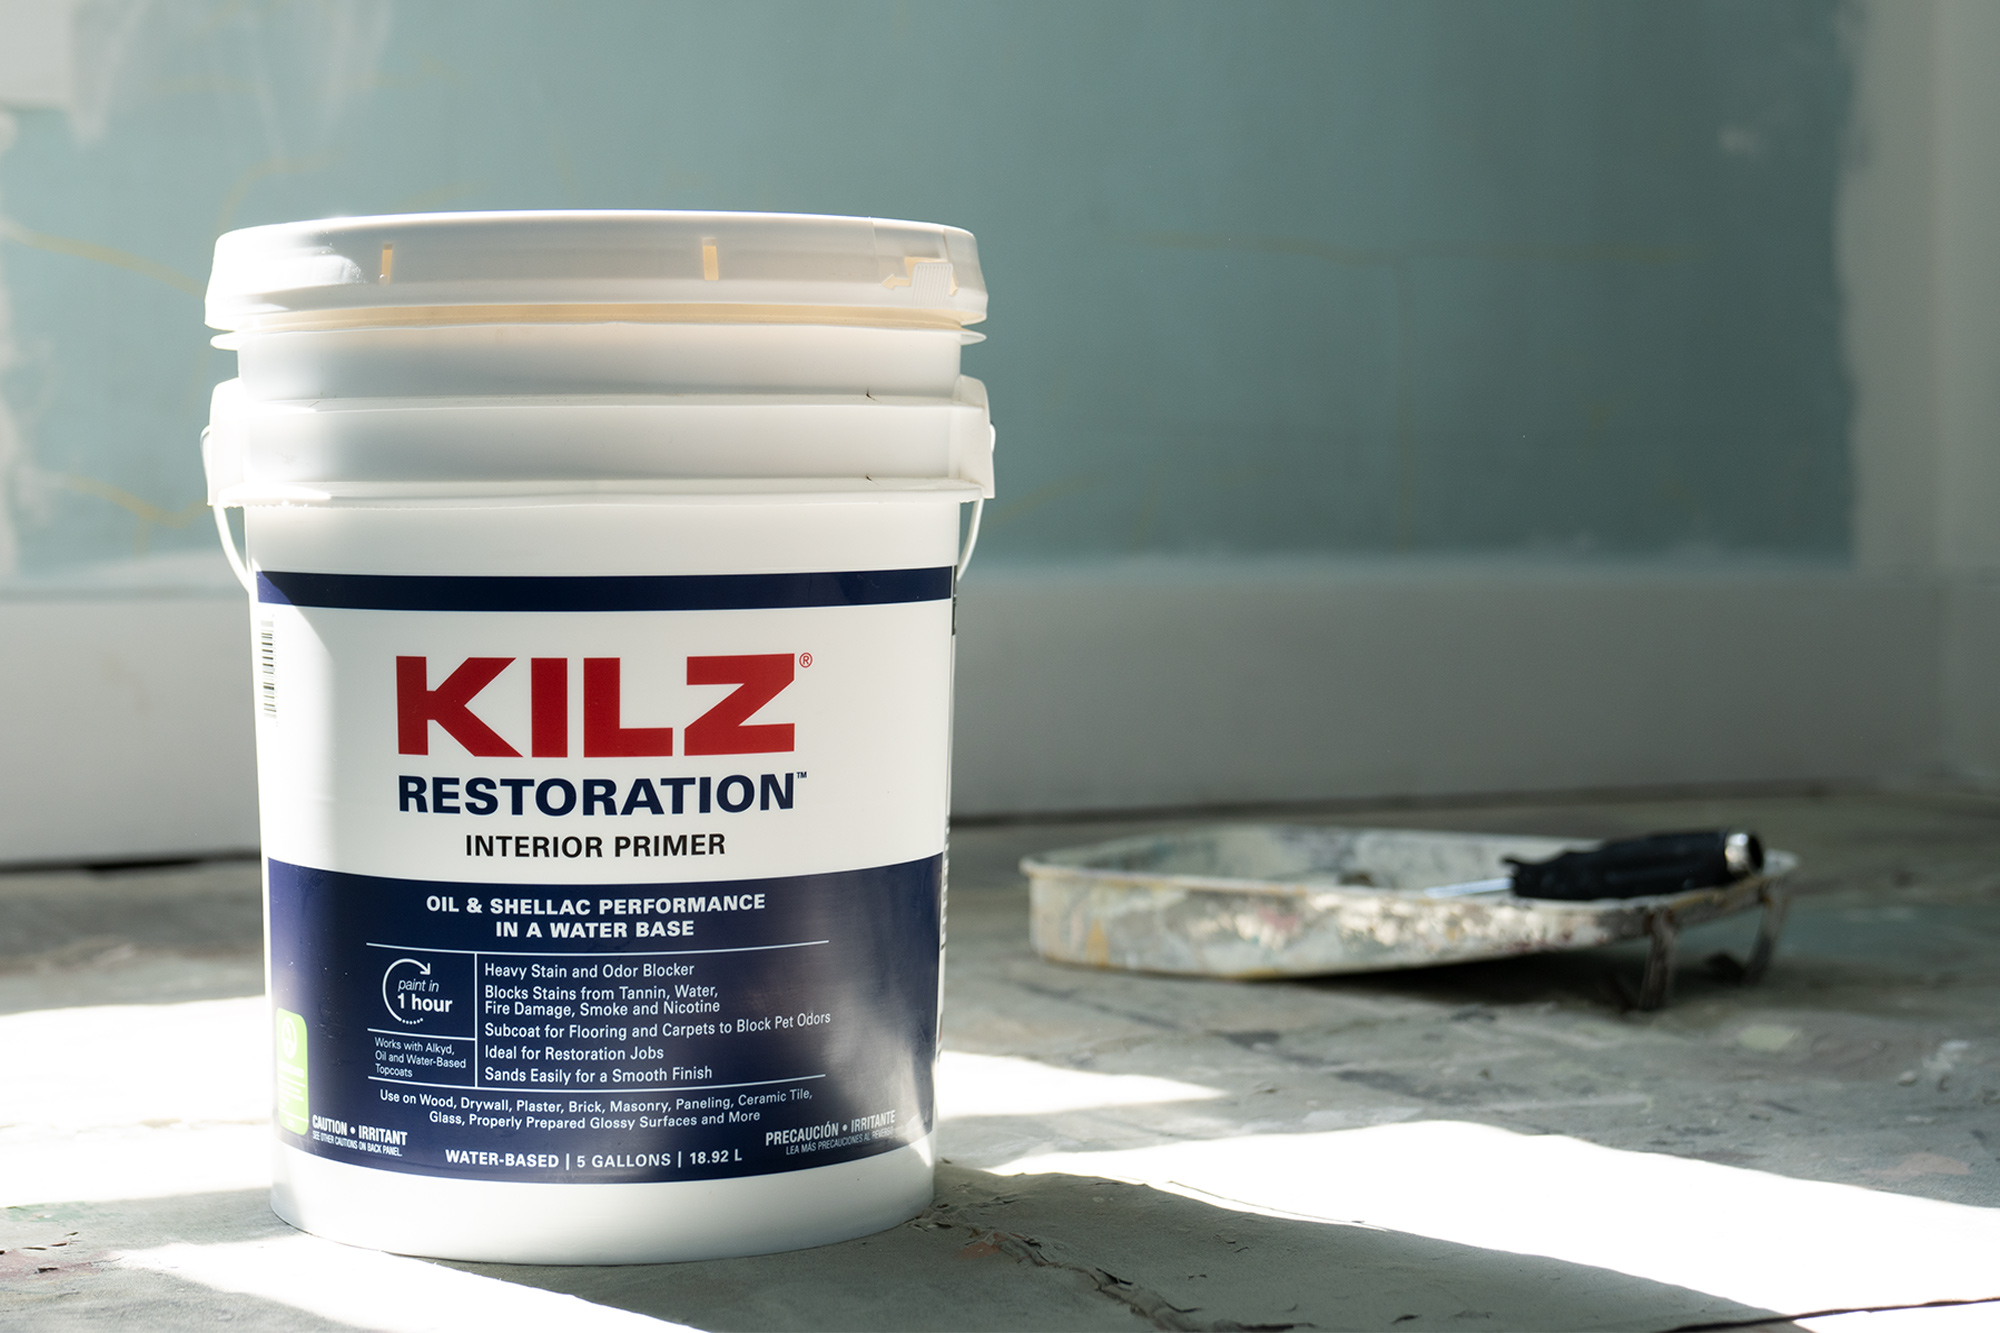
• KILZ Restoration® Interior Primer is a water-based primer, sealer, and stain blocker offering the performance of traditional oil and shellac-based primers. It tackles tough stains including heavy water damage, rust, smoke, nicotine, grease, tannin, ink, pencil, felt marker, pet stains, and more.
What benefits did it bring to the job that another primer might not?
KILZ’s reputation of quality products is second to none and KILZ Restoration® Primer is the real deal. The old oil-based paint on the walls had some small cracks and splitting, but it was no match for the Restoration Primer. It is quite thick, so it filled those problem areas, yet still dried evenly and smoothly.
Where did you use KILZ Restoration® Primer at the project site?
The whole home! The house contained three bedrooms, a bathroom, kitchen, dining room, and living room.
Have there been any other projects when KILZ came to the rescue?
I am currently working on another rental property in the same town. The entire interior needs to be painted. Again, since this house will be used as a rental, I want to trust that the work I do today can last for years to come. I have primed the entire house using an array of KILZ primers.
Would you recommend using KILZ primers for any project?
I have yet to be disappointed in any use of KILZ primers. Each application has provided me with the results I need.
Do you have any other tips for a home restoration project?
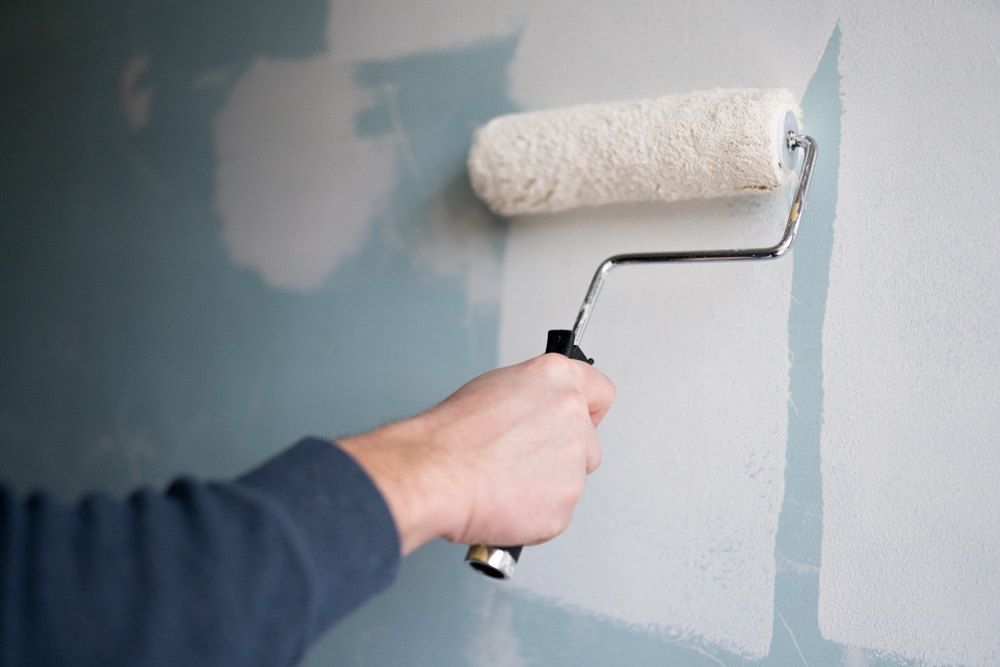
Make sure to plan! When you get into restoration, time is money. It is so tempting to take shortcuts to save yourself time. Many people don’t think about the amount of time in the future they are costing themselves when taking those shortcuts. Take the time to do the work correctly the first time. It will pay dividends tomorrow!
What additional tools would you need to get the job done?
Paint sprayers, pans, rollers, roller covers, brushes, scrapers, extension poles, drop clothes, painters’ tape, buckets, ladders, rags, caulks/sealants, brush cleaner, paint thinner, stir sticks. You name it! It seems like you always run out of something right when you need it.
Always remember to refer to our website kilz.com or product back labels for additional information on which primer is right for your project and detailed instructions on how to apply our products.
Odor Blocking Primers for Fresh as Spring Painting Projects
March 16, 2020Spring brings new beginnings and is often the perfect time to tackle a painting project you’ve been putting off. If you have a room renovation project that includes the added challenge of ridding the space of stale smells or bad odors, KILZ® Primers can help. From pet odor to the lingering smell of smoke (even long after the smoker is gone!), unpleasant odors can get stuck in your home and seem near impossible to remove.
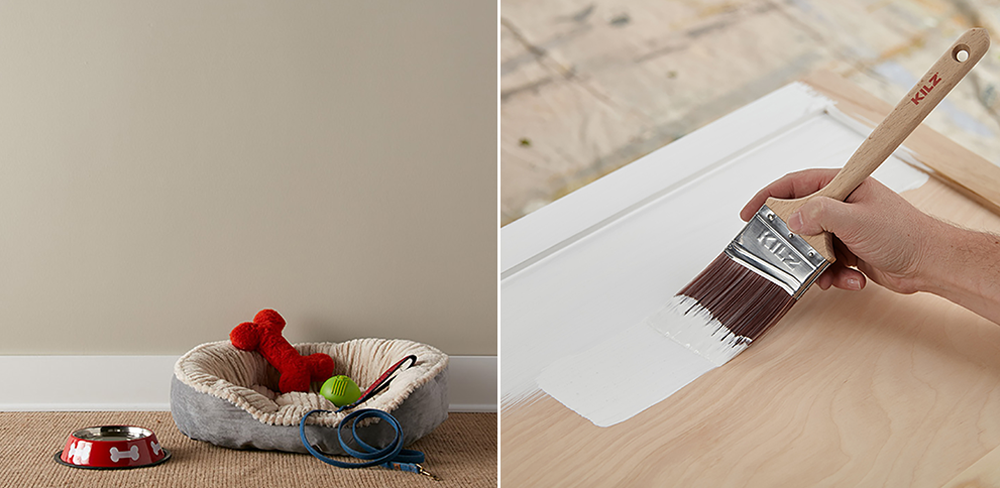
Odor may penetrate fresh paint, so simply repainting the walls will likely leave you with a still smelly space. For a room that looks and smells as fresh spring, we recommend priming before painting. Priming provides a barrier that prevents odor from penetrating fresh paint and KILZ offers several primers with the ability to block medium to severe odors. So which primer is right for your project?
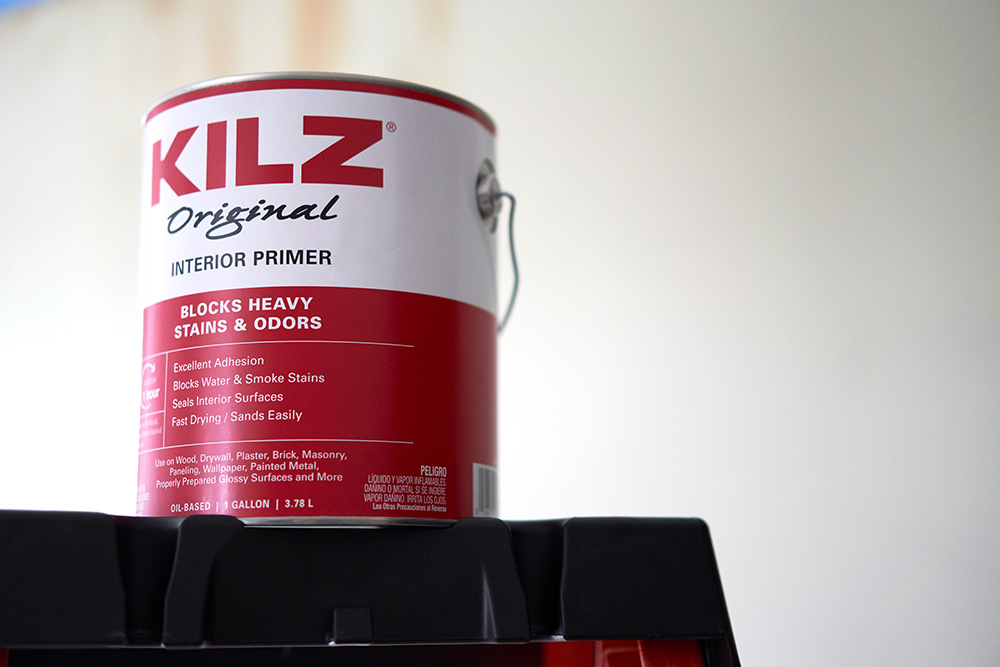
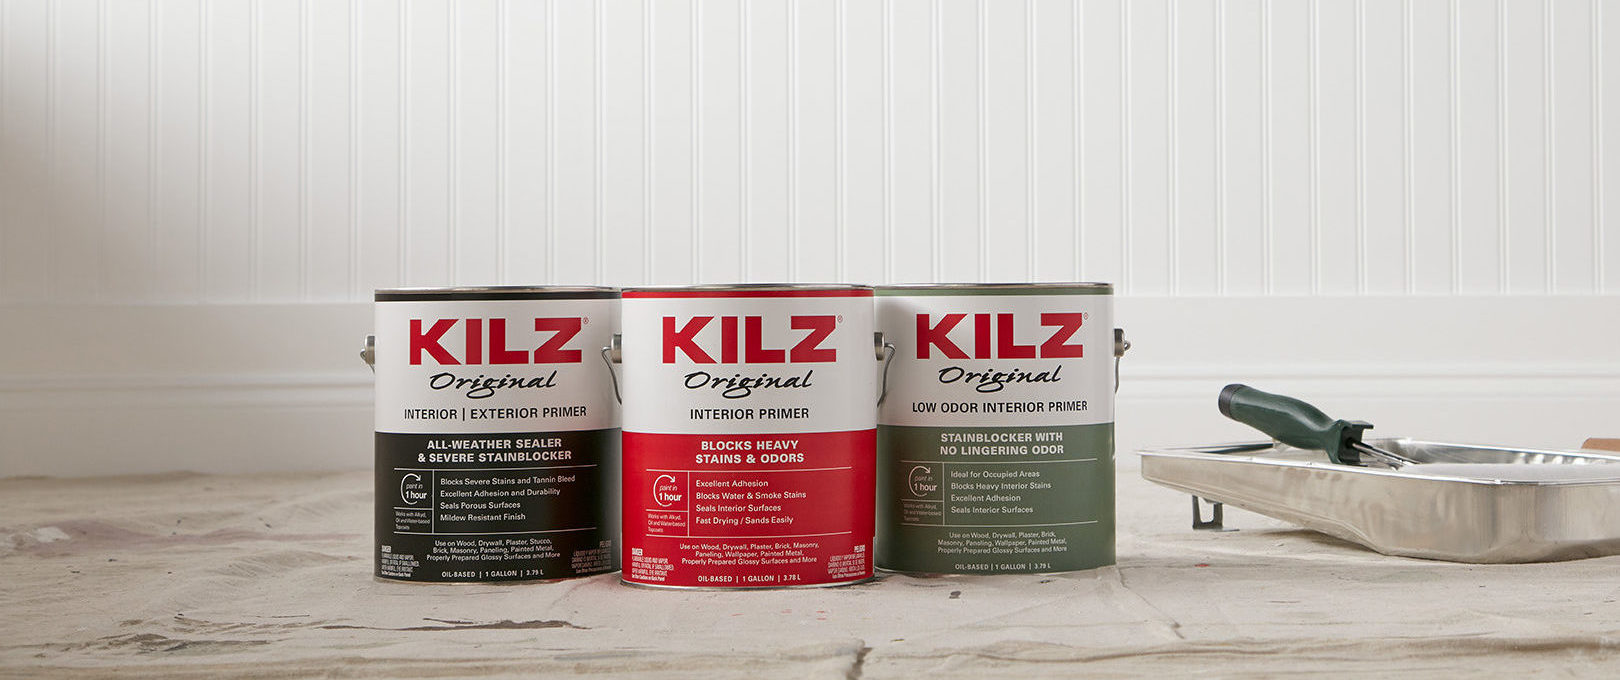
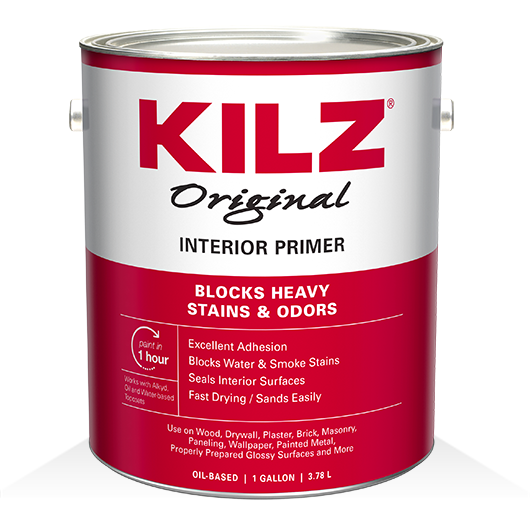
If you’re looking for a heavy-duty odor blocking primer, KILZ® Original primer is a great choice. Trusted by pros for over 40 years, it has excellent sealing properties and can block heavy odors and stains.
Working on a project outdoors? KILZ® Original Interior | Exterior primer offers the heavy-duty power of KILZ Original in an all-weather formula with excellent adhesion to both interior and exterior surfaces.
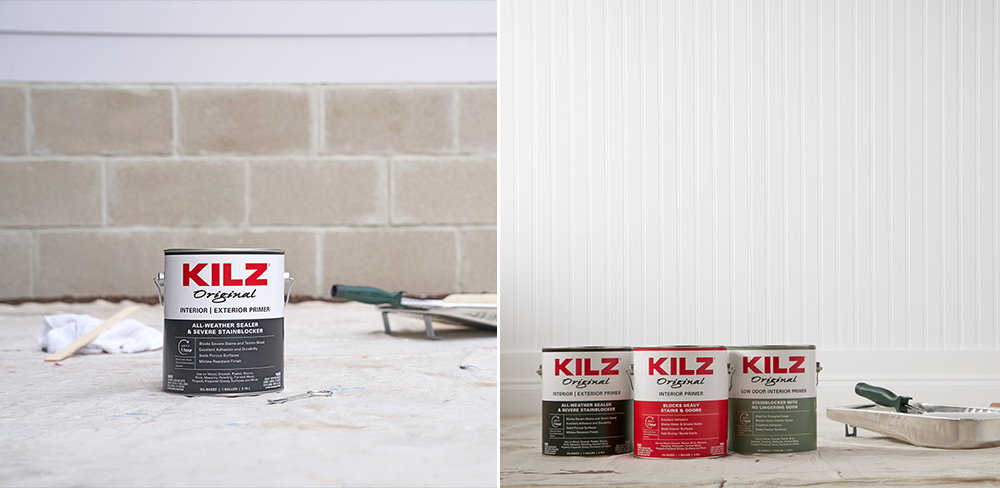
For spaces or areas that might be sensitive to solvent odors, KILZ® Original Low Odor is an interior oil-based stain and odor blocking primer that puts off less odor than typical oil-based primers.
Looking for a water-based primer? KILZ Restoration® is a new generation water-based primer, sealer and stain blocker that offers the performance of traditional oil and shellac-based primers. It tackles tough stains and seals persistent pet, food and smoke odors. It can also be used to block odors from subfloor when replacing carpet or wood flooring.
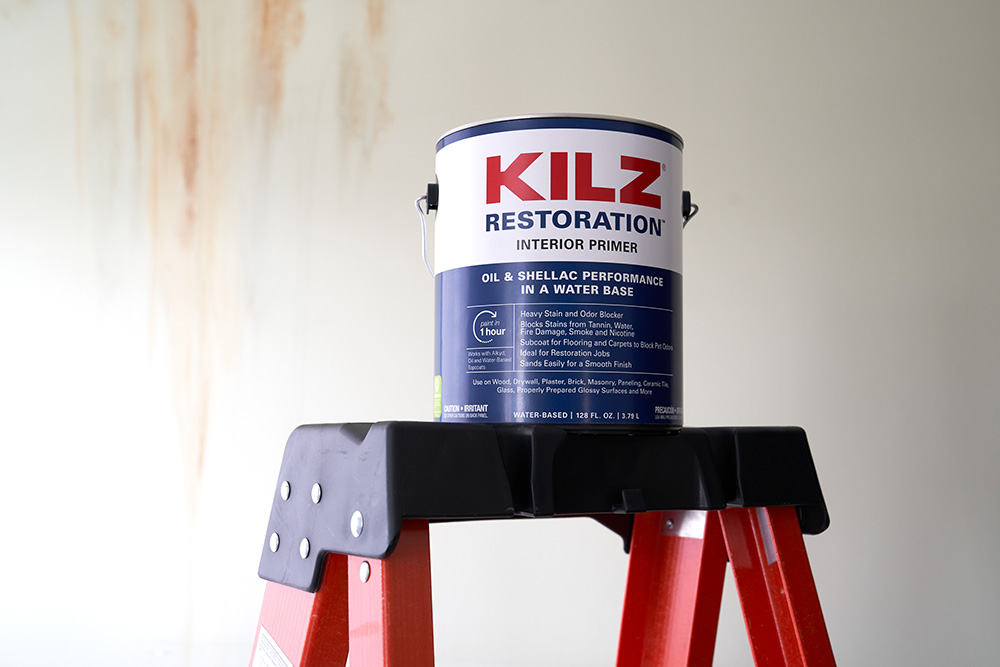
If your next painting project includes tackling lingering odors, you can breathe easy knowing that KILZ primers can help you get the job done.
Always remember to refer to our website kilz.com or product back labels for additional information on which primer is right for your project and detailed instructions on how to apply our products.
How to Choose the Right Primer for Your Paint Project
January 31, 2020Do your New Year’s resolutions include taking on that painting project you’ve been putting off? Or maybe you have a list of several different DIY home improvement projects on your list to complete in 2020. No matter the size or scope of your project, taking the time to do proper prep work will ensure results that you can be proud of for years to come. Prep can seem like a time-consuming extra step, but trust the pros, it’s worth the time spent.
If your next DIY venture includes painting, the first step is choosing the right primer for your project. The KILZ® brand offers a family of primers to help you complete a wide range of painting projects and tackle a wide variety of common painting problems. With so many primers to choose from, how do you know which is right for your project? To start, assess the type of surface you will be painting.
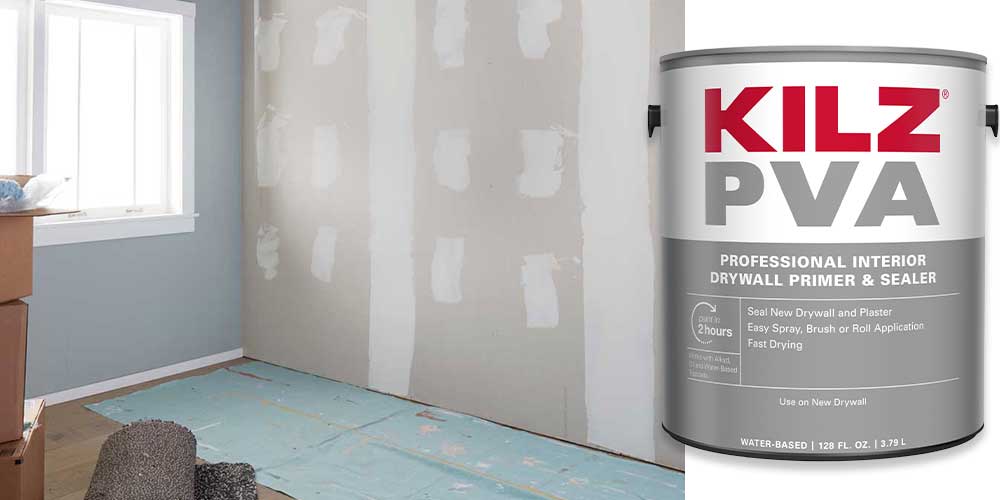
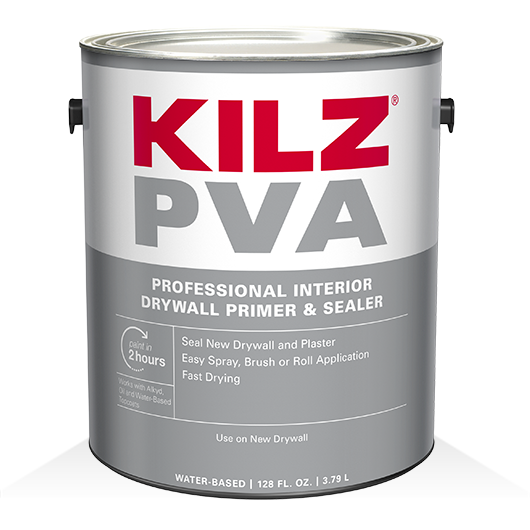
If you just moved into a new house or completed an addition and you’re painting new drywall, KILZ® PVA Drywall Primer or KILZ® 1 Standard Interior Primer are both made for the job.
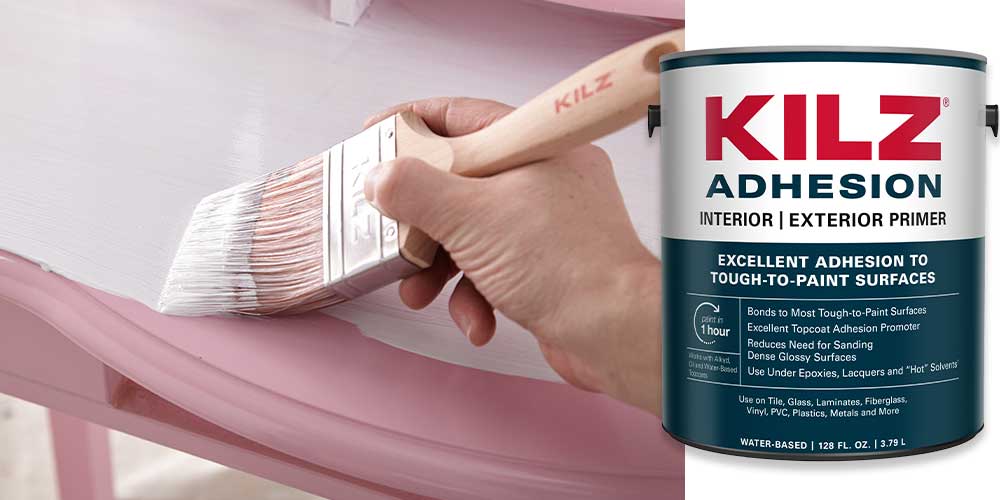
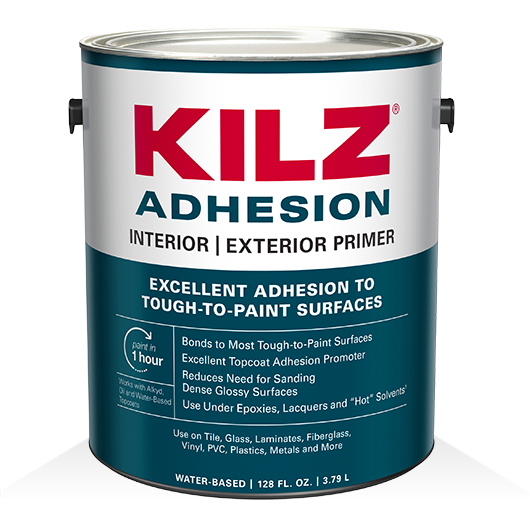
Perhaps you’re painting a surface that ordinary paint might not stick to, such as a slick glossy surface, aluminum, vinyl, ceramic tile or glass. In that case, KILZ® Adhesion Interior/Exterior Primer is an excellent choice.
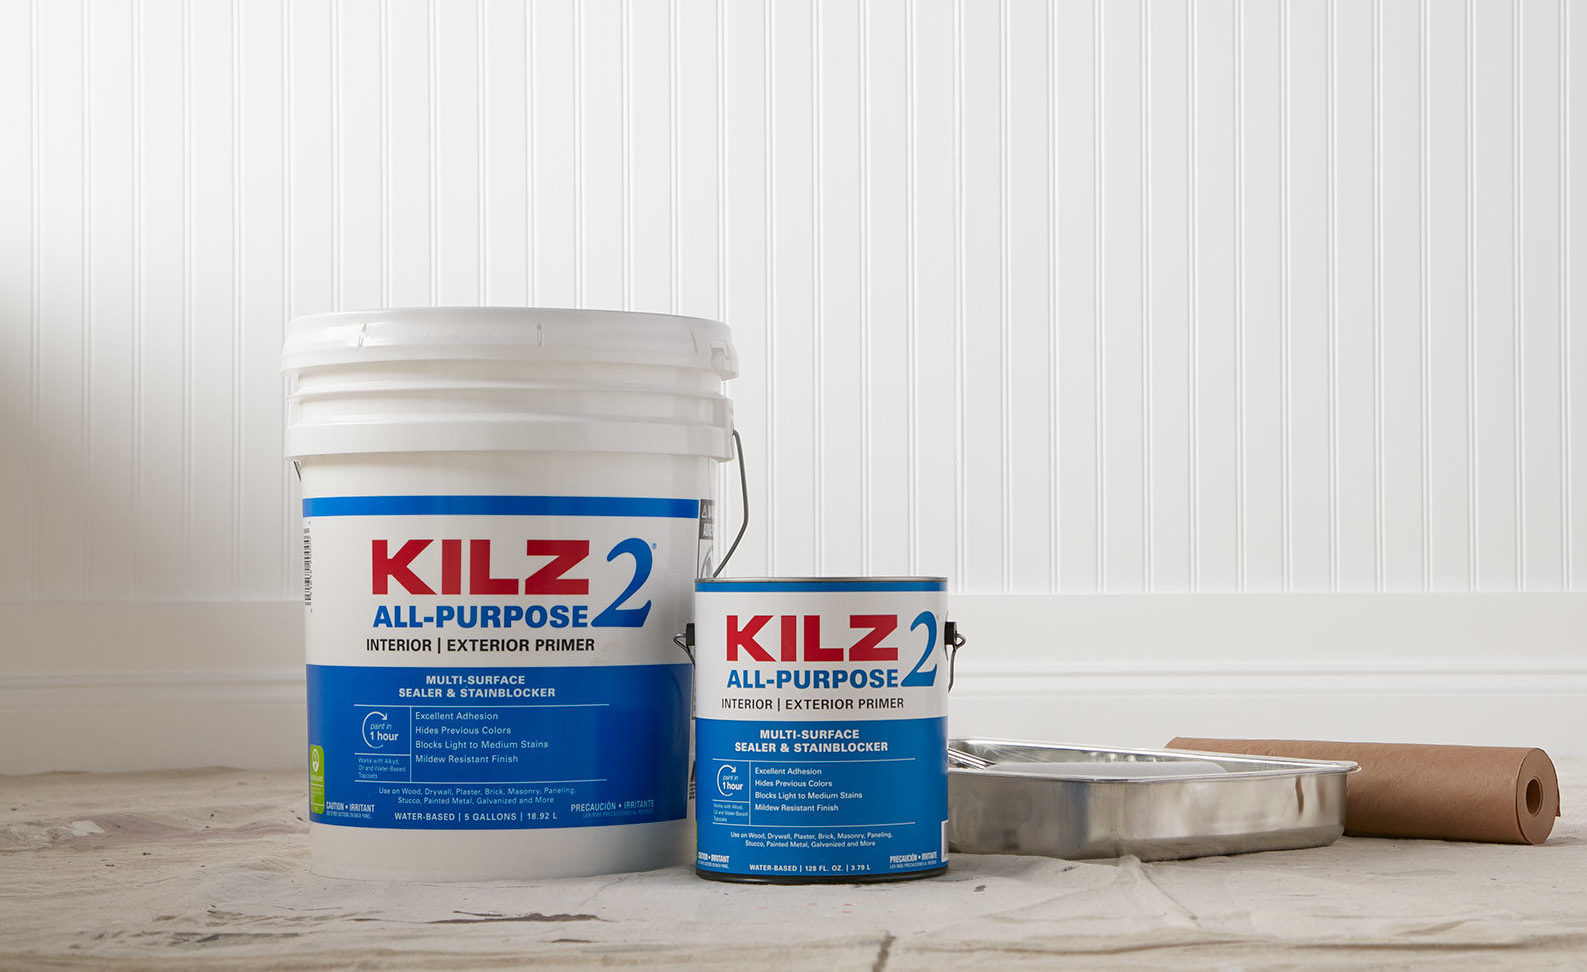
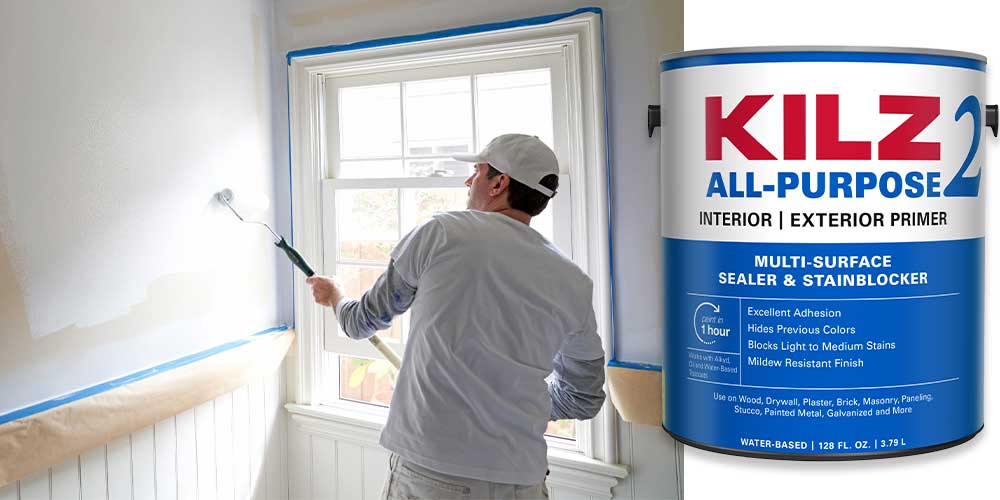
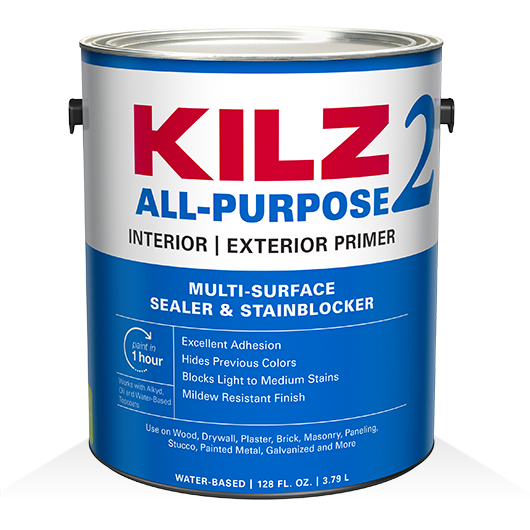
Pro painters and DIYers alike are often in need of a primer that offers multiple surface solutions – which is why KILZ 2® All-Purpose Primer is the choice of many! A fast drying, water-based multi-surface primer-sealer-stain blocker, it offers excellent adhesion, a mildew resistance primer film and can block light to medium stains like felt marker or minor water stains. It’s also a good choice for a simple color change, to ensure the truest color from your new topcoat.
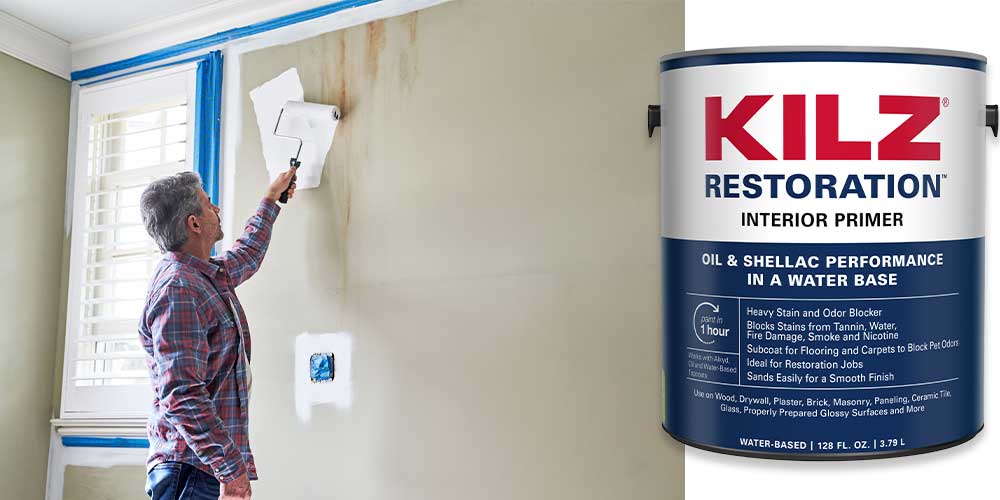
And for projects that require even heavier lifting, KILZ Restoration™ offers the performance of a traditional oil-based primer in a water-based formula and can tackled the toughest odors, stains and even fire damage.
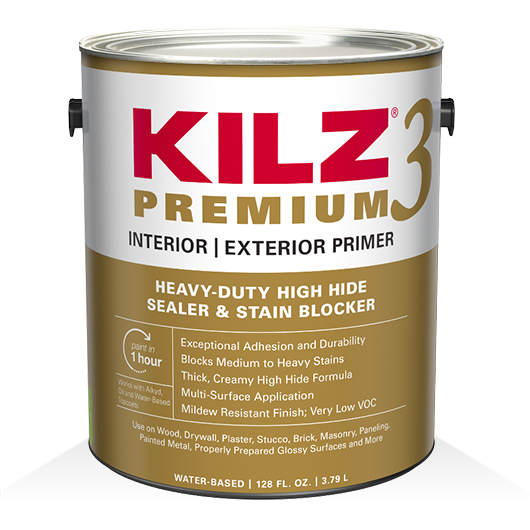
For those taking on more complex projects, including blocking smoke or pet odors, covering dark paint colors or heavy stains, there is a KILZ® Primer for you too! KILZ 3™ Premium is one of our more heavy-duty and high hiding formulas, making it ideally suited for blocking old dark colors or covering substantial stains.
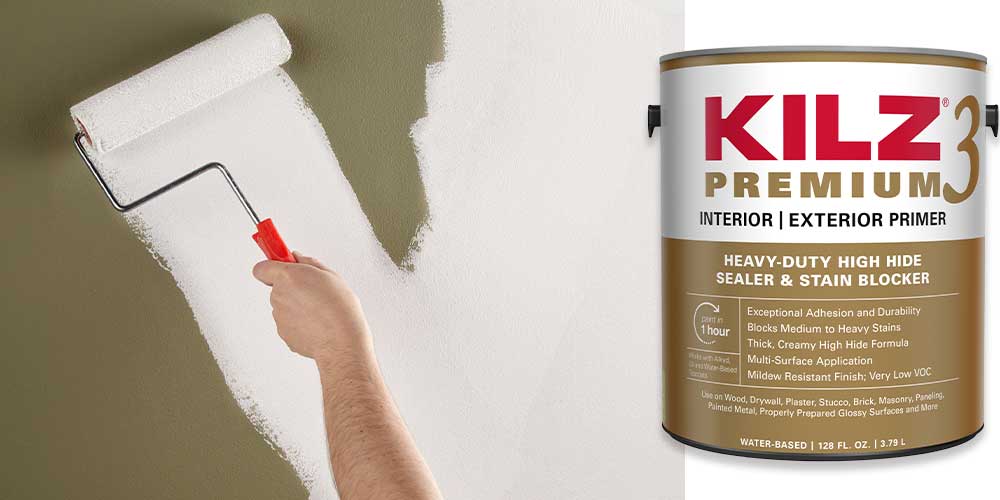
If you’re still unsure what primer to use for your next project, answer these simple questions below and don’t be afraid to ask a friendly pro at your local hardware or home improvement store for help.
Choosing the Right Primer:
- Identify the surface type you will be painting.
- Assess any problems you need to tackle, such as stain or odor blocking, and determine the severity of the issue.
- Take into account any unique scenarios like needing a mildew resistance finish coat (good to keep in mind when painting moisture prone areas like bathrooms and laundry rooms), or if you’re covering a dark paint color with a new lighter hue.
Always remember to refer to our website kilz.com or product back labels for additional information on which primer is right for your project and detailed instructions on how to apply our products.
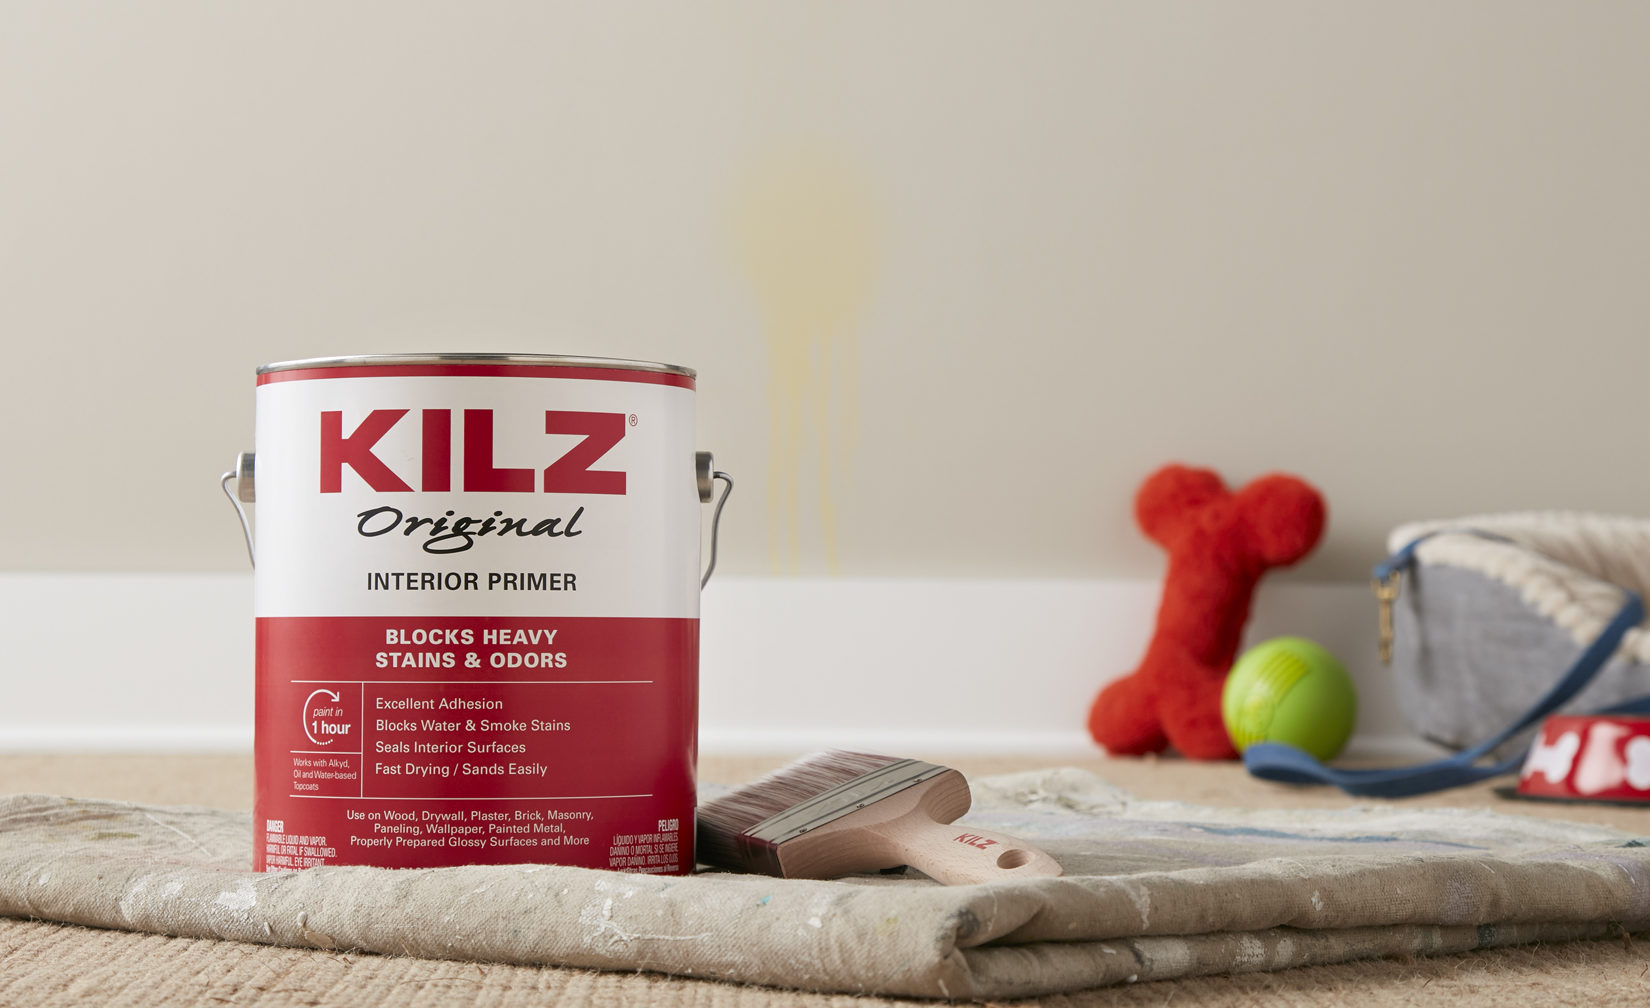
Seal & Block Odors
August 26, 2019There is a lot to love about pets and the KILZ brand loves furry friends. That’s why we’re excited to celebrate National Dog Day on August 26! In honor of the upcoming holiday, we thought it was a great time get real about odors – pesky pet odors that is.
While more than a few KILZ brand team members share our homes with dogs or cats, no one likes their home filled with unpleasant stains or odors left accidentally by the family pet. Seemingly hard surfaces in your home including floors and walls can actually absorb stains and smells, making it that much harder to get your place smelling and looking fresh after the dog has made a mess. Luckily, there are KILZ® Primers formulated specifically to seal and block odors.
Simply painting over a blemished wall won’t always do the trick and you can be left with stains (and smells!) seeping through. Using the right primer before painting over a pet stain helps with providing a barrier that keeps odor from penetrating the new paint. A great choice for this purpose is KILZ® Original primer. Trusted by professional painters for over 40 years to tackle the toughest odors, this hardworking primer helps to block most heavy interior stains including water, smoke, tannin, ink, marker, pet stains and more. And if you’re looking for a water-based primer that can help seal and block odors, KILZ Restoration™ primer is a top pick.
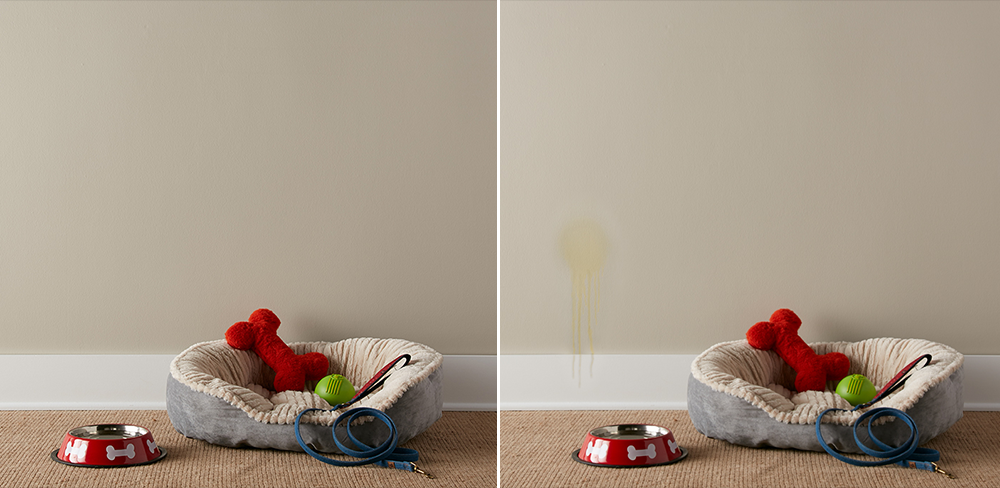
If you’re in need of ridding your home from unpleasant stains and odors, keep on reading. We’re sharing the simple steps below to tackle odors, repaint and leave your home fresh as new!
Steps to Seal & Block Odors:
Step 1:
Wipe down the wall with a damp cloth to ensure it is clean and free of dust. Allow the surface to dry. Ensure adequate cross-ventilation prior to priming.
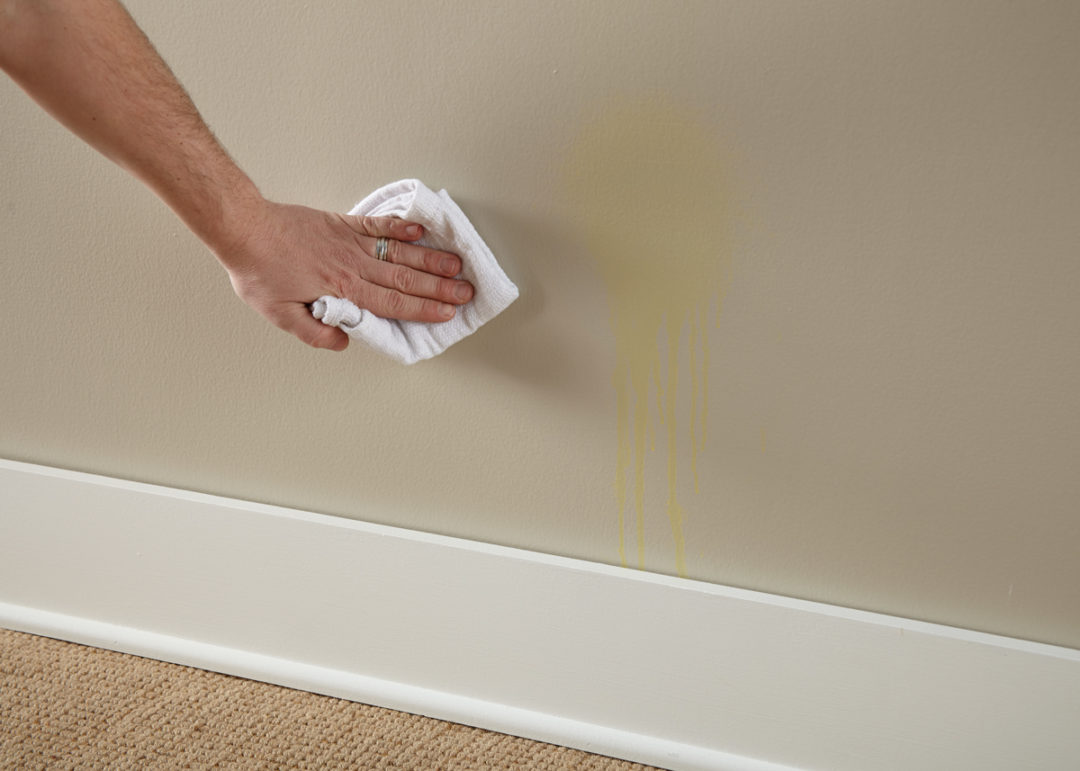
Step 2:
Tape around any baseboards, trim and moldings.
Step 3:
To seal and block pet odors and stains, apply KILZ® Original primer. Stirring prior to and during use, apply primer using a brush first to “cut in” around the edges, then use a roller to fill in.
Step 4:
Once primer is dry (allow 1-hour dry time), apply a fresh coat of paint using the same application method as the primer – using a brush first to cut in around the edges 4 to 6 feet at a time, then use a roller to fill in those sections before moving along.
Step 5:
Remove tape prior to paint fully drying and your work is done.
Prep Mildew Prone Areas Like a Pro
August 6, 2019Professional painters know that priming can be a crucial step for any paint project. Whether you’re painting fresh drywall or looking to hide a previous wall color, a primer should always be properly applied before your topcoat. The necessity of this prep step is even more advantageous in mildew prone areas like kitchens, bathrooms and laundry rooms. These rooms often have excessive moisture making mildew a common problem, and simply painting over the issue is only a temporary solution.
For results that last, a primer created with specific mildew-resistant properties is what professionals often choose. The last thing you want is a mildew ridden kitchen or smelly bathroom and KILZ® primer is here to help with professional tips for ensuring a mildew-resistant finish on your next paint project.
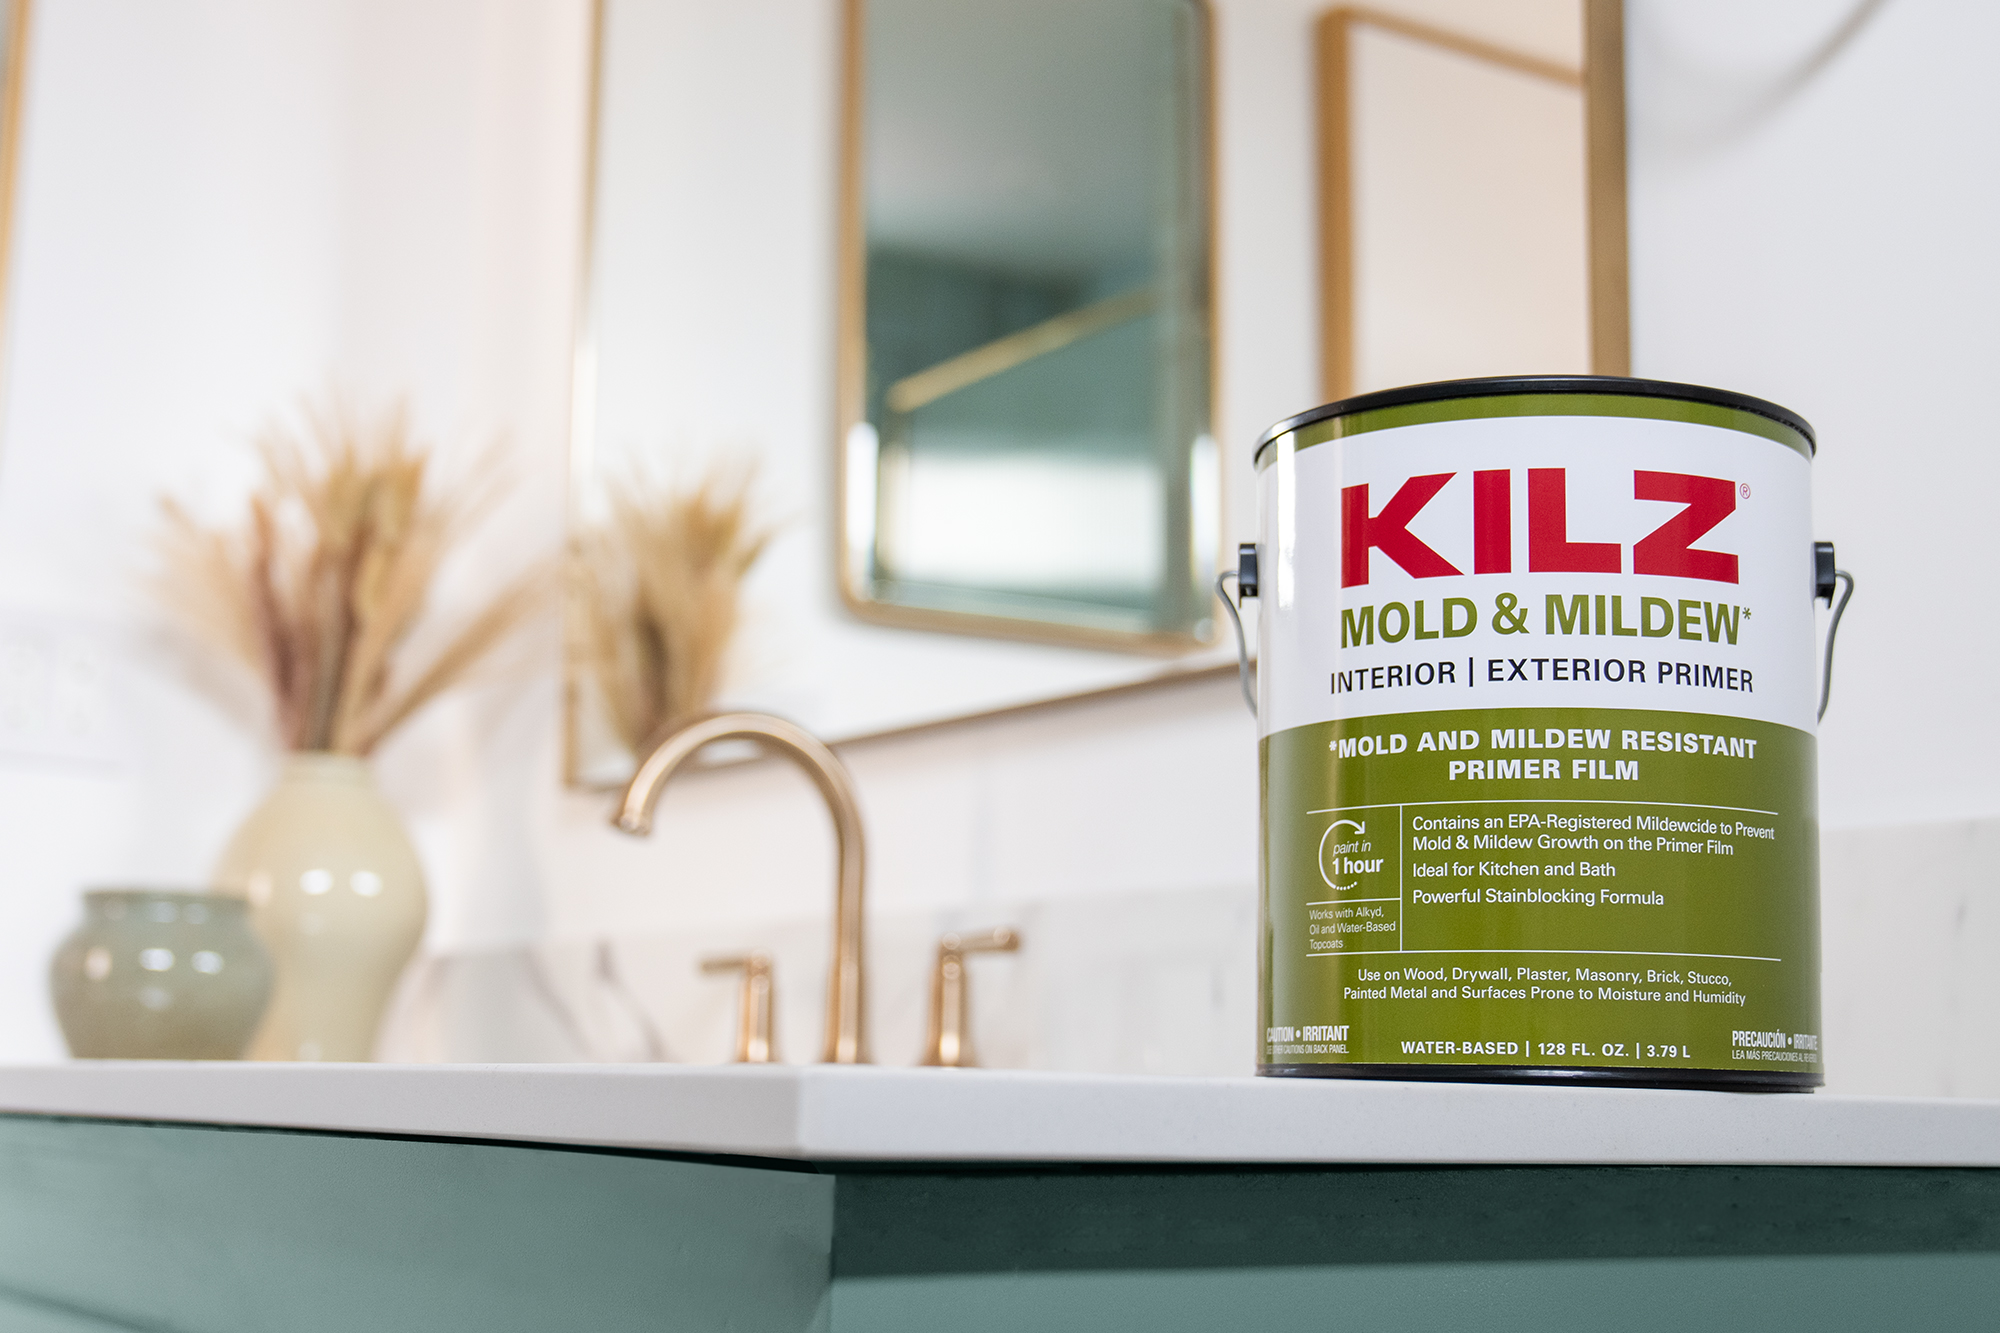
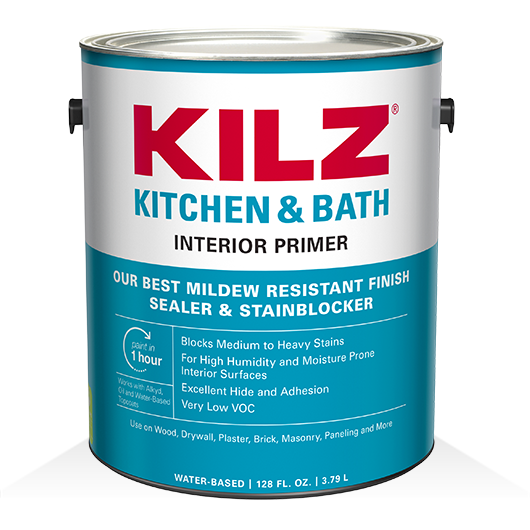
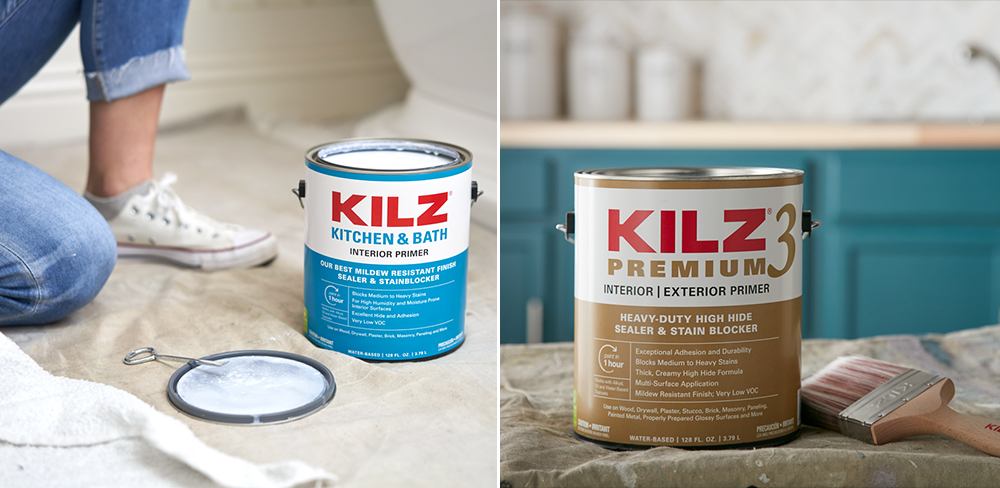 First things first, start by choosing the right primer. KILZ® Kitchen & Bath is specially designed for high-humidity and moisture-prone rooms like kitchens, laundry rooms and bathrooms. It has an enhanced mildew-resistant film that protects the primer from mildew growth. Another professional quality choice is KILZ 3™ Premium. Formulated for both interior and exterior use, this water-based primer works well for a variety of home improvement projects.
Now you’ve got the right primer, what’s next? Start by cleaning any existing mold or mildew off the surface you’re going to be priming and painting. Once the surface is fully dry, it’s time to prime!
For results that last, a primer created with specific mildew-resistant properties is what professionals often choose.
3 Secrets to Stain Blocking
June 10, 2019Simply put, stains are a pain. From a marinara sauce splatter on your white pants to a water leak that ruins your once pristine living room wall, stains are often tough to tackle. When it comes to painting over stained walls, you might think that a quick coat of paint will do the trick. But you’ll likely be left with a stain seeping through the new topcoat.
Professional painters know the secrets to successful stain blocking, and it all starts with primer. Don’t know which primer to use? That’s where we come in! We know more than a few professional painters, and we’ve collected their secrets to stain blocking.
Secret #1 – Not All Stains Are Created Equal:
The key to successful stain blocking starts with assessing what kind of stain you’re dealing with.
Light Stains:
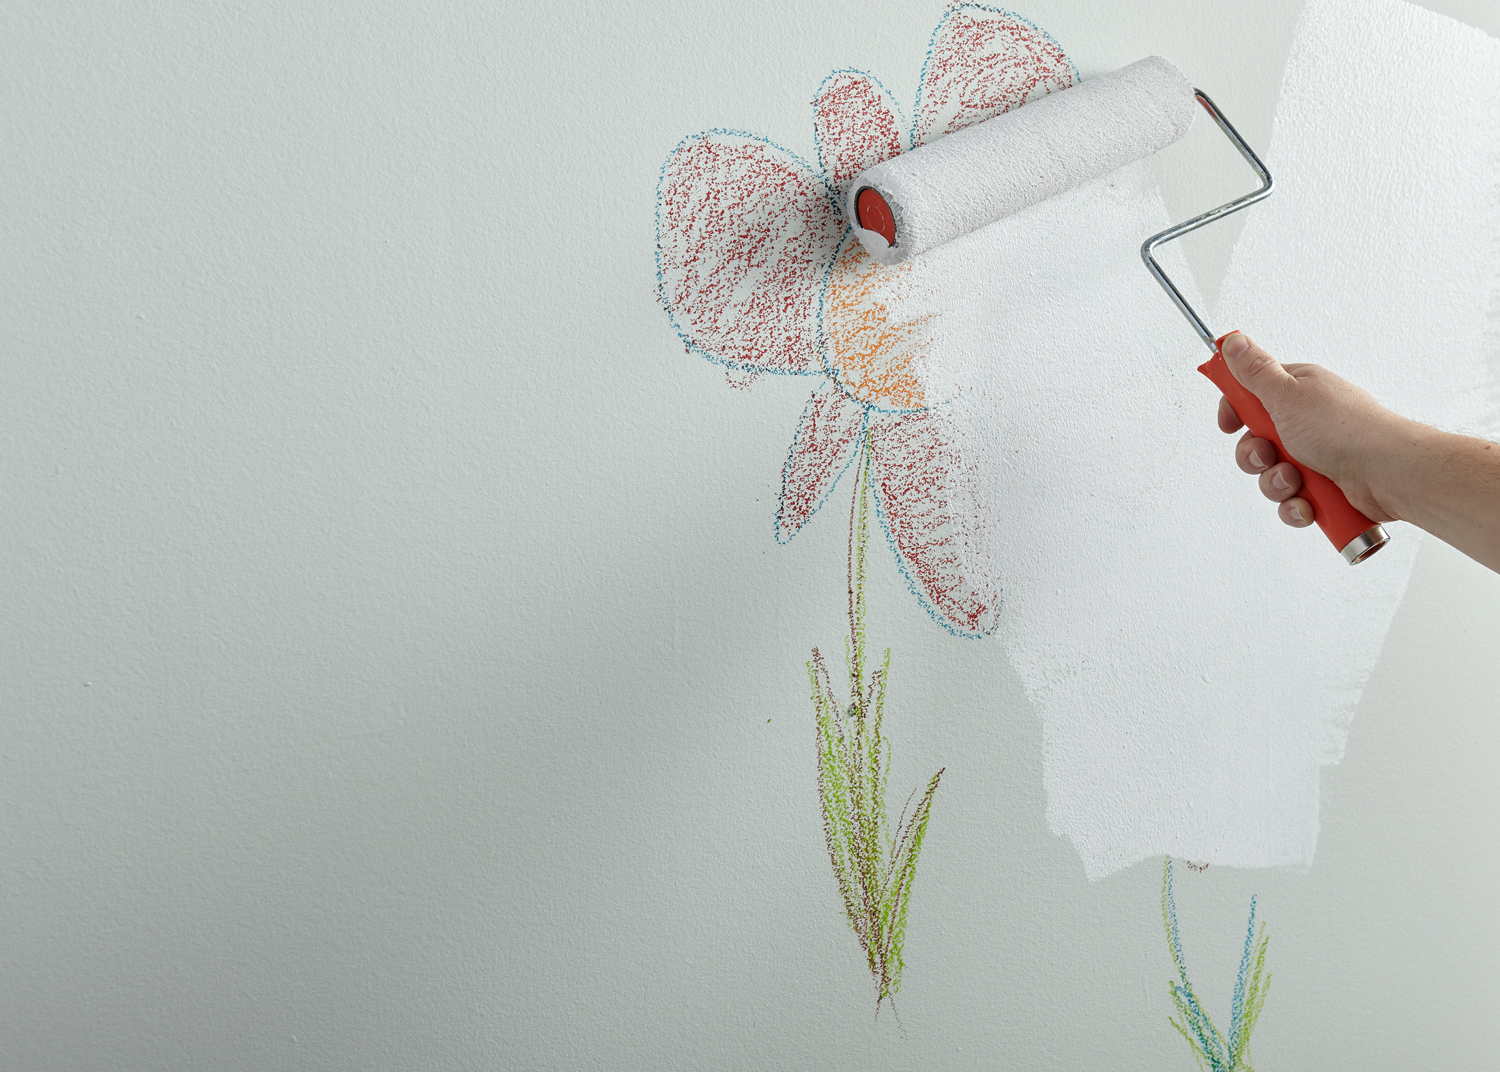
If you’re dealing with a light stain like scuff marks, pencil or crayon, you definitely still want to cover with a coat of primer before applying fresh paint. KILZ 2® All-Purpose is a great choice for blocking light stains – it’s fast drying and will get the job done!
Heavy Stains:
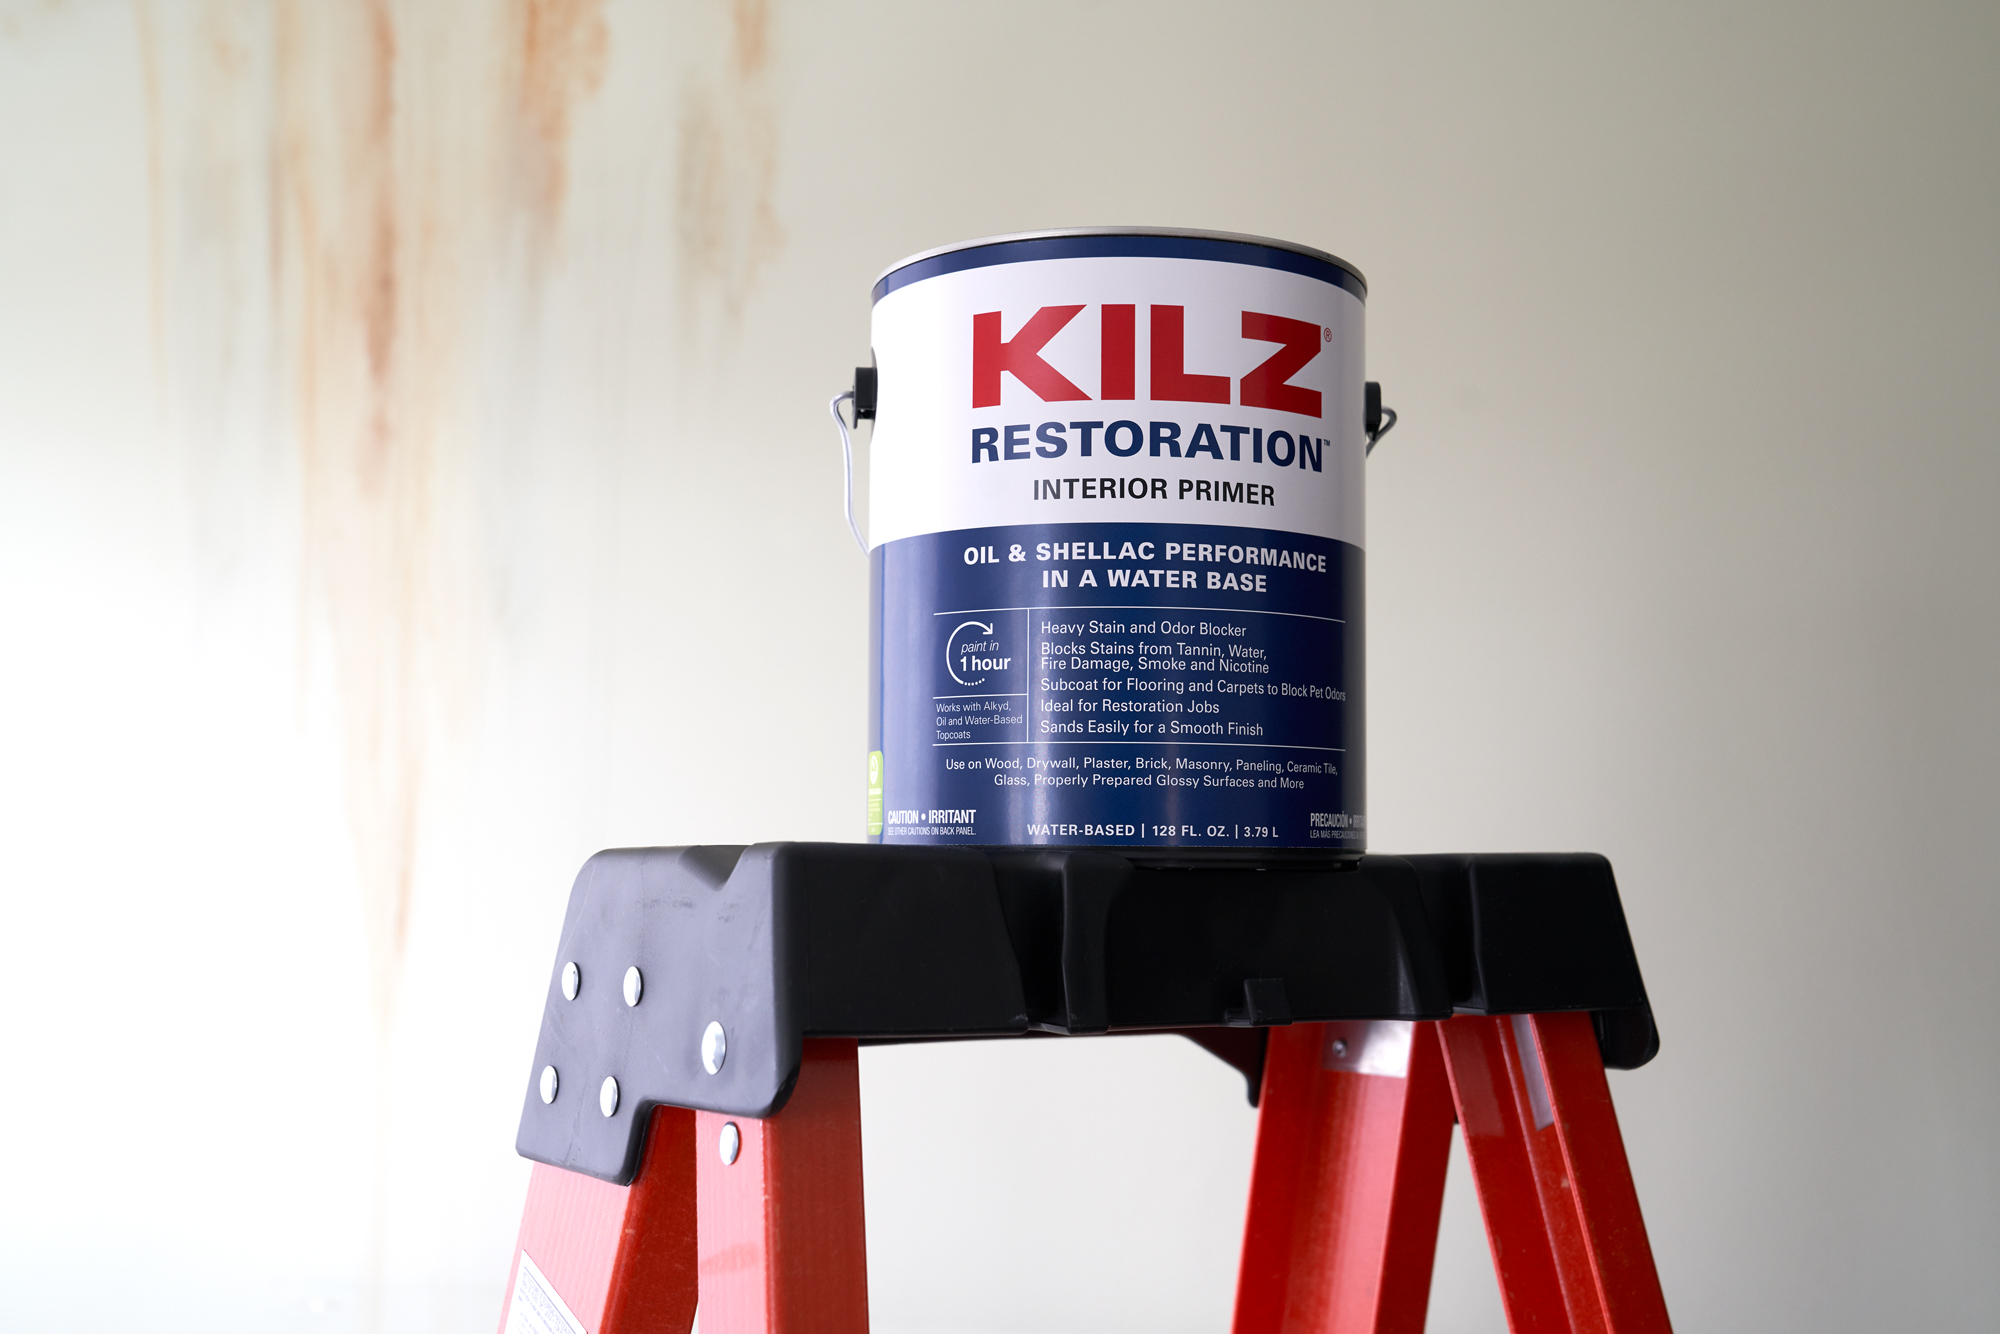
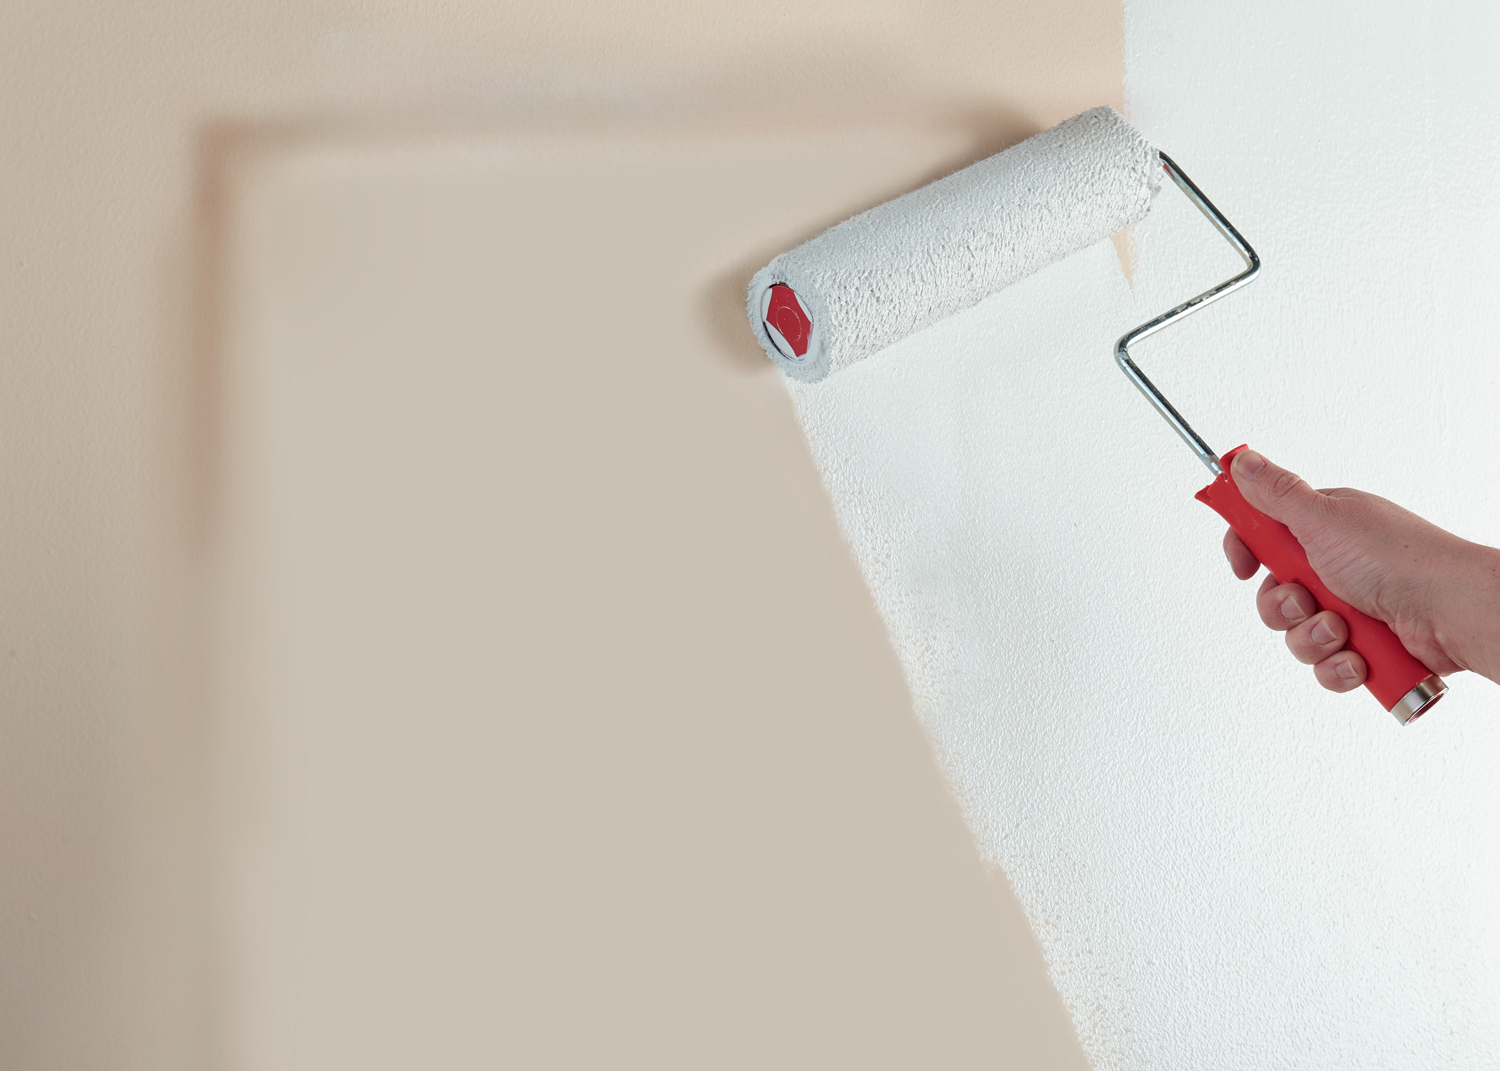
For severe stains like those caused by smoke, grease or tannins from certain types of woods, Pros will tell you it’s time to step up your primer game and use the oil-based KILZ® Original or water-based KILZ Restoration™ . Both are heavy duty stain blockers and trusted by professionals.
Secret #2 – Prep Work Leads to the Best Work:
Once you’ve assessed your stain type and procured the proper primer, it’s time to prepare the surface for stain elimination! Ensure that the surface is clean and free of dust, wipe down with a damp cloth if needed and allow to dry. You’re now ready to apply primer over the stain using a brush or roller.
Secret #3 – Do the Topcoat Test for Severe Stains:
When blocking sever stains you’ll want to test for stain bleed-through. Apply your topcoat paint to a small section after your primer is dry. If the stain bleeds through the topcoat, apply a second coat of primer and test again before top coating the entire area. If bleeding continues, a longer dry time is needed before top coating.
When you start with primer, blocking light and heavy stains doesn’t have to be a challenge!
Bold Living Room Color Change Made Easy!
August 23, 2018The first order of business is updating the room’s wall color, beginning with a coat of KILZ 2® Latex Primer, which blocks stains, resists mildew and hides the old, outdated color. This step essentially returns the walls to a neutral white color—the perfect canvas for whatever color comes next.
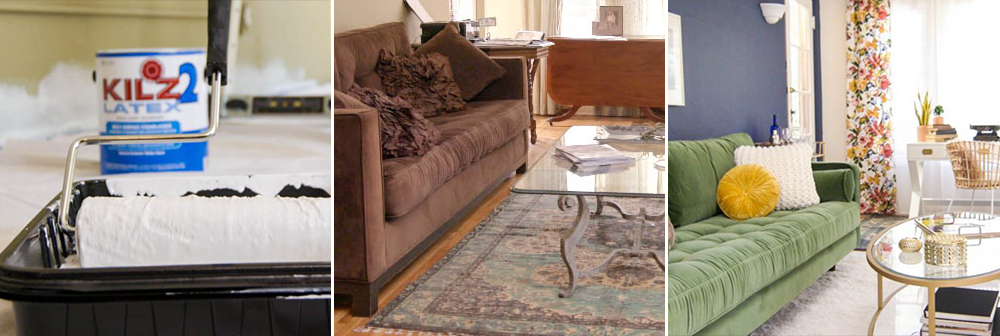
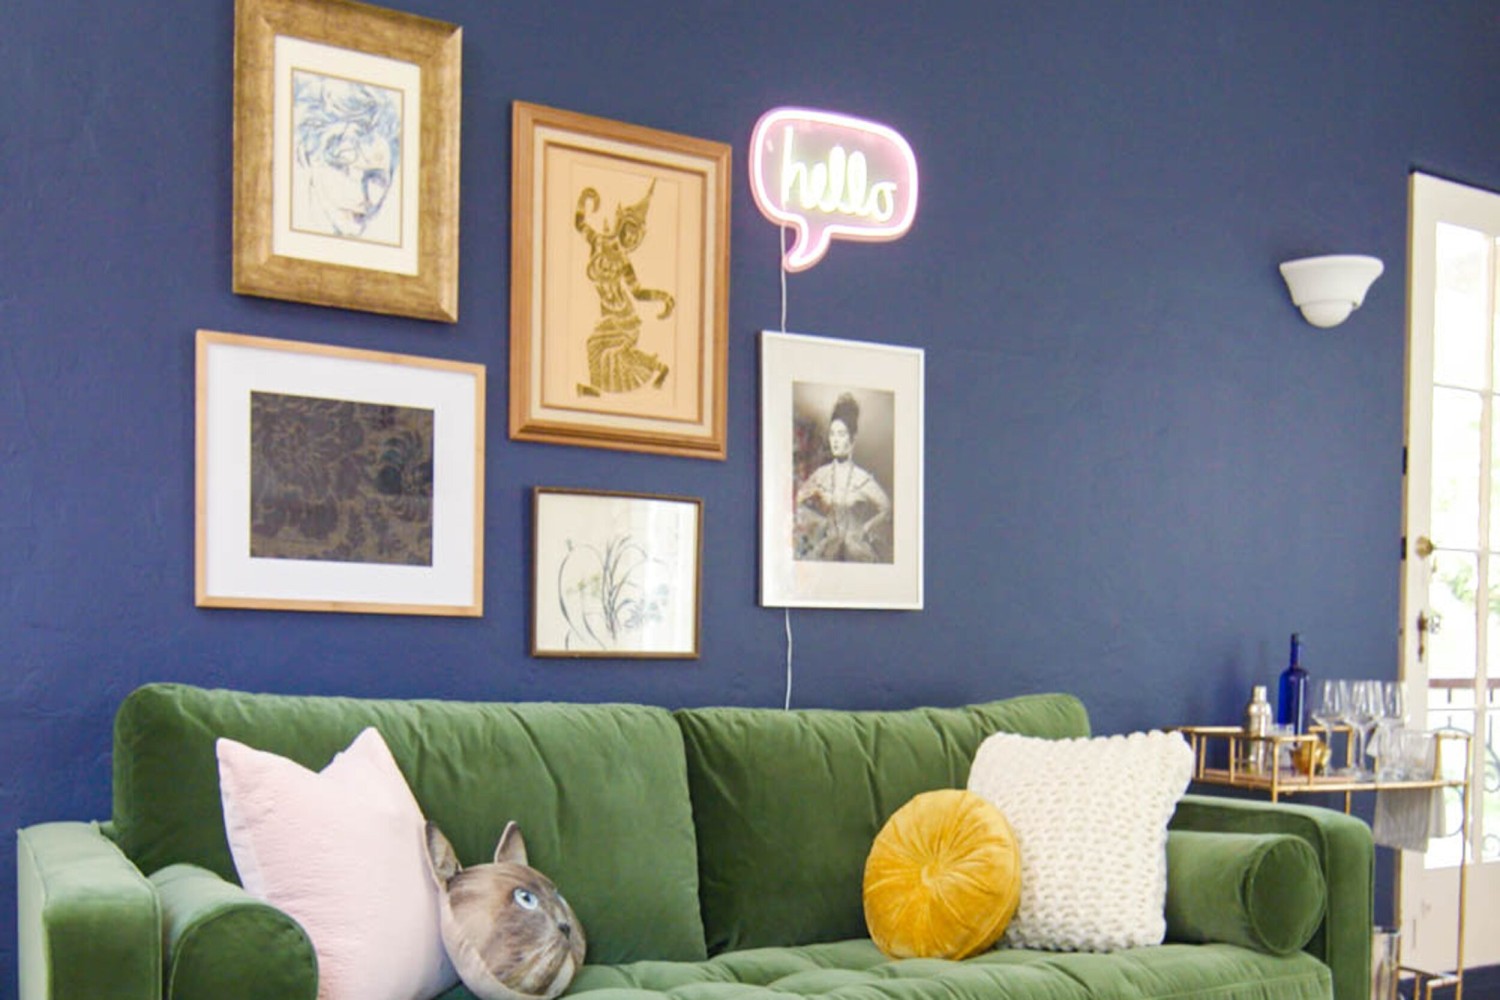
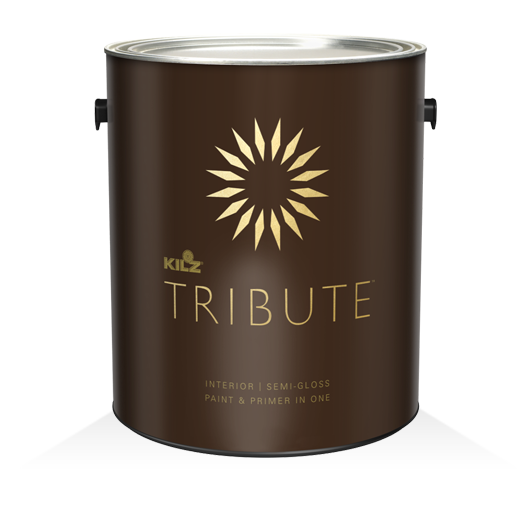
In this case, we’ve chosen one of the season’s most popular paints and colors: KILZ TRIBUTE® in a deep, rich blue color called Harbor Town (TB-49). To contrast, we created an accent wall with a complementary neutral—KILZ TRIBUTE in Champagne White (TB-06).
Add some additional color punch with some wild, graphic patterns on curtains or linens and suddenly your barely breathing living room is a fun, inviting space perfect for everything from entertaining to recharging your own batteries at the end of a long day.

join the conversation:
SHARE this post: