Tag: Renovation
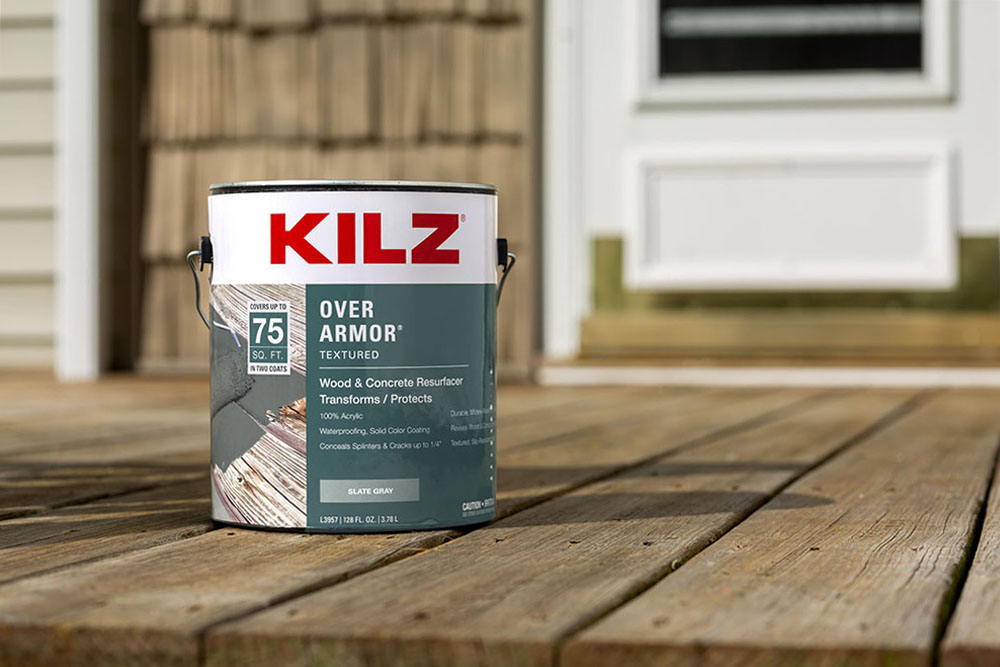
Patio Transformation to Kick Off the Summer
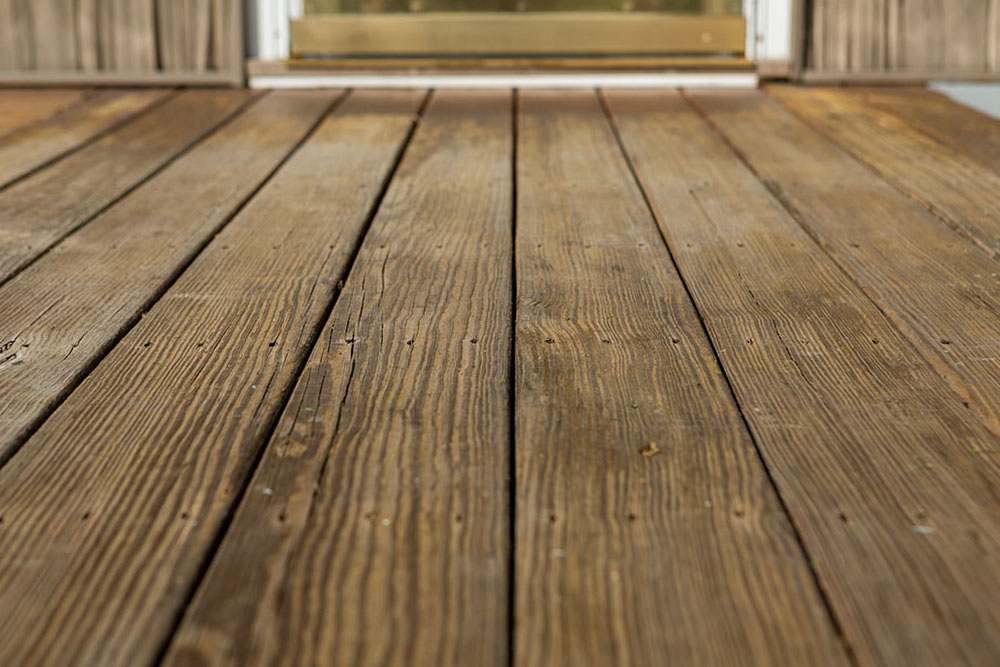
July 11, 2022A tired deck is hardly an inviting place to kick off the warm-weather season with friends and family. So don’t let another summer go by without transforming your outdoor living space into something fresh and vibrant. Cracks and splinters, stains, and mildew are sure signs your deck is ready for a new finish.
Follow along for step-by-step instructions to transform your deck into a beautiful space for you to enjoy all summer long.
Cleaning & Preparation: Before applying a new finish on your deck, be sure clean it to remove any trace of the old finish, stains, and mildew. After all, you don’t want tough stains like that old BBQ sauce Uncle Jim spilled last Labor Day to be there forever.
• Step 1: Use a wood stain and finish stripper to remove remnants of an old coating and follow it with a wood cleaner and brightener to neutralize the wood.
• Step 2: Rinse the surface thoroughly with a garden hose or a pressure washer. Pro tip, use the broadest spray pattern while keeping the nozzle at least 24-inches away from the surface.
• Step 3: Allow the area to dry for 24 hours, and sand the surface to remove any remaining stray fibers.
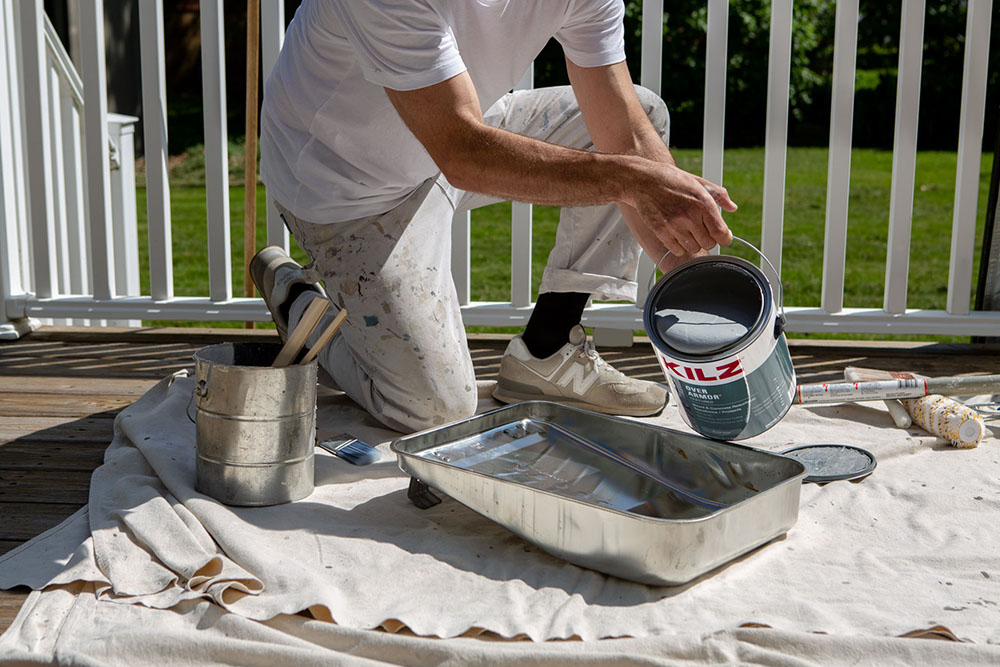
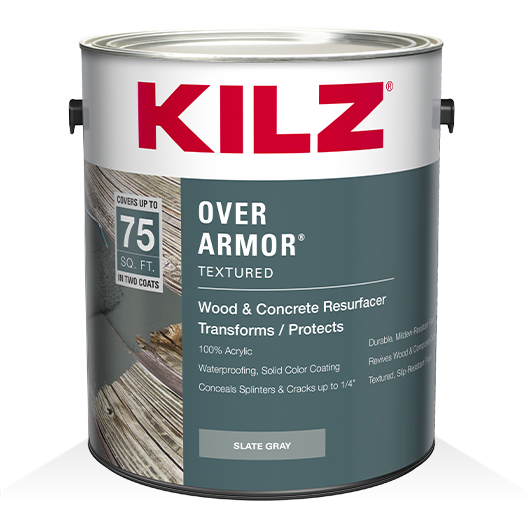
Application: Use KILZ® Over Armor® Textured or KILZ Over Armor Smooth Coating to take your deck to the next level. The solid color coating was designed to cover cracks, hide other imperfections, and provide a textured, non-slip or smooth surface. It’s the perfect choice for breathing new life into old, weathered wood and transforming your deck into a stunning outdoor space that brings the family together making it the envy of the neighborhood.
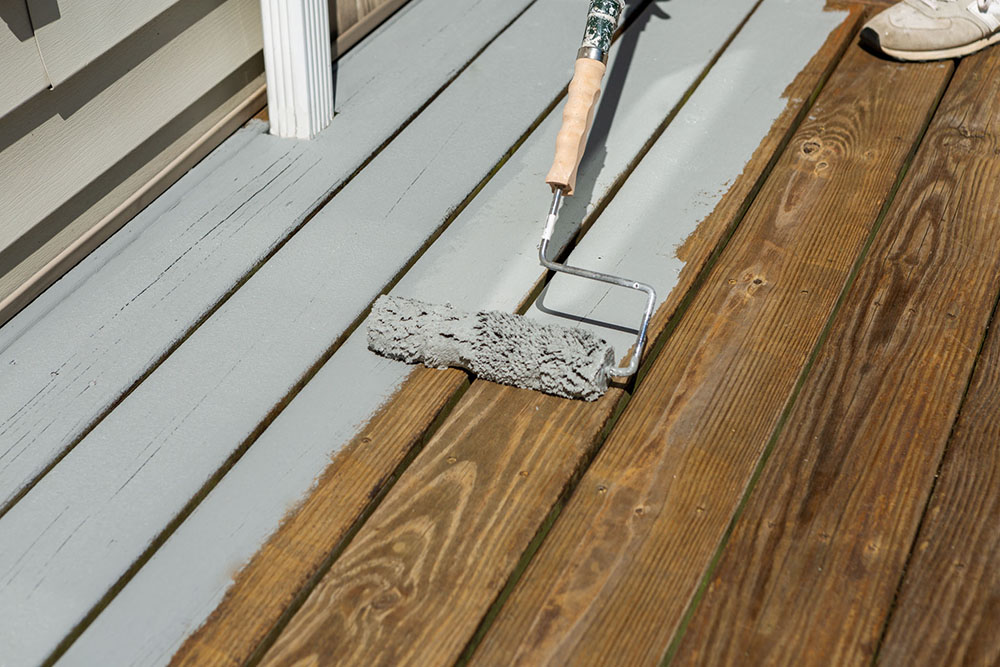
• Step 4: Stir KILZ Over Armor Coating and intermix cans of the same color to ensure color uniformity
• Step 5: Using the newly mixed coating, fill in any cracks or holes. Next, apply the first coat using a ½” nap roller
• Step 6: Let dry 4-6 hours, then apply second coat. Allow 24 hours before subjecting to light traffic and allow 72 hours before subjecting to full cure
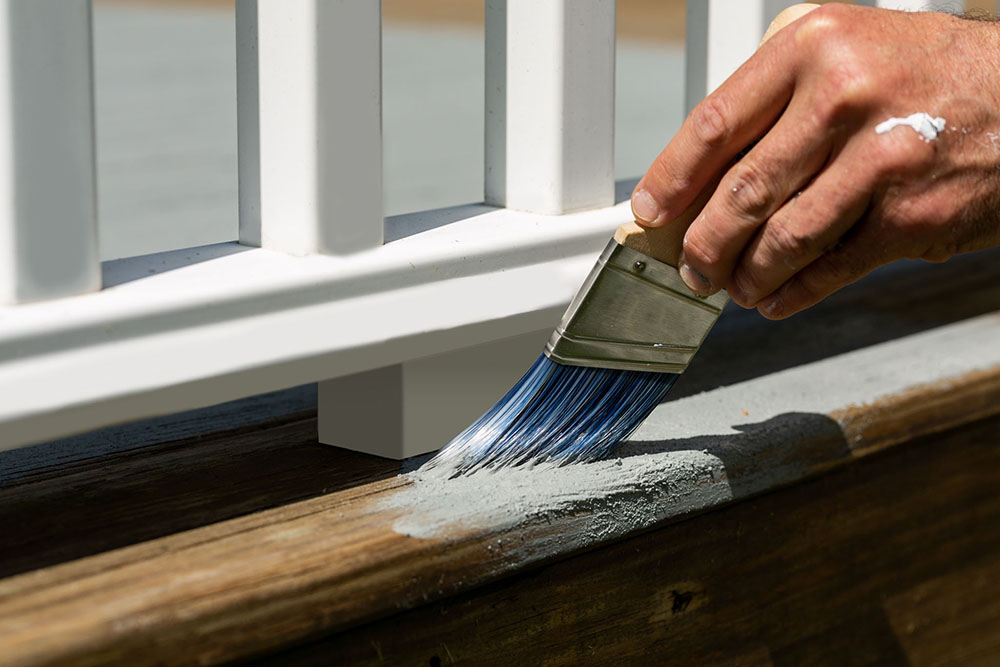
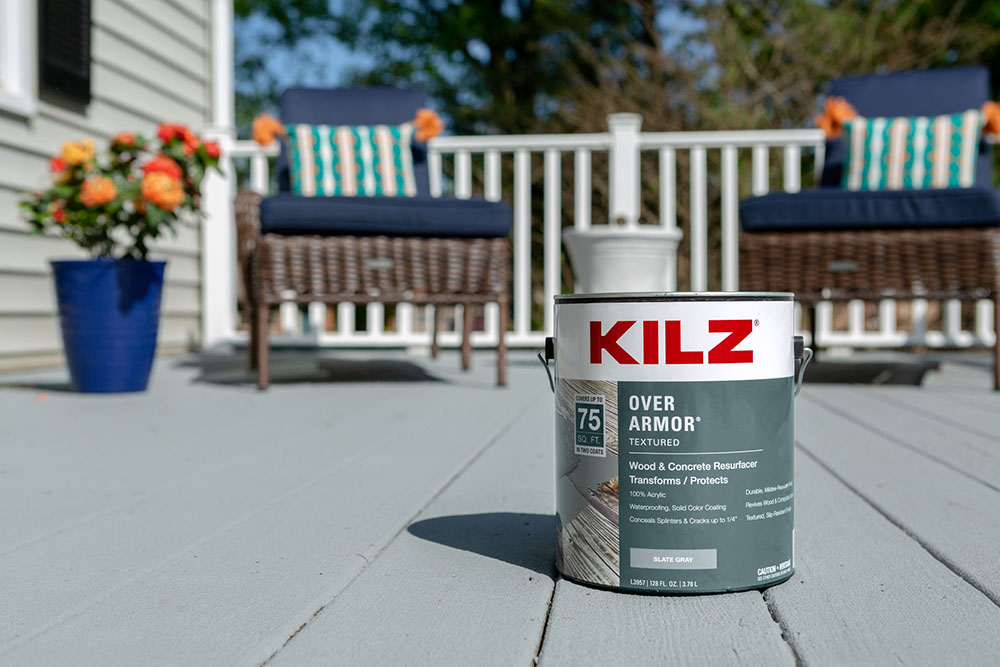
Available in several nature-inspired colors, this deck features Slate Gray. This deep hue blends well with the home’s light gray vinyl siding, black shutters, and white vinyl deck railing. In addition, the neutral gray tone of this area is the perfect canvas for new colorful accessories.
New furnishings can always add a pop of color and give you a chance to add your own personal style. Navy seat cushions, summery striped throw pillows, and a potted rose bush add vibrancy. But, of course, you can always change out décor pending your mood or season.
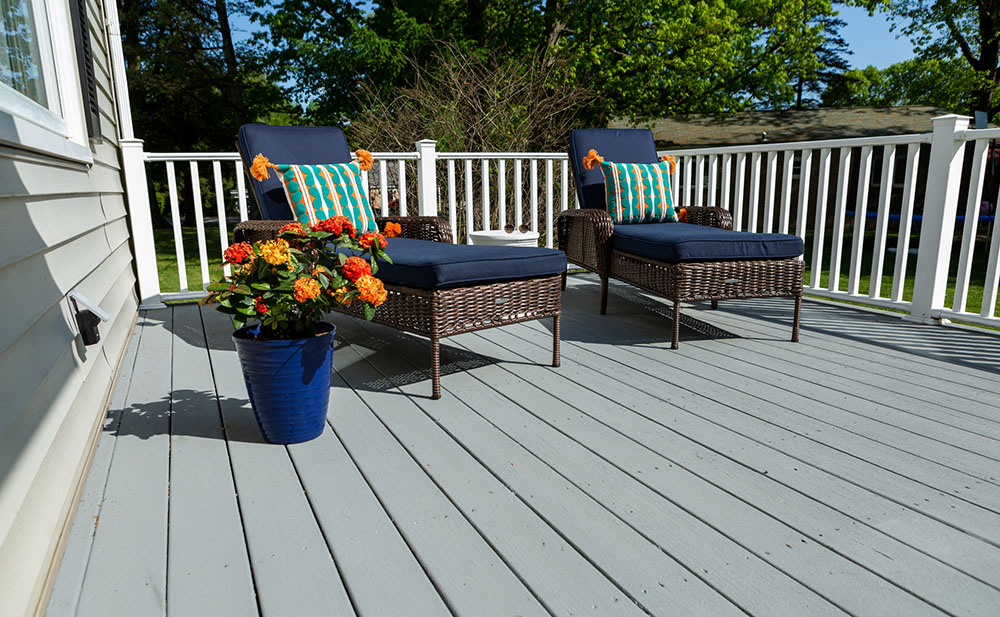
Don’t just paint the deck. Transform the space into a relaxing, fun environment to share with your world.

Features of KILZ® Over Armor Textured Coating
• Use on wood, composite, or concrete
• Suitable for horizontal or vertical surfaces
• Bridges gaps up to ¼”
• Conceals splinters
• Provides a slip-resistant finish
• It fully cures in 72 hours
• Cleans up with water
Always remember to refer to our website kilz.com or product back labels for additional information on which primer is right for your project and detailed instructions on how to apply our products. Check out our Coverage Calculator to understand your estimated paint needs for your upcoming project.
Pro Spotlight: Ryka Builders
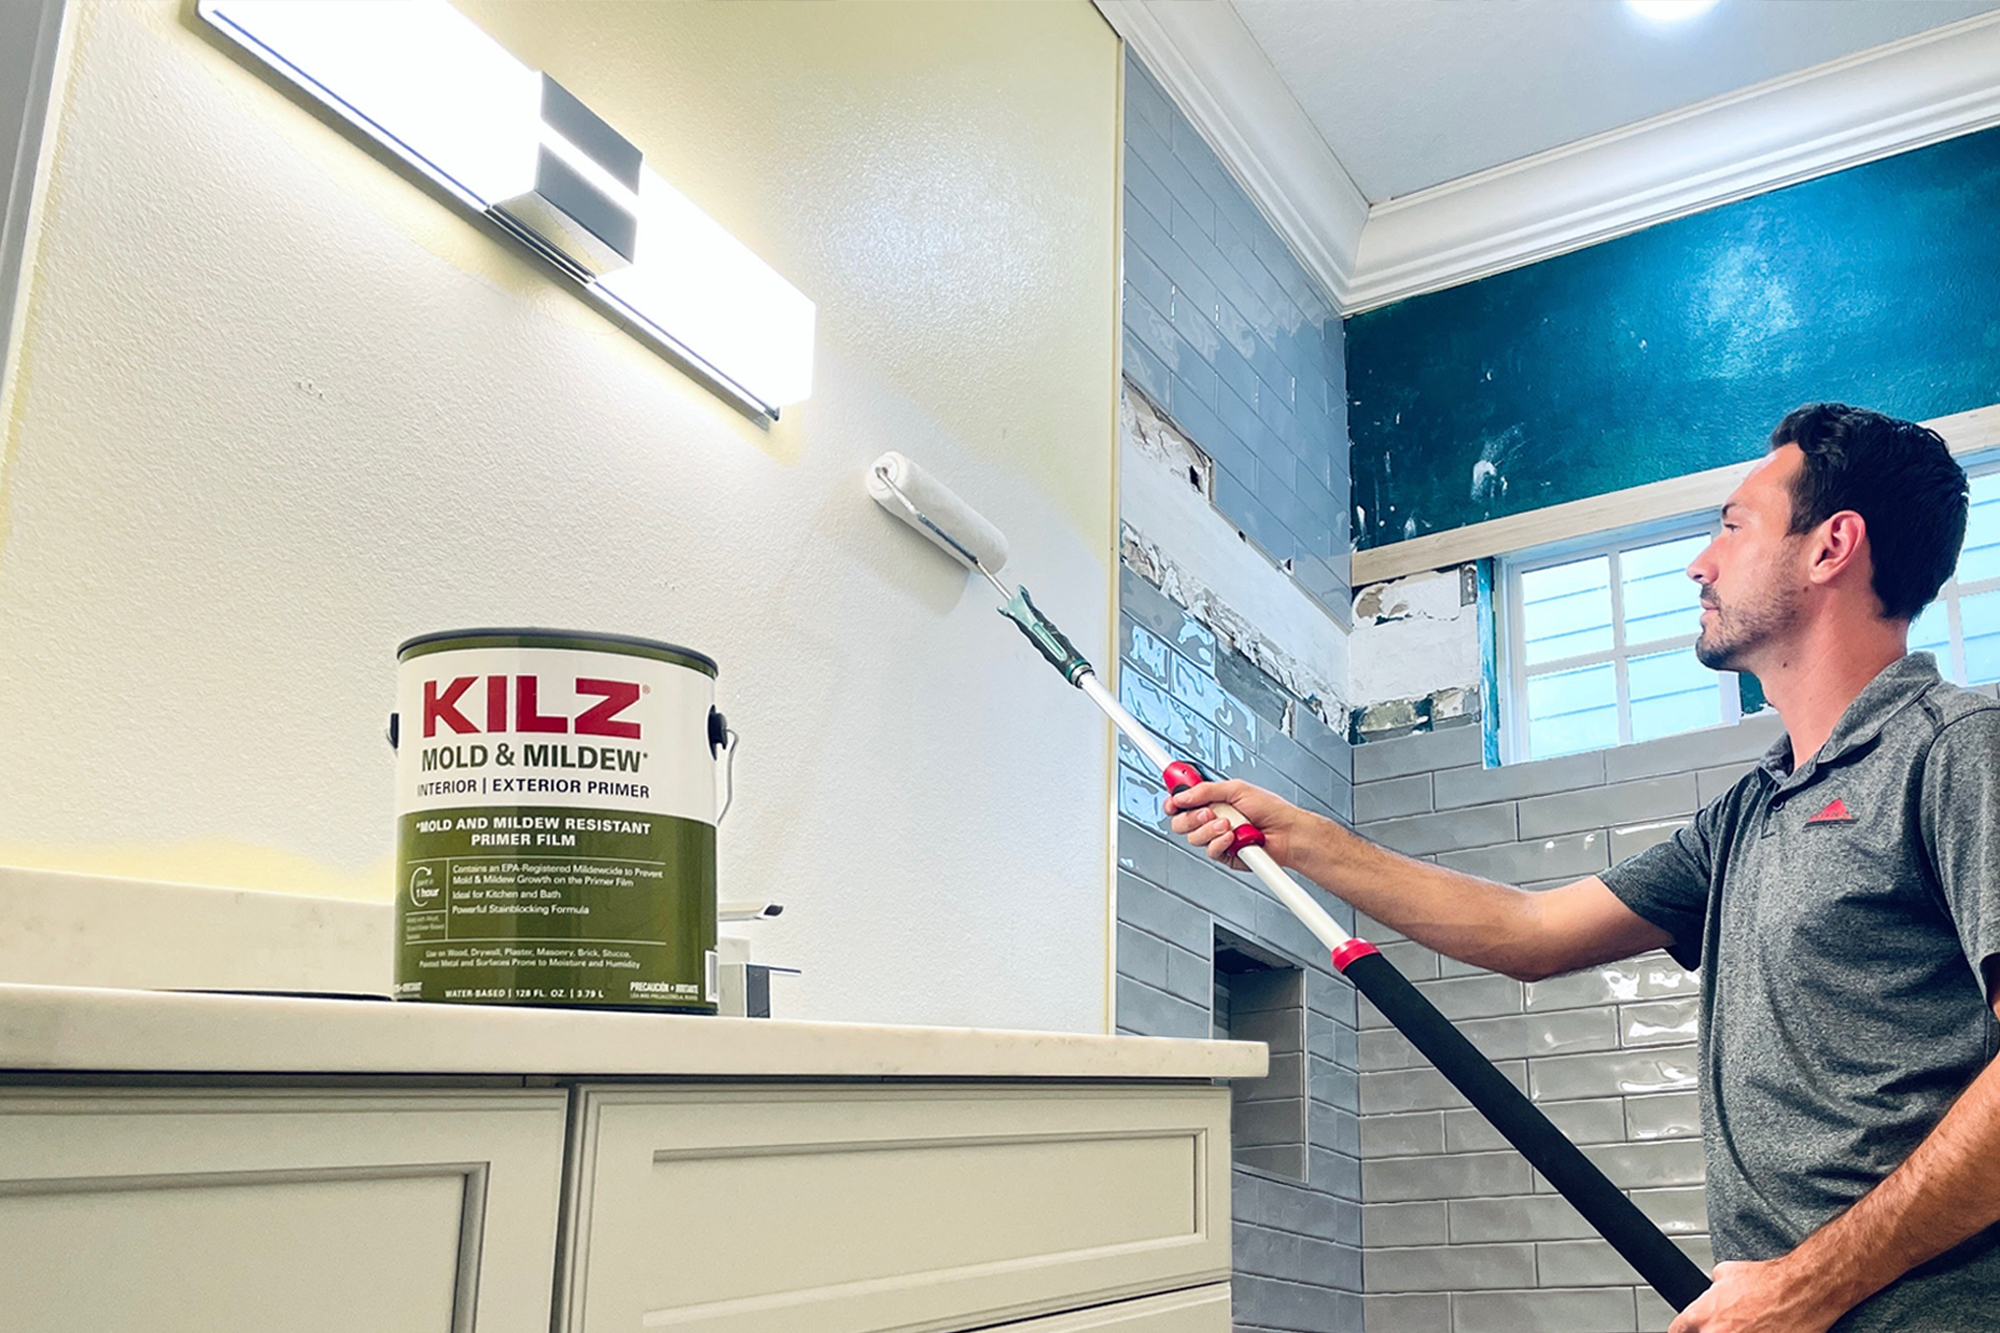
June 21, 2021 This month on The Perfect Finish we’re spotlighting Ryan from Ryka Builders. A veteran contractor with experience in both commercial and residential construction, Ryan recently completed a bathroom remodel with the help of KILZ® Mold & Mildew Primer and we are excited to share it here. Read on to hear from Ryan on why he chose KILZ primer for this job and get a glimpse into how he completed this stunning remodel.
Upscale Your Throne Room
By: Ryan, Ryka Builders
In this day and age, between social media, magazines, and television, beautiful home renovations are everywhere to be seen! The magnificent end results are truly inspiring, however there are proper steps that need to take place in order to get these reno jobs done efficiently and effectively. One of these important steps is the use of primer – KILZ® brand has multi-surface and specially engineered primers suited to take on any type of issue and best prepare surfaces before painting. Whether you’re a DIY’er or are planning to hire a contractor, you must be sure that the right steps are taken to keep your newly renovated home looking great for years to come.
I’m Ryan with Ryka Builders, and I’m a licensed general contractor with over 30 years of experience. Ryka Builders is a family-owned business that has been developing close, trustworthy relationships with our commercial and residential clients for many years. We are passionate about our jobs and care that they are done to the upmost standards. If you are looking to update your bathroom, I’m here to help share the proper steps and to make sure you have a quality finished product.
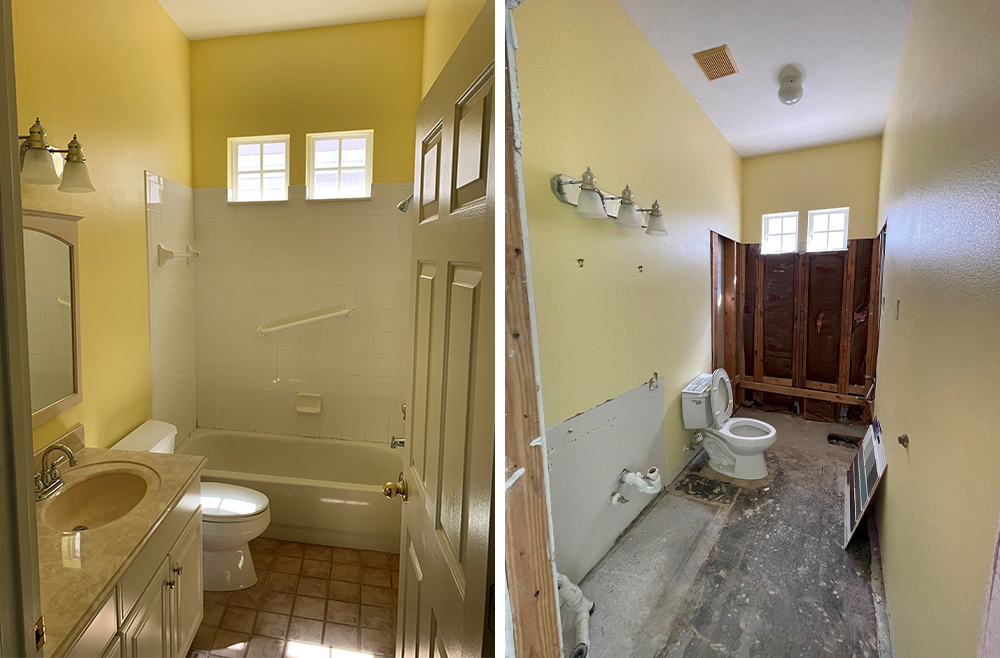
A recent client of ours bought a house sight unseen in Florida while residing in New York. She researched contractors in the Central Florida area and was impressed with our reviews and referrals from previous customers. After a video call with the owner, we were able to provide design guidance and expertise to help the client achieve her dream home makeover, and she awarded us the opportunity to do some major renovations on her entire home including this bathroom.
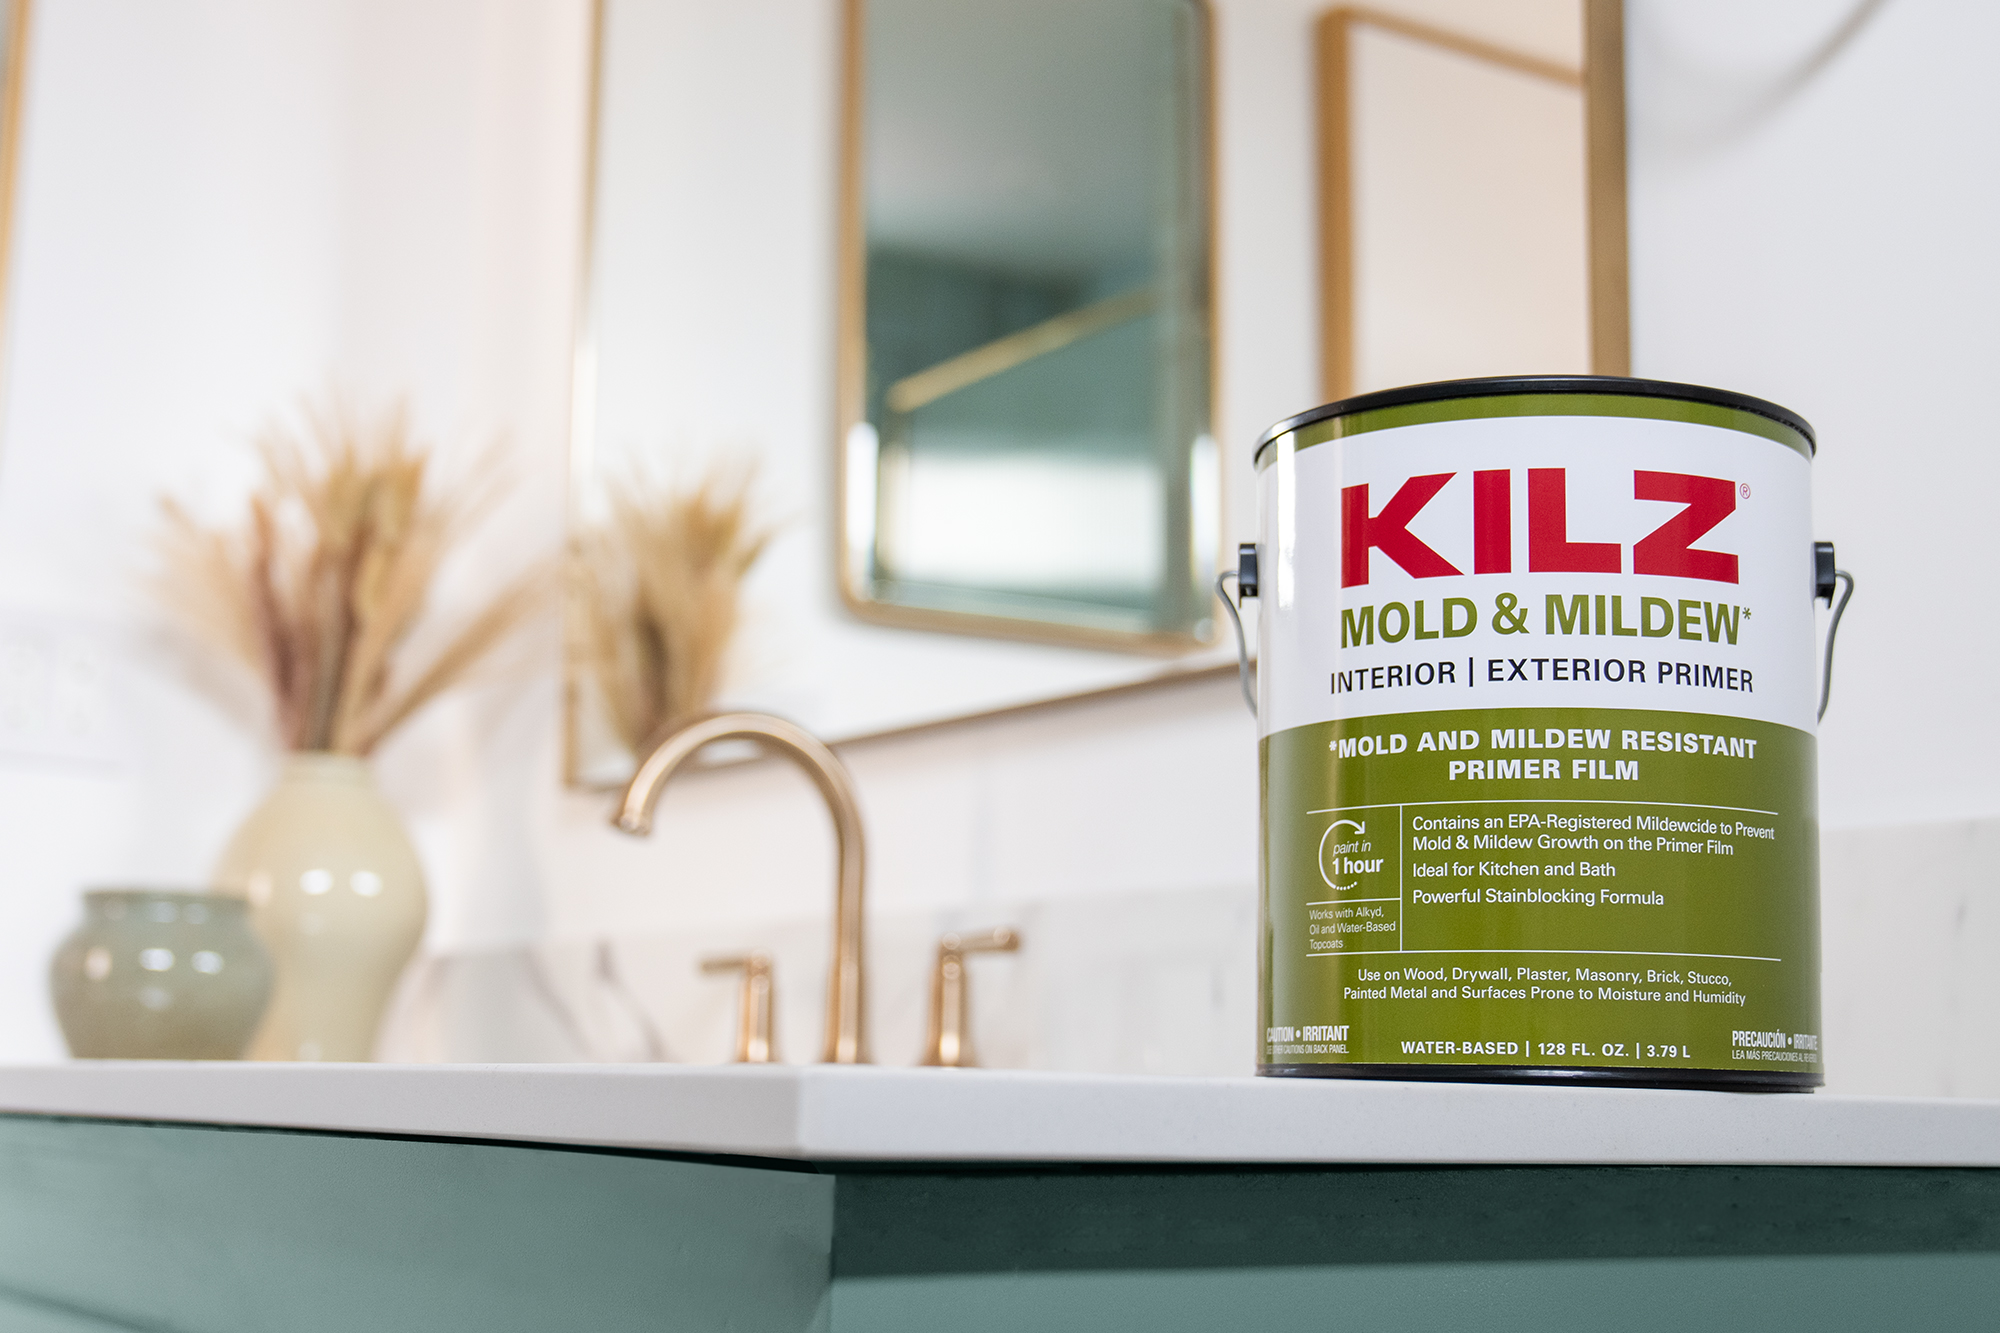
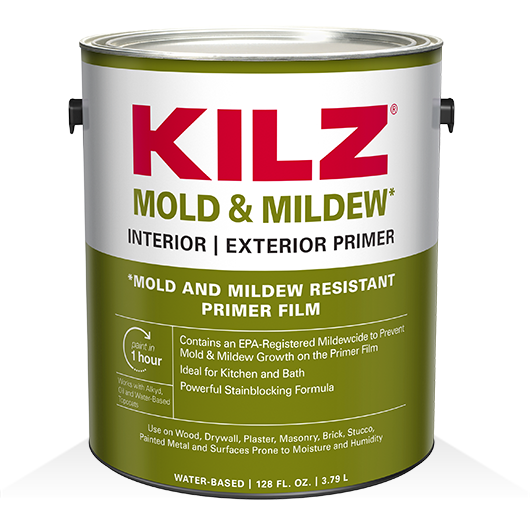
Once we started demolition, we discovered a great deal of mold present on the drywall, behind the old cabinets and on the baseboards. We knew right away that a mold and mildew remediation was a necessity; safety first. We brought in our licensed remediation specialist to do the necessary repairs. It is critical that whenever there is any sign of mold or mildew, it is always effectively removed from the surface and that the water damage that caused the mold or mildew damage is appropriately remediated as well. After this step was taken care of, we decided to go in and apply KILZ® Mold & Mildew Interior & Exterior Primer. This primer contains an EPA-Registered Mildewcide to prevent mold and mildew growth on the primer film, ideal for spaces like bathrooms and kitchens.
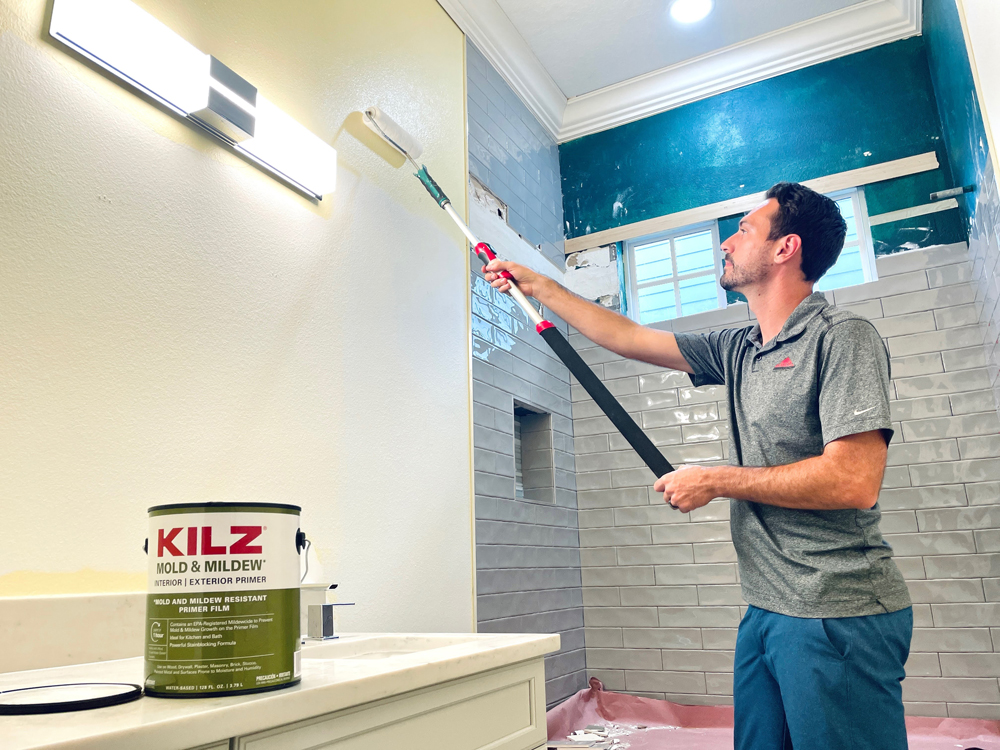
Using KILZ Mold & Mildew primer on all of the new drywall, as well as affected areas on the studs in the bathroom, sets a great base to start any bathroom remodel. For a bathroom paint project, not all primers are appropriate for the moisture and humidity that occur daily in this type of space. Bathrooms can be a breeding ground for mildew, if the proper products aren’t used. As a bonus, this amazing product also has a fast-drying agent with low odor, a very low VOC and has a water-based formula, making clean up a breeze with just soap and water. One of the many positive advantages of KILZ Mold & Mildew primer is that it is a water-based primer-sealer-stain blocker specifically designed for residential surfaces in high humidity, moisture and temperature environments such as bathrooms, powder rooms, kitchens and laundry rooms.
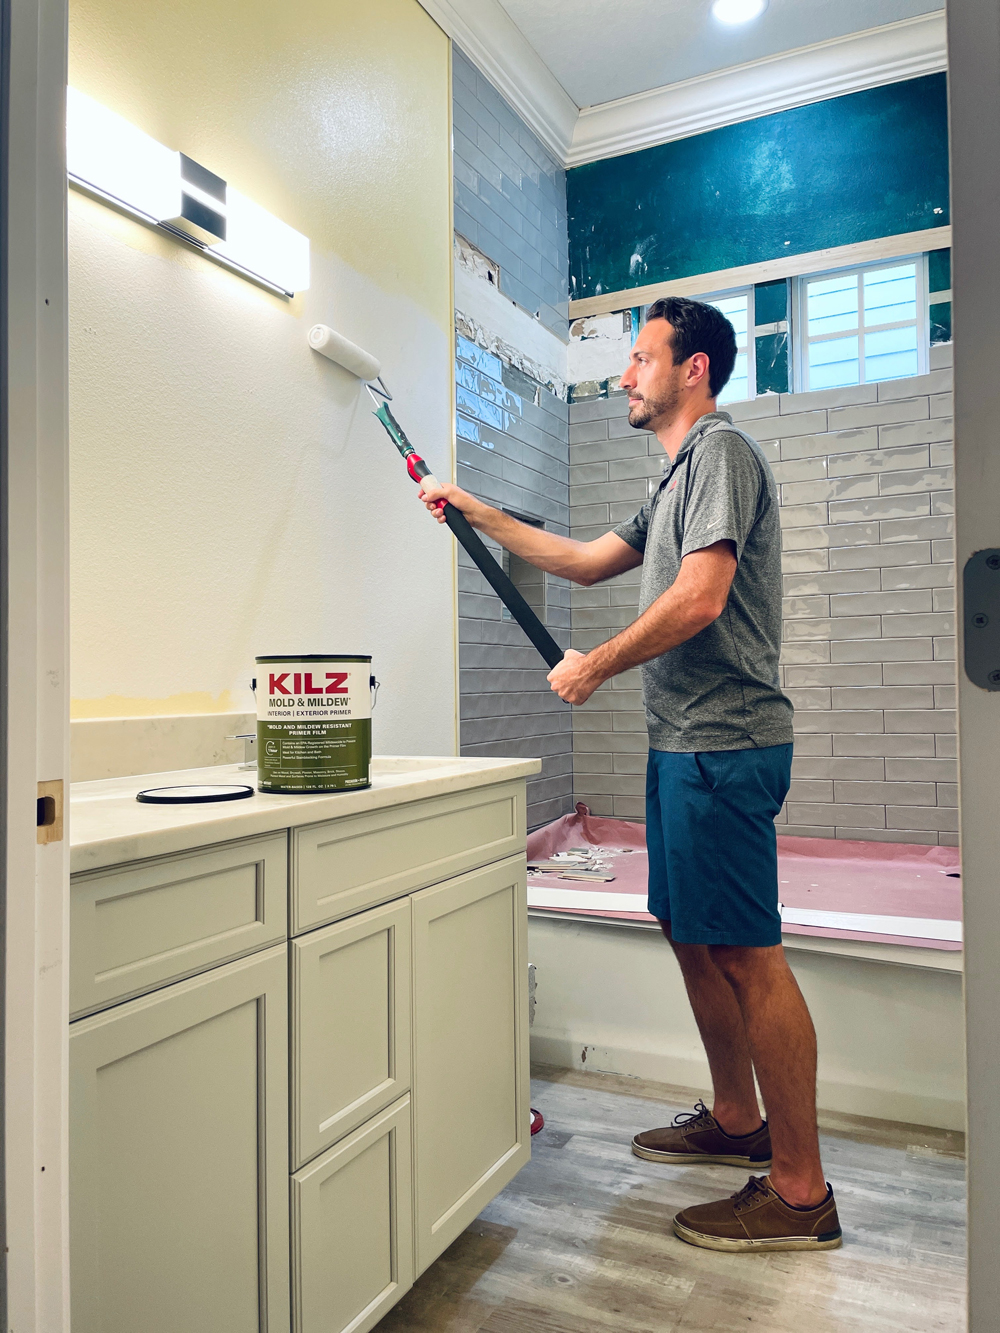
“KILZ primer products have been around for more than 40 years and is a brand we trust. We always look to them for products, because we know they have been tested and built for the challenges we come across in the industry.”
We also used KILZ Mold & Mildew primer on the ceiling of the bathroom where there was an old water stain from a previous roof leak that was repaired. The stain blocking agent in the primer worked wonders. With only one coat, the stain was eliminated. In fact, KILZ Mold & Mildew primer will also block medium to heavy stains such as felt marker, grease, ink, pencil and tannin as well. KILZ primer products have been around for more than 40 years and is a brand we trust. We always look to them for products, because we know they have been tested and built for the challenges we come across in the industry.
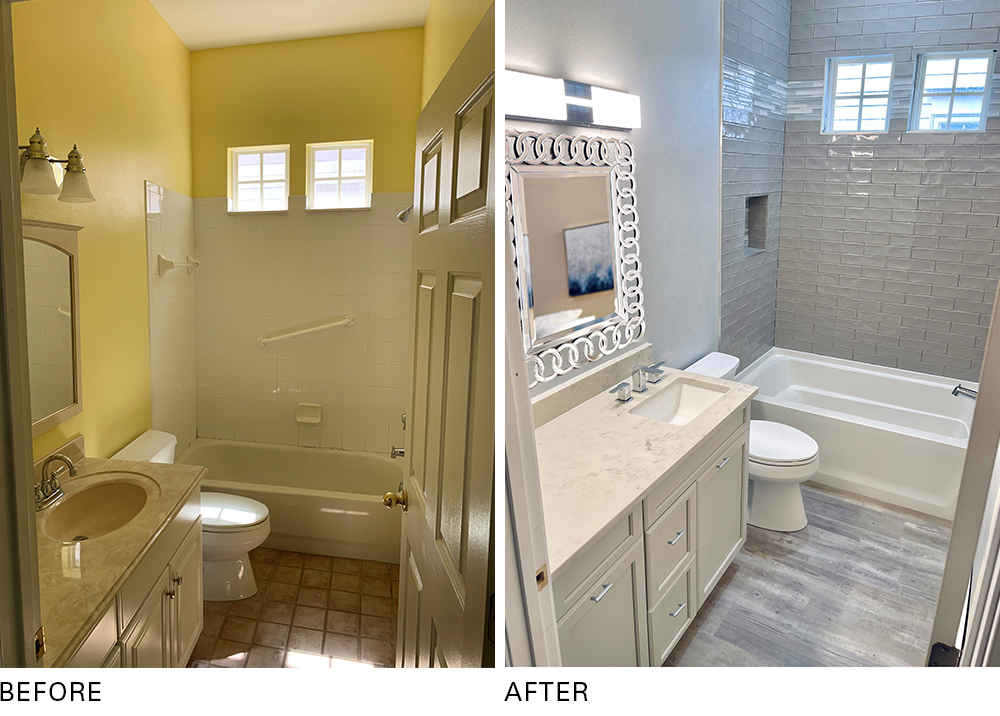 After we are confident that we have a great foundation and clean slate with the KILZ products, it’s time for the fun part – selecting tile, paint colors, hardware and plumbing fixtures, so that the client can see their vision come to life. Our client chose a very simple and sleek grey subway tile for the tub area and a beautiful complimenting shaker style vanity with chrome finishes and fixtures. For the walls, we went with a very appealing grey paint color (Silver Bullet N520-2 by BEHR®). For the flooring, the client decided on a waterproof, wood plank look, luxury vinyl that we used throughout the rest of the home as well.
Our client loves the end result, and this bathroom is ready to be made homey with plush towels and her favorite scented candles and possibly a cute little Pinterest-y bathroom sign. In the end, we’re confident that she will love it for years to come, because we took zero shortcuts to make this bathroom a success.
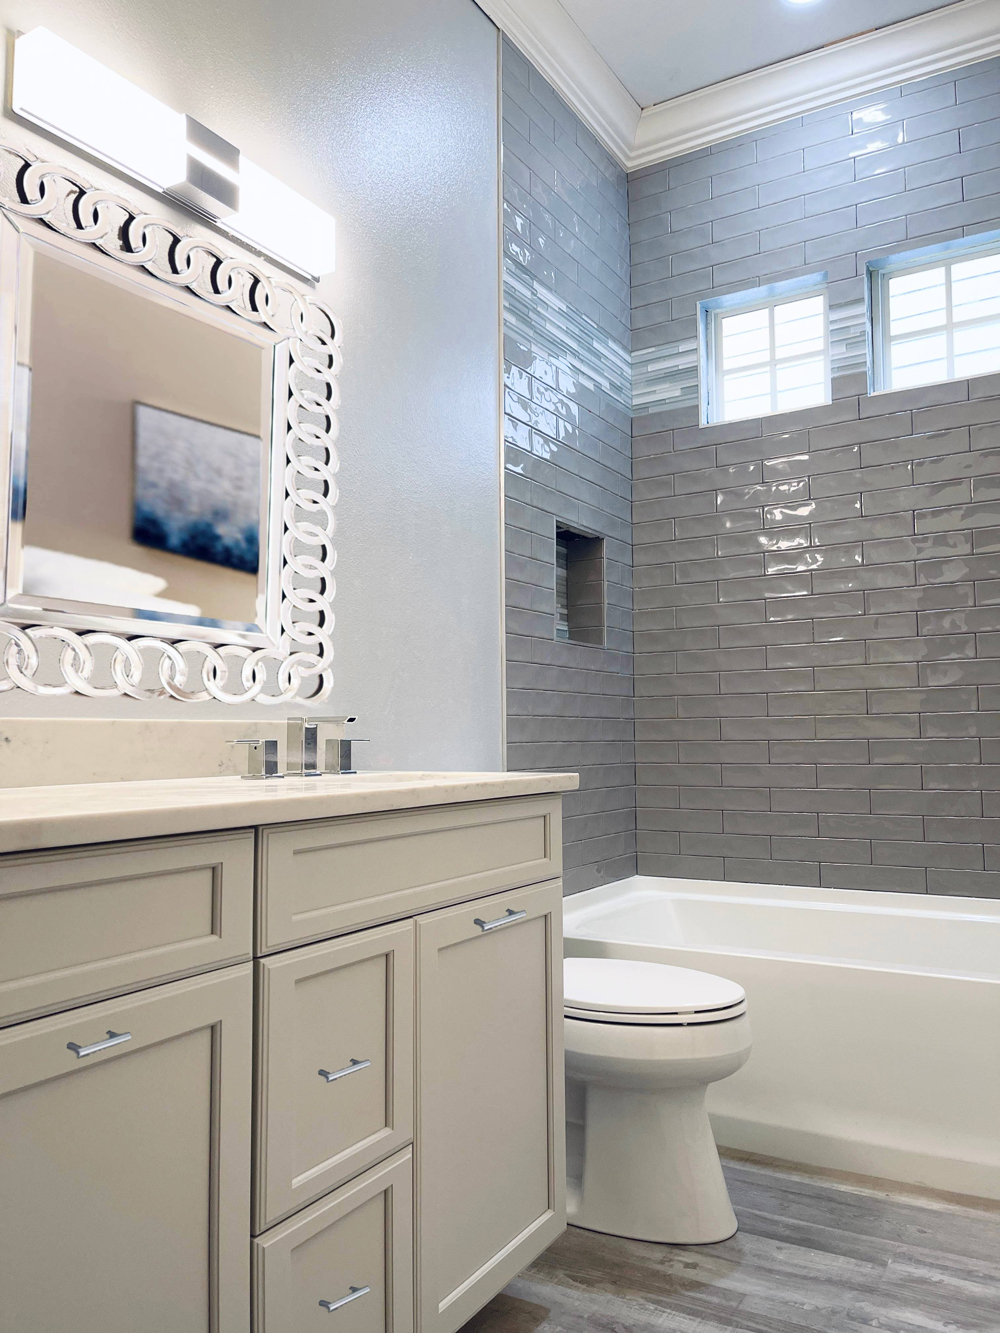
As you can see the finished product came out just how we wanted, and we feel good knowing that we took the additional steps to provide a better built product for our client. Many contractors just try to get through the job quickly, however, we know that if we exceed our client’s expectations and provide additional customer service and quality control elements, we will build strong and lasting relationships. This has helped us grow our business over the last 30+ years with many returning customers and strong referrals. A big thanks to KILZ for helping us get this bathroom project completed. Now, on to the next one!
Always remember to refer to our website kilz.com or product back labels for additional information on which primer is right for your project and detailed instructions on how to apply our products.
Renovating After Natural Disasters
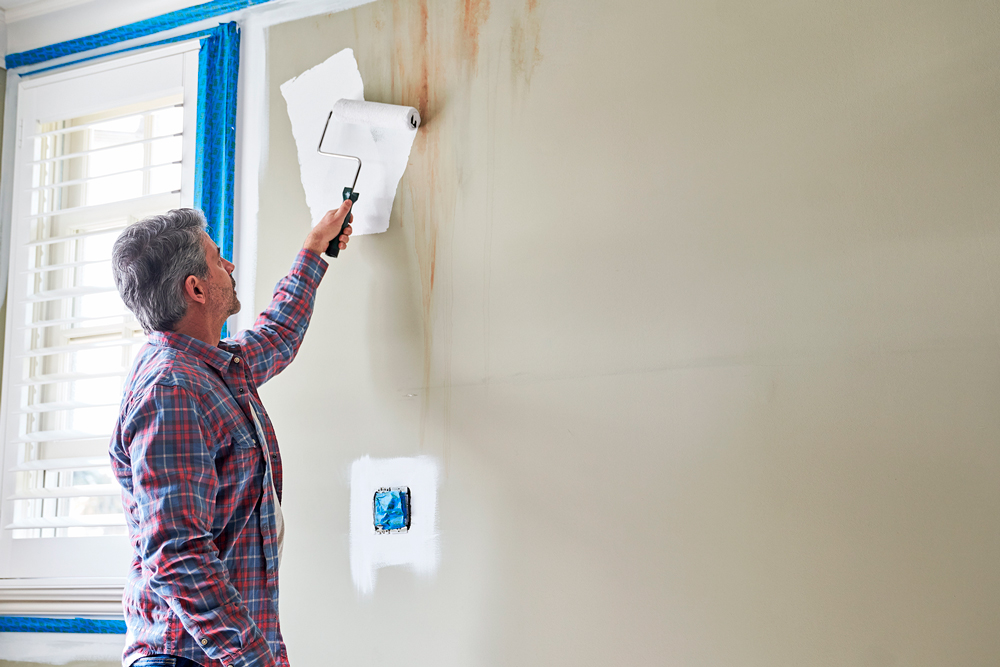
March 30, 2020Fixing or rebuilding a home after a natural disaster like a flood, hurricane or fire is no easy task. In the worst-case scenarios, the help of a professional contractor might be in order. But if you’re looking to DIY your renovation after a disaster has left your home with water, fire or smoke damage, KILZ® Primers can help! Trusted by pros for over 40 years, KILZ primers are often the go-to products for tackling stains caused by fires, floods and persistent exposure to smoke.
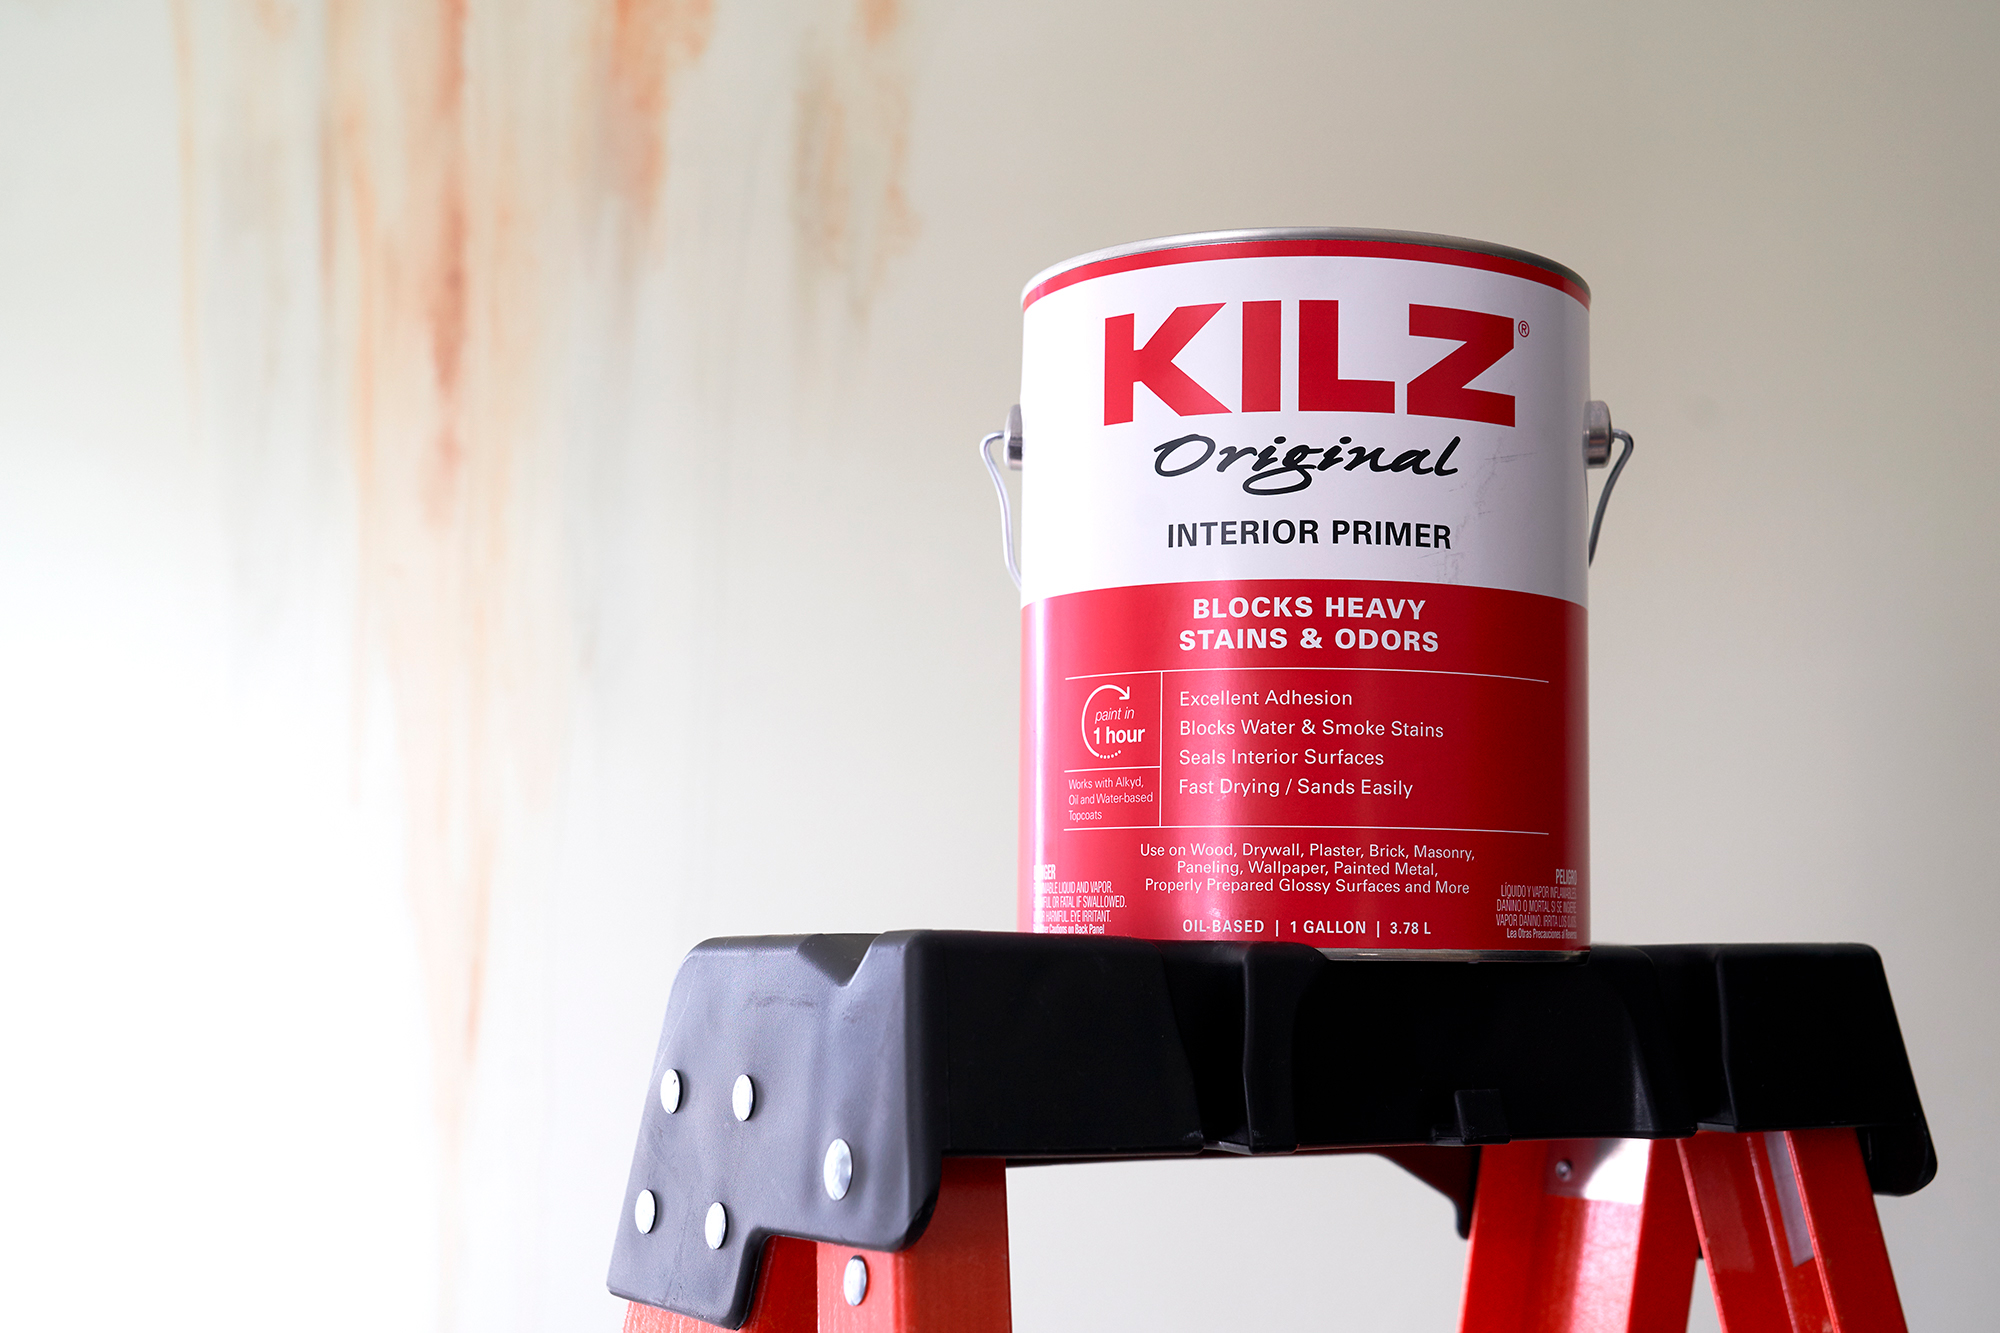
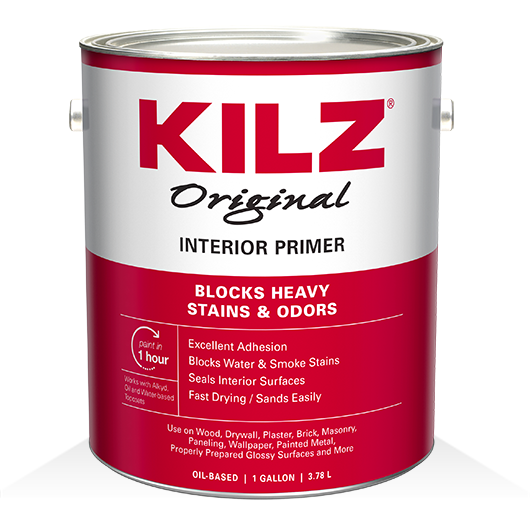
If you’ve got your work cut out for you after a flood or fire has necessitated a renovation, KILZ® Original Interior Primer is made for the job. This hardworking oil-based primer is formulated to block heavy stains including those caused by water or smoke, and its fast-drying formula can help you get on with your renovation project faster.
For restoration jobs on the outside of your home, KILZ Original Interior | Exterior Primer offers the same power of KILZ Original Interior Primer in an all-weather formula. Offering excellent adhesion and durability, KILZ Original Interior | Exterior can be used on wood, drywall, plaster, stucco, brick, masonry, paneling and more.
Always remember to refer to our website kilz.com or product back labels for additional information on which primer is right for your project and detailed instructions on how to apply our products.

These Three Rooms Call for a Primer that provides a Mildew-Resistant Primer Finish
February 12, 2020We believe that every project is worth using KILZ® brand primer. Priming before painting is what the professional painters generally like to do, and we would not recommend any other way.
If you talk to a professional painter about priming, they will tell you that certain rooms in the home call for primers with specific properties. From stain blocking to hiding a previous paint color, the KILZ brand has a primer to solve the most common and the toughest painting problems. In this post, we’re going to look at three rooms that all share one specific use case – the need for primer in a moister prone environment.
Mildew can be a common problem in areas of the home where there may be excess moisture. In these rooms, consider using a primer that will provide a mildew resistant primer finish. The first room in which we would most often recommend using a primer with a mildew resistant finish is the bathroom. From small powder rooms to grand master bathrooms, this area of the home is subject to high levels of moisture and humidity nearly every day.
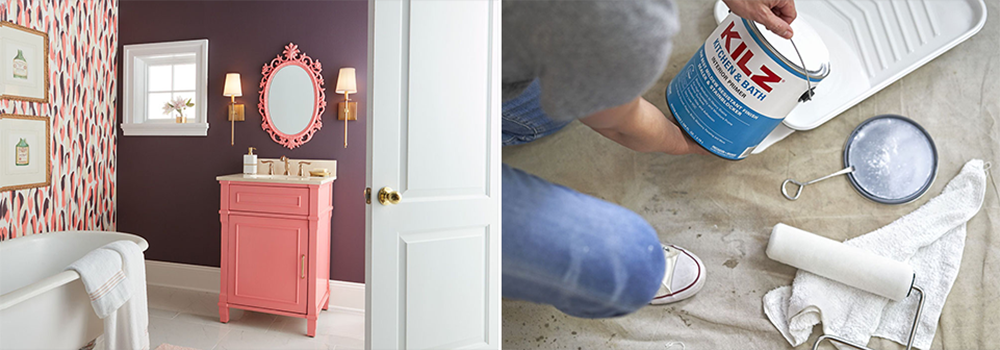
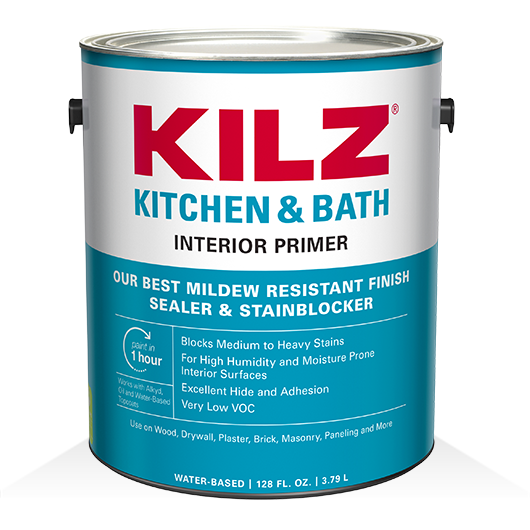
KILZ® Kitchen & Bath Primer is another great choice, as this product not only offers a mildew-resistant primer finish but also provides excellent adhesion and stain blocking properties. We recently used KILZ Kitchen & Bath in a pretty in pink bathroom renovation, you can check that out here.
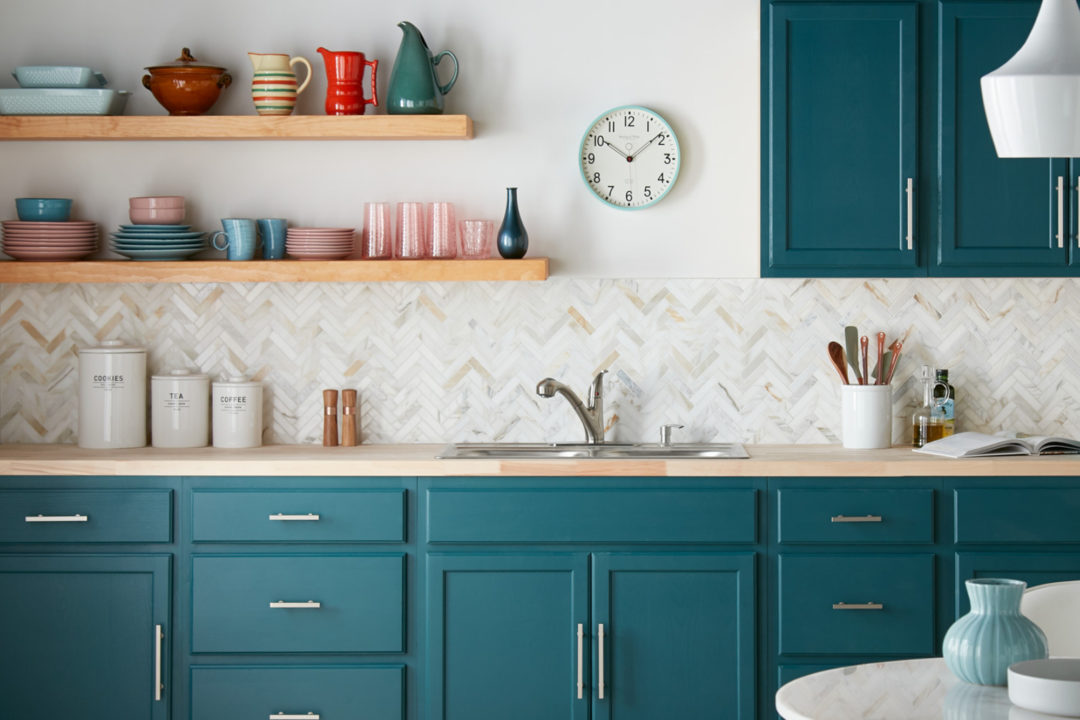
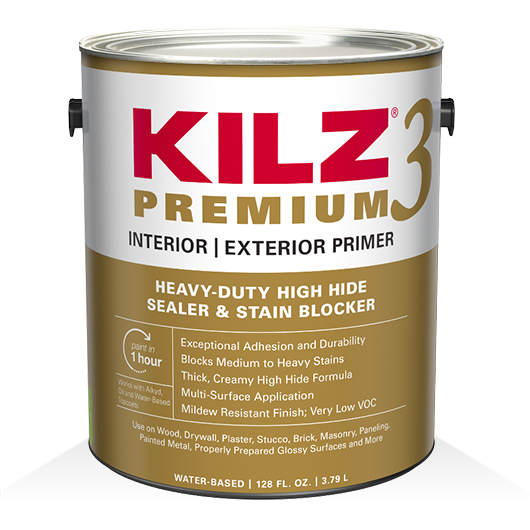
That leads us into the next room in the home on our list, the kitchen! We recommend priming both your walls and kitchen cabinets with a mildew-resistant primer like KILZ Kitchen & Bath or KILZ 3® Premium. If you’re interested to see a step by step kitchen renovation using KILZ 3 Premium, check out this recent post on a Colorful Kitchen Cabinet Transformation.
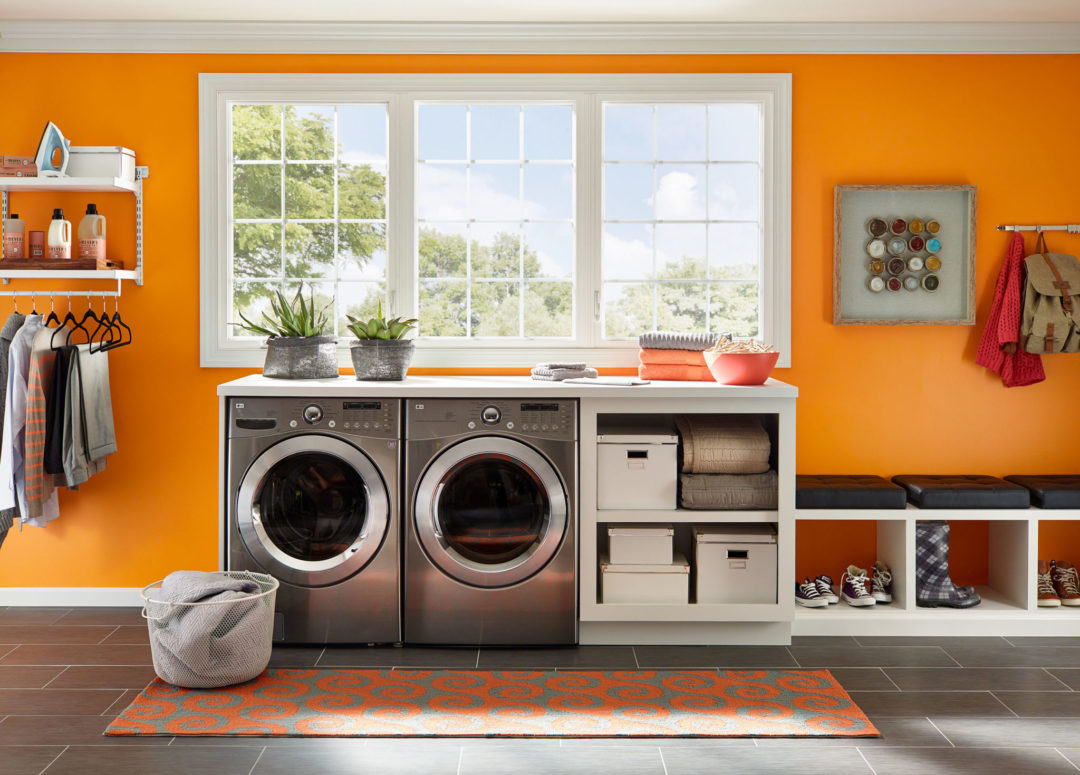
Last but not least, there is one more room found in most homes that calls for the use of primer with a mildew resistant finish. The laundry room! This small space is often overlooked when it comes time to think about repainting, but it is one room in particular where you definitely want to use the right primer.
Similar to kitchens, we recommend priming the walls and any cabinets in the laundry room with KILZ 3 Premium or KILZ Kitchen & Bath. If you’re looking to refresh your laundry room, keep an eye out for a light and airy laundry room makeover coming up on the blog in March!
Pretty in Pink Bathroom Makeover
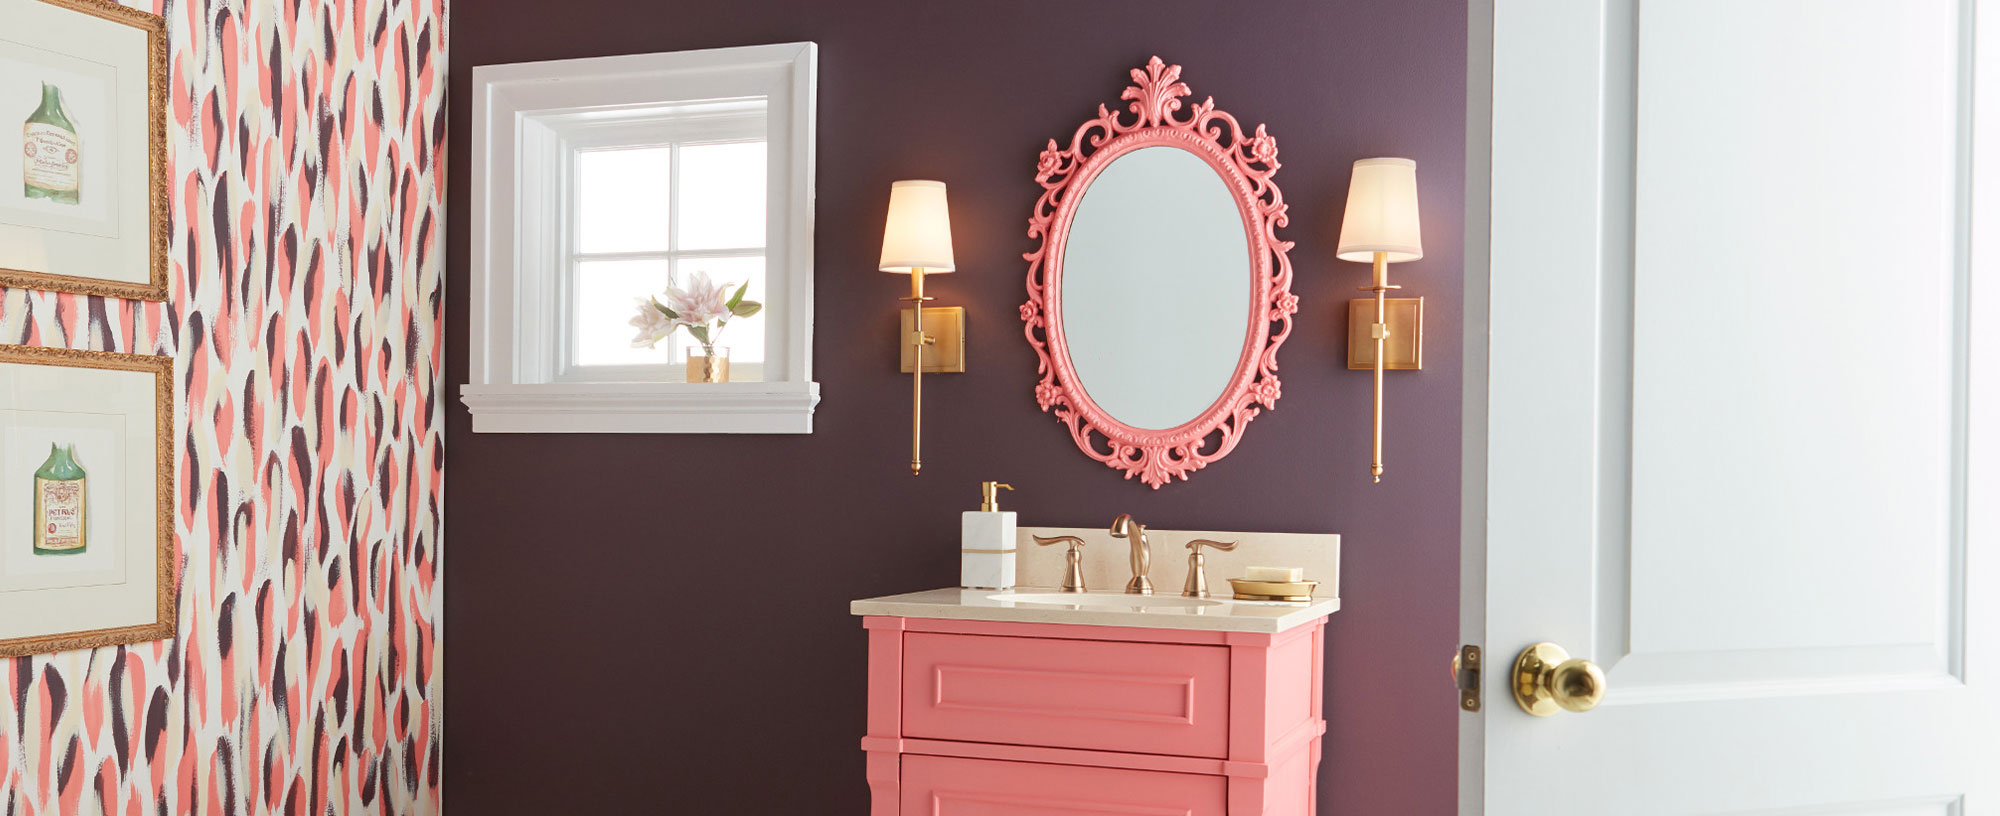
February 12, 2020It’s February, which means Valentine’s Day and all things pink are top of mind. This month we’re talking about colors and spaces you can fall in love with, including this pretty in pink bathroom. A once boring bathroom was given new life with painted faux wall paper, a bright pink vanity (with matching mirror!) and a dark accent wall. And just as important as picking the right vibrant colors for this small space renovation, was the prep work that went in before we painted to ensure that this makeover would last for years to come.
Before the paint went on, we wanted to ensure that our hard work would withstand a bathroom’s typical humidity, moisture and changing temperatures so we primed the walls with KILZ® Kitchen & Bath Primer. This water-based primer is specially designed for residential surfaces exposed to humidity, moisture and fluctuating temperatures such as kitchens, bathrooms, powder rooms and laundry rooms.
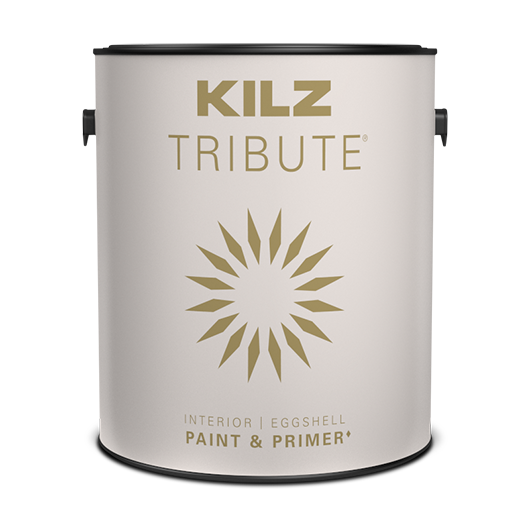
Proper priming also provides a solid anchor for paints – in this case a deep purple wall and coral-hued bath vanity. A painted “wall paper” accent wall and pink mirror complete the space. For this bathroom makeover, BEHR Premium Plus® in Watermelon Punch, KILZ Tribute® in Spanish Fortress and Beetroot Purple were used as accent colors over a white wall to create the fun faux wallpaper. Beetroot Purple was also used for the dramatic dark wall behind the vanity, with Watermelon Punch coating the vanity and matching mirror.
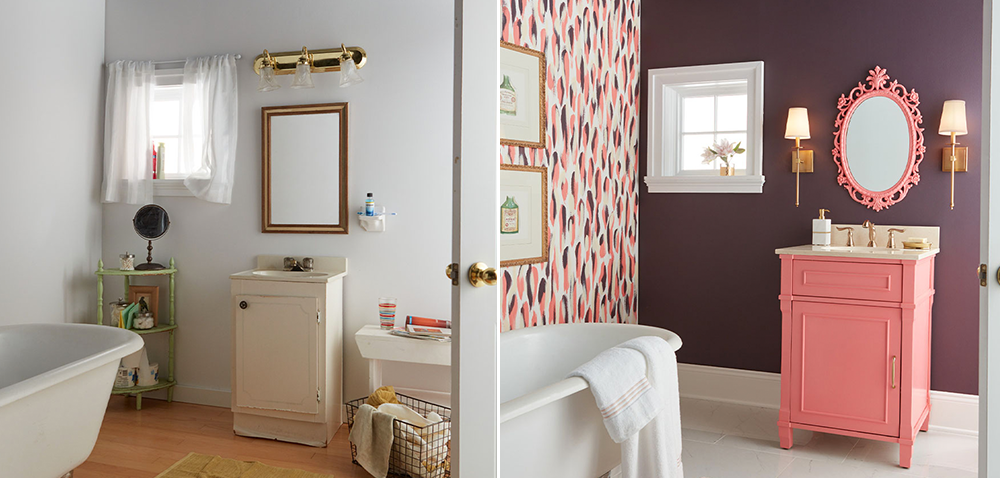
An everyday space gets a coat of unexpected flair in this stylish bathroom makeover. Read on for step by step directions to complete this paint project at home including the dark accent wall, painted “wall paper”, bathroom vanity and matching mirror.
The Dark Accent Wall
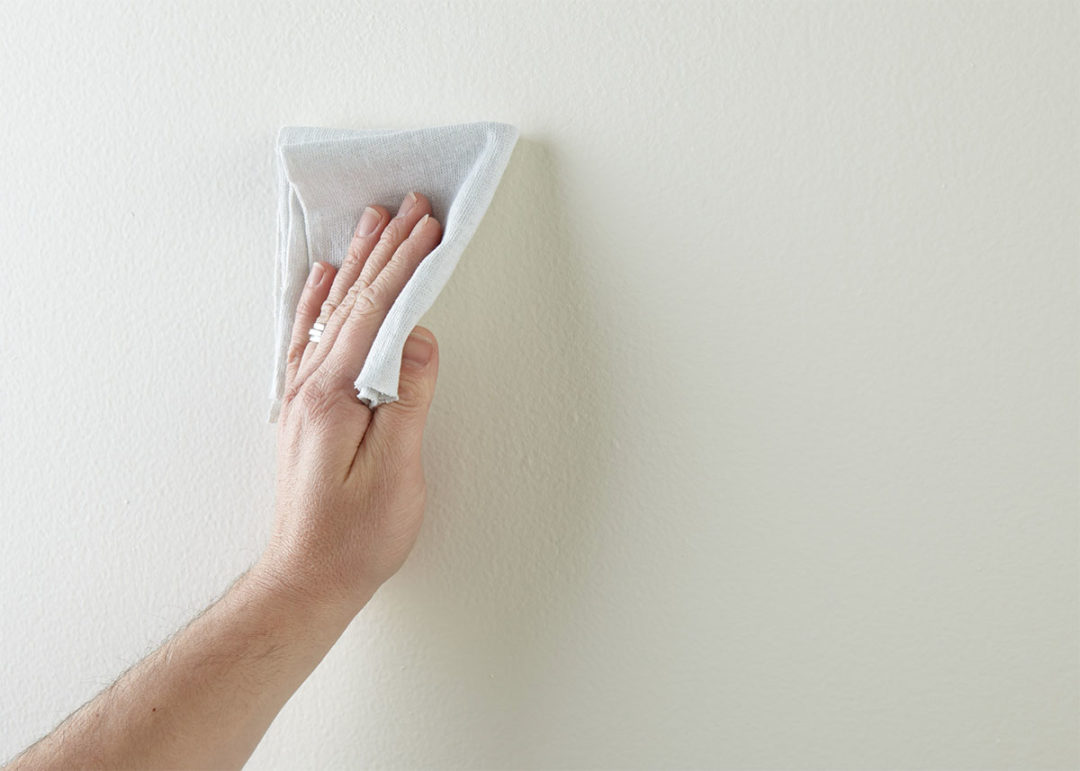
Step 1: Wipe down the chosen accent wall with a damp cloth to ensure it is clean and free of dust and allow the surface to dry.
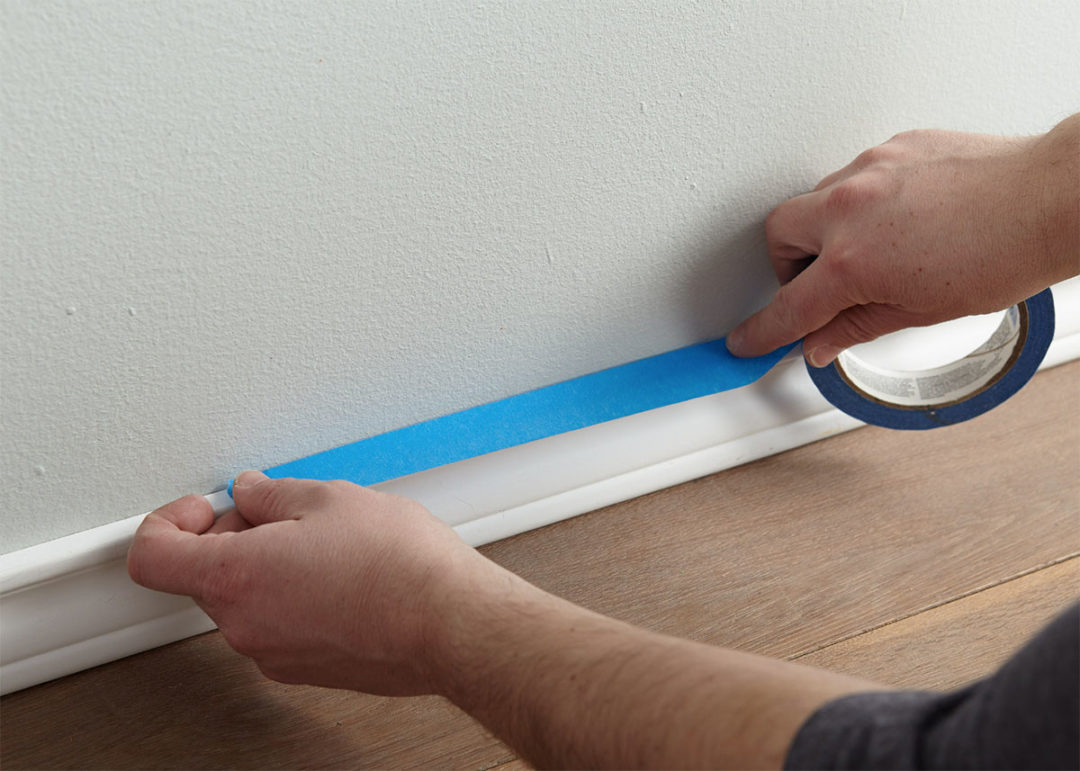
Step 2: Once dry, tape around the baseboards, trim and moldings.
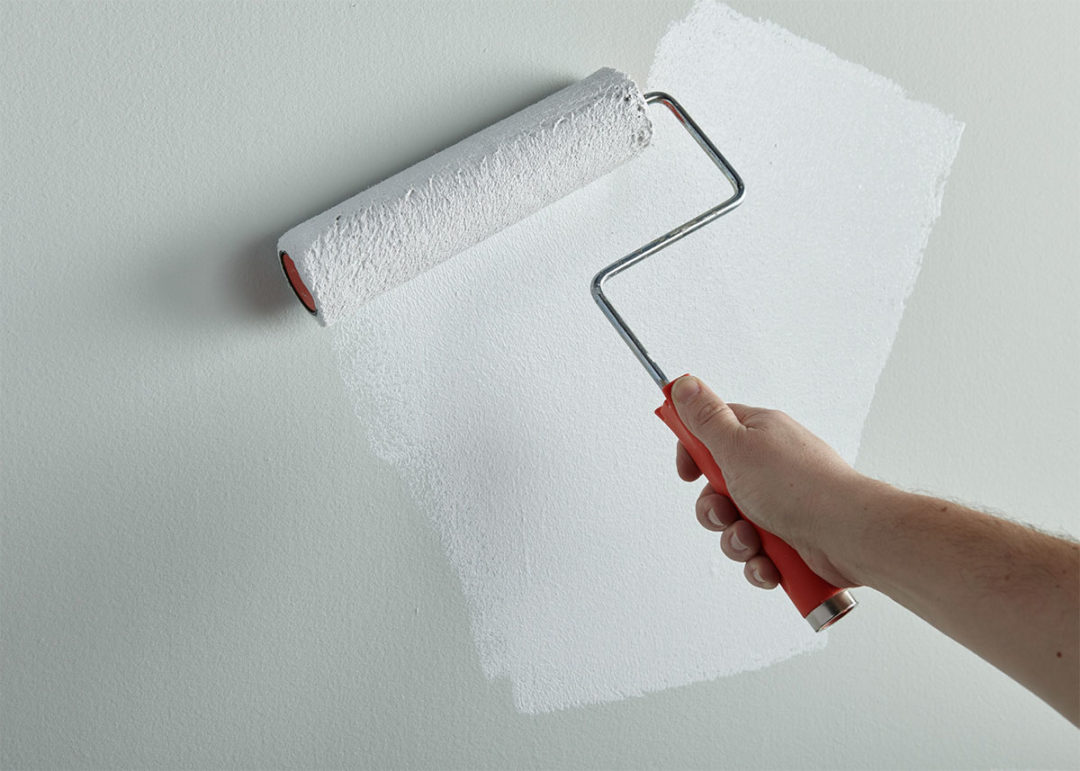
Step 3: Apply 1 coat of KILZ Kitchen & Bath (stirring thoroughly before and occasionally during use) and allow to dry. Apply primer using a brush first to “cut in” around the edges, then use a roller to fill in.
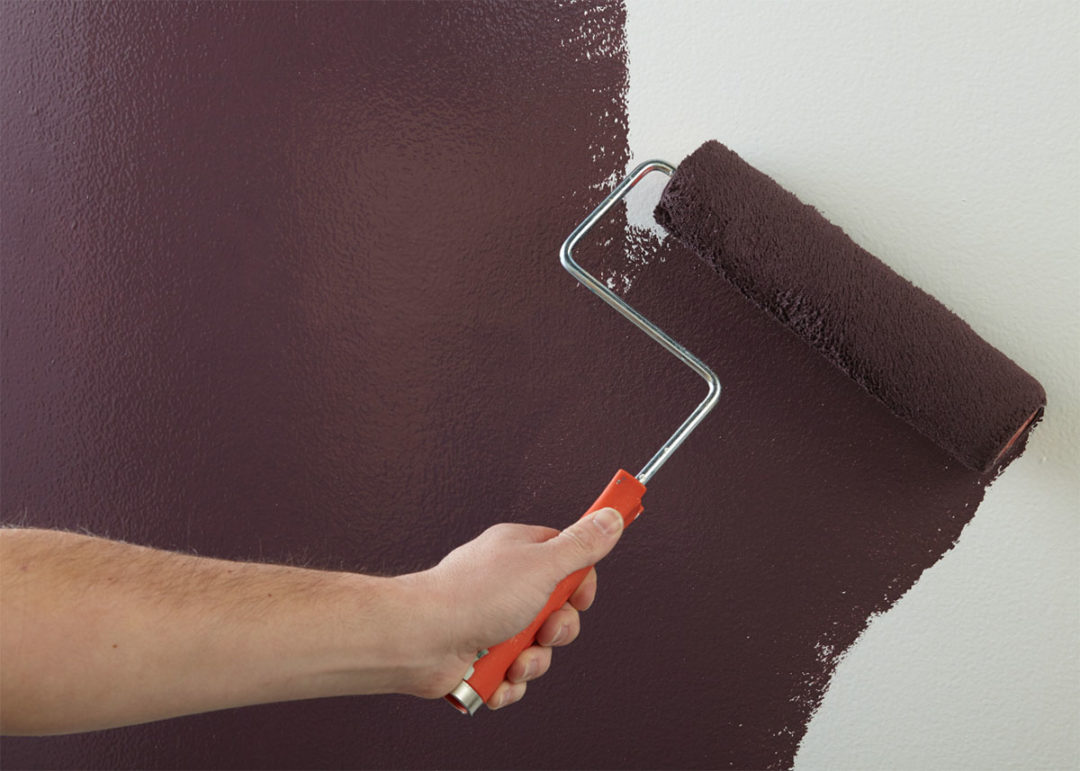
Step 4: Once primer is dry, apply KILZ Tribute in Beetroot Purple using the same application method as the primer (using a brush first to cut in around the edges 4 to 6 feet at a time, then use a roller to fill in those sections before moving along).
Step 5: Remove tape before paint is fully dry.
The Painted “Wallpaper”
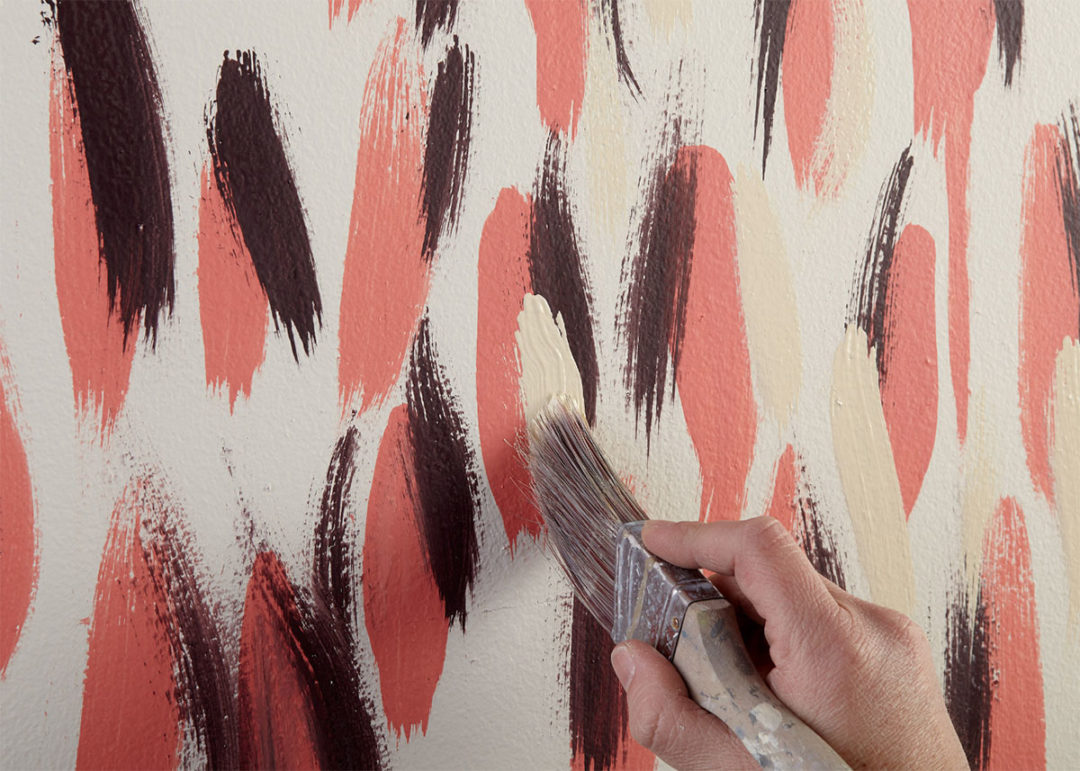
Step 1: Once the wall is primed (use same method as above), apply base color.
Step 2: Starting with BEHR Premium Plus in Watermelon Punch, use a brush and apply vertical strokes across entire wall. Once dry, use KILZ Tribute in Beetroot Purple and repeat, slightly overlaying the vertical strokes across the first pink strokes. Allow to dry and repeat with KILZ Tribute in Spanish Fortress.
The Vanity
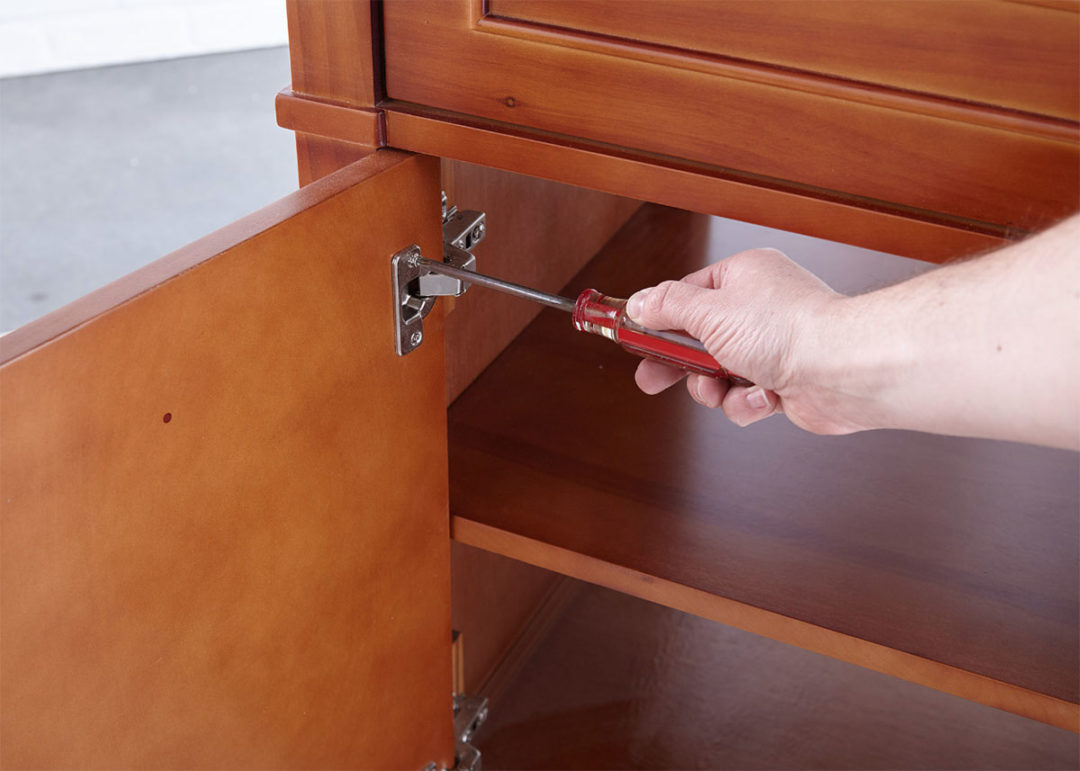
Step 1: Remove drawers and hardware. Put the screws back into the hardware, then seal the hardware and screws in painter’s tape and label it. It’s always best to put every screw back exactly where it came from. That will put the least amount of stress on the wood.
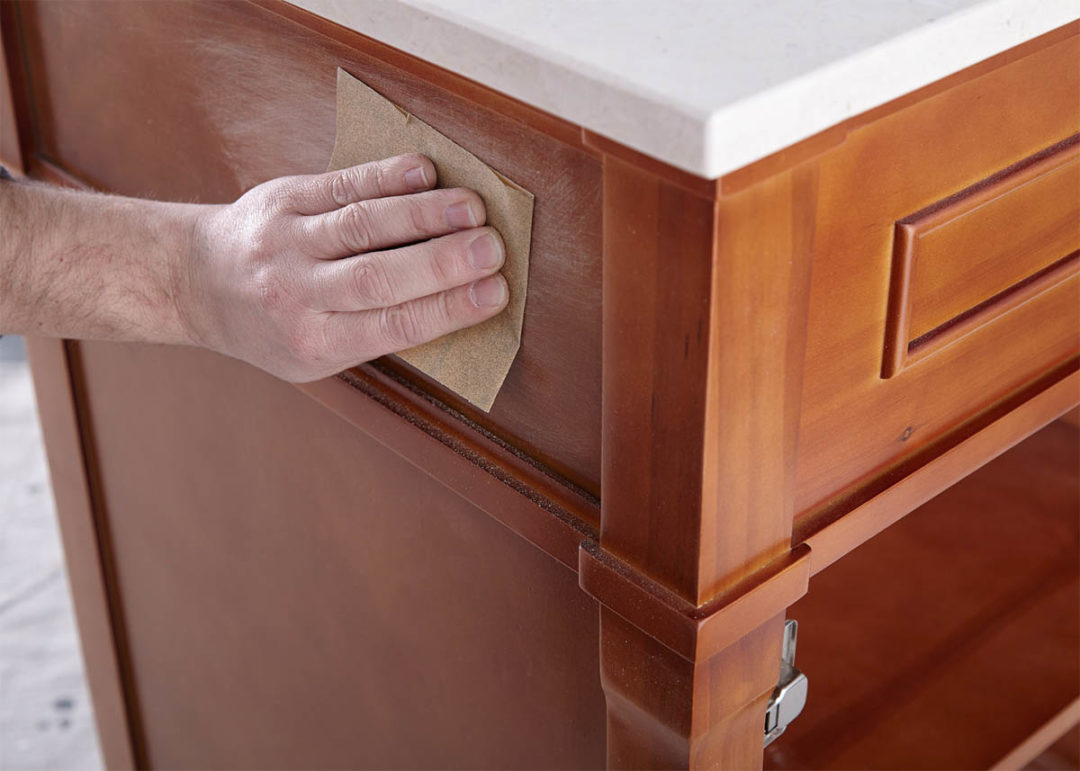
Step 2: Sand the surface; do a first pass with 100-150 grit sandpaper then finish with a second pass of 180-220 grit sandpaper.
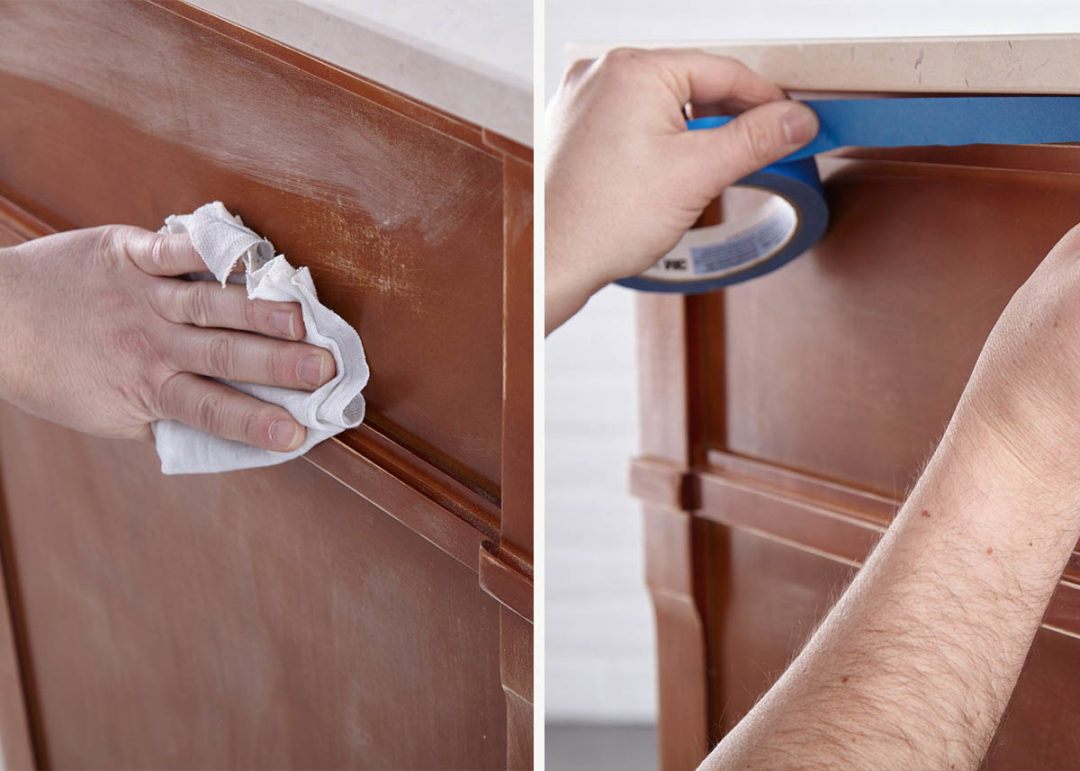
Step 3: After sanding, wipe down the surface with a damp cloth to remove any dust or residue and allow the surface to dry. Once dry, apply painter’s tape around the countertop edges.
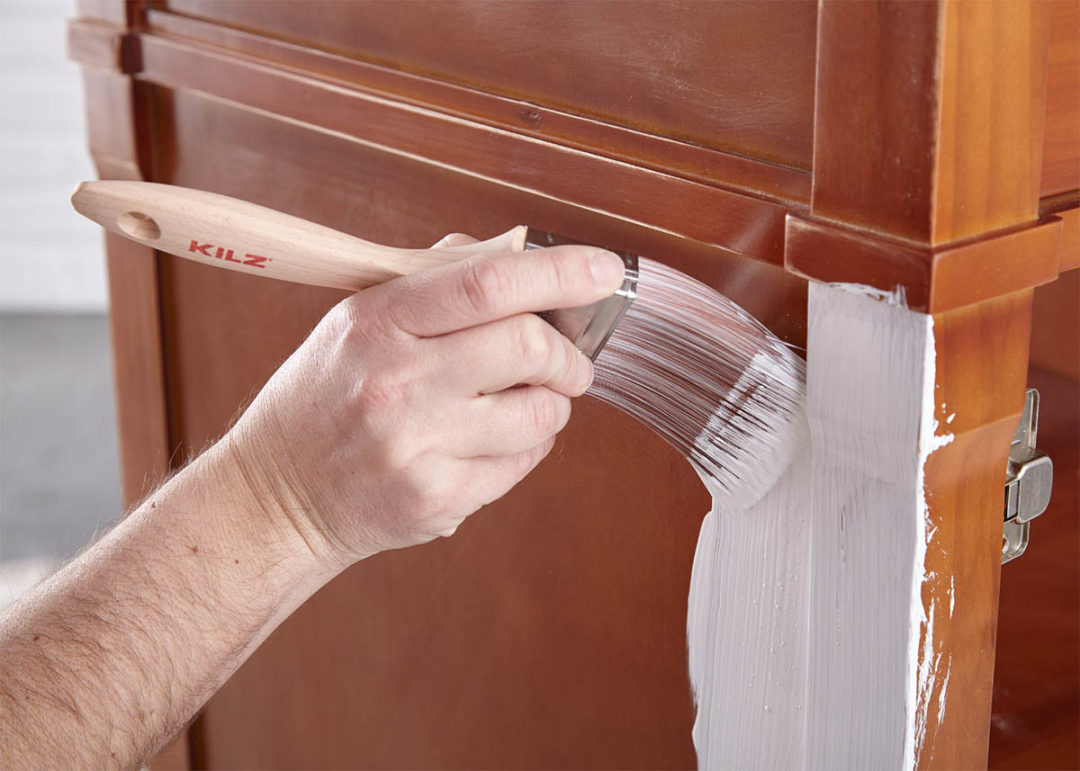
Step 4: Apply KILZ Kitchen & Bath (stirring thoroughly before and occasionally during use), moving in the same direction as the wood grain for best results. Allow primer to dry for 1 hour.
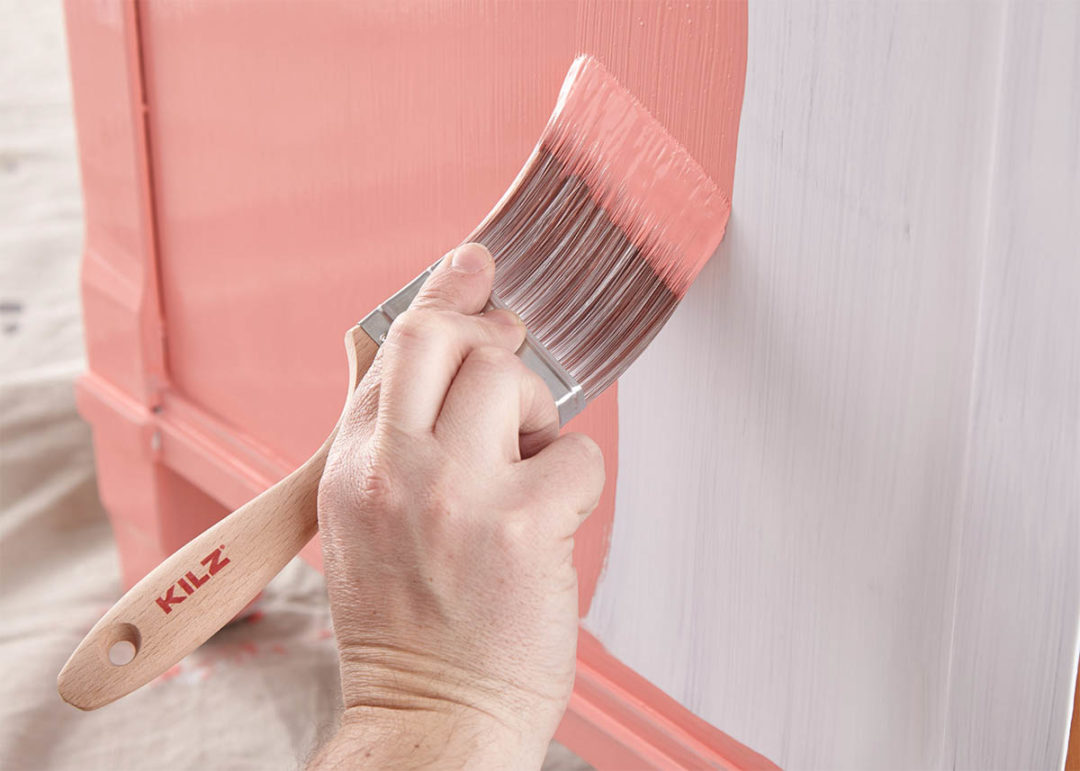
Step 5: Next it’s time for a pop of pink! Apply BEHR in Watermelon Punch (a satin or semi-gloss finish is recommended for superior mildew resistance). Remove the painter’s tape before the paint is fully dry.
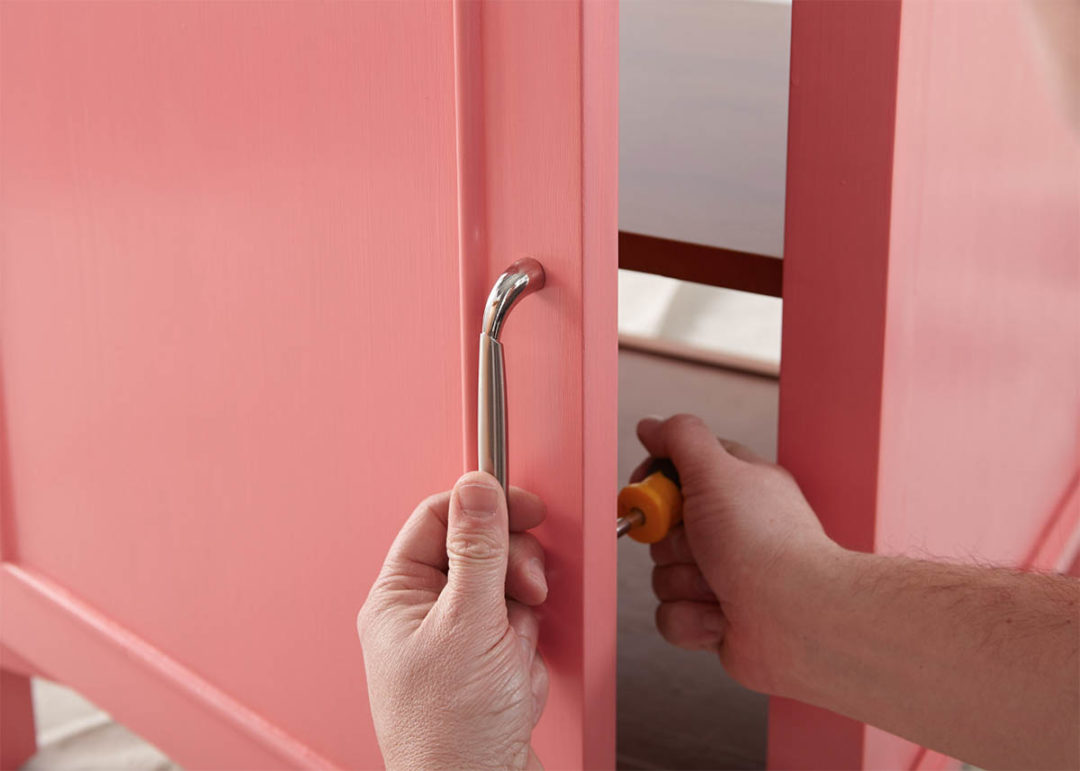
Step 6: Once the vanity is dry, reattach your hardware and you’re done!
The Mirror
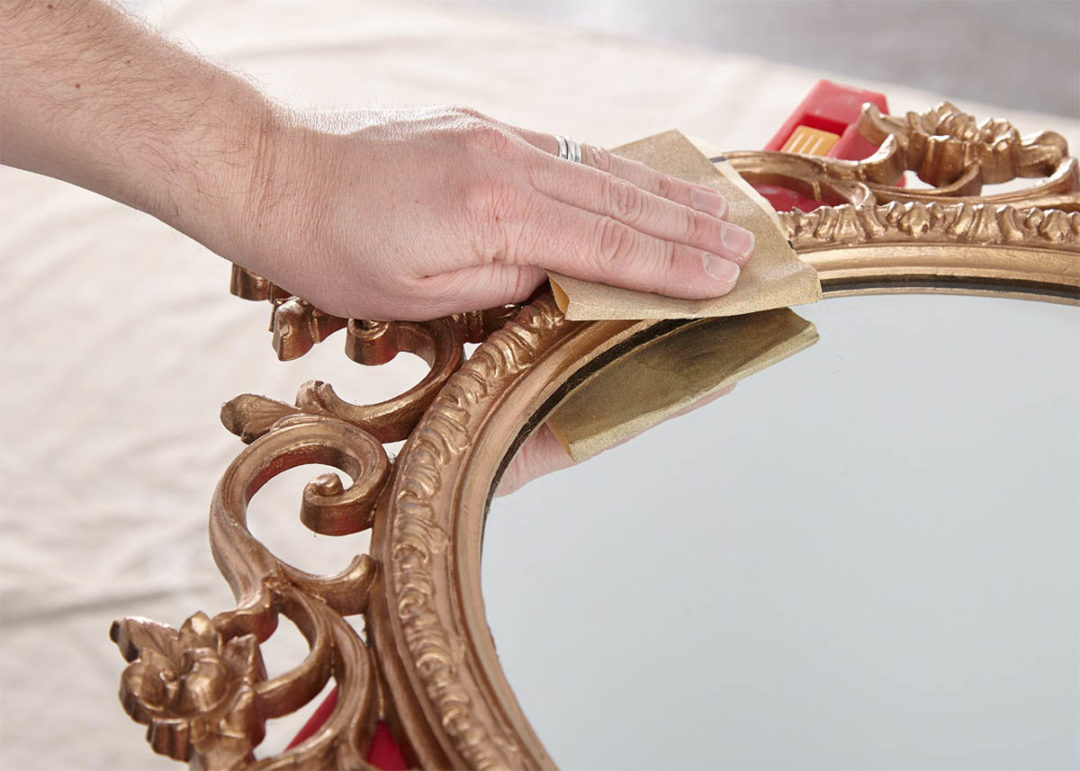
Step 1: Sand the mirror frame, first with 100-150 grit sandpaper and then finish with a second pass of 180-220 grit sandpaper.
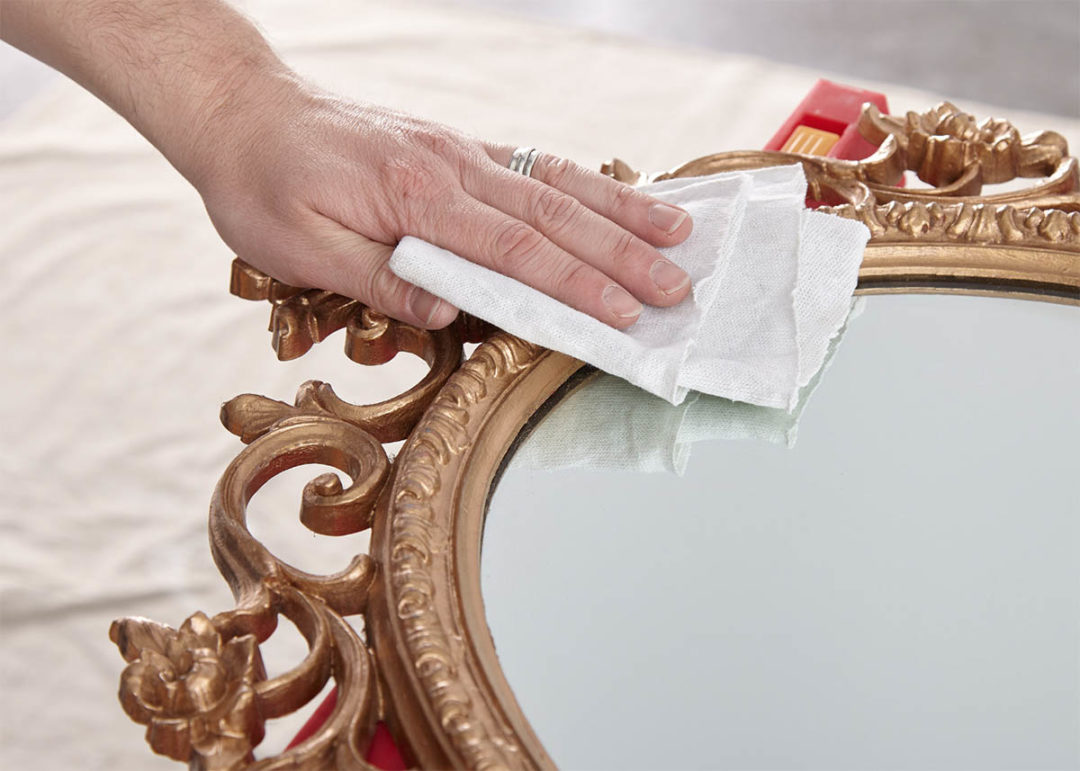
Step 2: After sanding, wipe down the surface with a damp cloth to remove any dust or residue and allow the surface to dry.
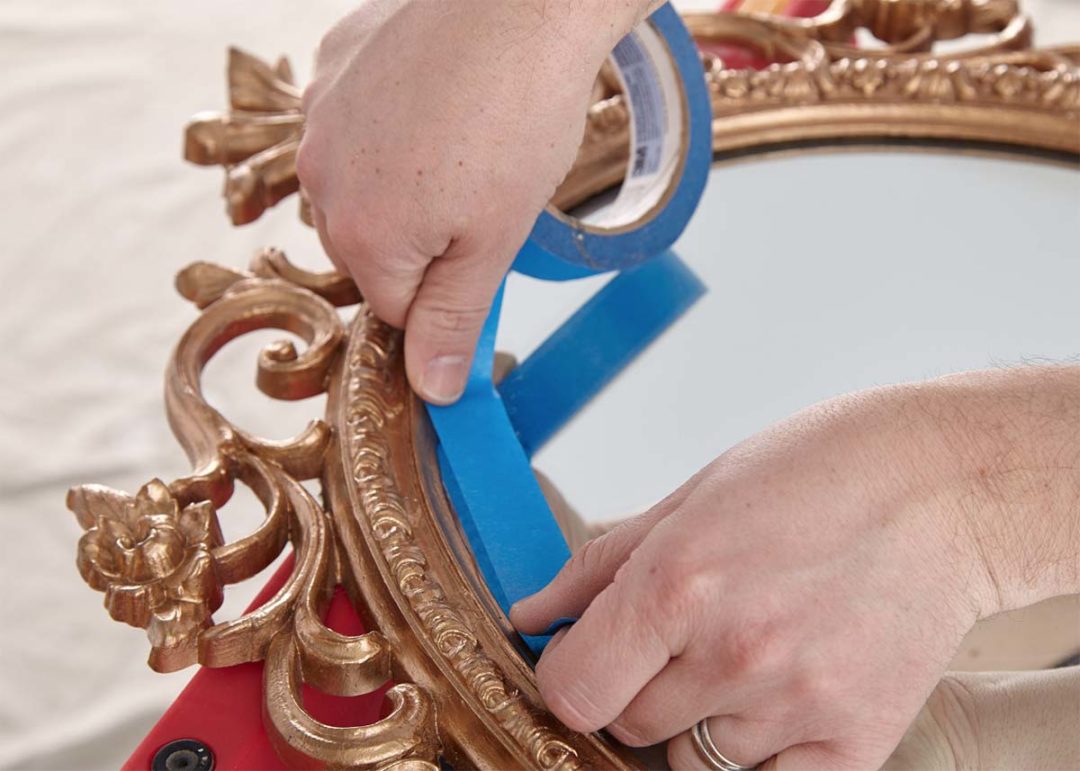
Step 3: Apply painter’s tape to the interior edges of the frame to protect the glass.
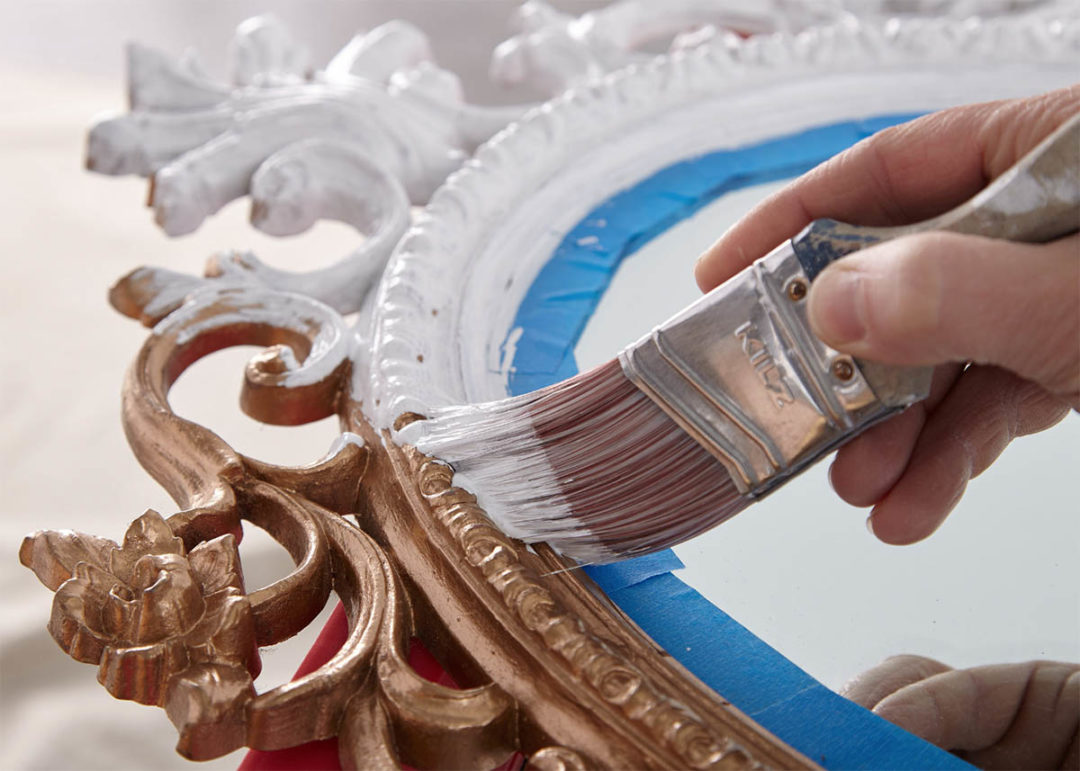
Step 4: Apply KILZ Kitchen & Bath primer with a small paint brush. Allow primer to dry for 1 hour.
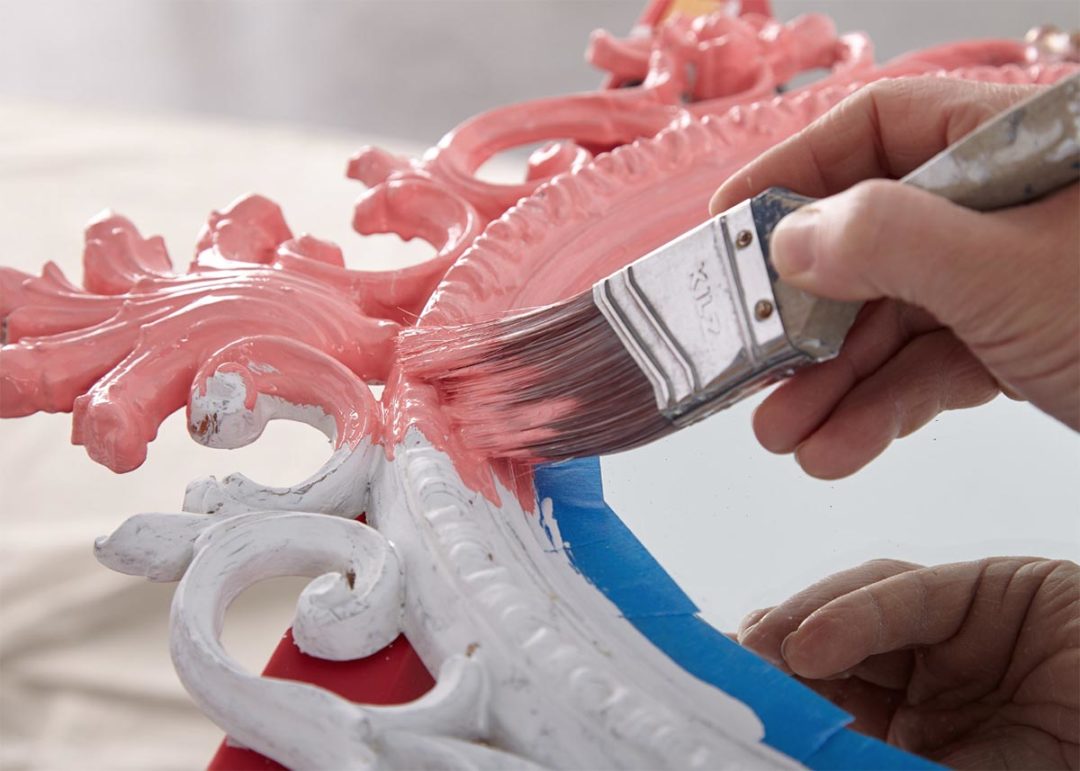
Step 5: Next, apply BEHR Premium Plus in Watermelon Punch (a satin or semi-gloss finish is recommended to ensure superior mildew resistance) using a nylon or polyester brush. Remove the painter’s tape before paint is fully dry.
Always remember to refer to our website Kilz.com or product back labels for additional information and instructions on how to apply our products.

join the conversation:
SHARE this post: