Tag: Makeover
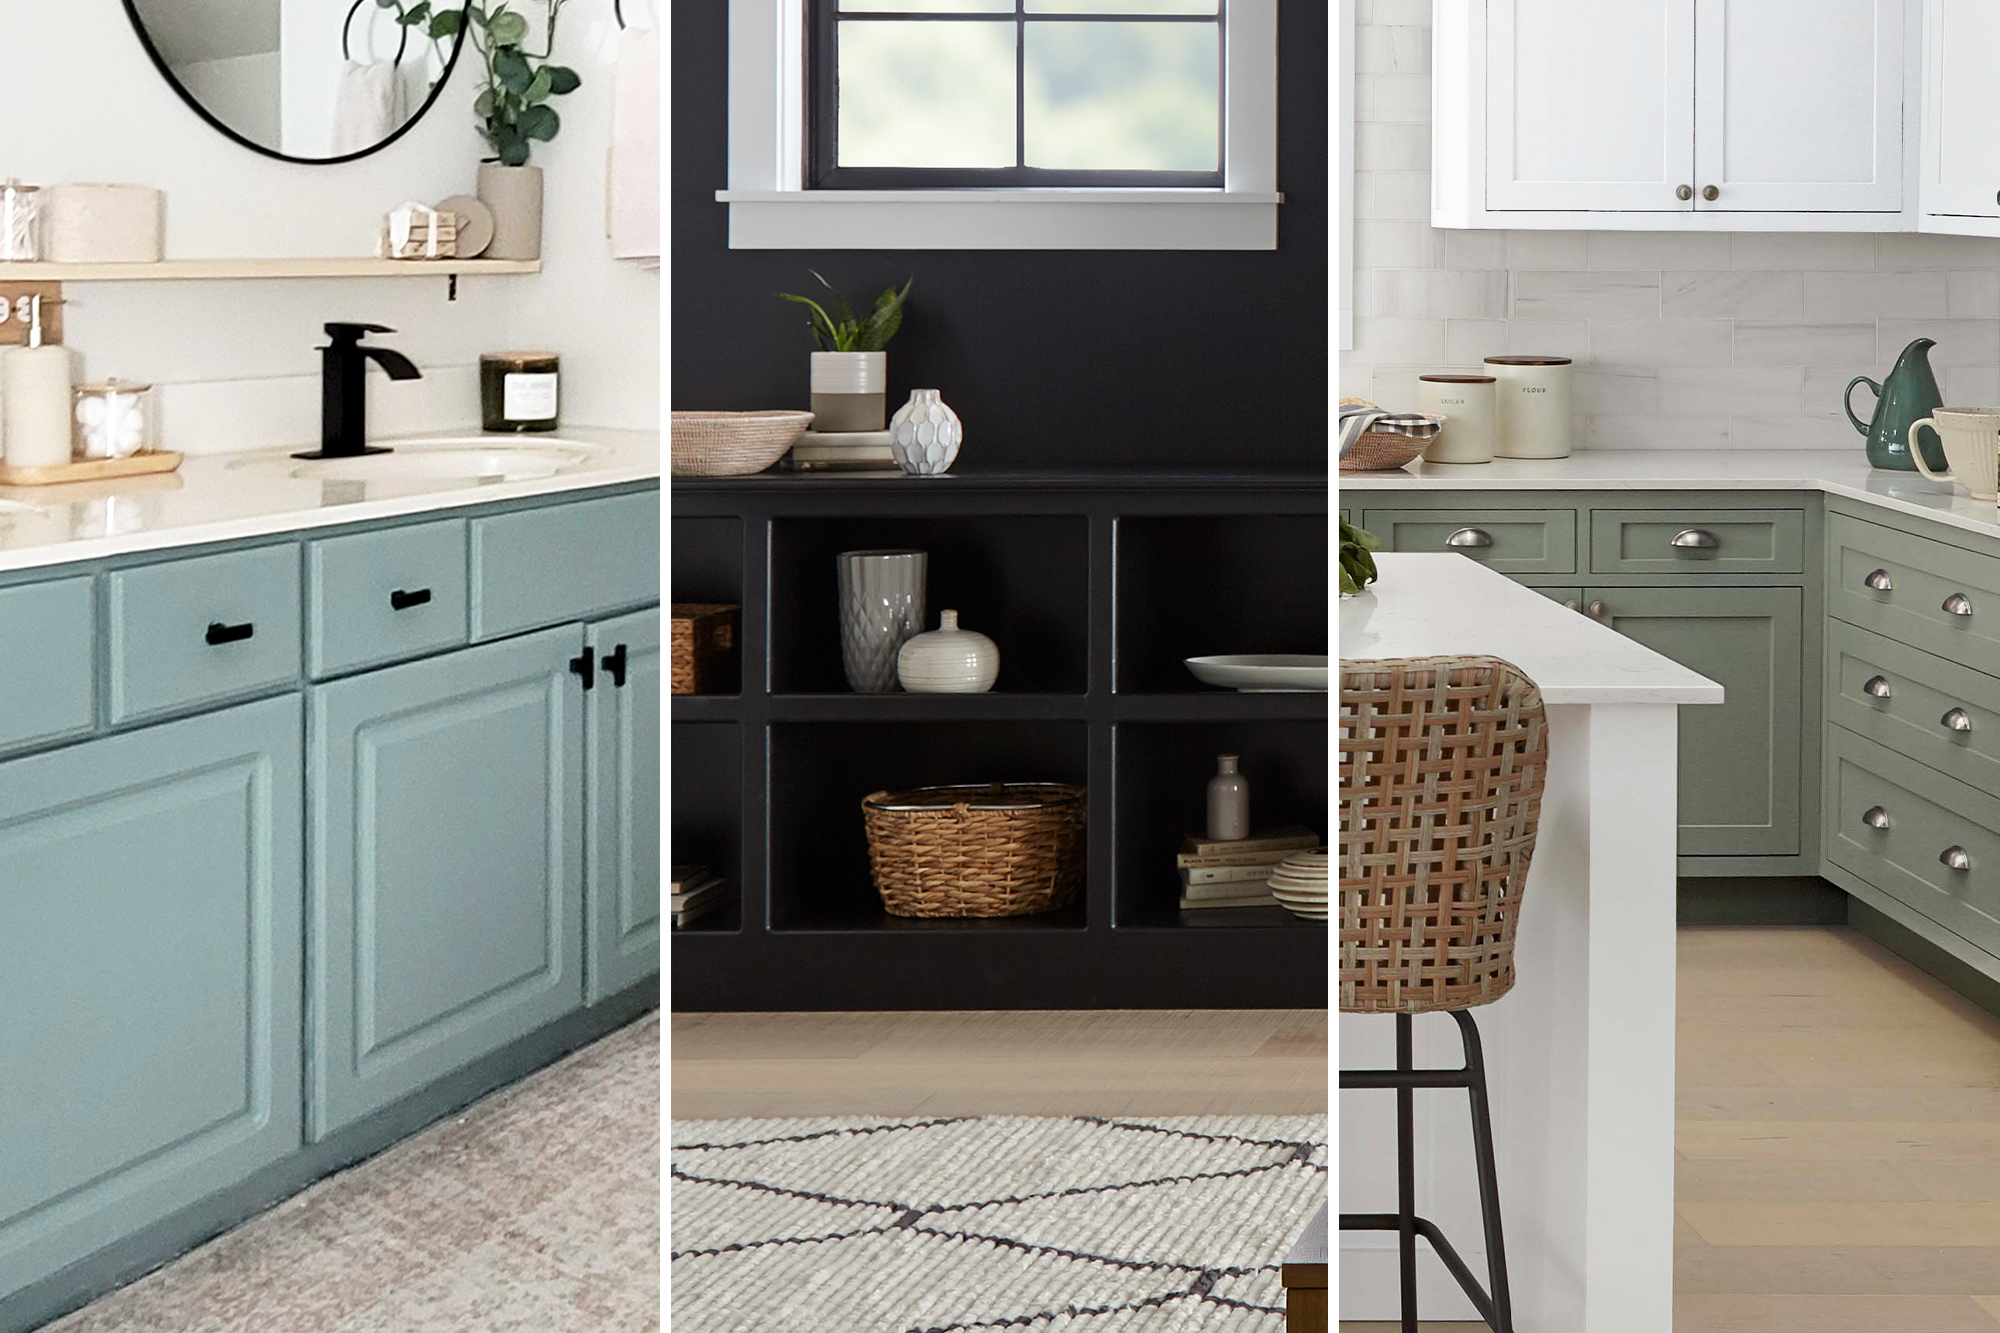
Our Favorite Projects of 2022
November 17, 2022The end of the year is right around the corner, which means it’s time to look back on some of our biggest accomplishments of 2022. What better way to recap the last 12 months than to revisit some of your favorite projects? From kitchens to bathrooms to living spaces, 2022 did not disappoint. When it came to updating, revamping, and overhauling, the year was full of inspiring home makeovers, so let’s recap some of our biggest standouts, and get excited to tackle another year of home improvement.
1. How to Prime Kitchen Cabinets for Color That Pops
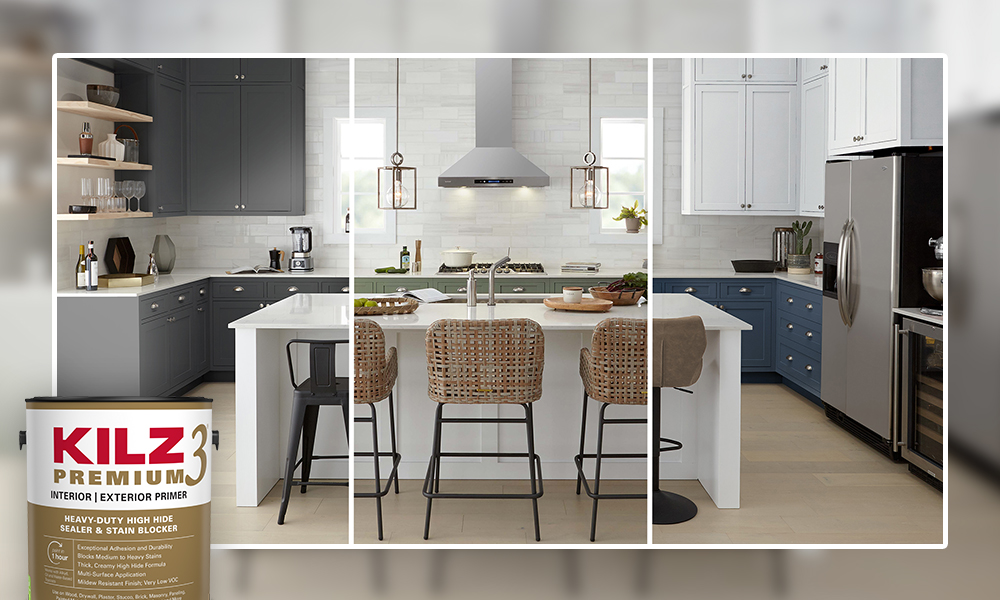
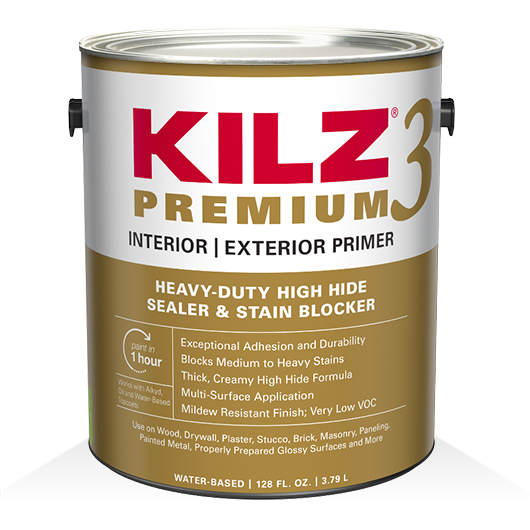
You may remember this gorgeous kitchen update from earlier in the year. This project featured three different kitchen inspirations, all using KILZ 3®PREMIUM Interior and Exterior Primer, which came to life thanks to varied design concepts and paint combos that gave the original space some much needed personality. Two toned kitchen cabinets were a theme for this project, and using subtle, yet distinct colors that played off one another, we achieved a polished effect that would make any pro proud. See the full project.
2. Pro Spotlight: Angela Cacace Creates a Spacious and Fresh Feeling Bathroom
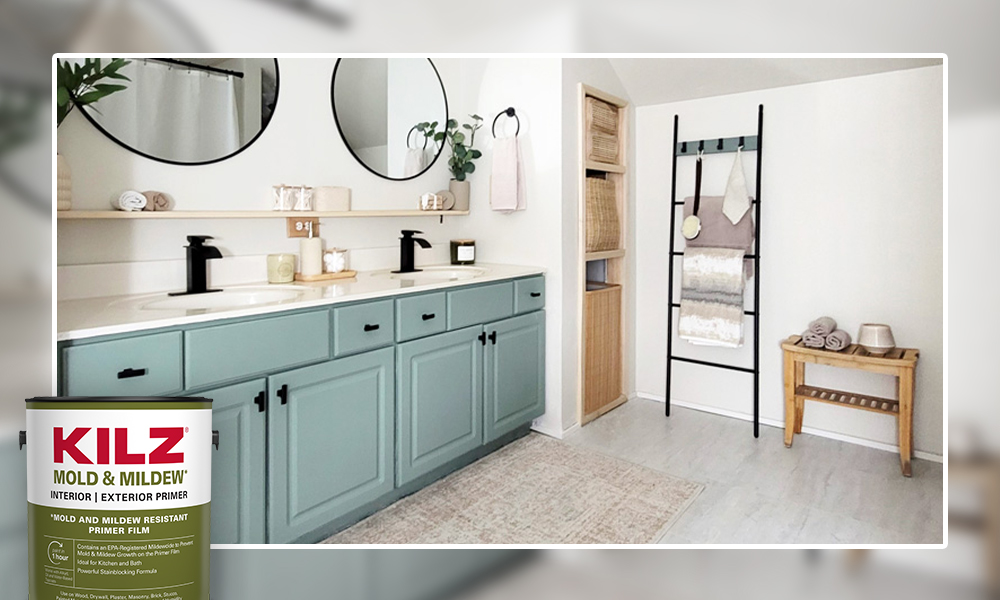
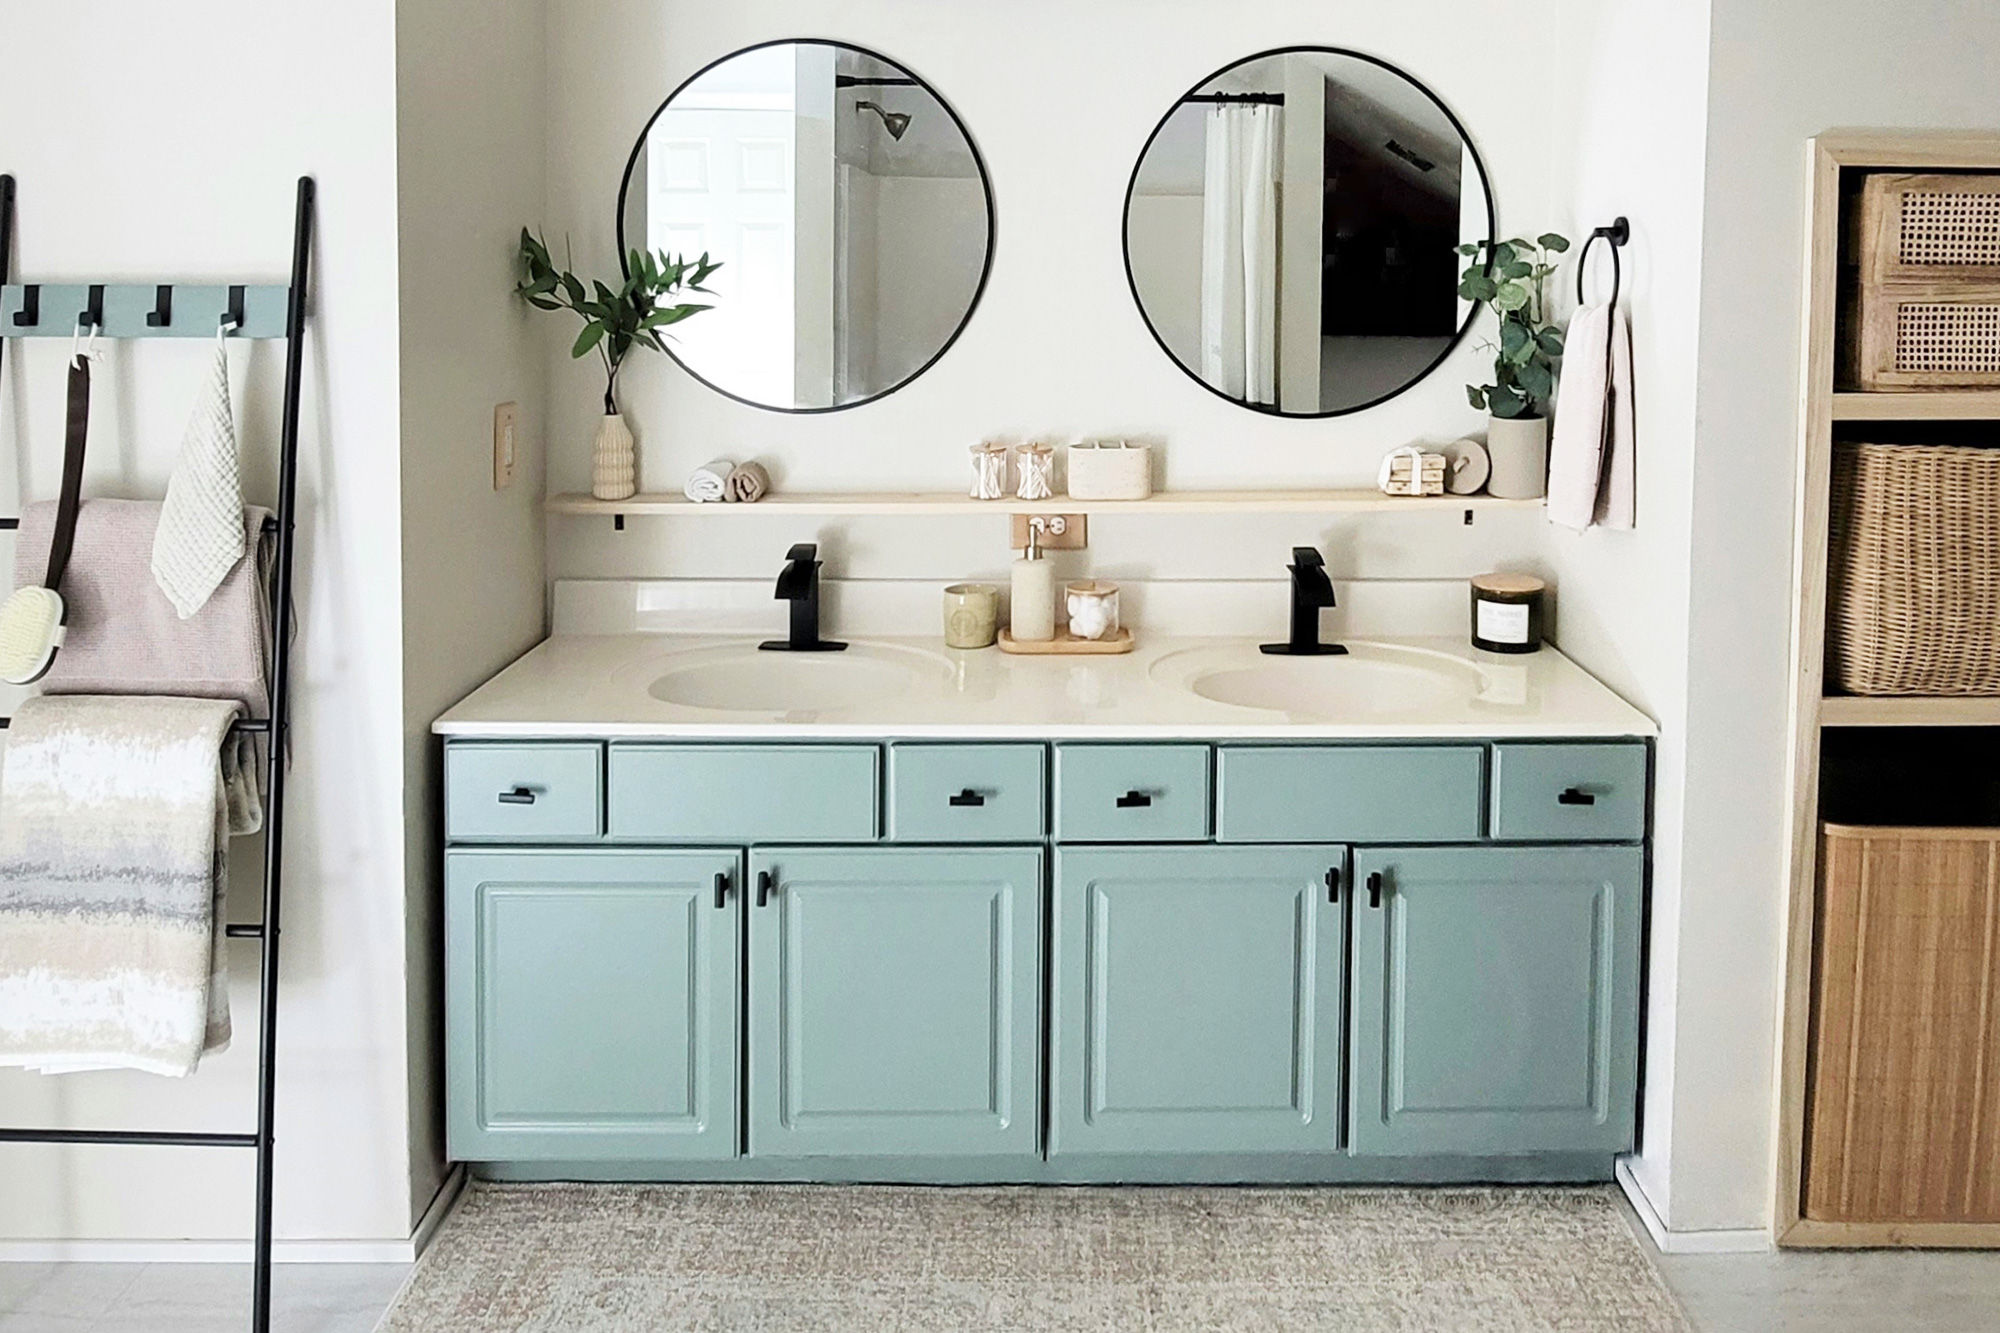
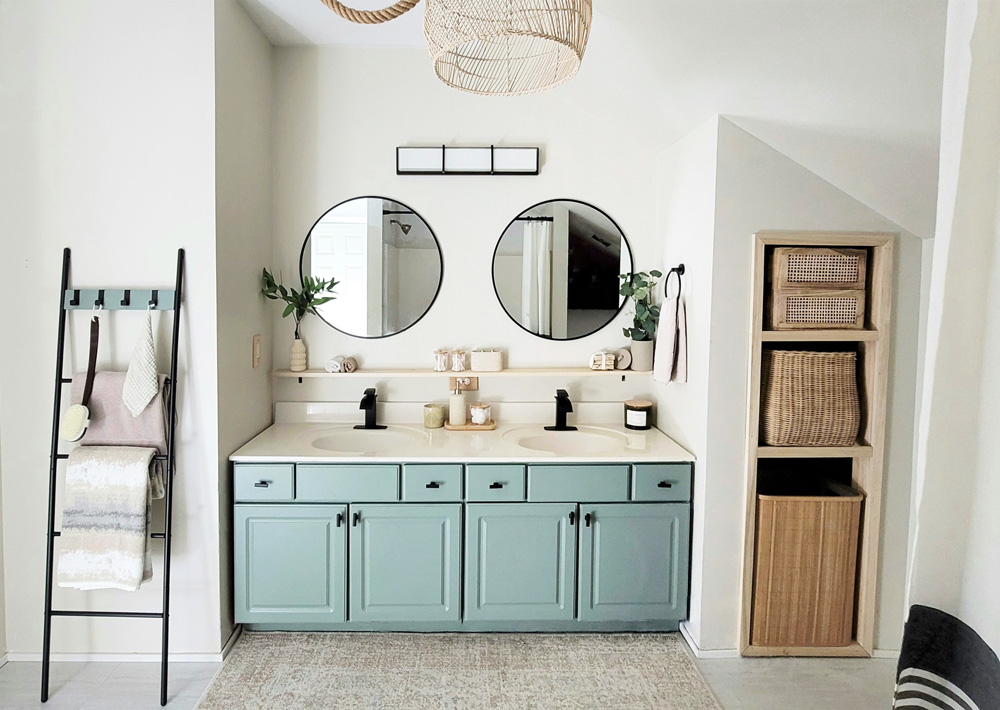
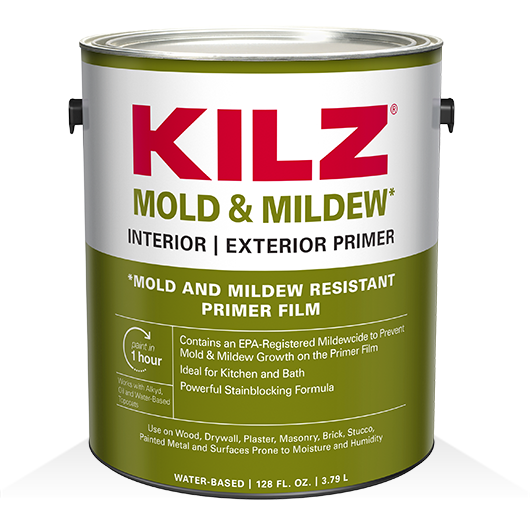
This outdated bathroom was in desperate need of a makeover, and pro designer and contractor, Angela Cacace, took everything from budget to aesthetic to difficulty into consideration. She used KILZ® Mold and Mildew Resistant Primer to start, and then finished the room using light and airy paint selections from the Magnolia Home by Joanna Gaines® collection to make the bathroom feel fresh, bright, and spacious. Achieving the creamy and neutral result was no small feat considering the hot pink “before” color of the walls and the heavy black cabinets. Primer was an absolute must for this project, and the true star of the show. See the full project.
3. Restoration vs. Original – What’s the Difference?
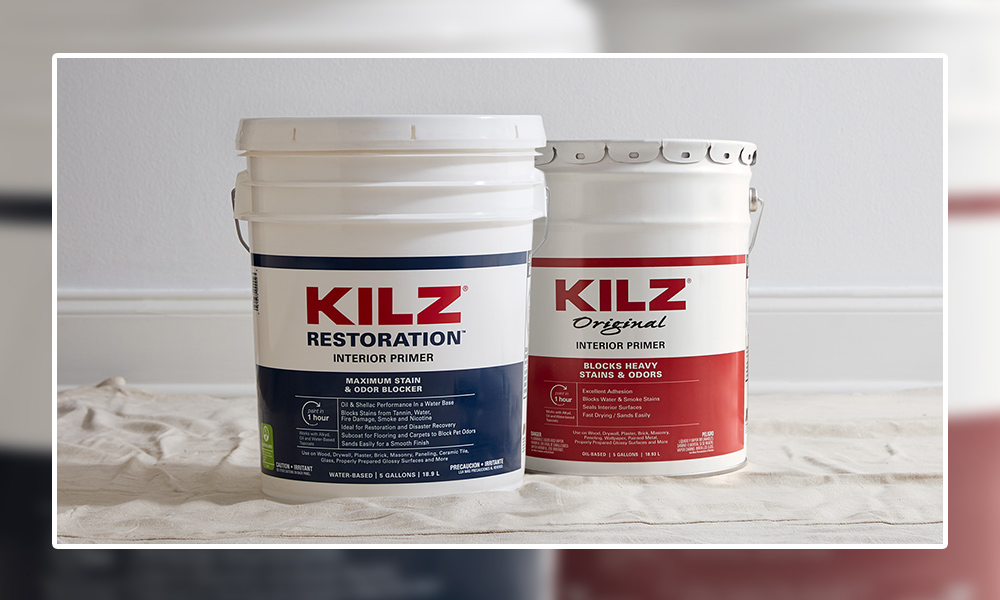
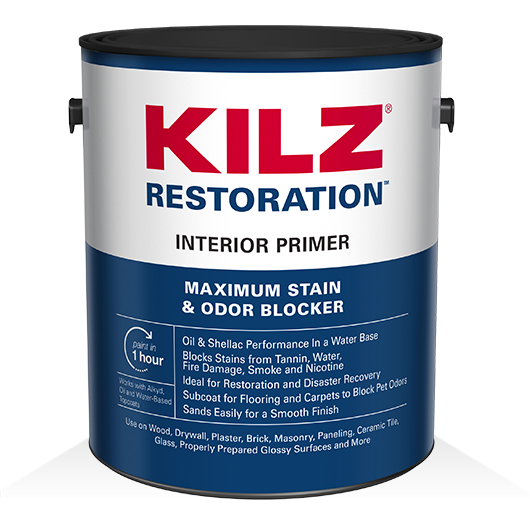
For this article, we talked to John Golamco, Project Manager and Primer Category lead with the KILZ® brand. His 25 years of experience gave him critical insight into this category. He explained the fundamental differences between the primers and compared them in more detail. According to John, KILZ® Original is an oil-based primer that works great for blocking severe stains and odors. It also has a more pungent solvent odor and requires mineral spirits or paint thinner to clean up. KILZ Restoration® on the other hand is a water-based primer that also blocks severe stains and odors but has lower VOCs and meets all national regulations. It’s a low-odor primer and can be cleaned up easily using soap and water. See the full article.
4. PRO SPOTLIGHT: Make A Front Door Pop with Jared Foster
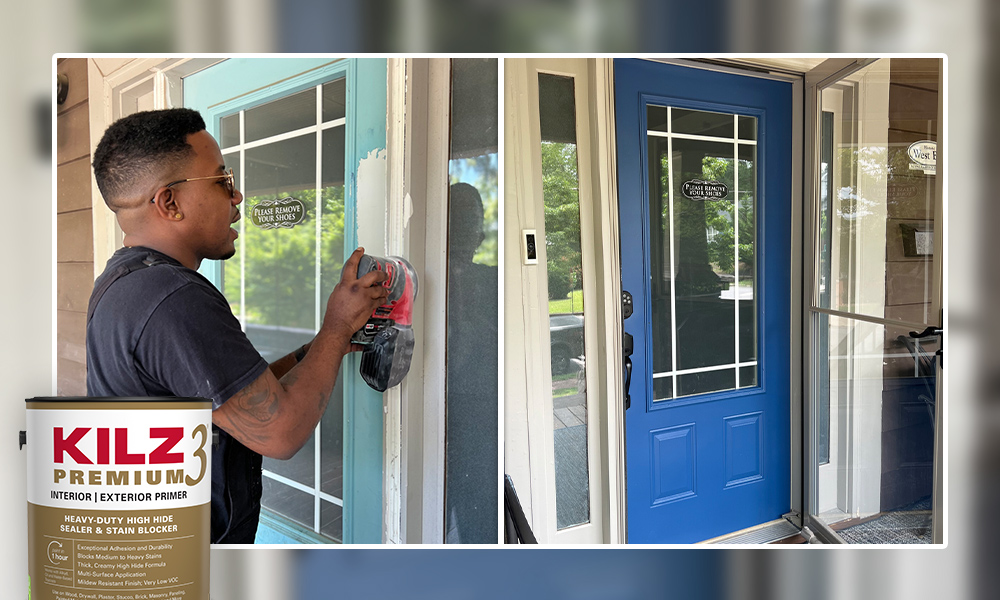
We know a thing or two about details, which is exactly what we wanted to highlight with this front door refresh. Carpenter, Jared Foster, sought to complement the already calm vibe of his front porch with an equally relaxed color scheme, and he walked us through his process in bringing it to life. “Once I laid on the primer and allowed it to dry, I was able to spray the door and trim using BEHR® paint, remove all the paper and tape and enjoy the new look. All and all, this project was completed in 48 hours. Having used KILZ 3® PREMIUM Interior and Exterior Primer,I knew this door color would pop,” said Jared. See the full project.
5. Creating a Family Room that Brings People Together
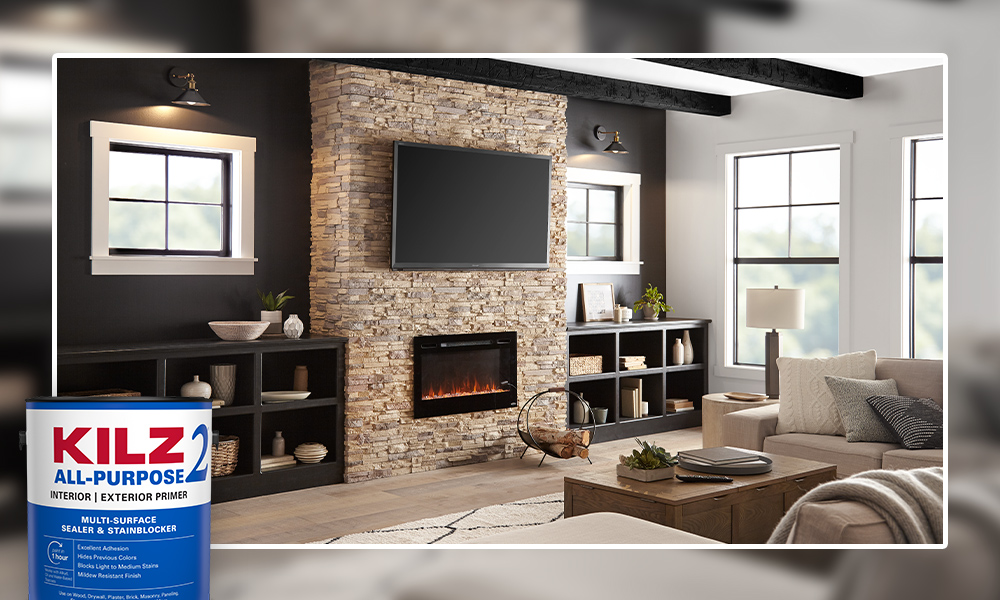
This chic, yet cozy family room makeover was all about encouraging togetherness. Using a modern farmhouse look as inspiration, we crafted a similar feel with soft white paint, dark accents, and intentional décor. Taking the room from light to dark meant priming the walls for the best possible paint application, so we used KILZ 2® All-Purpose Primer, which made the job a breeze thanks to its great adhesion and fast-drying formula. The finished room breathed new life into a familiar space and created a relaxed, yet sophisticated atmosphere, perfect for spending time with loved ones. See the full project.
This was a great year for DIY home makeovers, and even though the year is ending, we’re not slowing down. Whether you’re taking a little break or busy planning next year’s projects, we hope this inspirational list gives you the motivation you need to make your vision come to life. Thanks for spending the year with us. We can’t wait to see what new ideas you’ll bring to life in 2023.
Always remember to refer to our website kilz.com or product back labels for additional information on which primer is right for your project and detailed instructions on how to apply our products. Check out our Coverage Calculator to understand your estimated paint needs for your upcoming project.
Kids Room Refresh with Oak Hill Millworks
August 10, 2022 What’s up, guys? Christy here with Oak Hill Millworks and today I am recapping a home renovation project that I just wrapped up for my kids! Before we dive into the details, let me introduce myself. I am a small business owner in New Brighton, PA and my family is relocating to Kokomo, Indiana.
So, I recently found myself wanting to brighten my kids’ room up and expand it a bit. Are any fans of demolition reading this? Our house had a 2′ x 3′ foot bump out in the corner of the kids’ room, and we knew there was a chimney behind it. We assumed it was leveling off in the attic, considering there wasn’t a chimney coming out of the roof. I went against my better judgment and started what should have been a simple refresh with primer and paint with demolition instead.ͭ
ͭ Behr Paint Company strongly recommends the use of highly skilled professionals when undertaking a project that requires demolition.
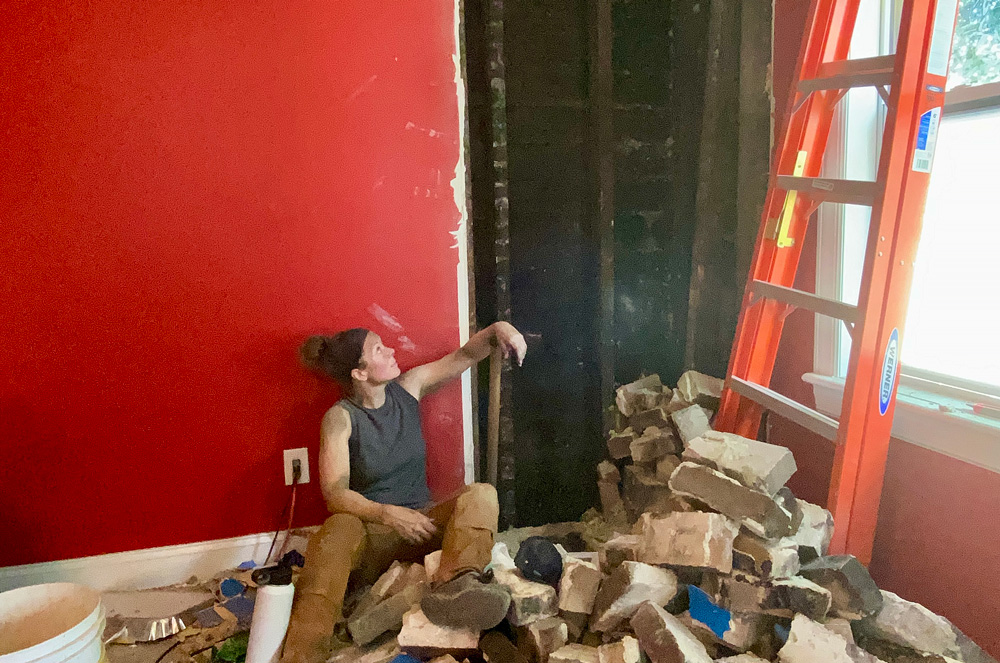
Was it worth it to go through all that manual labor to gain an extra 6 square feet of floor space in their room? I vote yes! I love to challenge myself and taking a chimney out on your own, reframing a wall, hanging new drywall, and finally doing the FUN DIY work of painting was a great challenge for me to say the least. Once I finally got the room cleaned up and the walls wiped down, it was time to prep for primer!
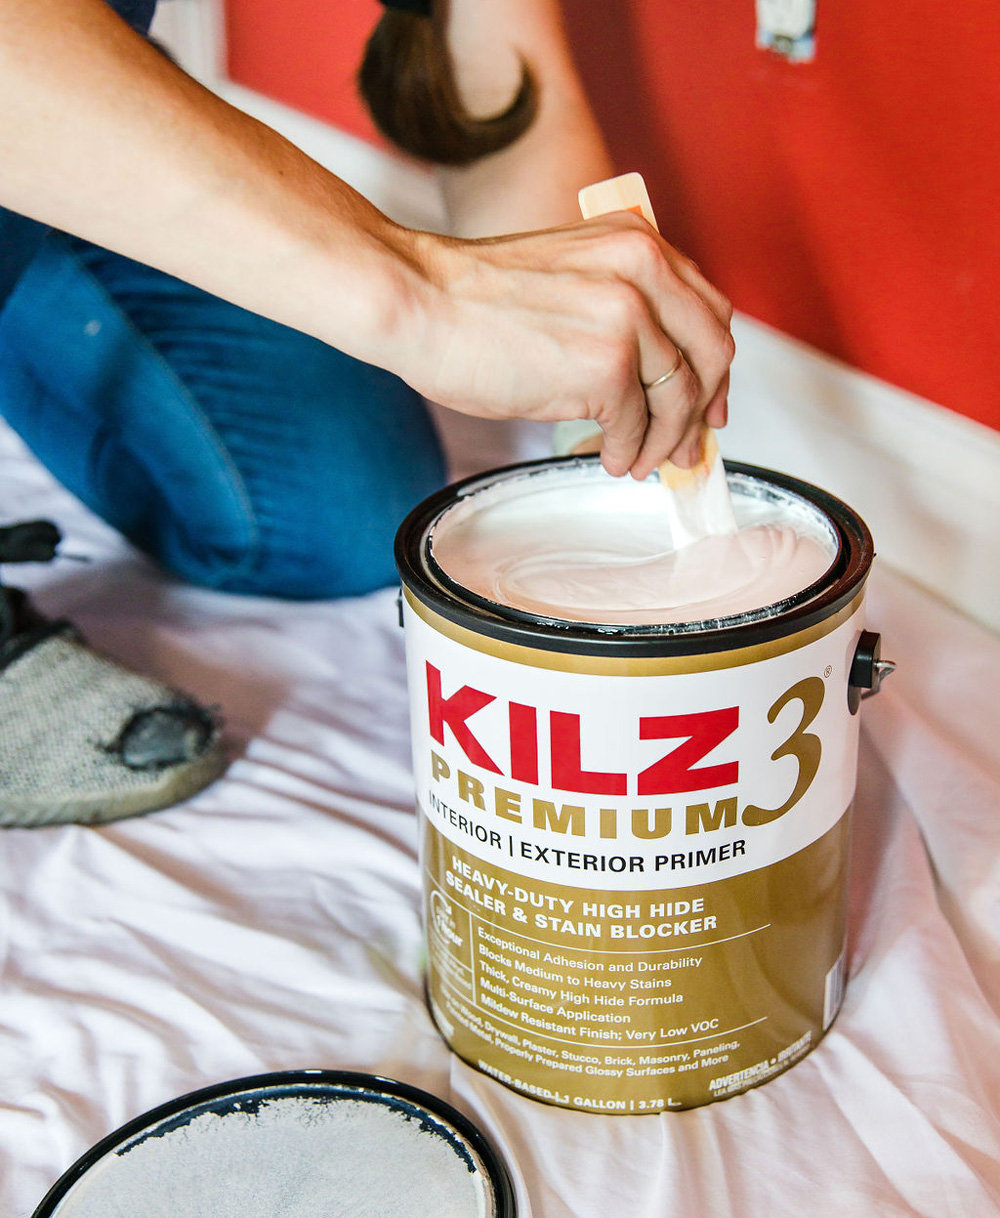
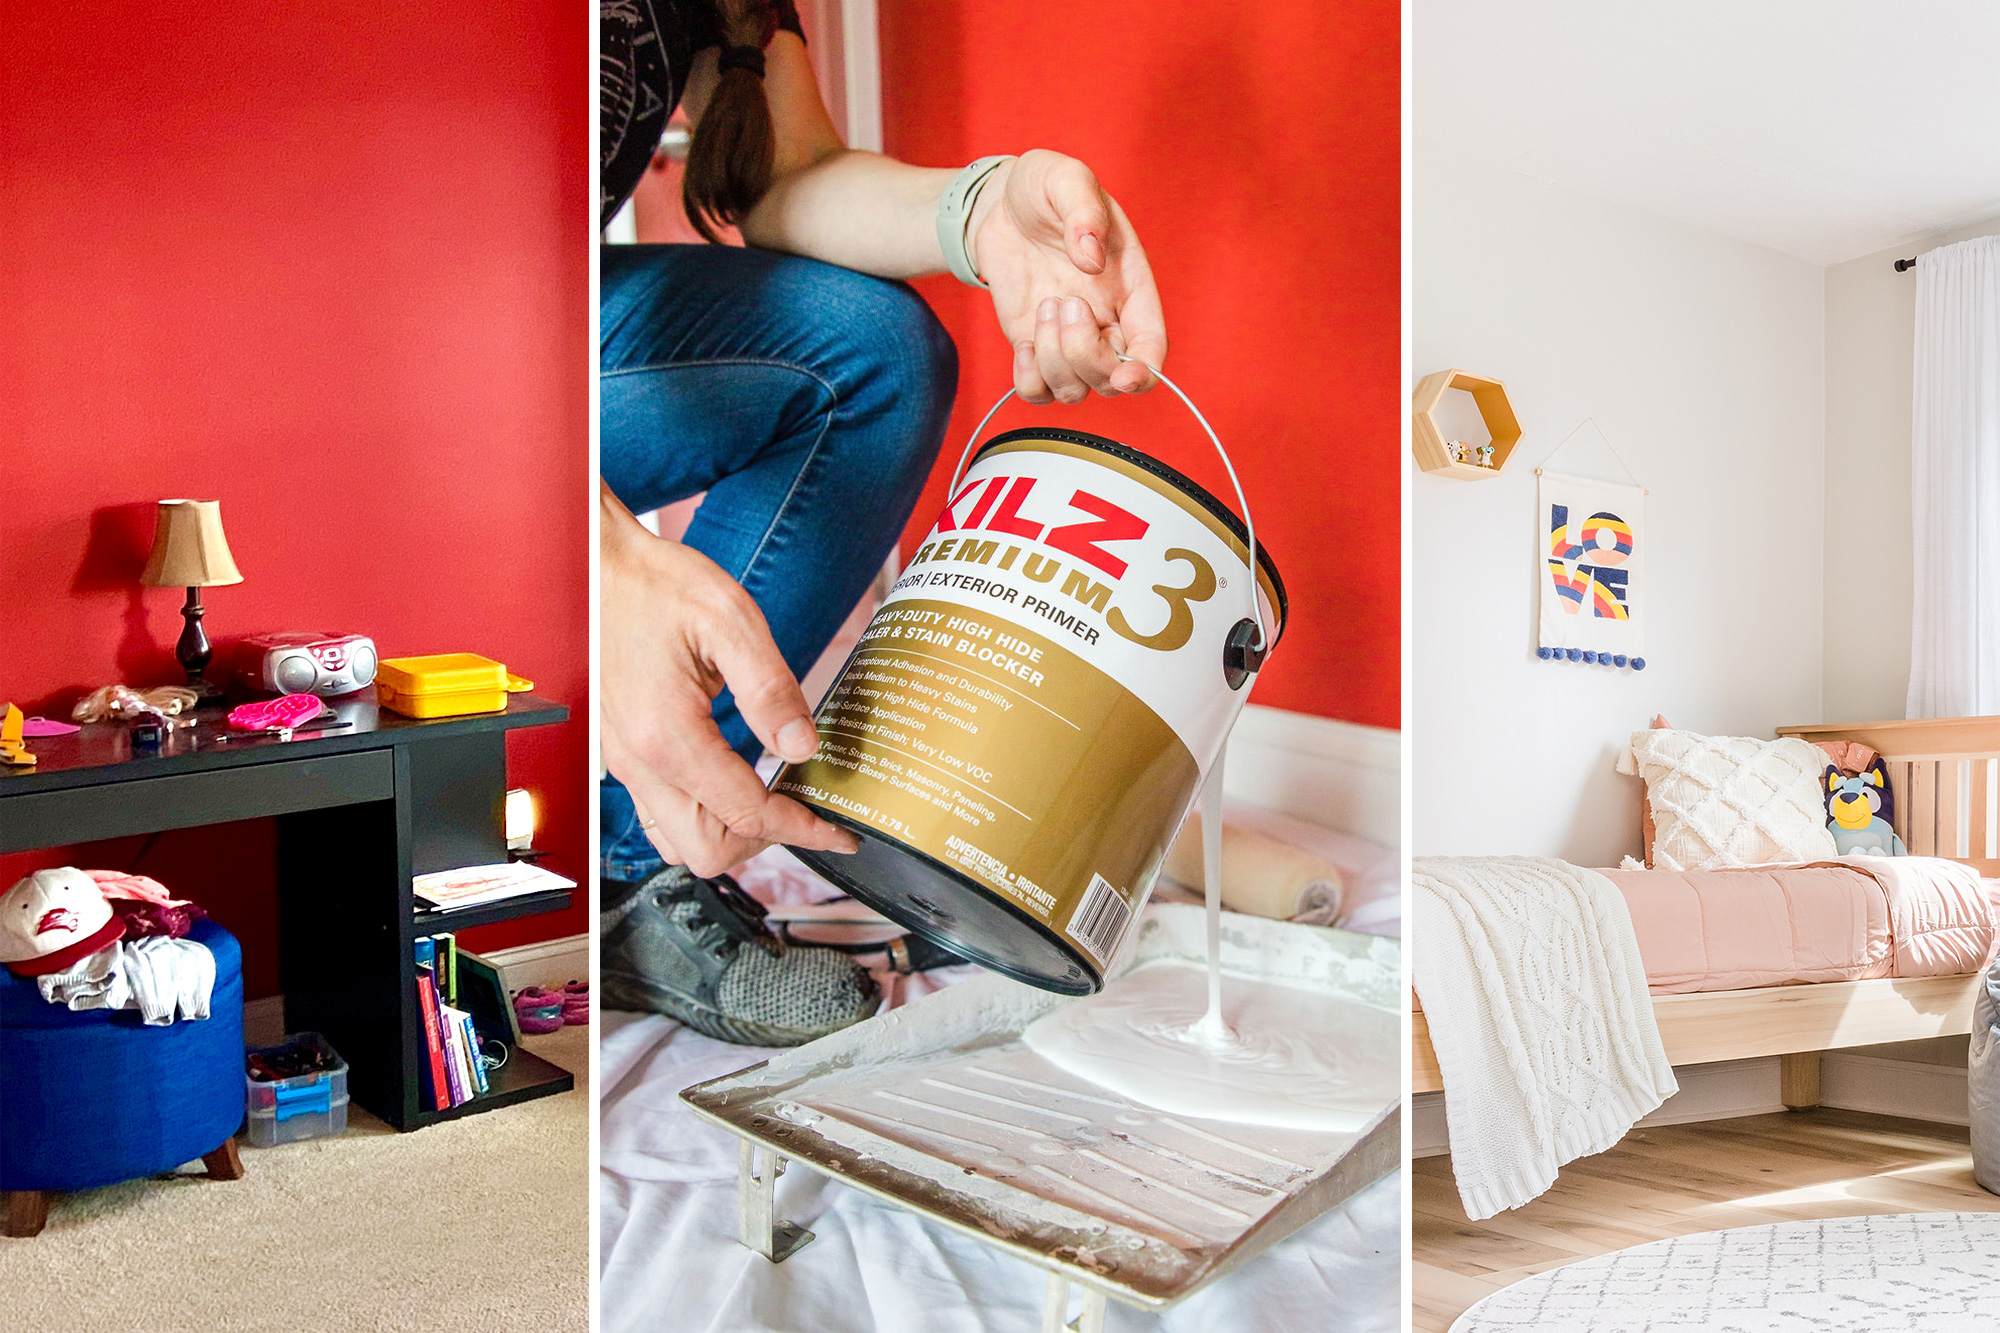
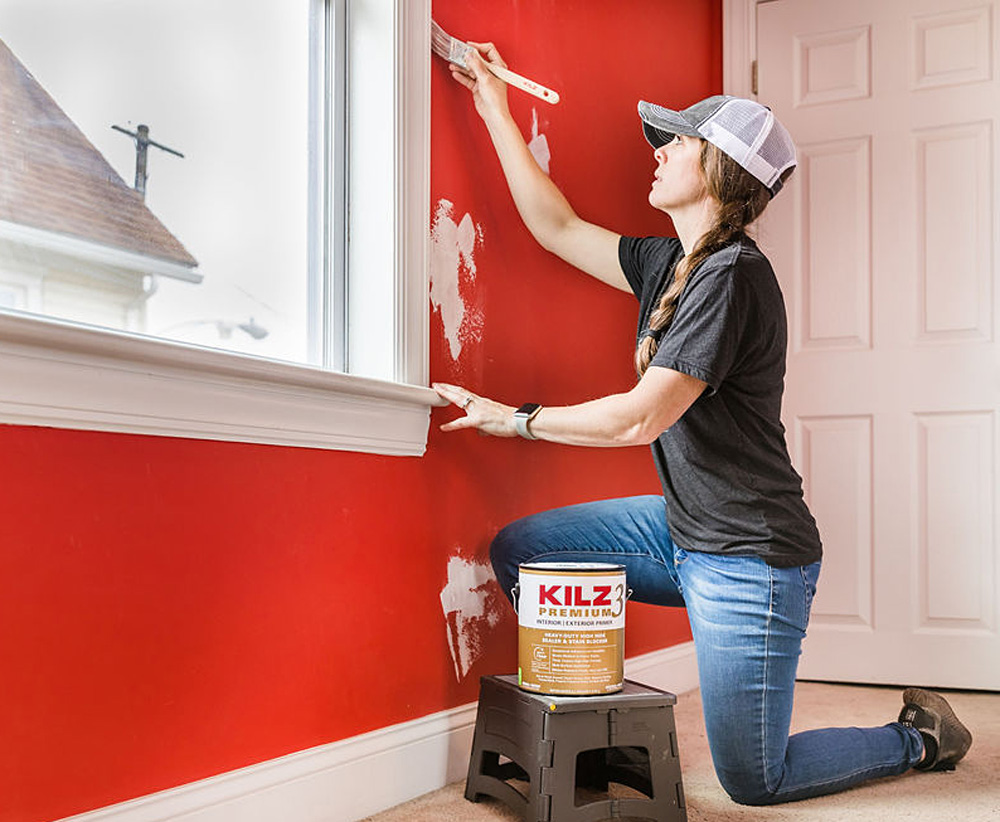
The dark red walls needed a high-hide primer formula to prevent color bleed-through and, because of its thicker formula, help fill in any small dimples or imperfections in the wall. For the majority of the room, I chose KILZ 3® Premium Primer to get the job done well, rather than just getting the job done well enough.
Priming is foundational for any painting project for good adhesion and just in case you missed things like pencil marks or greasy fingerprints when you were cleaning your walls at the beginning, KILZ 3 Premium Primer will act as a stain-blocker to prevent those marks from showing up.
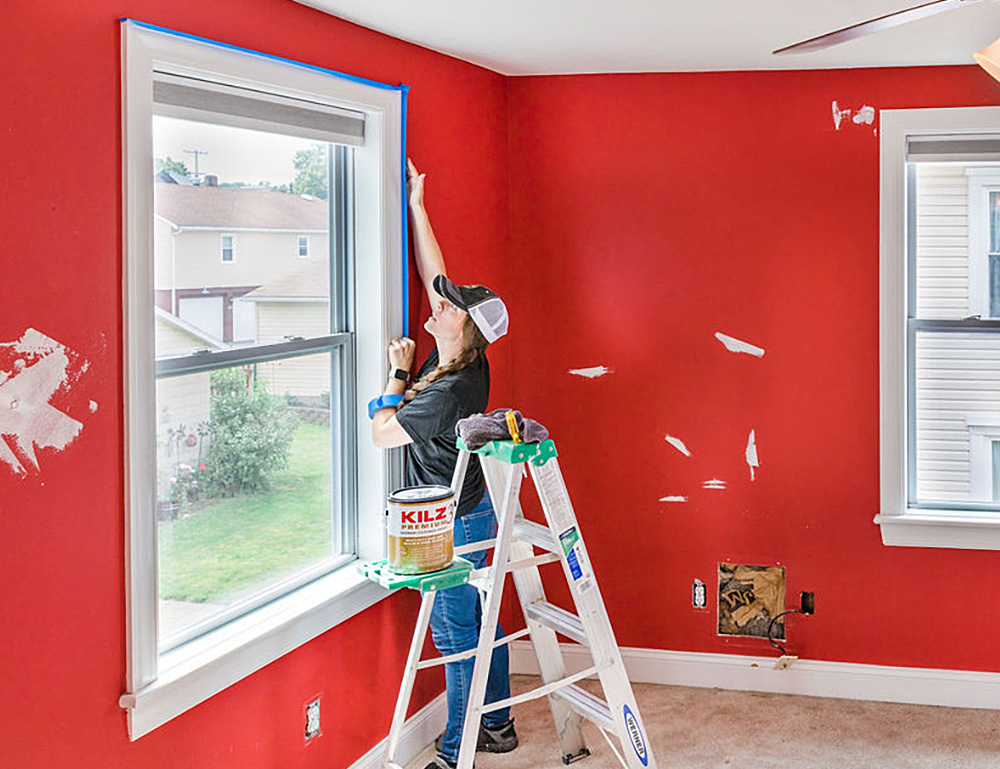
My room prep this time around was minimal, I taped around windows since I tend to go rogue with my rollers! I did not use drop cloths because I knew I was also going to rip out the carpet and install new flooring, otherwise I would 100% recommend drop cloths. I almost ALWAYS spill paint one way or another!
After rolling on 2 coats of KILZ 3 Premium Primer, it was time to see the room take shape by painting with BEHR® Premium Plus Interior paint in Silver Drop. I have always felt that painting a room is truly the best and most cost-effective way to really allow a space to become something new. A great tip, if you are rolling paint on, is to wrap your roller in inters’ tape and then unwind it and watch some fuzzies come loose — this prevents those fuzzies from getting in your topcoat! Beyond that, though, don’t skimp on the roller. Spend a couple of extra bucks and get a nicer one; you won’t regret it. It truly does make a difference in the finish.
Drumroll please… here it is!
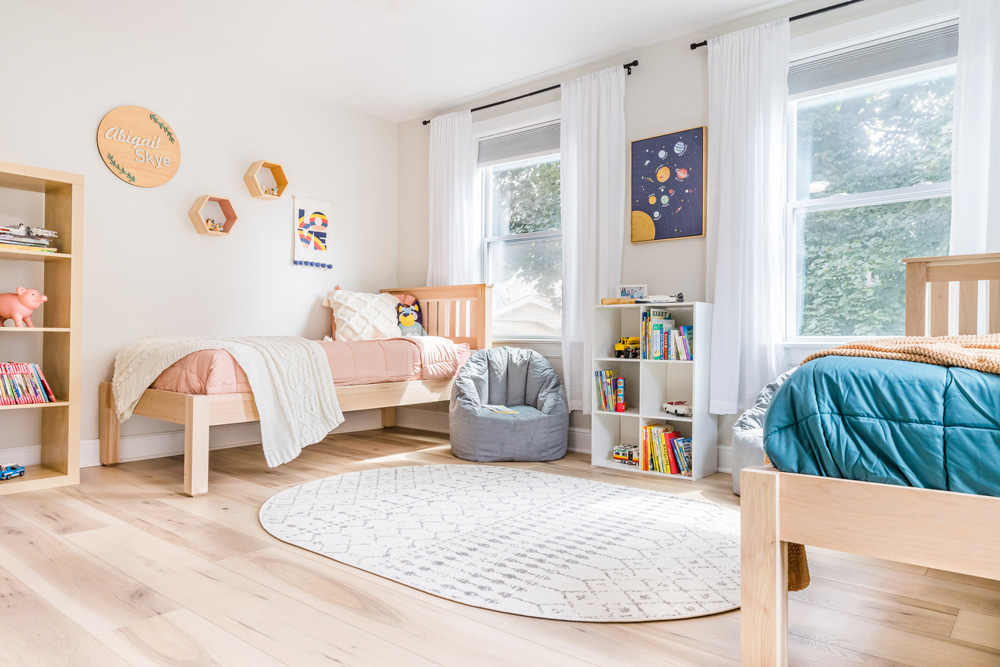
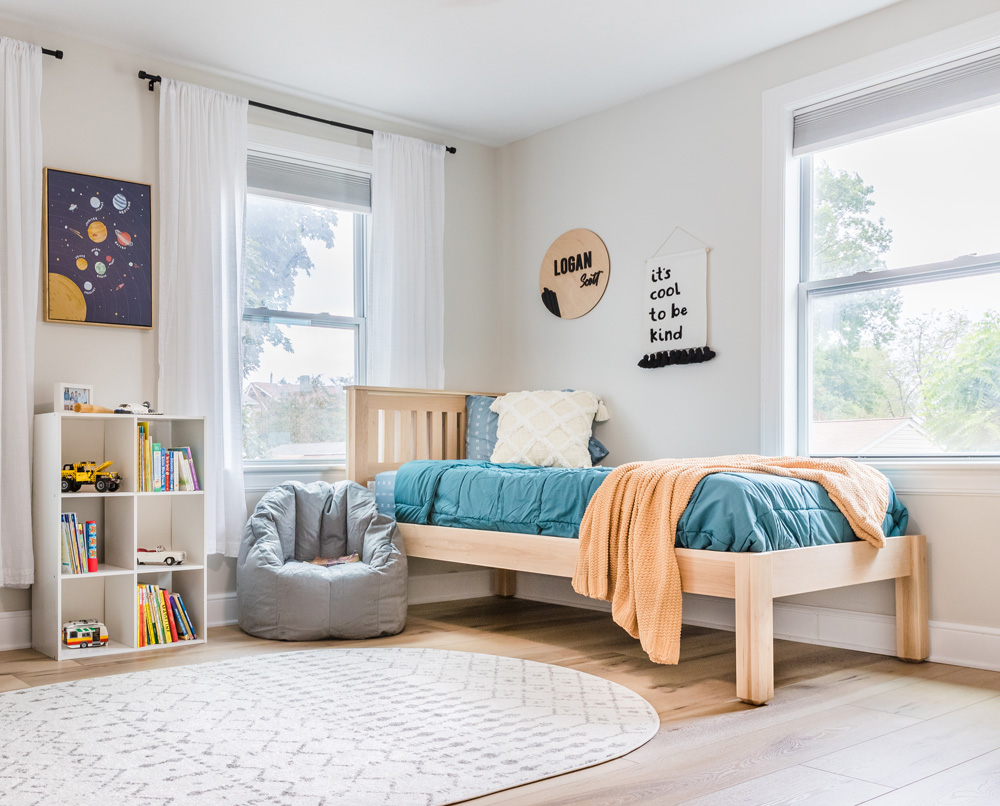
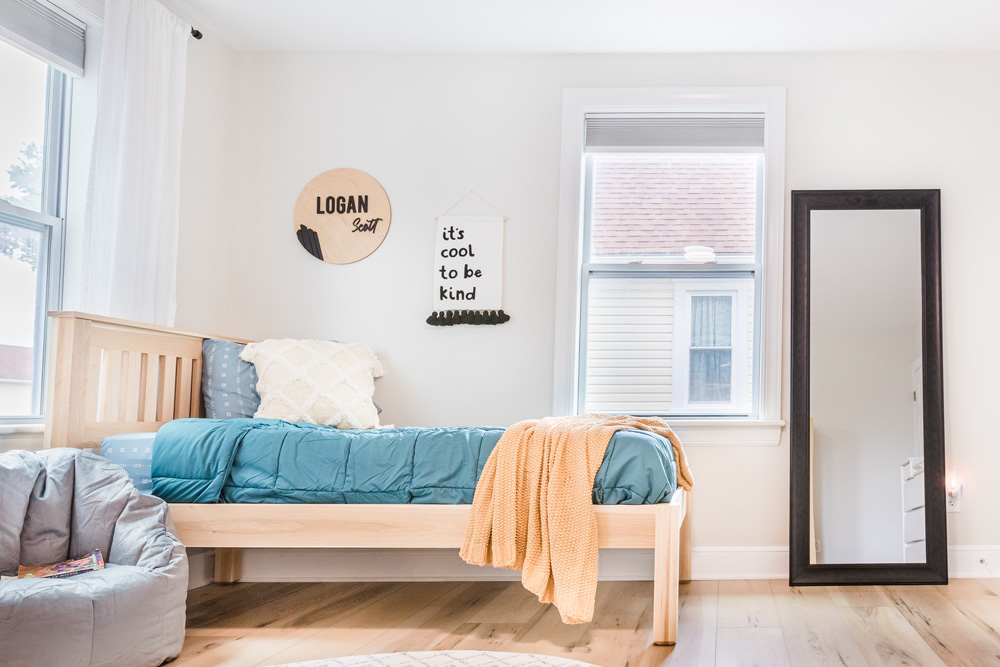
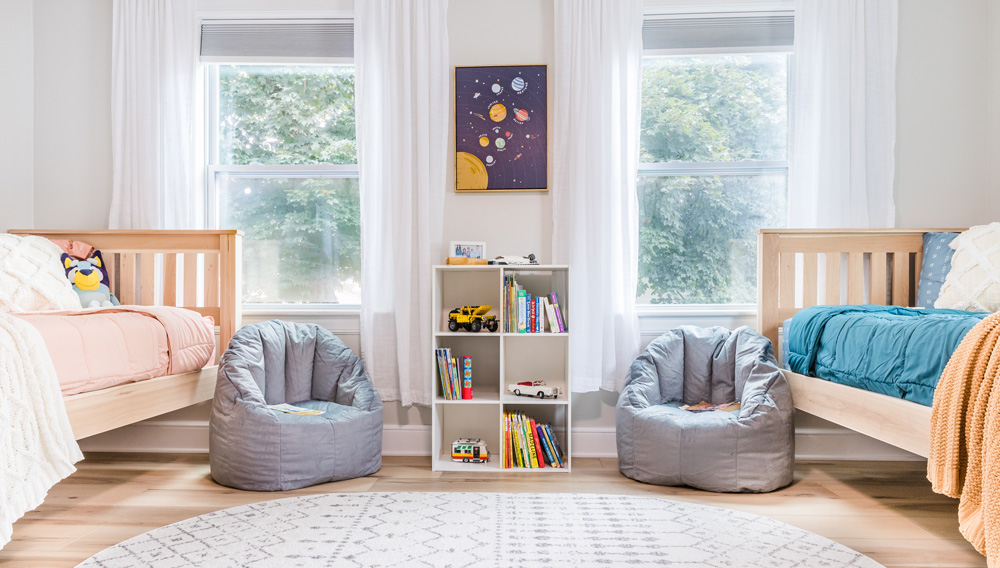
Priming was a necessary step to block that deep red color from breaking through since we went so light on the topcoat color. Not priming could cost you time and money in the long run, so don’t skip that step. I am so happy with how this room remodel turned out. Although I did some major renovations to add to the overall transformation, priming & painting were ESSENTIAL in making it look like a brand new, light & bright space.
Doesn’t it look so much bigger too? Hard to deny that primer is key for Instagram-worthy photo finishes. Time to chalk this one up as a win and get started planning my next DIY project! Cheers!
*This is a paid partnership with Oak Hill Millworks
Always remember to refer to our website kilz.com or product back labels for additional information on which primer is right for your project and detailed instructions on how to apply our products. Check out our Coverage Calculator to understand your estimated paint needs for your upcoming project.
Restore a Timeless Home with KILZ® and Leanne Ford
August 1, 2022Here on the Perfect Finish, we sat down with top designer Leanne Ford to chat about her restoration to the exterior of her 120-year-old home in Pittsburgh. Using KILZ 3® Premium Primer and exterior paint from the BEHR® MARQUEE® Designer Collection palette, Leanne’s goal is to restore all the exterior spaces of her home to their natural original beauty.

“My husband and I bought an old historical home from 1900 and I loved it had been set empty for almost five years before we moved in, and it was totally magical. It was waiting for us. And it’s this beautiful old historical home that I really felt drawn to save and fix up and take it back to its glory.” – Leanne Ford
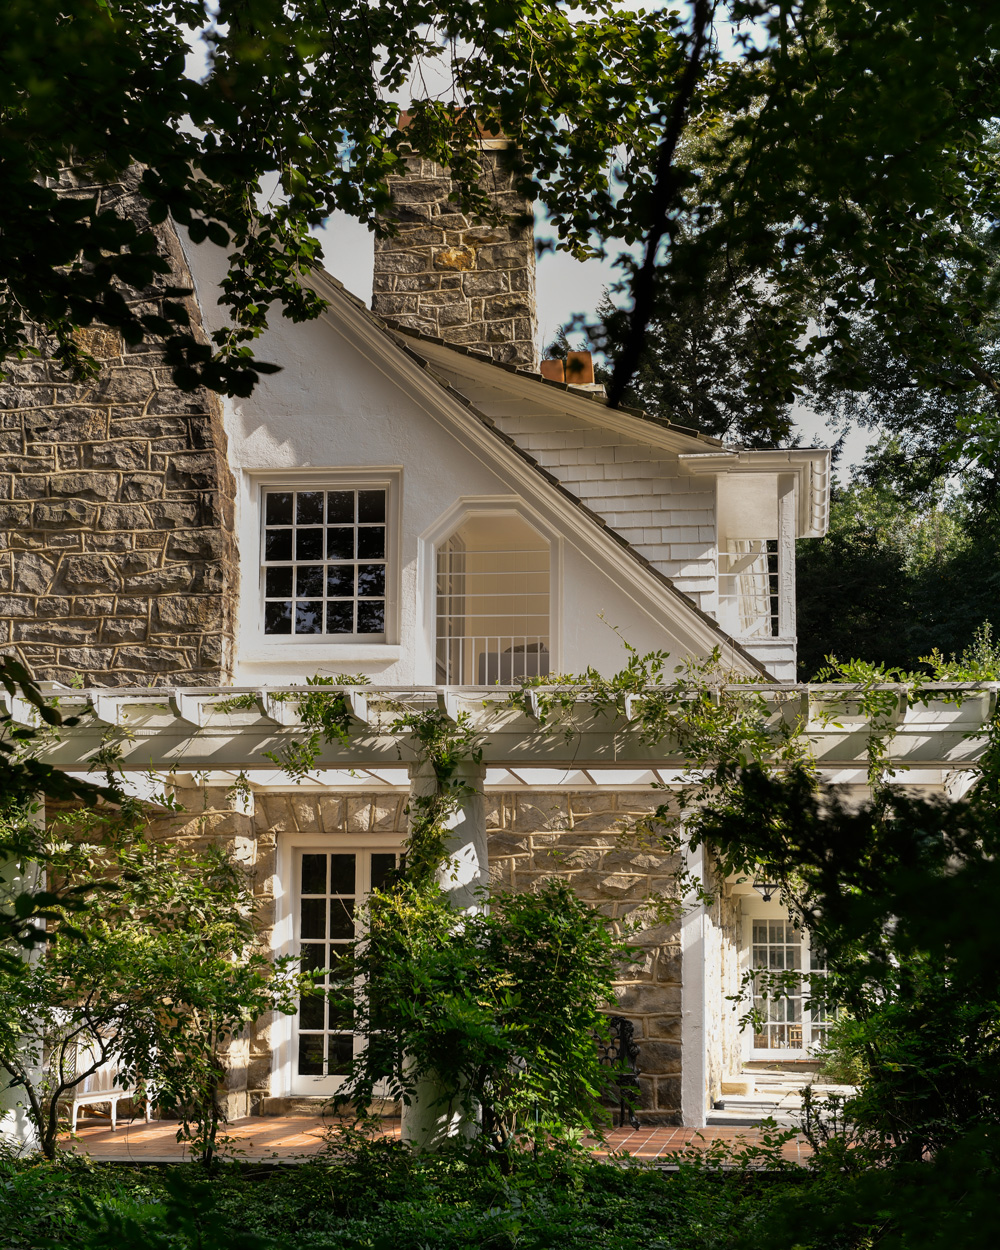
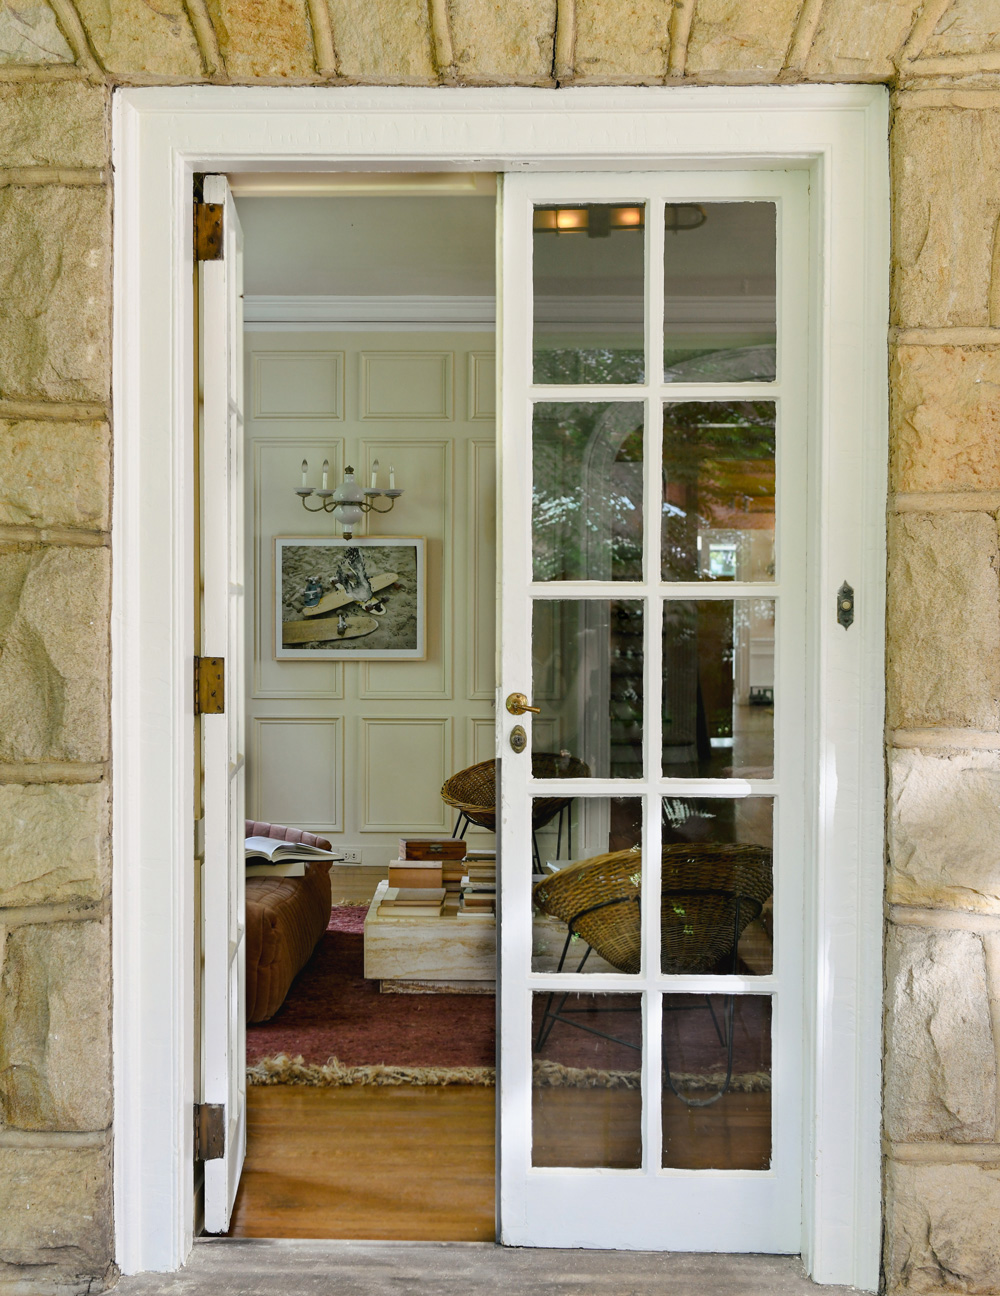
Built in 1900 by celebrated architectural icon, Charles Barton Keen, this home is punctuated with gorgeous exterior elements, wooden windows, pergolas, archways, and columns, all waiting to be brought back to life.
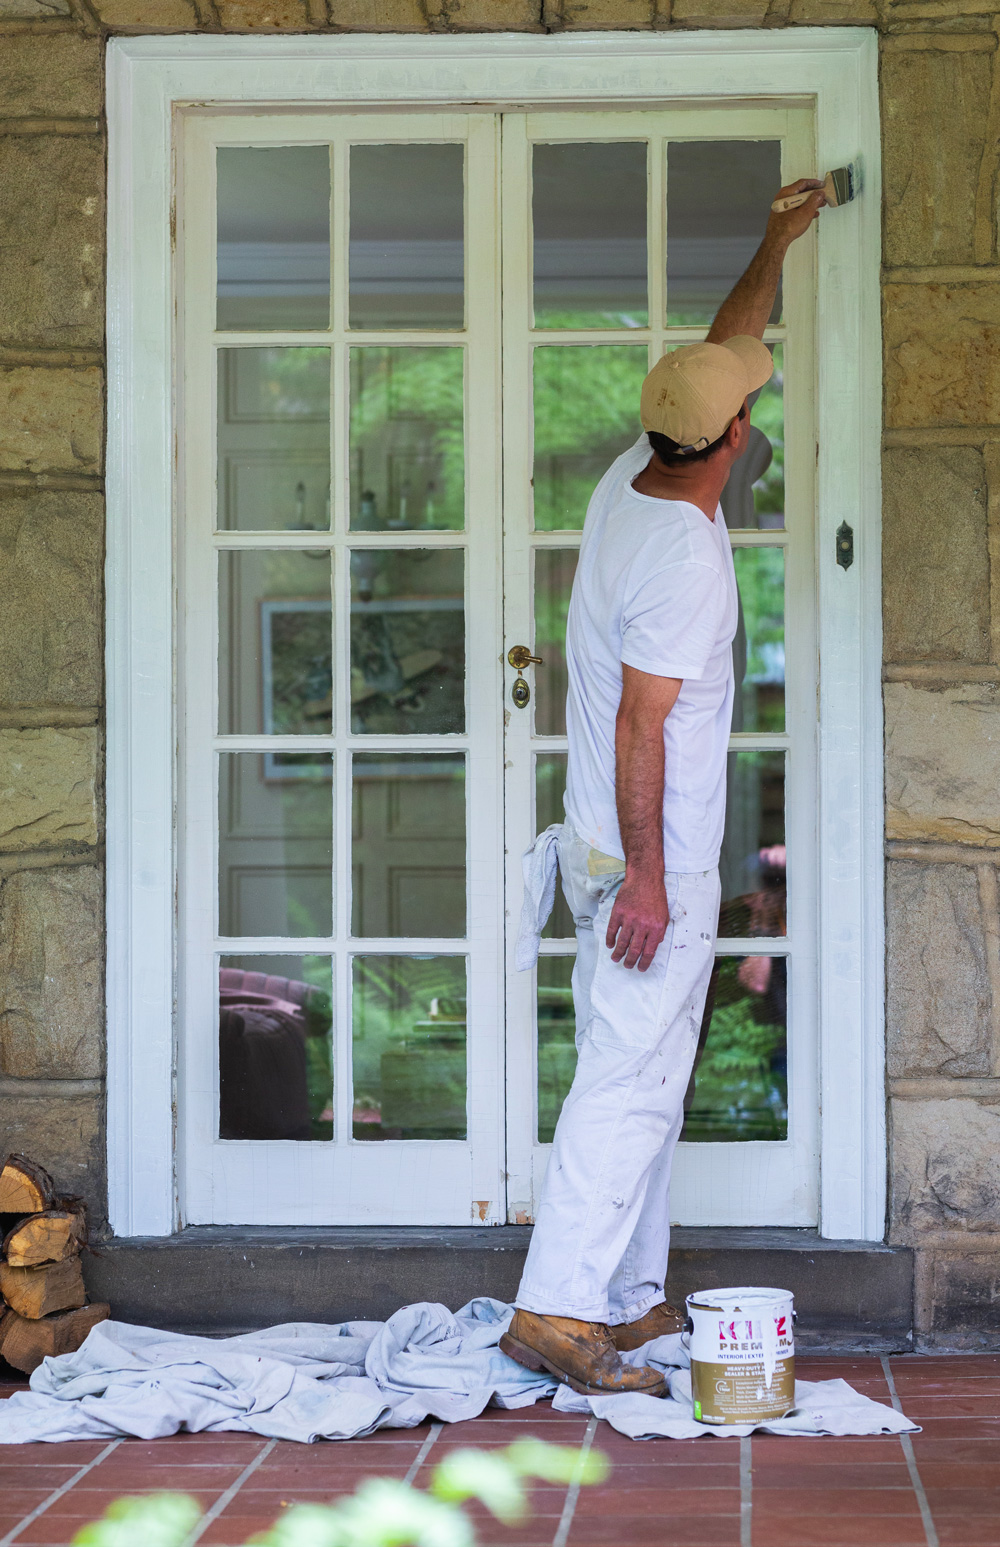 “I’m trying to hone in on what the architect’s plan was for this home, what the people that built it, what their plan was for the home. So, we’re really just doing primer and paint on the window and all the woodwork on all the doors, which is exciting. This home is 120 years old and we’re only the third owner. So, I do feel a duty to keep it beautiful.”
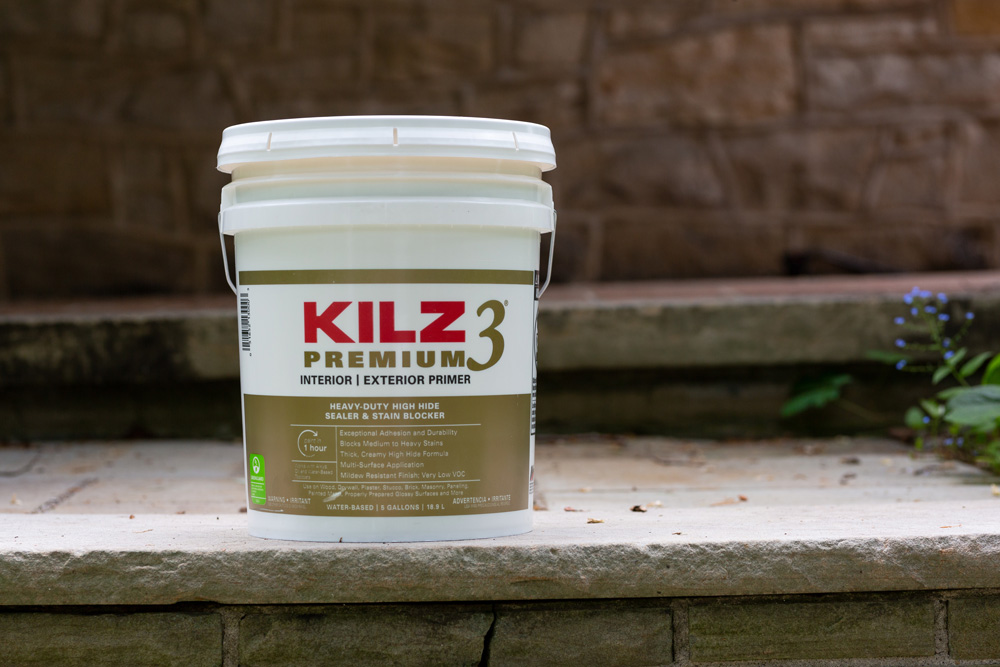
To save as much as possible of the exterior, there are structural elements that need some love. To start, Leanne chose KILZ 3® Premium Primer, a versatile and heavy-duty interior and exterior primer, that will create a clean canvas for new color. She emphasizes the importance of tackling a restoration like this right from the start, which includes choosing the right products for long-lasting results.
“The outside of your house is a big job, and I’m trying to do this and not do it again for a long time. So, I’m getting the best primer. I’m getting the best paint. I want to do it right. And I want it to last. First, we’re going to do KILZ 3 Premium Primer and we’re going to put it on all the surfaces and really, it’s going to make it a beautiful clean canvas for the paint.” – Leanne Ford
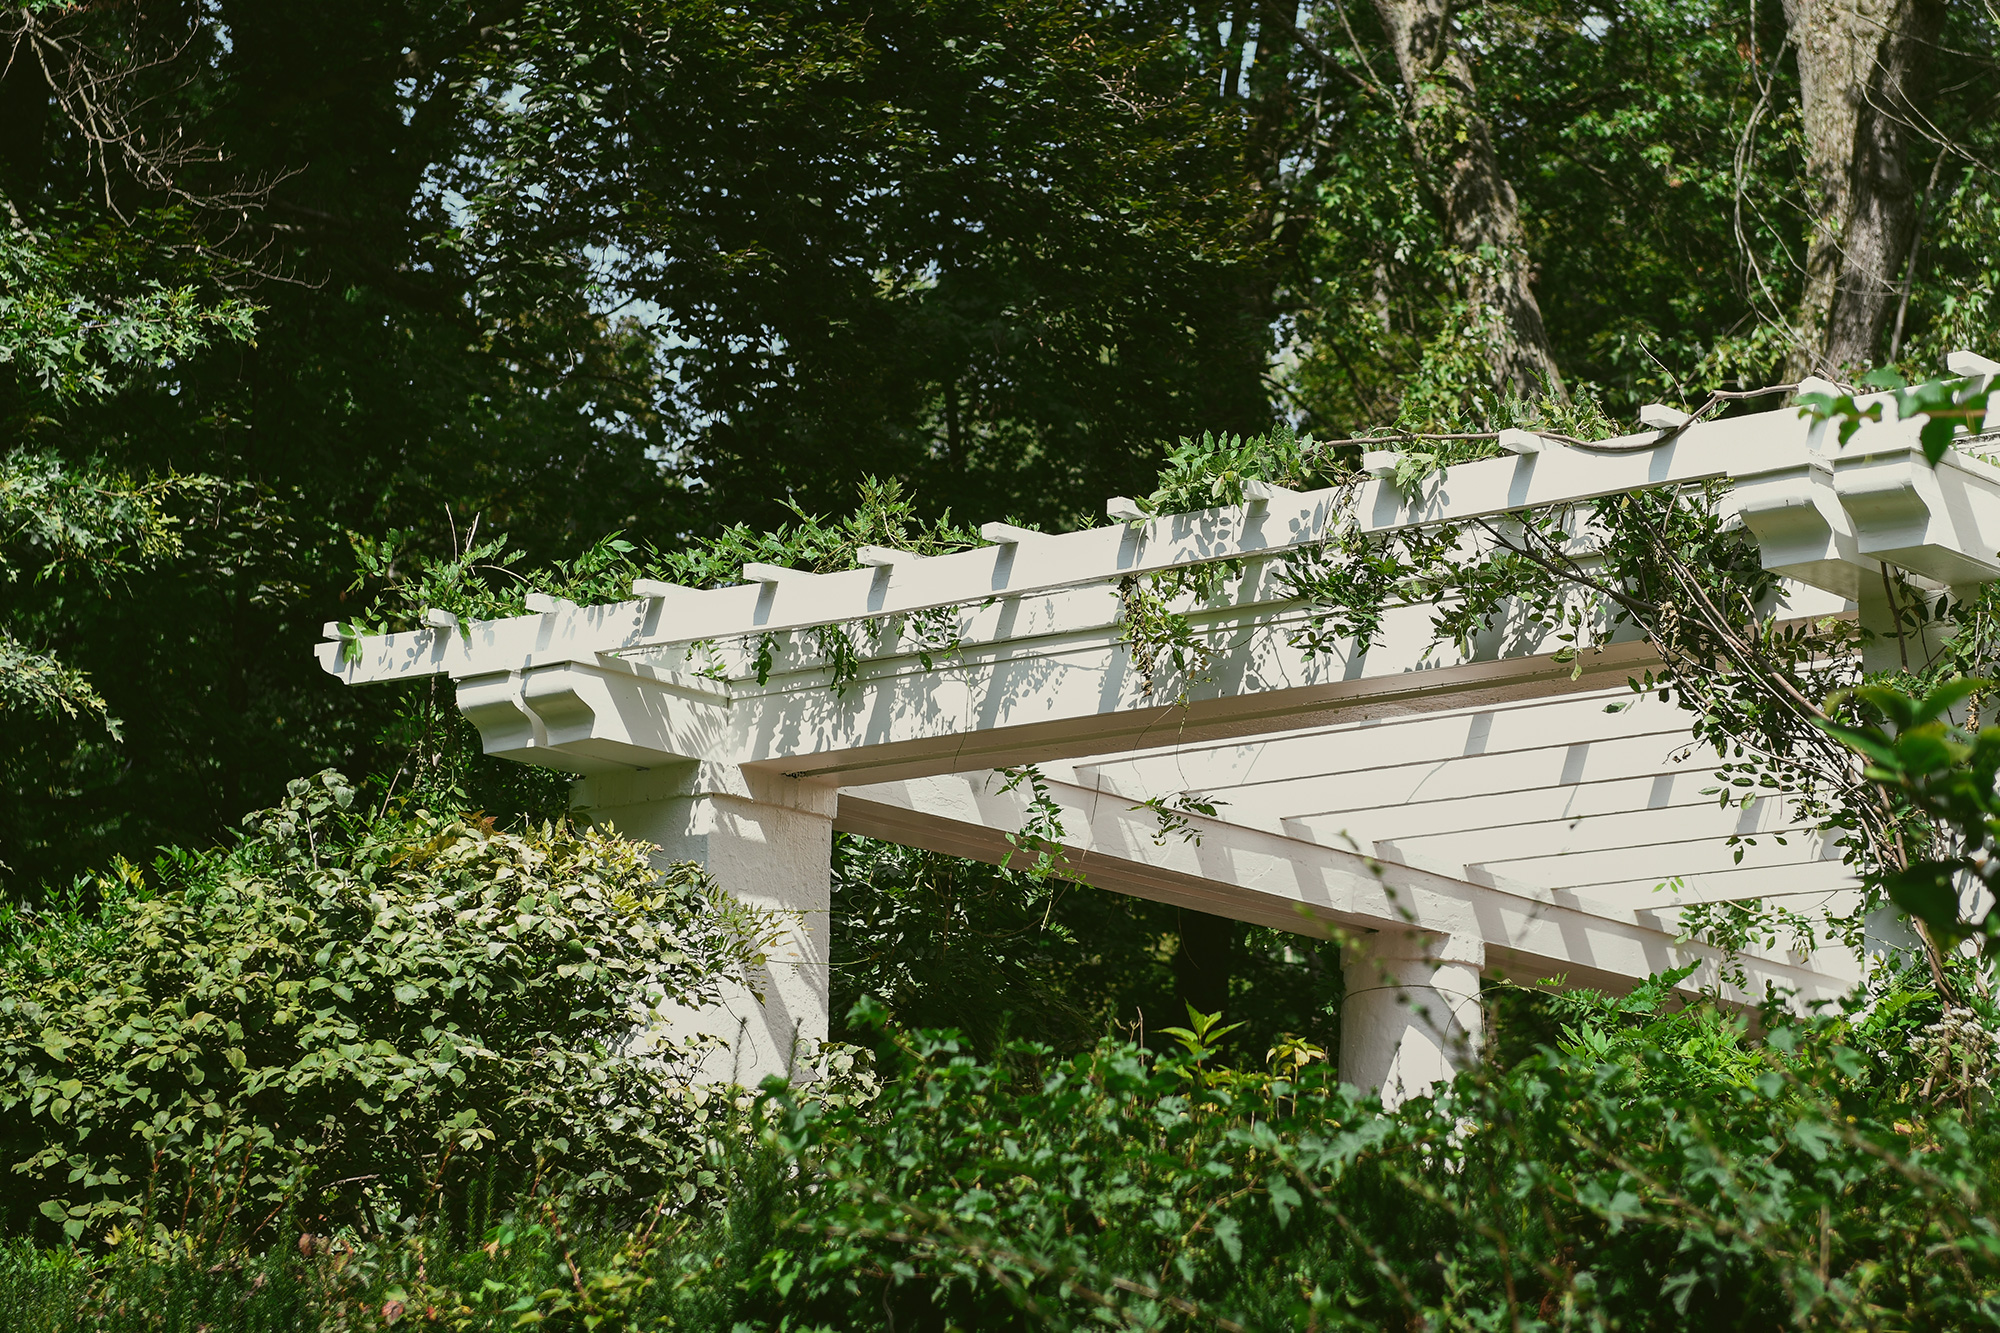
The Pergola
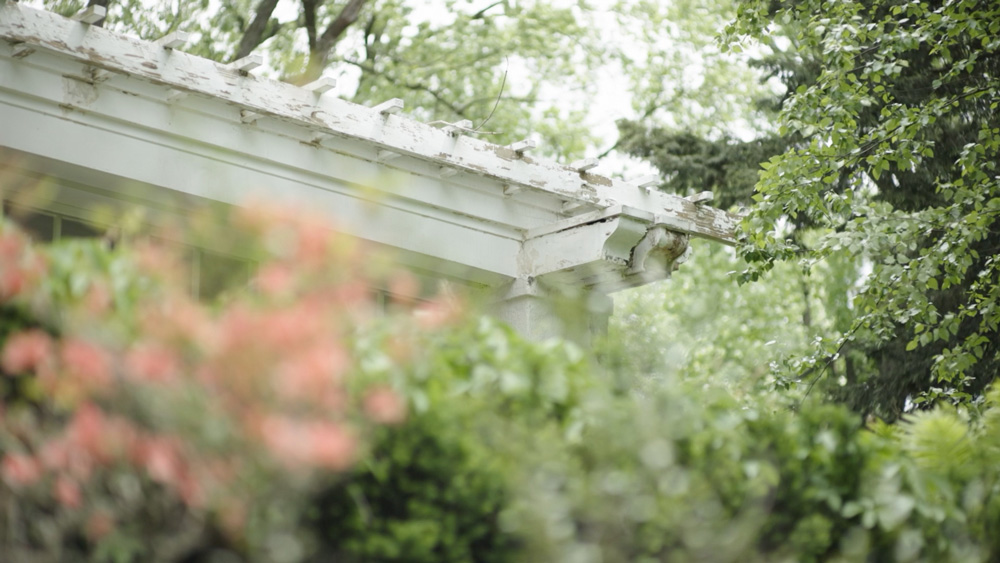
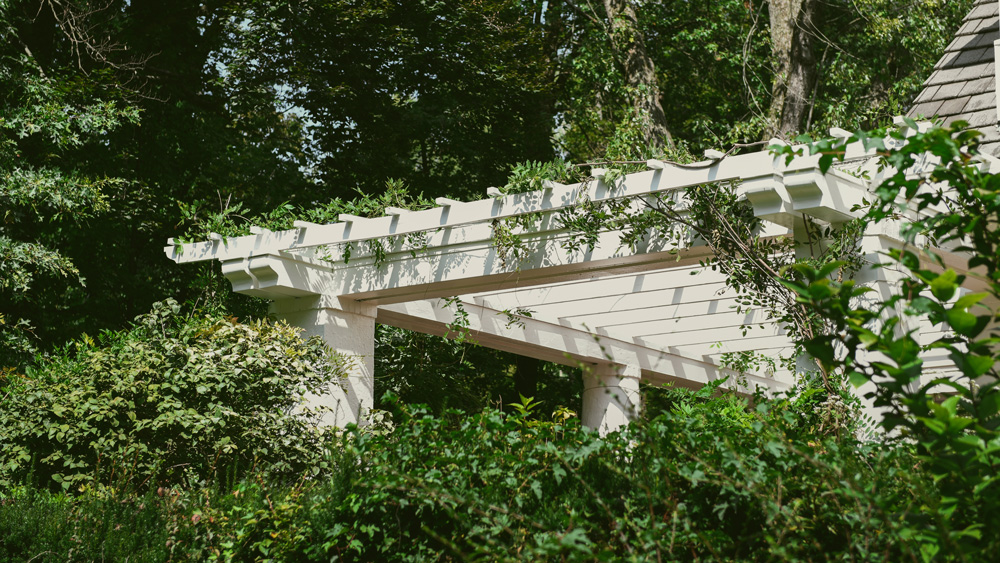
“This house is all about the outside. It’s all about the garden, and it’s all about the pergola, and it’s all about the sunroom. This house is made for sitting outside and looking at this beautiful building.”
The current state of the exterior proves the home has withstood many decades of weathering. To refresh this historic structure, KILZ 3 Premium Primer ensures that porous surfaces are evenly sealed; scuffs and blemishes are hidden, stains that could otherwise show through or bleed through the paint are blocked and sealed-in and odors are neutralized. Reminder, it’s always important to clean and prep any surface appropriately, including exteriors, prior to applying a fresh coating.
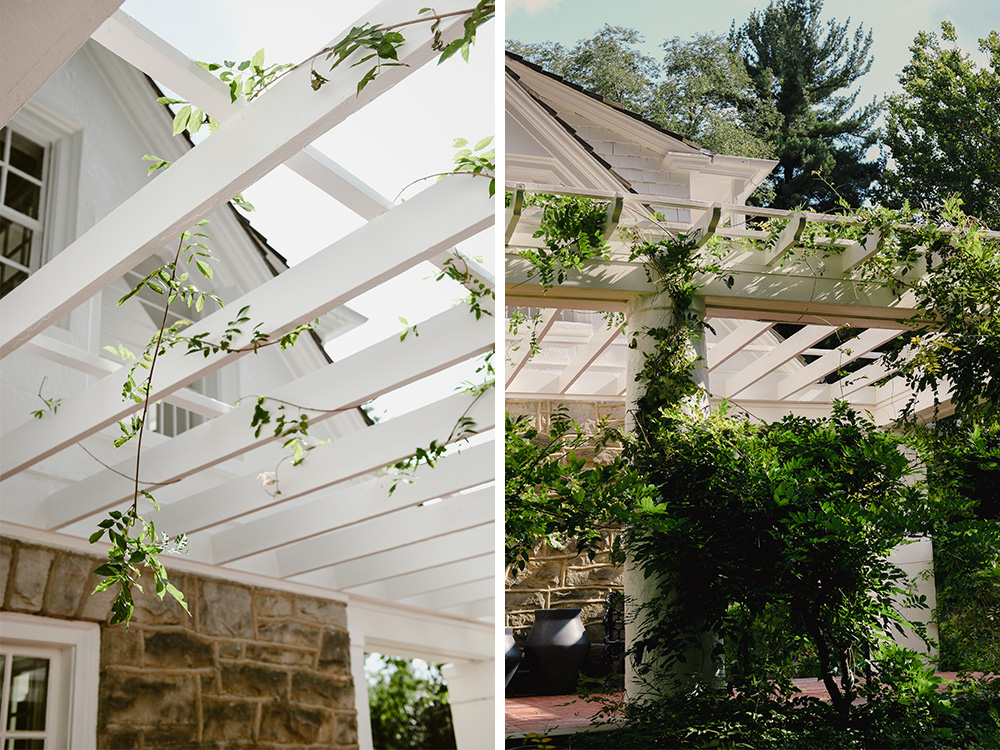
The Windows
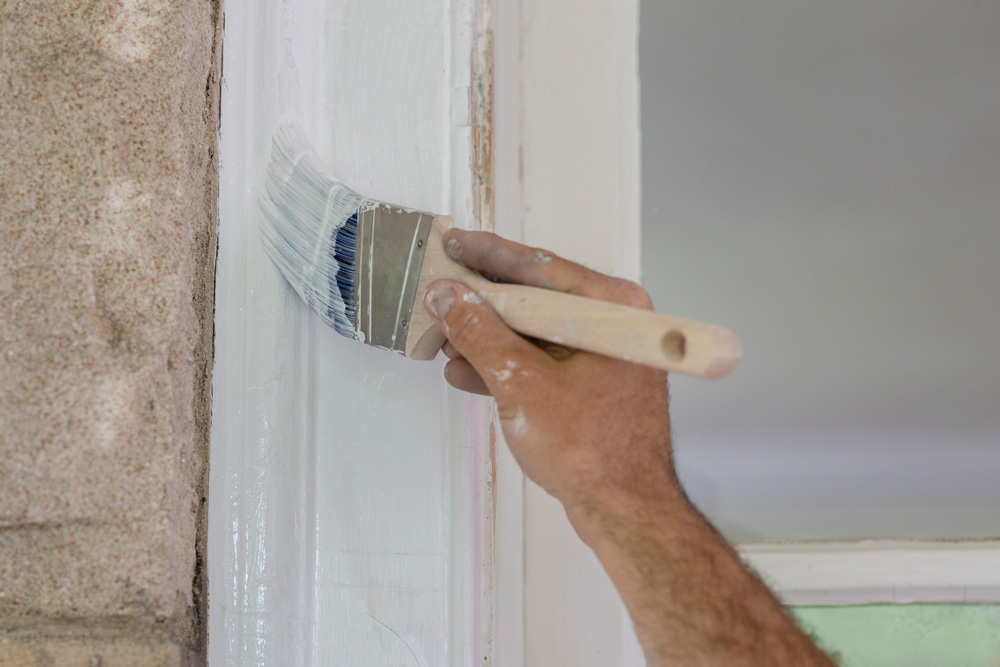
“My big thing is the windows and the doors and the wood. I don’t want these windows to look brand new. I wanted them to look clean and give them a fresh life.”
KILZ 3 Premium Primer creates a clean slate for the new color to show as intended. These windows pay homage to the age of the home and restoring them with KILZ 3 Premium Primer allows for the new topcoat to have a long life.
The Stucco
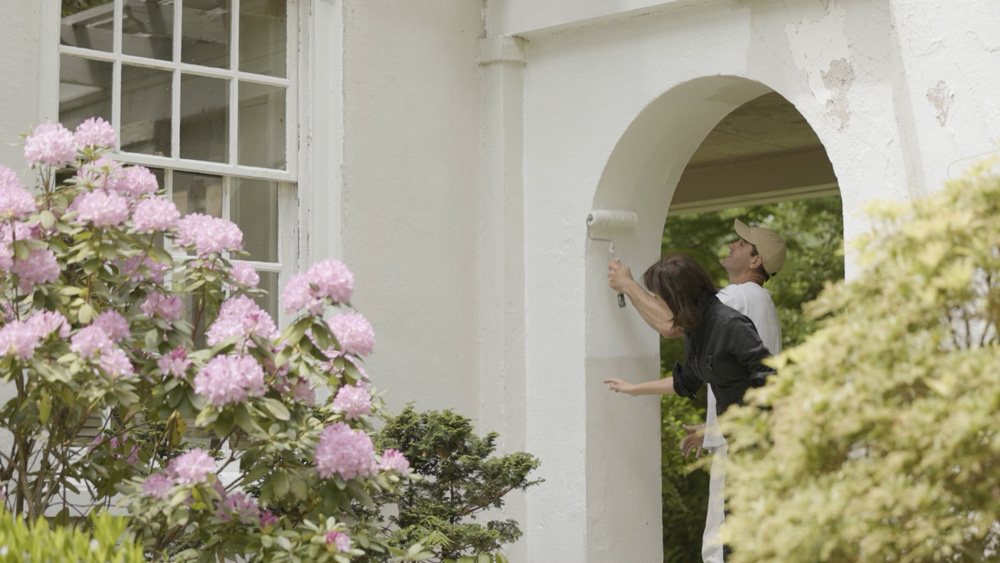
Much of the home is engulfed in stucco and it’s just as important to refresh and restore. After a thorough power wash, the adhesion from KILZ 3 Premium Primer will act as an anchor for the topcoat of paint to ensure it stays on the surface and prevents peeling while remaining flexible enough to handle the weather.
Once primed, and ready to go, the topcoat color can be applied. Leanne chose BEHR MARQUEE in Natural White from the new Designer Collection palette. This is a soft and timeless shade, a perfect fit for this home restoration. The BEHR Designer Collection is a palette full of tried-and-true designer-approved white, neutral, and accent colors.
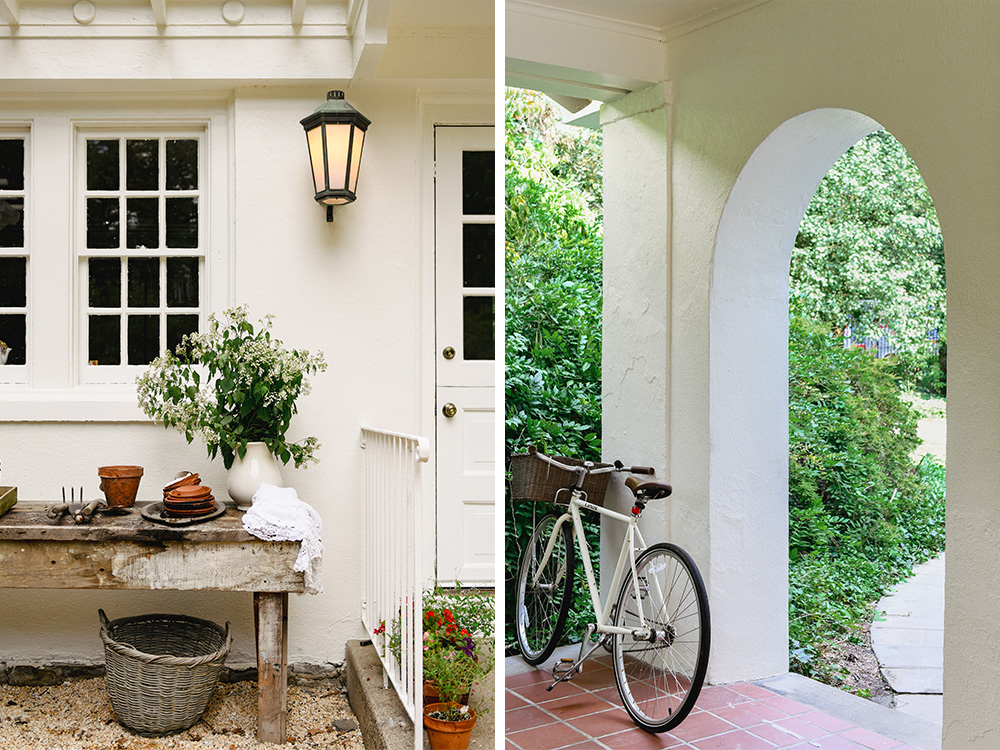
“This home will be perfect for many dinner parties and family celebrations outside in the garden, admiring this historic home’s natural beauty. Walking to the backyard with a refreshed stucco archway and the new ivy growing on the pergola make the garden feel like a secret oasis for family and guests to enjoy. I envision having a very long life here. This is my last house.” – Leanne Ford
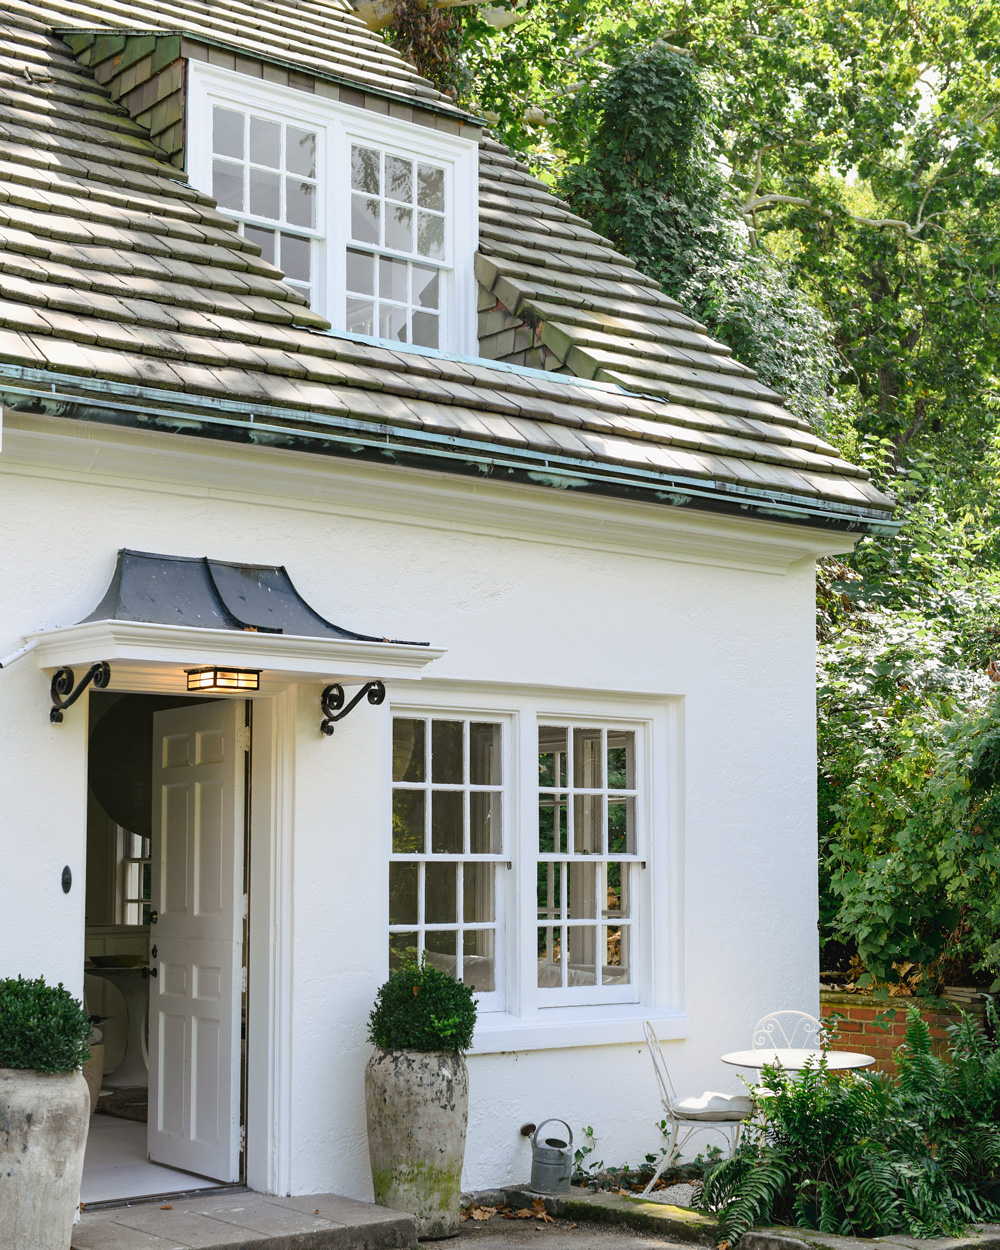
This is a paid partnership with Leanne Ford.
Always refer to our website kilz.com or product back labels for additional information on which primer is suitable for your project and detailed instructions on how to apply our products. Check out our Coverage Calculator to understand your estimated paint needs for your upcoming project.
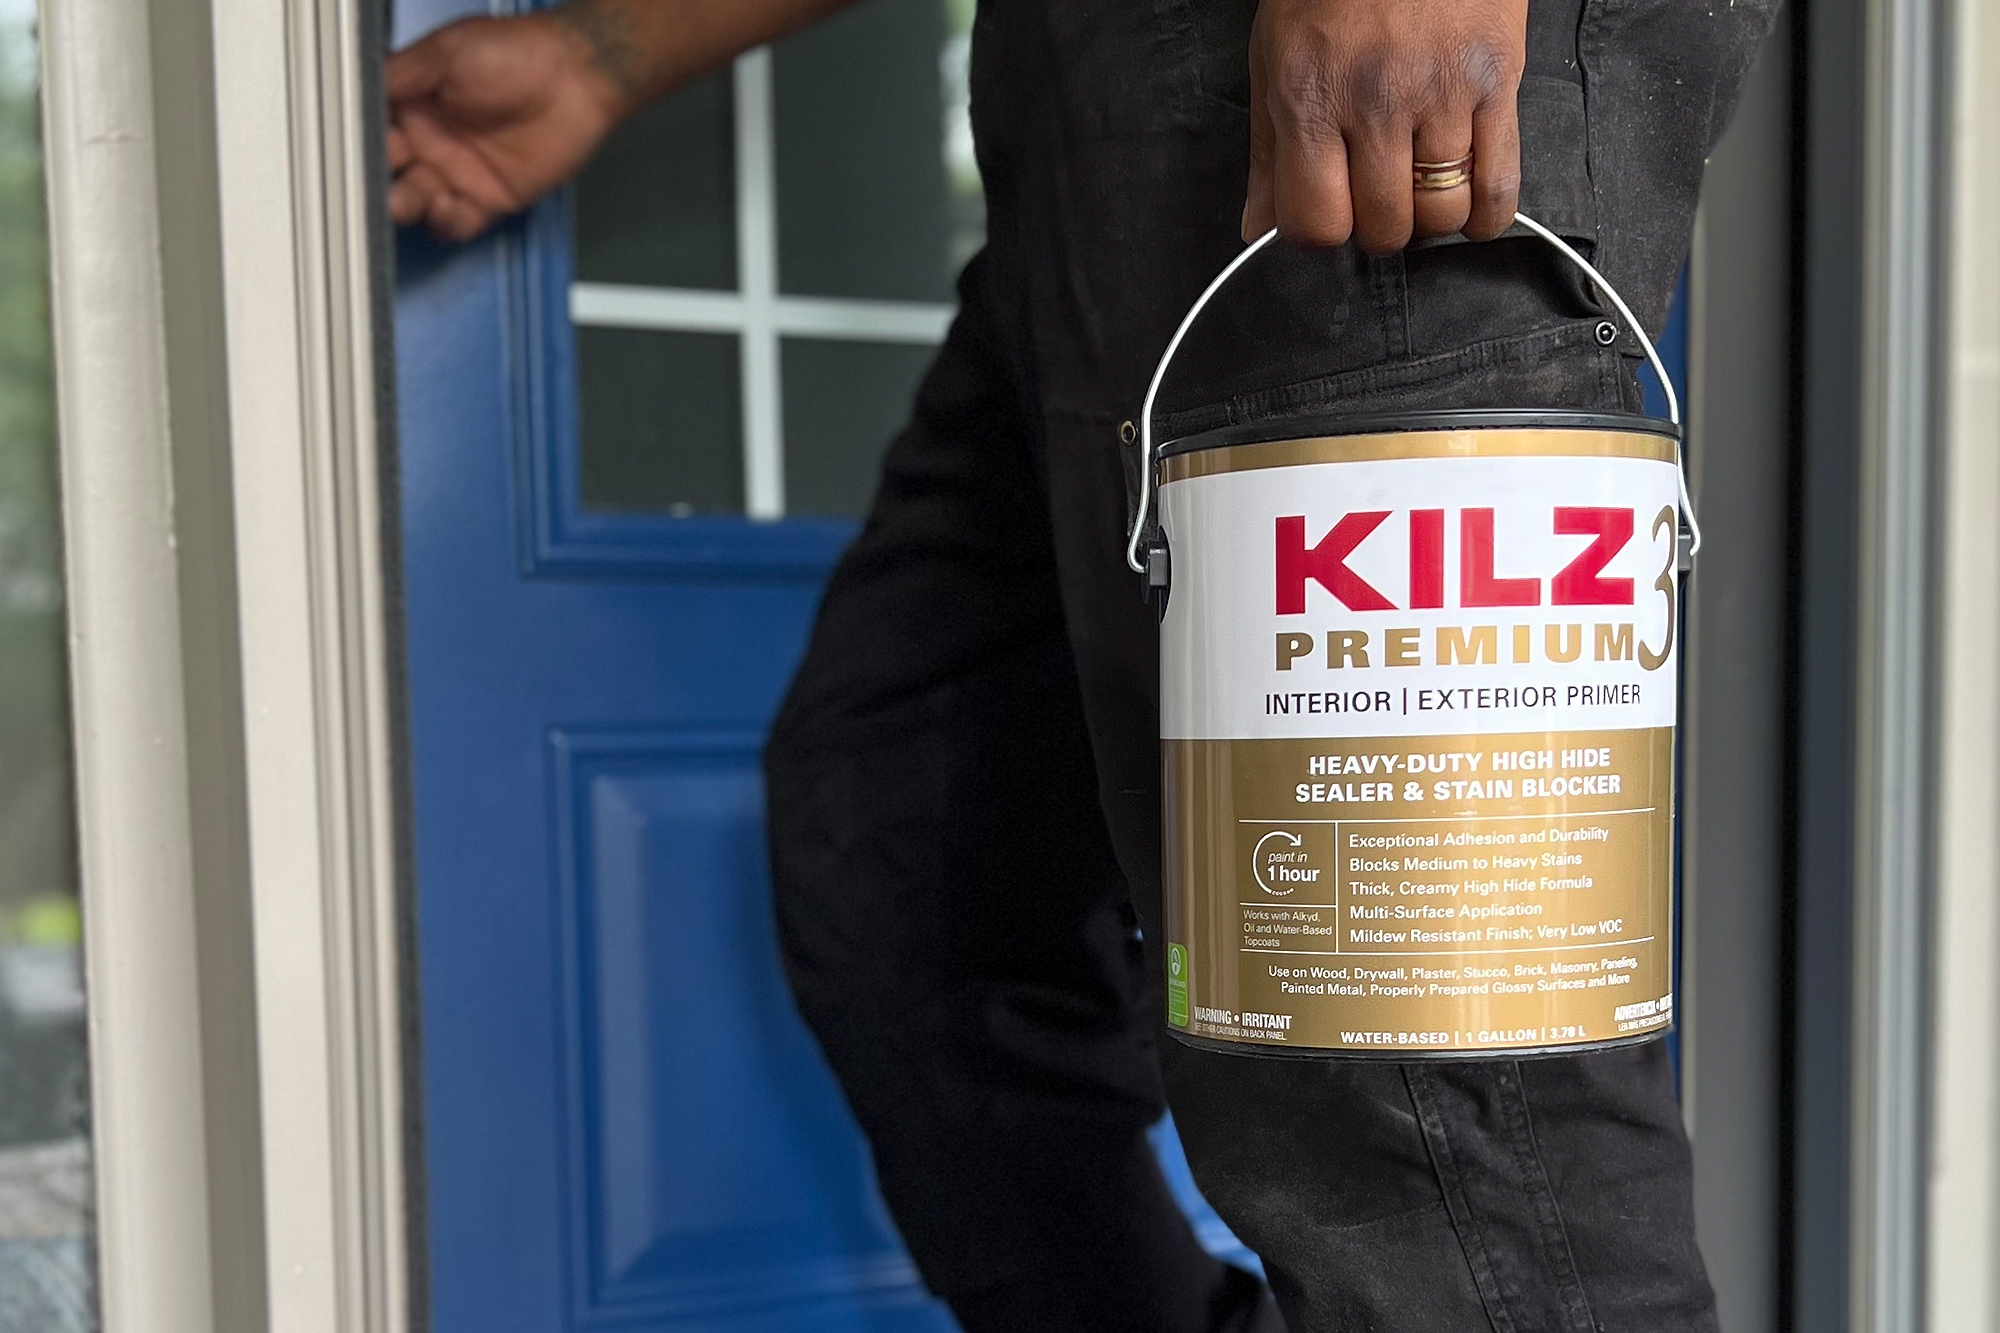
PRO SPOTLIGHT: Make A Front Door Pop with Jared Foster
June 30, 2022With two little ones and running a carpentry business, free time is something that is not easy to come by, so I am always looking for ways to get quality work done more quickly around the house. Being a carpenter, you’d think that my home would always be in tip top shape, but sadly, my personal home is usually the last home I get any work done on. Turns out having two little boys running around means dirt, grime, and messiness can be a pretty normal part of everyday life. But my wife has been wanting to spruce up the front porch area a bit, since this is typically the first part of your home people will see.

We have this amazing porch swing that I built and we wanted to continue the theme of calm and relaxation as people approached our steps, so we decided to paint the door using Tidal, a navy color from Behr Paint, and Pasha Brown, a brown shade also made by Behr, for the trim. Before any painting got done, we needed to clean and prime the area to ensure the longevity of the paint and look. That’s why we chose KILZ 3® PREMIUM Interior and Exterior Primer. KILZ 3® PREMIUM Interior and Exterior Primer is a superior quality primer that offers excellent adhesion to both the surface and the topcoat. It dries fast, has a low odor and low VOC which makes it a great choice for a primer. The primer includes stain-blocking properties that block most medium-to-heavy stains caused by water, tannin, ink, pencil, felt marker and grease which is essential when you have little ones.
The first step that I needed to take care of was pressure washing the front door and the areas around it to help loosen up and remove the gunk that built up over time. If you’re working with a time crunch, it’s best to utilize some shop rags or towels to soak up the excess water, as this can help speed up the drying process. Otherwise, you can simply let it air dry while you get other things done on your weekend to-do list. After the area dried, I laid down some painter’s paper to get the sanding done with less cleaning up on the backend. Sanding will even out all the old paint and remove any chipped pieces of paint on the door and the trim.
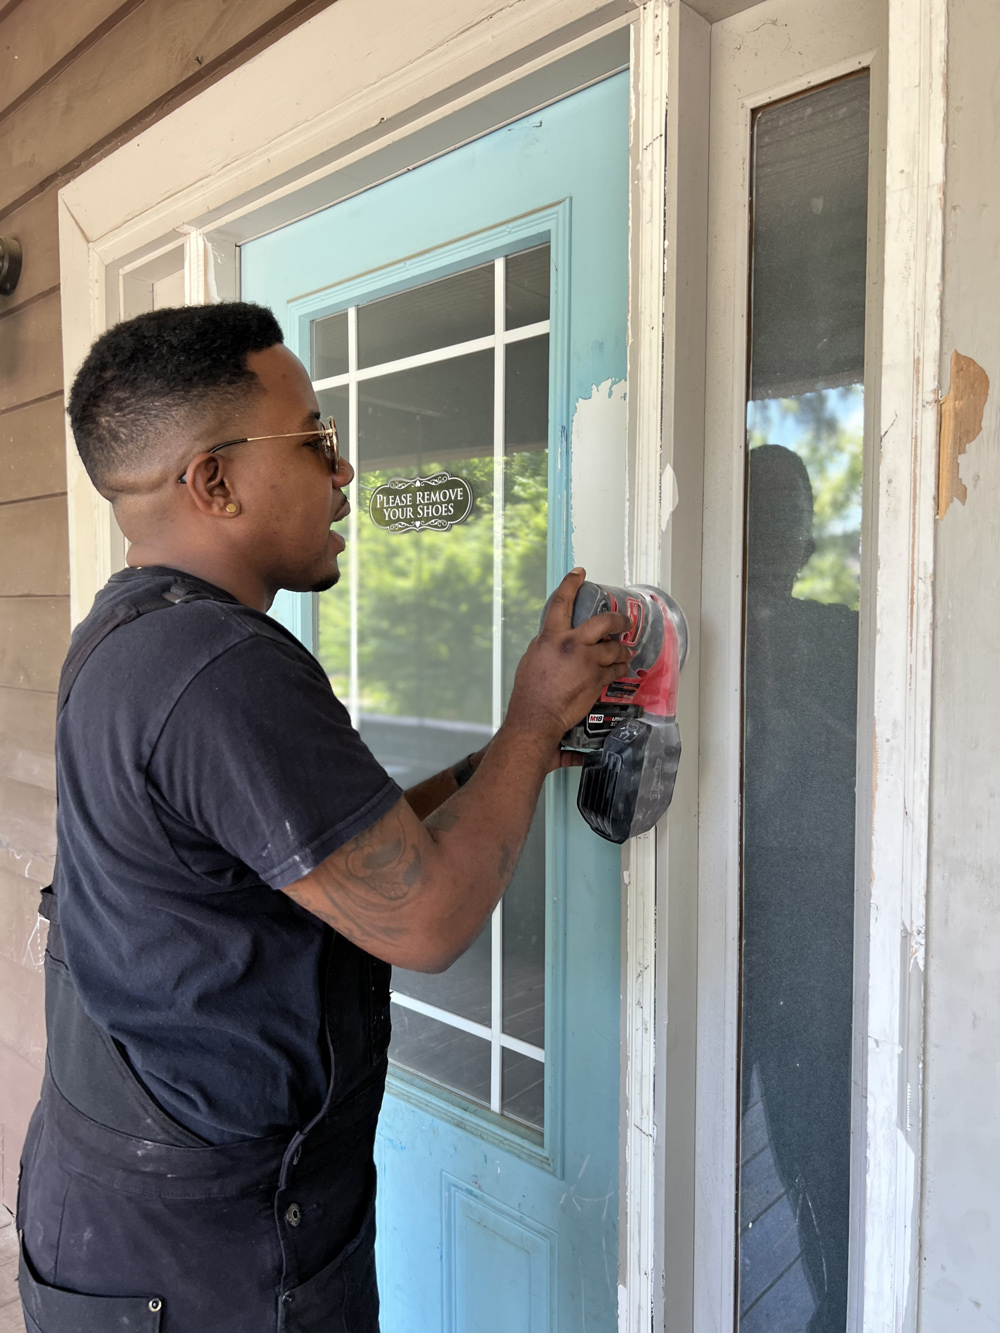
One thing I noticed is that whoever last painted the door to our home, didn’t utilize any primer, as it was really easy for some of the old paint to just peel off in chunks. Priming is a step worth taking, because it can help save time and money in the long run. Living in Atlanta means humid weather and using something like KILZ 3® Premium Interior and Exterior Primer would have helped keep this from happening over time, regardless of the weather conditions. Priming is fundamental for completing any paint project. It is the difference between a job done and a job done right.
After sanding, I just utilized a leaf blower to get the excess dust off the porch, any extra can just be wiped off. When my son came out onto the porch after his nap, he asked me “daddy, can I help you paint?” One of the aspects of doing projects from home that I enjoy most is being able to have my children join in. It reminds me of the times that I spent learning how to be handy around the house with my pops as a kid. I was able to get my son to help me put down more painter’s tape. This isn’t really a time saving hack, but it’s worth the few extra minutes to let him assist me, as much as a 2-year-old can. We put down more painter’s paper and tape on the trim, door, floor, and walls of the front of the house where we’d be spraying the paint to help save on clean up time.
I chose not to tape off the windows, because if I sprayed anything on the windows I could have quickly used a razor blade to scrape it off once it dried, which would give you a crisp clean finish and save time. Another way to save time would be by removing the door entirely. This would allow you to spray the door separately from the trim and not have to worry about taping anything off again.
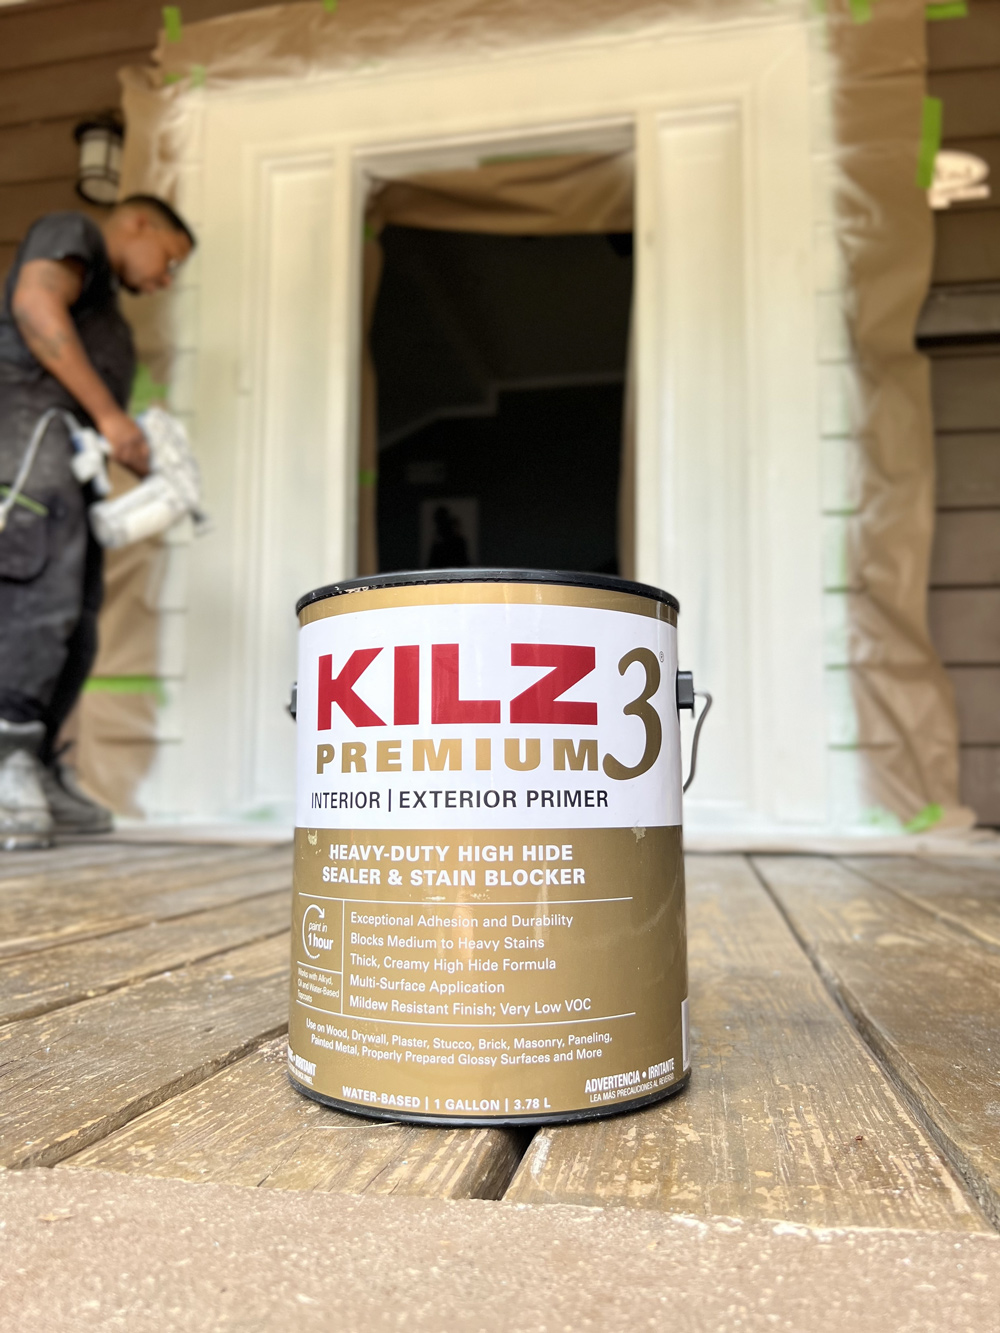
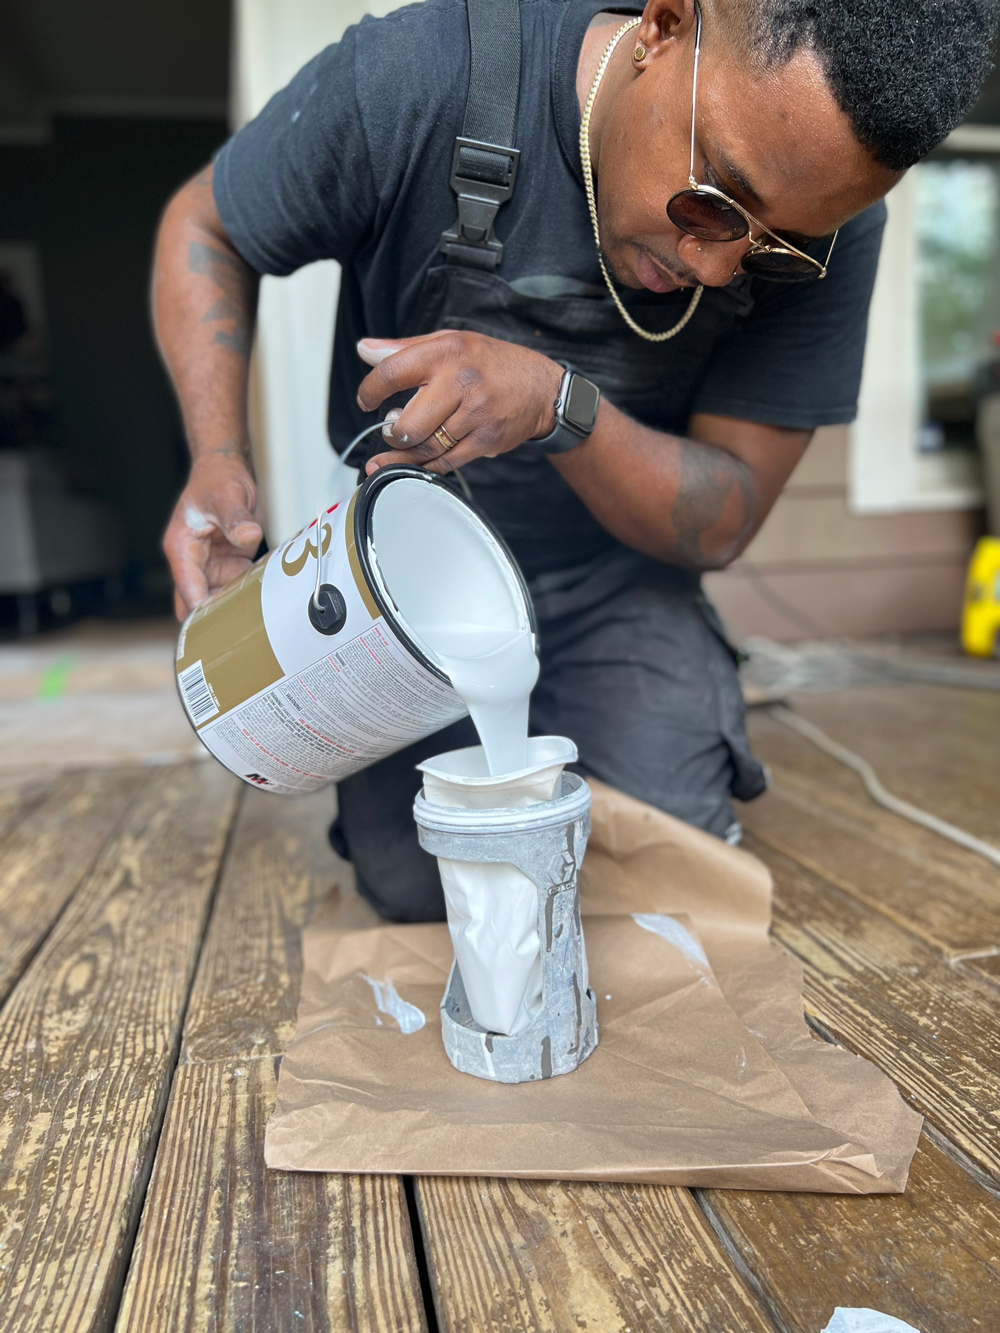
Then it was time to prime the trim and the door. A huge benefit of using KILZ 3® Premium Interior and Exterior Primer is its thicker consistency and high hiding capability which is essential when painting over an existing color and converting from a dark or bold color to a lighter one. KILZ 3® Premium Interior and Exterior Primer is a powerful stain blocker and will block color bleed-through and other stains.
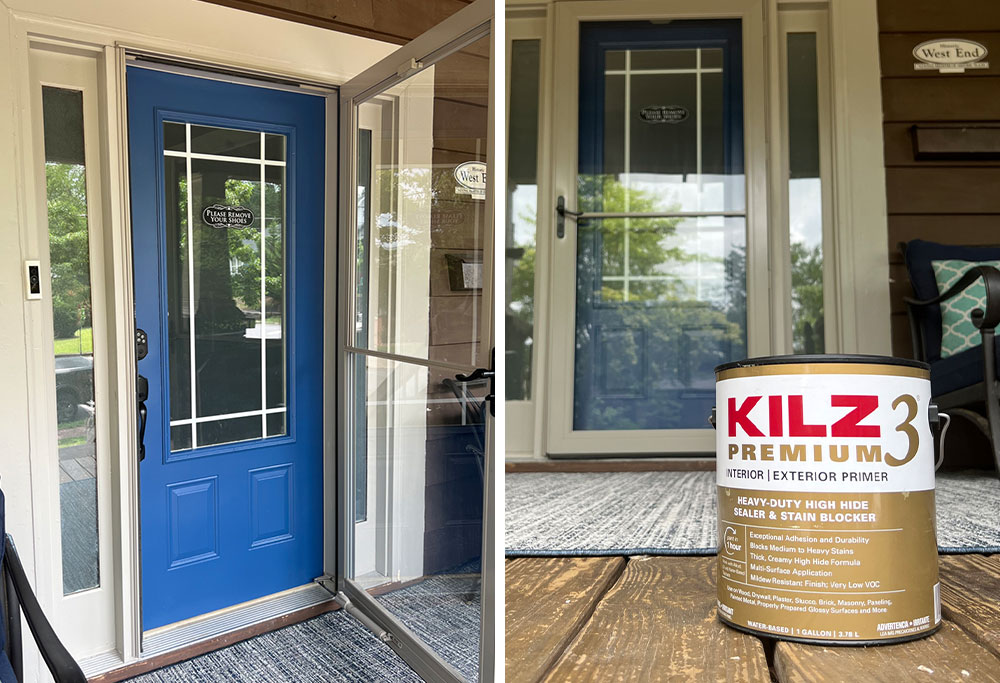
Once I laid on the primer and allowed it to dry, I was able to spray the door and trim using BEHR® paint, remove all the paper and tape and enjoy the new look. All and all, this project was completed in 48 hours and honestly, I was really looking forward to getting it done. Having used KILZ 3® PREMIUM Interior and Exterior Primer I knew this door color would pop, giving me Instagram-worthy photo finishes and people will feel even more welcomed when they visit!
*This is a paid partnership with Jared Foster.
PRO SPOTLIGHT: ANGELA CACACE CREATES A SPACIOUS AND FRESH FEELING BATHROOM
May 19, 2022“How much do you think it will cost?” This is the first question a homeowner asks when I show up to their home for a consultation. This question is always a tricky one and oftentimes the deciding factor that can make or break a dream renovation boils down to material choices. This rings especially true for smaller rooms like bathrooms where the majority of a budget is allocated to what I like to call “big ticket items” like tile that are go-to for their moisture resistance. This can get pricey not only for the material but for labor as well. So if my clients are on a budget, finding creative ways to transform their space while not compromising on the integrity of their renovation is paramount.
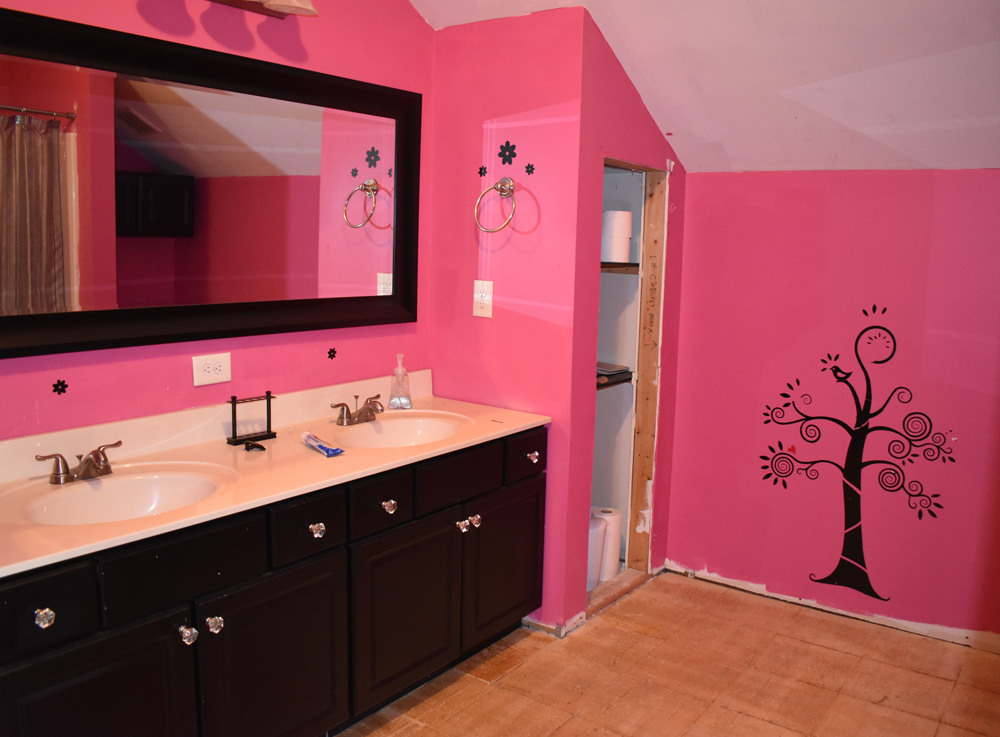
So what do you cover a wall with when you don’t have a hefty budget for floor to ceiling tile? Paint! And although this hot pink bathroom had plenty of it, its previous teenage habitants had vacated and it was way overdue for a more finished and polished look. Using light and airy colors of Magnolia Home by Joanna Gaines® paint to make the bathroom feel fresh and bright is exactly the transformation it needed to feel more spacious. For the walls, Soft Linen provides a calming effect for this new space of refuge. The creamy neutral had a lot to stand up to against the hot pink so a primer was a must.
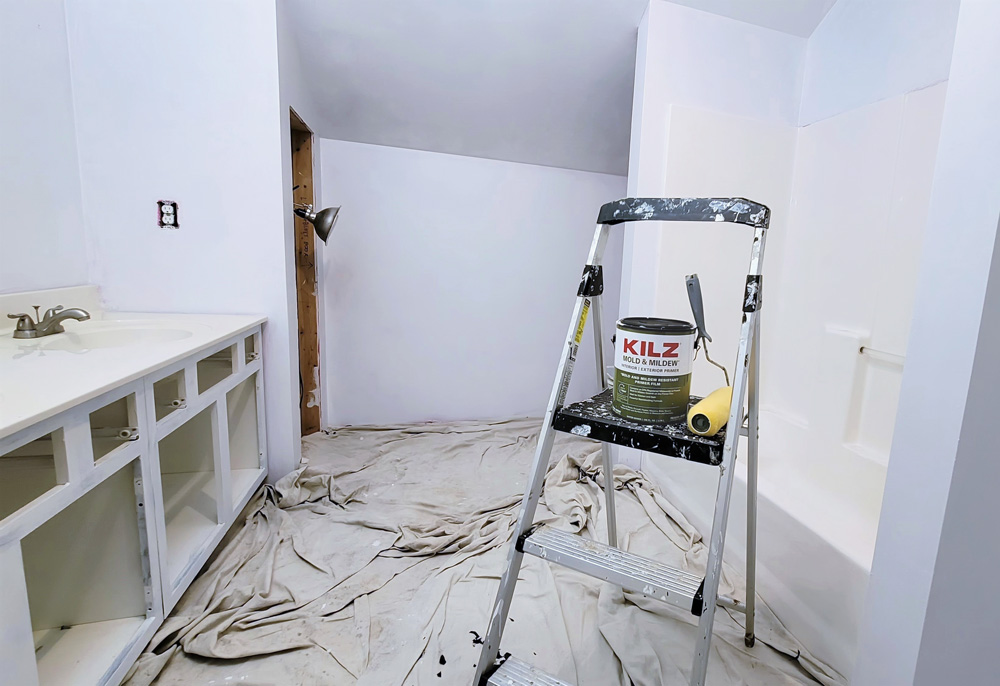
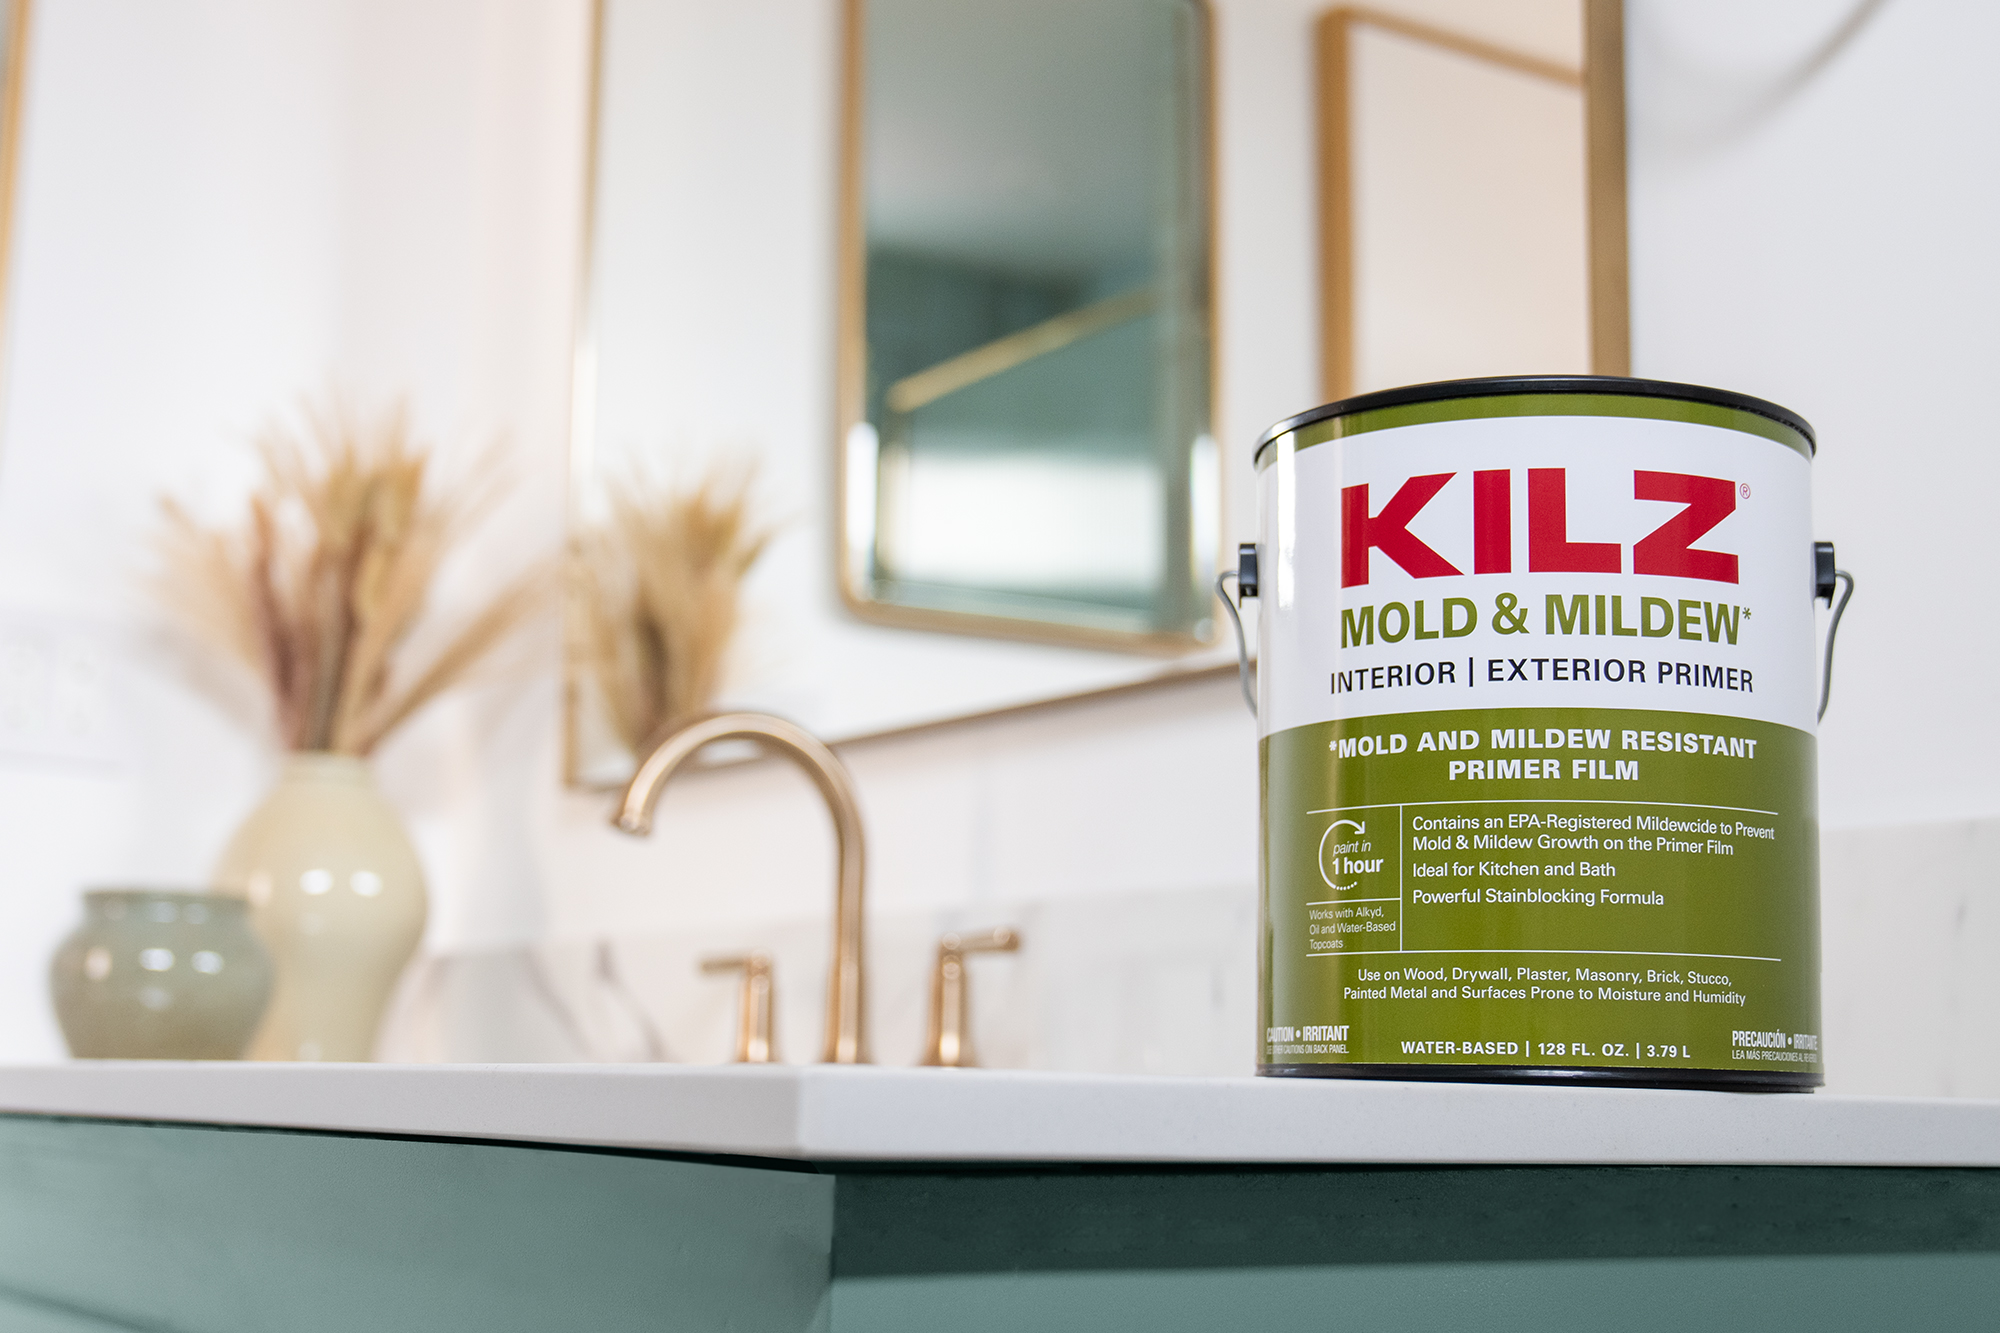
In order to properly prepare the walls, we used KILZ® Mold and Mildew Resistant Primer; not only for its hot pink covering ability but also, as it states in the name, it protects against the problems caused by moisture and humidity from steamy hot baths and showers and splash zones (if you’ve got little ones at home!). It does this with an EPA registered active ingredient that creates a mold and mildew-resistant film that protects against mold and mildew growth. And if you’ve ever been stuck in a small room with chemicals, you will appreciate its low odor, low VOC formula that makes for a safe and pleasant workspace.
In addition to transforming the wall color, we painted over the existing black vanity with Magnolia Home by Joanna Gaines® Trim, Door & Cabinetry Satin Paint. This water-based acrylic product is specifically designed for surfaces such as kitchen and bathroom cabinets, trim, window frames and doors. Its self-leveling, fast drying formula provides the hardness of a traditional oil-based paint but in an acrylic formula making it ideal for this bathroom vanity transformation. Silverado Sage is the new cabinet color and is a far cry from glossy black. Just like the walls, it needed some serious mold and mildew resistant primer film as well.
With our new selections of Magnolia Home by Joanna Gaines® paint and KILZ® primer ready to go, the bathroom walls and vanity were well on their way. But before we could experience the joy of covering up the hot pink and black palette with a clean slate, prep work had to be done.
For the walls, we began by removing the stickers and screws from old bath accessories. This scraping and pulling did some serious damage so to patch things up, we skim coated and filled in holes with spackle. Once dry, we took a fine grit sand block and smoothed over the surface, removing any excess clumps of paint as well. After sanding, we thoroughly cleaned the room, removing all dust and wiping the walls down with a damp cloth as well as soap and water in sticky areas that needed some additional scrubbing. Once dry, we applied the first coat of primer with a nylon/polyester brush and roller (3/8″ – 3/4″ nap). Although dry to the touch within a half hour, the primer needs a full hour before applying a second coat, which this hot pink definitely required!
To prepare the vanity for the primer, we removed all the doors and drawers and sanded the surface with 120 grit sandpaper to remove the gloss from the black paint to allow for the primer to adhere. After wiping clean and removing dust, once dry, we applied one coat of KILZ® Mold and Mildew Resistant Primer to the face frames and door and drawer faces.
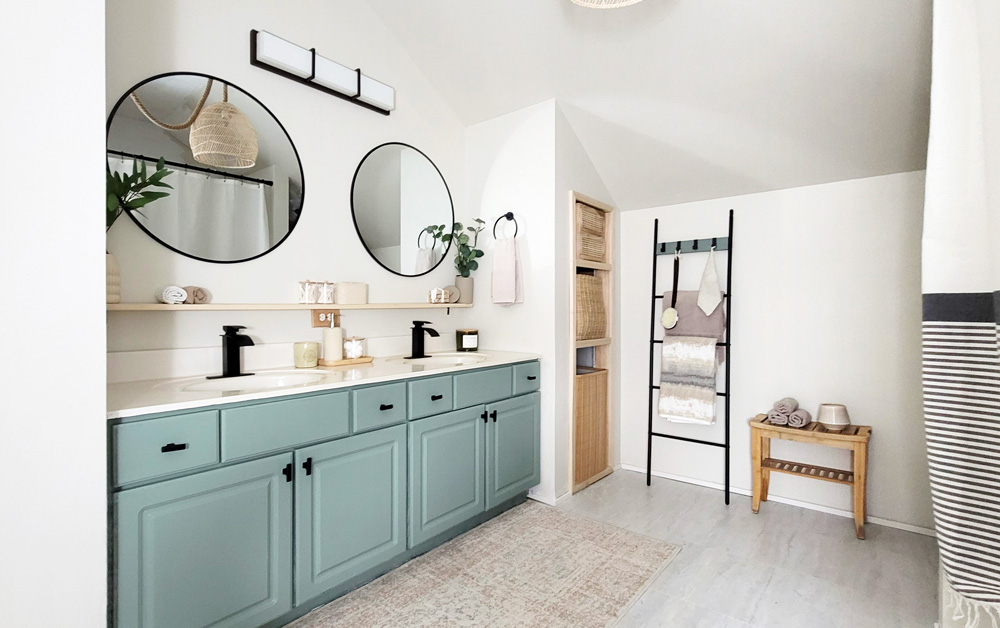
With all the surfaces primed and ready for paint, we were ready for the new, bright and fresh color scheme. For the walls, we used a ½” nap roller to apply Magnolia Home by Joanna Gaines® Interior Paint in Satin finish. For the vanity, we used a high-quality nylon/polyester brush to apply Magnolia Home by Joanna Gaines® Trim Door and Cabinetry Paint in Satin finish. These quality paints were easy to apply and required minimal coats thanks to the blank slate provided by KILZ® primer.
With the addition of some fixture updates and soothing accents throughout the bathroom, the result is truly a transformation from dark, dated and dingy to bright, airy and fresh. And thanks to proper prep and quality products, even without a “big ticket” item like tile, these bathroom walls are well protected and we didn’t have to compromise on design.
*This is a paid partnership with Angela Cacace.
How to Prime Kitchen Cabinets for Color That Pops
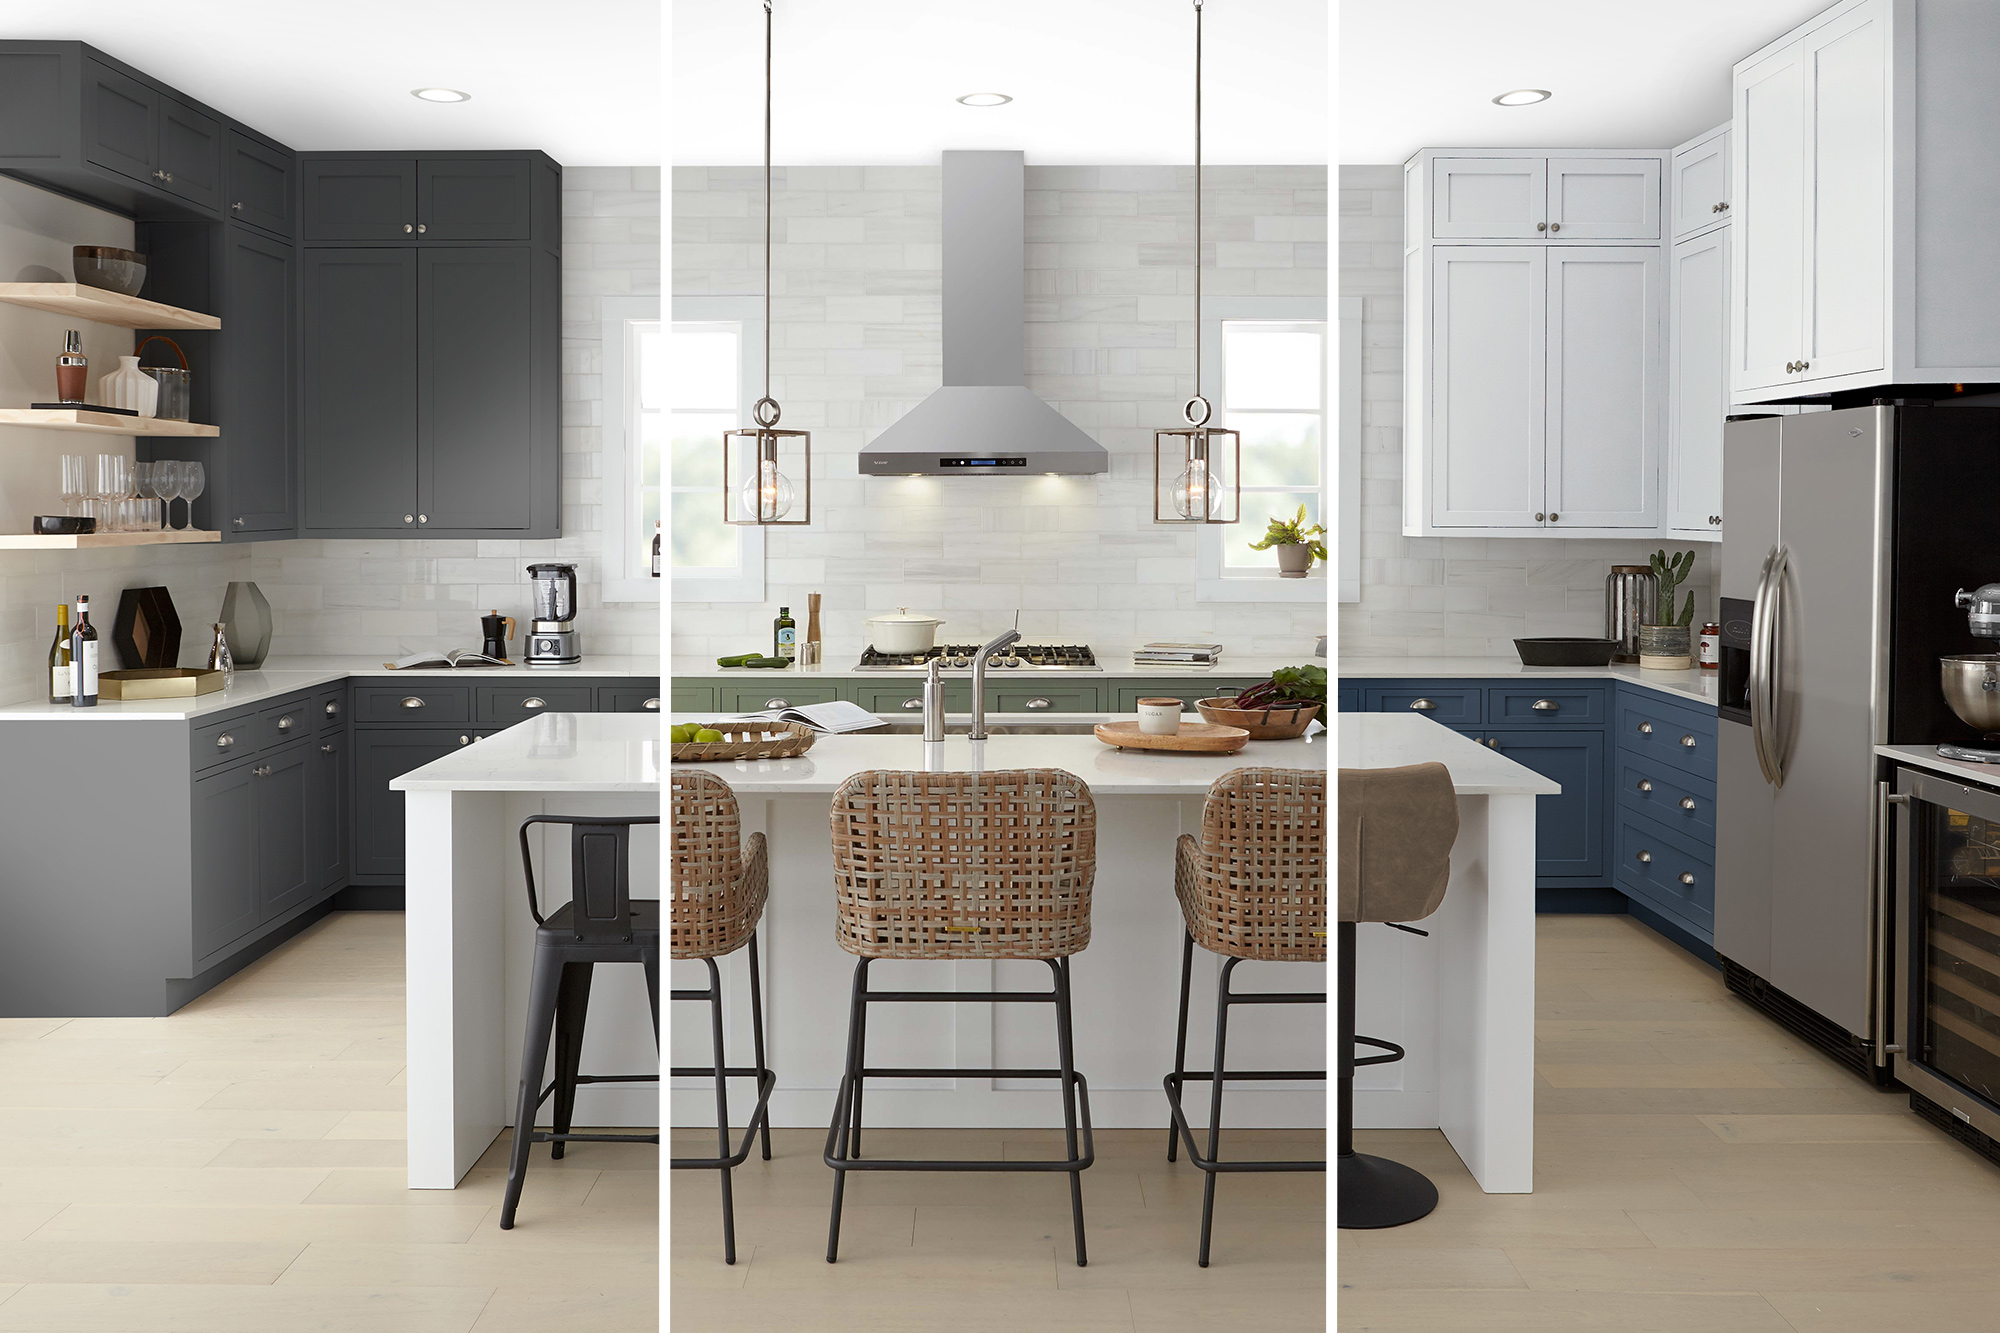
February 25, 2022If you want to design a kitchen that makes a statement, we’ve got some great tips to help make it a breeze. KILZ® primers are the first step in making sure any color you choose really pops, and with the right inspiration, products, and guidance, you can achieve a beautiful focal point inside your home. Our featured kitchen inspirations start with KILZ 3® PREMIUM Interior and Exterior Primer and come together in three unique design concepts that elevate the space from bland to bold. See how to prime kitchen cabinets to ensure the paint colors pop.
As with any project requiring a fresh coat of paint, we started by priming our surfaces. As mentioned above, we chose KILZ 3® PREMIUM Interior and Exterior Primer for its superior adhesion and durability, multi-surface application, and mildew-resistant finish—critical for moisture-prone areas, such as your kitchen where steam, water, and other liquids are present. This primer helped us create the perfect foundation for color, as well as smooth out and cover prior stains, paint, and imperfections in the existing cabinetry.
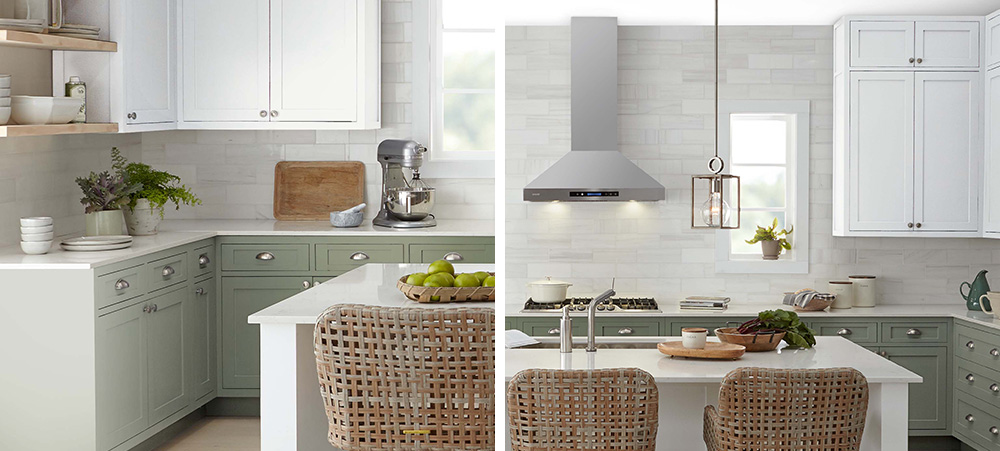
For our first kitchen makeover, we used BEHR PREMIUM™ Cabinet & Trim Enamel in the color Ecological S380-6 on the lower cabinets and island, and White 52 on the upper cabinetry. While this shade of green is subtle, it appears clean and flawless thanks to our primer, which effectively prepped the surface and allowed for this neutral color to shine. The two-tone kitchen cabinets add some depth of color to the space. We further styled this space with complementary wicker bar chairs at the island, and open-framed light fixtures overhead for a cozy-casual vibe perfect for cooking, eating, and entertaining.
Keep in mind that painting without priming first—especially on porous surfaces like wood or brick where paint can easily become absorbed—can greatly affect the outcome. Without a solid coat of primer, paint can appear less vibrant, rich, or otherwise not as expected.
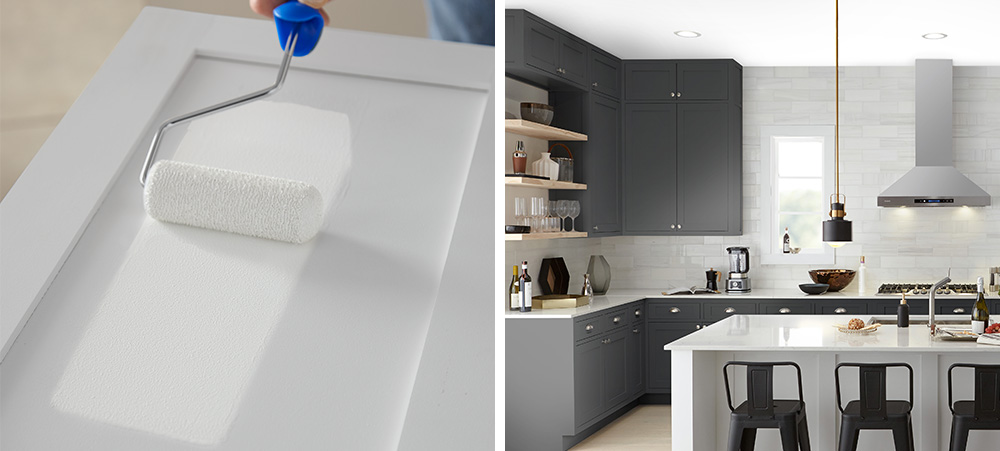
Opting for drama with our next kitchen makeover, we chose BEHR PREMIUM™ Cabinet & Trim Enamel in the color Limousine Leather MQ5-05. We painted the upper and lower cabinets in this charcoal-like shade, creating a refined frame around the island, which we painted with White 52. Because we primed thoroughly beforehand, we cut down on the number of topcoats and ensured our color came out as expected. The island becomes the focal point here, so we styled with black and gold mini pendant lights and contrasting bistro-style barstools for a chic and polished final look.
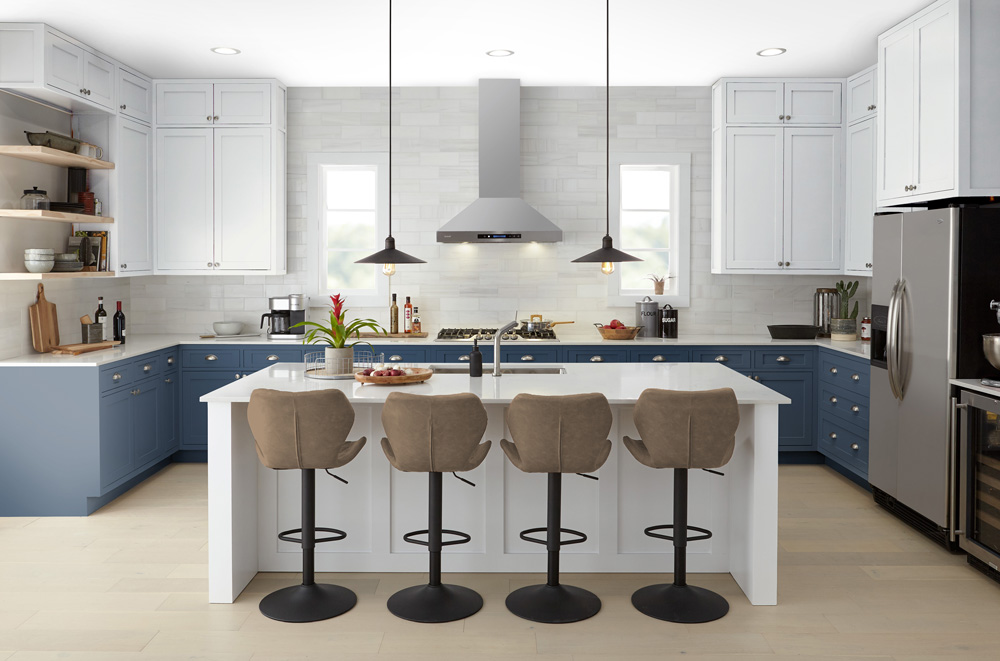
Our final kitchen makeover features BEHR PREMIUM™ Cabinet & Trim Enamel in the color Inked M510-7 on the lower cabinets and island, and White 52 on the overhead cabinetry for a light to dark look that really pops. White walls and countertops help achieve a clean look from the top down. The two-tone cabinets add an interesting juxtaposition to the room. To round out this concept, we chose leather barstools with black bases, and matching black lighting—small details that effortlessly tie the space together.
All three of our kitchen inspirations featured KILZ 3® PREMIUM Interior and Exterior Primer, which we chose for its surface versatility, among its many other benefits for a room of this kind. This fast-drying primer’s excellent adhesion makes it ideal for use on interior and exterior surfaces including wood, drywall, plaster, stucco, paneling, masonry, brick, and more. It works with oil and water-based paints, giving you plenty of color options for your kitchen or any future DIY project.
Always remember to refer to our website kilz.com or product back labels for additional information on which primer is right for your project and detailed instructions on how to apply our products. Check out our Coverage Calculator to understand your estimated paint needs for your upcoming project.
Nursery Inspiration for Your Growing Family
January 31, 2022No matter how many baby nursery ideas you dream up, putting the pieces together can be daunting. If you aren’t sure where to start, this bright and stylish room makeover may just be the simple nursery inspiration you need to create something special in your home.
Comfort, calm, and functionality are equally important when planning a space for a new member of the family. Designing a cheerful room that brings you joy can make your nursery feel like a home within a home. So, if you have a vacant room and are planning for a little one, let this post provide you with the perfect nursery color, paint, and design ideas to complement your home.
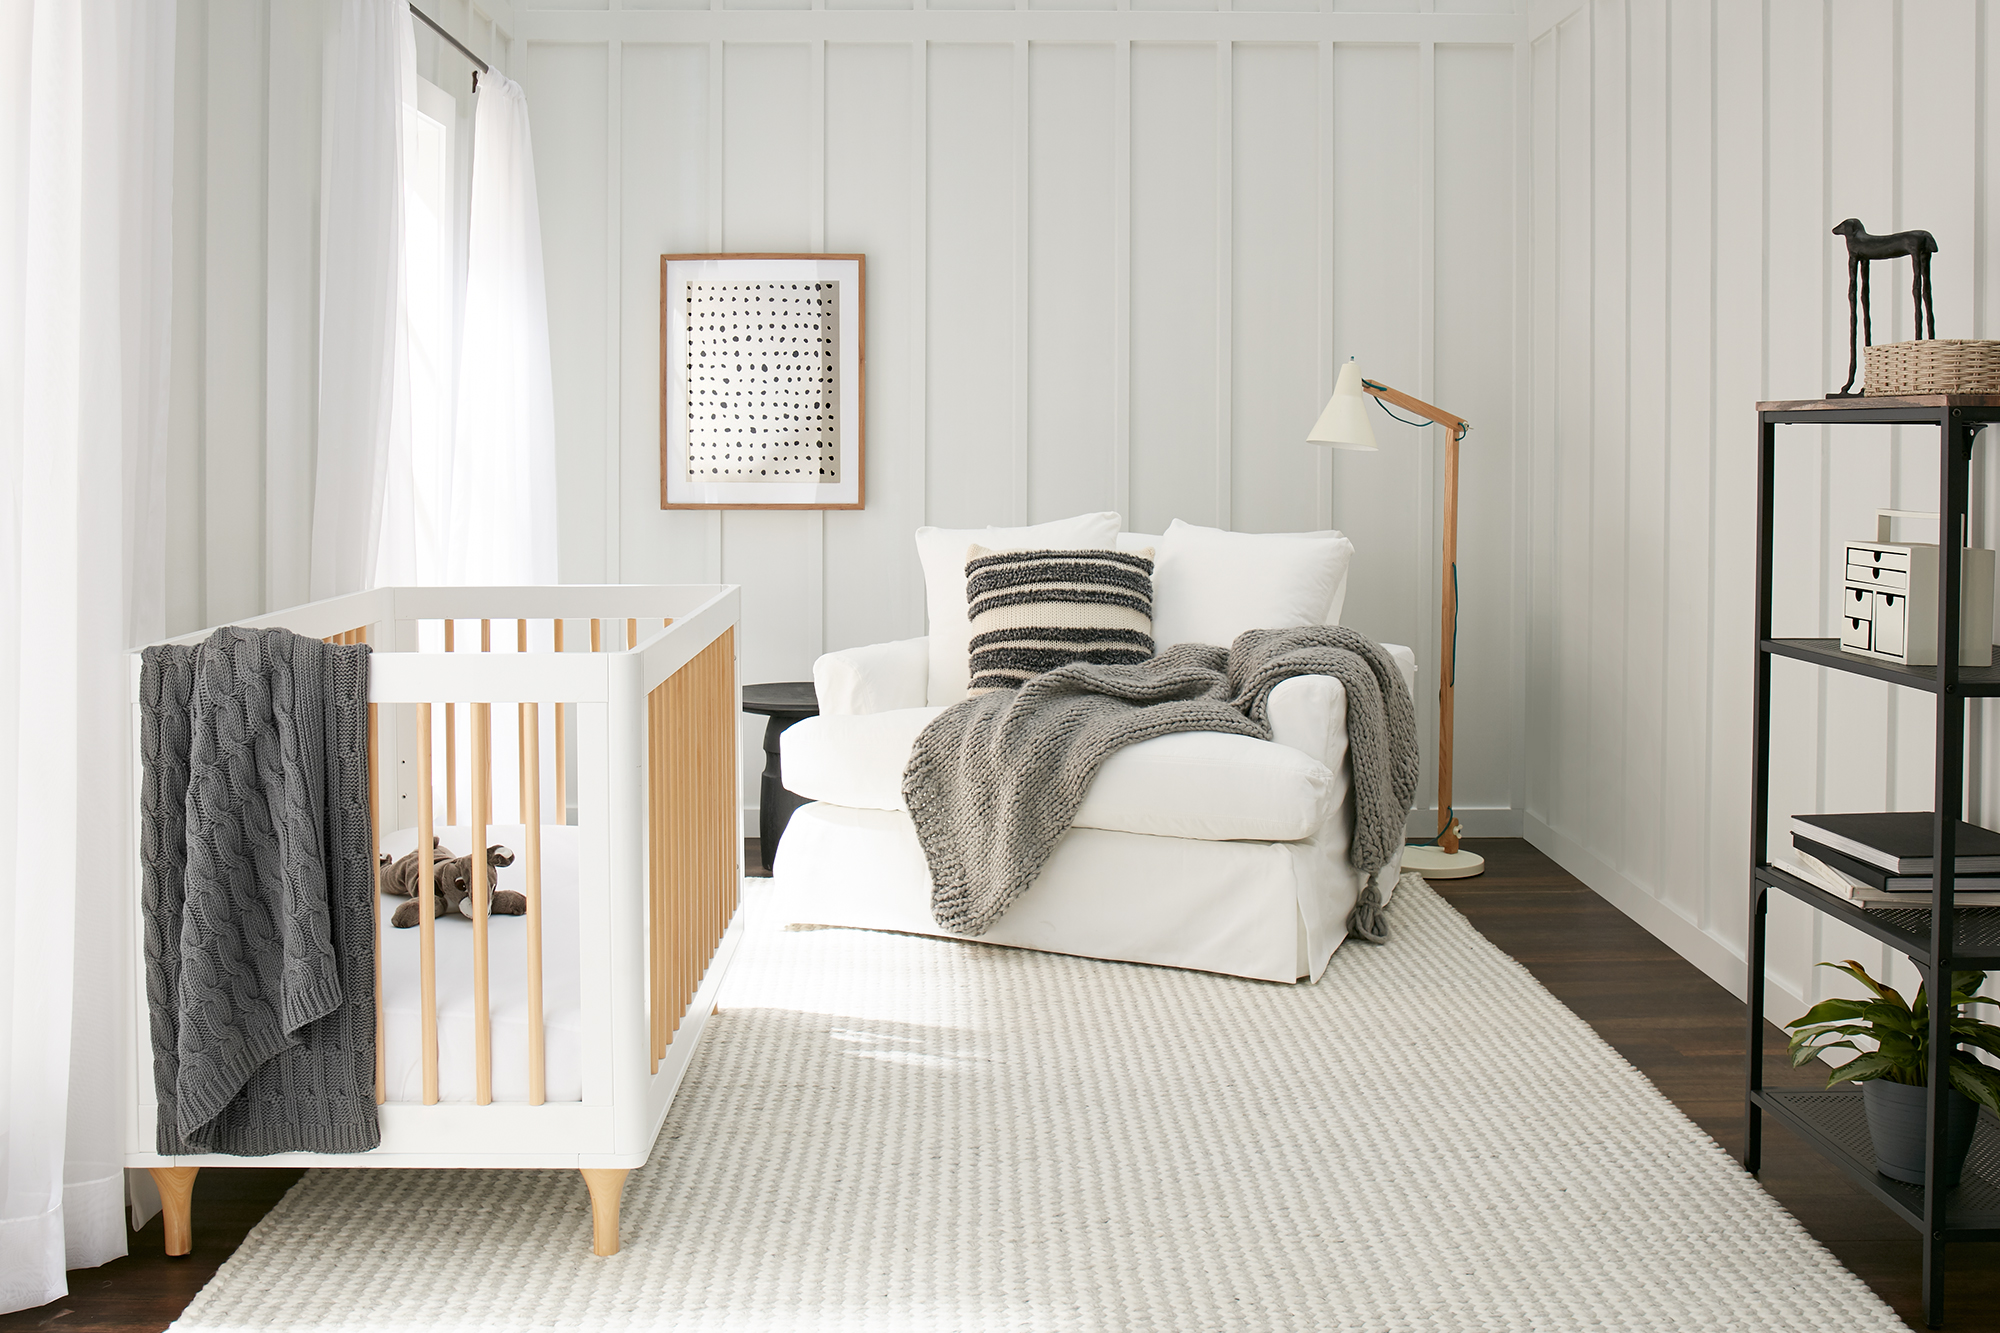
Creating a charming nursery doesn’t have to be hard. This room makeover showcases a simple, neutral design, focusing on light and comfort. With ample sunlight pouring in from the windows during the day, white walls create a warm and tranquil environment for you and your little one.
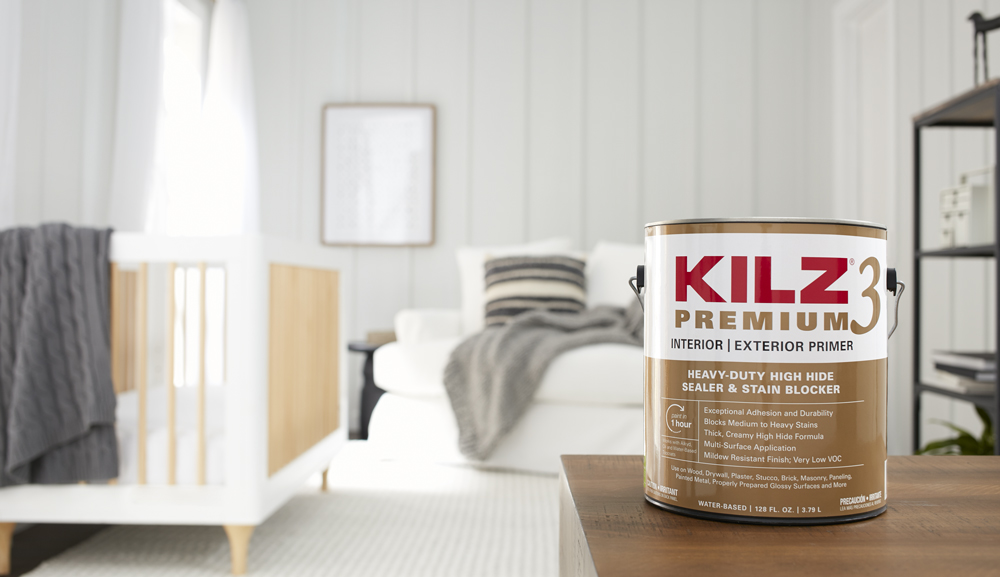
To transform this room’s walls from a bold green to a soft, clean white, we started with KILZ 3® Premium Interior and Exterior Primer. This primer is fast-drying, low odor, and has excellent adhesion, making it a great base for our chosen color of paint. Because of its thicker high hiding formula, it’s ideal for smoothing out surface imperfections and covering up any stains that may have accumulated in an old or previously occupied room. It’s also perfect for masking any existing color when switching from dark to light.
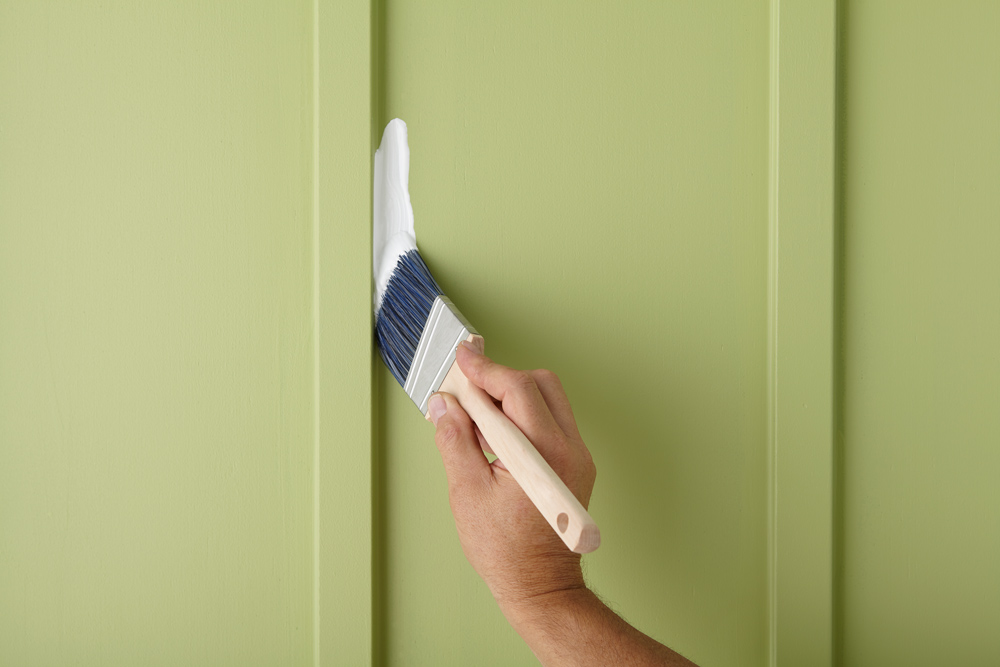
After thoroughly priming our walls and allowing for sufficient drying time, it was time to paint. We chose a lovely, muted white paint that makes for a clean and sophisticated backdrop for decor, as well as a peaceful environment for this nursery. With our newly blank canvas, we began the process of creating a cozy and welcoming interior. This transformation used BEHR PREMIUM PLUS® Interior Paint in the color Wind’s Breath (GR-W06).
To achieve our look, we played with classic simplicity. Light shades of exposed wood make the white painted crib, lamp, and picture frame pop, soft grays accent the blankets and pillows, a dark end table and shelving unit provide focal points for the eyes, and a bright white chair complements the other pieces while evoking a modern cottage feel.
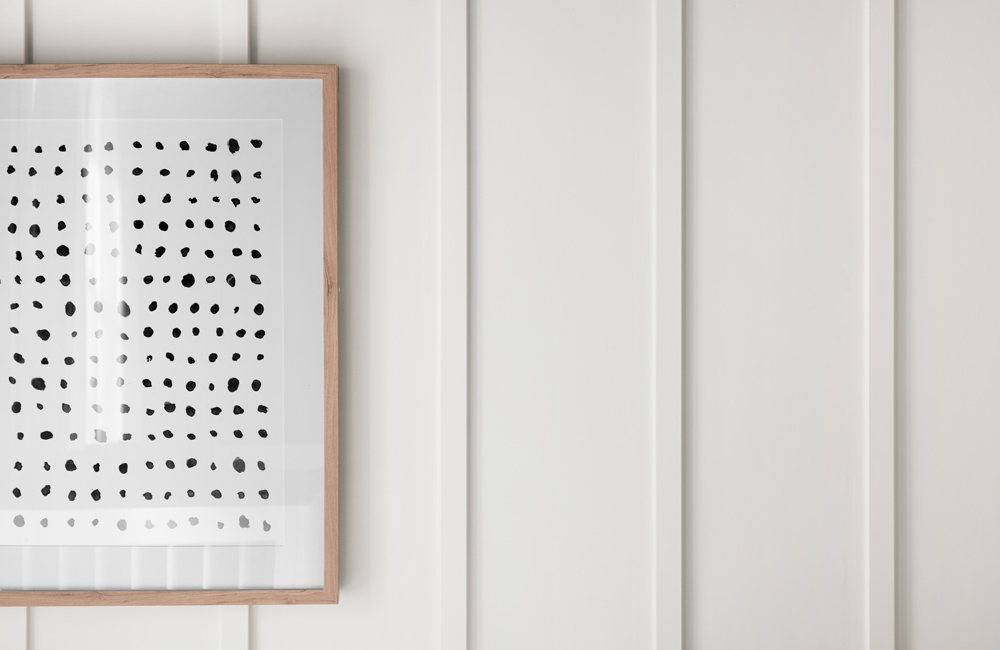
The dark-wood floor and large white area rug serve as an anchor, and the luminous curtains bring movement into the space by reflecting the natural light from outside. This beautifully simple nursery is both elegant and inviting, while remaining an attractive, neutrally- styled room that can easily serve another purpose once your child outgrows it.
Always remember to refer to our website kilz.com or product back labels for additional information on which primer is right for your project and detailed instructions on how to apply our products.
Ask the Pro: KILZ Restoration®
October 27, 2021
Here on The Perfect Finish, we have shared the importance of Primer in a variety of room transformation projects, from changing paint colors to painting kitchen cabinets. In this post, we are taking the conversation to a larger scale, looking at whole home renovations from a Pro’s perspective. We were excited to chat with Dustin Almquist, a contractor in Pennsylvania with experience in both real estate and property investment.
Dustin shares how KILZ Restoration® Interior Primer is vital to his whole home renovation jobs and why he believes a transformation of a whole house can change the perspective of the entire neighborhood. Read on to learn how he gets the job done right every time.
Tell us about your recent restoration job using KILZ Restoration Primer.
This project was a full house renovation. The last owners had the home for decades, and regular maintenance wasn’t done. It needed new electricity, plumbing, kitchen, bathroom, roof, windows, flooring, and of course primer and paint. The walls were old plaster that had some major cracking. After making extensive repairs, it was important to prep the walls for paint. Since many of the walls had old oil-based paint or paneling, it was important to use a primer that I could trust.
Why did you choose KILZ Restoration® Primer for this project?
This property is used as a rental. I wanted to ensure that I am getting a long-lasting, durable wall coating. When it is time for a topcoat, I need to know that I won’t have adhesion issues. KILZ Restoration® Primer gave me the security that a topcoat will apply evenly and have great adhesion. Additionally, the coverage of the old surface was going to need a serious primer. Using a lesser primer would have left me with exposed stains and old wall color bleed through.
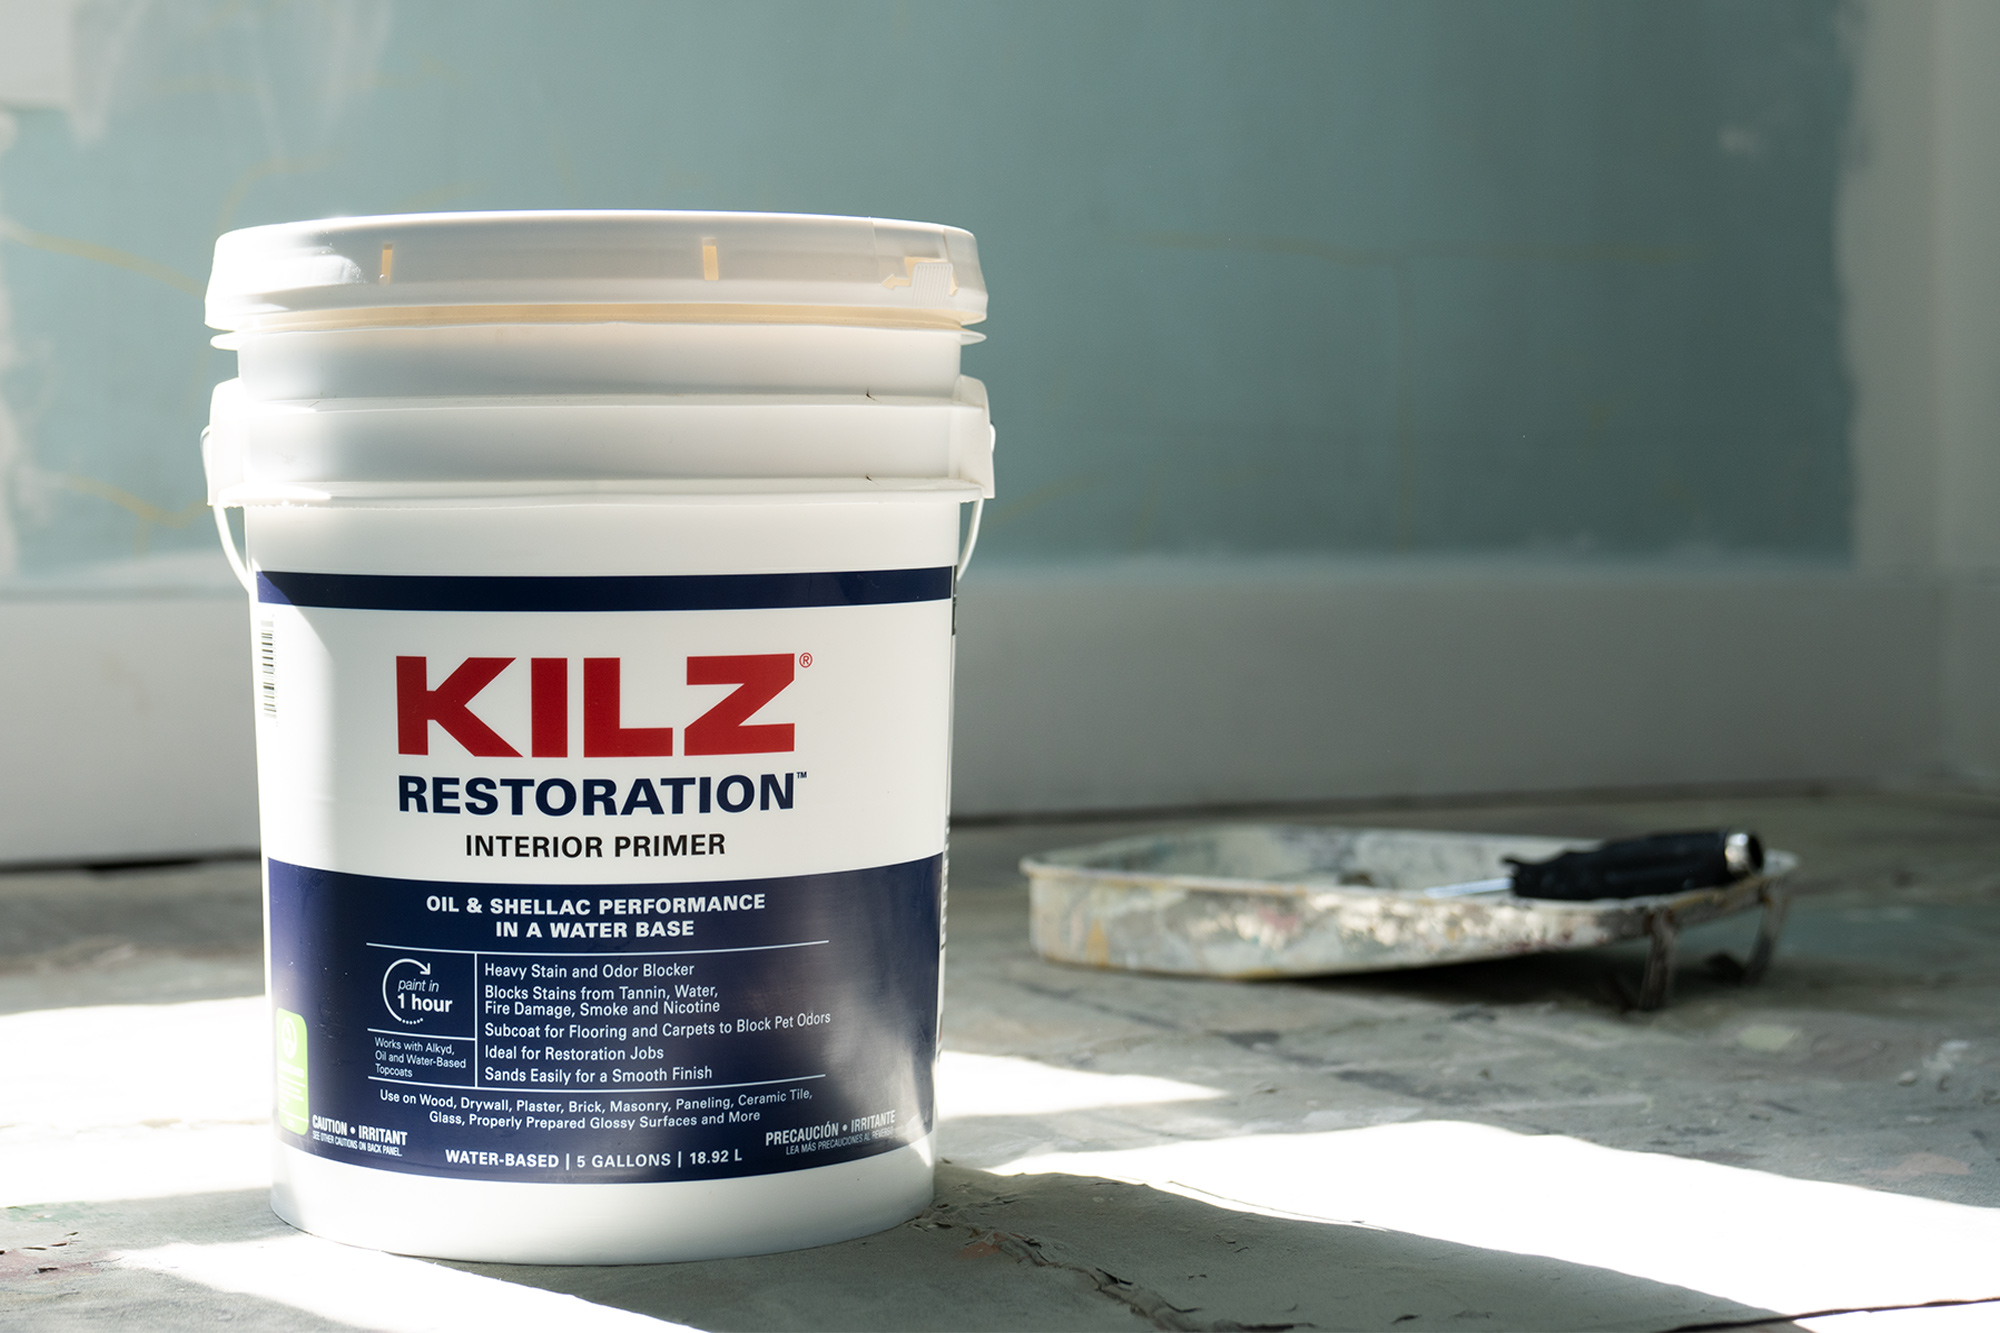
• KILZ Restoration® Interior Primer is a water-based primer, sealer, and stain blocker offering the performance of traditional oil and shellac-based primers. It tackles tough stains including heavy water damage, rust, smoke, nicotine, grease, tannin, ink, pencil, felt marker, pet stains, and more.
What benefits did it bring to the job that another primer might not?
KILZ’s reputation of quality products is second to none and KILZ Restoration® Primer is the real deal. The old oil-based paint on the walls had some small cracks and splitting, but it was no match for the Restoration Primer. It is quite thick, so it filled those problem areas, yet still dried evenly and smoothly.
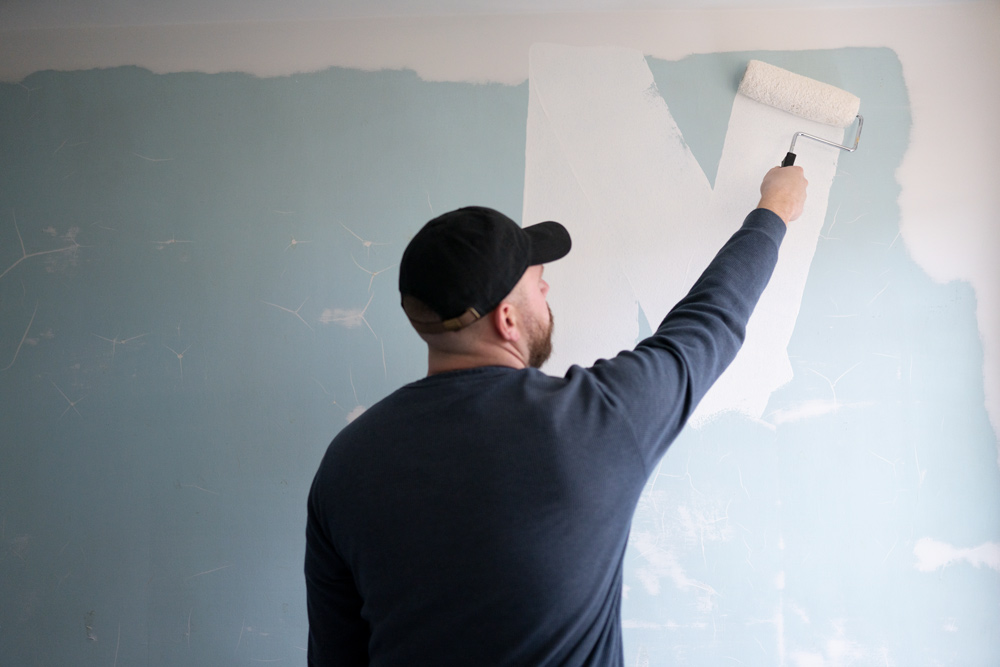
Where did you use KILZ Restoration® Primer at the project site?
The whole home! The house contained three bedrooms, a bathroom, kitchen, dining room, and living room.
Have there been any other projects when KILZ came to the rescue?
I am currently working on another rental property in the same town. The entire interior needs to be painted. Again, since this house will be used as a rental, I want to trust that the work I do today can last for years to come. I have primed the entire house using an array of KILZ primers.
Would you recommend using KILZ primers for any project?
I have yet to be disappointed in any use of KILZ primers. Each application has provided me with the results I need.
Do you have any other tips for a home restoration project?
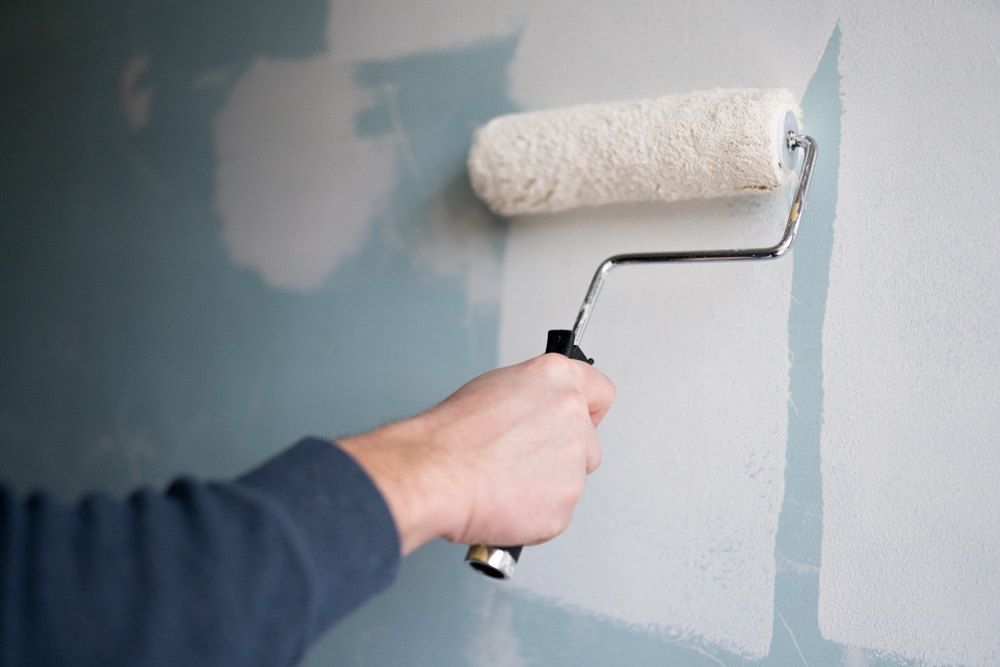
Make sure to plan! When you get into restoration, time is money. It is so tempting to take shortcuts to save yourself time. Many people don’t think about the amount of time in the future they are costing themselves when taking those shortcuts. Take the time to do the work correctly the first time. It will pay dividends tomorrow!
What additional tools would you need to get the job done?
Paint sprayers, pans, rollers, roller covers, brushes, scrapers, extension poles, drop clothes, painters’ tape, buckets, ladders, rags, caulks/sealants, brush cleaner, paint thinner, stir sticks. You name it! It seems like you always run out of something right when you need it.
Always remember to refer to our website kilz.com or product back labels for additional information on which primer is right for your project and detailed instructions on how to apply our products.
Pro Spotlight: Jesi Haack’s Mid-Century Courtyard Makeover
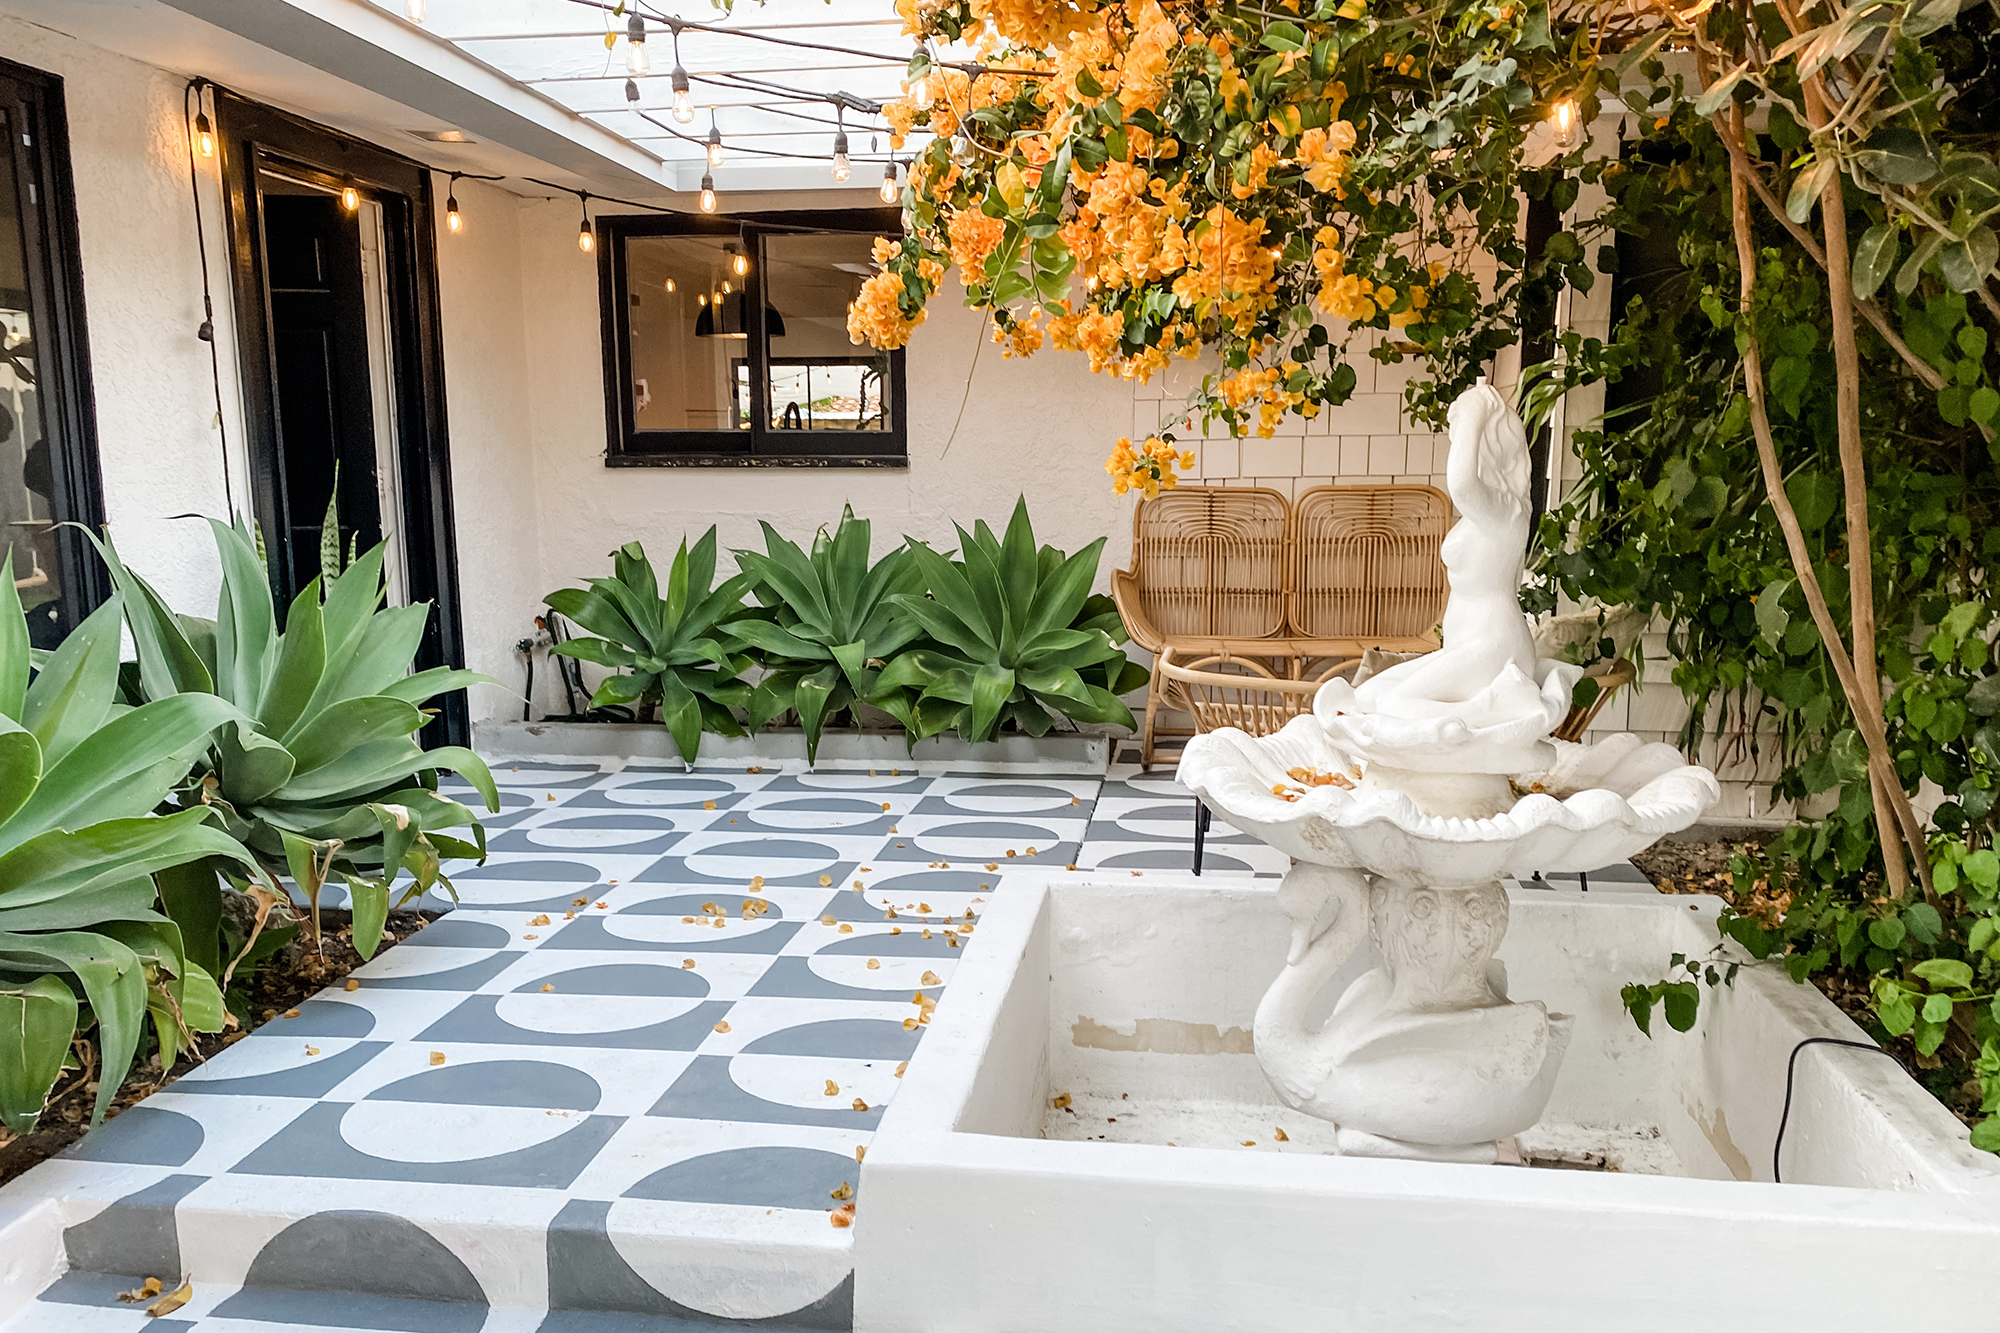
September 20, 2021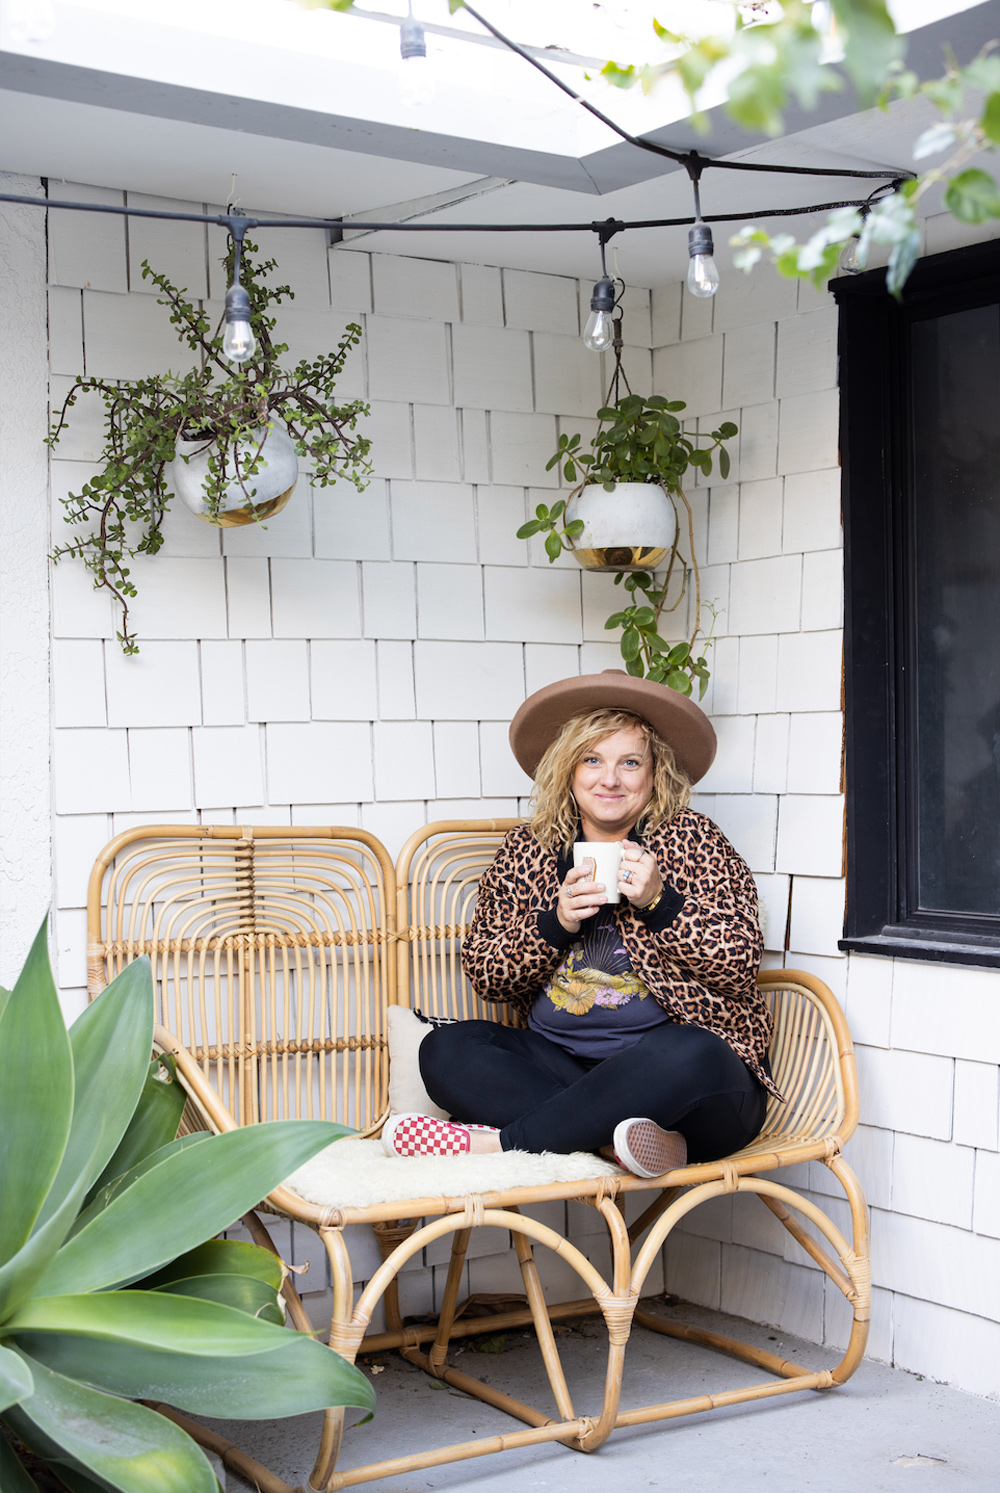 This month on The Perfect Finish, we have an inspiring Q&A to share that includes a stunning stenciled courtyard makeover. A friend of the KILZ team, Jesi Haack is a talented event designer with some serious interior design skills as well. Jesi’s full-service event design company, Jesi Haack Design, transforms traditional events into trendy affairs. She is also the Co-Founder of SLAACK Productions, a corporate event production company specializing in creative & interactive design experiences & installations.
Jesi recently completed a jaw-dropping makeover of her home’s front courtyard, and it inspires some serious DIY envy. Read on to learn more about Jesi and how she completed this gorgeous transformation.
Before we talk about your stunning patio project, we’d love to delve into your DIY/designer background. You own an event design and production agency, and on top of that you’re a super talented DIY-er and interior designer. Tell us how you first got into interior design and DIY’ing and how that led to where you are now.
Well, I’ve always loved making things look cool. Whether it’s for events or in my home. So once Covid hit and turned the lights out on our busy production company, I suddenly had a ton of time on my hands and no creative outlet. Pair that with buying our first fixer home and a huge income hit, I became a DIY’er! Hahaha! I just started figuring stuff out on my own because of boredom, lack of funds and a need for creativity. Once I started sharing my projects on social media, I didn’t anticipate so many people would like what I was doing! And then they started asking me to help with their homes, offices, and projects! It’s been a blast!
Where do you find inspiration for your DIY home improvement projects? Has work for your event design business inspired any of your interior design projects?
I’m inspired by so many different outlets and people. I follow a bunch of different types of builders and creators (I think of them as more than DIY’ers because it truly is an art what they do) and other people’s work is truly an inspiration. And yes! My event installation background is a huge aspect to my work and my style. I try to think outside the normal interior design box and bring in more three-dimensional aspects to interiors. More like art installations that make a big impact. At least that’s where my thought process is.
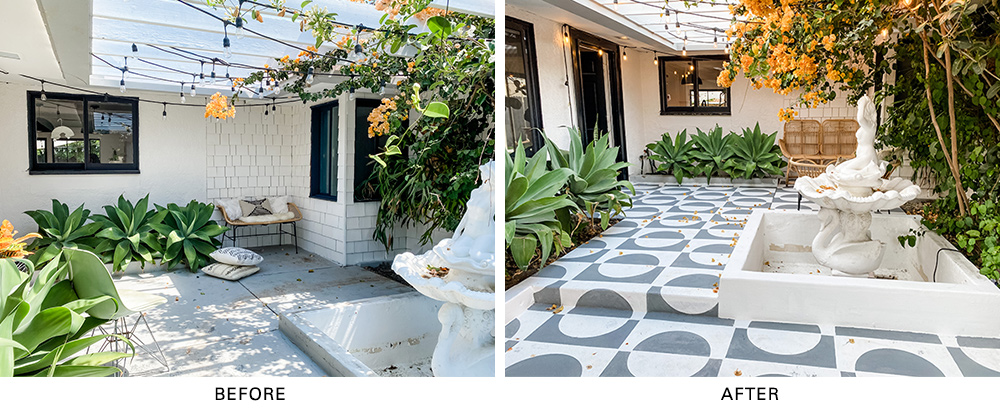
Let’s talk about your recent patio project. What inspired the design and what was the overall process?
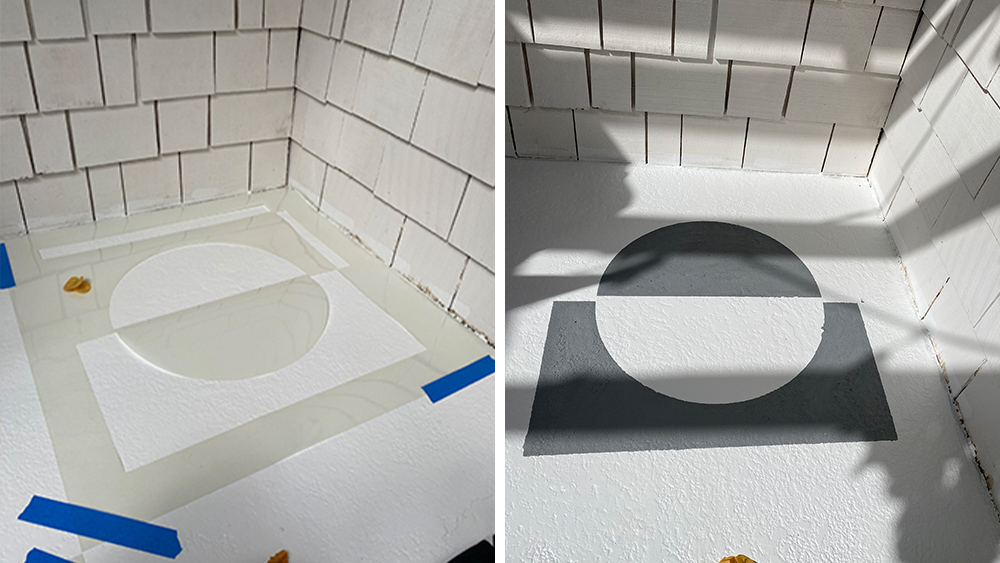
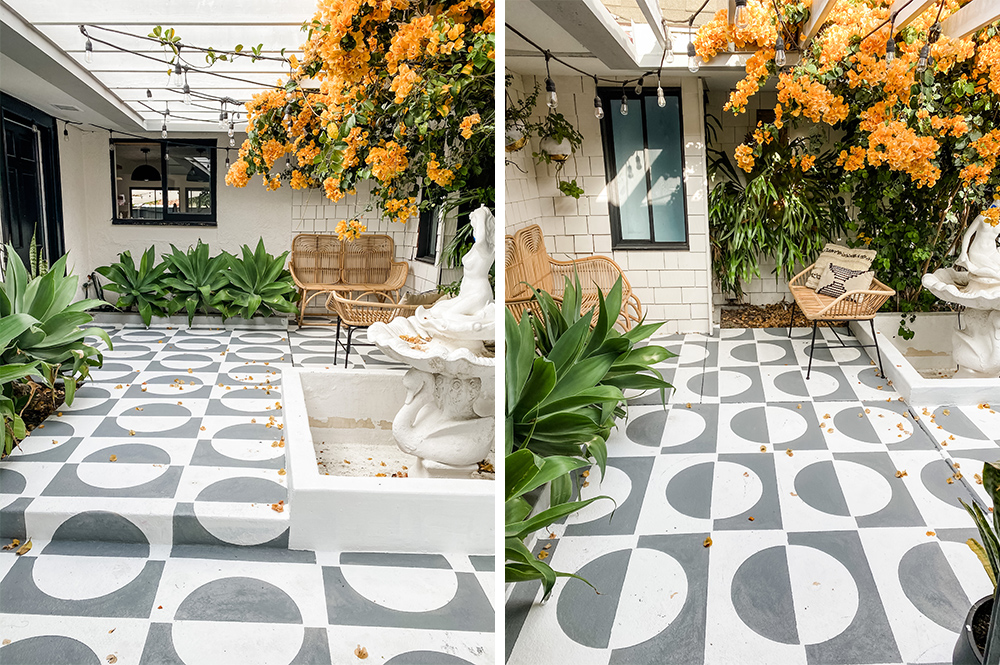
I’ve spent a ton of time in Palm Springs for work and am so inspired by the architecture there and the mid-century design style. Our patio was so basic and the concrete so ugly, I knew I wanted to bring it alive with a pattern. I also knew it was an area I didn’t want to play it safe with. I wanted it to make people stop for a sec and notice before entering our home! It was a pretty simple process: clean – prime – stencil – seal!
Which KILZ product did you use for the patio makeover and why? How do you think it impacted the project?
I used KILZ 3® Premium Primer and KILZ Over Armor® concrete coating. Kilz primers are my literal go to for any project because they seal the surface I’m working on. For this one in particular, a quality primer was clutch for covering up chipped paint and giving me a blank canvas to use for my stencils.
How did you first learn about KILZ? Have you used KILZ primers for any other projects?
I think my dad told me about Kilz long ago when I started creating. I’ve literally used the primer on everything! My baseboards which got rid of water stains and still have kept them away! Lots of painting projects for our events, the primer helps keep our wood sets from warping in outdoor settings.
When completing any DIY or interior design project, what are your tips and tricks for success?
A tough lesson I have learned is don’t rush! This is so hard for me. I love diving in and getting to the end result. But don’t skip prepping! Properly taping off and using primer will make your project look more legit in the end and will save you touch up work when all is said and done!
Jesi Haack’s Step-by-Step Directions for a Mid-Century Courtyard Makeover
1. Power wash cement.
2. Use a cement cleaner and pour it on with a plastic watering bucket. Don’t use metal! Scrub with a stiff bristle brush.
3. Let dry completely, typically a day or two.
4. Prime! Use a roller to get a smooth layer. I did 3 coats because I was using Kilz primer as my base coat. Wait a few hours between coats.
5. Map out your pattern with chalk line. (I skipped this step and I regret it). This will ensure each time placement lines up and is straight. Make squares that are the size of your stencil.
6. Time to stencil! Lay stencil down on each square. Use an angled brush to paint on cement paint. I had two stencils so I would alternate so it would give the paint on the stencil a bit of time to dry so it wouldn’t transfer the paint that got on the stencil to the new square. Wash off your stencil every so often to keep your lines nice and clean. Don’t stress too much about lines, you can touch up at the end!
7. Touch up messy lines and spot clean where needed.
8. Let cure for 72 hours.
9. Paint on a cement sealer! Wait 24 hours before using!
Always remember to refer to our website kilz.com or product back labels for additional information on which primer is right for your project and detailed instructions on how to apply our products.

join the conversation:
SHARE this post: