Tag: KILZ Tribute
Color Blocking for a Sweet Nursery
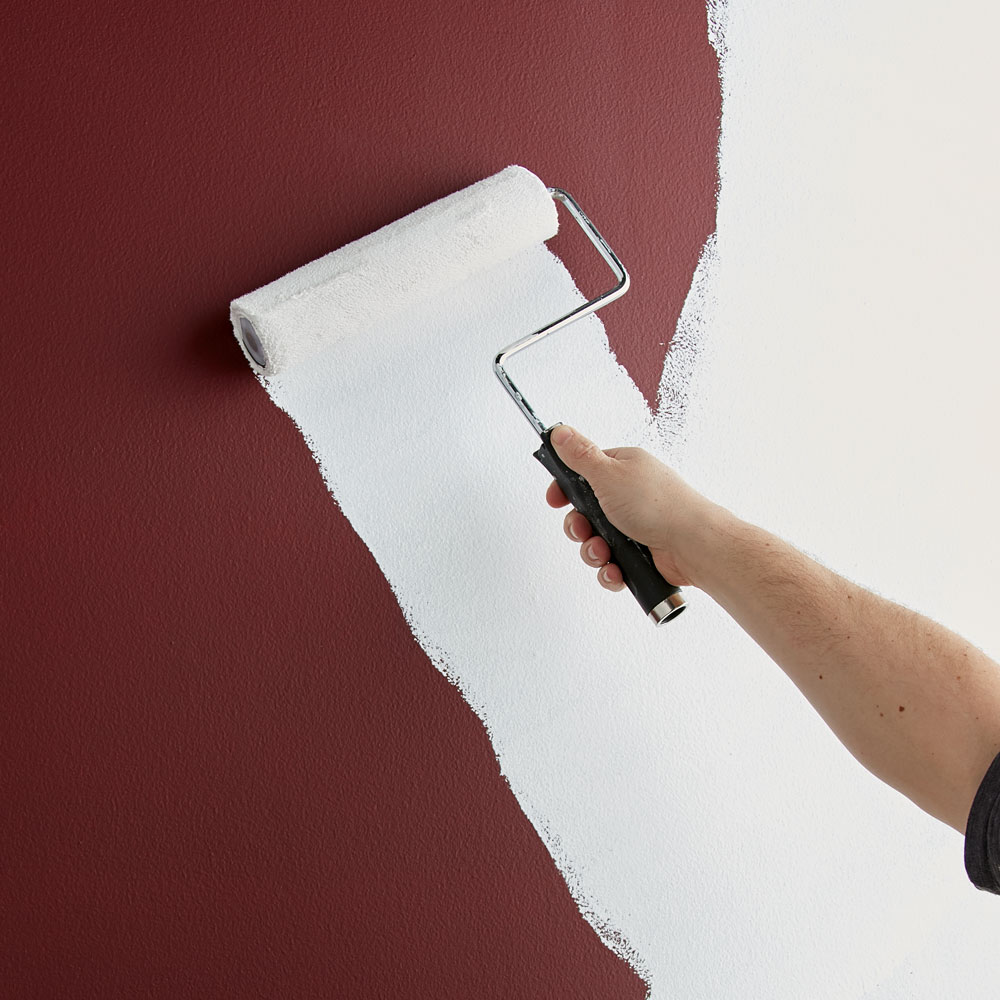
January 19, 2021A neglected and dark spare room is transformed into a sunny and sweet nursery with the help of KILZ® Primer and paint. The existing deep berry-hued walls wouldn’t do for the light and bright look desired for the space, calling for KILZ 3® Premium. Formulated with a thicker high hiding formula, KILZ 3 Premium hides surface imperfections, prepares the surface better for painting and hides previous dark colors with ease.
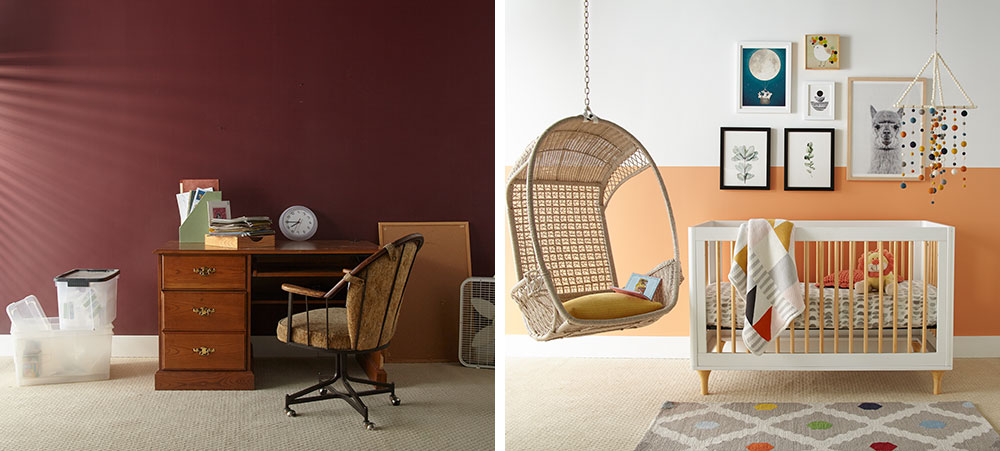
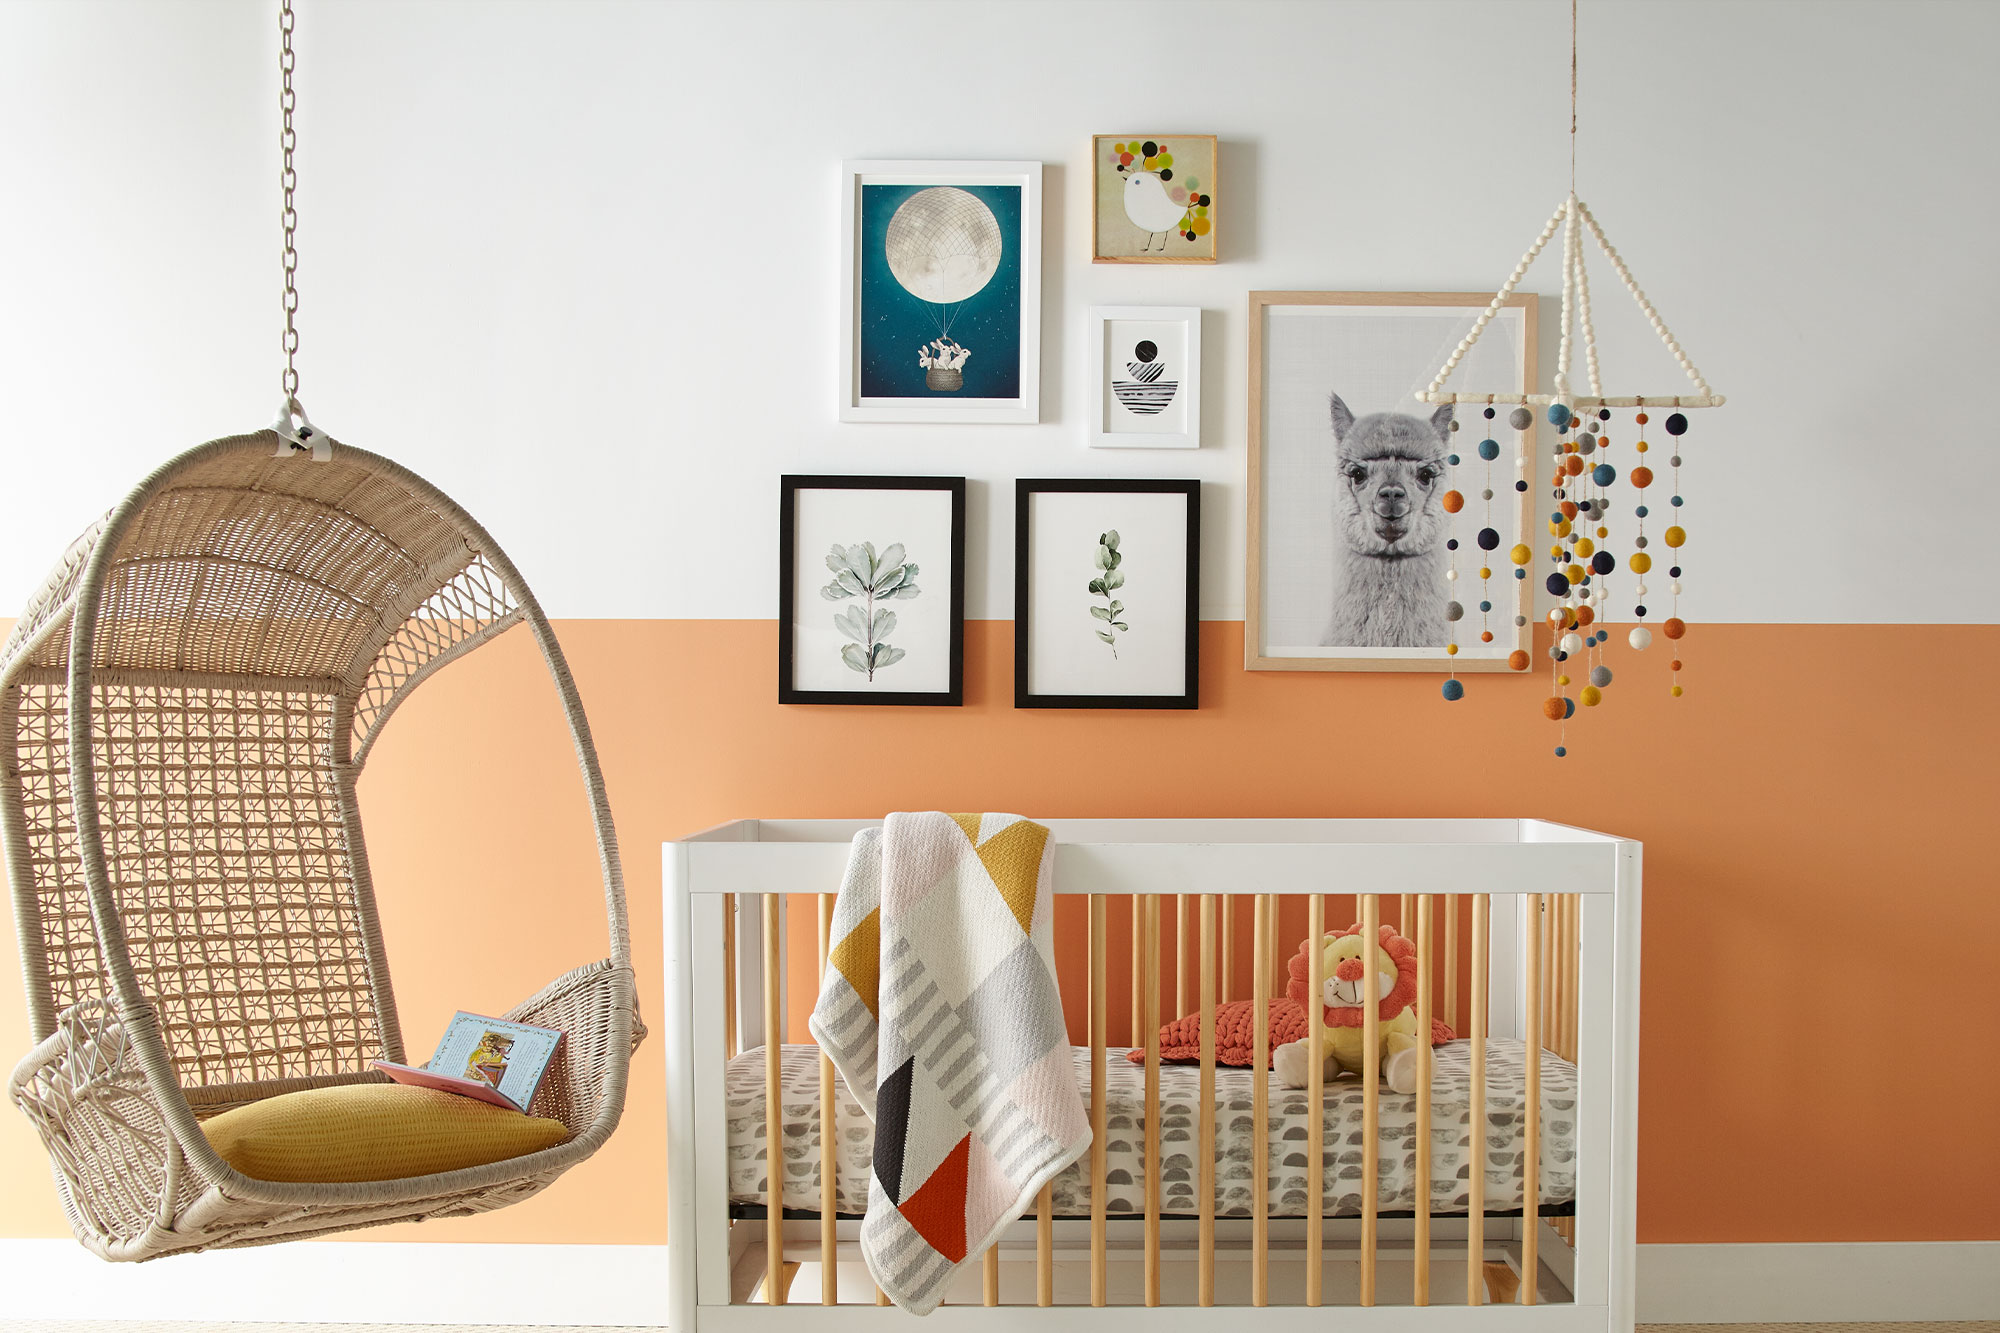
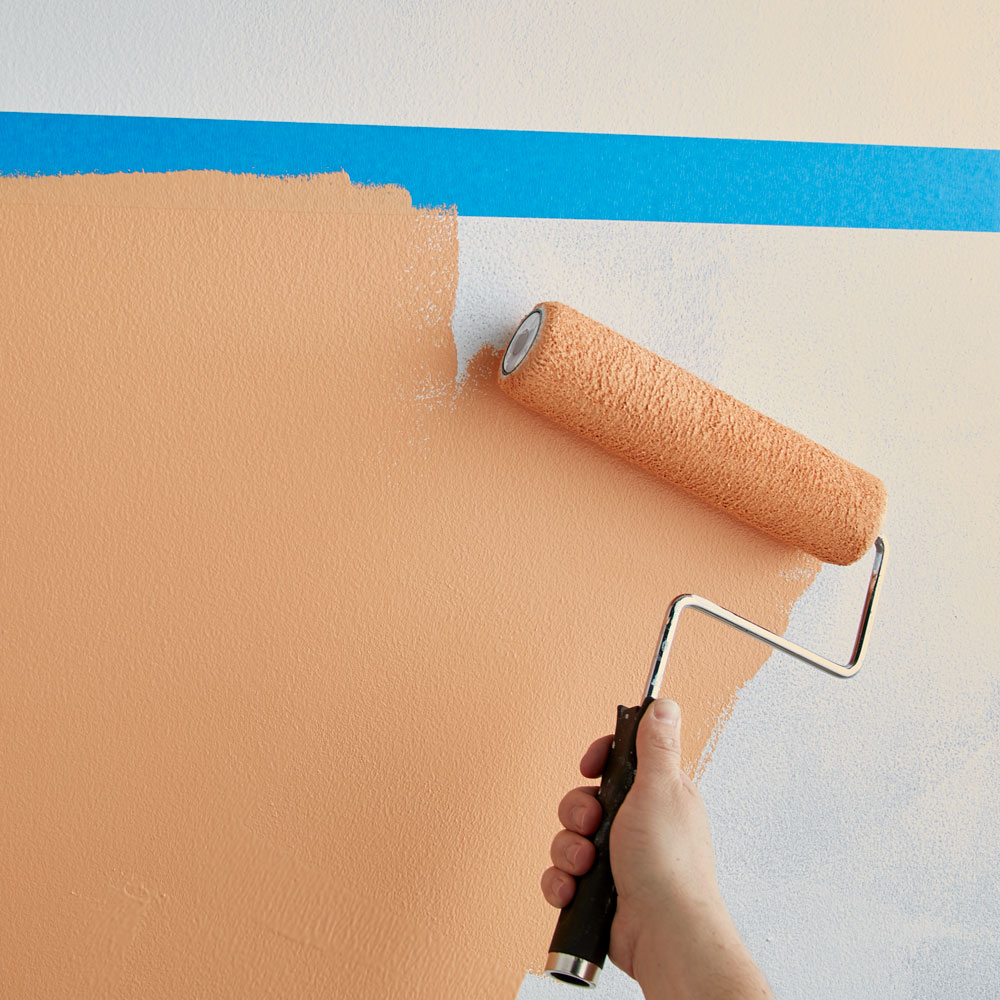
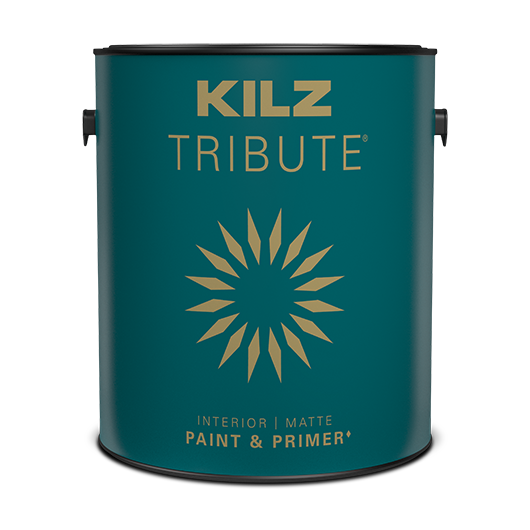
After primer is properly applied and allowed to dry it’s time for some fun color blocking in a fresh white and happy orange hue. KILZ Tribute® in Architectural White TB-08 is used for the top half of the wall, while the same paint in Bright Marigold TB-95 brightens up the bottom. KILZ Tribute provides a durable, highly scrubbable finish, making for easy-to-clean walls ideal for children’s rooms.
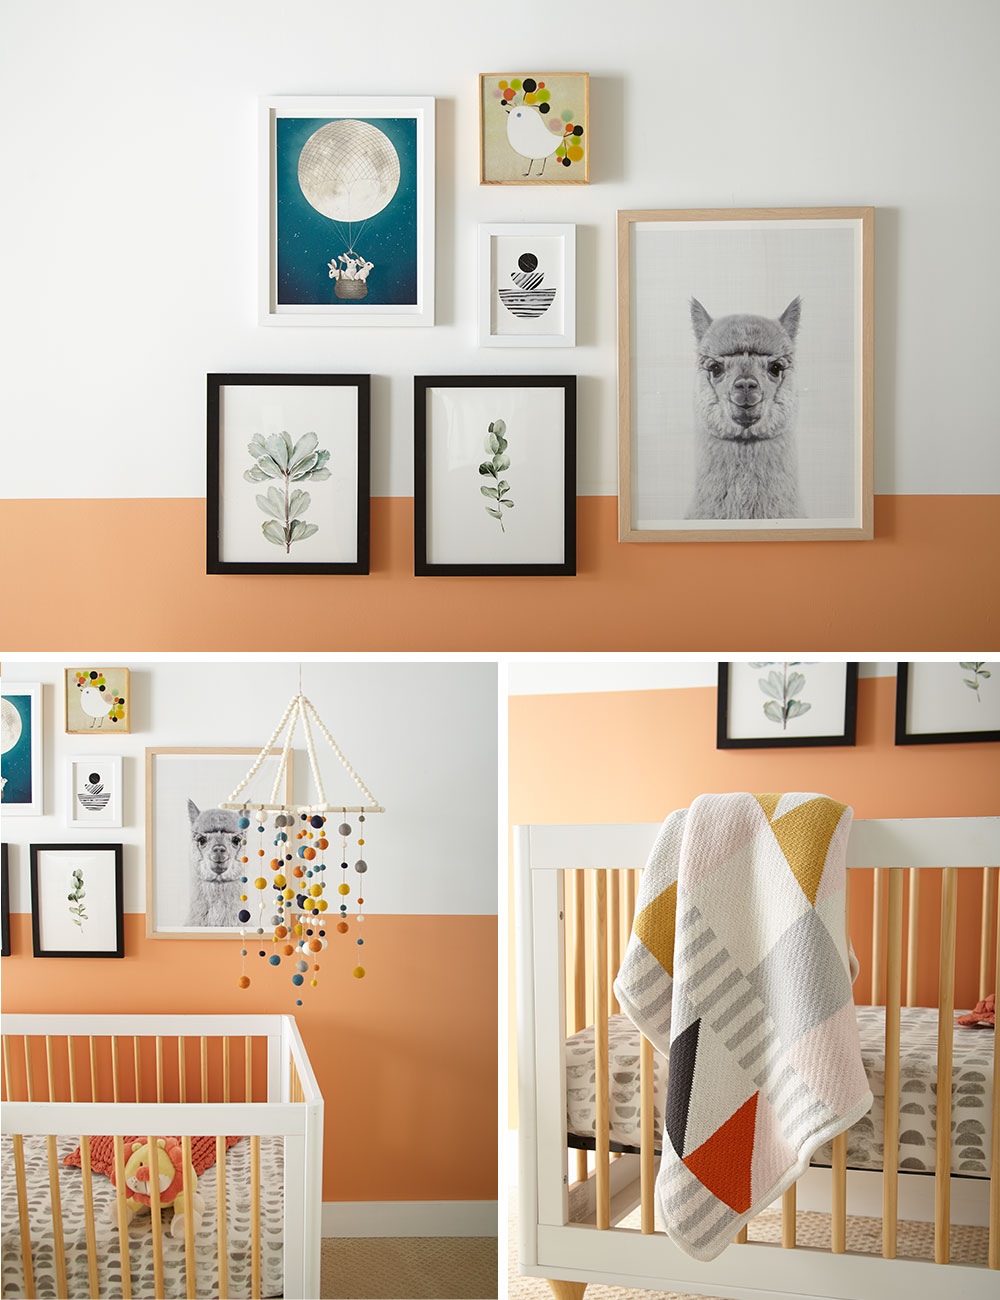
Primer and paint take the room from dim to delightful, and now it’s time to decorate! A hanging chair creates a relaxing space for rocking and reading, while a sweet white crib pops against the orange paint color and ties to the white hue on the upper wall. Fanciful artwork and a colorful mobile complement the color-blocking and create a fun focal point.
In need of your own nursery makeover? Read on below for step-by-step instructions!
Step 1:
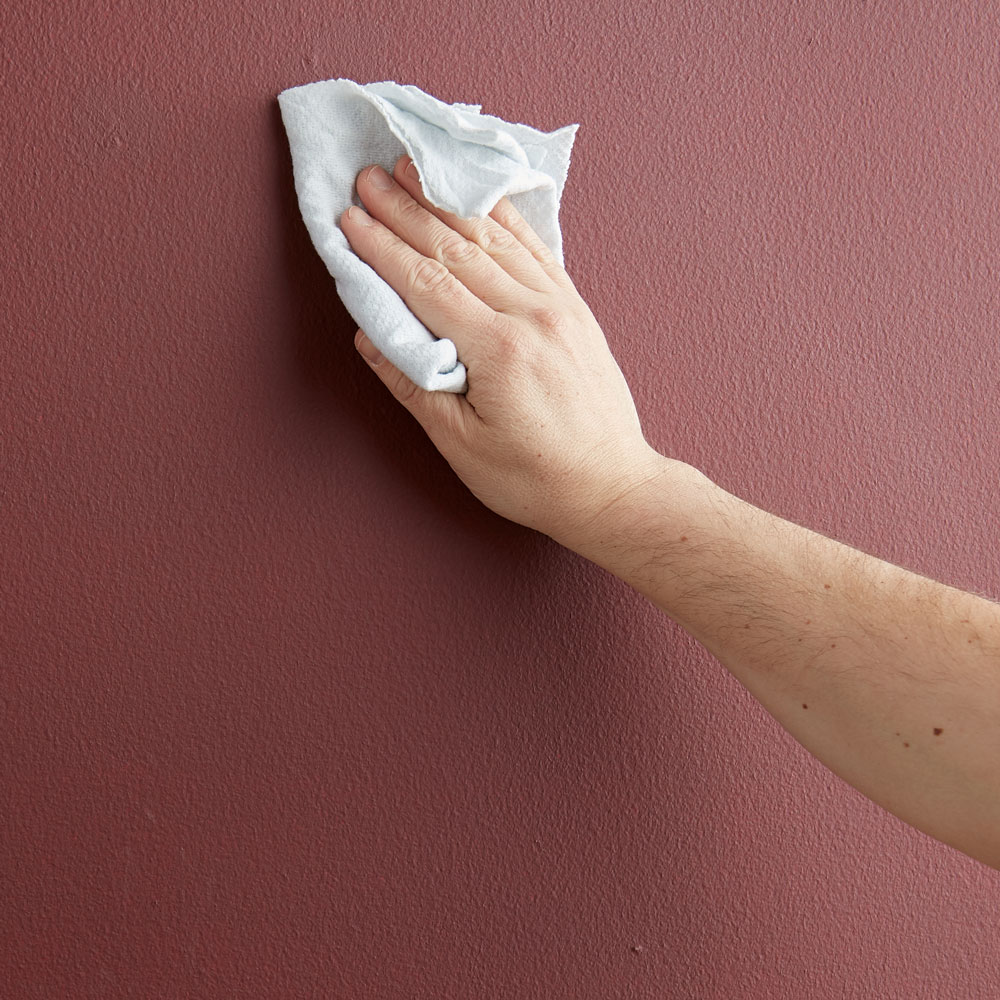
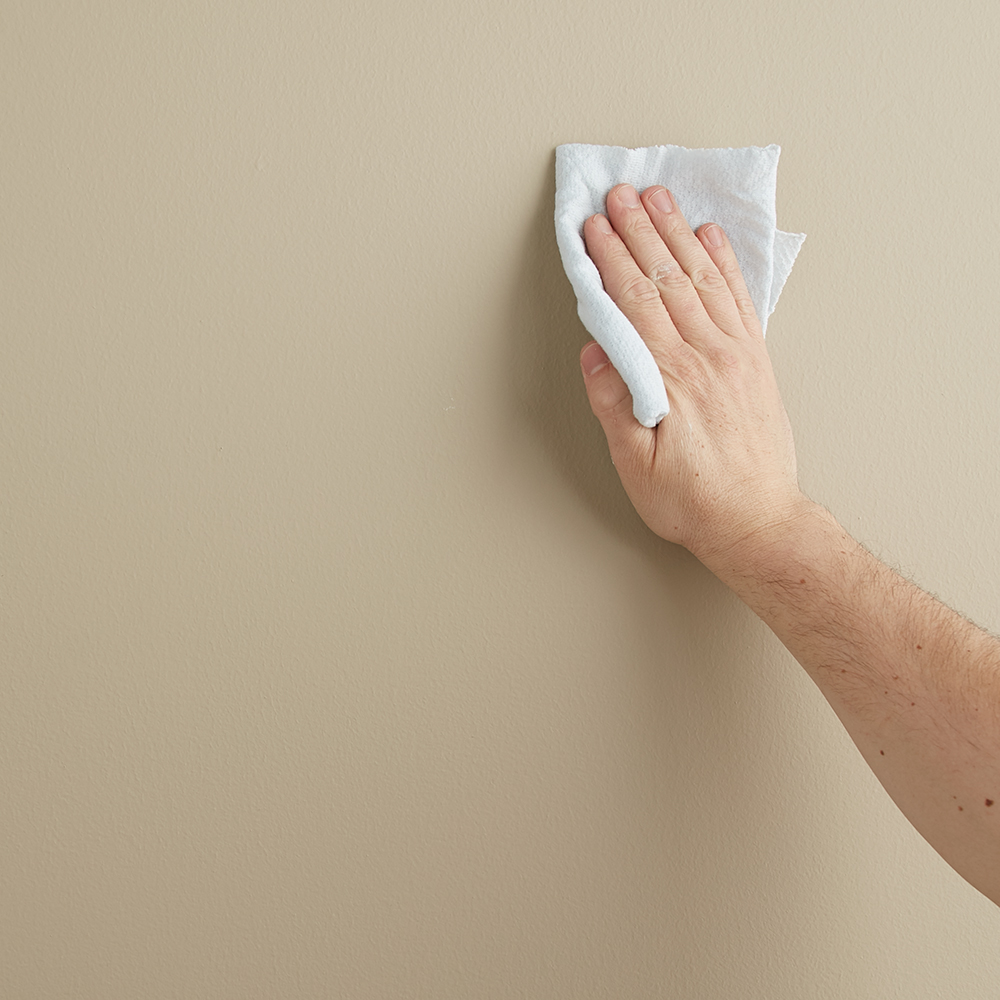
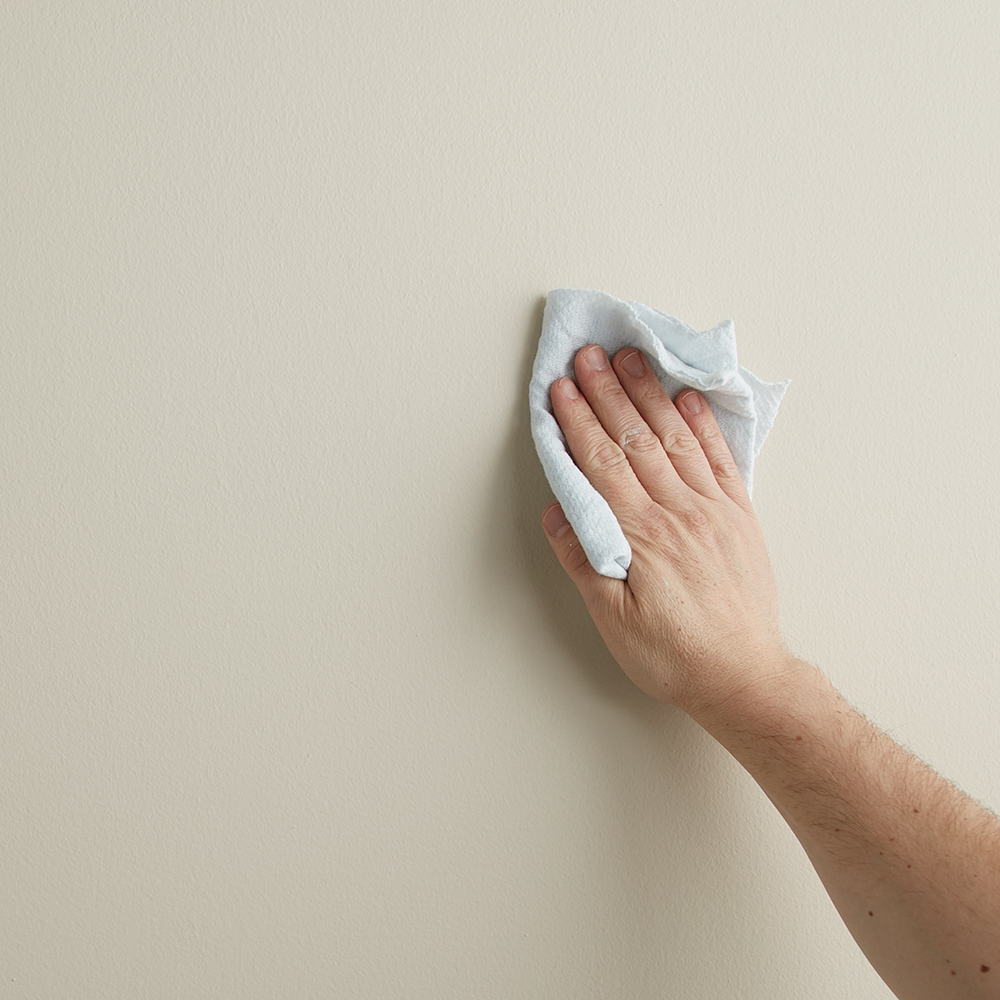
Wipe down walls with a damp cloth to ensure they are clean and free of dust. Allow to dry.
Step 2:
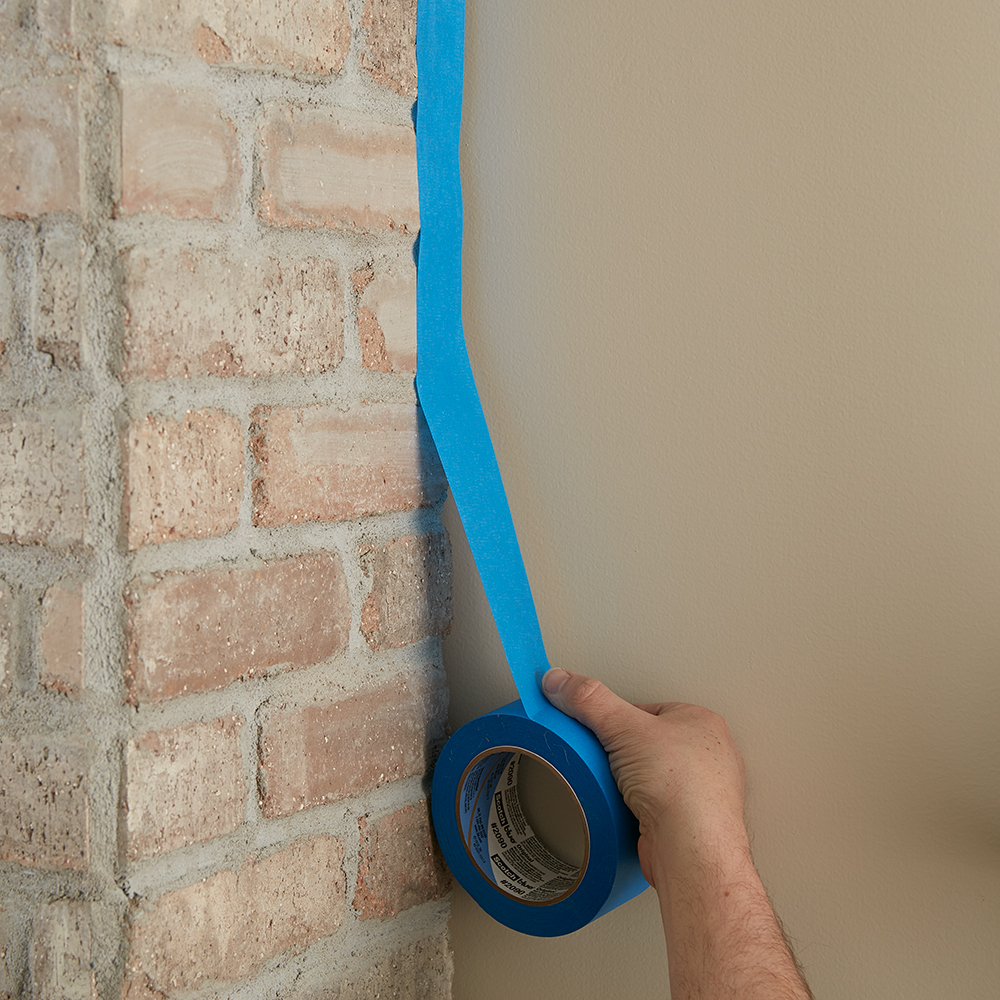
Tape around the baseboards and moldings with painter’s tape to ensure you don’t get primer or paint where you don’t want it!
Step 3:
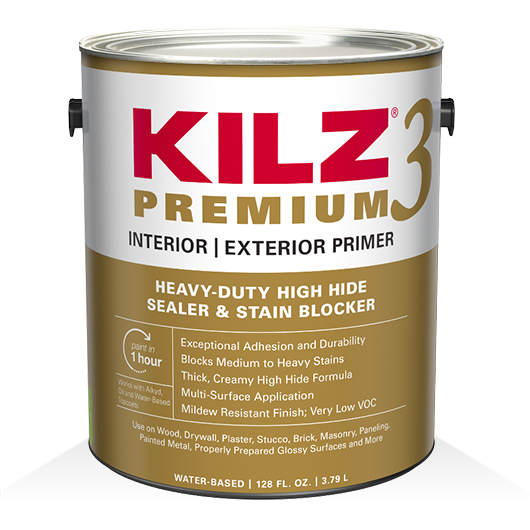
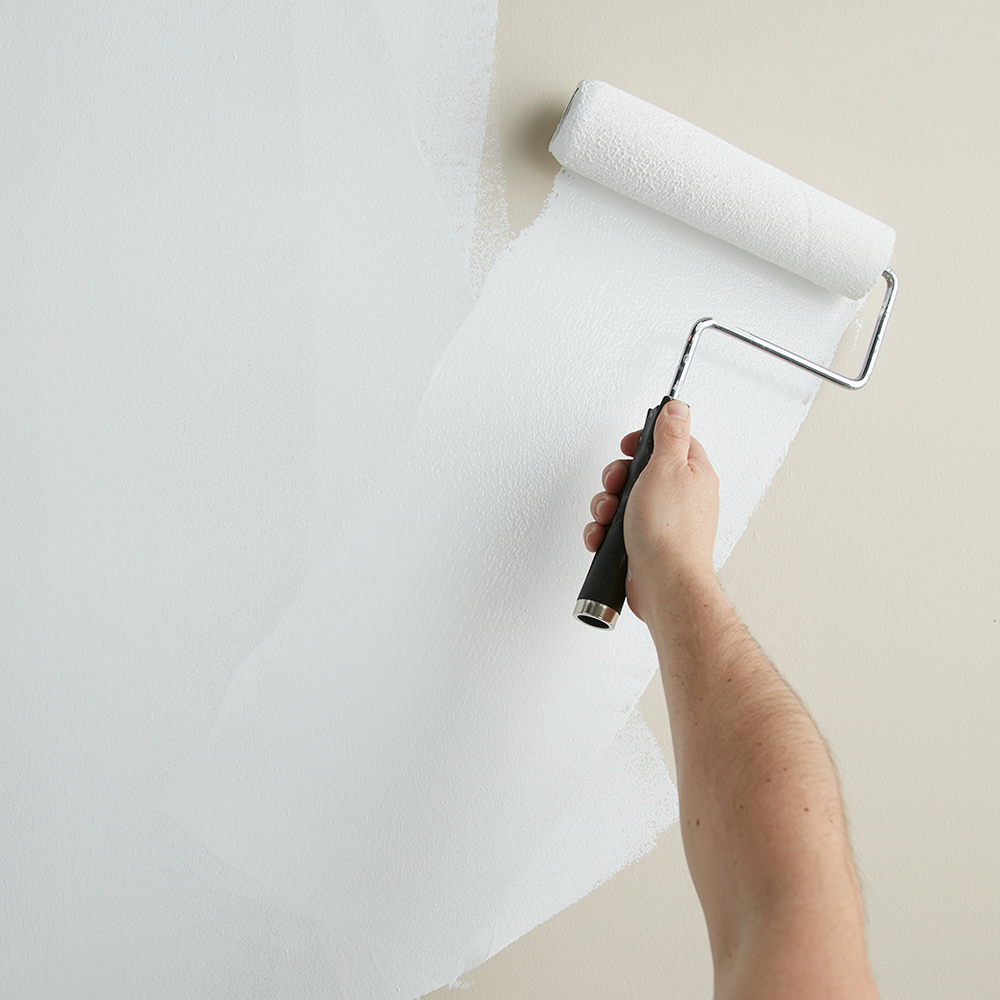
To block the old dark paint color, apply 1 coat of KILZ 3® Premium (stirring thoroughly before and occasionally during use) to the walls and allow to dry. Apply primer using a brush first to “cut in” around the edges, then use a roller to fill in.
Step 4:
Once primer is dry, it’s time to tape off the color black pattern. Mark the wall where you want the top lighter color and darker bottom color to hit. Using a level and a pencil, draw a thin line to guide you. Next, apply painter’s tape to the line.
Step 5:
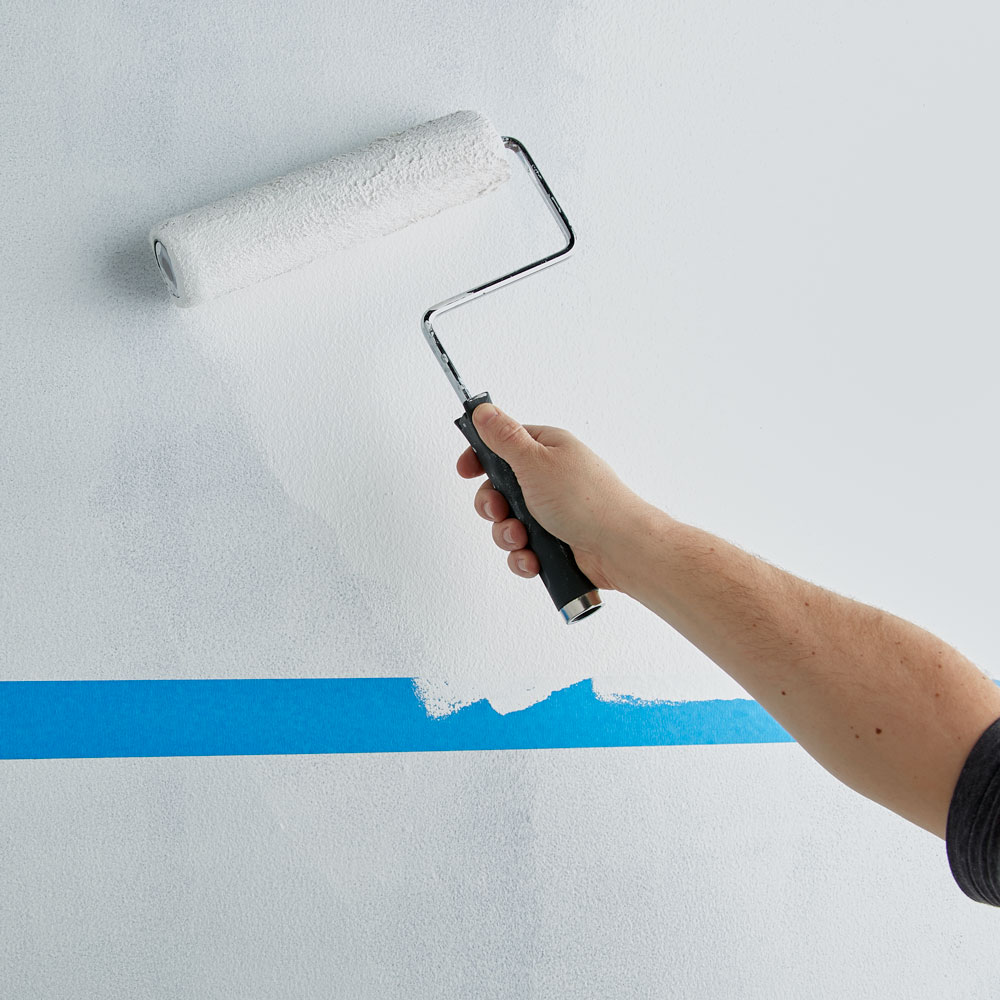
Starting with the lighter color for the top half of the wall (in this case KILZ Tribute® in Architectural White), apply using the same application method as the primer (using a brush first to cut in around the edges 4 to 6 feet at a time, then use a roller to fill in those sections before moving along). Remove the tape before the paint is fully dry.
Step 6:
Once the paint is dry, reapply the tape so the bottom edge is even with where the Architectural White paint ended (essentially making sure the darker bottom color meets exactly where the lighter color stopped!). Then apply KILZ Tribute® in Bright Marigold to the bottom half of the wall using the same application method as before (using a brush first to cut in around the edges 4 to 6 feet at a time, then use a roller to fill in those sections before moving along).
Step 7:
Remove the painter’s tape before the orange paint is fully dry, and you’re done!
Always remember to refer to our website kilz.com or product back labels for additional information on which primer is right for your project and detailed instructions on how to apply our products.
Modern White & Blue Bathroom Makeover
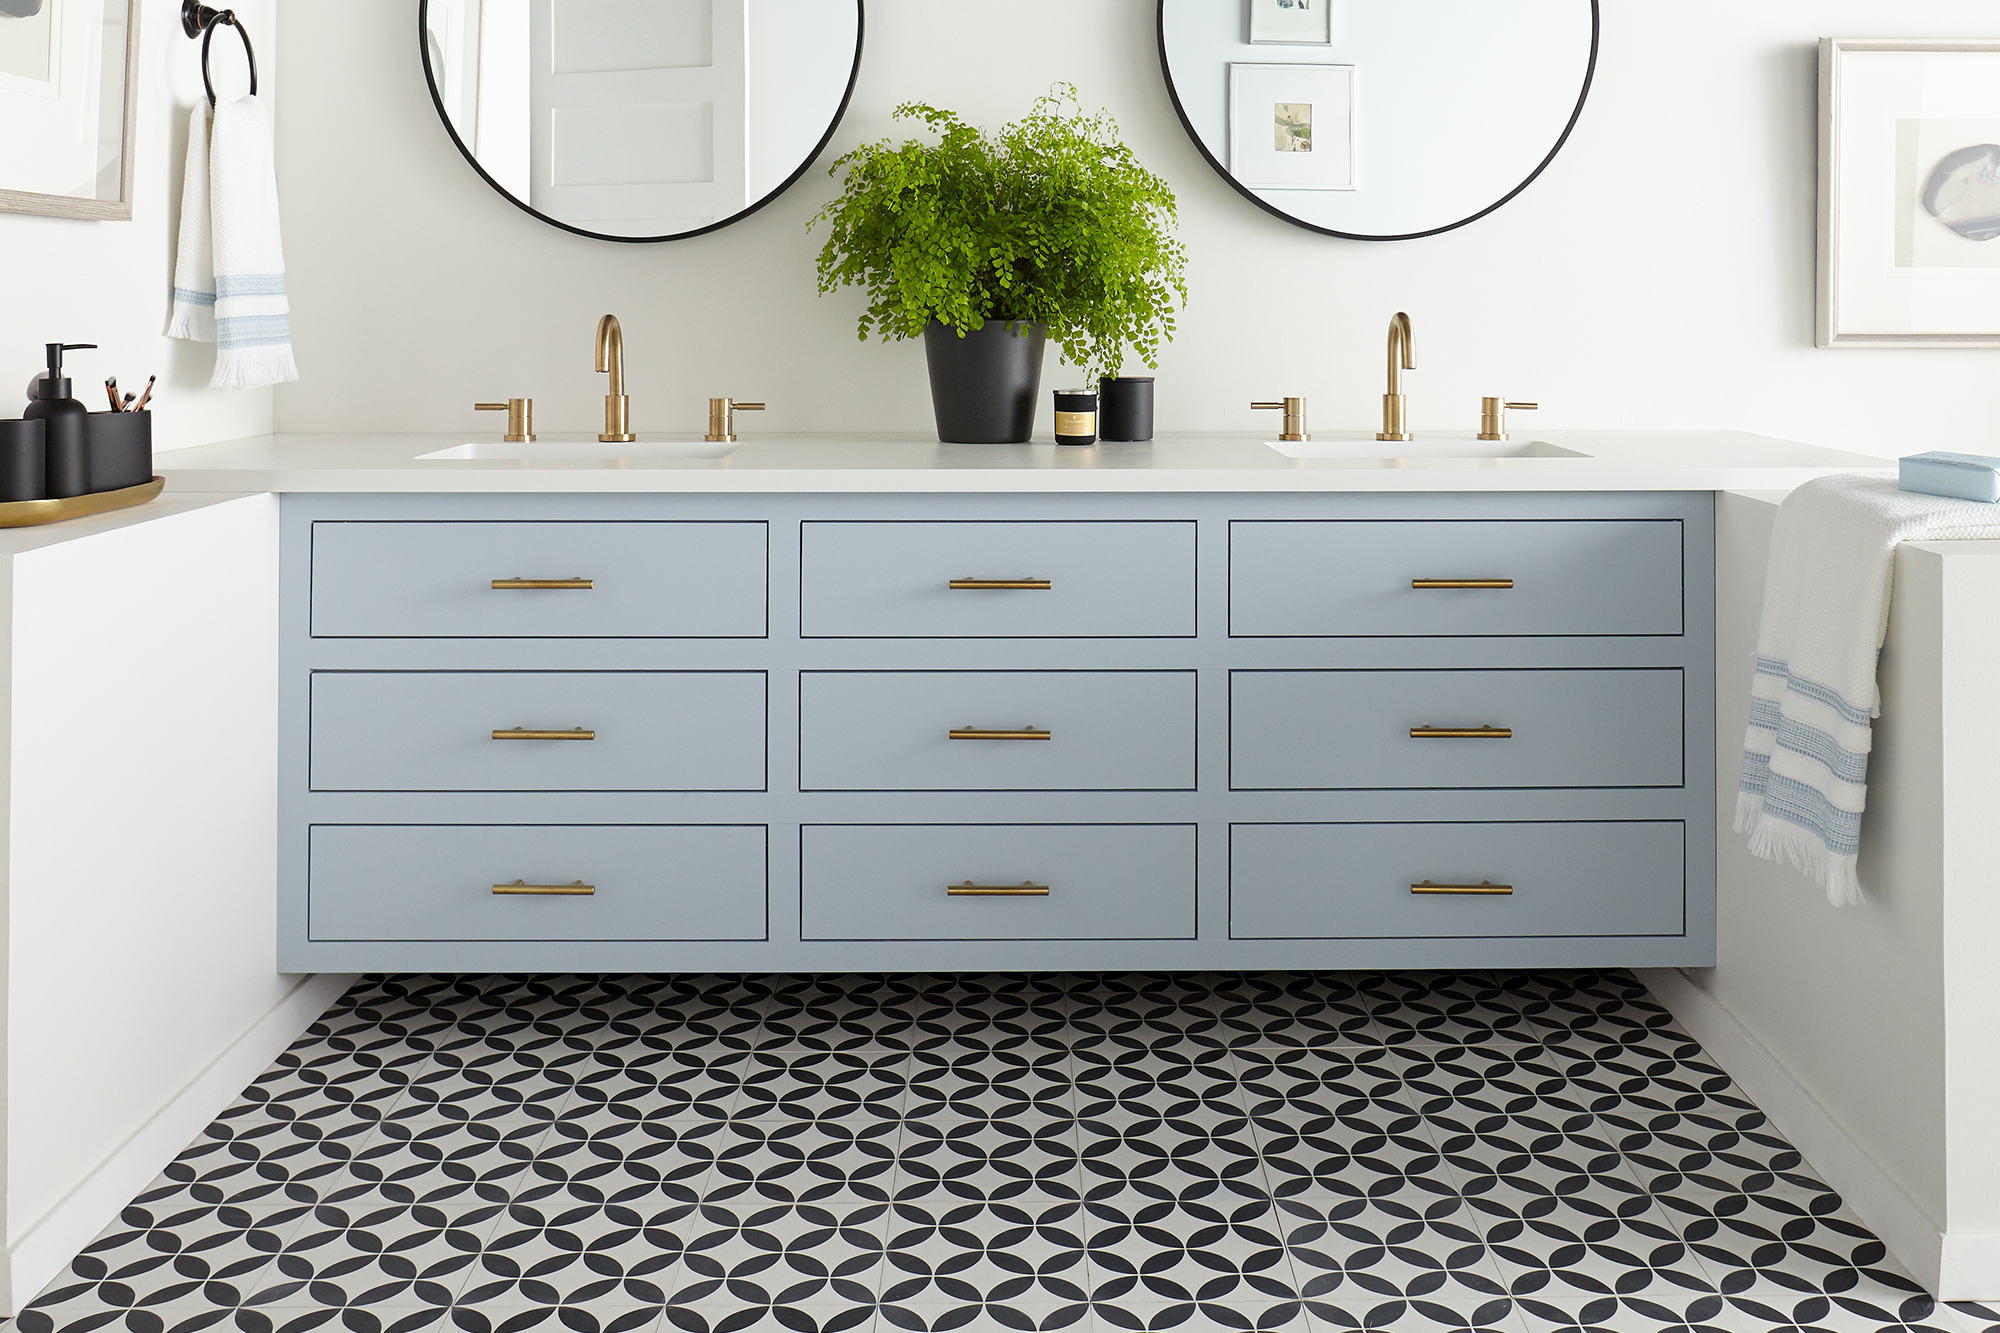
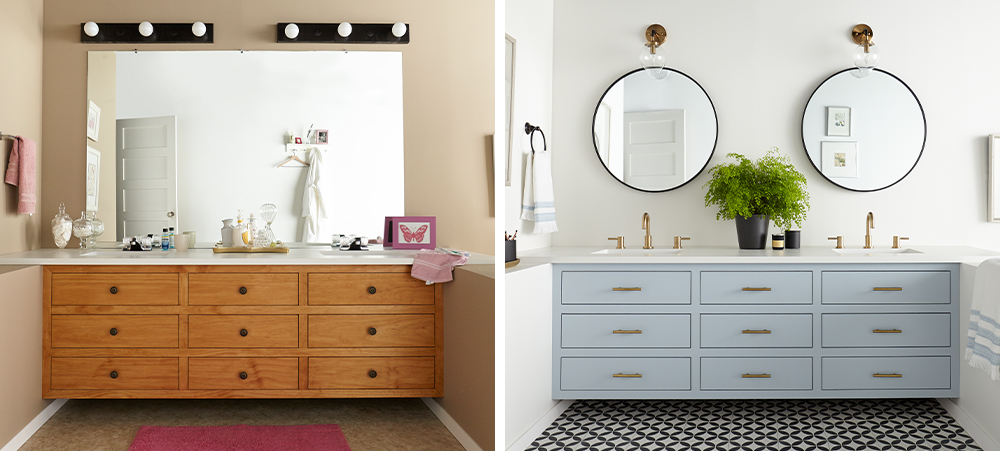
January 19, 2021A bathroom suspended in time is brought to the present with primer and paint freshening up a floating vanity and turning the boring beige space into a light and airy retreat. For this bathroom transformation, KILZ® Mold & Mildew primer is used prior to painting – easily covering dark beige walls to ensure the new white paint will shine in its purest form and properly preparing the wood vanity for a fresh coat of soothing blue paint.
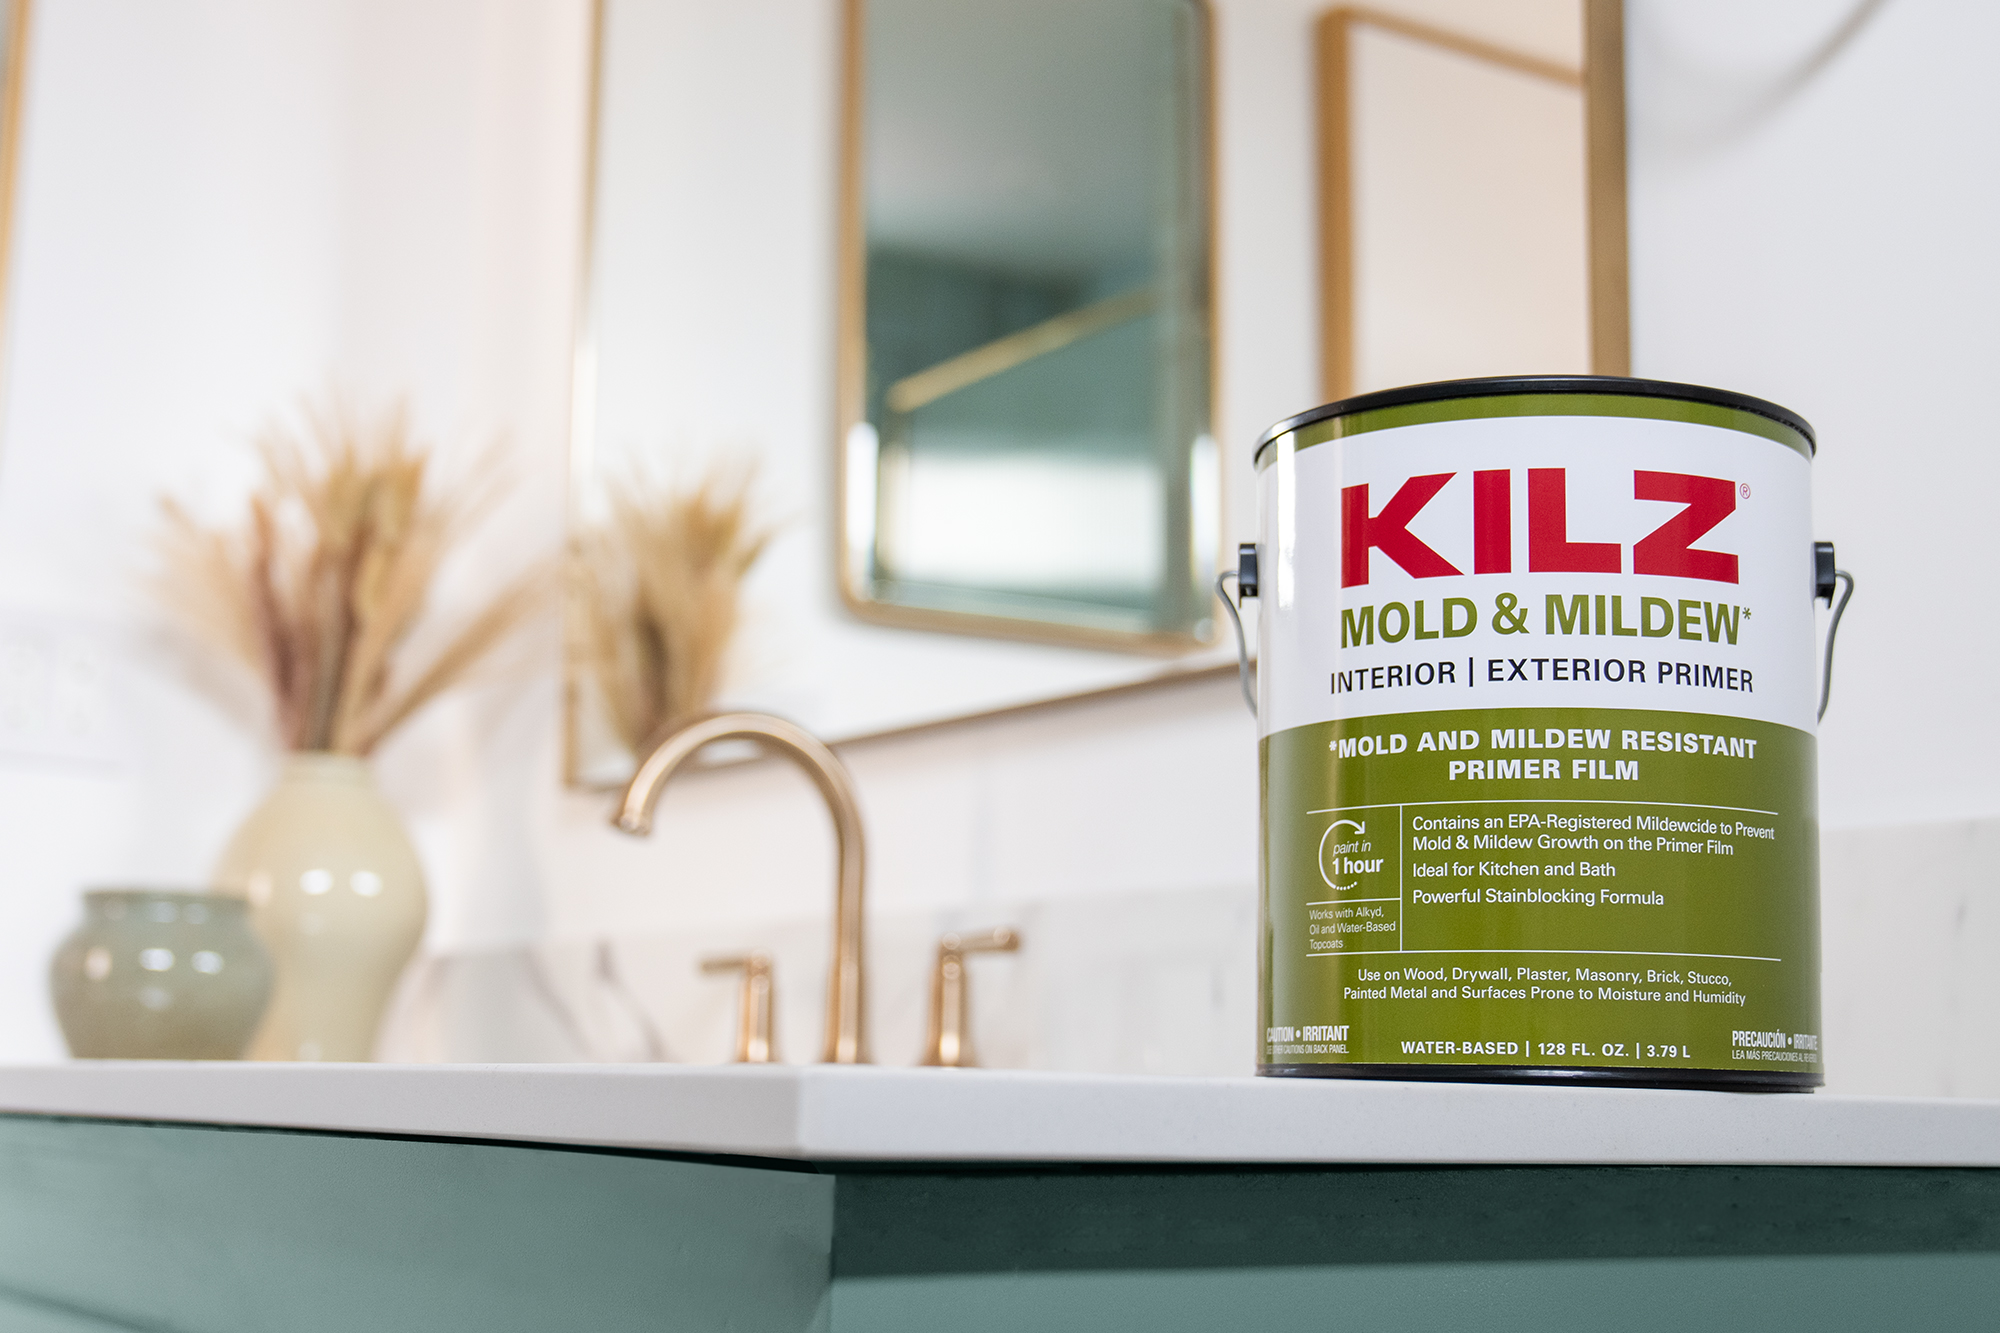
A water-based primer-sealer-stain blocker specially designed for residential surfaces in high humidity, moisture and temperature environments, KILZ® Mold & Mildew primer contains an EPA-Registered active ingredient that creates a mold and mildew-resistant film that protects the primer film from mold and mildew growth.
Once the primer is properly applied to the walls and vanity and allowed to dry, the bathroom is ready for paint! KILZ Tribute® in White Modern TB-09 brightens up the walls, while the same paint in Northern Sky TB-42 adds an airiness to the substantially sized vanity. KILZ Tribute provides a durable, highly scrubbable finish that resists staining, fading and peeling, ideal for DIY painting in bathrooms and beyond!
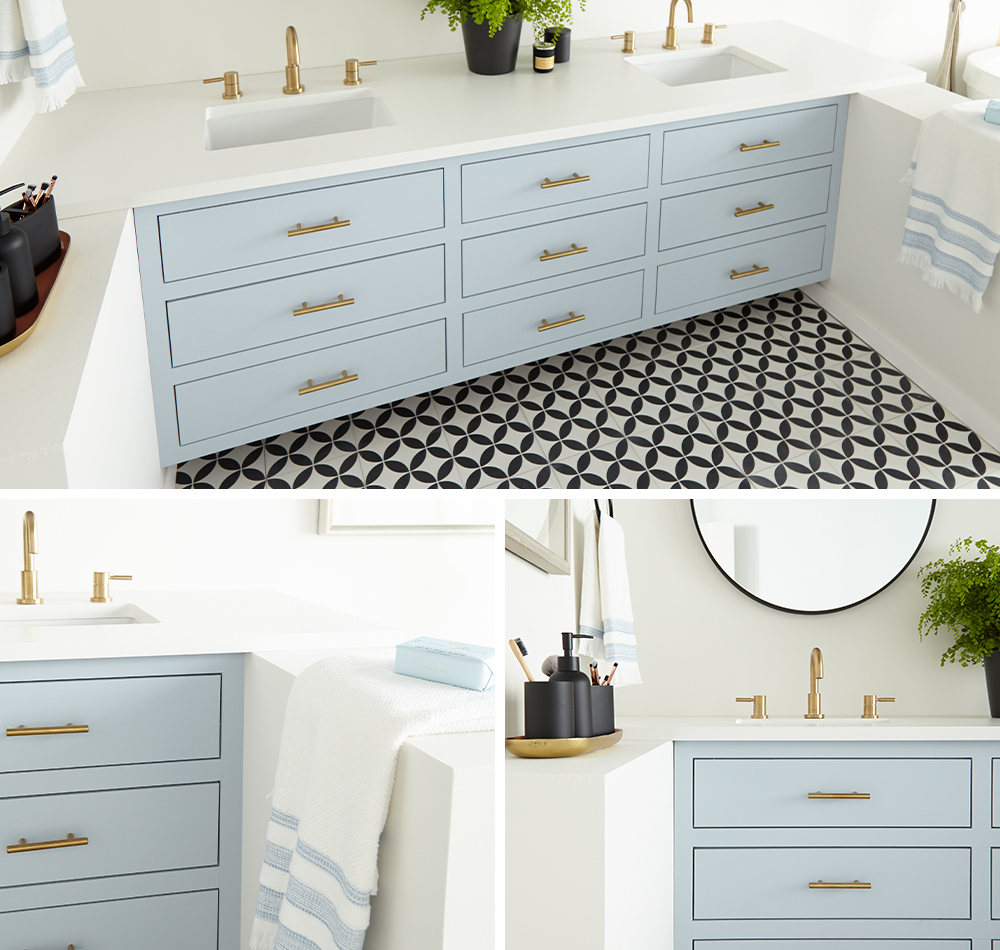
The light and bright bathroom makeover brings in a touch of contemporary flair with new brushed gold hardware and sleek circular mirrors topped with gold, globe-shaped light fixtures. And for the finishing touch, black and white tile flooring perfectly complements the new color scheme without competing – letting the beautiful blue vanity shine as the room’s focal point.
If you’re interested to create a calming and contemporary bathroom of your own, read on below for step-by-step instructions to prime and paint walls and cabinets.
WALLS
Step 1:
Wipe down walls with a damp cloth to ensure they are clean and free of dust. Allow to dry.
Step 2:
Tape around the vanity frame and countertop edges with painter’s tape to ensure you don’t get primer or paint where you don’t want it!
Step 3:
To ensure a mildew resistant primer coat, apply 1 coat of KILZ® Mold & Mildew (stirring thoroughly before and occasionally during use) to the walls and allow to dry. Apply primer using a brush first to “cut in” around the edges, then use a roller to fill in.
Step 4:
Once primer is dry, apply KILZ Tribute® in White Modern using the same application method as the primer (using a brush first to cut in around the edges 4 to 6 feet at a time, then use a roller to fill in those sections before moving along).
Step 5:
Remove the tape before the paint is fully dry.
VANITY
Step 1:
Remove vanity drawers and hardware, putting each screw back into its hardware and sealing them together with painter’s tape. You’ll want to label each set to ensure you can put each screw back exactly where it came from, ensuring the least amount of stress on the wood.
Step 2:
Sand the surface of the vanity body and all drawers, doing a first pass with 100-150 grit sandpaper then finish with a second pass of 180-220 grit sandpaper.
Step 3:
After sanding, wipe down the surfaces with a damp cloth to remove any dust or residue and allow to dry. Tape around the vanity body where the wood meets the walls and countertop to protect those areas.
Step 4:
Apply KILZ® Mold & Mildew (stirring thoroughly before and occasionally during use) to the vanity body and drawers, moving in the same direction as the wood grain for best results. Allow primer to dry for 1 hour.
Step 5:
Once the primer is dry, apply KILZ Tribute® in Soothing Ocean. Remove the painter’s tape before the paint is fully dry.
Step 6:
Once everything is dry, reattached your hardware and put the drawers back into place.
Always remember to refer to our website kilz.com or product back labels for additional information on which primer is right for your project and detailed instructions on how to apply our products.
Mid-Century Modern Living Room Makeover
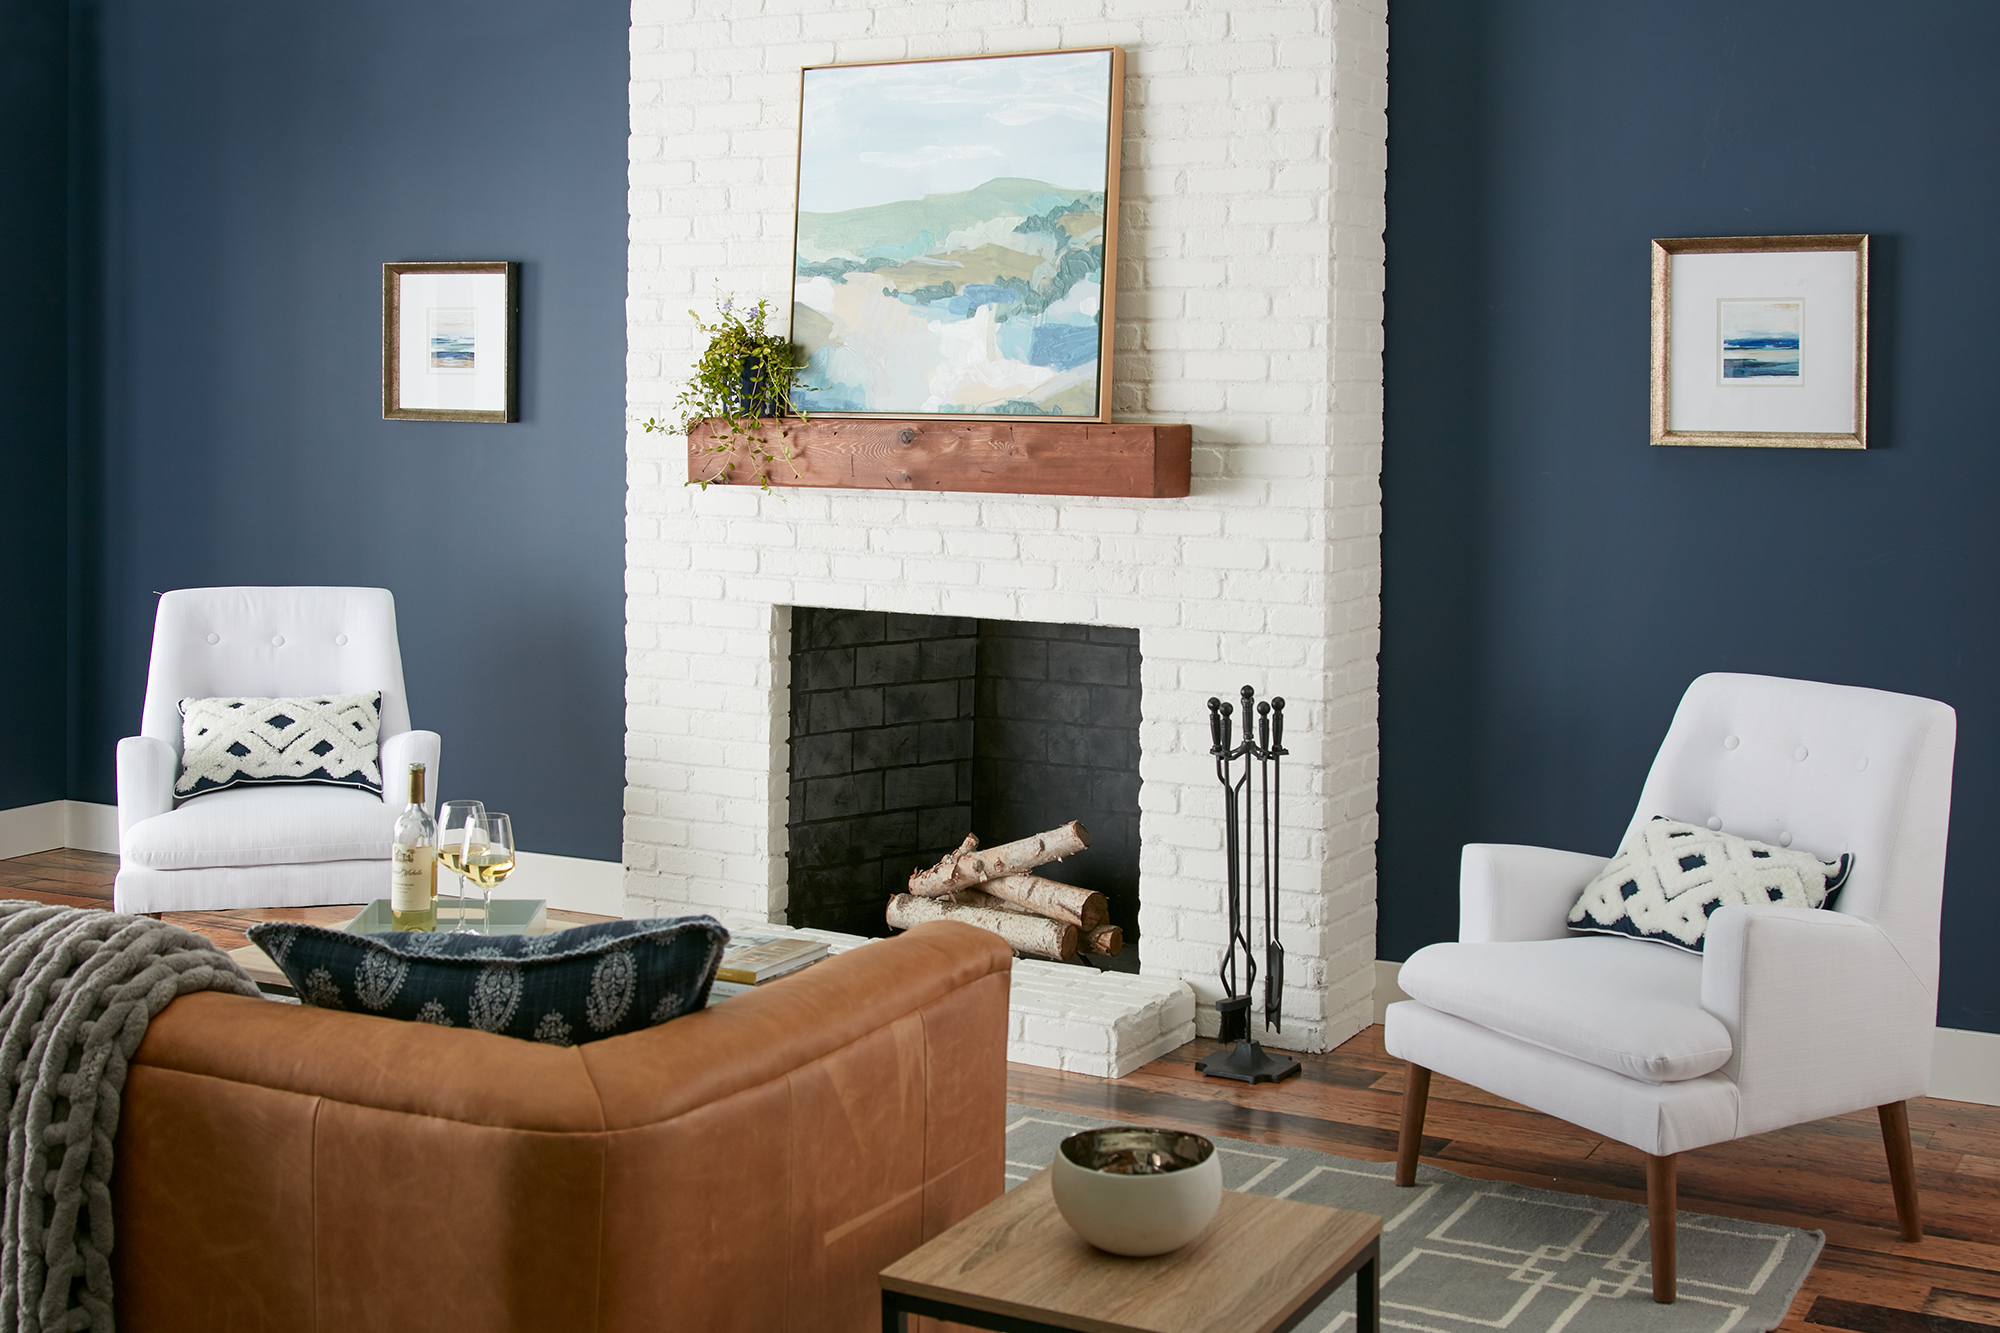
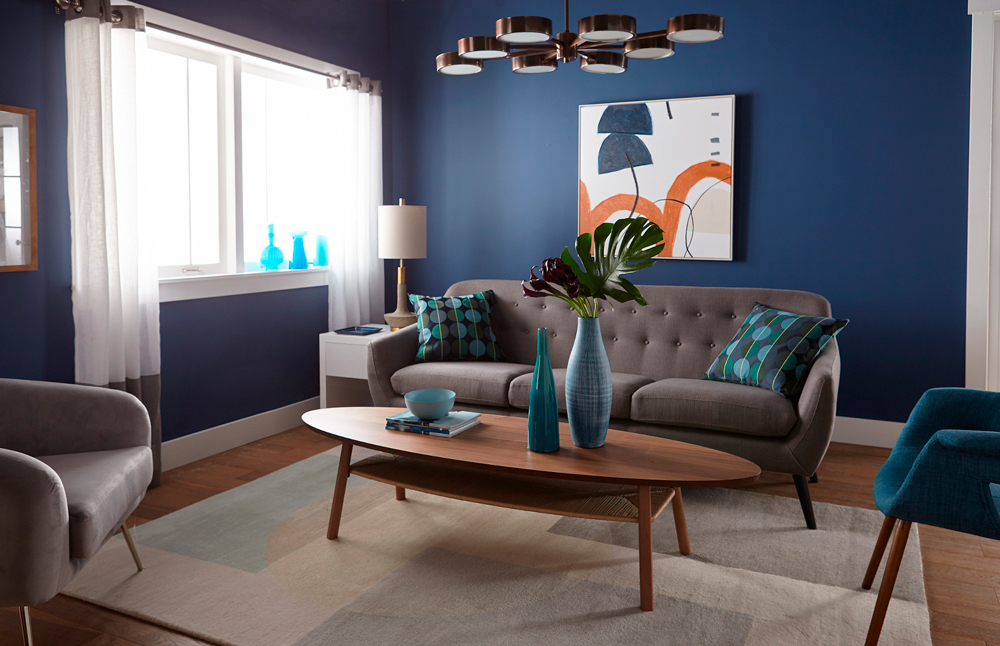
January 19, 2021A lackluster living room is warmed up with new modern design elements, including a spark of mid-century style and a freshly primed and painted fireplace that pops against on-trend navy walls. For this painting project that includes sealing porous brick and covering an old wall color, KILZ 2® All-Purpose primer is perfect for the job as it’s formulated for a variety of surface types.
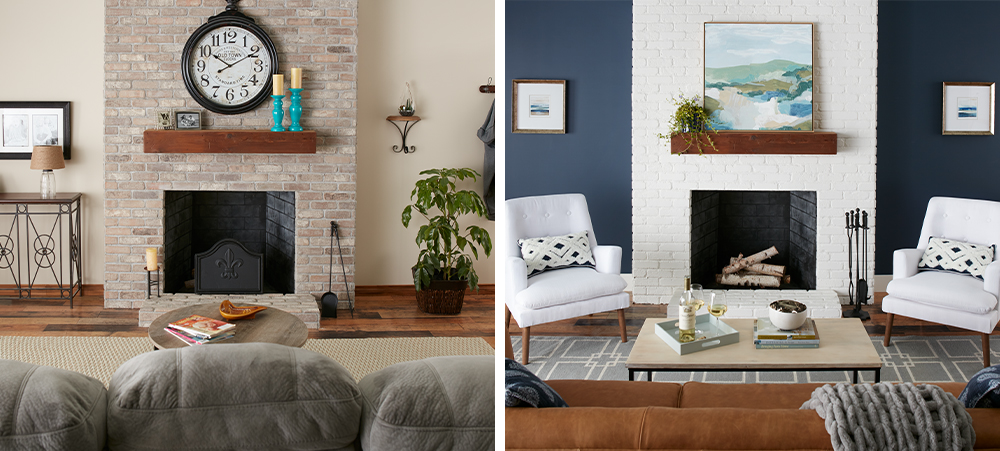
Brick is a naturally porous surface and will typically soak up a lot of paint if not properly sealed with the right primer, making proper prep essential when painting a fireplace. KILZ 2 All-Purpose is the right choice for the job, as the versatile multi-surface sealer is able to work overtime and coat both the fireplace and walls. Even when painting a darker color over a light color, it is essential to prime first to ensure that the new dark shade appears as the exact color you’re expecting.
Once the fireplace and walls are properly primed and allowed to dry, it’s time for paint! KILZ Tribute® in Architectural White TB-08 transforms the fireplace into a creamy white focal point for the large living room, highlighted by walls painted in a stylish navy shade – Ruling Royalty TB-50.
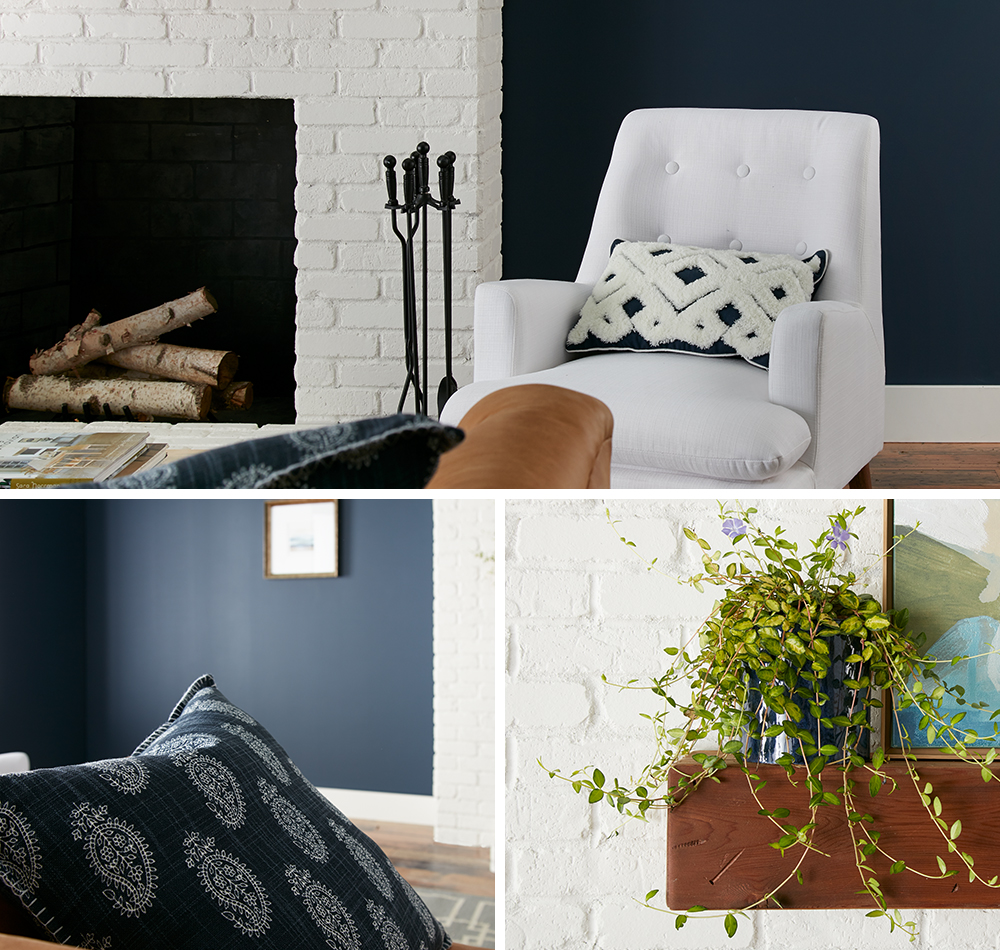
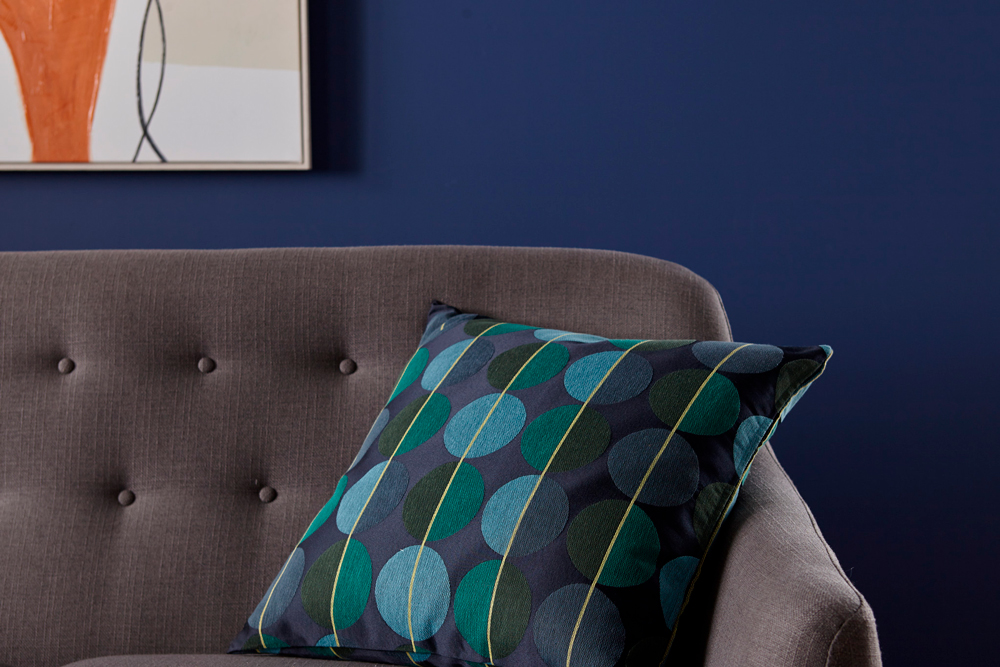
Primer and paint make a huge impact in this living room makeover and create the perfect setting for contemporary furniture and décor. A warm leather couch and two snowy-white armchairs flanking the freshly painted fireplace evoke a mid-century feel, while pops of navy in pillows and artwork are the perfect companion for the new navy walls.
Read on below for step-by-step instructions to prime and paint living room walls and a brick fireplace.
WALLS
Step 1:
Wipe down walls with a damp cloth to ensure they are clean and free of dust. Allow to dry.
Step 2:
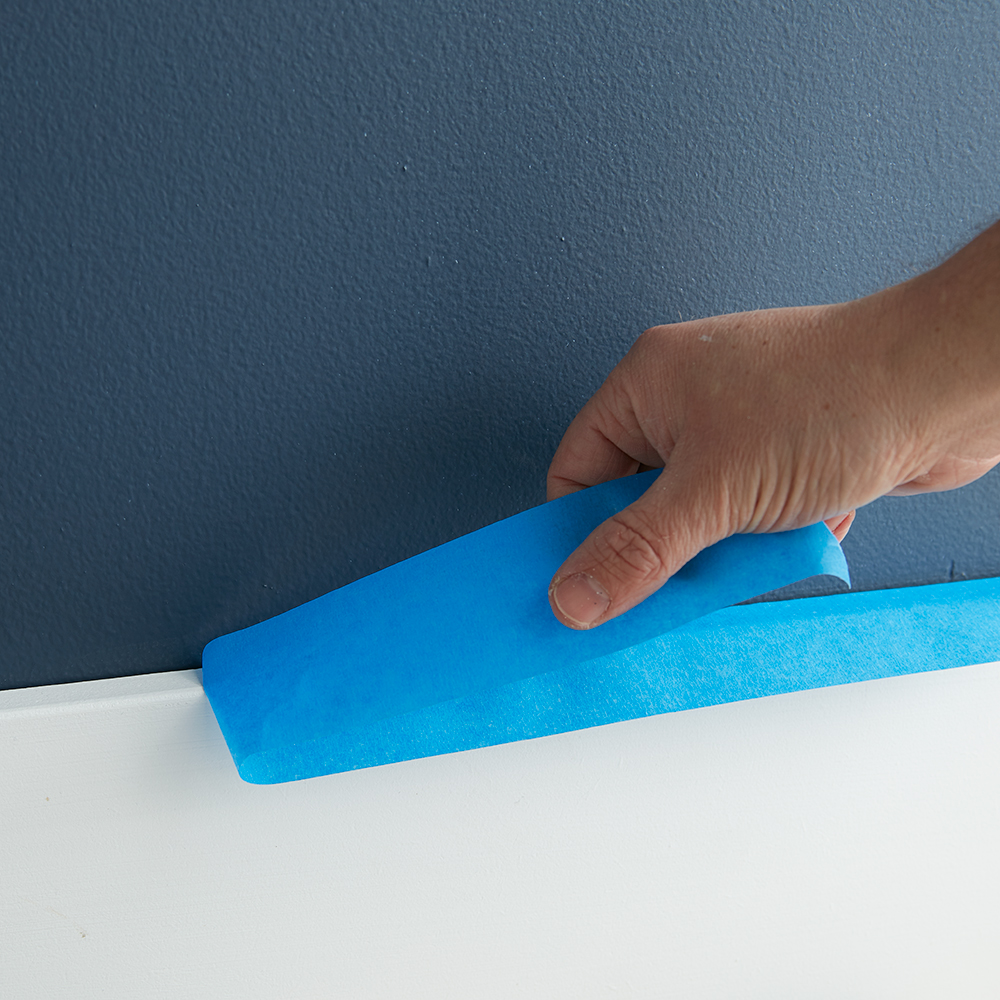
Tape around the fireplace, baseboards and moldings with painter’s tape to ensure you don’t get primer or paint where you don’t want it!
Step 3:
Next, apply 1 coat of KILZ 2® All-Purpose (stirring thoroughly before and occasionally during use) to the walls and allow to dry. Apply primer using a brush first to “cut in” around the edges, then use a roller to fill in.
Step 4:
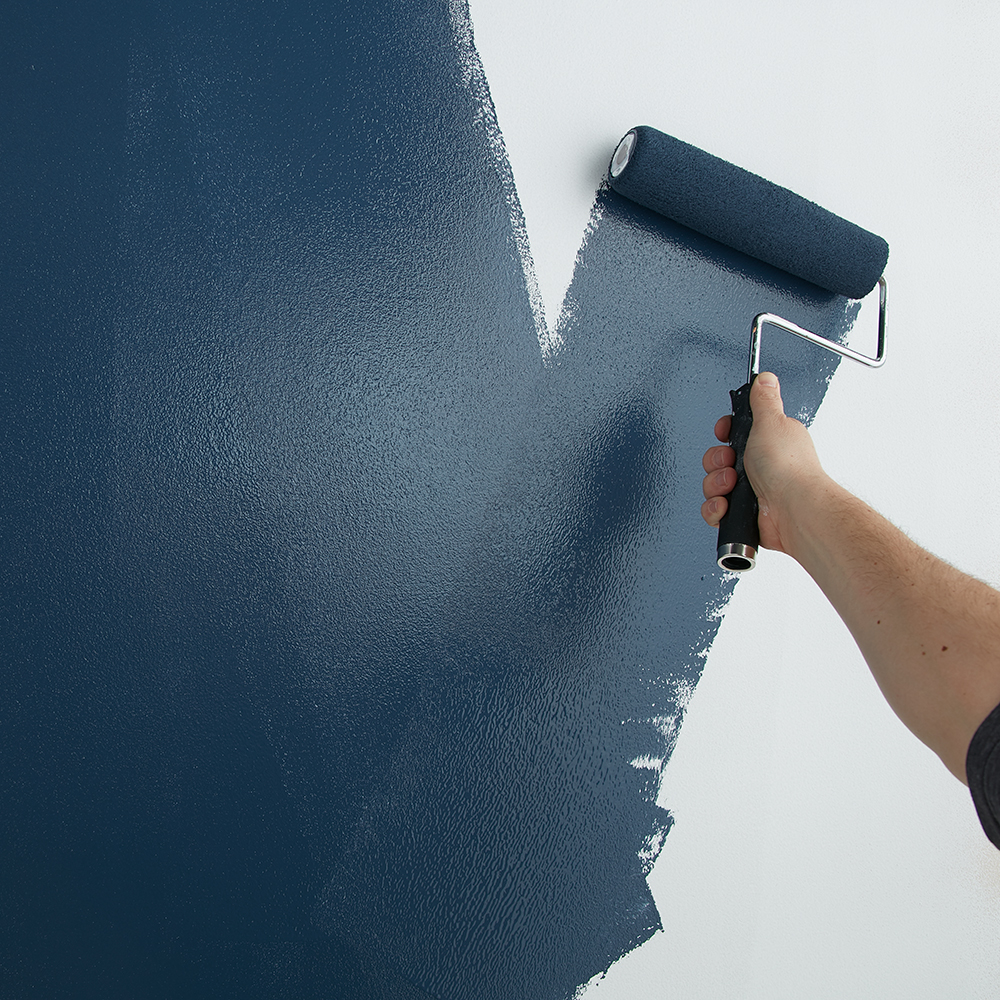
Once primer is dry, apply KILZ Tribute® in Ruling Royalty using the same application method as the primer (using a brush first to cut in around the edges 4 to 6 feet at a time, then use a roller to fill in those sections before moving along).
Step 5:
Remove the tape before the paint is fully dry.
FIREPLACE
Step 1:
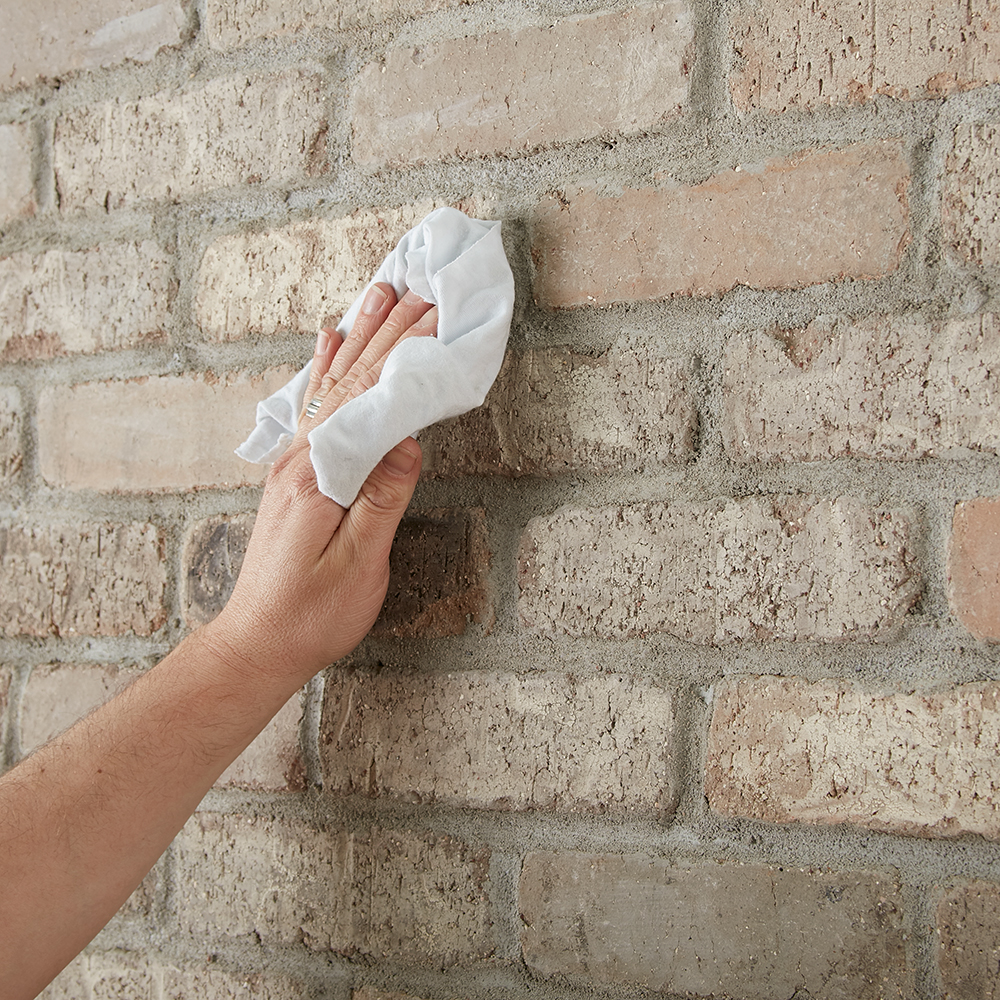
First, you’ll want to clean the old brick fireplace. If it’s extra dirty, start with a vacuum and use the crevice tool attachment to clean between the bricks. Next, wipe down the fireplace with a damp cloth to ensure all surfaces are clean and free of any lingering dust. Allow to dry.
Step 2:
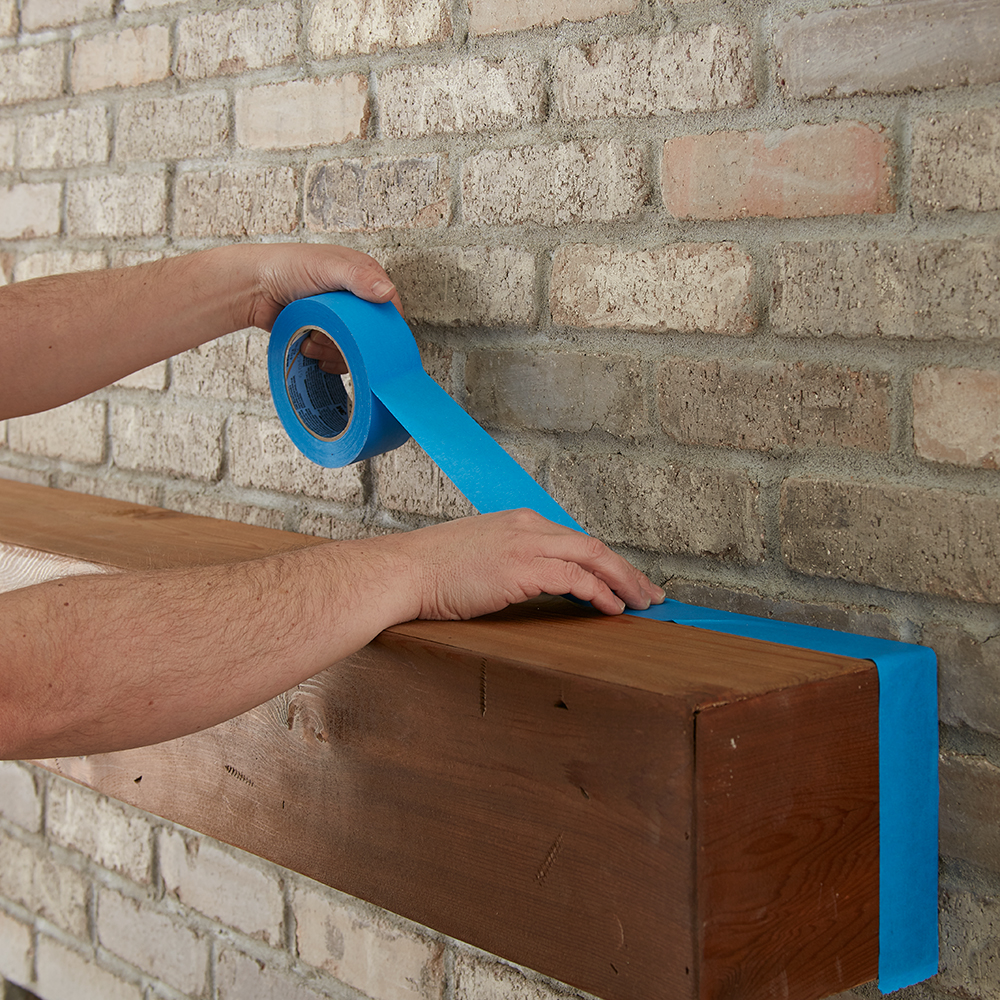
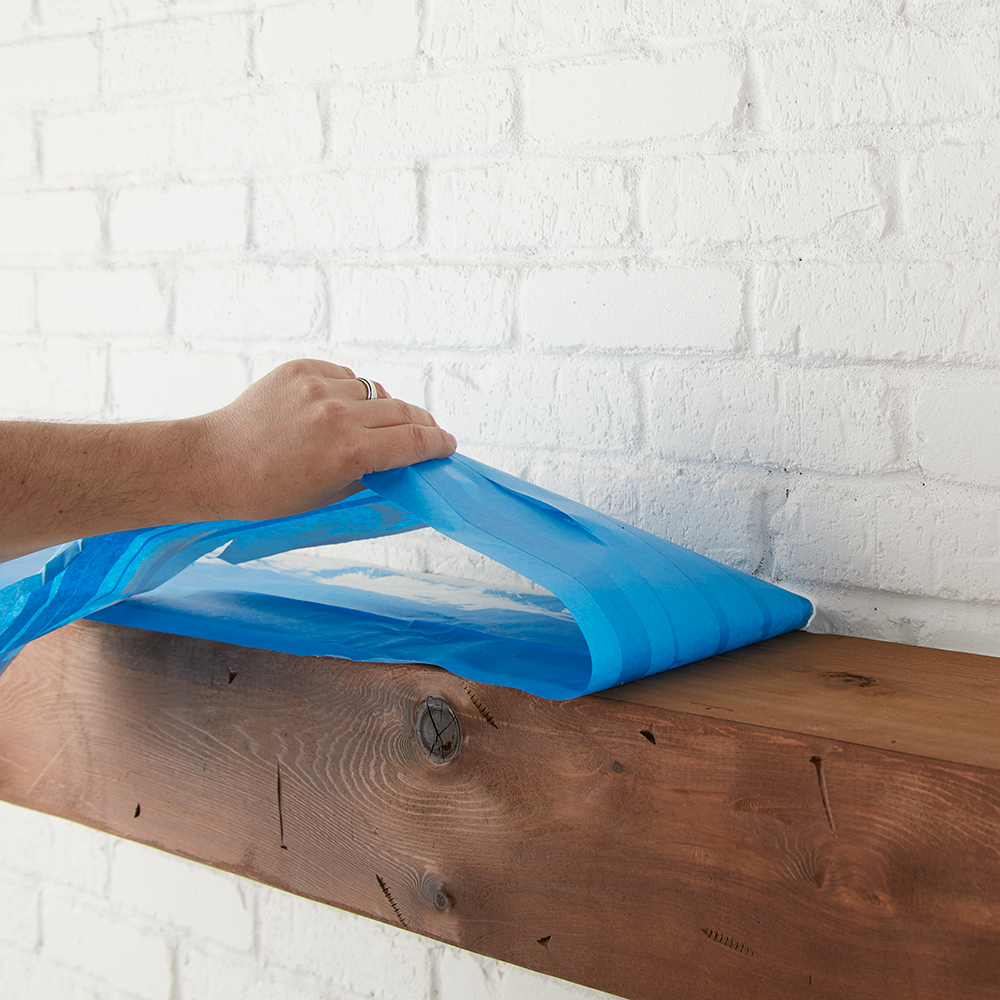
Tape around the fireplace to protect the walls and floor. Also tape around the mantel and where the brick meets the firebox (the inside where the wood goes!) to keep that area protected from paint and primer.
Step 3:
Now it’s time to prime! Using KILZ 2® All-Purpose primer, start with an angled brush to cut in around the mantle.
Step 4:
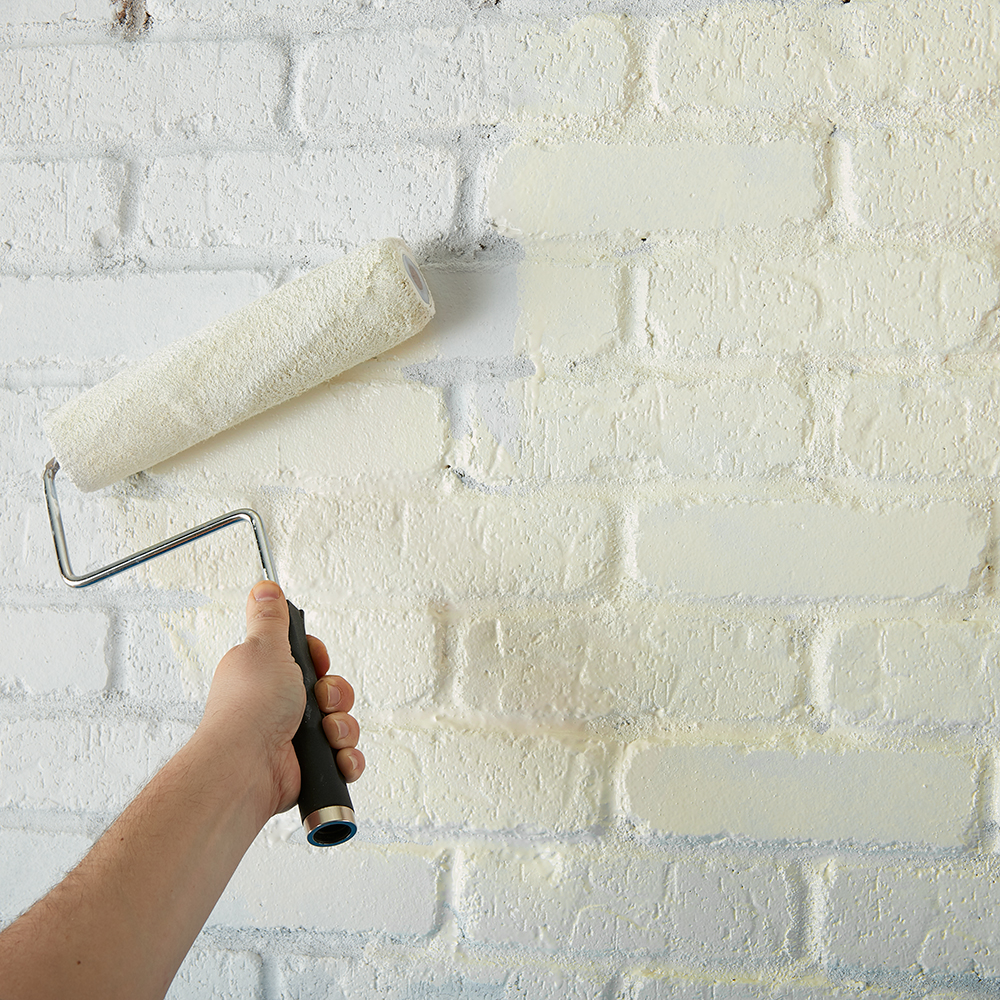
Next, use a roller to cover the brick faces with primer. If needed, go back with a small angled brush to fill in any remaining grout areas. Allow to dry.
Step 5:
Once your primer is dry, apply KILZ Tribute® in Architectural White using the same application method as the primer (use a brush first to cut in and then use a roller).
Step 6:
Remove the painter’s tape before your paint is fully dry.
Always remember to refer to our website kilz.com or product back labels for additional information on which primer is right for your project and detailed instructions on how to apply our products.
Bedroom Grows from Toddler to Teen
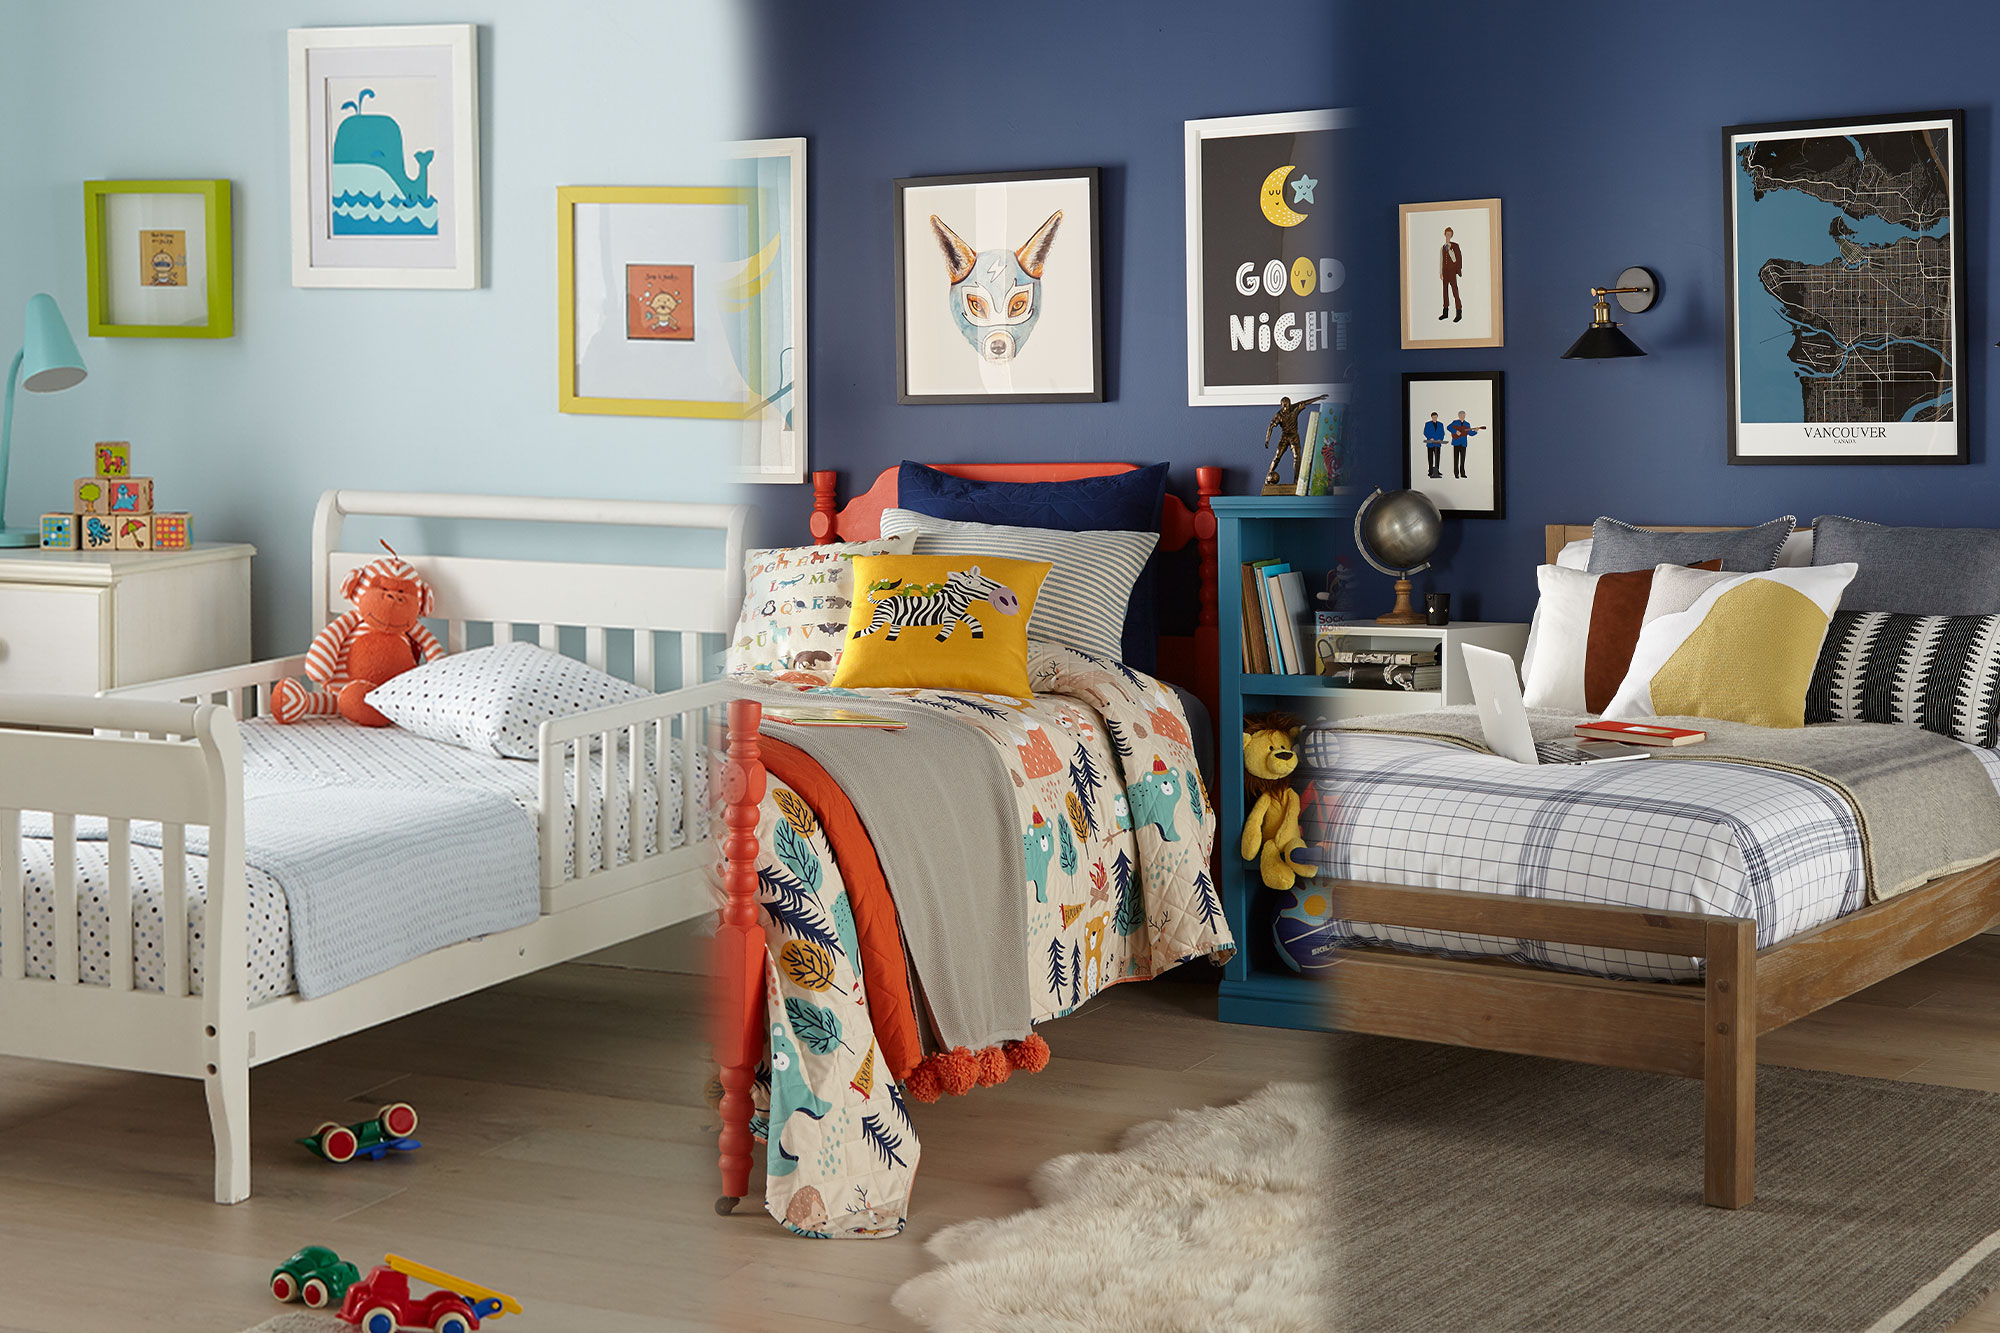
January 8, 2021When a little one was ready to graduate from his toddler bed to a big kid bed, it meant it was also time to take his bedroom walls from baby blue to a more mature hue that he could grow into. In addition to changing the color of the walls, it was time to cover up the marker doodles that had somehow jumped from the kid-sized art table to the wall.
To ensure the new deep ocean blue paint color would last for years to come, and also to tackle the felt marker stains on the wall, we started with KILZ 2® All-Purpose Primer. This water-based primer is a great multi-surface sealer and stain blocker, up to the challenge for light and medium stains. KILZ 2 also offers excellent adhesion, creating an ideal base for the new topcoat paint color. When priming over medium stains such as crayon or marker, it’s normal to still see a bit of the stain through the primer coat once dried. Don’t worry! The primer is still blocking the stain and it should not be visible through the topcoat of paint.
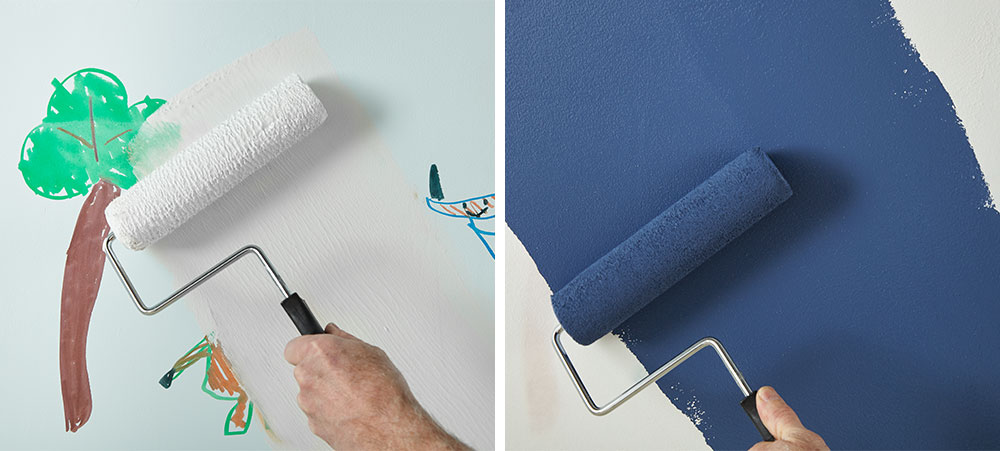
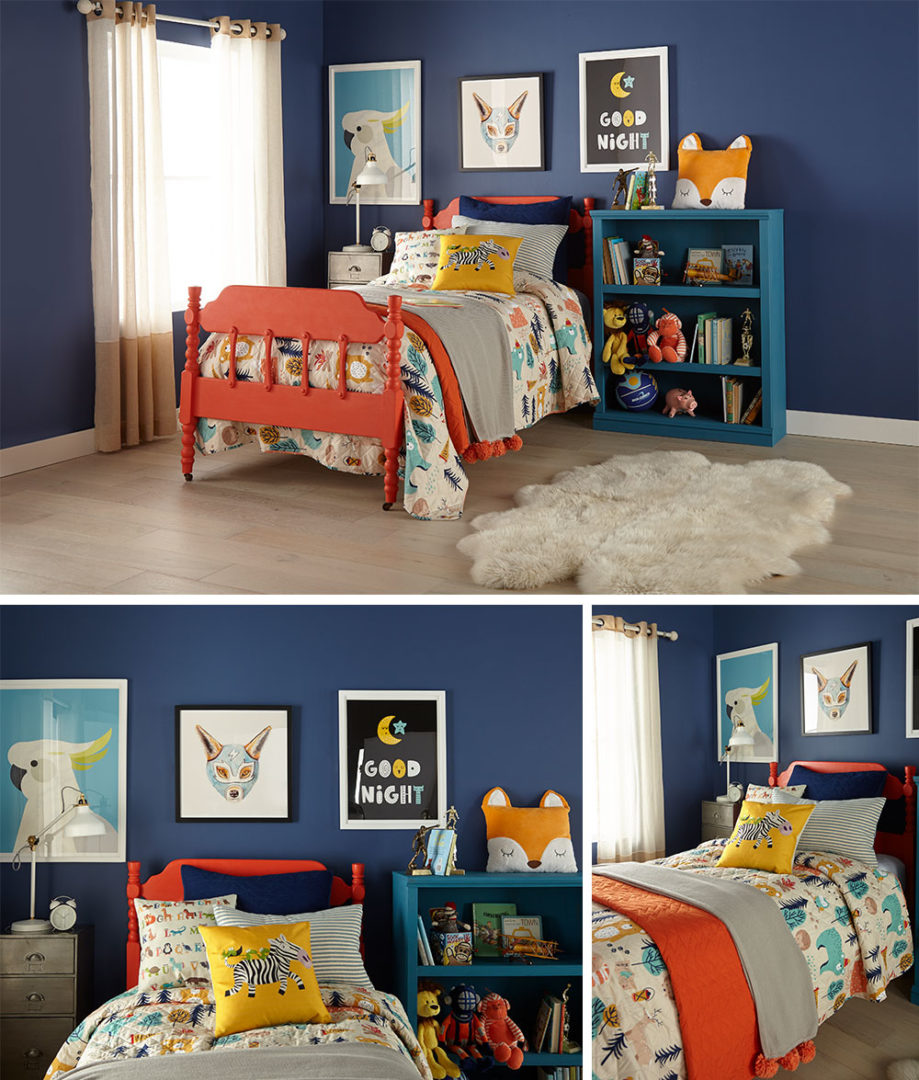
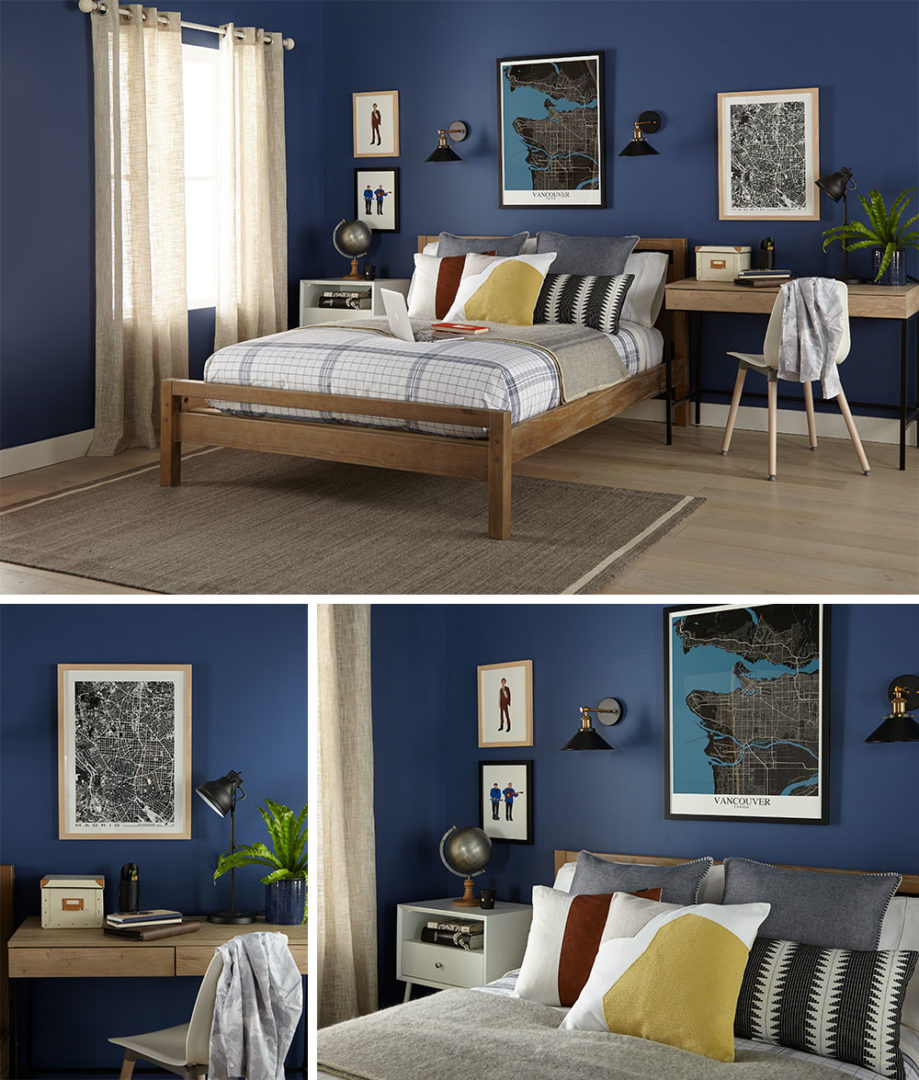
Once the primer was applied and allowed to dry, it was time to paint! We chose a deep ocean blue, BEHR Premium Plus® in Laguna Blue, that would work well in the new big kid bedroom and also be a shade he’d be sure to like as a teenager. A vibrant red bed frame, colorful bedding and whimsical artwork created a fun and welcoming space, while a chalk painted bookshelf added much needed storage for books and toys. If you’re interested to learn more about upcycling furniture with chalk paint, head over to this recent post.
 Fast forward to his teen years and the bedroom was in need of another update – bit this time around we did not need to prime or paint, since the ocean blue walls were still looking great! Bringing in new furniture was all that was required to take this space from kid-like to teenager approved. A new wood bed, neutral bedding and contemporary artwork gave the space a whole new look and feel. And the space wouldn’t be complete without a modern wood and metal desk and coordinating chair, a perfect spot to study at home.
Always remember to refer to our website kilz.com or product back labels for additional information on which primer is right for your project and detailed instructions on how to apply our products.
Dining Room Debate: Light or Bright?
August 11, 2020Is your dream dining room serving up pops of bright color, fun fabrics and fixtures? Or perhaps neutral tones and coastal inspired textures are your preferred dining room design menu? That is the question of this post, as we look at dining rooms styles from light to bright. No matter your style, we’re pretty sure there is one you will love!
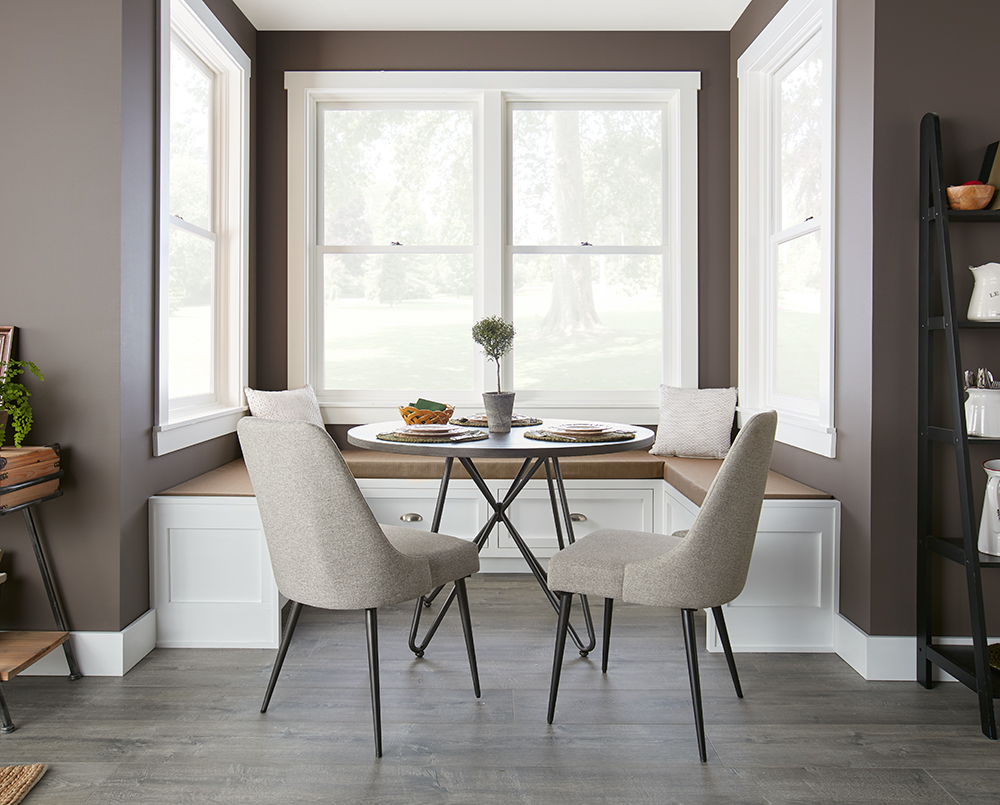
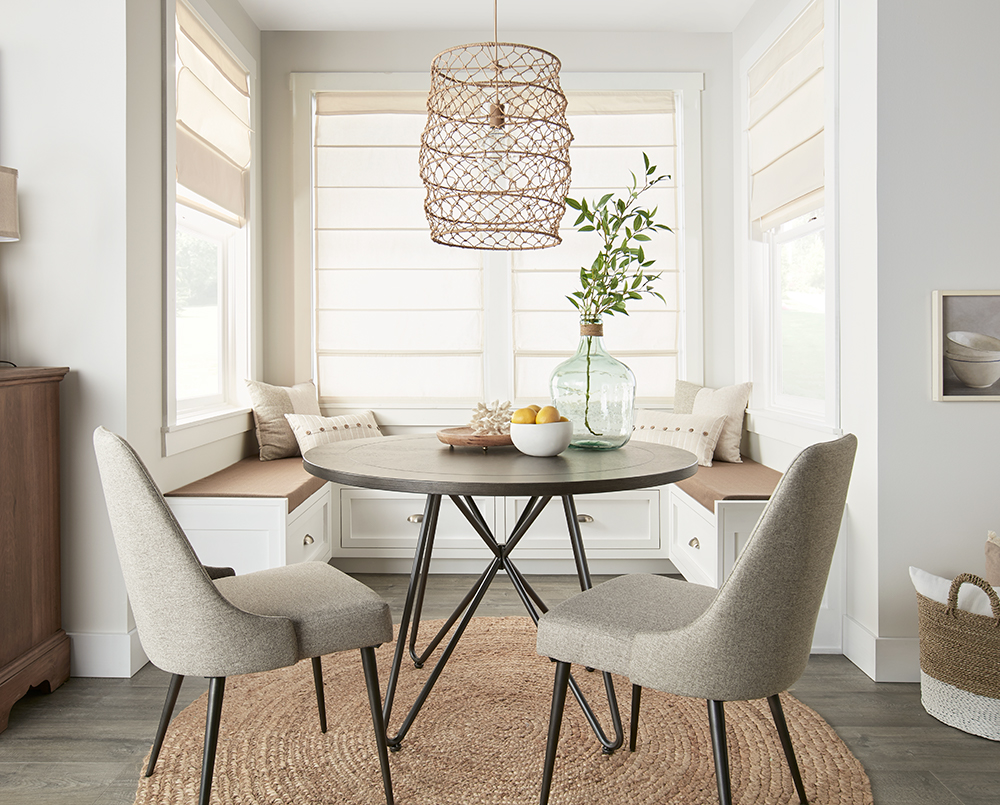
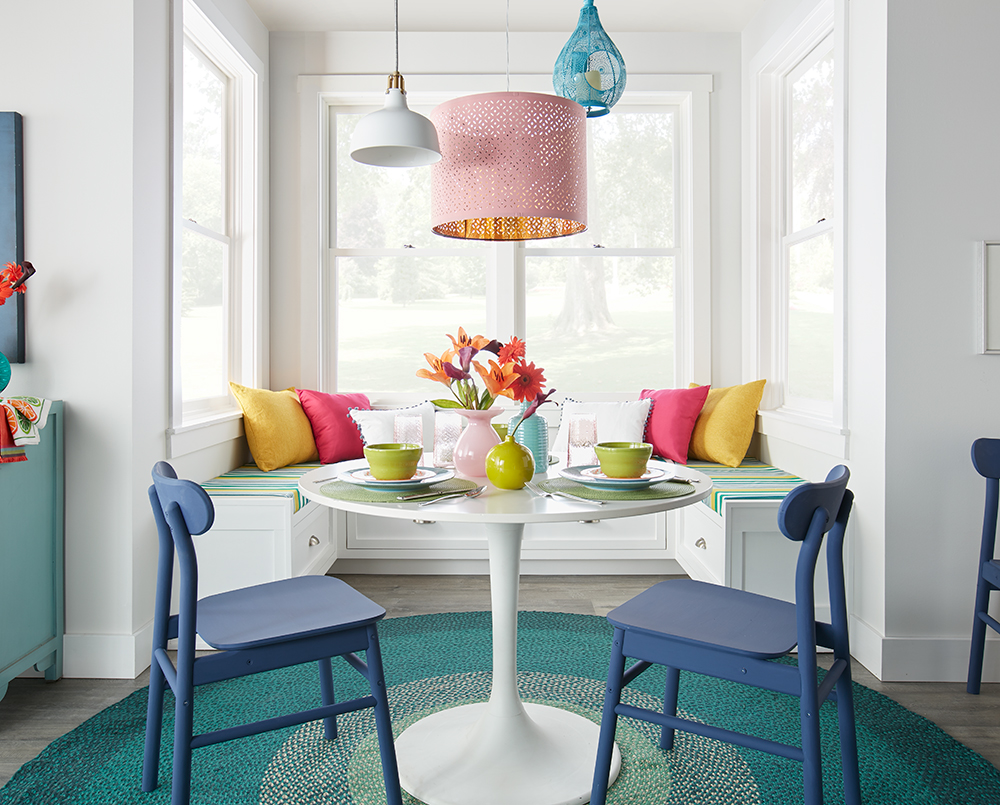
Our dining room debate arose as we started a project to refresh an adorable dining nook. We knew we wanted to take the walls from the current dirty brown shade to an airy white hue, so first it was time to prime. To cover the light brown paint color, we chose KILZ 2® All-Purpose primer. This water-based primer offers excellent adhesion and easily covers light to medium colors. After properly priming the walls (and allowing them to dry!), we top coated with KILZ Tribute® Paint in Architectural White. This sugar white shade has a cotton underdone and appears as a soft white in most light. For full step-by-step directions on covering both light and dark paint colors head over to our post Pro Tips for Painting Over a Dark or Light Wall.
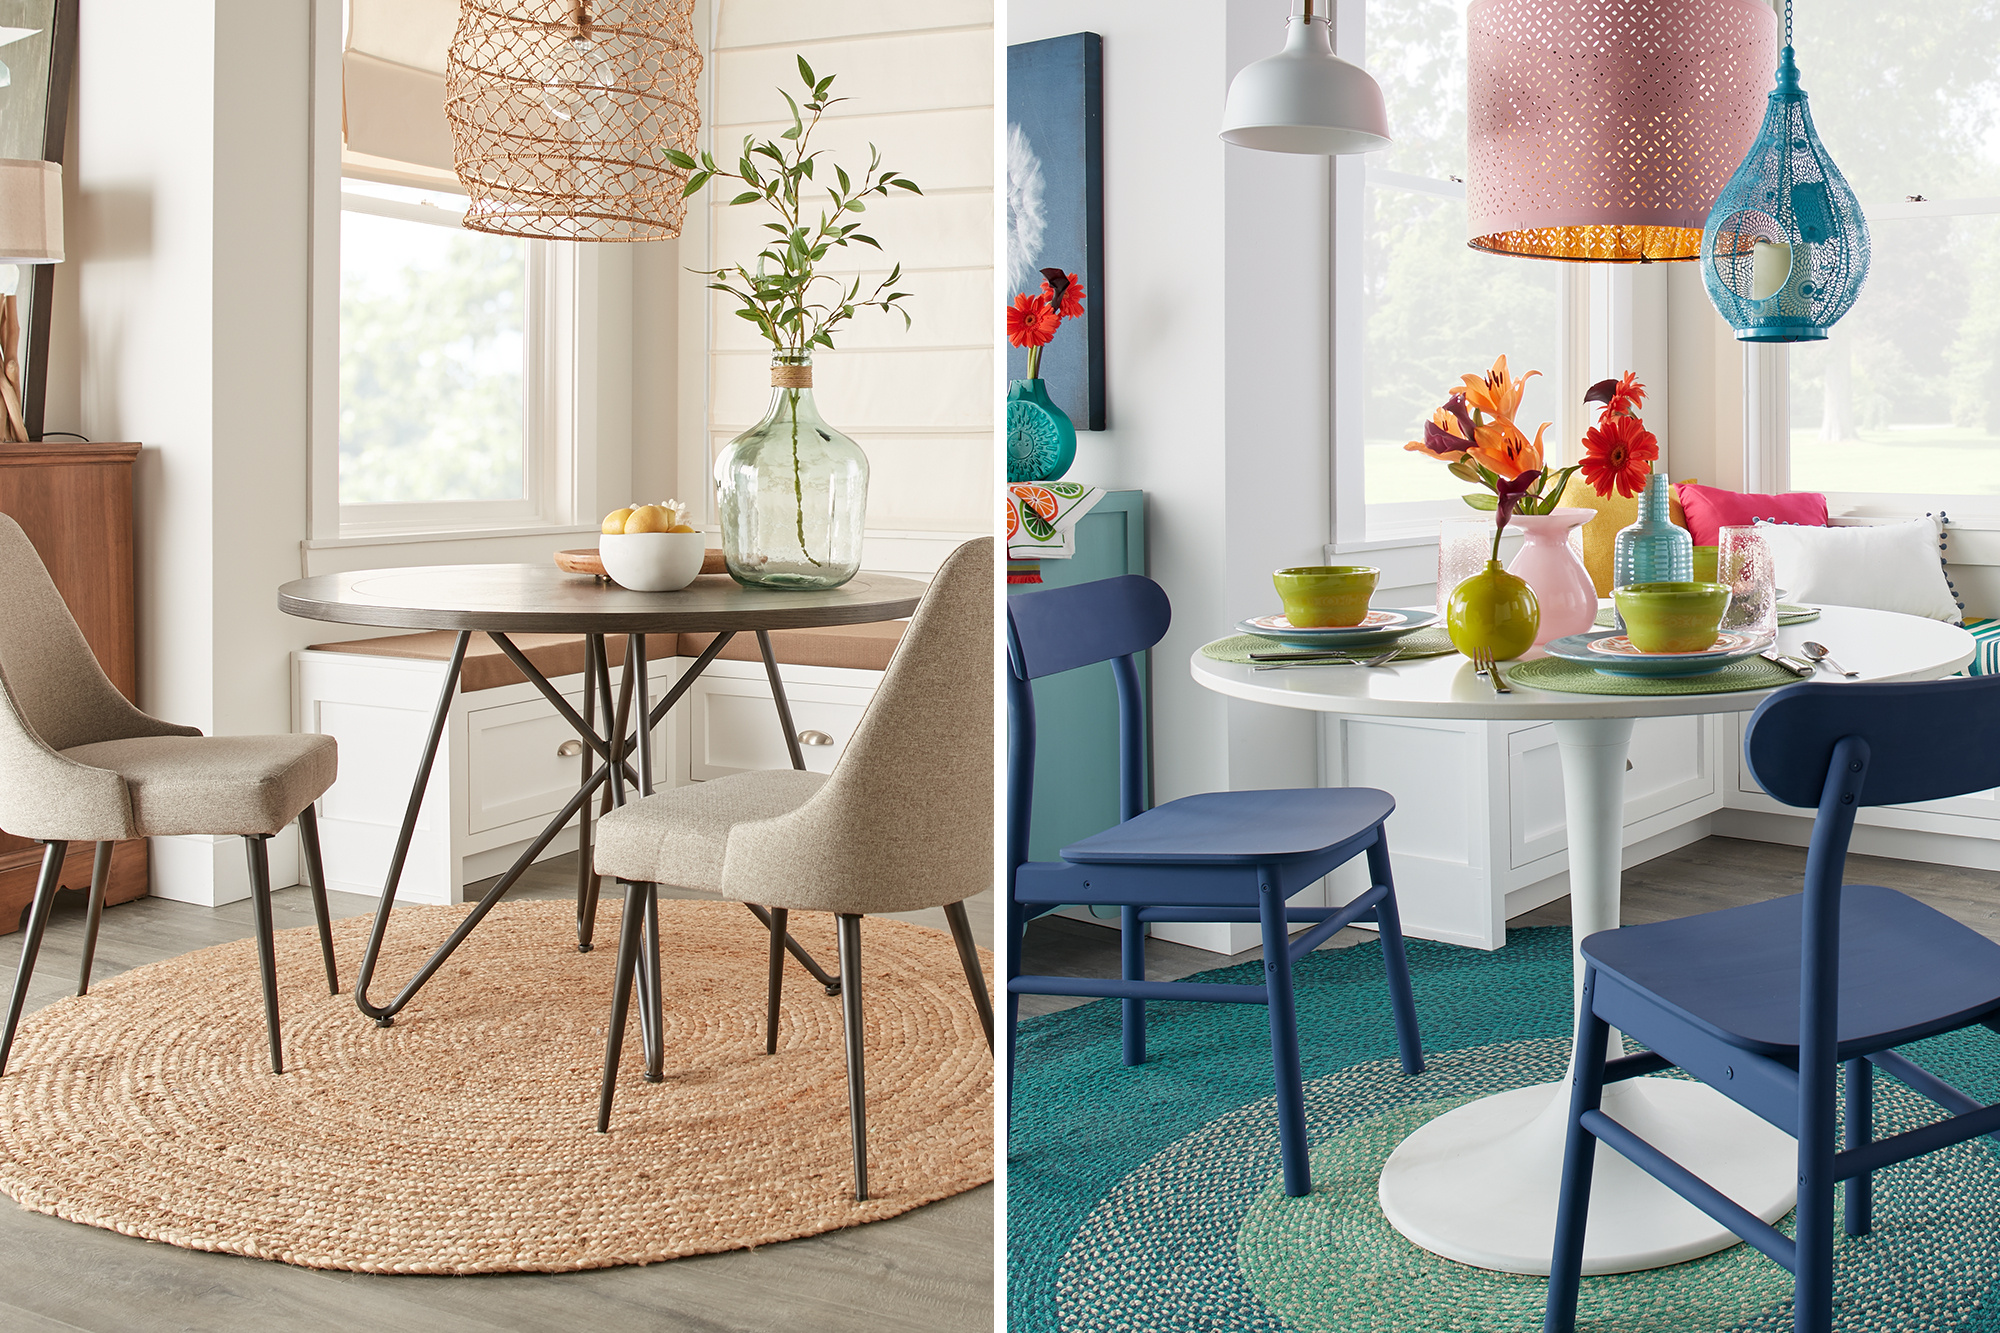
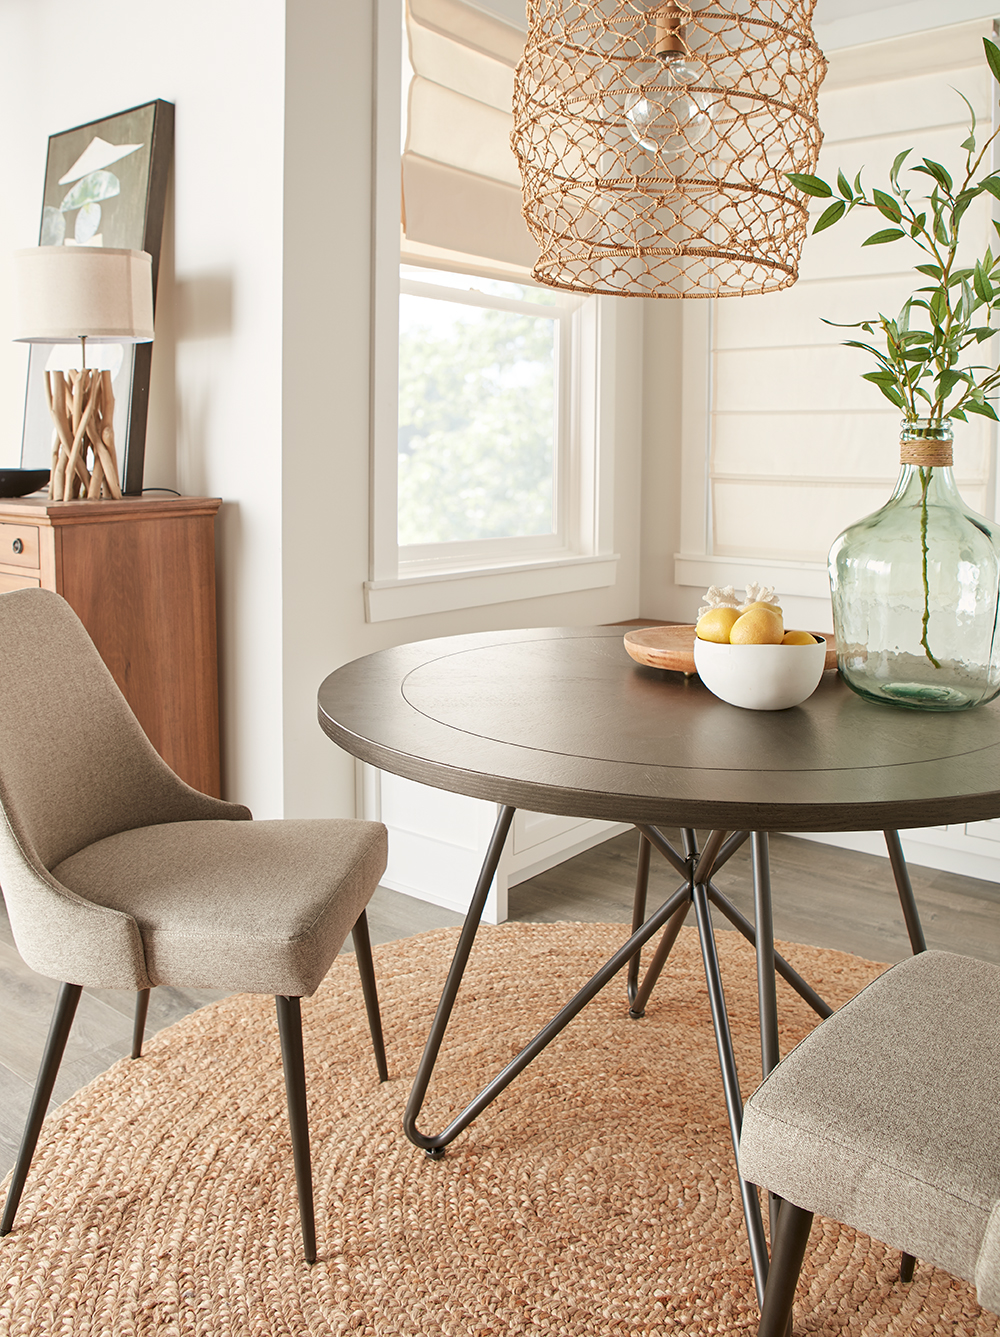
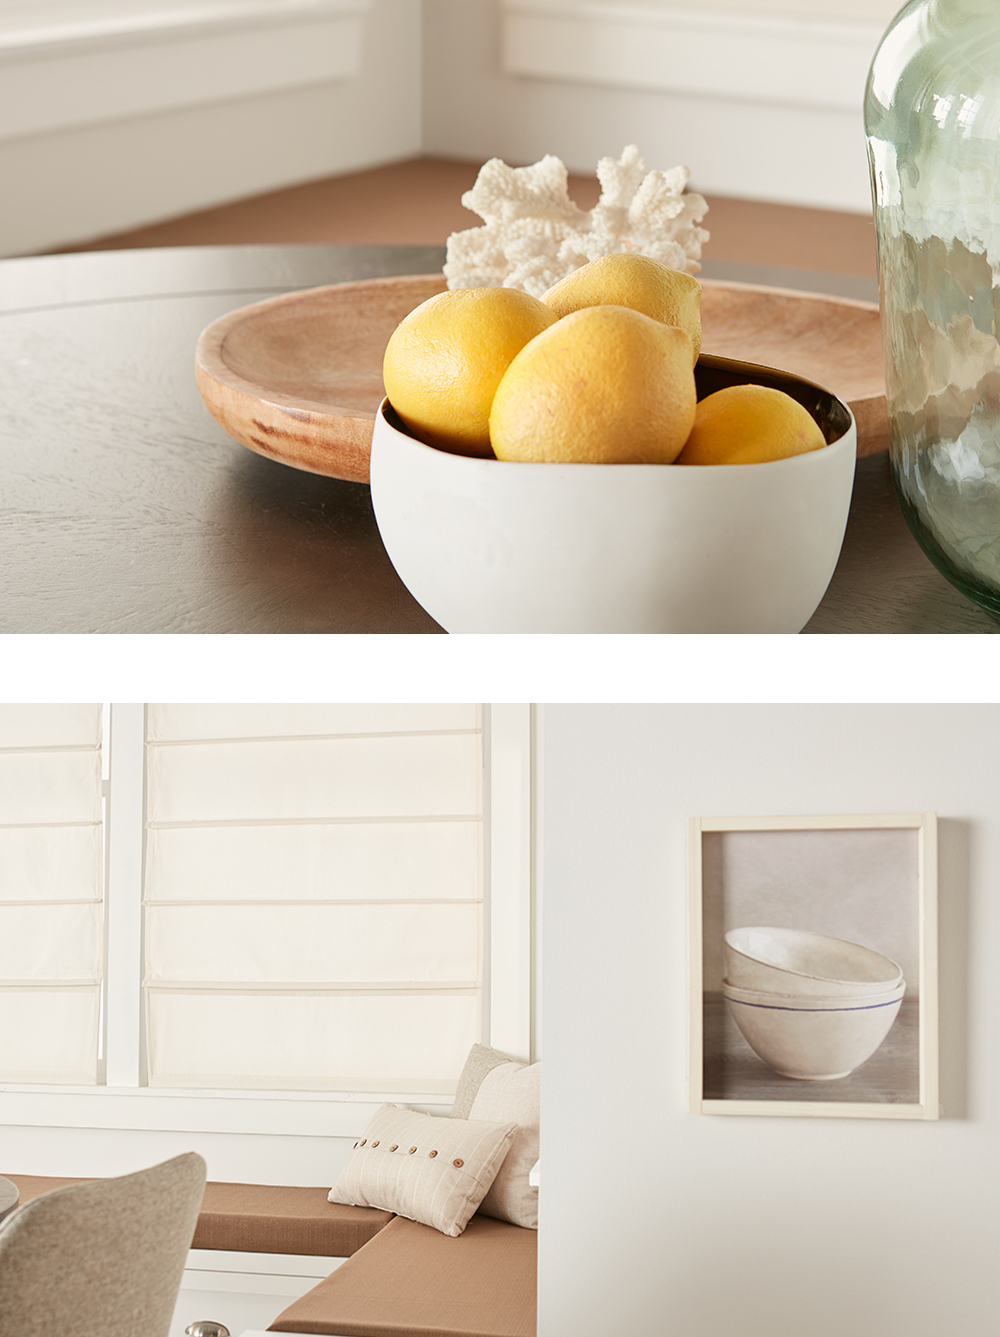
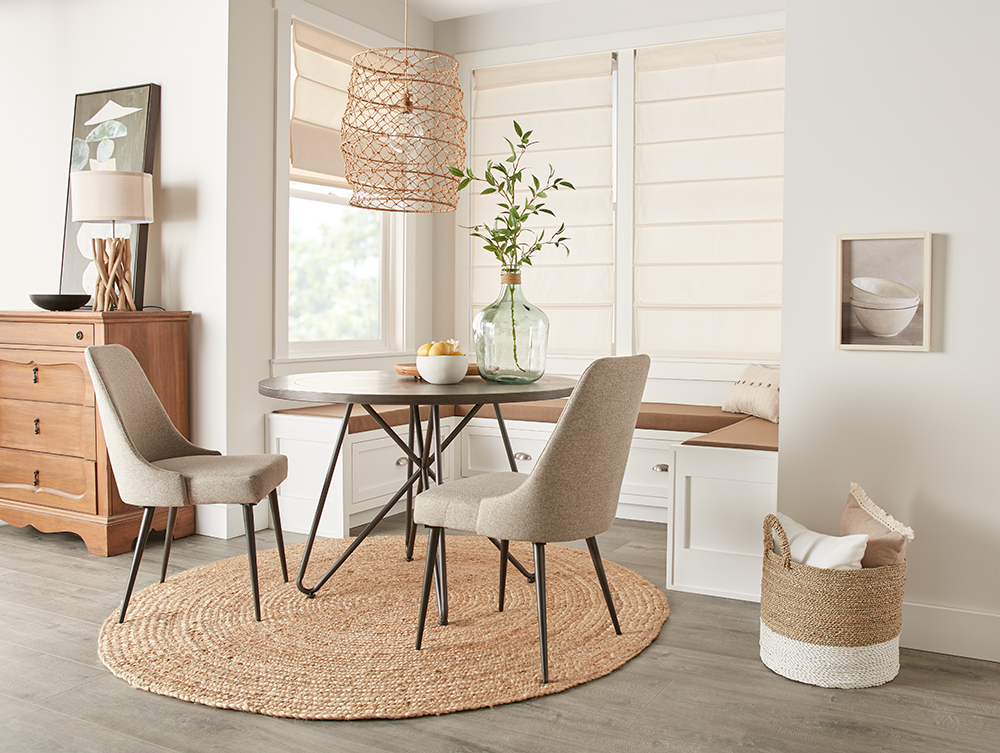
The fresh white walls created a perfect blank canvas that could easily be the backdrop for a variety of color palettes. Inspired by the existing table and chairs, we started with a California Casual design style and played with neutral tones and textures. A new jute rug under the table anchored the space, while a fun basket-weave chandelier, sea-glass colored vase and ocean-inspired accessories completed the look.
Next up, it was time to turn this style on its head and go from light to bright! We brought in a bright white table and chalk-painted blue wooden chairs and an over-sized teal rug. Striped cushions and colorful brightened up the dining bench, while an array of three playful chandeliers came together to create a fun statement chandelier.
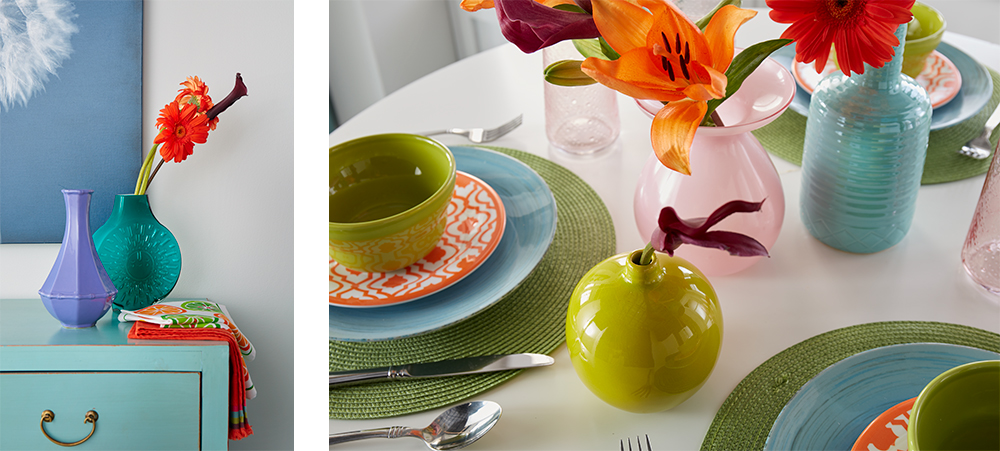
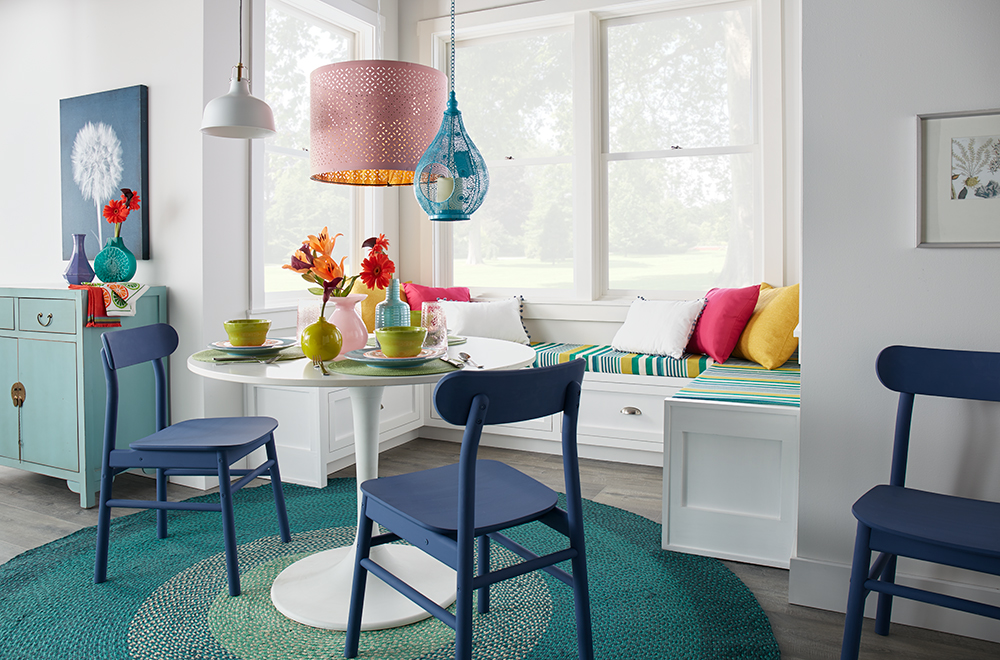
The newly primed and painted walls were the perfect backdrop for these two design styles, proving that white walls are far from boring. From bold and colorful, to sophisticated and neutral, the right white shade on your walls can open up a space to a myriad of design possibilities. Which style spoke to you?
Always remember to refer to our website kilz.com or product back labels for additional information on which primer is right for your project and detailed instructions on how to apply our products.
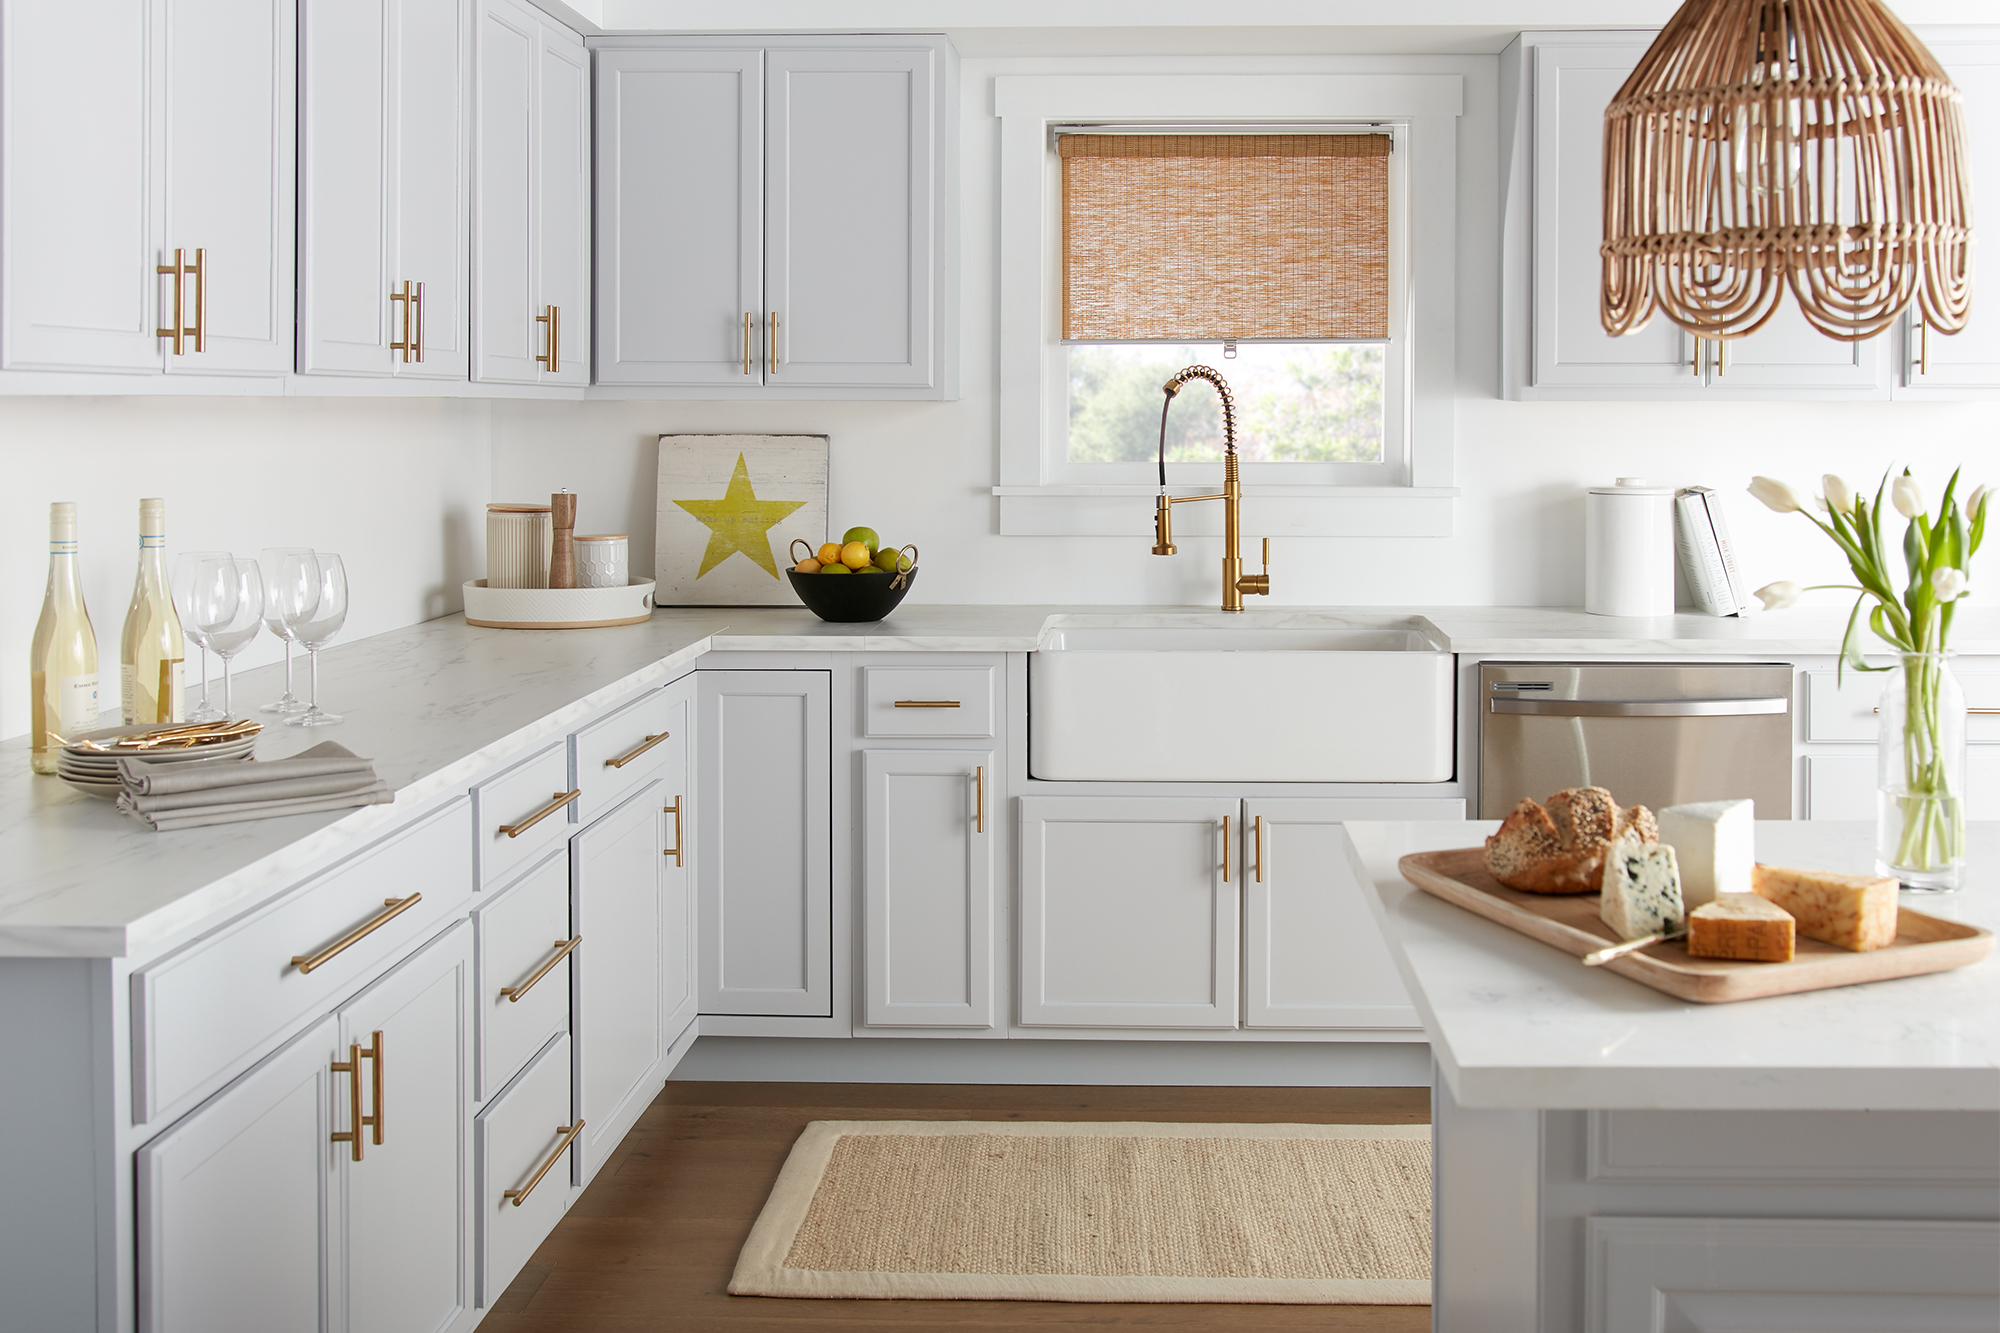





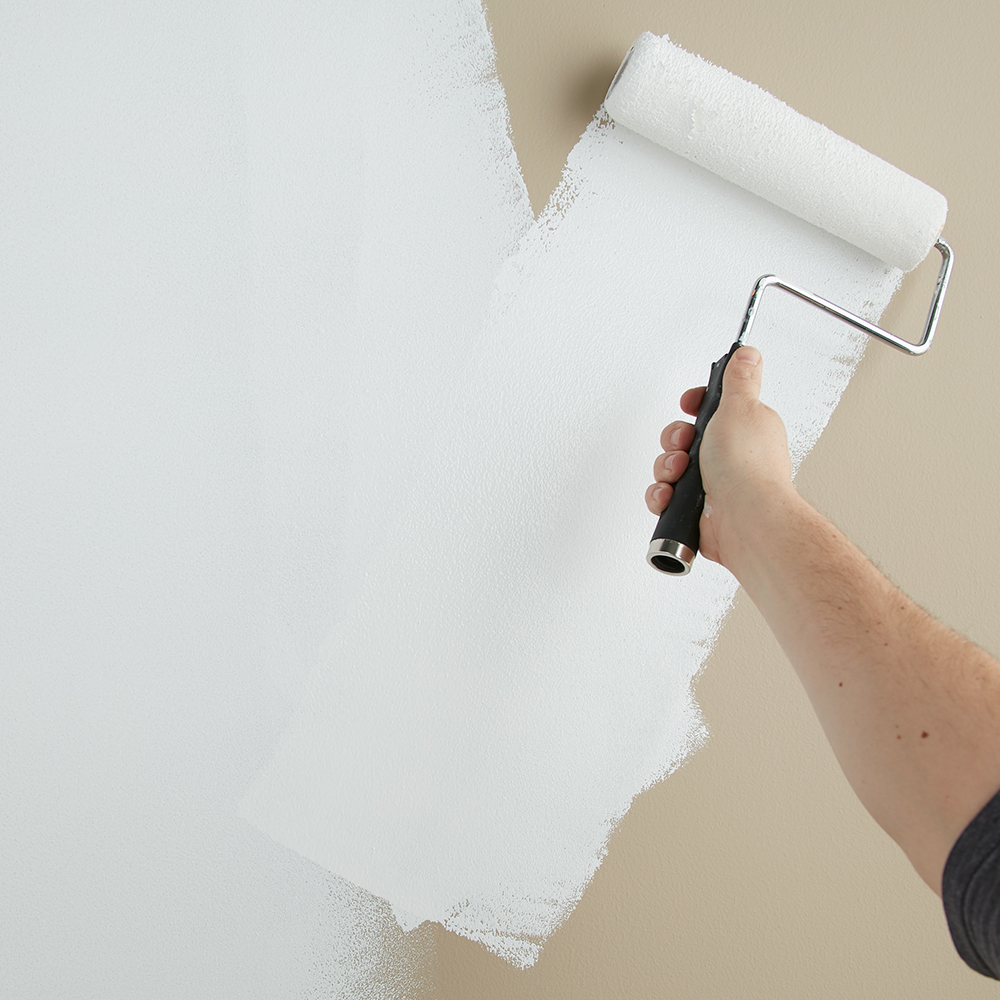


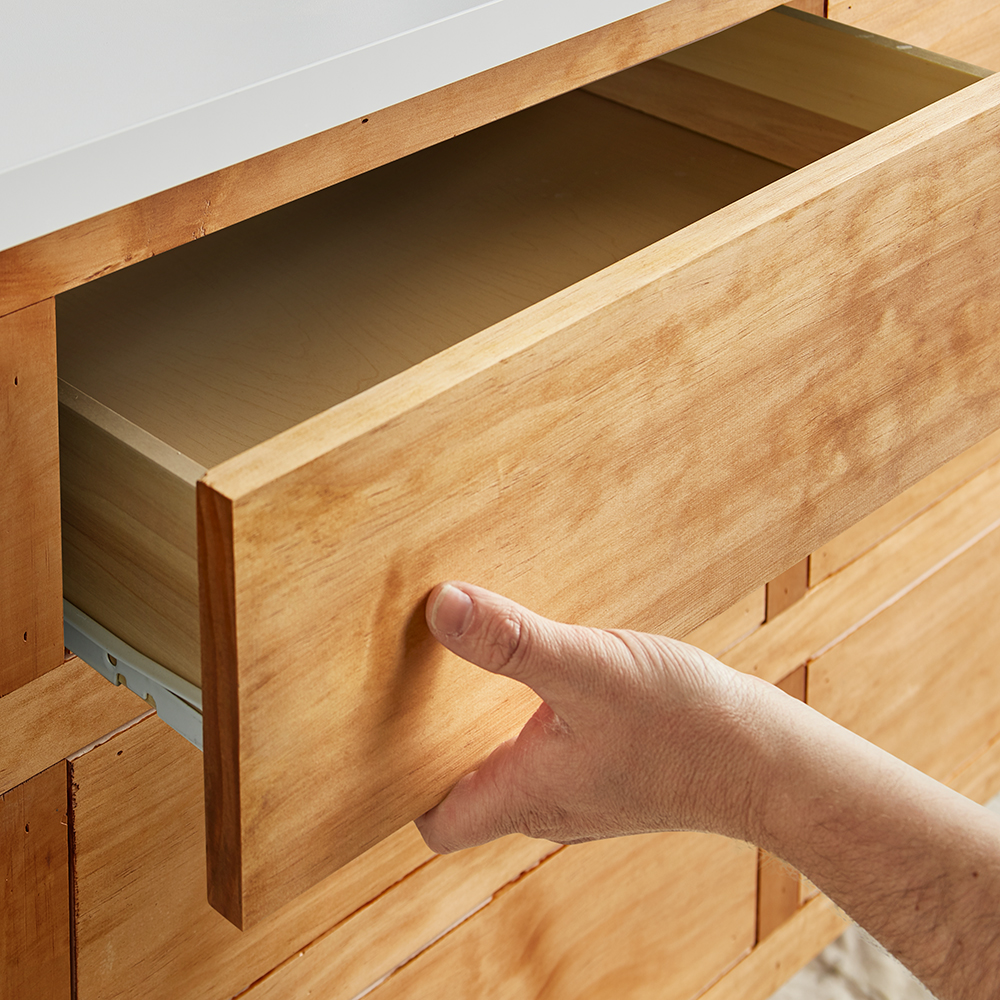
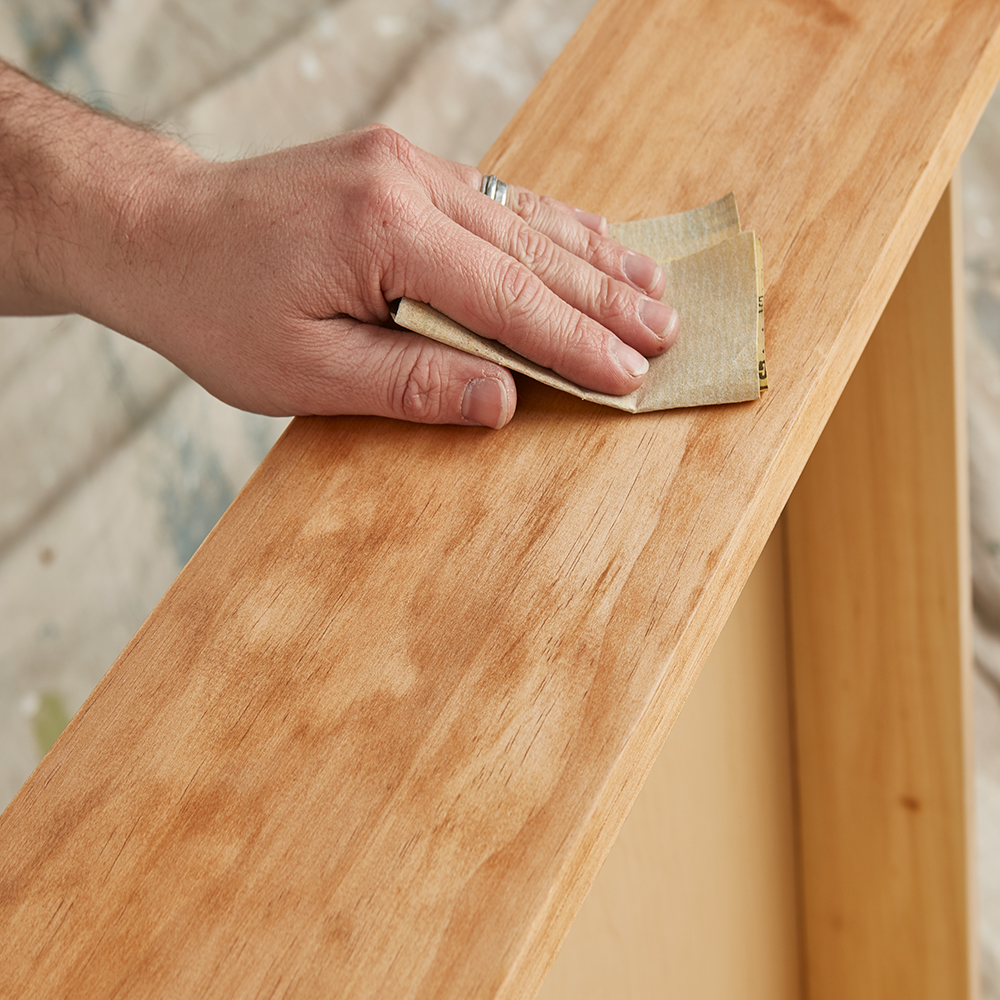
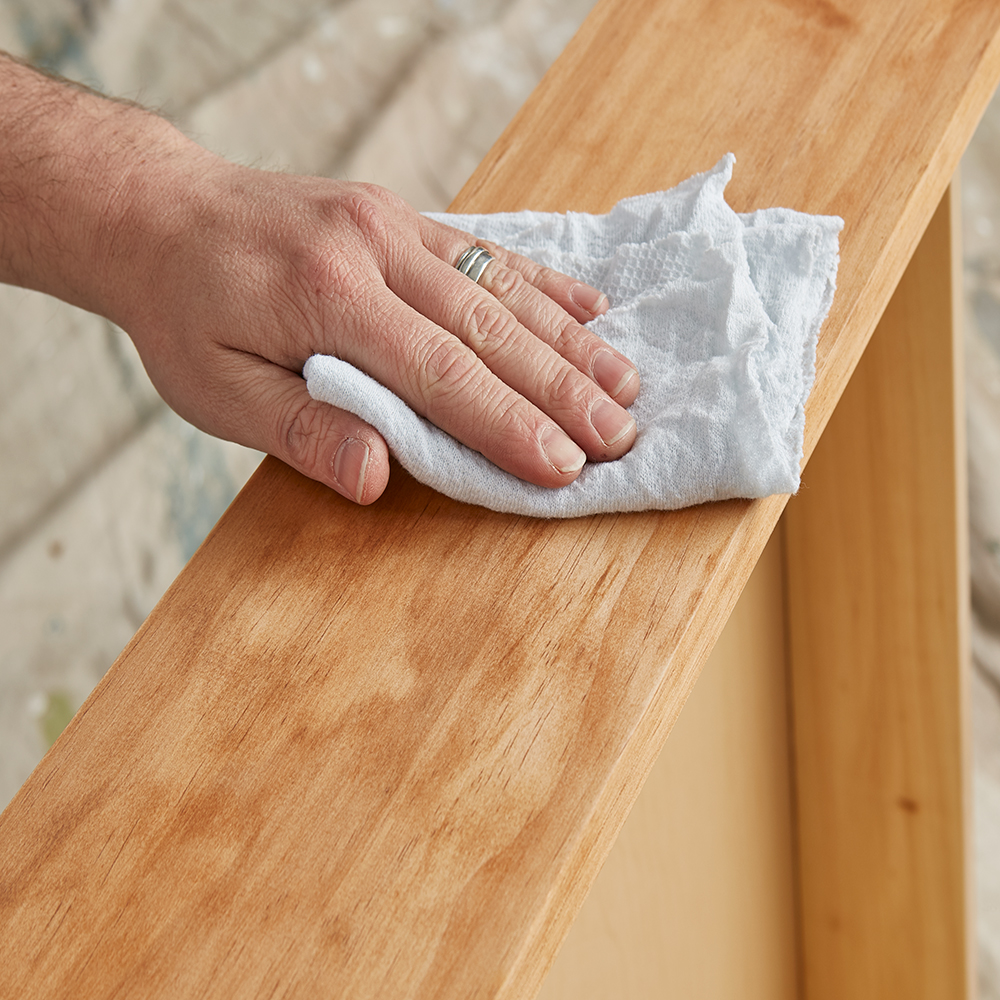
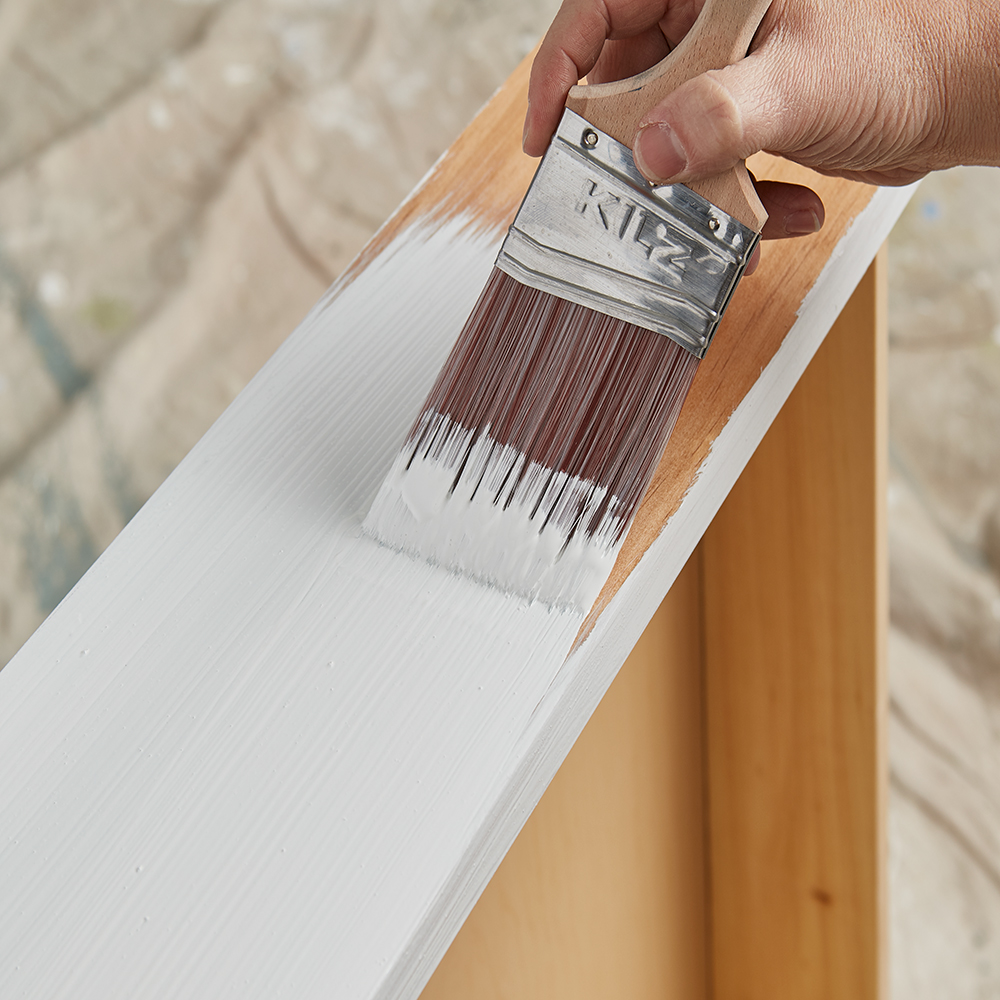
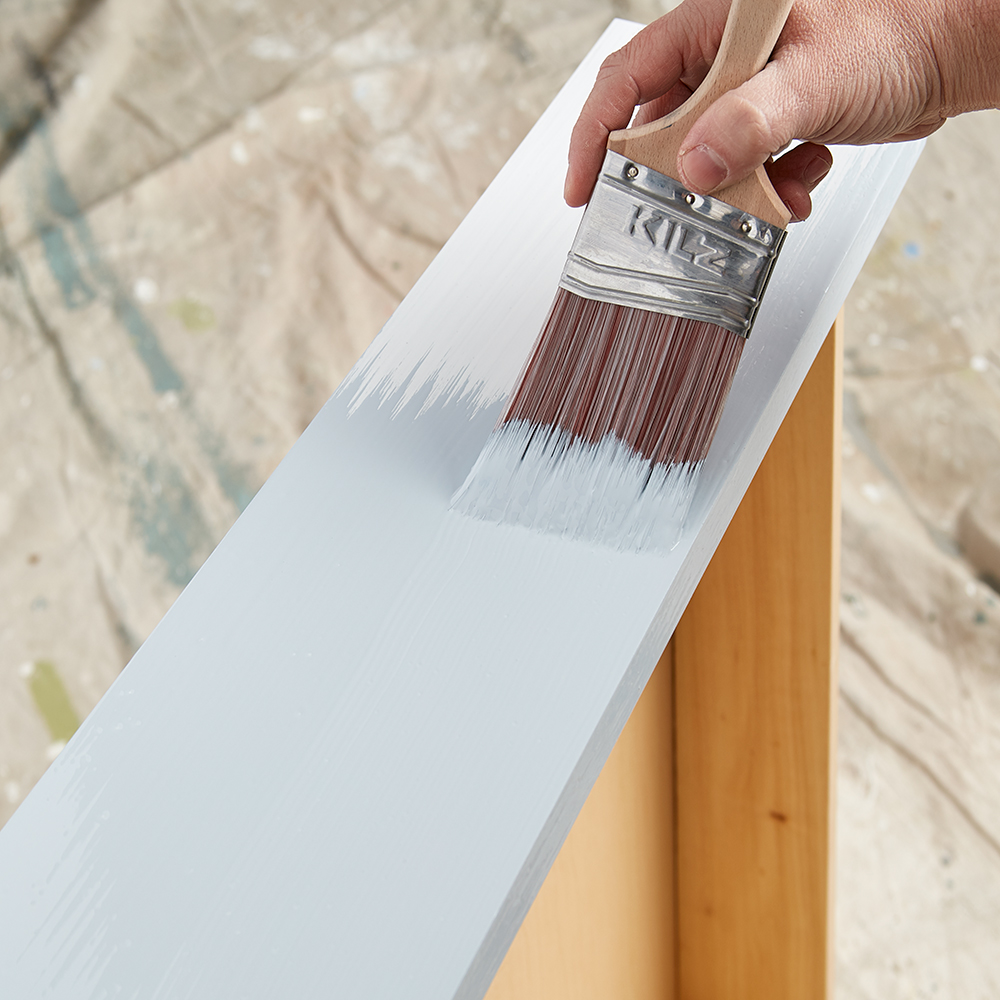
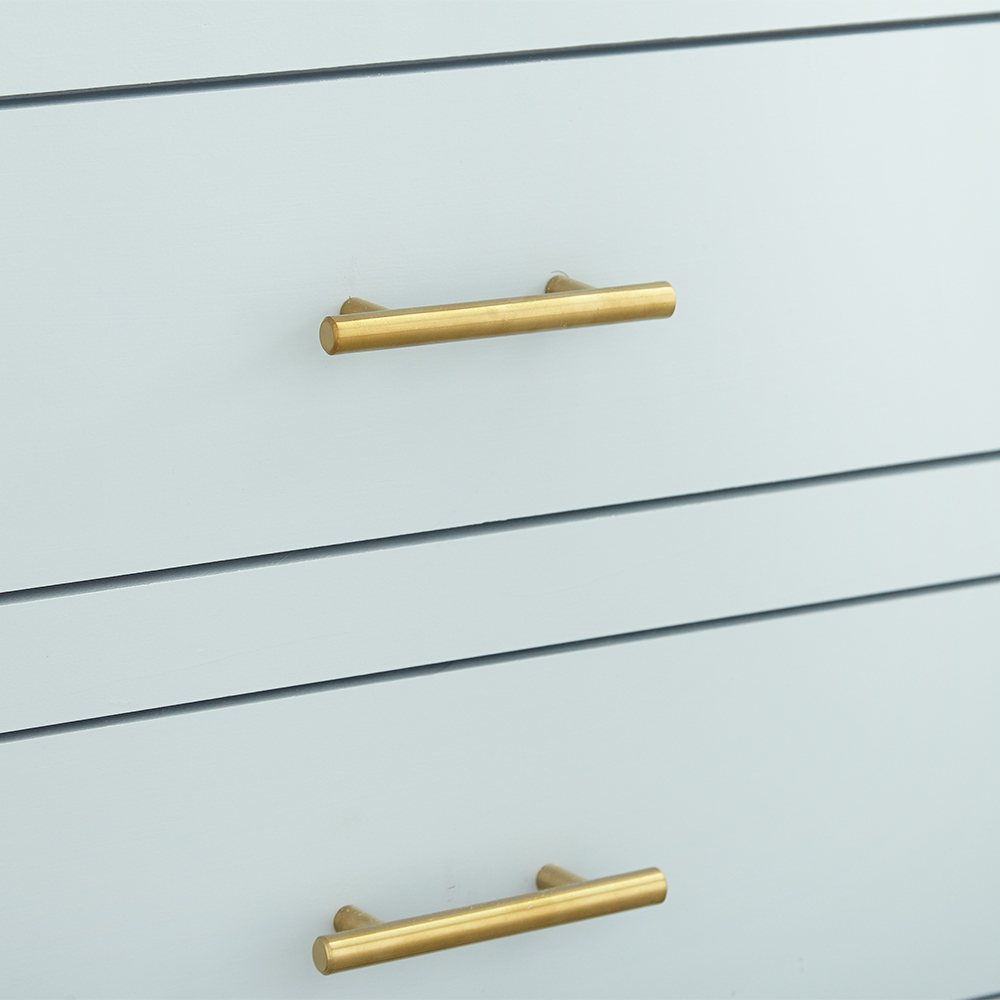
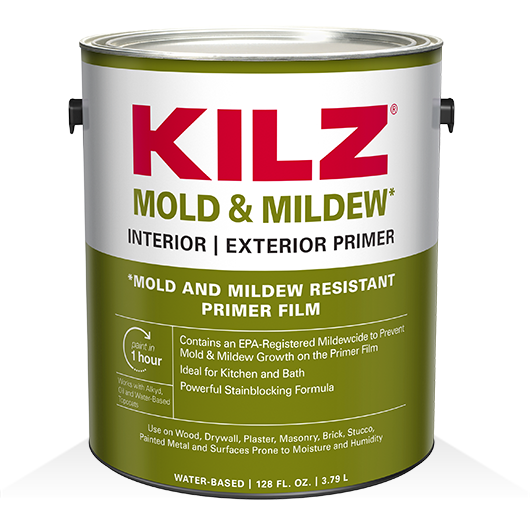


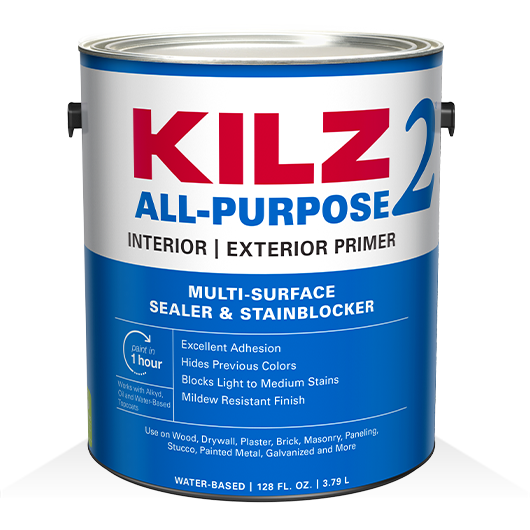
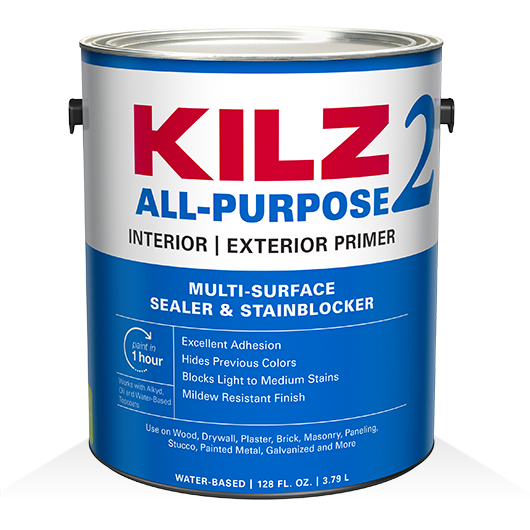
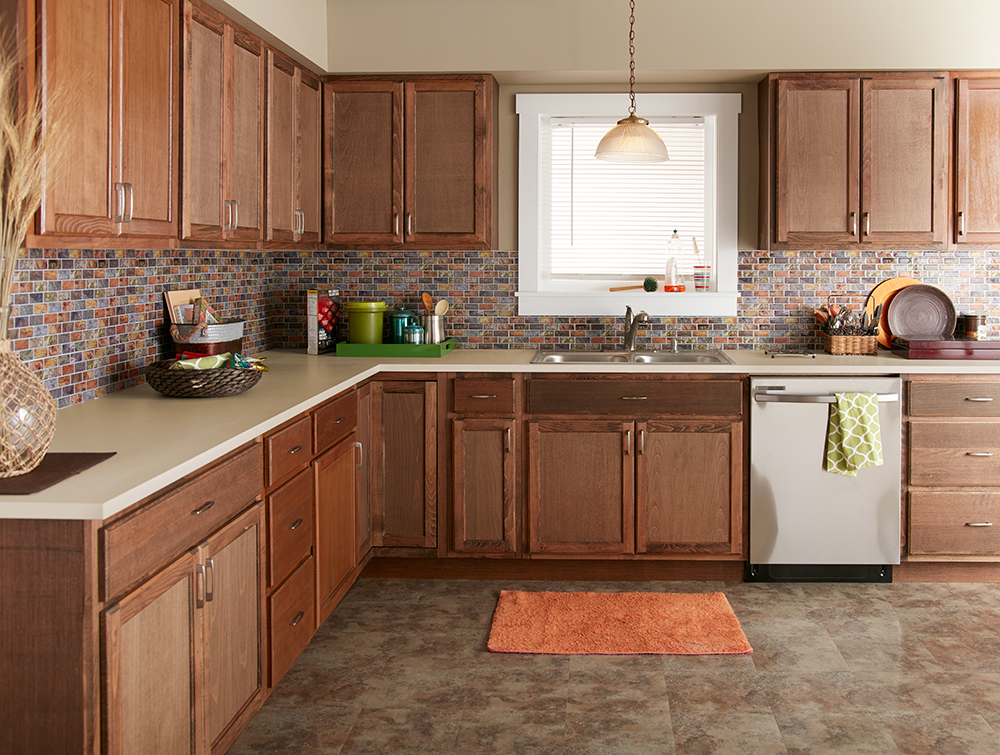
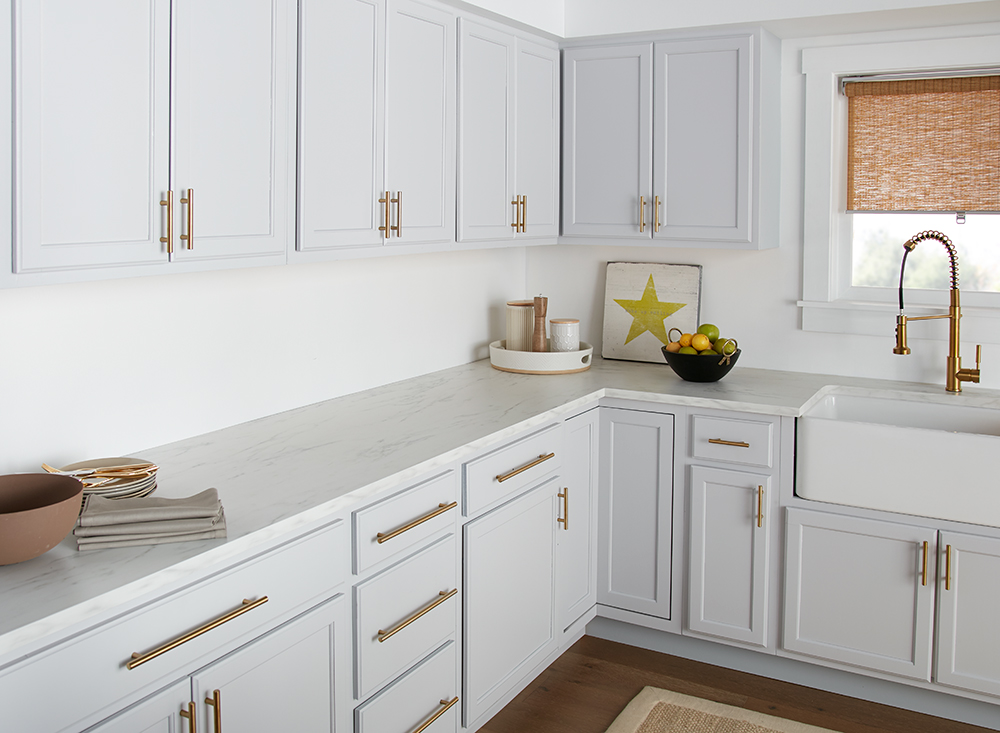
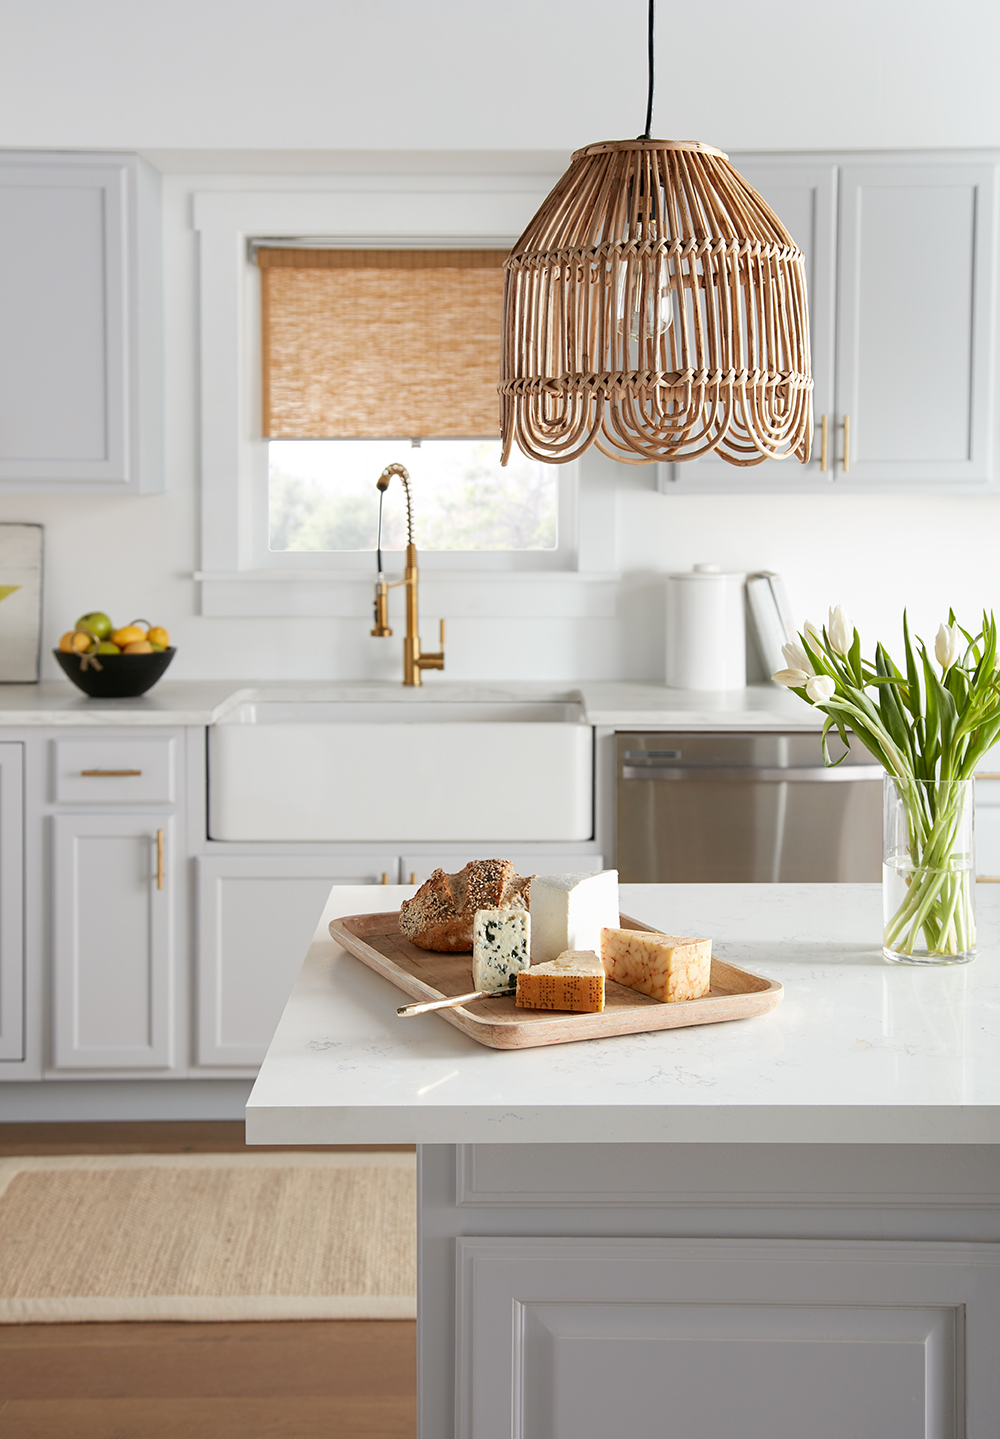
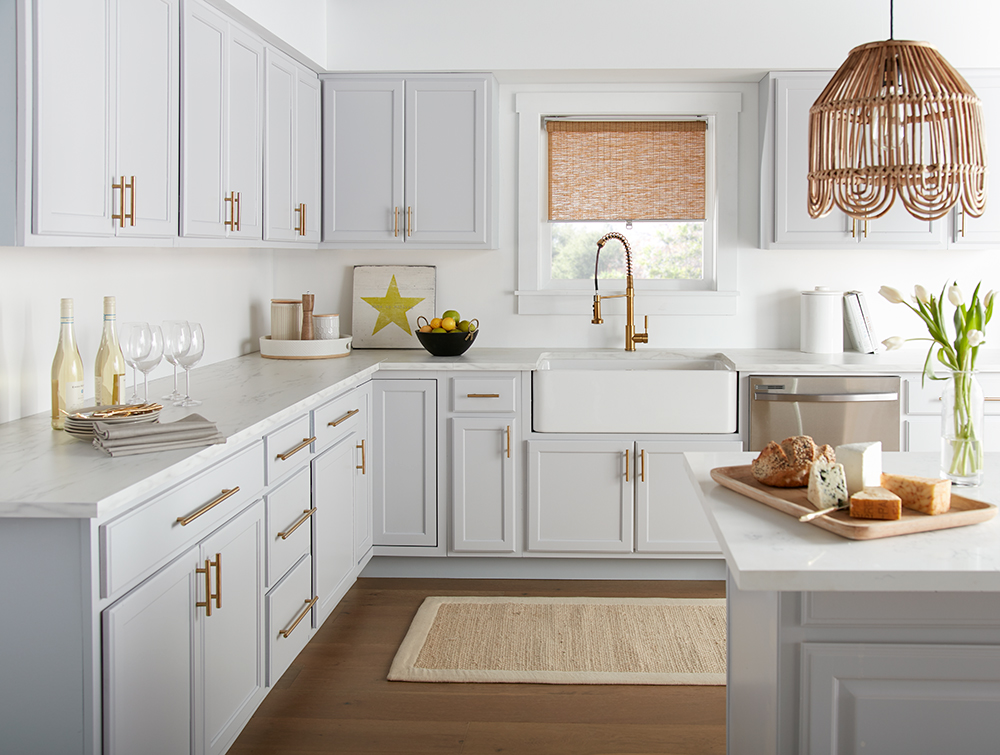 One thing the professionals know is that priming your cabinets prior to painting can make all the difference in how the final paint job appears – and how long it will last. When choosing the right primer for your kitchen, it’s important to look for a product that offers exceptional durability and mildew resistance.
 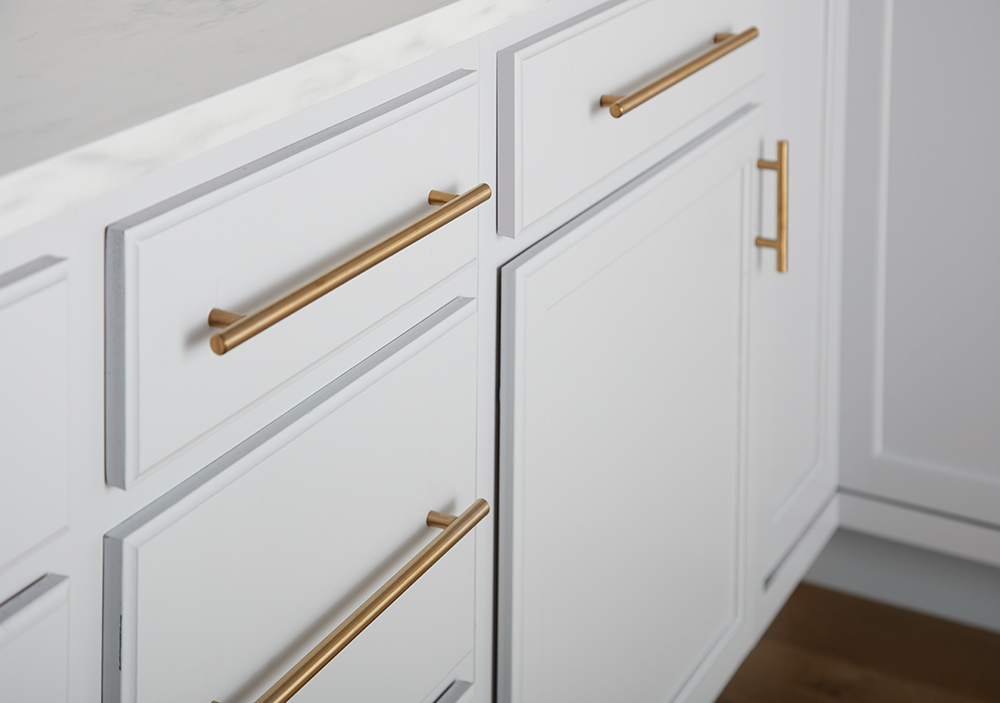 The large size of this kitchen offered the chance to have a bit more fun with the layout and design elements. We started by grounding the wide-open space with a new island, painted in the same color as the cabinets, and adding new light wood floors. Natural textures and tones in the light fixture, rug and window shade brought a subtle coastal vibe to the space that fit perfectly with the new light bluish-gray cabinets.











join the conversation:
SHARE this post: