Tag: KILZ Premium 3
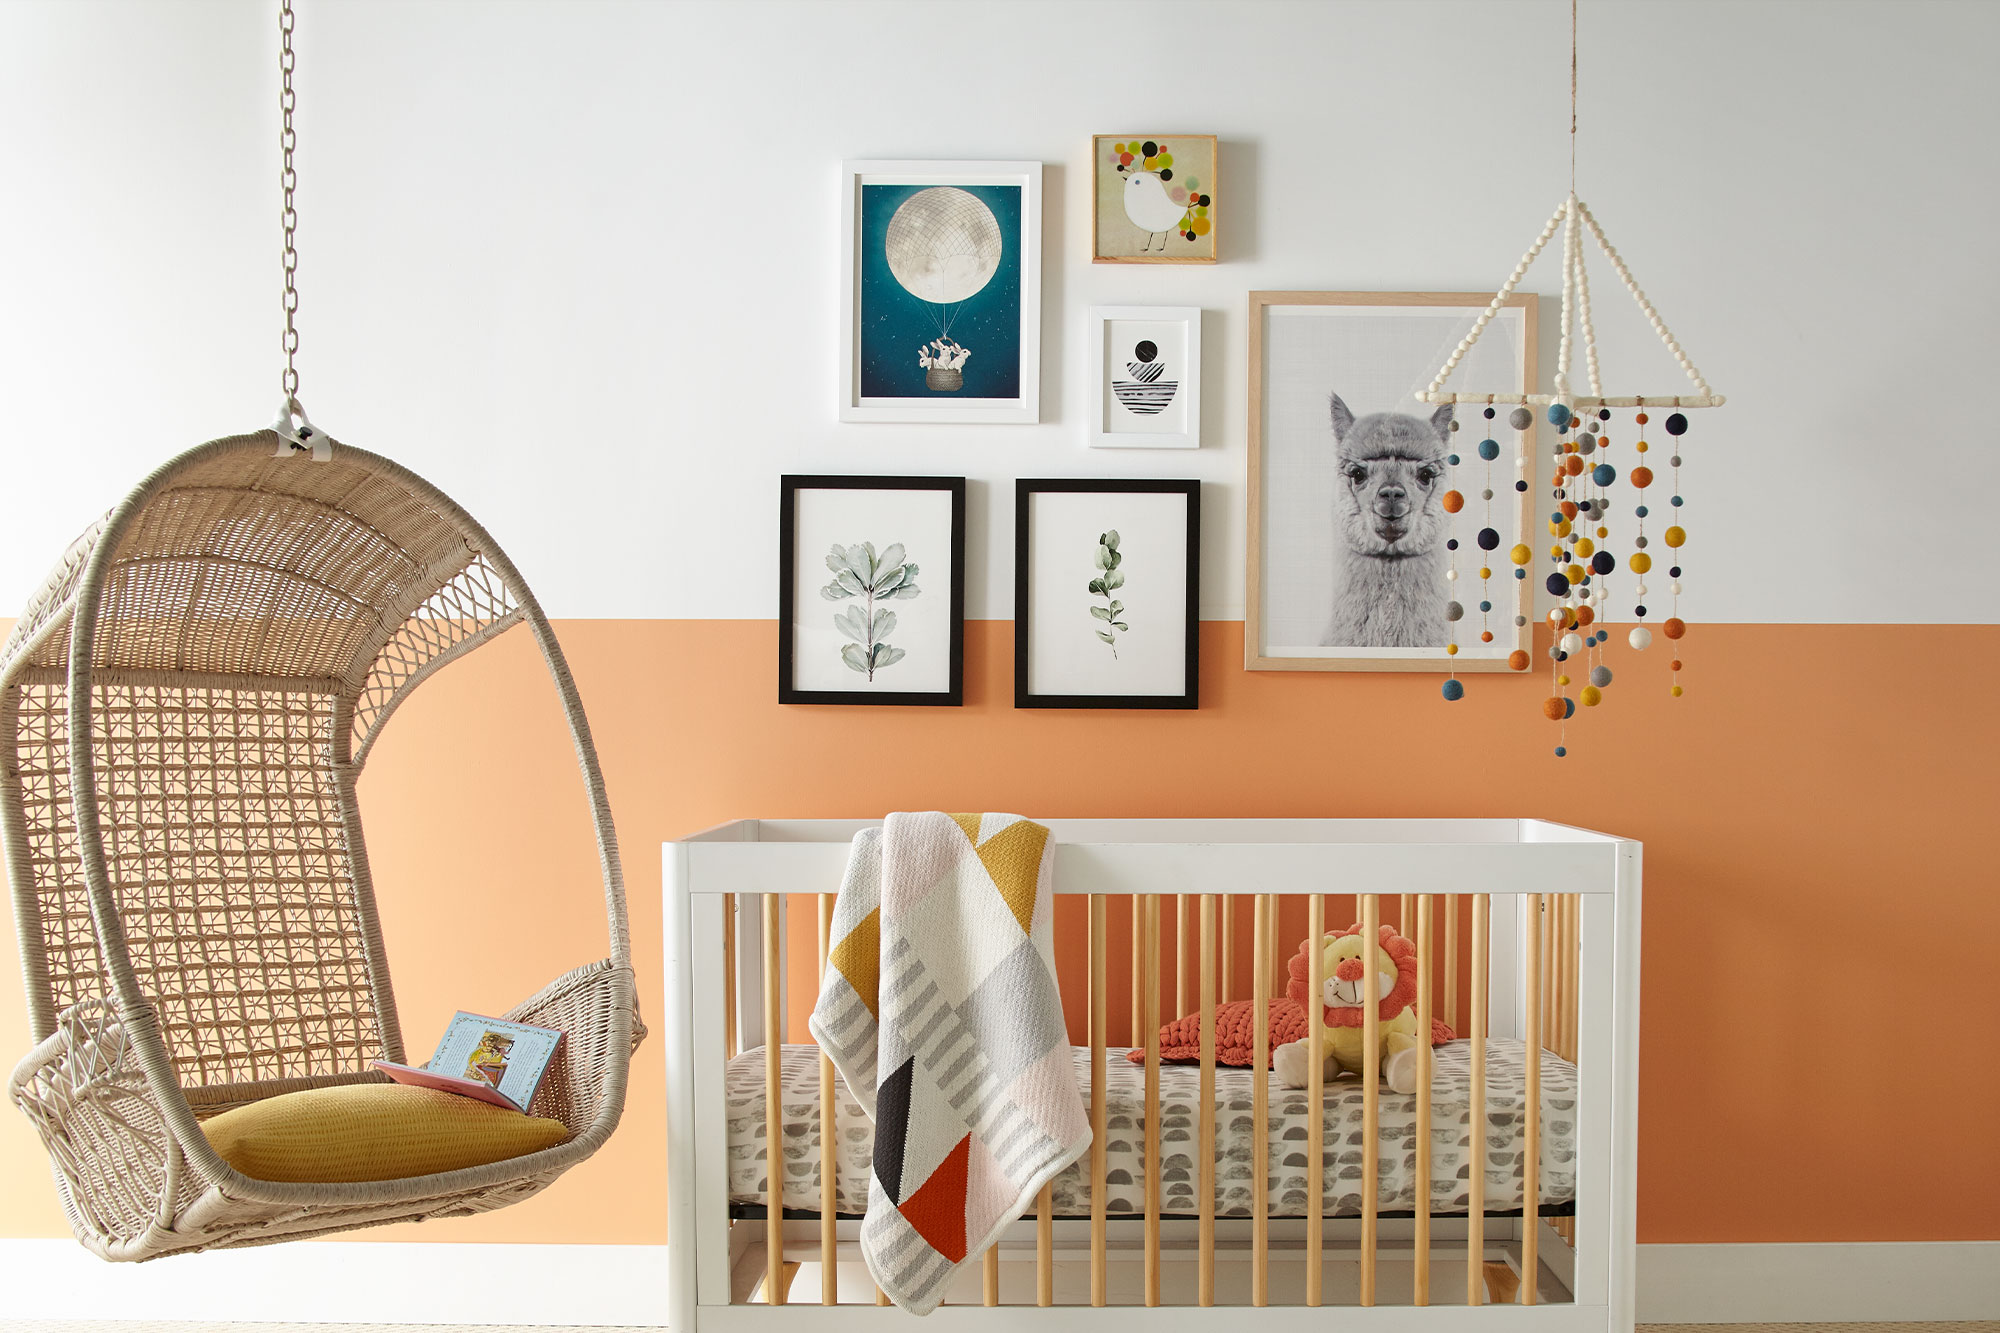
Color Blocking for a Sweet Nursery
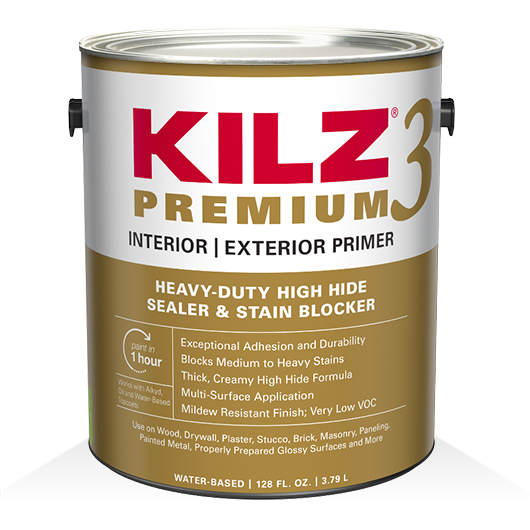
January 19, 2021A neglected and dark spare room is transformed into a sunny and sweet nursery with the help of KILZ® Primer and paint. The existing deep berry-hued walls wouldn’t do for the light and bright look desired for the space, calling for KILZ 3® Premium. Formulated with a thicker high hiding formula, KILZ 3 Premium hides surface imperfections, prepares the surface better for painting and hides previous dark colors with ease.
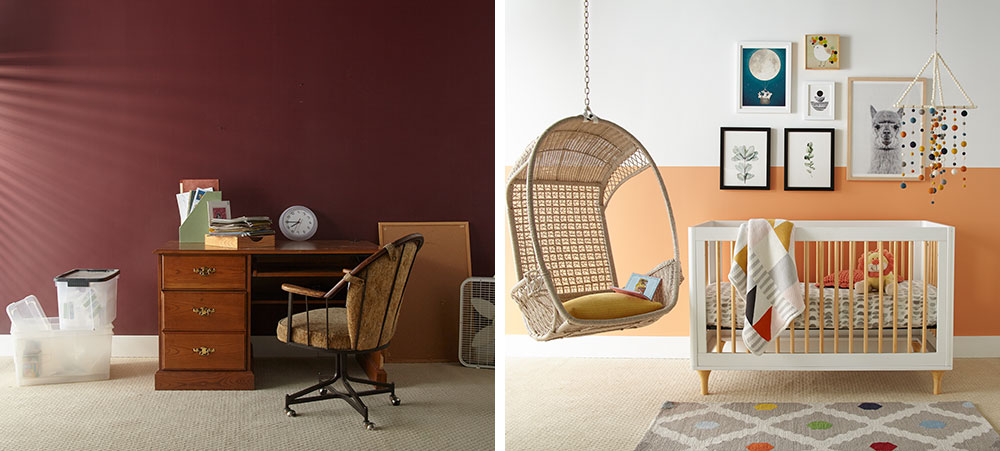
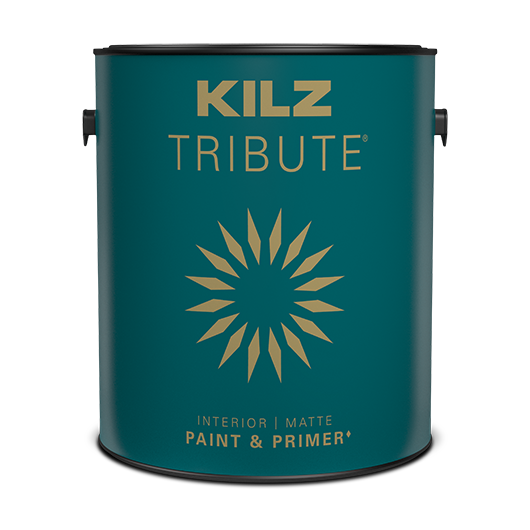
After primer is properly applied and allowed to dry it’s time for some fun color blocking in a fresh white and happy orange hue. KILZ Tribute® in Architectural White TB-08 is used for the top half of the wall, while the same paint in Bright Marigold TB-95 brightens up the bottom. KILZ Tribute provides a durable, highly scrubbable finish, making for easy-to-clean walls ideal for children’s rooms.
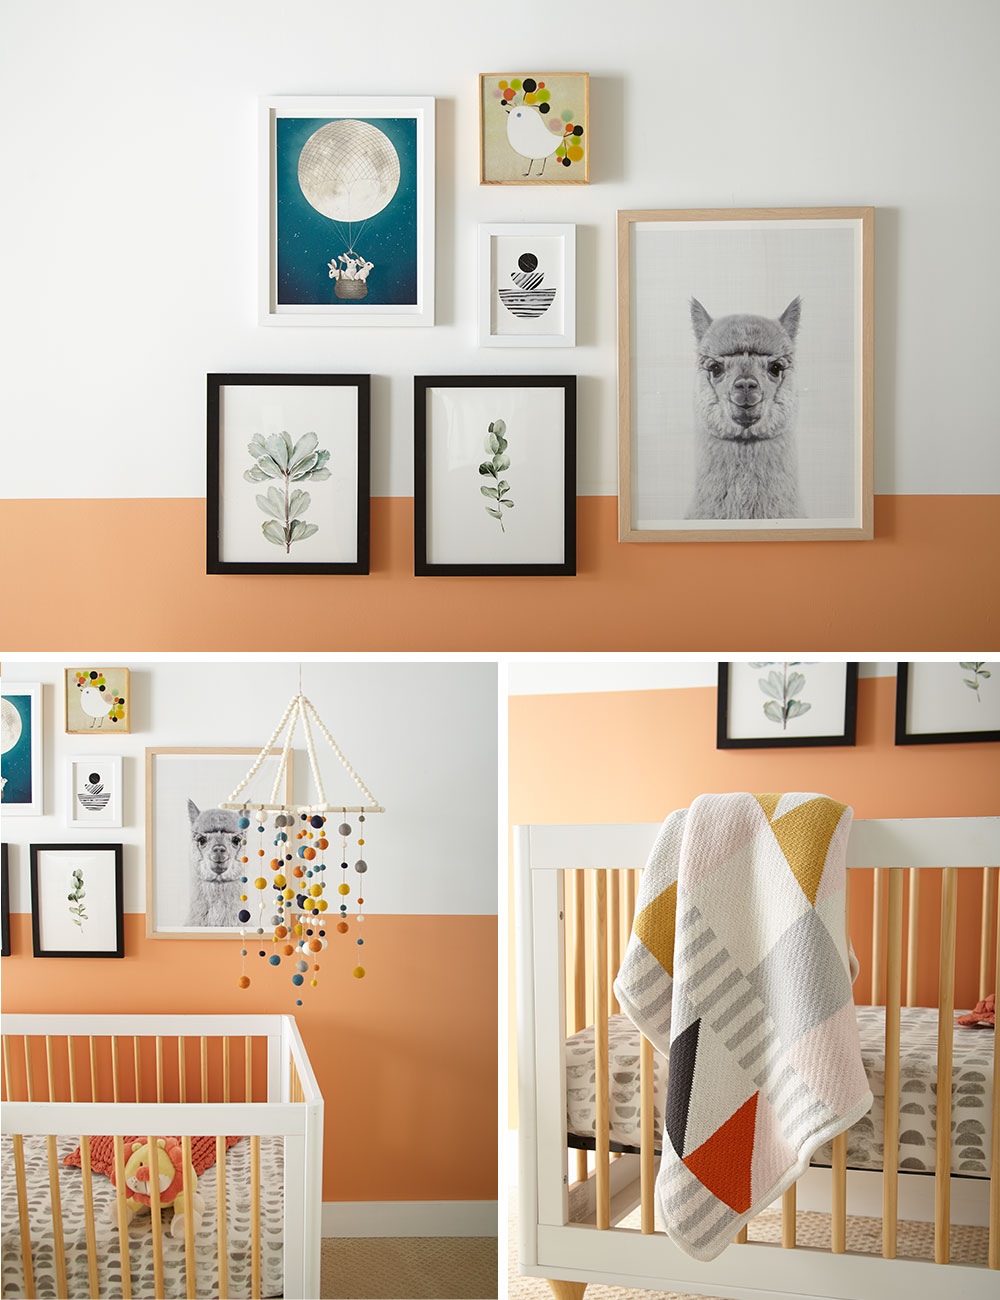
Primer and paint take the room from dim to delightful, and now it’s time to decorate! A hanging chair creates a relaxing space for rocking and reading, while a sweet white crib pops against the orange paint color and ties to the white hue on the upper wall. Fanciful artwork and a colorful mobile complement the color-blocking and create a fun focal point.
In need of your own nursery makeover? Read on below for step-by-step instructions!
Step 1:
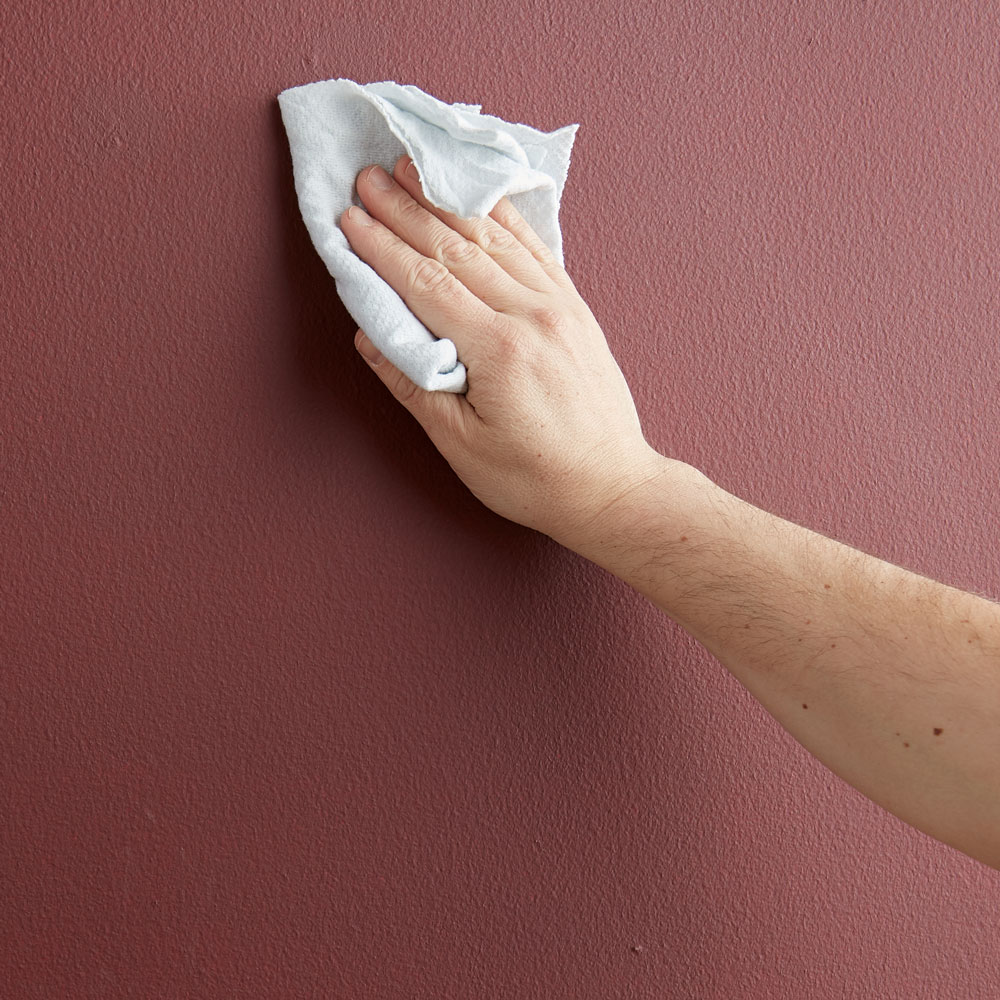
Wipe down walls with a damp cloth to ensure they are clean and free of dust. Allow to dry.
Step 2:
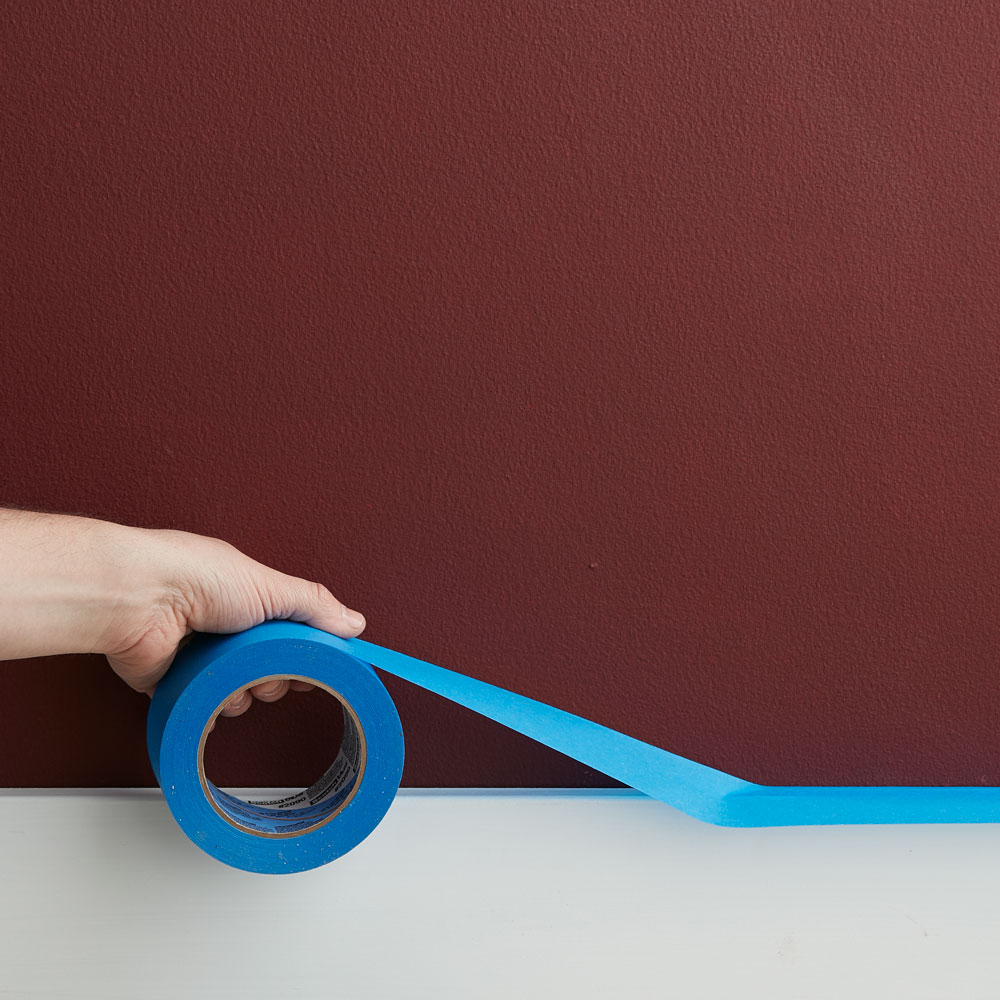
Tape around the baseboards and moldings with painter’s tape to ensure you don’t get primer or paint where you don’t want it!
Step 3:
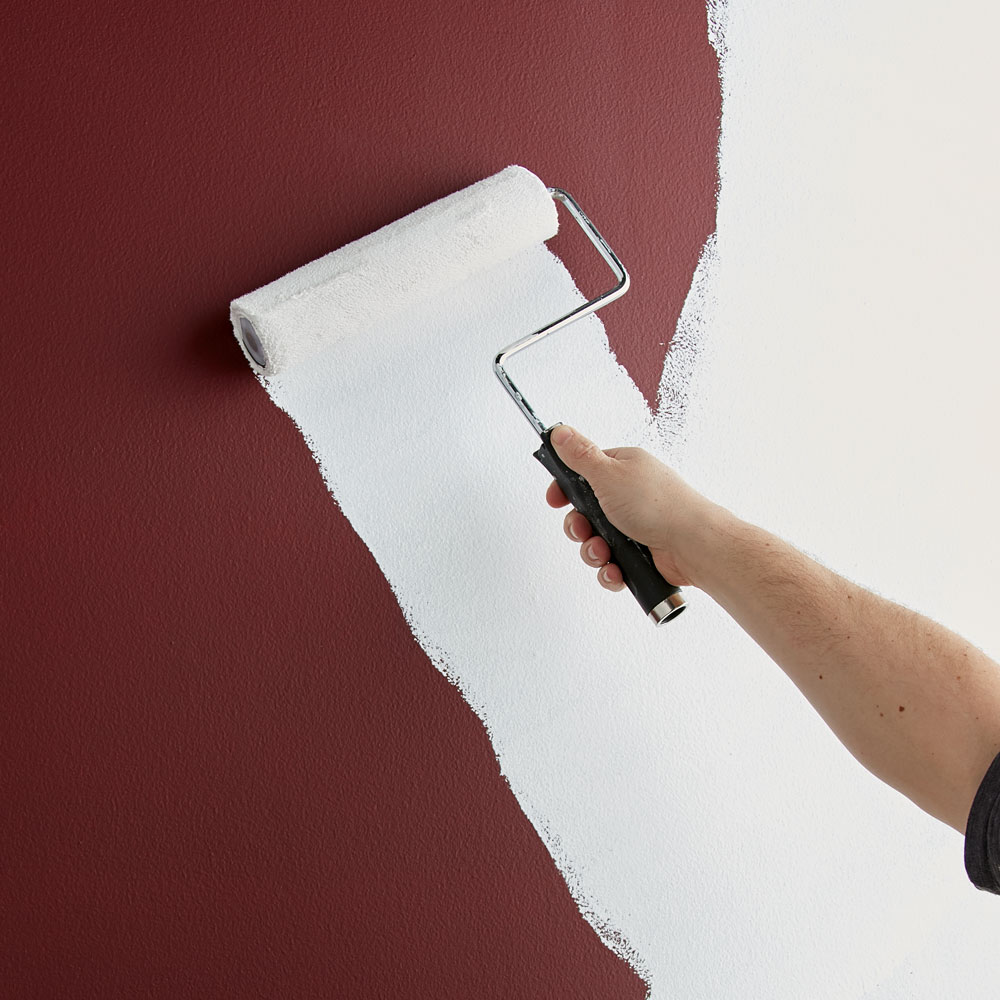
To block the old dark paint color, apply 1 coat of KILZ 3® Premium (stirring thoroughly before and occasionally during use) to the walls and allow to dry. Apply primer using a brush first to “cut in” around the edges, then use a roller to fill in.
Step 4:
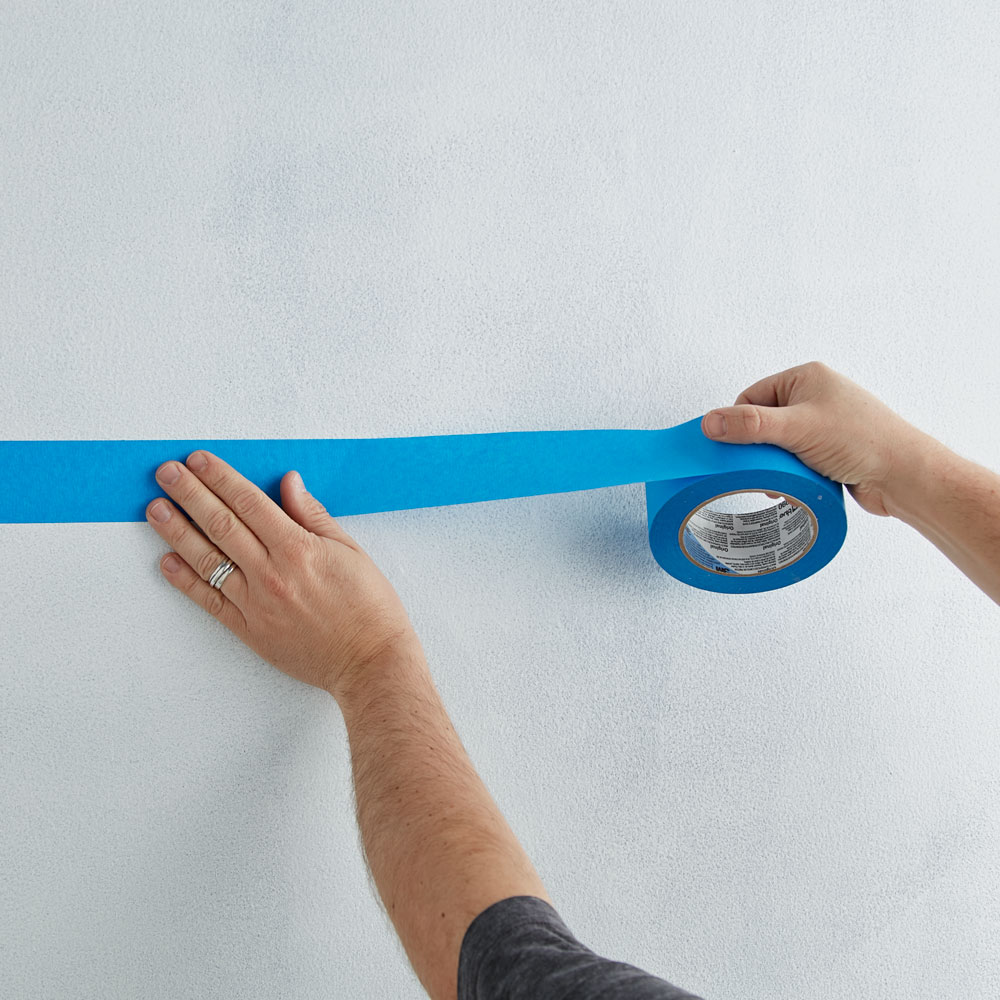
Once primer is dry, it’s time to tape off the color black pattern. Mark the wall where you want the top lighter color and darker bottom color to hit. Using a level and a pencil, draw a thin line to guide you. Next, apply painter’s tape to the line.
Step 5:
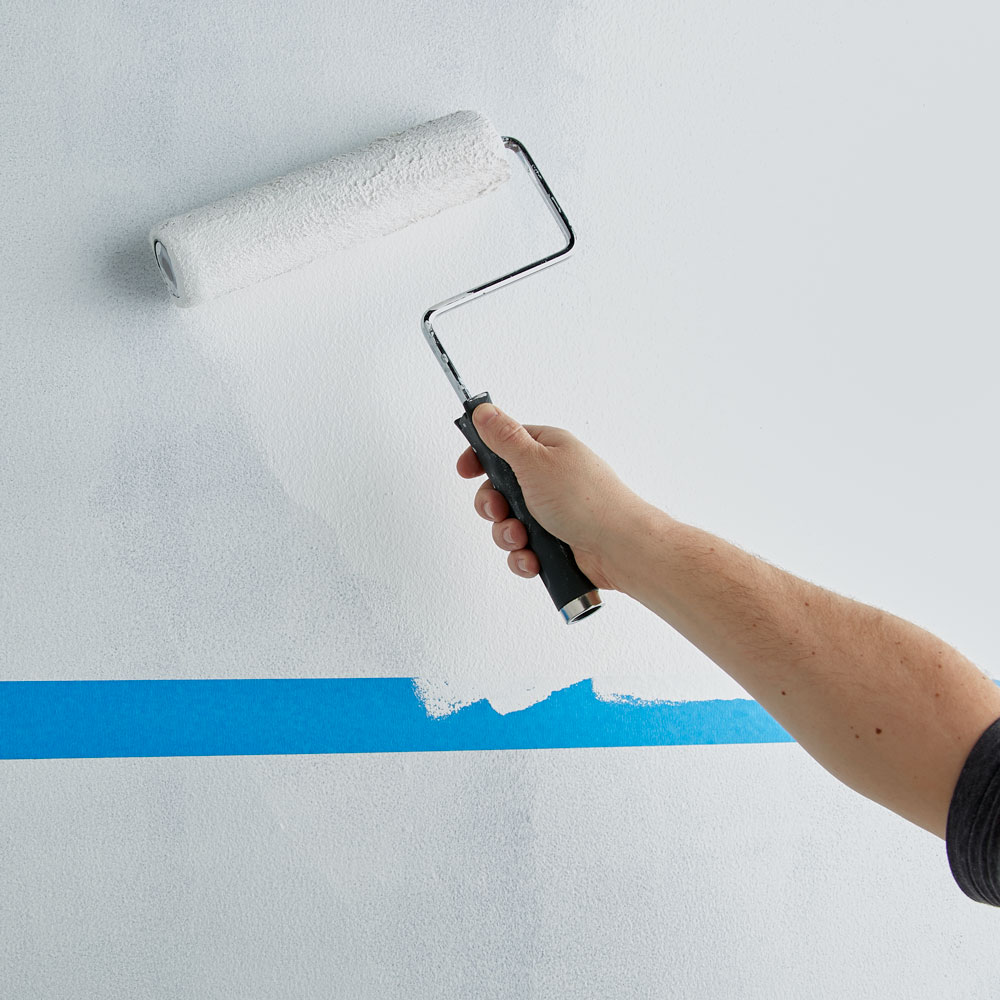
Starting with the lighter color for the top half of the wall (in this case KILZ Tribute® in Architectural White), apply using the same application method as the primer (using a brush first to cut in around the edges 4 to 6 feet at a time, then use a roller to fill in those sections before moving along). Remove the tape before the paint is fully dry.
Step 6:
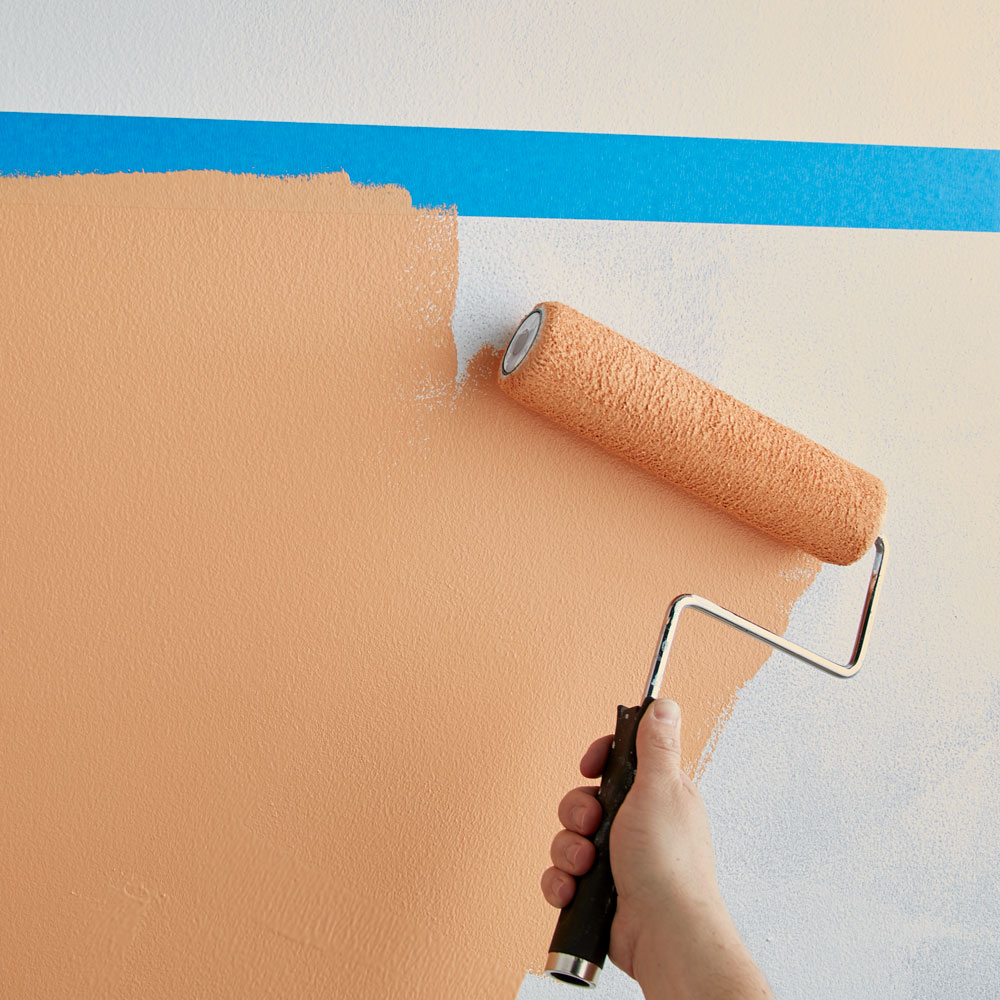
Once the paint is dry, reapply the tape so the bottom edge is even with where the Architectural White paint ended (essentially making sure the darker bottom color meets exactly where the lighter color stopped!). Then apply KILZ Tribute® in Bright Marigold to the bottom half of the wall using the same application method as before (using a brush first to cut in around the edges 4 to 6 feet at a time, then use a roller to fill in those sections before moving along).
Step 7:
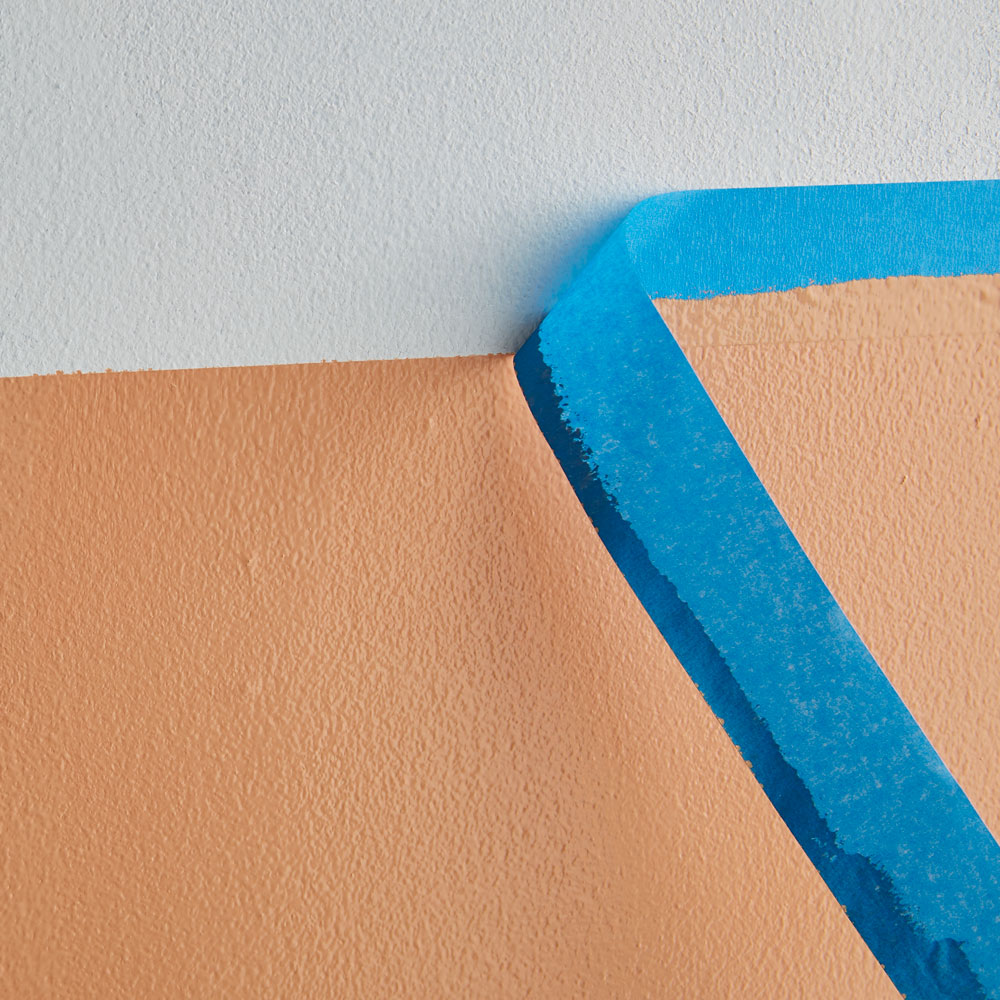
Remove the painter’s tape before the orange paint is fully dry, and you’re done!
Always remember to refer to our website kilz.com or product back labels for additional information on which primer is right for your project and detailed instructions on how to apply our products.
Prep Mildew Prone Areas Like a Pro
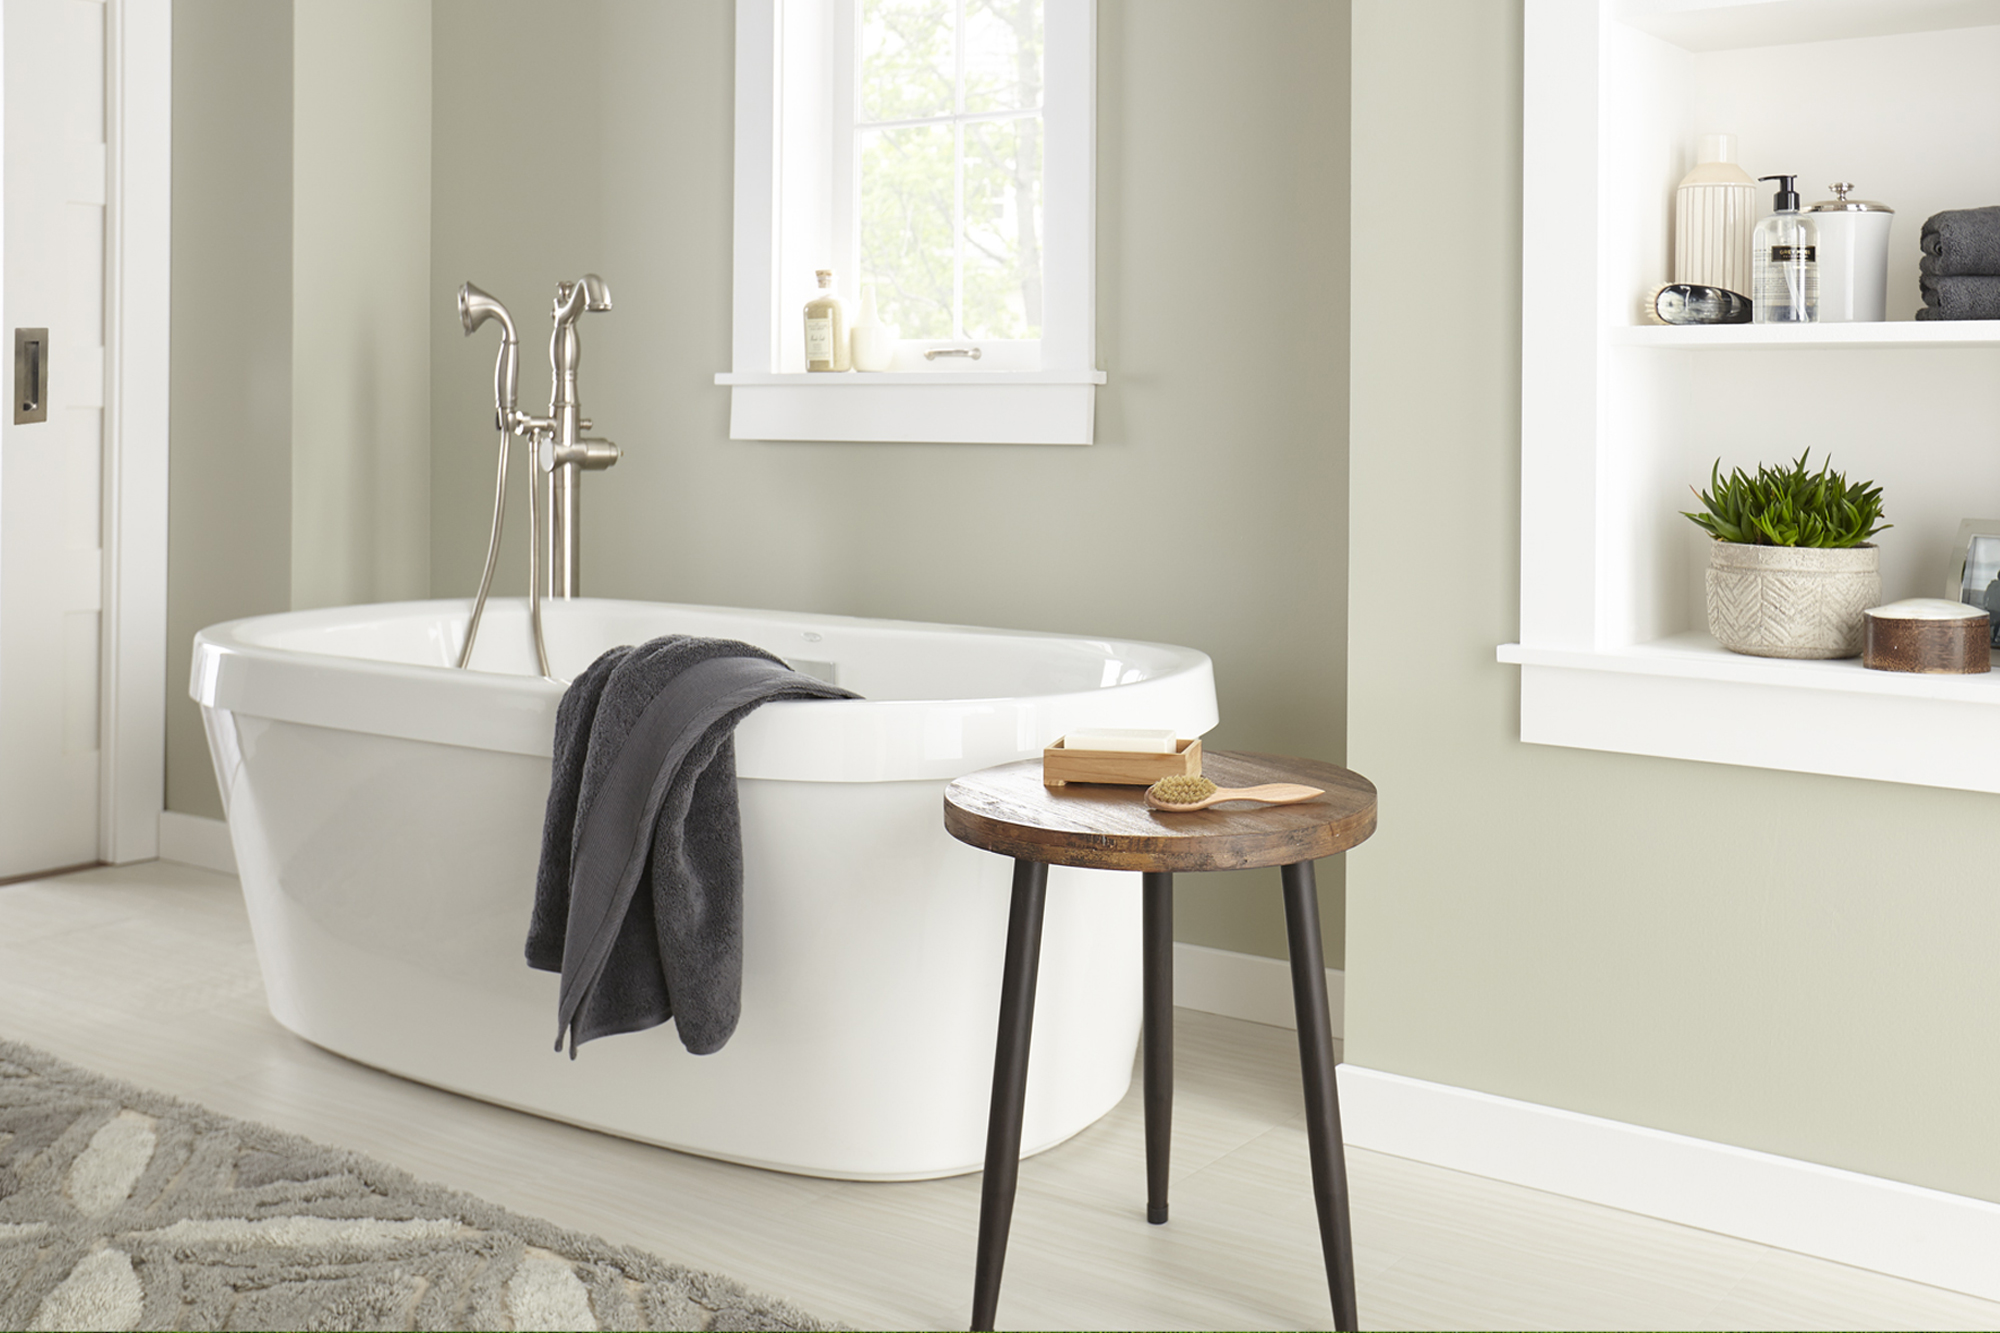
August 6, 2019Professional painters know that priming can be a crucial step for any paint project. Whether you’re painting fresh drywall or looking to hide a previous wall color, a primer should always be properly applied before your topcoat. The necessity of this prep step is even more advantageous in mildew prone areas like kitchens, bathrooms and laundry rooms. These rooms often have excessive moisture making mildew a common problem, and simply painting over the issue is only a temporary solution.
For results that last, a primer created with specific mildew-resistant properties is what professionals often choose. The last thing you want is a mildew ridden kitchen or smelly bathroom and KILZ® primer is here to help with professional tips for ensuring a mildew-resistant finish on your next paint project.
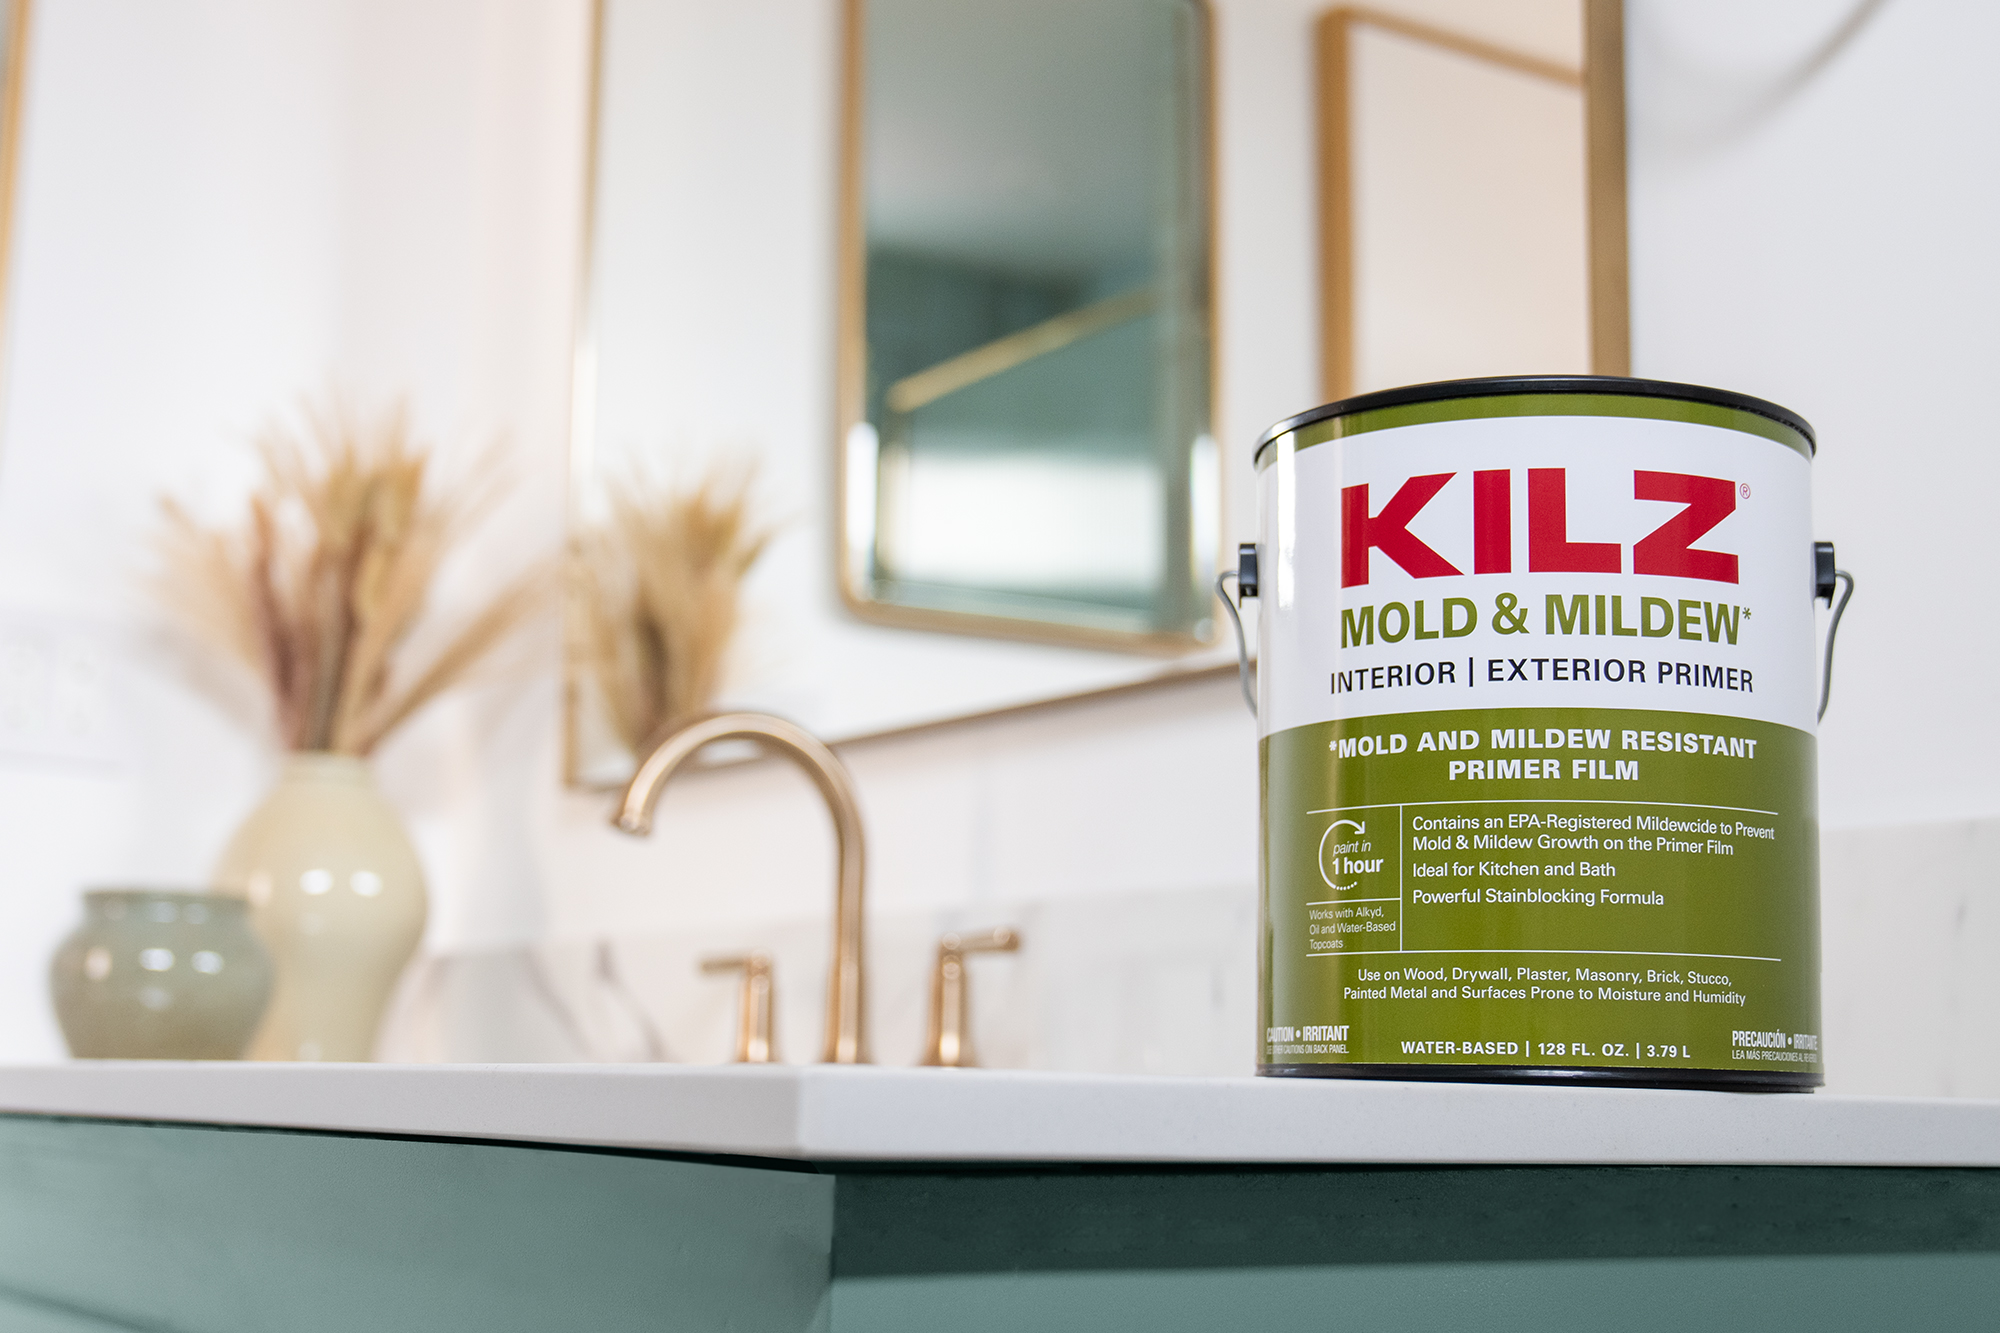
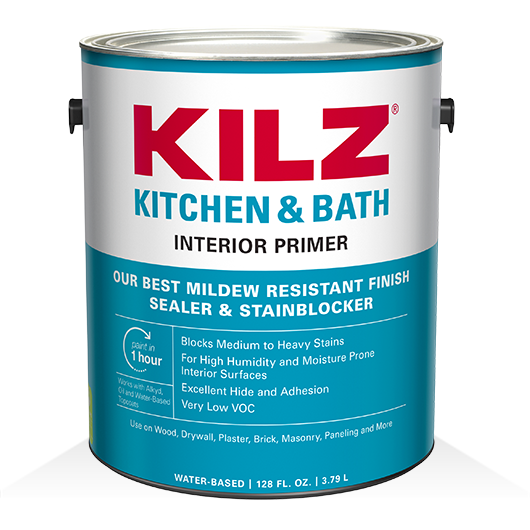
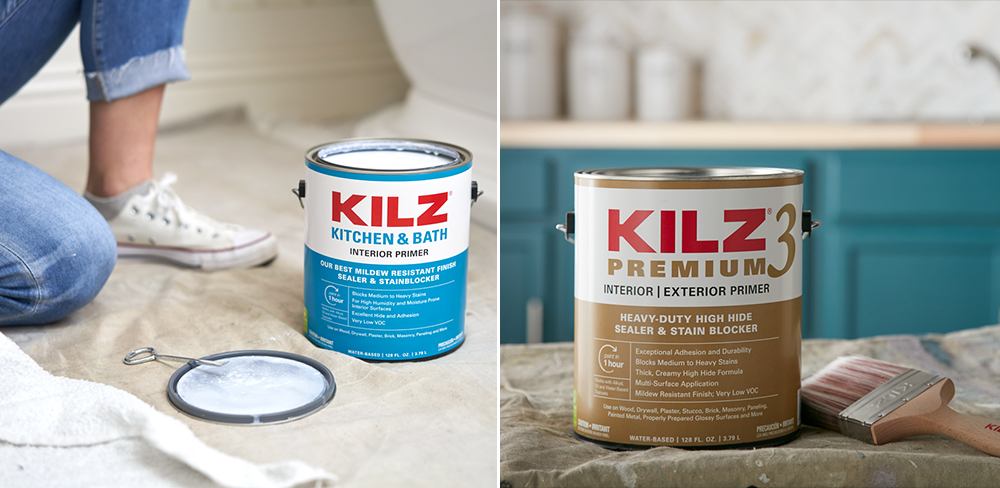 First things first, start by choosing the right primer. KILZ® Kitchen & Bath is specially designed for high-humidity and moisture-prone rooms like kitchens, laundry rooms and bathrooms. It has an enhanced mildew-resistant film that protects the primer from mildew growth. Another professional quality choice is KILZ 3™ Premium. Formulated for both interior and exterior use, this water-based primer works well for a variety of home improvement projects.
Now you’ve got the right primer, what’s next? Start by cleaning any existing mold or mildew off the surface you’re going to be priming and painting. Once the surface is fully dry, it’s time to prime!
For results that last, a primer created with specific mildew-resistant properties is what professionals often choose.

join the conversation:
SHARE this post: