Tag: KILZ Original Interior Primer
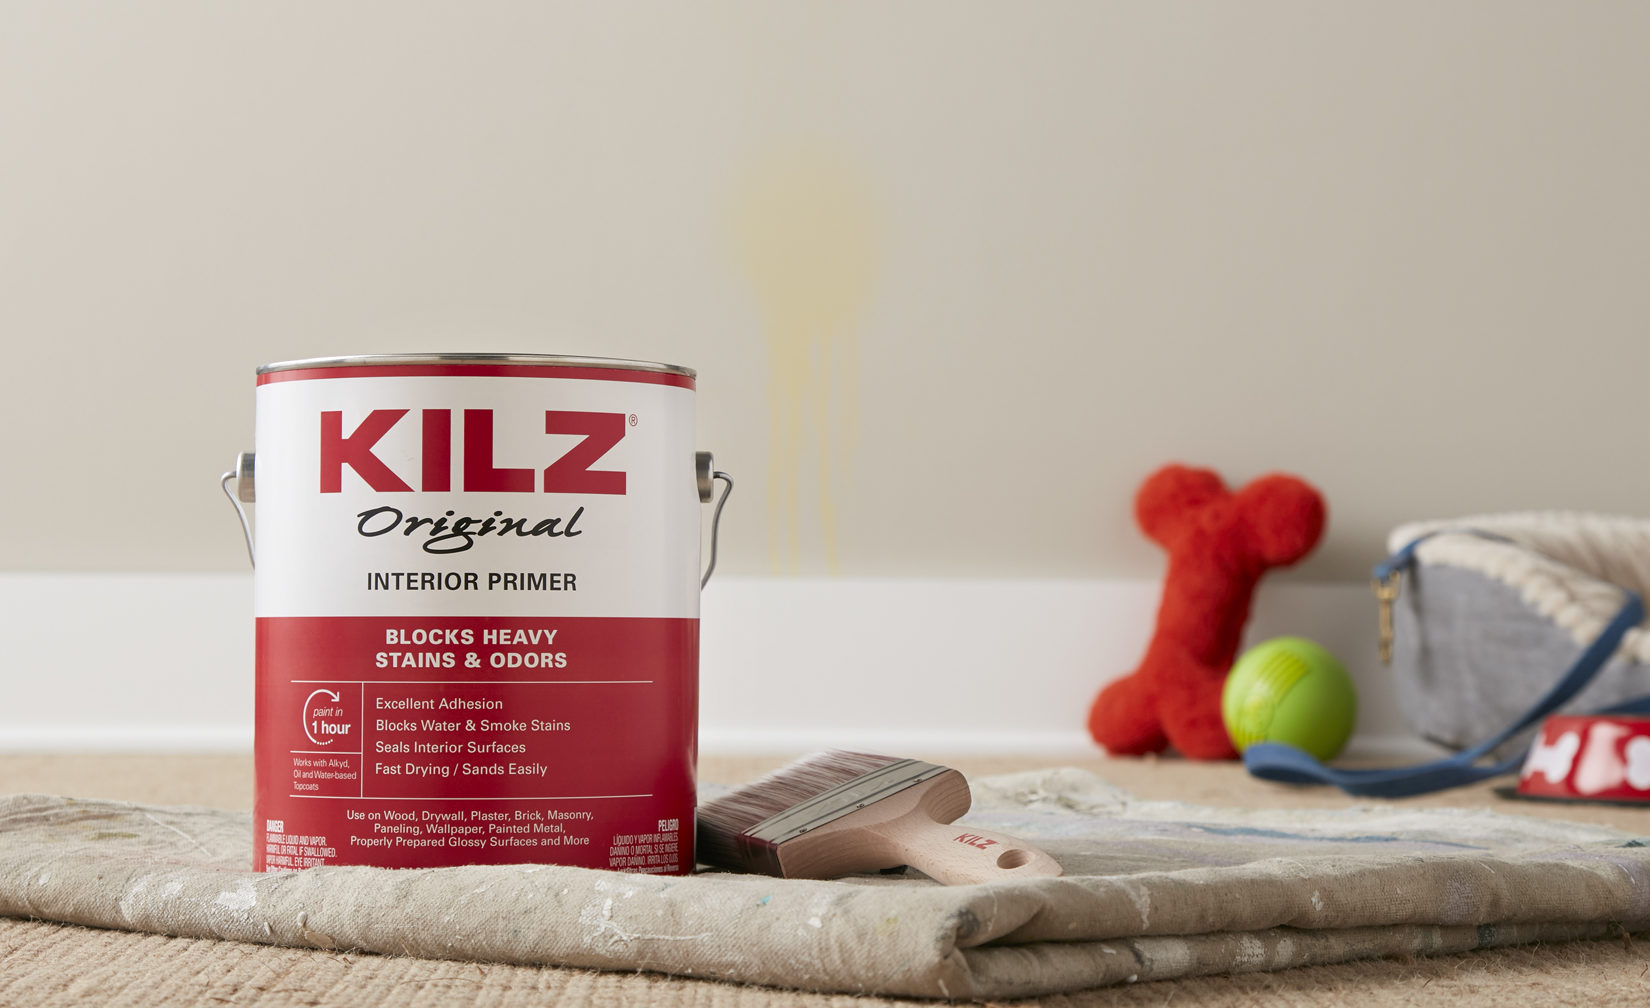
Seal & Block Odors
August 26, 2019There is a lot to love about pets and the KILZ brand loves furry friends. That’s why we’re excited to celebrate National Dog Day on August 26! In honor of the upcoming holiday, we thought it was a great time get real about odors – pesky pet odors that is.
While more than a few KILZ brand team members share our homes with dogs or cats, no one likes their home filled with unpleasant stains or odors left accidentally by the family pet. Seemingly hard surfaces in your home including floors and walls can actually absorb stains and smells, making it that much harder to get your place smelling and looking fresh after the dog has made a mess. Luckily, there are KILZ® Primers formulated specifically to seal and block odors.
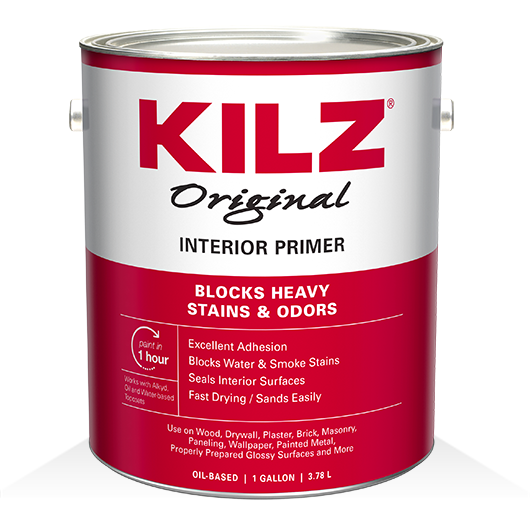
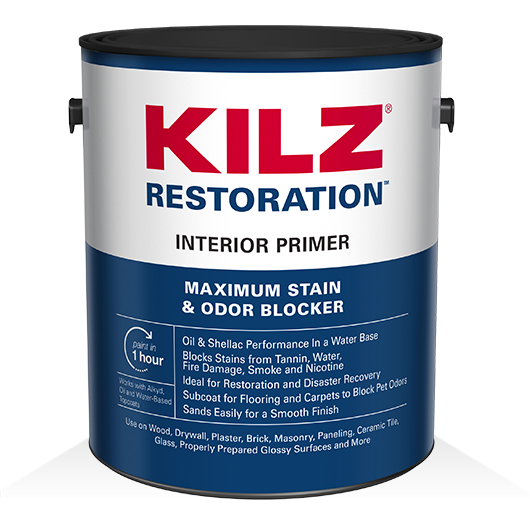
Simply painting over a blemished wall won’t always do the trick and you can be left with stains (and smells!) seeping through. Using the right primer before painting over a pet stain helps with providing a barrier that keeps odor from penetrating the new paint. A great choice for this purpose is KILZ® Original primer. Trusted by professional painters for over 40 years to tackle the toughest odors, this hardworking primer helps to block most heavy interior stains including water, smoke, tannin, ink, marker, pet stains and more. And if you’re looking for a water-based primer that can help seal and block odors, KILZ Restoration™ primer is a top pick.
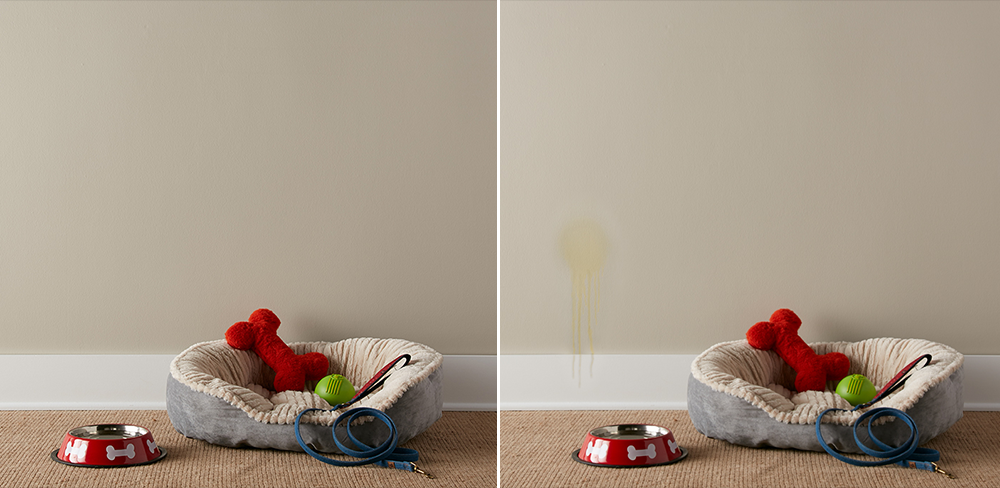
If you’re in need of ridding your home from unpleasant stains and odors, keep on reading. We’re sharing the simple steps below to tackle odors, repaint and leave your home fresh as new!
Steps to Seal & Block Odors:
Step 1:
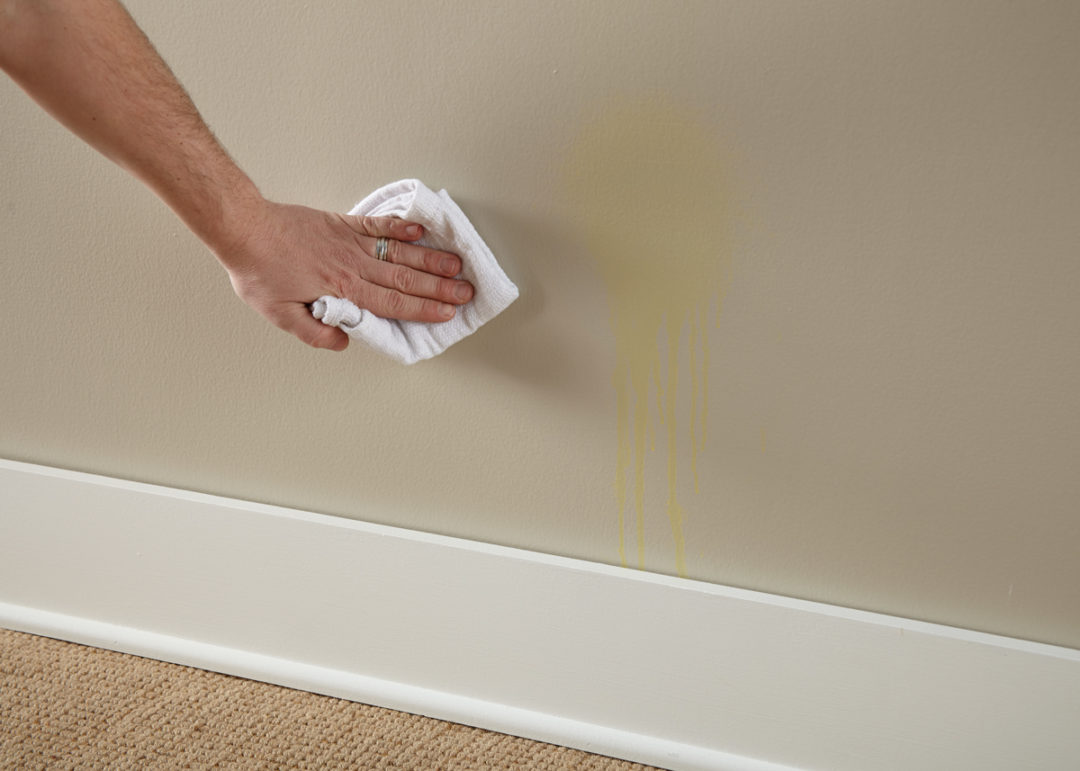
Wipe down the wall with a damp cloth to ensure it is clean and free of dust. Allow the surface to dry. Ensure adequate cross-ventilation prior to priming.
Step 2:
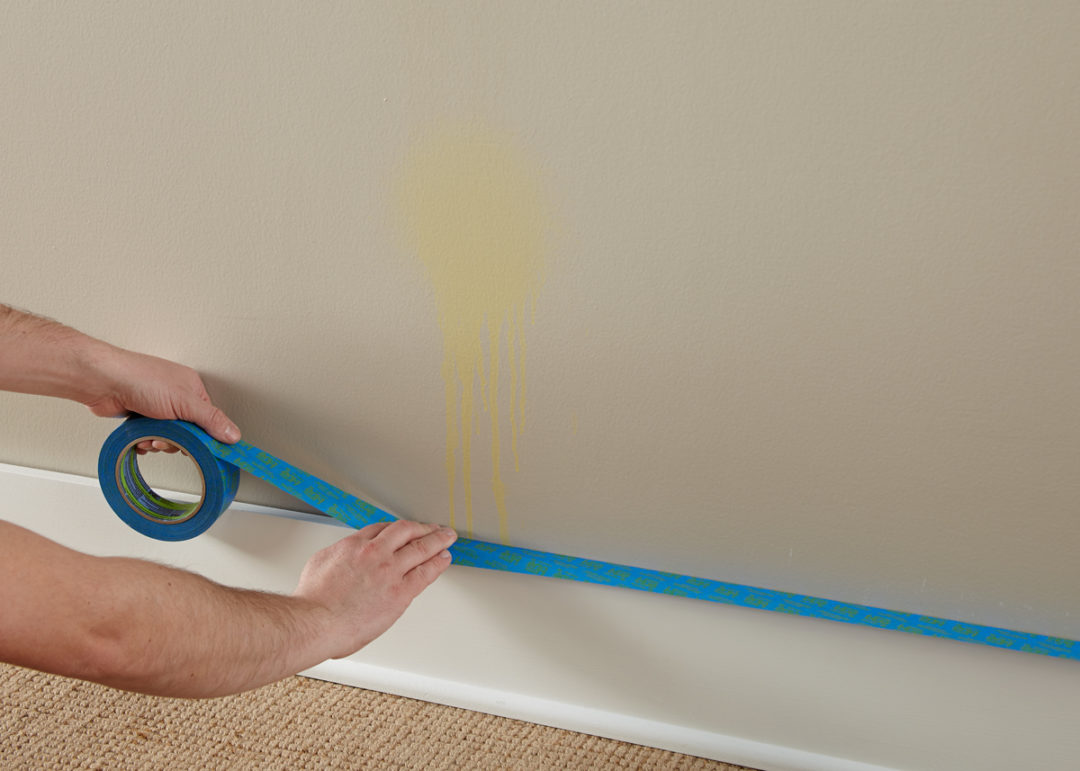
Tape around any baseboards, trim and moldings.
Step 3:
To seal and block pet odors and stains, apply KILZ® Original primer. Stirring prior to and during use, apply primer using a brush first to “cut in” around the edges, then use a roller to fill in.
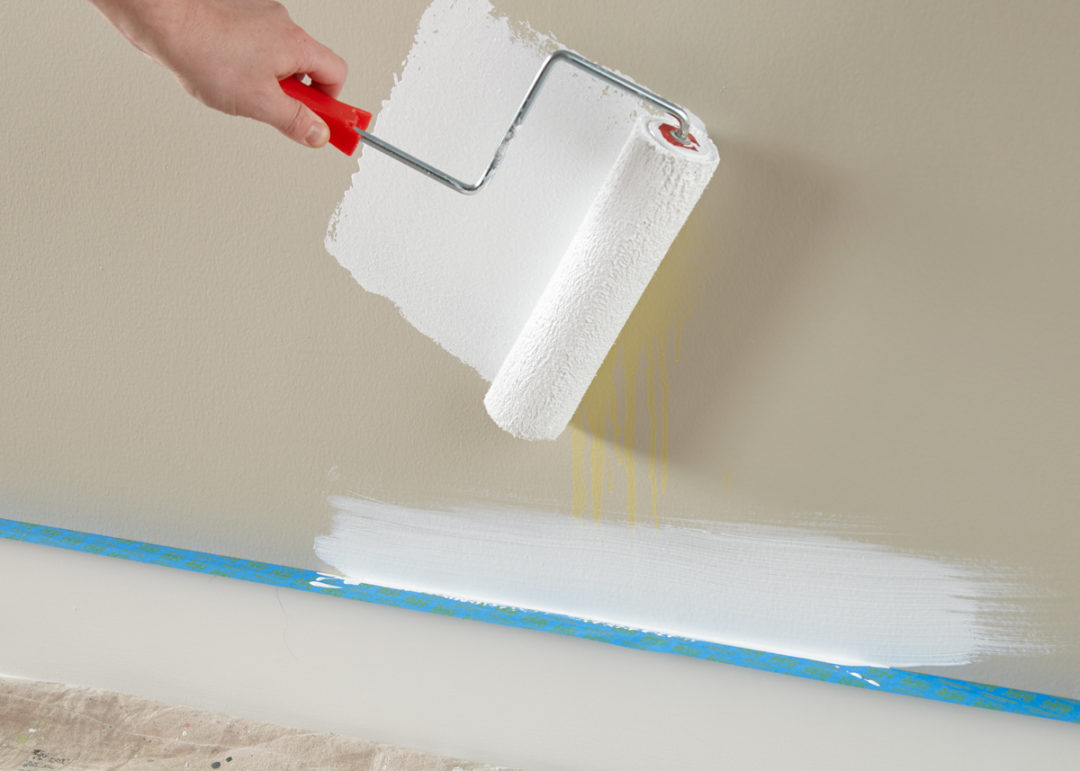
Step 4:
Once primer is dry (allow 1-hour dry time), apply a fresh coat of paint using the same application method as the primer – using a brush first to cut in around the edges 4 to 6 feet at a time, then use a roller to fill in those sections before moving along.
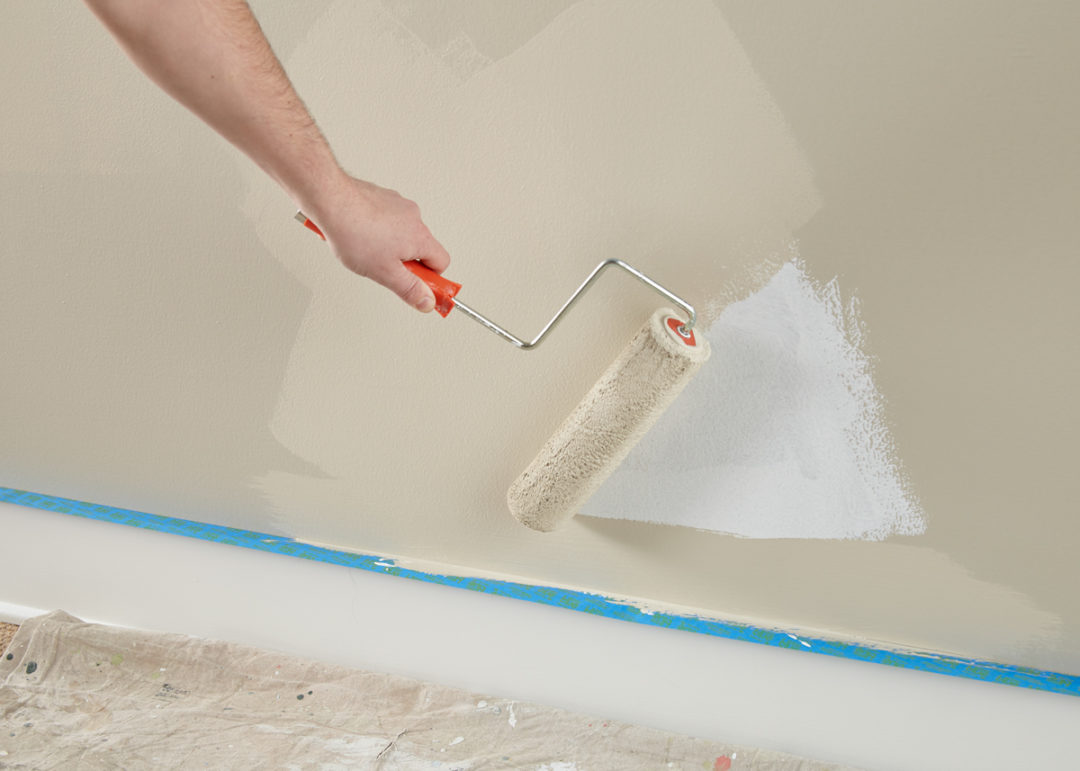
Step 5:
Remove tape prior to paint fully drying and your work is done.


join the conversation:
SHARE this post: