Tag: KILZ Adhesion
DIY Made Easy with KILZ® Primer
April 2, 2024Getting started
DIY’ers know that when it comes to home restoration and remodeling, shortcuts can’t be taken. Perfect painting requires the perfect primer to solve the multitude of problems that any surface presents. Ensuring you have the right foundation with a quality primer like KILZ® can set you up for success. This guide simplifies the selection process for primers that best fits your project and outlines the essential tools for application.
Why Prime?
Primer ensures your paint adheres to the surface properly, making it last longer. It achieves even color and full coverage with fewer coats, prevents old stains and colors from bleeding through, and adds a protective layer, which is vital for exterior projects.
The first step in any project is making a Painting Checklist of all the tasks you’ll need to take on. Know your surfaces and space. Whether you’re priming to paint outdoors or indoors, on wood, glass, metal or drywall, each scenario requires a specialized primer and process.

Choosing the Right KILZ® Primer
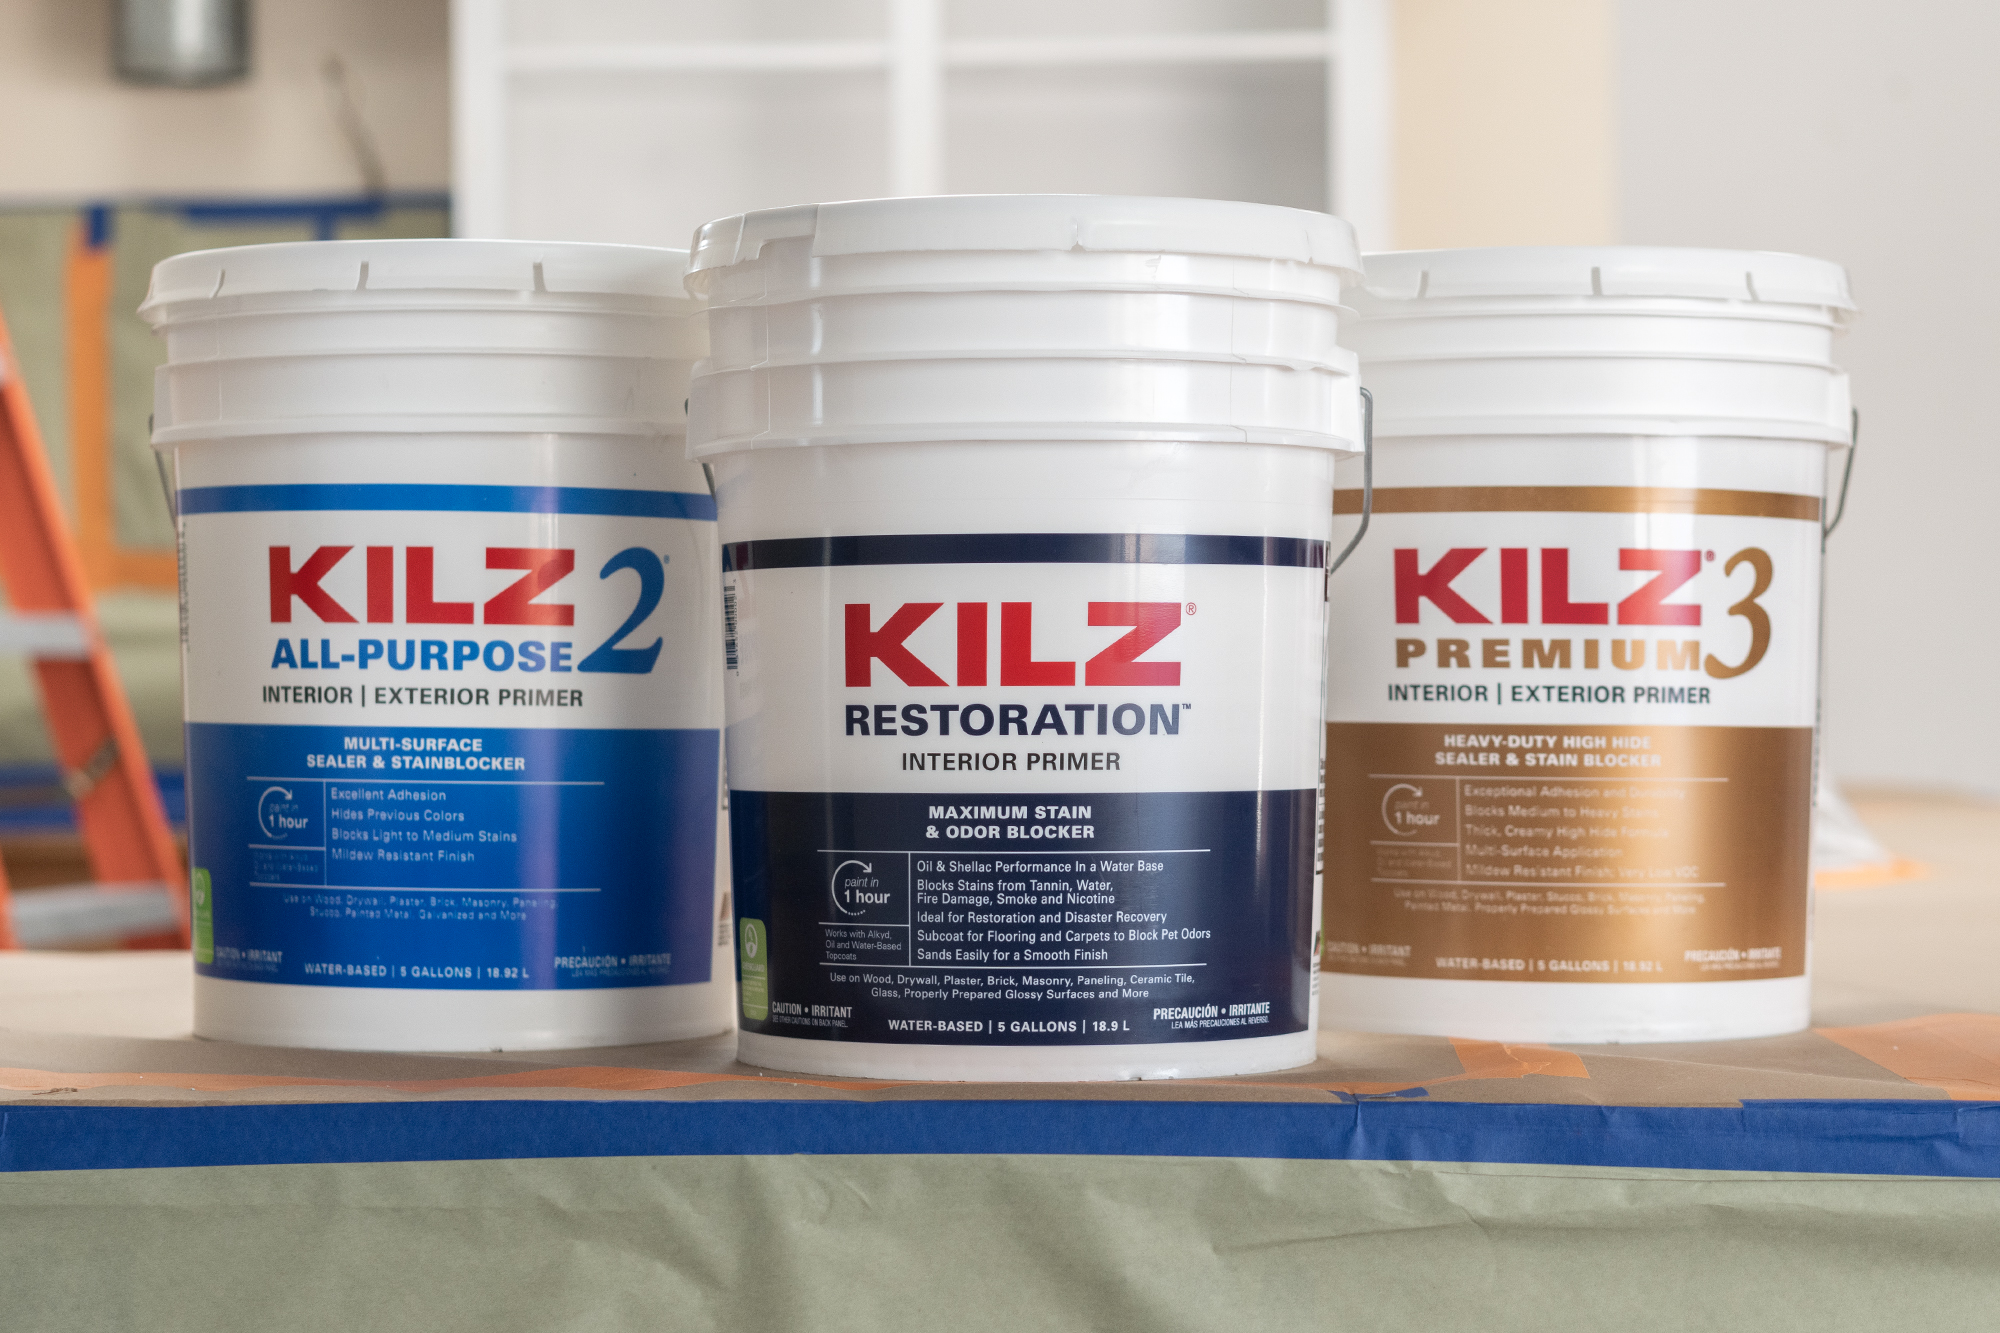
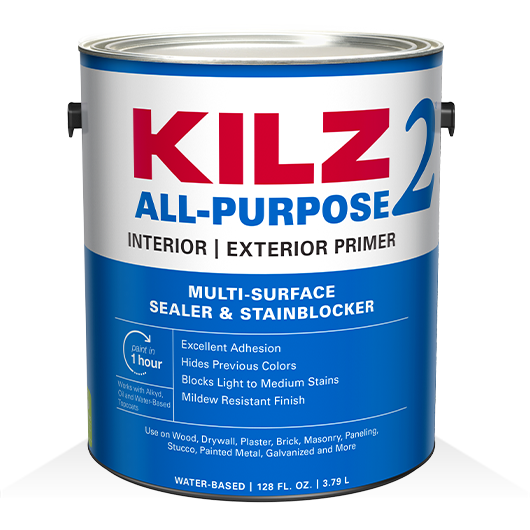
KILZ 2® All Purpose
• Ideal For: Indoor/outdoor use.
• Highlights: Fast drying, water-based, multi-surface primer-sealer-stain blocker with excellent adhesion and mildew resistance.
KILZ 3® Premium
• Ideal For: Versatile indoor/outdoor use on wood, plaster, concrete, etc.
• Highlights: High-hiding formula is great for color change and blocking medium to heavy stains.
KILZ Restoration®
• Ideal For: Addressing heavy-duty stains like smoke or water damage.
• Highlights: Combines oil-based primer benefits with water-based formula ease.
KILZ® Adhesion
• Ideal For: Difficult surfaces like glossy finishes, PVC, or metal.
• Highlights: Enhances paint adhesion where traditional primers fail.
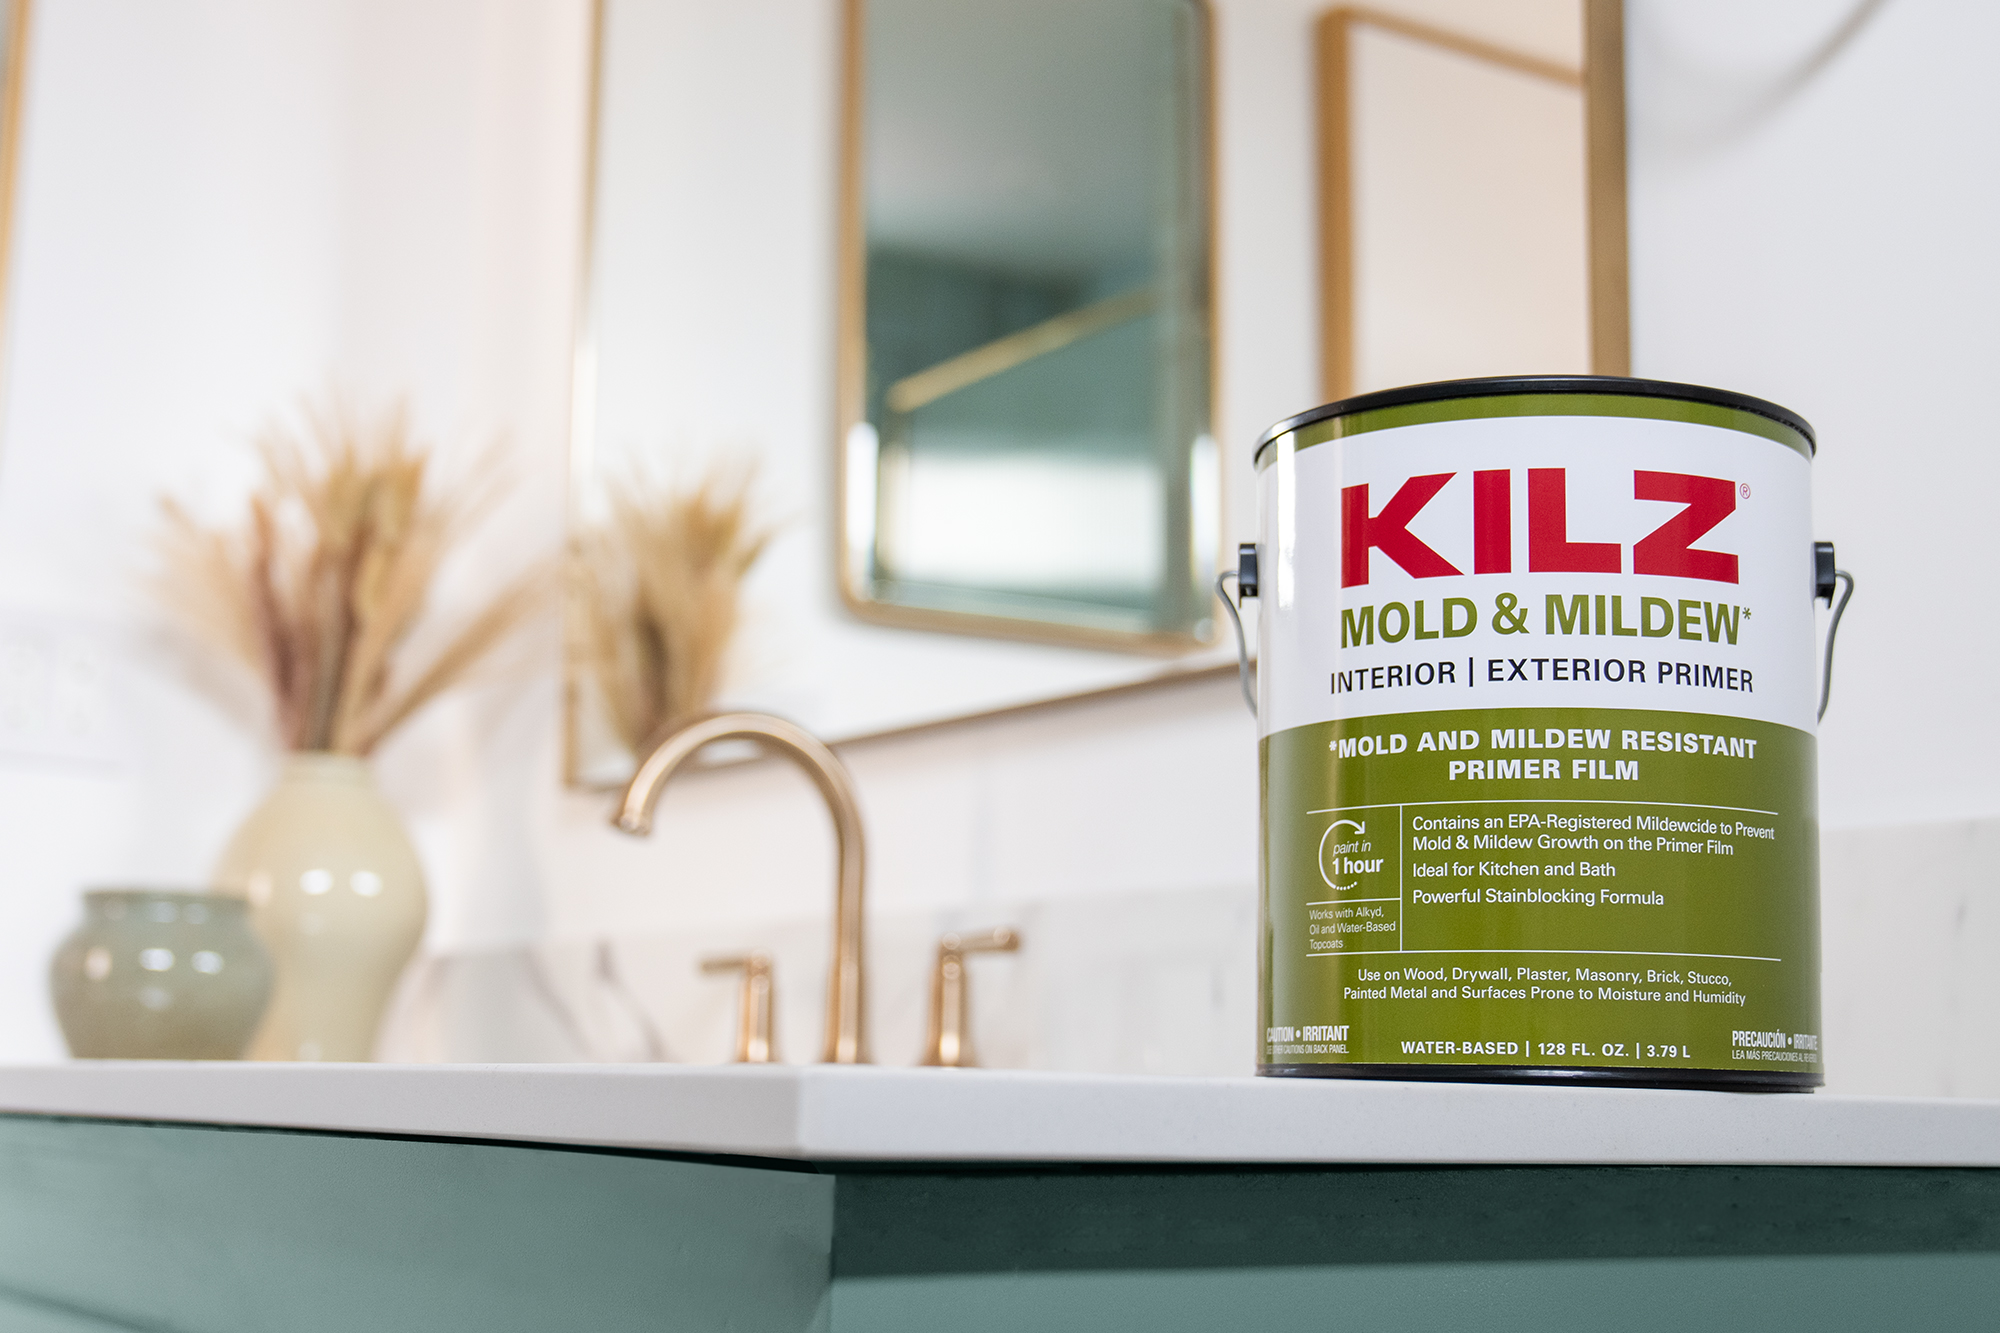
KILZ® Mold & Mildew
• Ideal For: Moisture-prone and high-humidity environments such as kitchens, bathrooms, and laundry rooms.
• Highlights: A stain-blocking primer that resists mold and mildew growth on the primer film.
Required Tools And Preparation
Preparing your surface is an important step before applying primer, never prime over a dirty surface, clean your surface as best you can before you apply primer.
Here’s what you’ll need for primer application:
• Brushes: High-quality brushes are essential for cutting in around edges and in tight spaces. A 2-3 inch angled brush is versatile for most projects.
• Rollers: For larger surfaces, a roller can make the application quicker and more efficient. Use a roller with the appropriate nap length for your surface; smoother surfaces require a shorter nap.
• Paint Tray: Essential for holding primer and rolling out excess before application.
• Sandpaper: After the primer dries, you might need fine-grit sandpaper (around 220 grit) for smoothing out any bumps or imperfections.
• Drop Cloths: Protect your floors and furniture from drips and spills.
• Painter’s Tape: Use this to mask off areas you don’t want primed, such as trim or windows.

Applying Primer
Follow these 4 steps for proper primer application:
1. Surface Prep: Clean and sand your surface as needed to ensure it is smooth and ready for primer.
2. Apply Primer: With your chosen tools, apply the primer in even, controlled strokes or rolls, following the specific directions for your Kilz product.
3. Inspect and Sand: After drying, check for drips or rough spots, sanding lightly if necessary.
4. Paint Application: Once the primer is dry, proceed with painting, enjoying the smooth base your primer has created.
Your Surface Is Now Ready For Paint
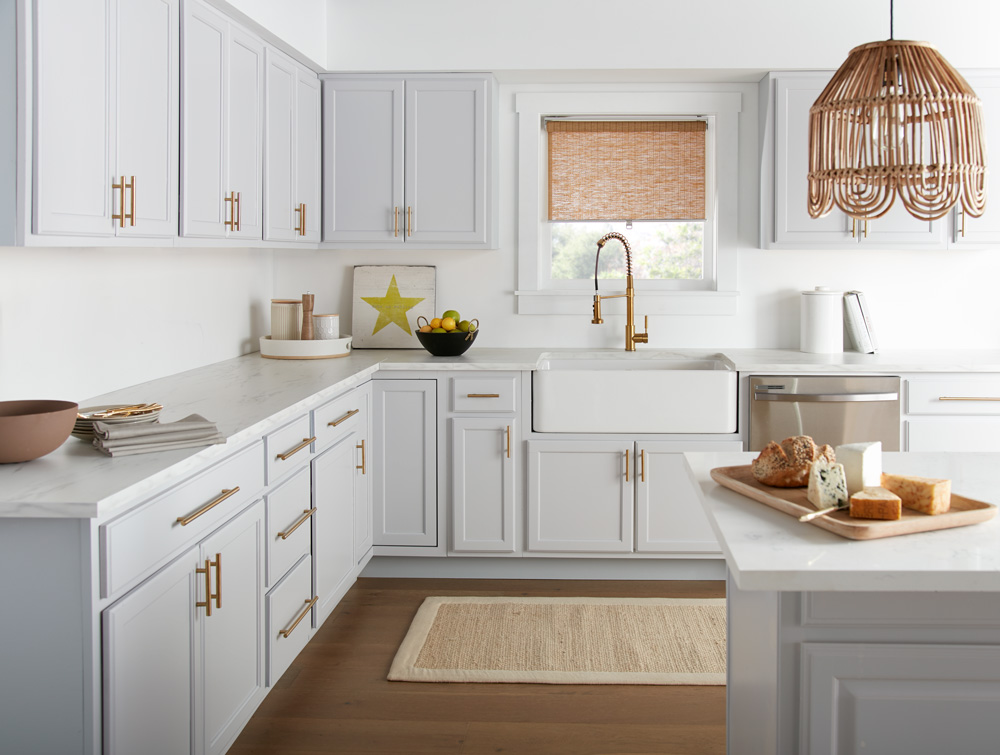
Selecting the right KILZ® primer and using the proper tools for application can dramatically affect the quality and longevity of your project. Whether tackling a small piece of furniture or an entire room, starting with a solid foundation will ensure a professional-looking finish that lasts. Dive into your project with confidence, knowing you’re equipped with the best products and tools for the job.
Happy DIYing!

join the conversation:
SHARE this post: