Tag: Inspiration
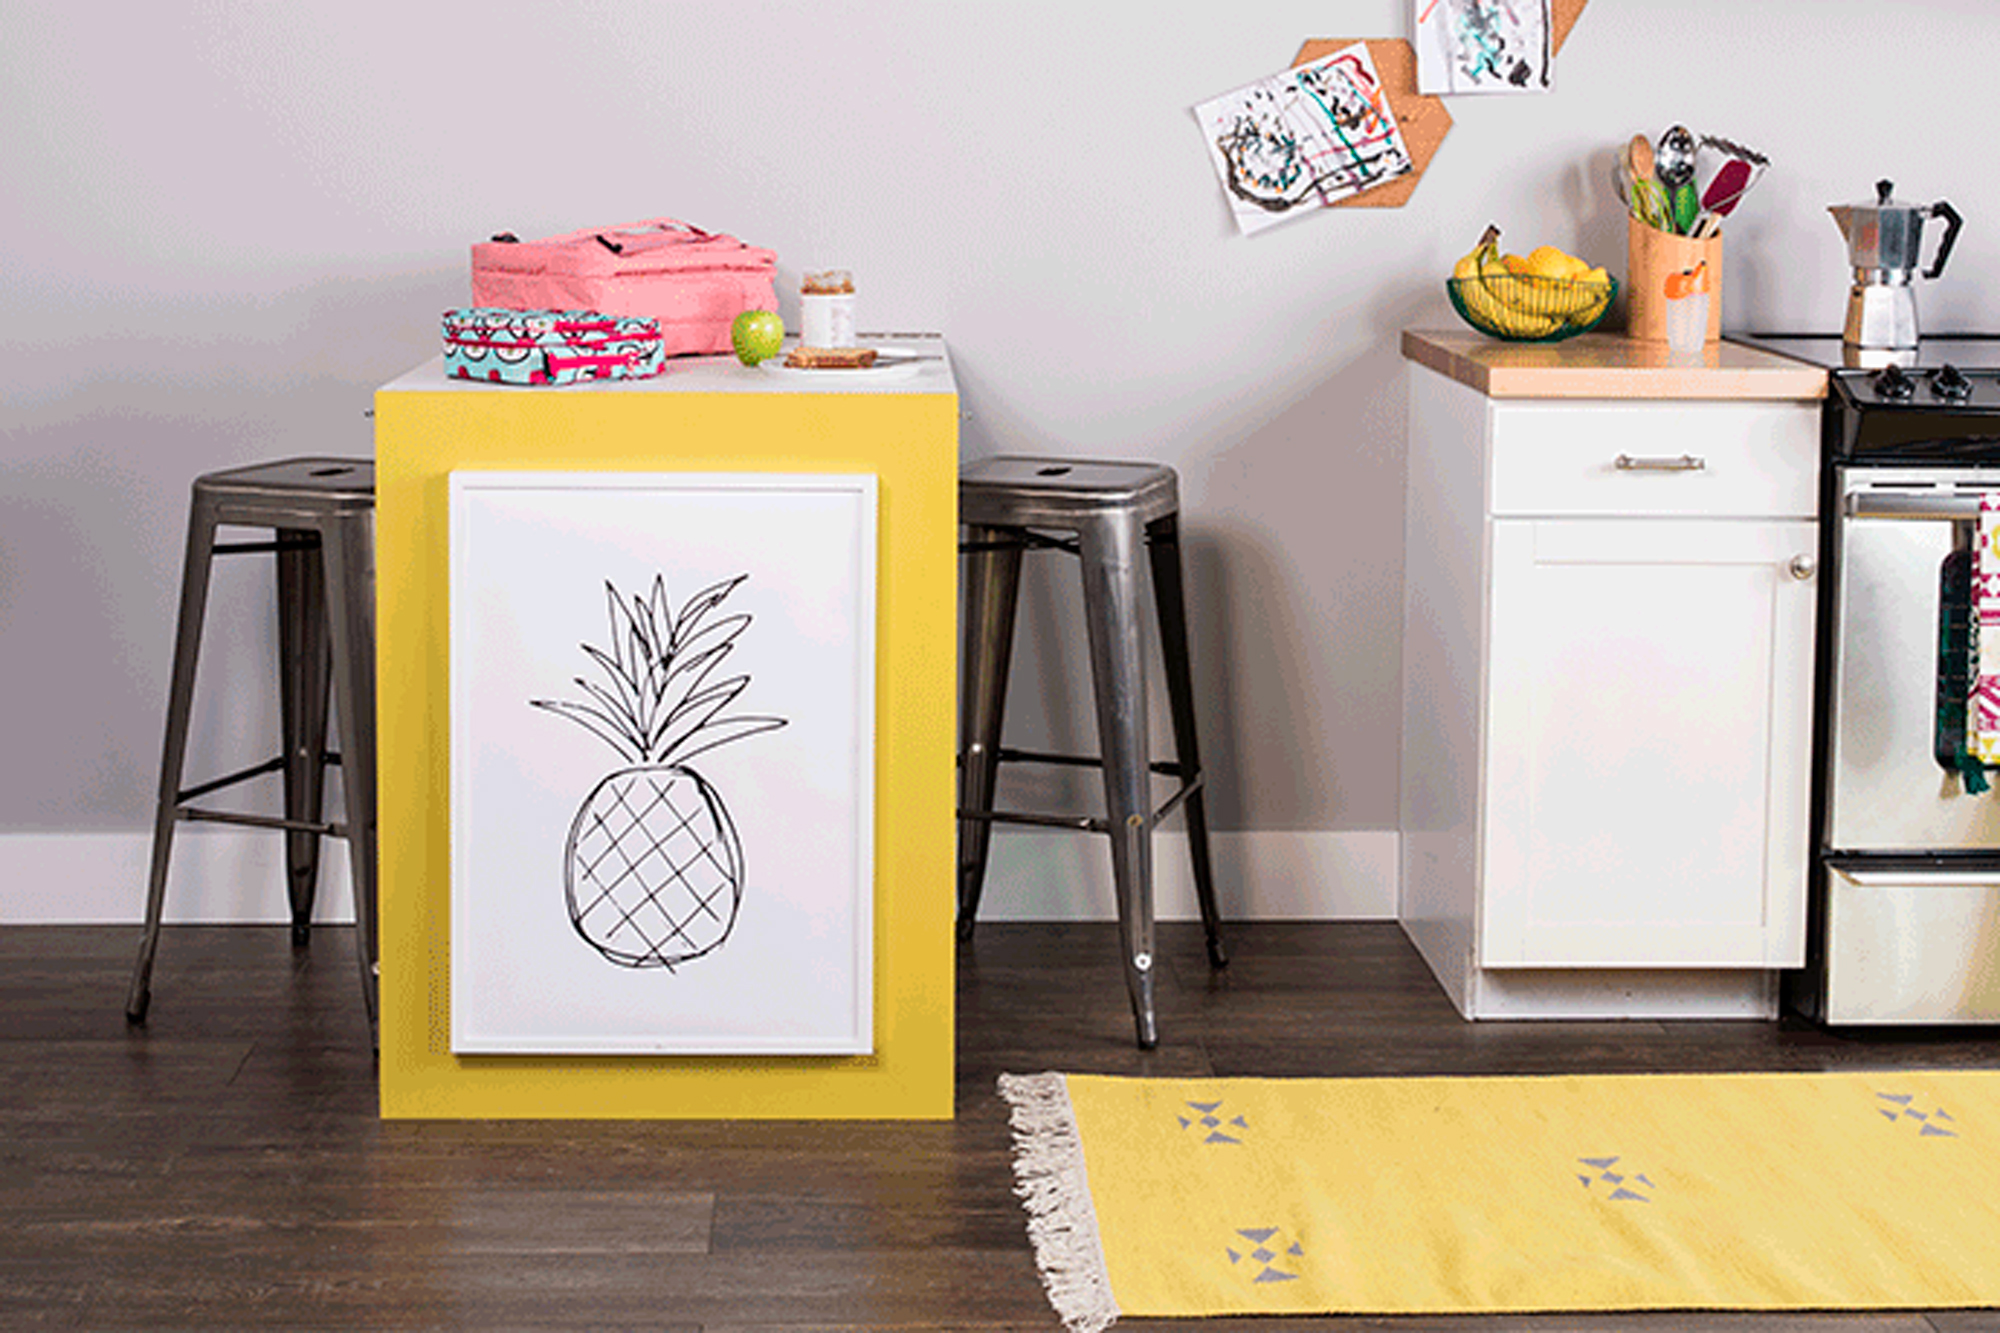
Small Kitchen Hack & A Pop of Color
January 10, 2017This project is one of our favorites because of the unexpected twist that adds not only color but functionality to this space. If there’s not enough square footage for that 12 person dining table you’ve always dreamed of, we think you will love this solution. For this project we will show you how to create an optional tabletop space that retracts up and down allowing you to utilize at your convenience. This Murphy table will double your working counter space, and can even be used as a desk for the little ones to color! This concept can be used in a hallway, bedroom, office or garage for a working station!
Project Checklist:
- Plywood
- KILZ COMPLETE COAT® Paint and Primer in One
- 100-150 Grit Sandpaper
- Dust Mask
- Damp Cloth
- Paint Brush
- 3/8”-1/2” Synthetic Roller
- Framed Artwork
- Drill or Screwdriver
- Screws
- Piano Hinge
- Hook and Eye Latch
- Stir Stick
- Can Key
- Framed Artwork
- Measuring Tape
- Level
Step 1:
Start by cutting 2 pieces of 1/2″ plywood to size 28-1/4″ X 36″. Then cut 2 additional pieces of plywood to 1″ X 28-1/4″ for the wall cleats.
Step 2:
Sand all pieces of plywood with 100-150 grit sandpaper.
Step 3:
After sanding, use a damp cloth to remove any dust from the pieces of plywood.
Step 4:
Open a can of KILZ COMPLETE COAT® Paint and Primer in One and thoroughly stir the paint.
Step 5:
Paint all of the pieces of wood with your selected colors and allow to dry.
Step 6:
Allow 2 hours dry time*, apply second coat if needed.
*Dark colors and high humidity areas may have extended dry times.
Step 7:
Next measure and cut the 2 piano hinges to size 28-1/4″.
Step 8:
Using screws, attach the first piano hinge to connect the two larger pieces of plywood (table top and leg). Then attach the second piano hinge to connect the table top to the first cleat.
Step 9:
Measure and center the picture frame onto the front of the table leg. Once centered attach the frame with screws.
Step 10:
Attach the table top and lower cleat to the wall.
Step 11:
With the table folded against the wall, measure and attach the top cleat to the wall.
Step 12:
Finish by measuring and attaching the hook and eye latch to the top wall cleat and the table leg.
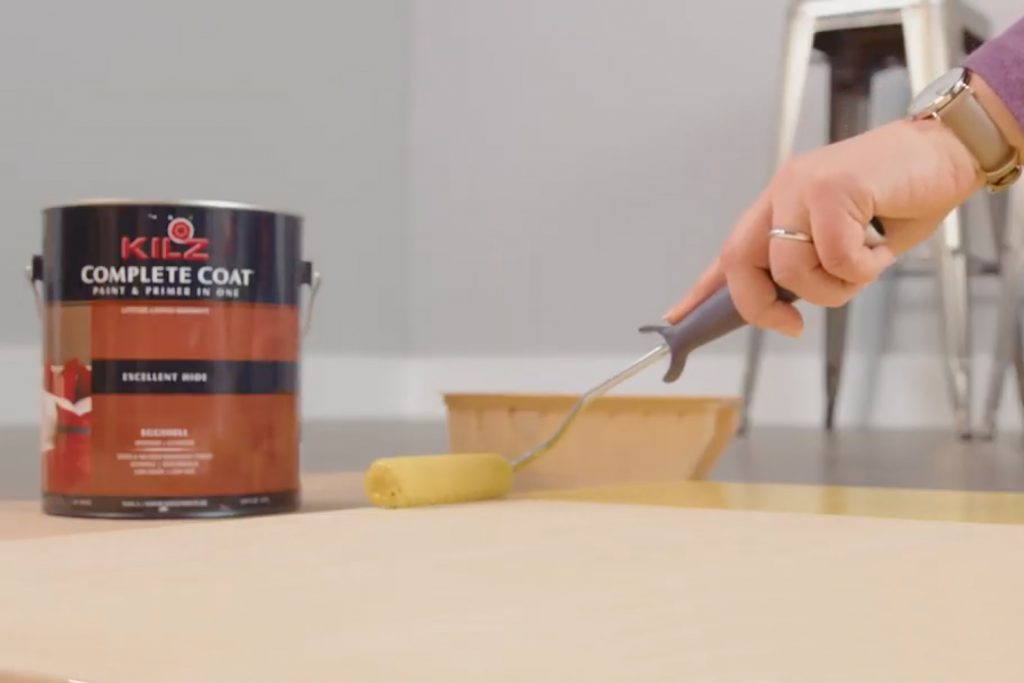
Pro-tip: For best results, apply with smooth strokes that go in the same direction as the wood grain.
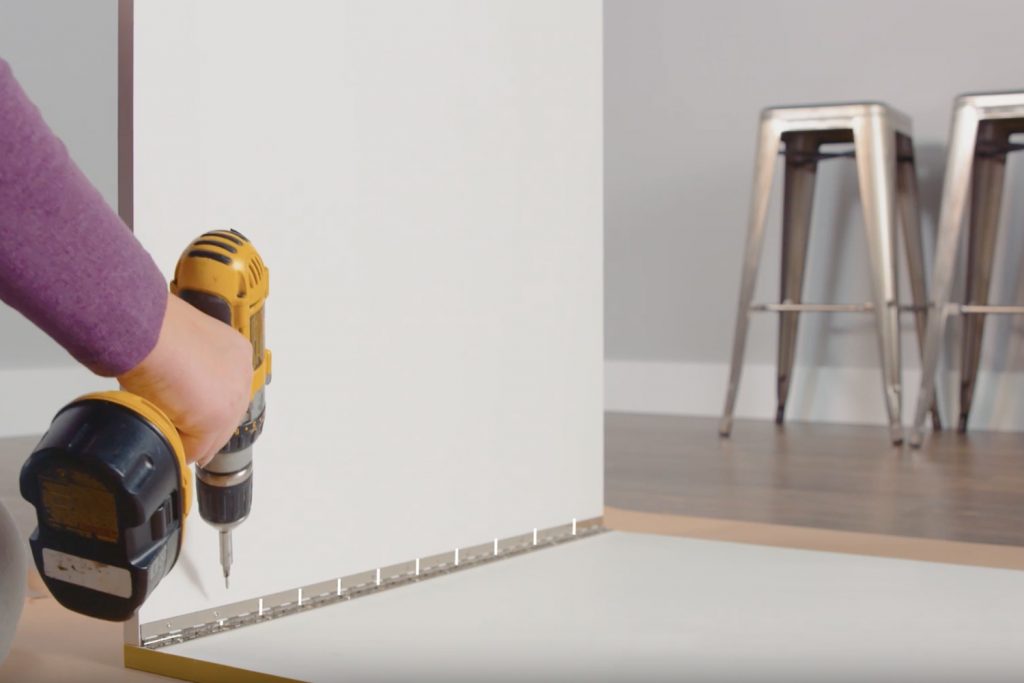
Pro-tip: Use a power drill to attach the piano hinge.
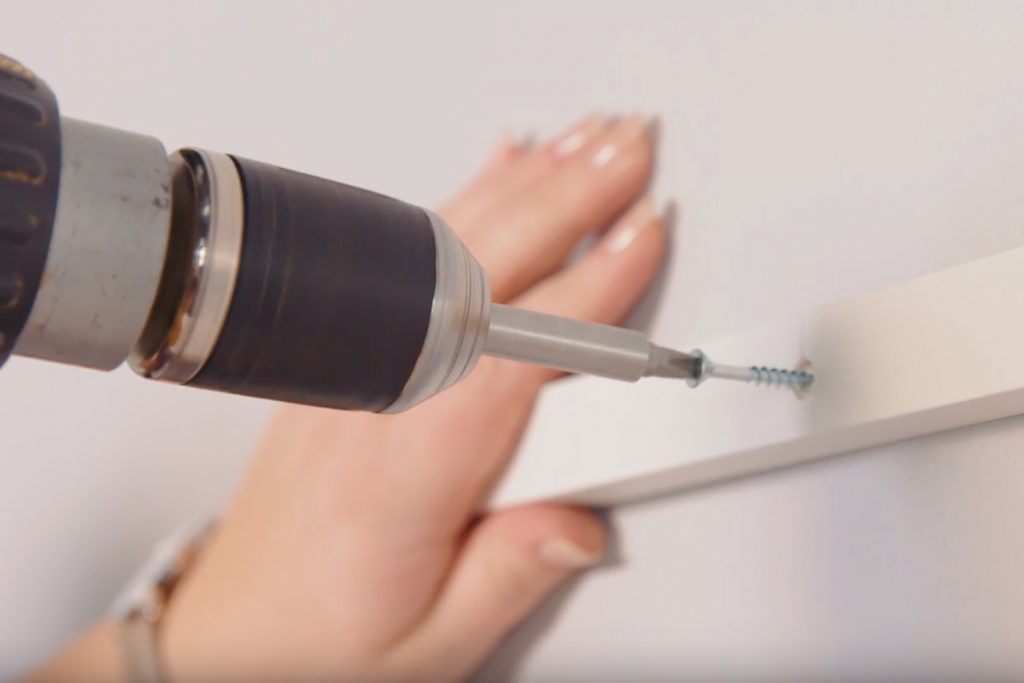
Pro-tip: Use a stud finder to ensure the table is properly secured to the wall.
If there’s not enough square footage for that 12 person dining table you’ve always dreamed of, we think you will love this solution.


join the conversation:
SHARE this post: