Tag: Fireplace
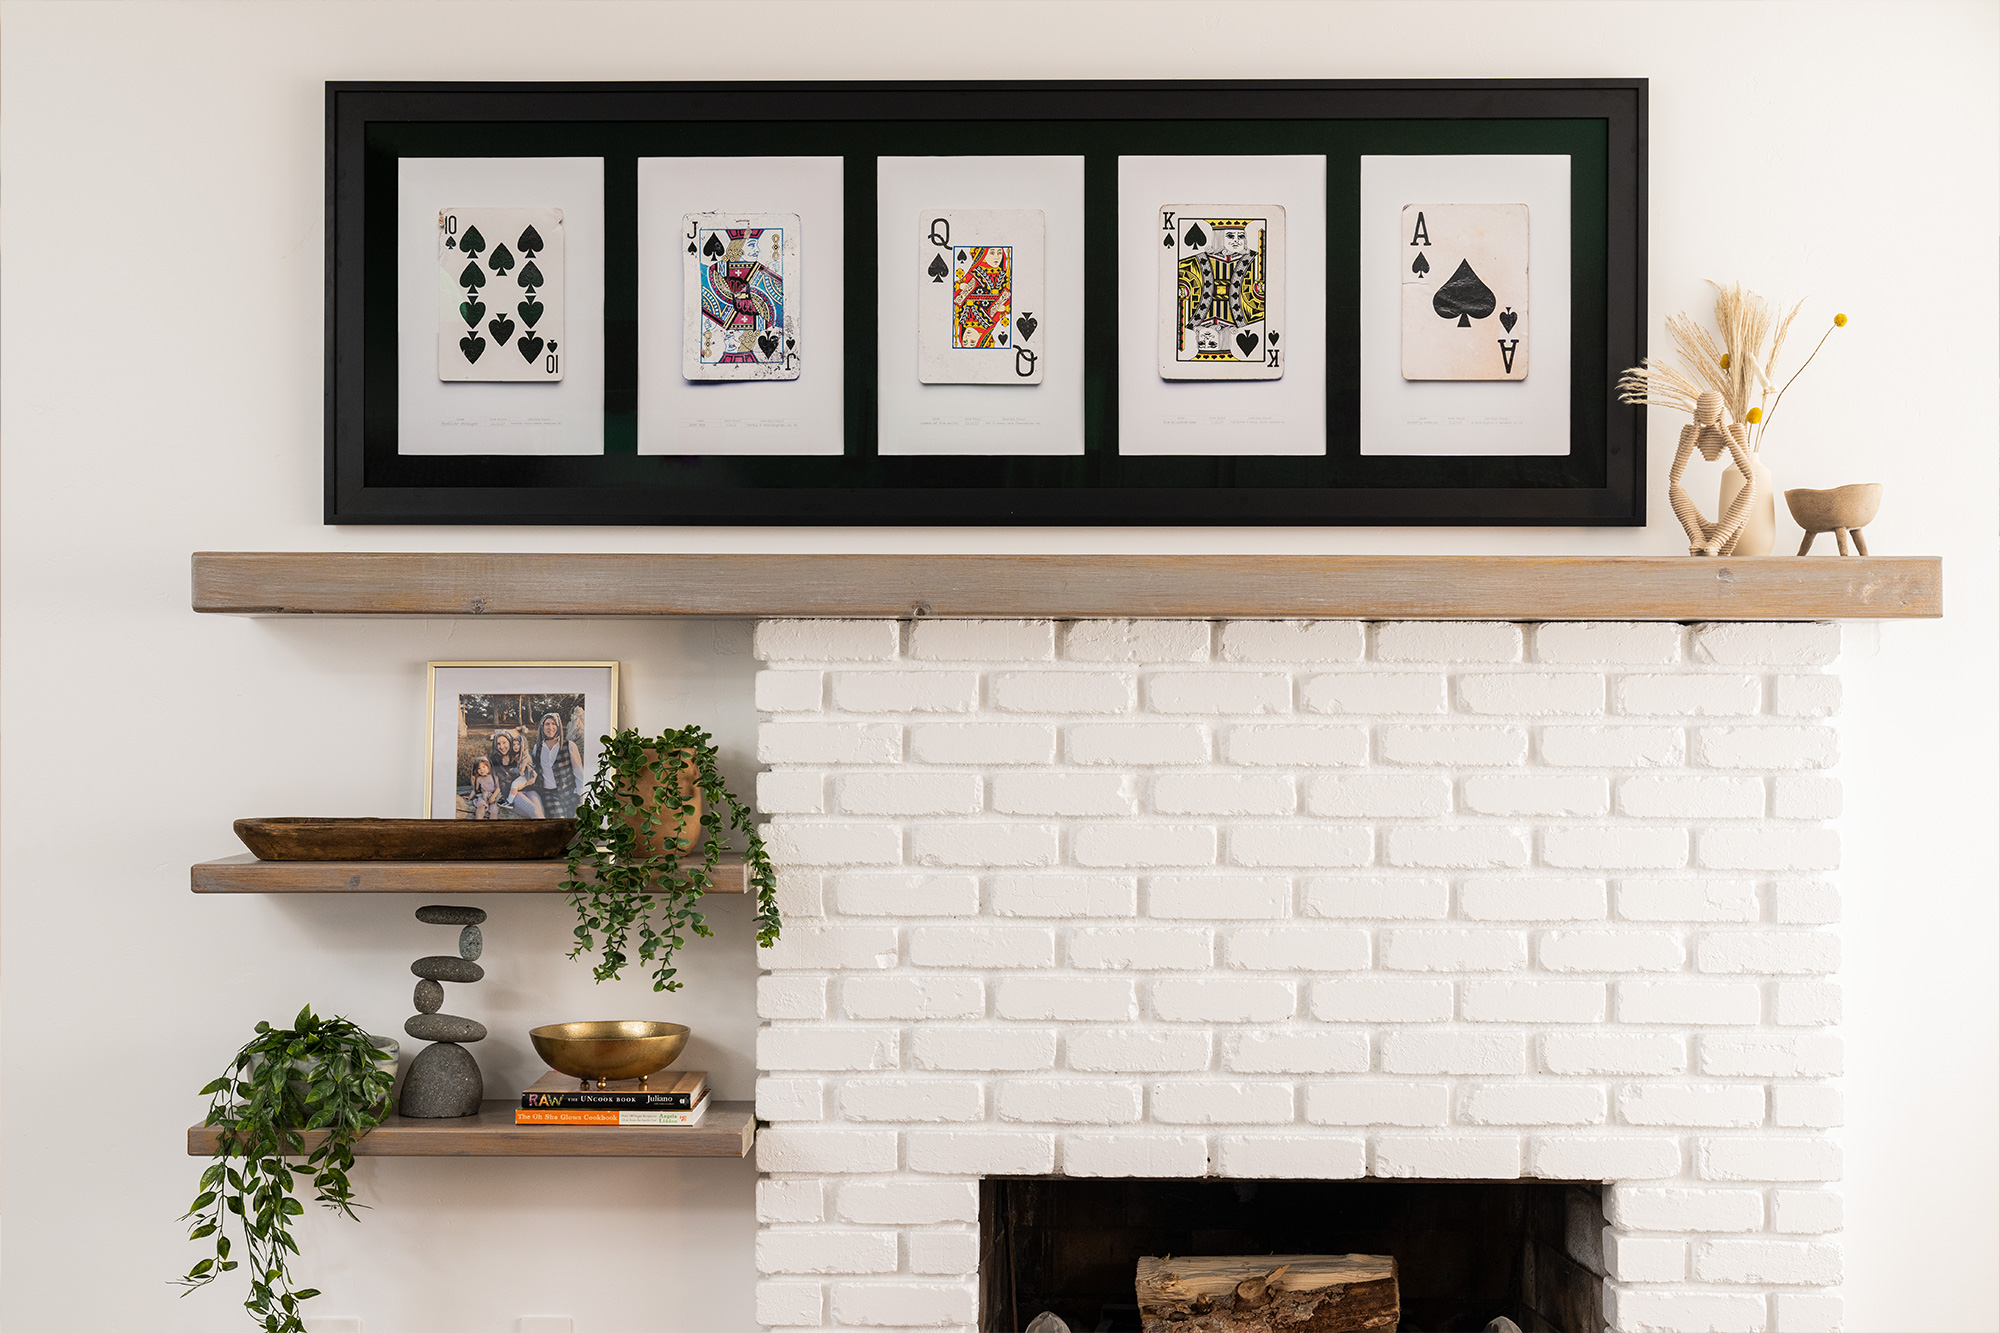
An Outdated Living Room Gets a Facelift
April 17, 2023On this episode of Destination Restoration, we upgraded an open concept family living/dining room, while demonstrating the power of primer in a striking fireplace restoration. Rather than putting this 4th generation home through a full gut rehab, our pros, Jason Lai (interior designer) and Jared Foster (contractor/pro painter) worked to reimagine the space and rejuvenate it for another generation. This series demonstrates how you can breathe new life into an older home while keeping its structural integrity intact.
Jason and Jared worked together to take this space from ordinary to inviting, contemporary, and cheerful with a few tweaks. Keeping in mind aesthetics and functionality, the goal was to avoid tearing things out and starting from scratch, and instead, add value to the existing room. They updated the décor, primed, and painted the fireplace, added new lighting, built a convenient storage unit in the dining area, and overall, made the space look chic and feel cozy.
We’ve broken down each area below so you can get a more detailed look into the upgrades we made. If you’re not sure where to start, we’ve included a step-by-step guide of how to paint brick fireplaces like the one here.
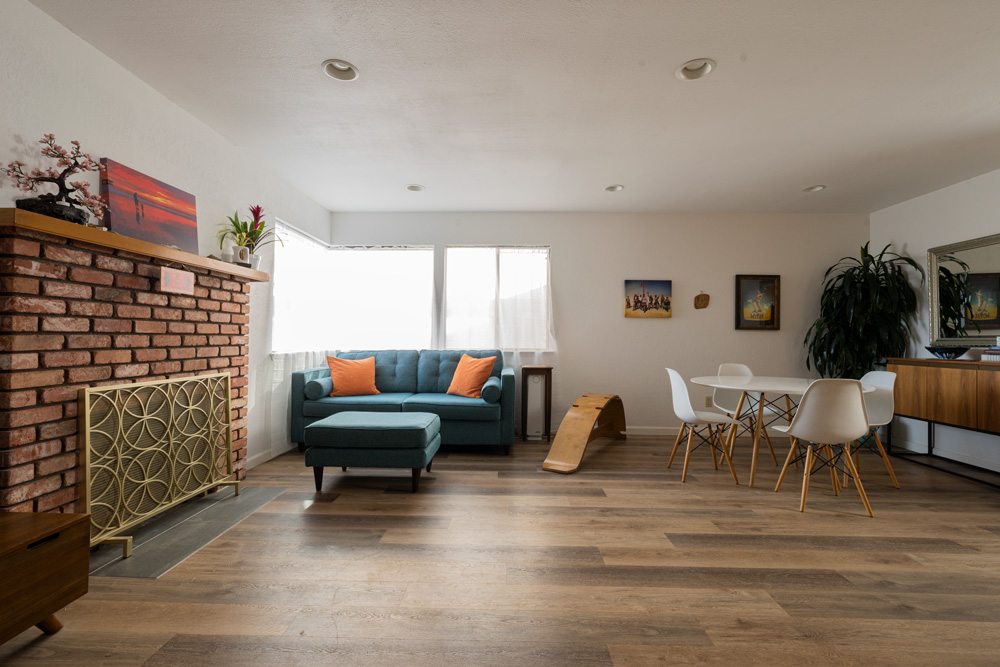
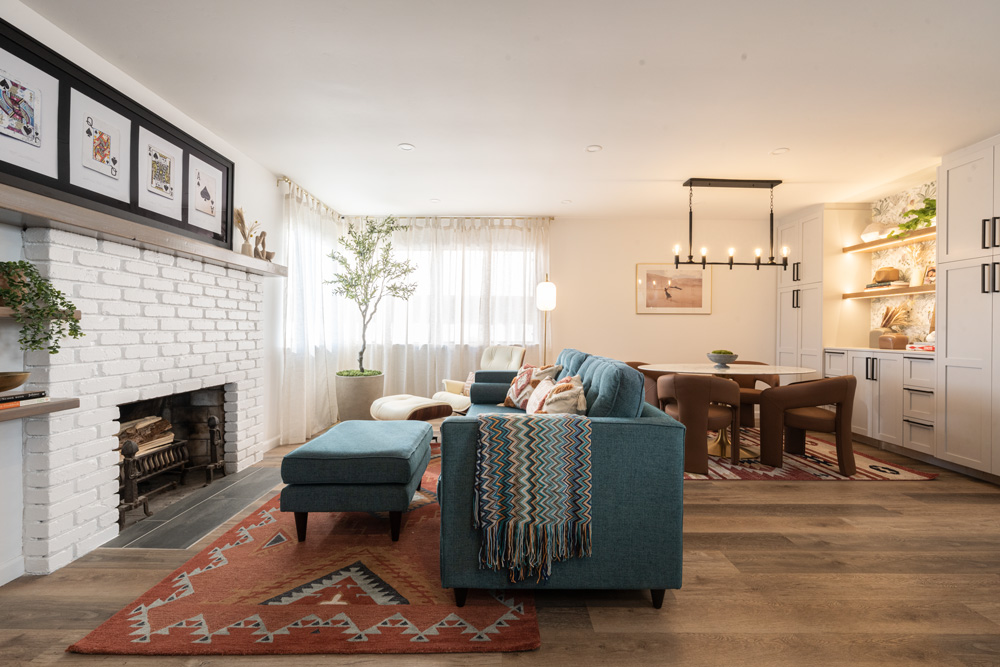
Living Area
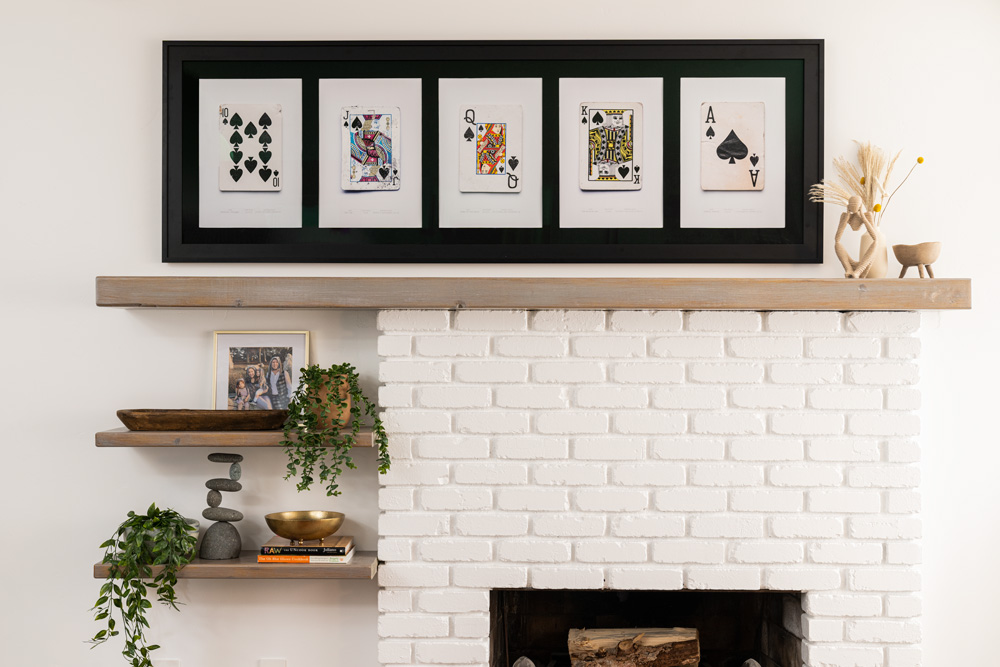
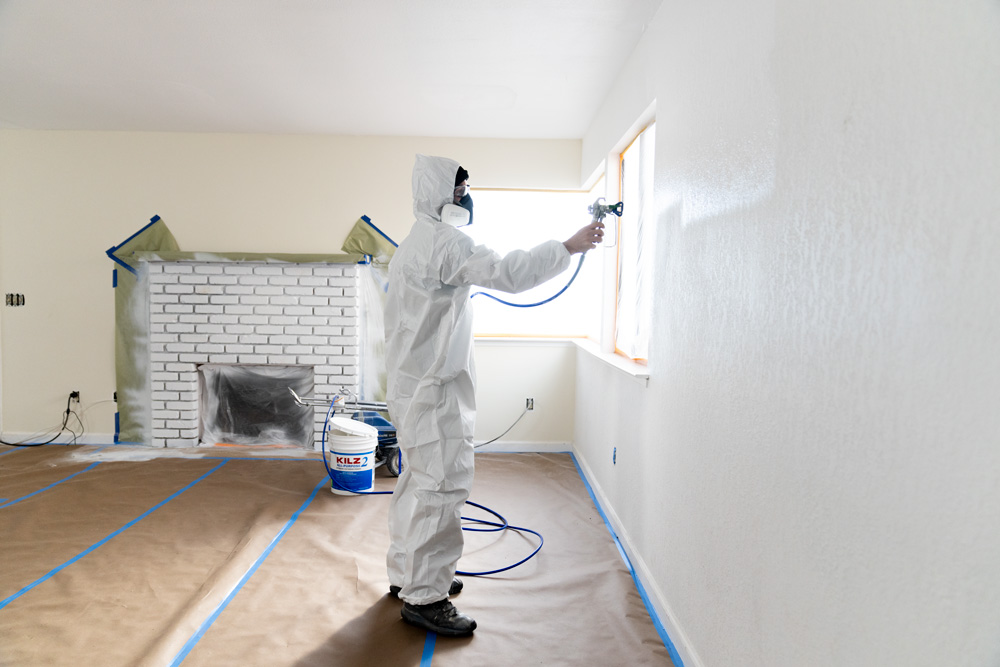
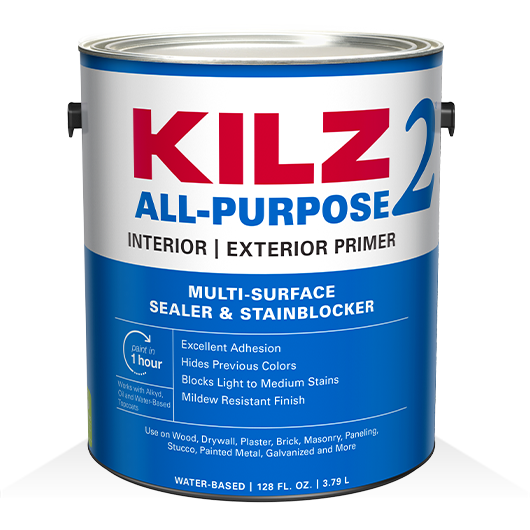
First, we primed the fireplace and front door using KILZ 2® All-Purpose Primer. For living room paint colors, the front door was painted Chic Grey and the fireplace Whipped Cream, both colors by Behr Paint. We also replaced the front door hardware for a more modern look. Using the beam we removed from the kitchen ceiling, we stained and repurposed it to extend the mantle out to the left of the fireplace. Finally, we added floating shelves just underneath. These shelves were the result of leftover pieces from the kitchen beam, which were also stained to match.
Dining Area
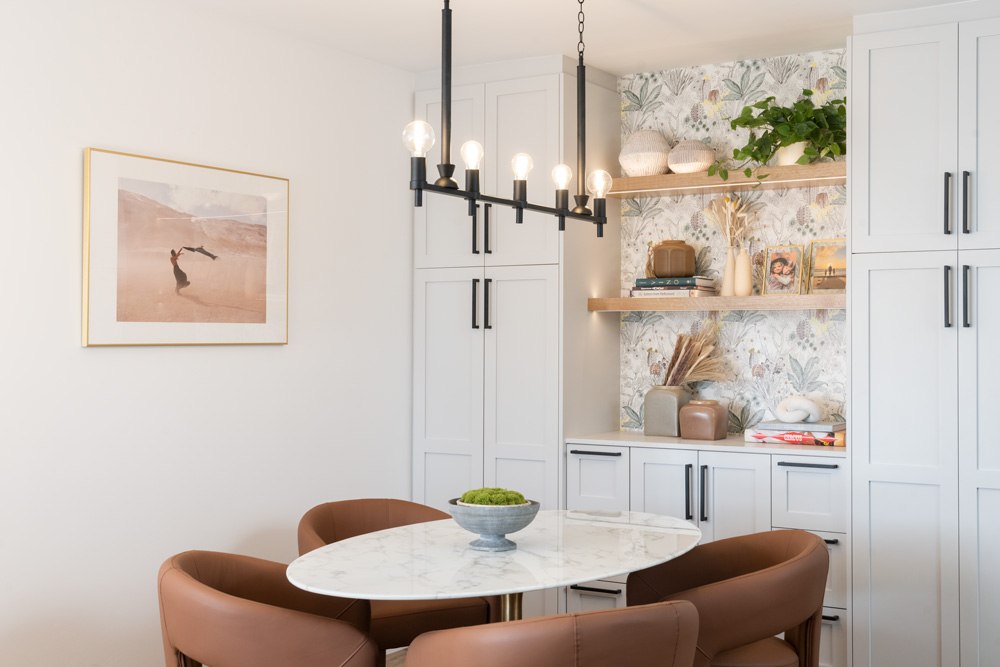
To spruce up the old dining area, we replaced the buffet cabinet with a larger, built-in storage unit, and brightened it up with under cabinet lighting and a linear chandelier (by Kichler Lighting) over the dining table.
Other Changes
Our interior designer, Jason, added touches of new furniture and décor throughout this space to bring it into the modern day. He chose to keep the existing couch and update the throw pillows and blanket, as well as rearrange the furniture to create a distinct living and dining area within the space.
Why Do You Need to Prime?
Priming is essential for proper surface preparation for any paint project. It’s the difference between a job done and a job done right. Priming helps solve a wide range of problems, including highly porous surfaces, stains, odors, uneven surfaces, texture differences, and adhesion problems.
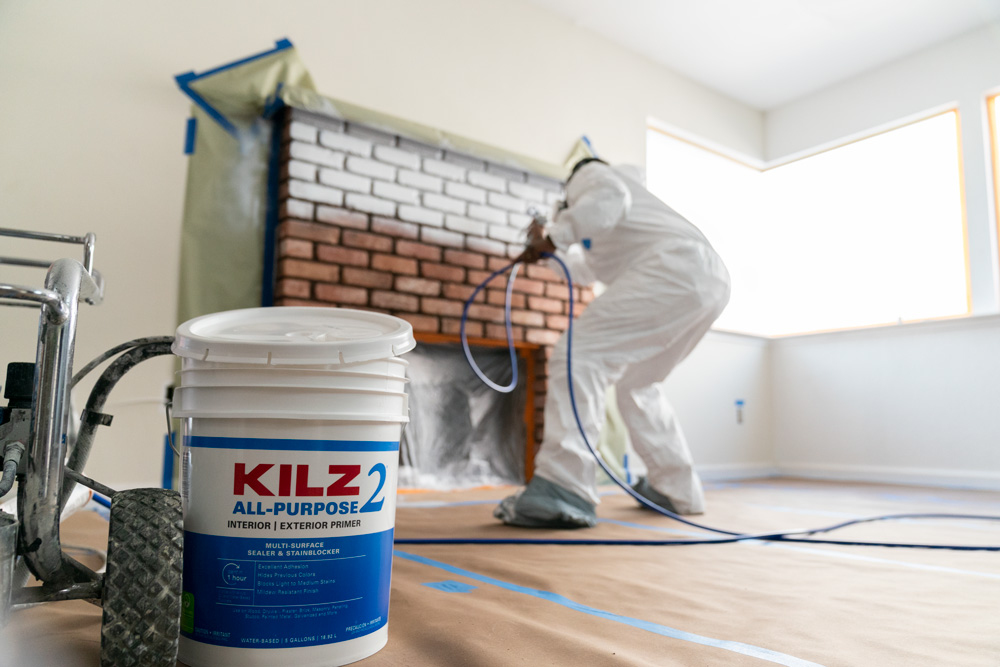
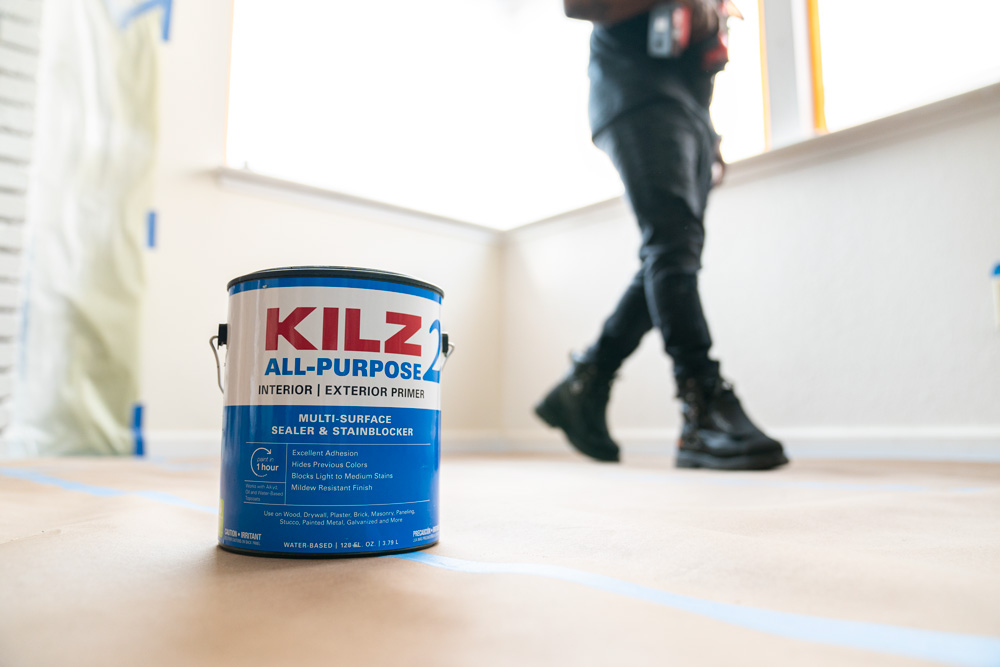
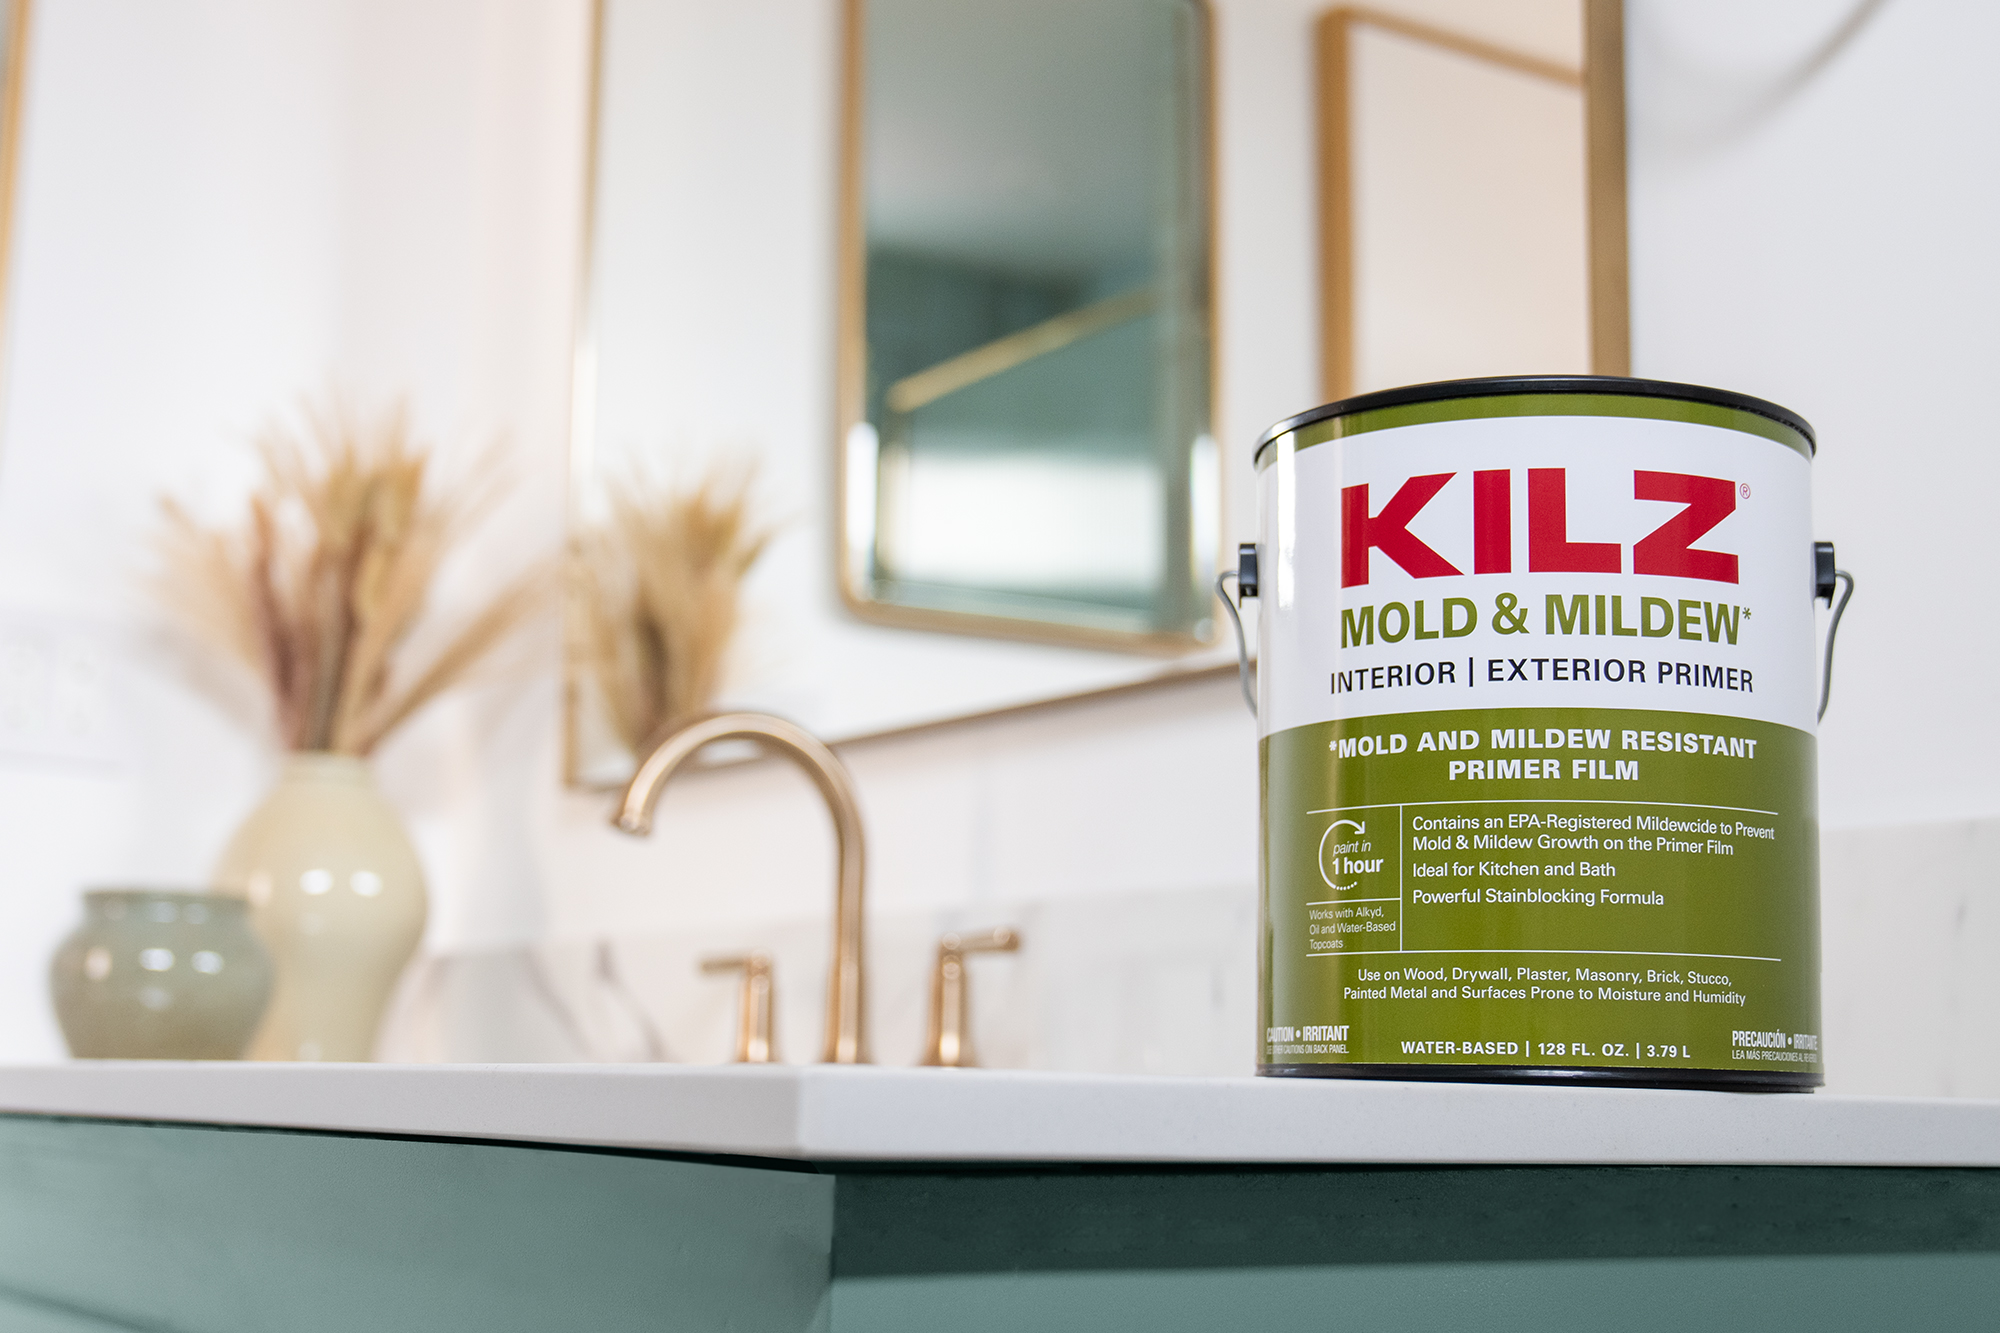
For the purposes of this project we used, KILZ 2® All-Purpose Primer because it dries fast and can be used on many surfaces, including brick. It’s also a great stain blocker with excellent adhesion, mildew resistance, sealing properties and a very mild odor. Its enhanced hiding formula makes it ideal for changing colors, like in the case of our fireplace, and helps lessen the number of coats of paint required, saving you time and money.
Step-By-Step Guide for a Brick Fireplace Makeover:
A primed and painted fireplace requires a few basic steps from start to finish. Here’s an easy guide to follow for your next project:
1. Clean the bricks. If it’s extra dirty, start with a vacuum and use the crevice tool attachment to clean between the bricks. Next, wipe down the fireplace with a damp cloth to ensure all surfaces are clean and free of any lingering dust. Allow to dry.
2. Tape around the fireplace to protect the walls and floor. Also tape around the mantel and where the brick meets the firebox (the inside where the wood goes!) to keep that area protected from paint and primer.
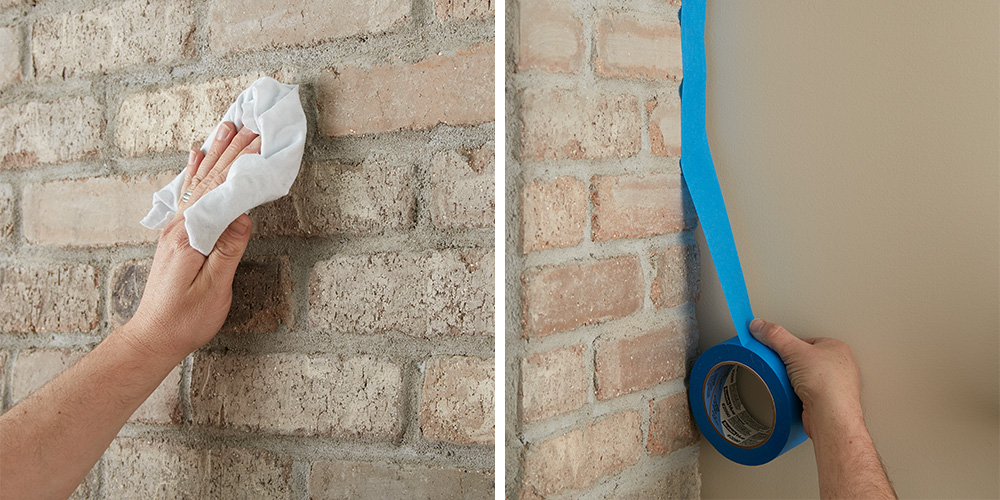
3. Protect your floors from paint and primer by covering it with a drop cloth.
4. Now it’s time to prime! Using KILZ 2® All-Purpose Primer, start with an angled brush to cut in around the mantle and edges of the fireplace.
5. Next, use a roller to cover the brick faces with primer.
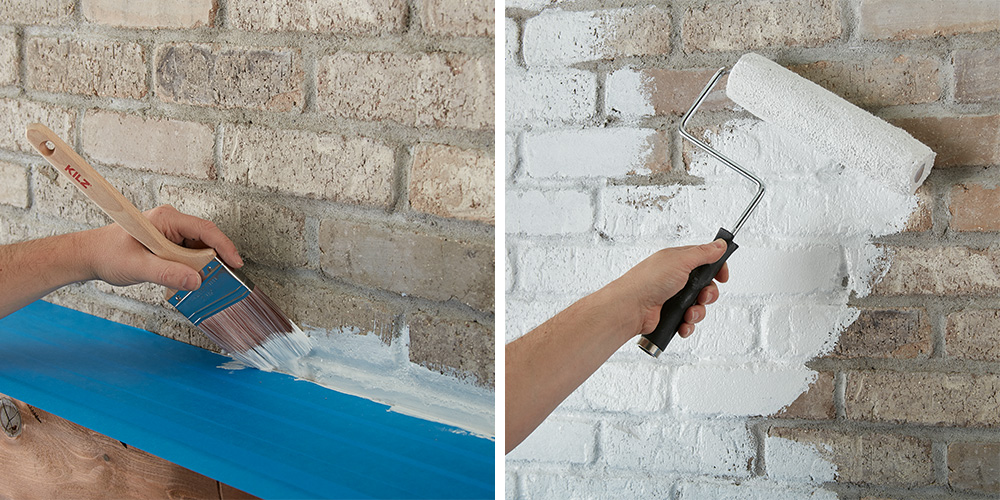
6. Go back with a small, angled brush to fill in any remaining grout areas and crevices in the bricks.
7. Allow to dry for 1 hour.
8. Once the primer is dry, apply paint of your choice using the same application process at the primer.
9. Remove the painter’s tape before your paint is fully dry.
You Will Need:
• Vacuum and rags to wipe dirty and dusty surfaces
• Painter’s tape
• Drop cloths, canvas, or other reusable material
• Paint roller, angled brush, and paint tray
• Paint of choice
We hope this episode of Destination Restoration inspires you to tackle your own living room remodel this year. Be sure to keep KILZ® products in mind for your next project, and come back for more ideas, tips, and project inspiration.
If you loved this restoration, be sure to check out the other episodes of Destination Restoration. Jason and Jared took on the Kitchen, Primary Bedroom and Primary Bathroom.
Always remember to refer to our website kilz.com or product back labels for additional information on which primer is right for your project and detailed instructions on how to apply our products. Check out our Coverage Calculator to understand your estimated paint needs for your upcoming project.

join the conversation:
SHARE this post: