Tag: DIYers
Primer Myths – 5 Common Myths About Primer
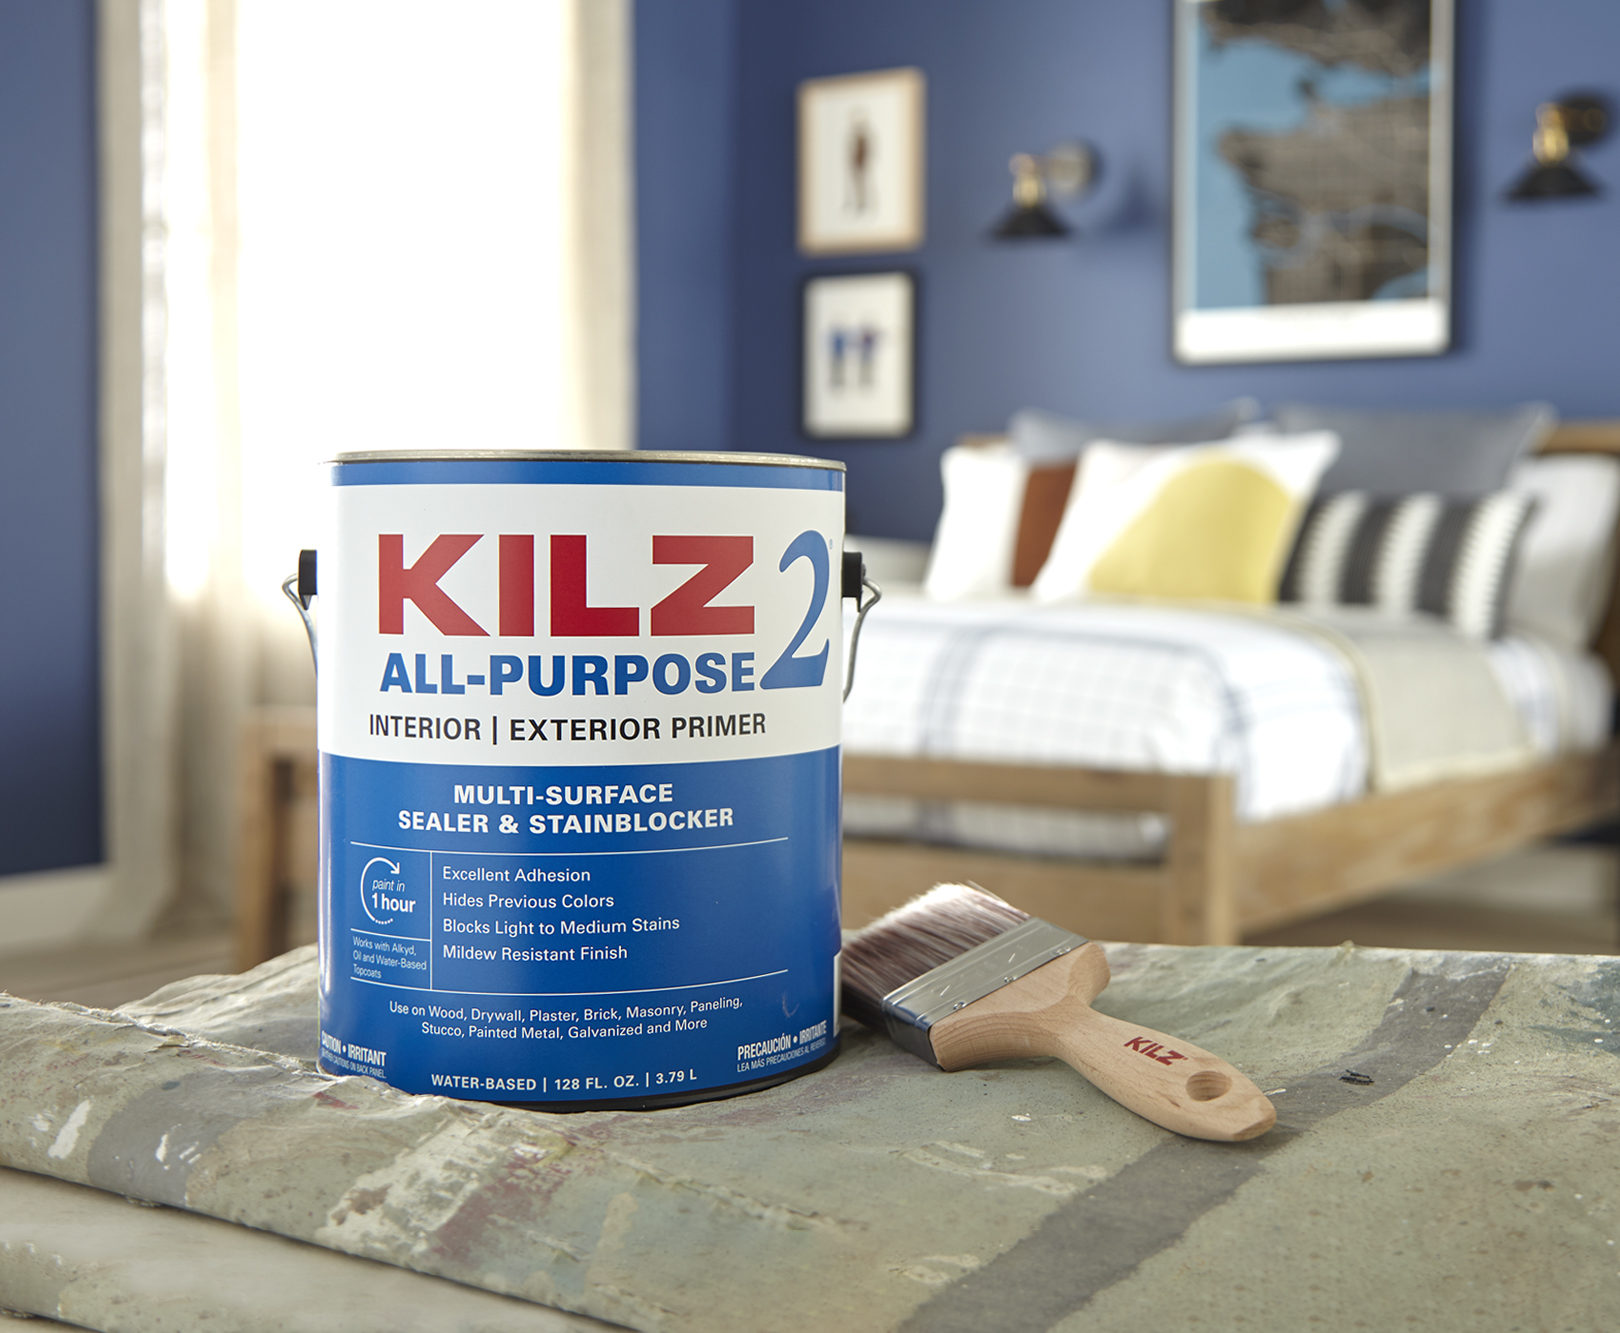
October 3, 2023If you’re new to DIY home improvement, there can be a lot to learn, which is why we’re here to help. We talk a lot about all the things primer can do—how it can improve your paint results, save you time and money, cover up stains, and block irritants like odors, mold, and mildew—but we don’t always discuss the many misconceptions about primer that prevent people from using it. So, today we’re going to address some common primer misconceptions, so you can feel confident you’re making the right choice for your next project.
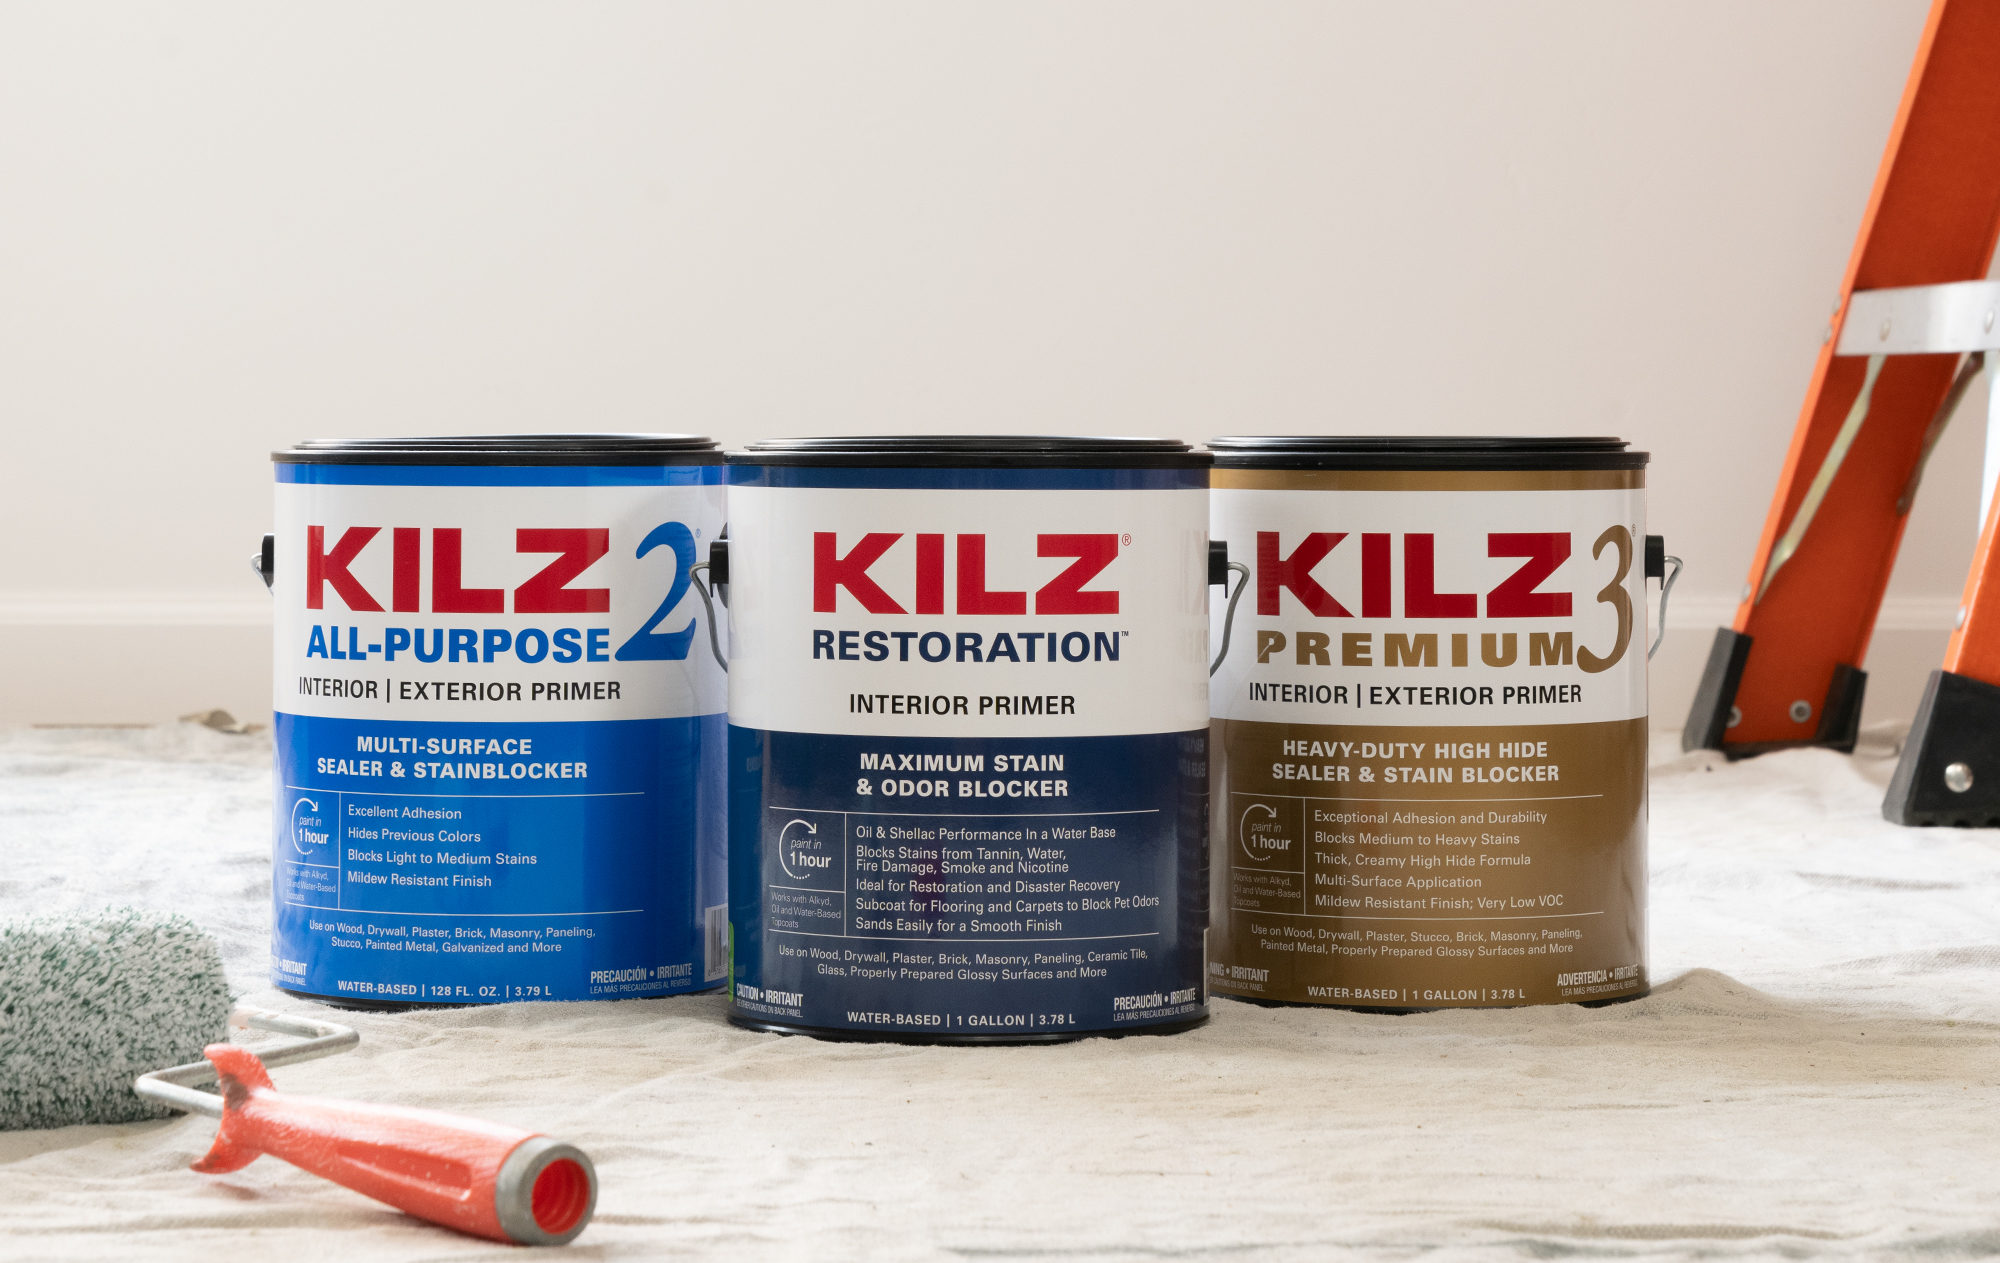
Myth#1: Primer is Just Paint Without Color
This is one of the most common misconceptions, but the fact of the matter is, primer and paint are two completely different formulas. Paint is formulated to deliver color, and primer’s purpose is to adhere to the surface, create a clean and smooth foundation, protect the surface, and in some cases block stains or hide other imperfections.
Myth #2: Primer Doesn’t Make a Difference and It Takes Too Much Time
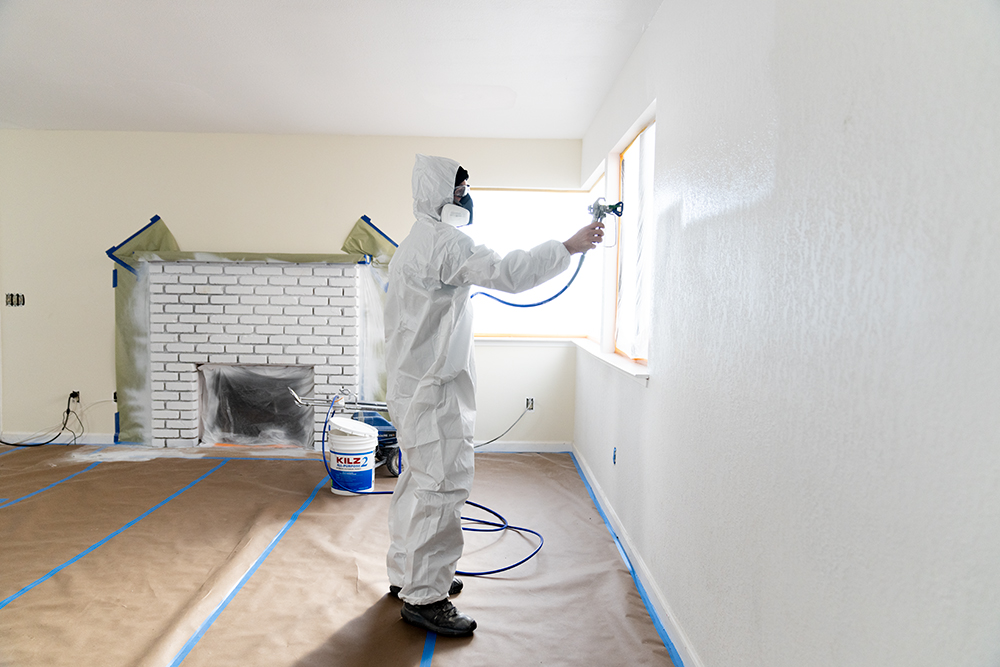
Applying primer will actually save you time and money in the long run. Depending on the condition and problem areas that exist on your surface, it’s smart to spend the extra step priming. Using primer to address a problem before applying paint may prevent the need to re-paint or add additional coats of paint to get the results you want.
Myth #3: I Should Use Multiple Coats of Primer if I Can Still See a Stain or Previous Color
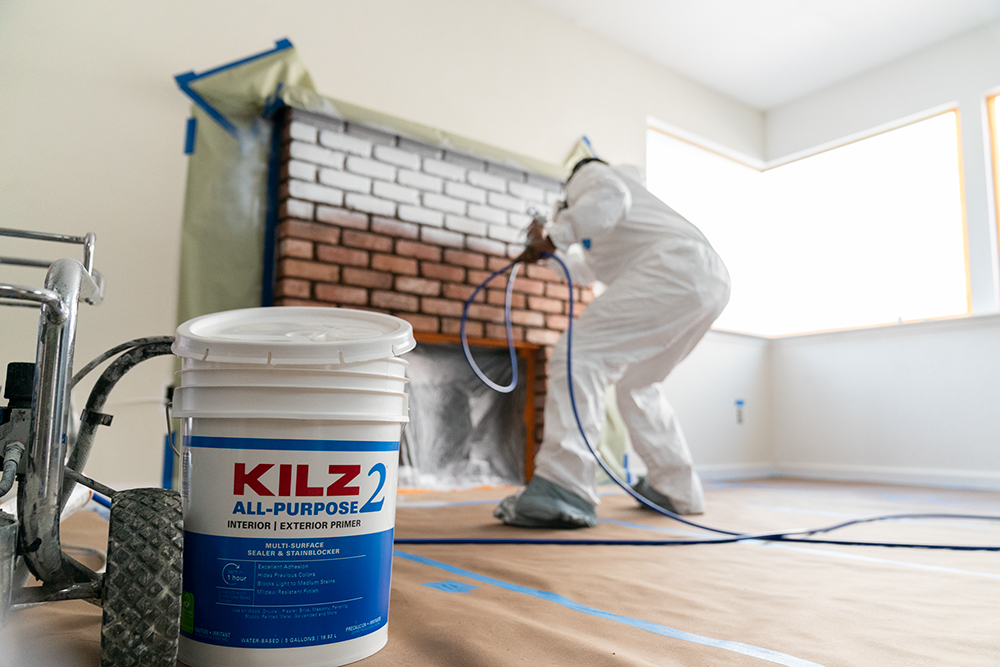
Not necessarily. If the previous color or stain is severe, you may need to apply more than one coat of primer, however, it’s not necessary to keep applying coats until a stain or previous color disappears. If the primer is applied uniformly over the previous color or stain, then one or two coats should be sufficient.
Primer works underneath a coat of paint to give you a uniform surface, hide robust colors, block stains, and enhance the paint’s ability to stick to the surface better and last longer. But even if the primer coat does not fully hide the stain or former paint, it will still perform these functions. With help from primer, a coat of paint should completely cover the surface — including previous paint or stains — and get you the results you want.
Myth #4: You Only Need to Prime Indoors, Not Outdoors
Priming outside is just as important, as priming inside because exterior surfaces are exposed to the elements and can experience expansion and contraction (from heat and cold), as well as UV exposure that may cause your paint application to fail due to lack of adhesion to the surface. For these reasons, using an exterior primer first on a properly prepared surface can make a huge difference. If you want to protect your painted outdoor surfaces from cracks, peels, and blisters, and ensure your paint lasts longer, using a primer formulated for these circumstances is a must.
Myth #5: You Don’t Need to Use Primer If Your Paint Contains Primer
Most paints do not contain primer, and if they do—such as an ‘all-in-one’ product—most pros and experienced DIYers will tell you to apply an external coat or two anyway to cover yourself. The only time you should use a combination paint and primer is if you’re touching up paint of the same color. For all other jobs, whether you’re changing the color, starting from scratch, or refreshing a surface, priming before you apply paint is always going to give you superior results.
We hope this information helps you with your next paint project. Be sure to come back to the blog for more tips like these and to get all your primer and paint questions answered beforehand to save you time and money.
To learn more about primer solutions, visit kilz.com.
Always remember to refer to our website kilz.com or product back labels for additional information on which primer is right for your project and detailed instructions on how to apply our products. Check out our Coverage Calculator to understand your estimated paint needs for your upcoming project.
Tips for Painting Walls and Cabinets
June 1, 2020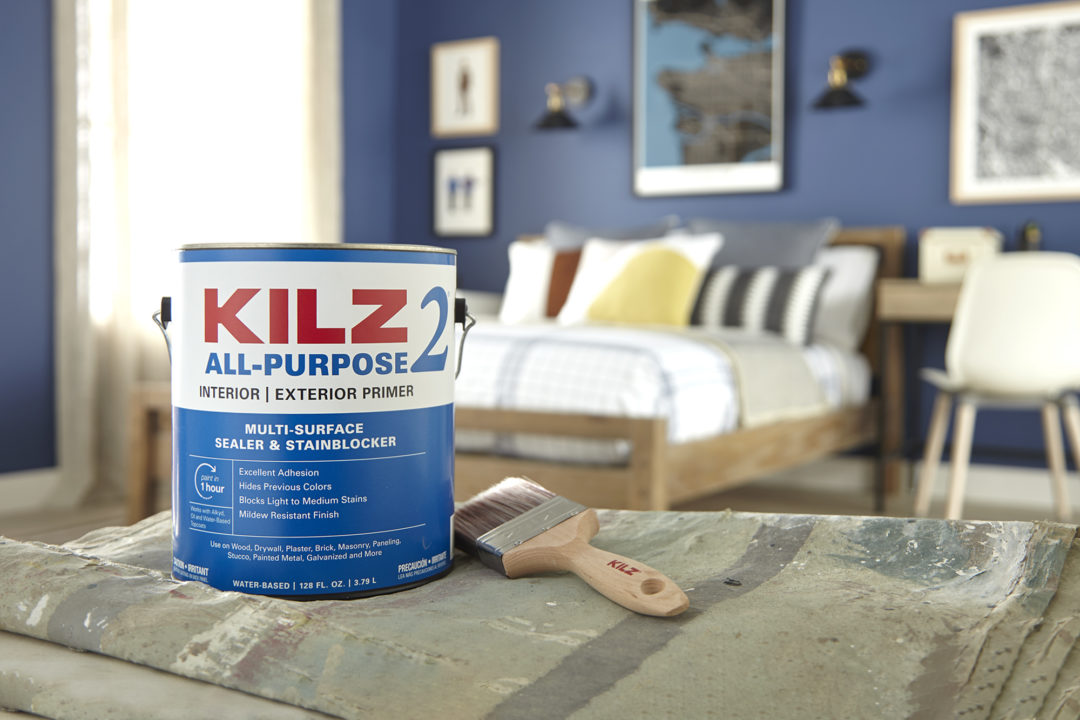
Painting your walls or cabinets is an easy and low-cost way to update any room in your house, and most painting projects can be completed in just one weekend. Equally as important as choosing the right paint color is ensuring you prime first with the right primer. Without priming before painting, you risk poor paint adhesion and previous colors or stains seeping through and ruining your new paint color.
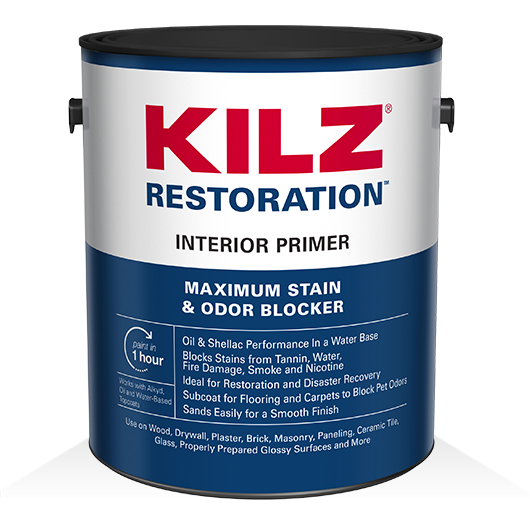
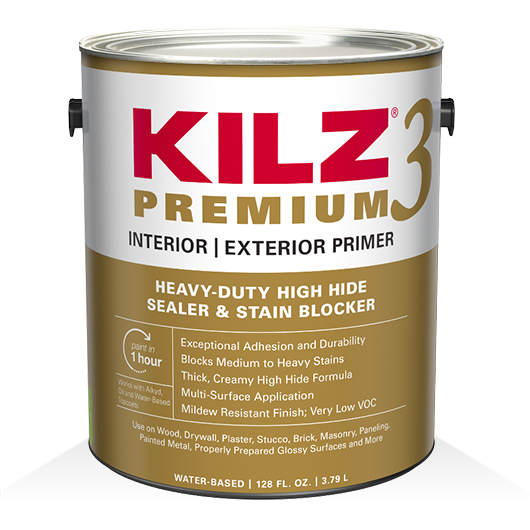
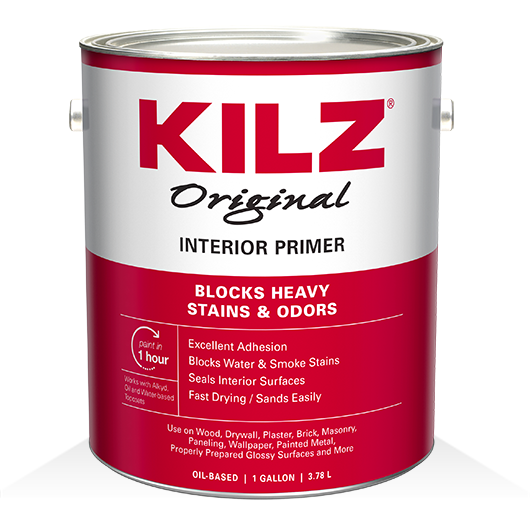
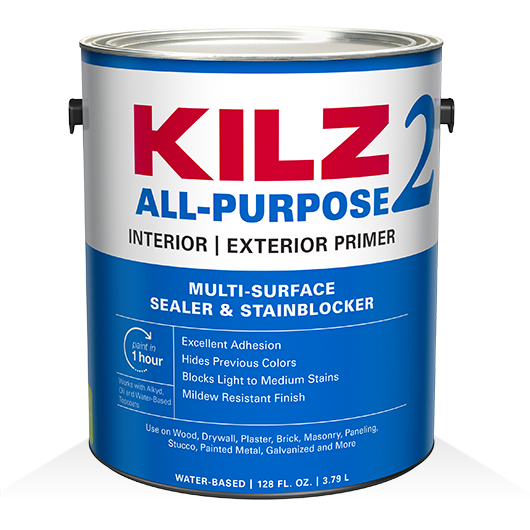
Using the right primer ensures that your topcoat color will appear on the walls as you expected it to. If you’re painting over a darker colored wall with a new lighter shade, KILZ 3® Premium Primer works to block previous dark paint colors from seeping through and changing the look of your new paint. When painting over a light color with a new darker hue, it’s still equally important to prime first. KILZ 2® All-Purpose primer is a great choice for light to dark color changes. And if your walls have tough or exceptionally dark stains or damage from smoke or water, KILZ® Original Primer and KILZ Restoration are both formulated to block severe stains.
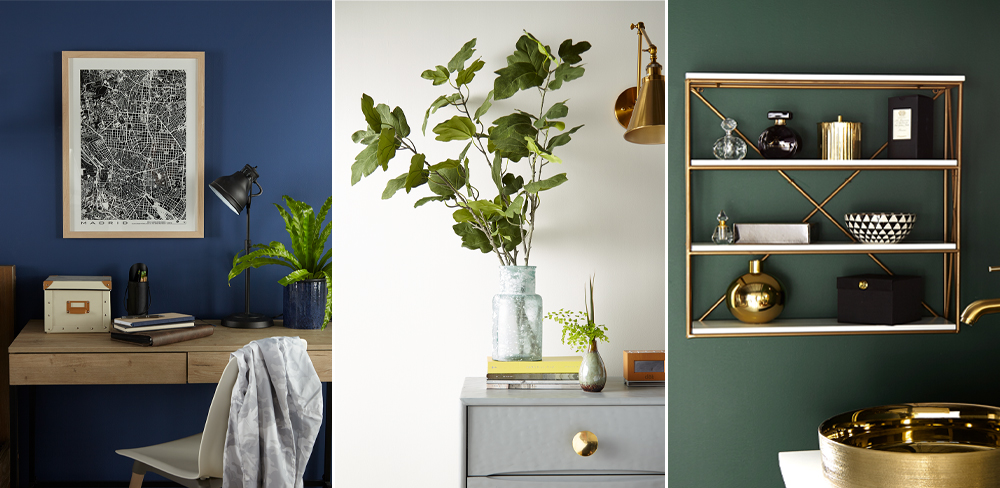
Priming before painting ensures your paint color pops!
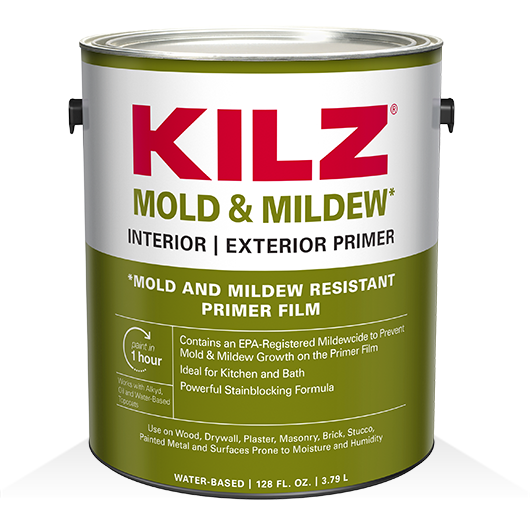
What if you’re painting cabinets, do you need to prime? If you want excellent paint adhesion and for your colors to appear in their truest hue – the answer is yes! Primer also makes your paint job durable, and that is especially important in high-traffic areas like kitchens. You often find cabinets in kitchens, bathrooms and laundry rooms, and these areas of the home are subject to fluctuating temperatures and humidity levels that can make paint peel. For these spaces, a primer like KILZ Mold & Mildew dries with a mildew resistant primer finish that helps protect and extend the life of your paint.
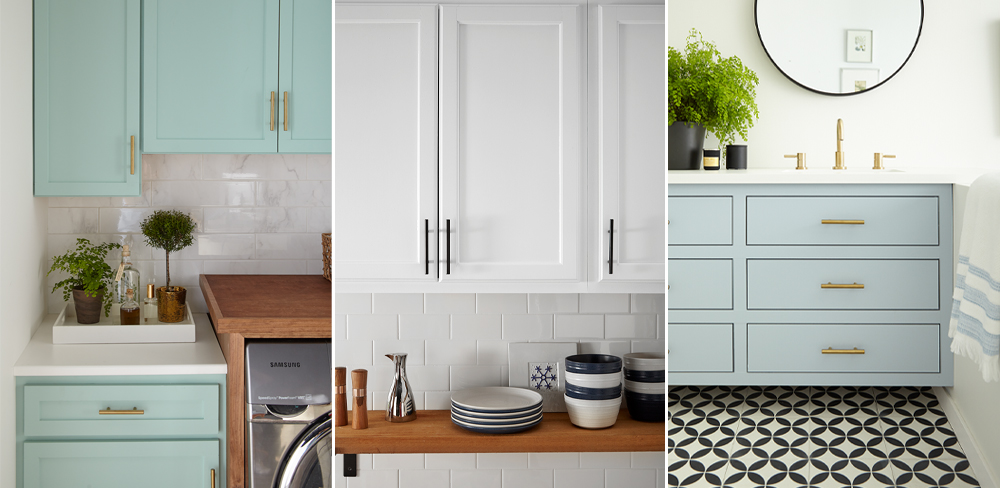
When painting cabinets, priming first ensures excellent adhesion and truer color from your topcoat.
While priming before painting can seem like an extra step, it’s a vital part of the painting process!
Always remember to refer to our website kilz.com or product back labels for additional information on which primer is right for your project and detailed instructions on how to apply our products.
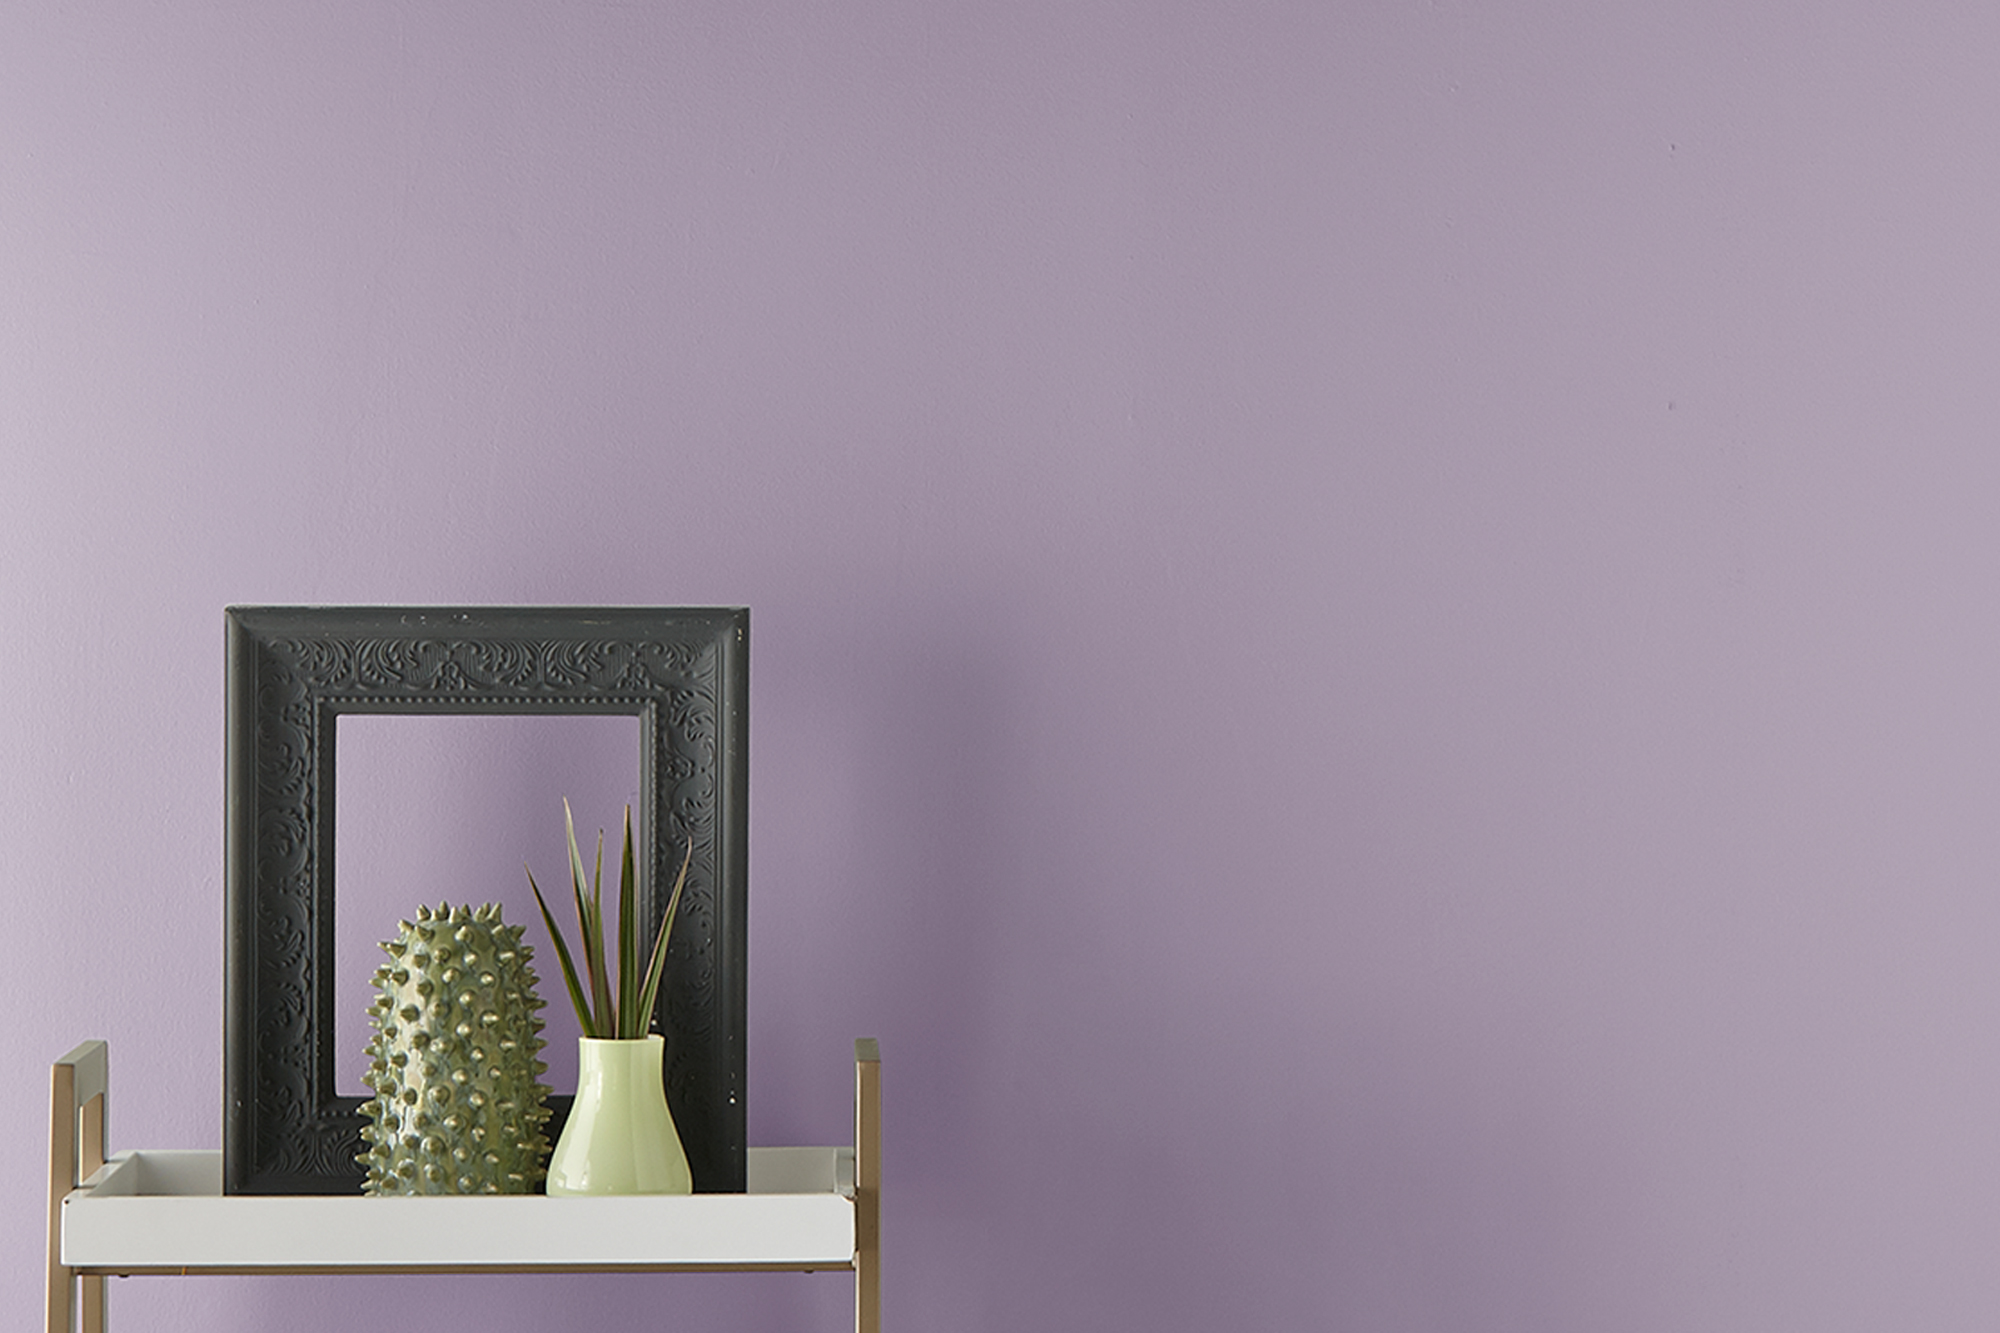
Find a Color That Speaks to You
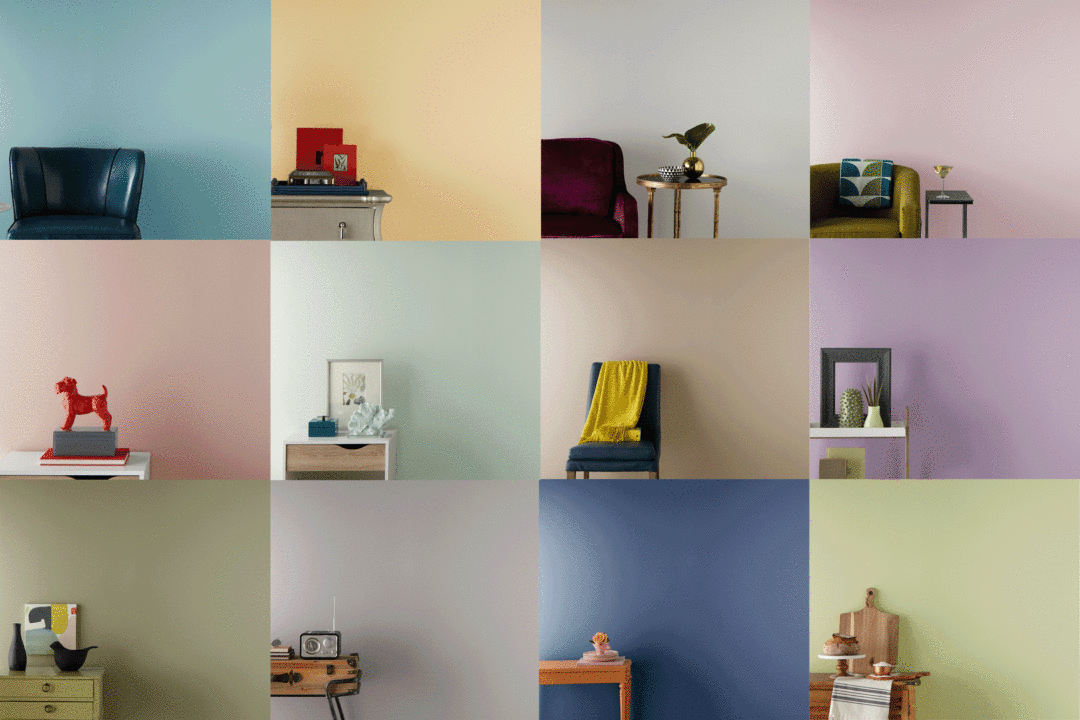
March 6, 2020Choosing a paint color can sometimes feel like a daunting task. Whether you’re DIY’ing or hiring a professional painter, the investment of time and money in a painting project is enough to make you want to get it right the first time. Now finding a color you love just got easier with KILZ® Color Perfect Tool™, an easy-to-use new online tool that allows you preview paint colors in different rooms and even in your own space!
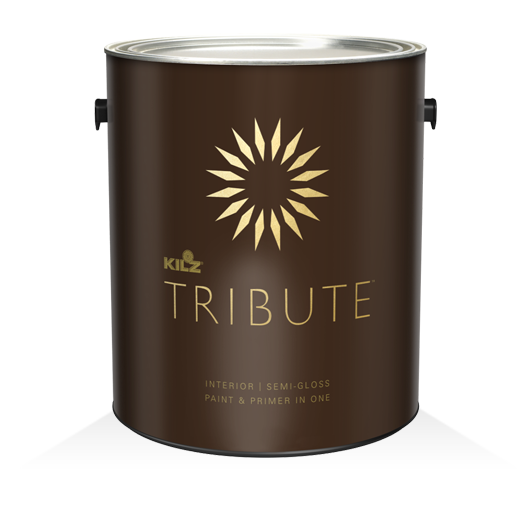
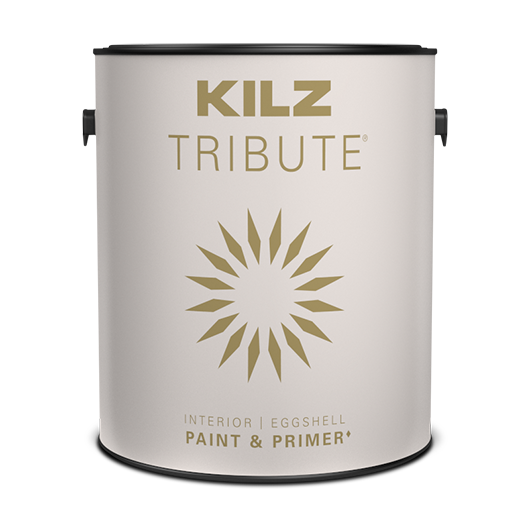
If you have a hue in mind, you can start by picking a few colors and then previewing them in one of our sample room images. You can even upload an image to see the color in your own space! You can also start by choosing a room type and then selecting colors as the next step. Either way, you’ll have the option to try on colors from the KILZ® Tribute® paint line, a 100% acrylic and low VOC paint that offers both excellent stain-blocking performance and exceptional durability.
Our team loves color just as much as we love proper preparation (don’t forget to prime!) and know that finding a color that speaks to you can truly transform your space. Ready to try on colors in your own space or in one of our sample rooms? Try the KILZ Color Perfect Tool today!
Seal & Block Odors
August 26, 2019There is a lot to love about pets and the KILZ brand loves furry friends. That’s why we’re excited to celebrate National Dog Day on August 26! In honor of the upcoming holiday, we thought it was a great time get real about odors – pesky pet odors that is.
While more than a few KILZ brand team members share our homes with dogs or cats, no one likes their home filled with unpleasant stains or odors left accidentally by the family pet. Seemingly hard surfaces in your home including floors and walls can actually absorb stains and smells, making it that much harder to get your place smelling and looking fresh after the dog has made a mess. Luckily, there are KILZ® Primers formulated specifically to seal and block odors.
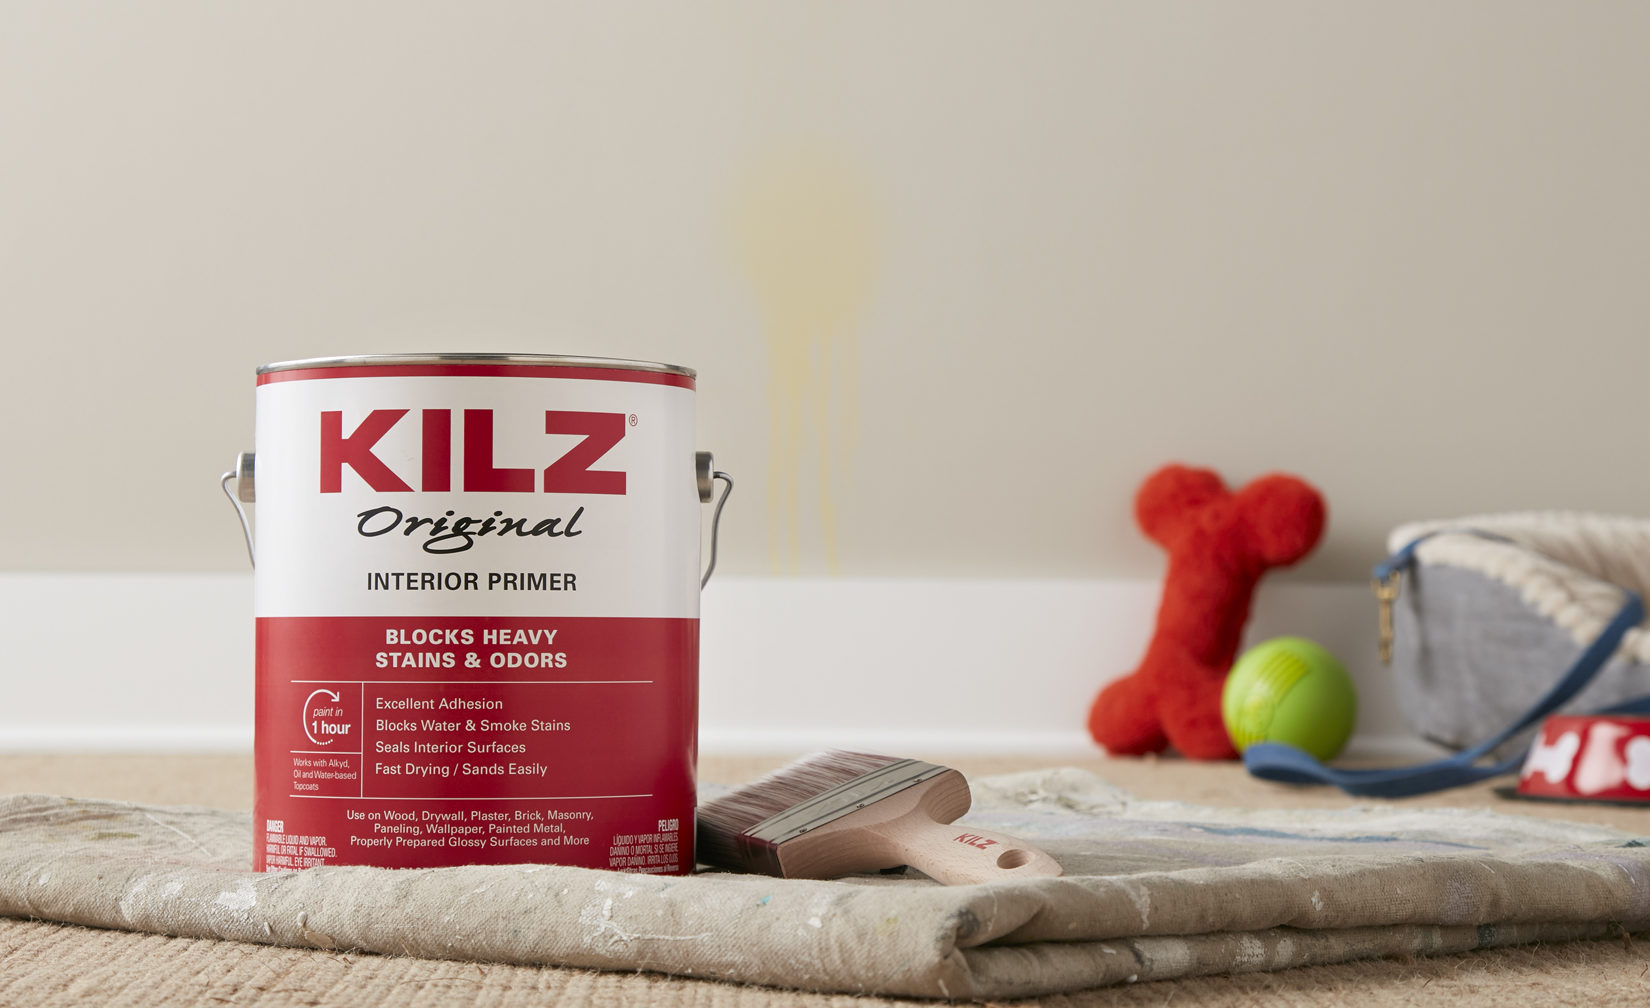
Simply painting over a blemished wall won’t always do the trick and you can be left with stains (and smells!) seeping through. Using the right primer before painting over a pet stain helps with providing a barrier that keeps odor from penetrating the new paint. A great choice for this purpose is KILZ® Original primer. Trusted by professional painters for over 40 years to tackle the toughest odors, this hardworking primer helps to block most heavy interior stains including water, smoke, tannin, ink, marker, pet stains and more. And if you’re looking for a water-based primer that can help seal and block odors, KILZ Restoration™ primer is a top pick.
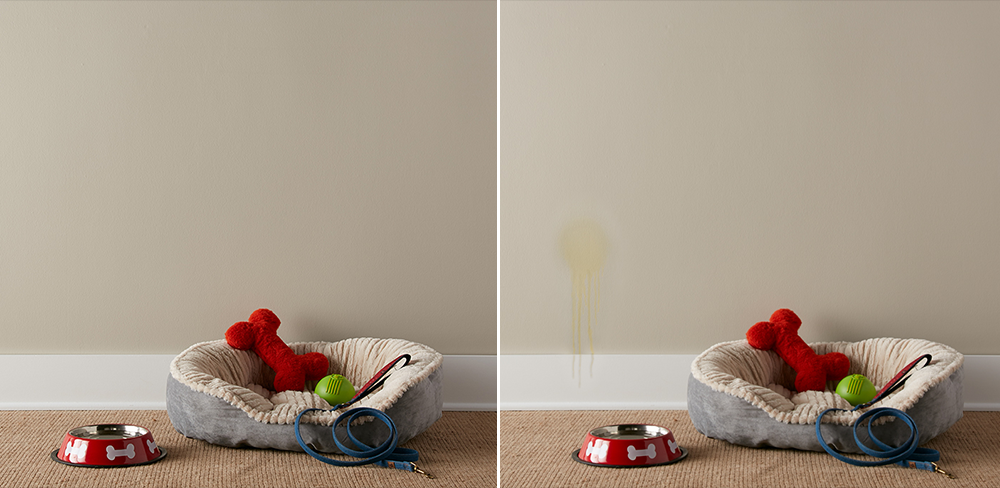
If you’re in need of ridding your home from unpleasant stains and odors, keep on reading. We’re sharing the simple steps below to tackle odors, repaint and leave your home fresh as new!
Steps to Seal & Block Odors:
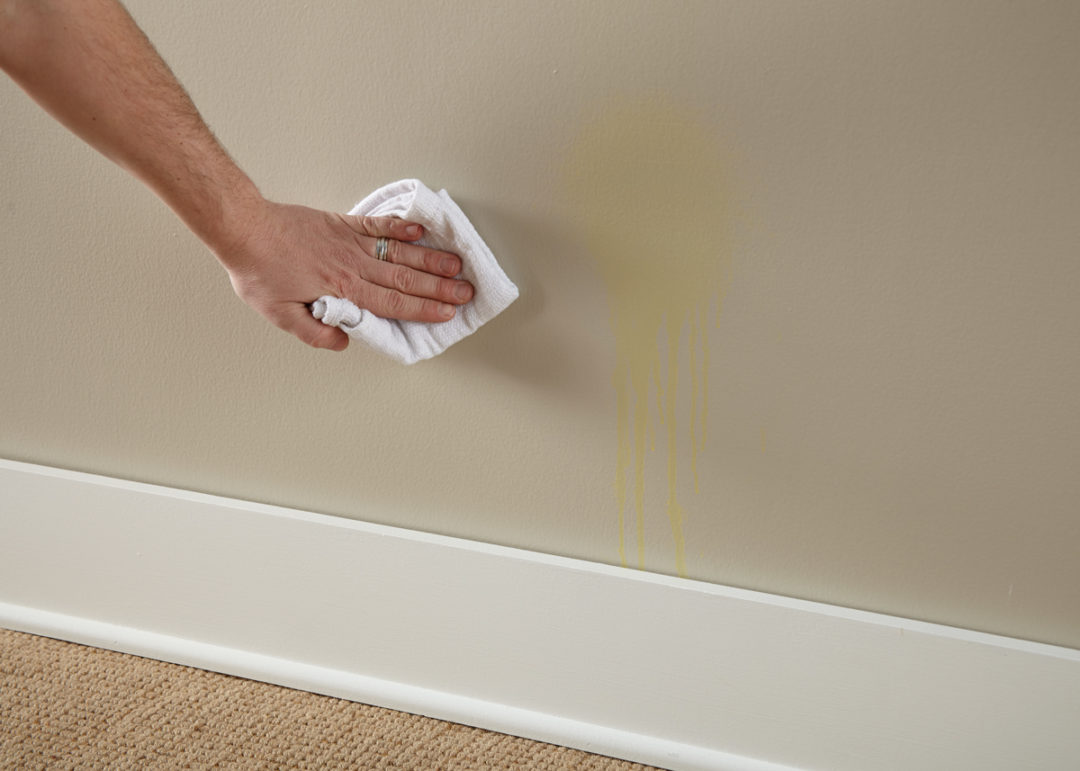
Step 1:
Wipe down the wall with a damp cloth to ensure it is clean and free of dust. Allow the surface to dry. Ensure adequate cross-ventilation prior to priming.
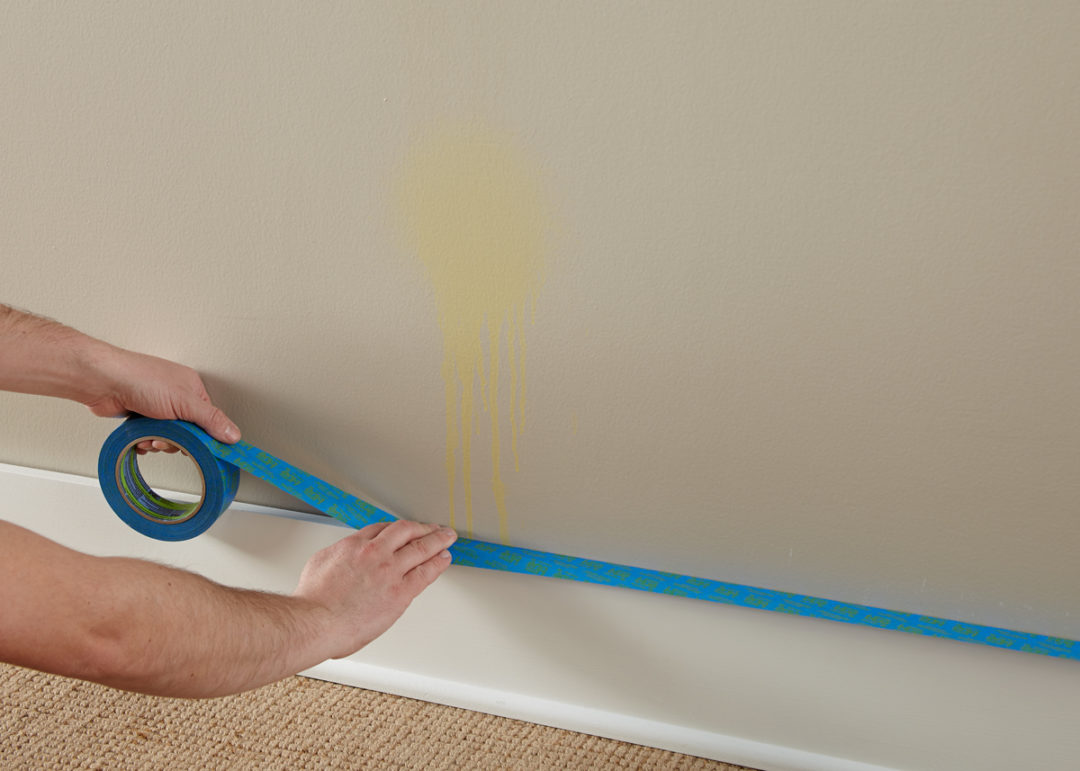
Step 2:
Tape around any baseboards, trim and moldings.
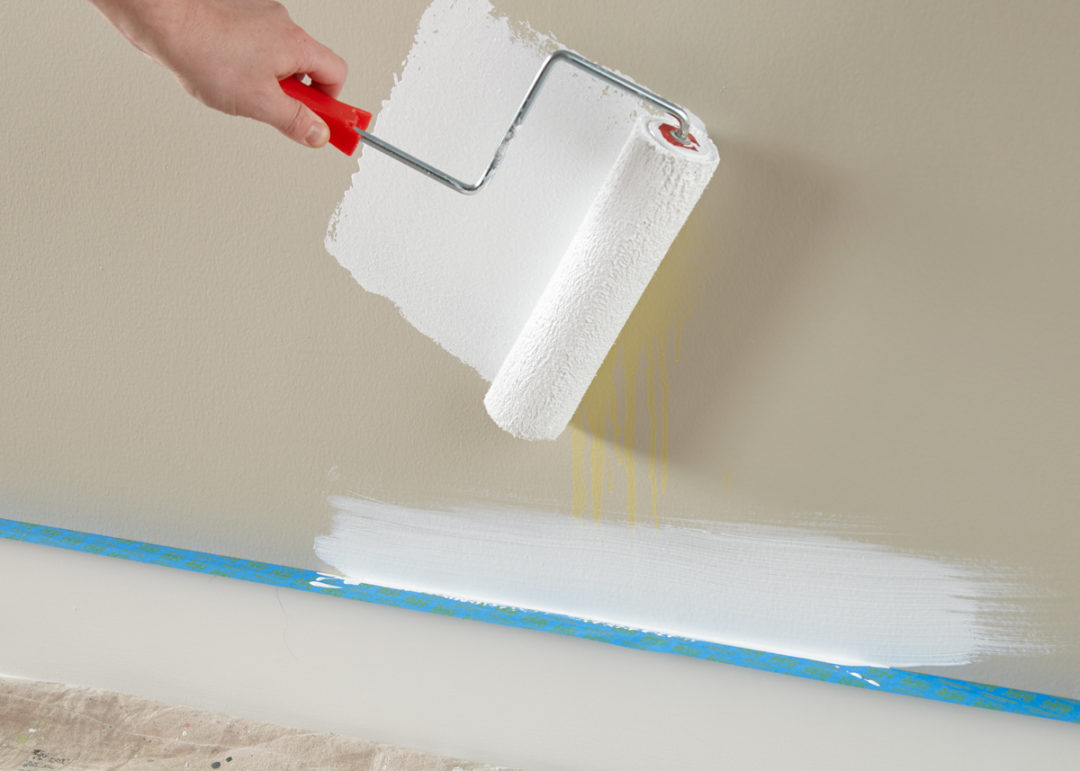
Step 3:
To seal and block pet odors and stains, apply KILZ® Original primer. Stirring prior to and during use, apply primer using a brush first to “cut in” around the edges, then use a roller to fill in.
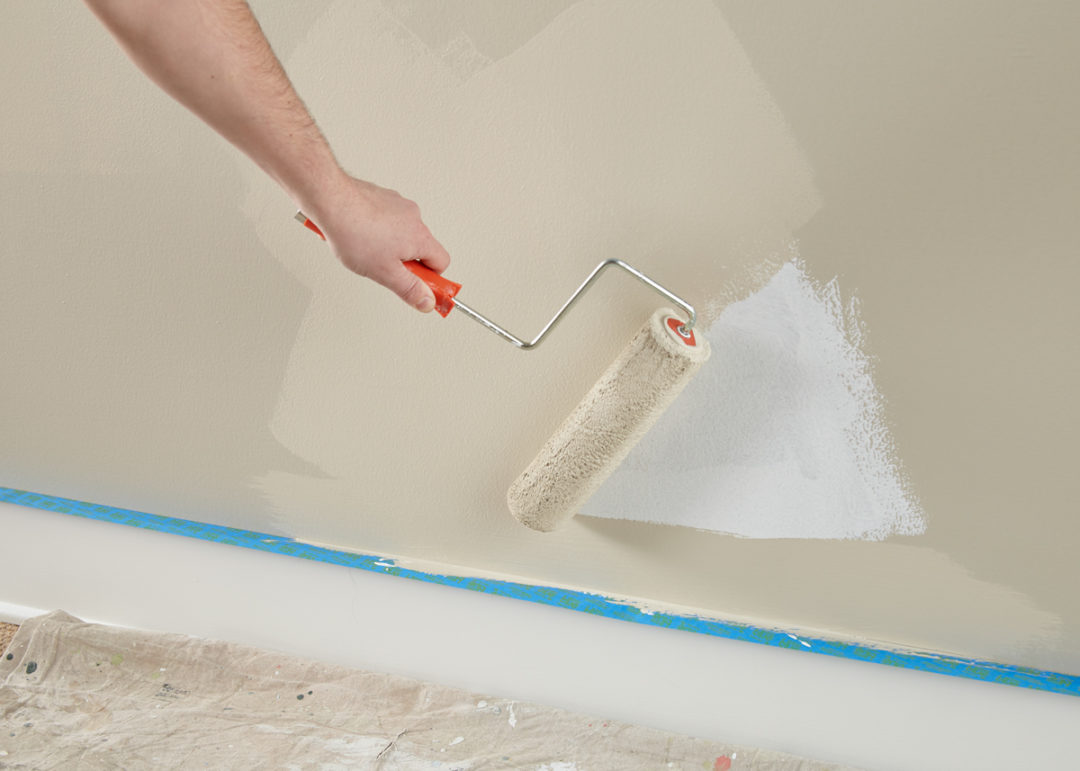
Step 4:
Once primer is dry (allow 1-hour dry time), apply a fresh coat of paint using the same application method as the primer – using a brush first to cut in around the edges 4 to 6 feet at a time, then use a roller to fill in those sections before moving along.
Step 5:
Remove tape prior to paint fully drying and your work is done.
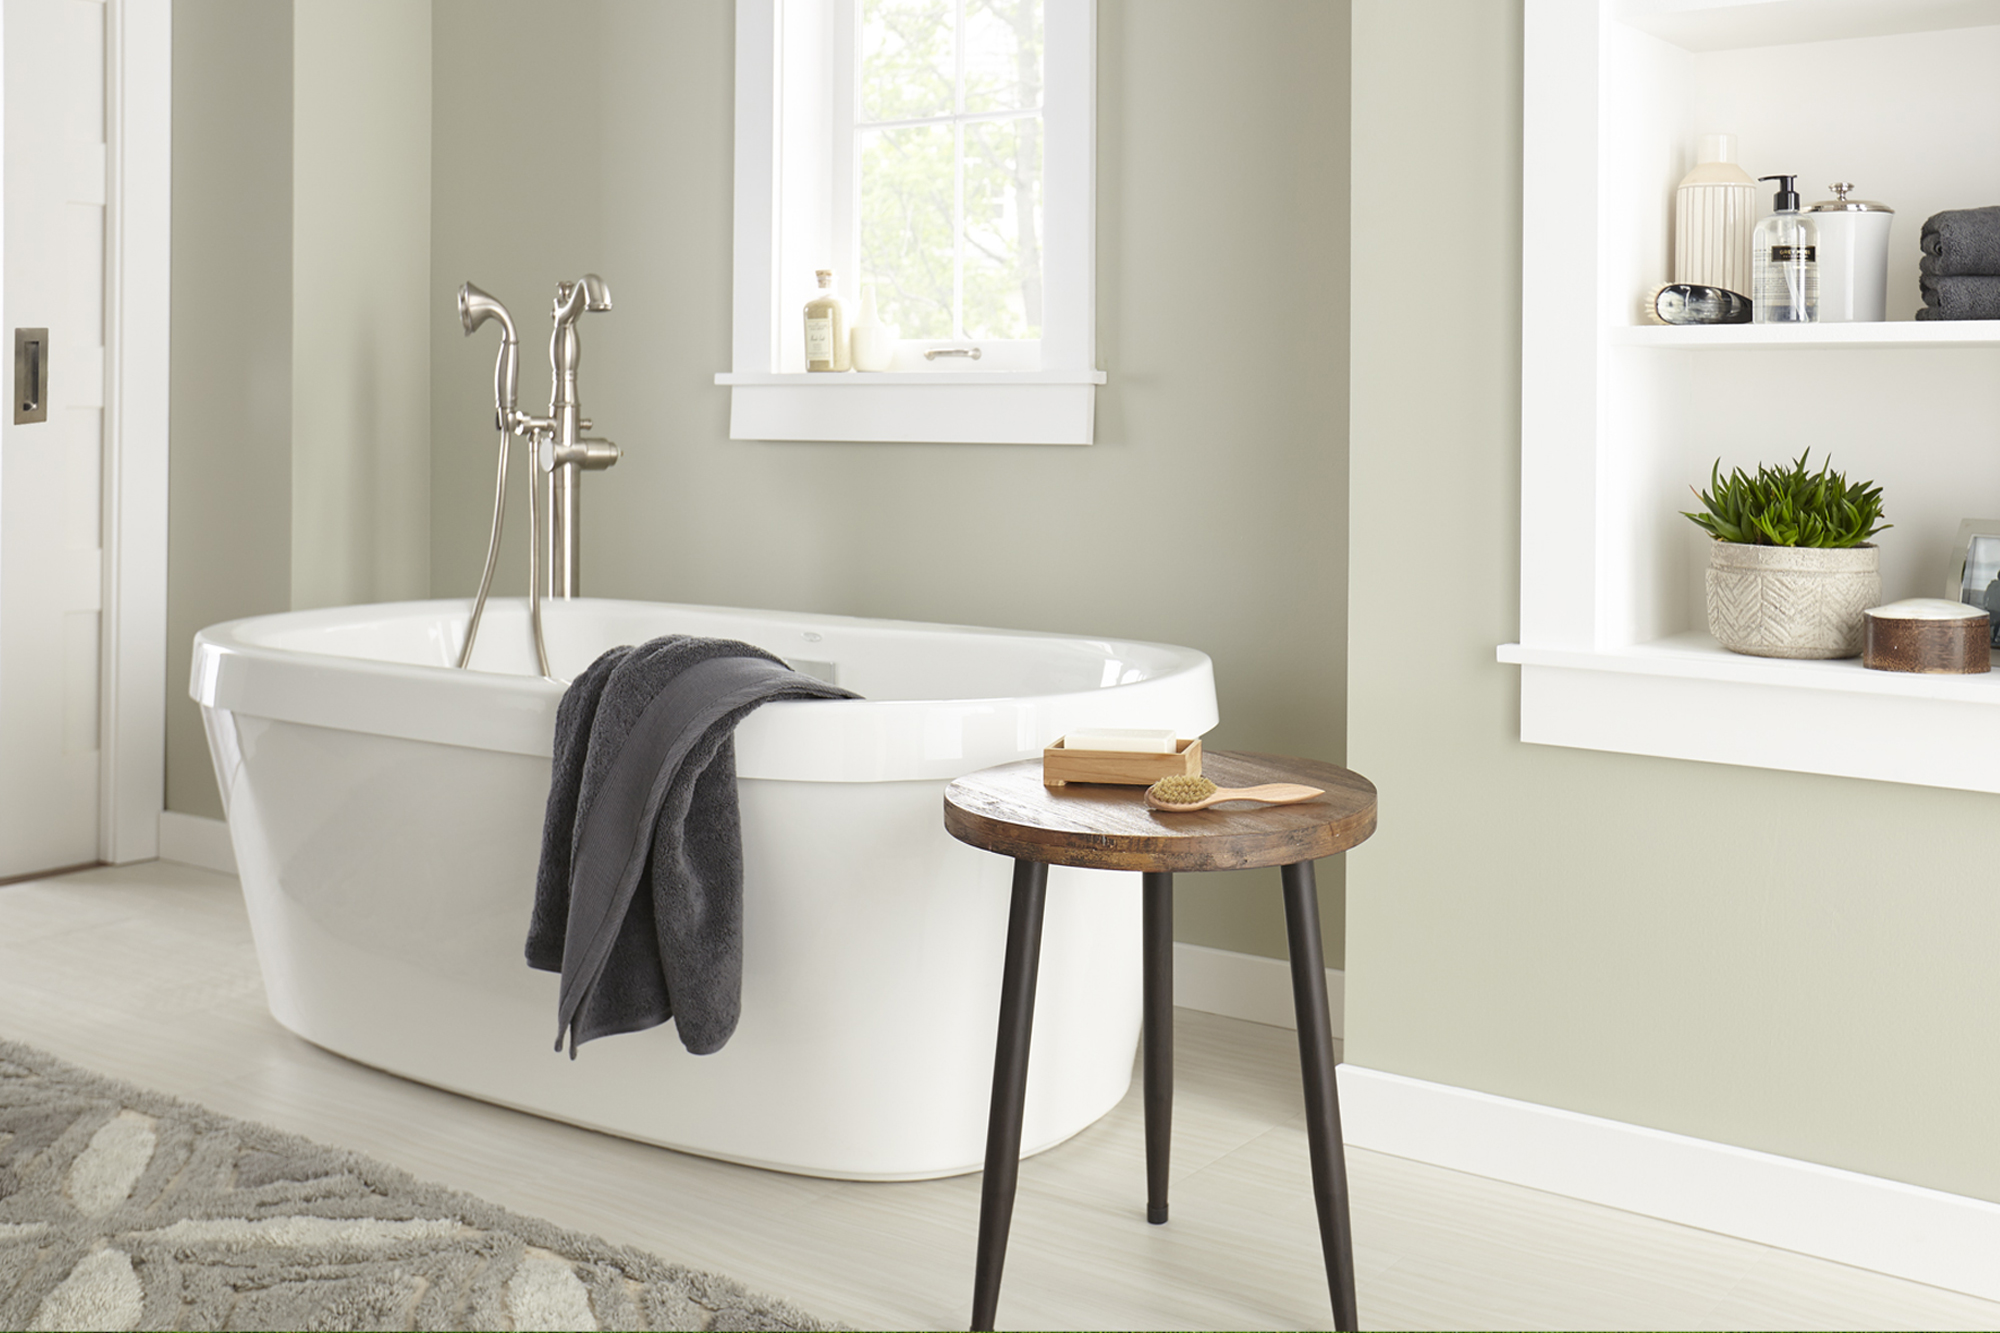
Prep Mildew Prone Areas Like a Pro
August 6, 2019Professional painters know that priming can be a crucial step for any paint project. Whether you’re painting fresh drywall or looking to hide a previous wall color, a primer should always be properly applied before your topcoat. The necessity of this prep step is even more advantageous in mildew prone areas like kitchens, bathrooms and laundry rooms. These rooms often have excessive moisture making mildew a common problem, and simply painting over the issue is only a temporary solution.
For results that last, a primer created with specific mildew-resistant properties is what professionals often choose. The last thing you want is a mildew ridden kitchen or smelly bathroom and KILZ® primer is here to help with professional tips for ensuring a mildew-resistant finish on your next paint project.
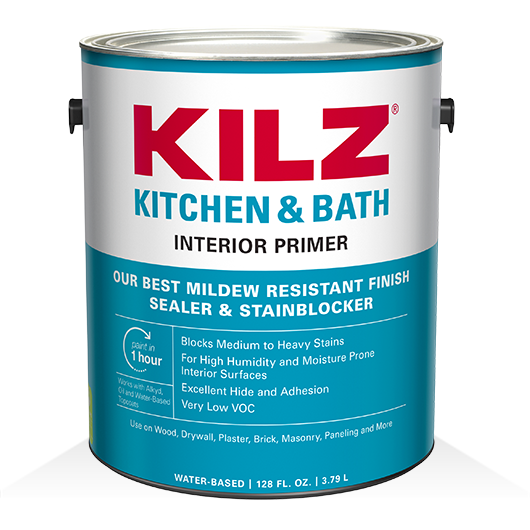
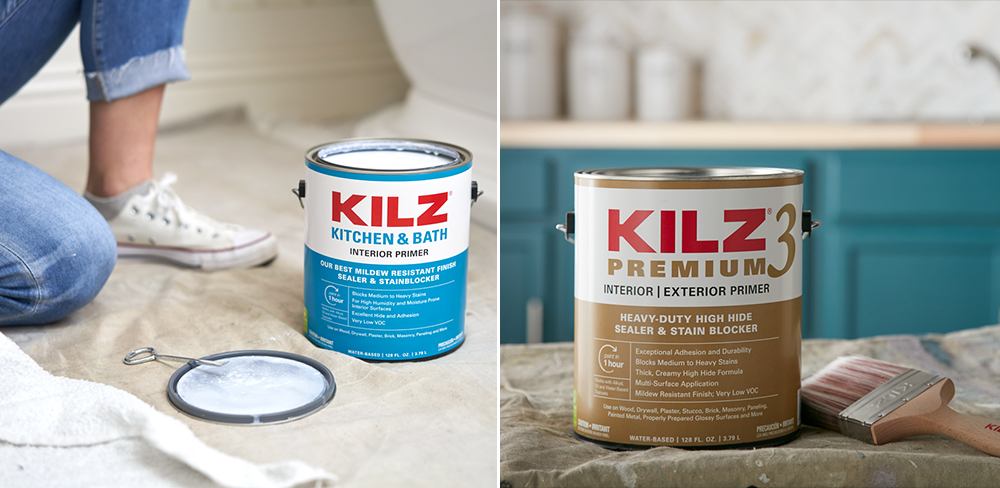 First things first, start by choosing the right primer. KILZ® Kitchen & Bath is specially designed for high-humidity and moisture-prone rooms like kitchens, laundry rooms and bathrooms. It has an enhanced mildew-resistant film that protects the primer from mildew growth. Another professional quality choice is KILZ 3™ Premium. Formulated for both interior and exterior use, this water-based primer works well for a variety of home improvement projects.
Now you’ve got the right primer, what’s next? Start by cleaning any existing mold or mildew off the surface you’re going to be priming and painting. Once the surface is fully dry, it’s time to prime!
For results that last, a primer created with specific mildew-resistant properties is what professionals often choose.
Bold Living Room Color Change Made Easy!
August 23, 2018The first order of business is updating the room’s wall color, beginning with a coat of KILZ 2® Latex Primer, which blocks stains, resists mildew and hides the old, outdated color. This step essentially returns the walls to a neutral white color—the perfect canvas for whatever color comes next.
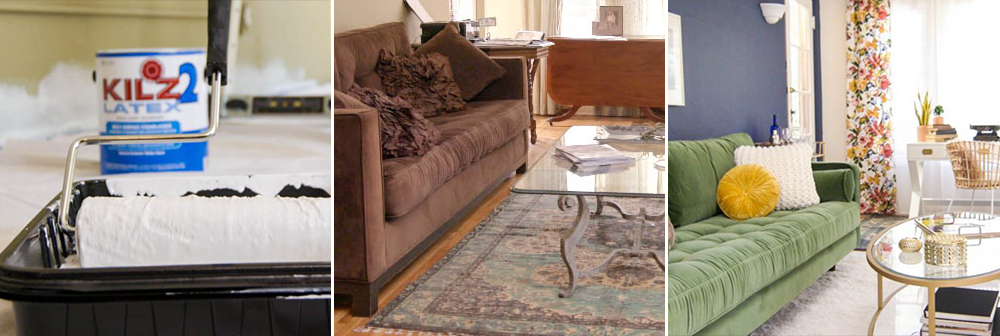
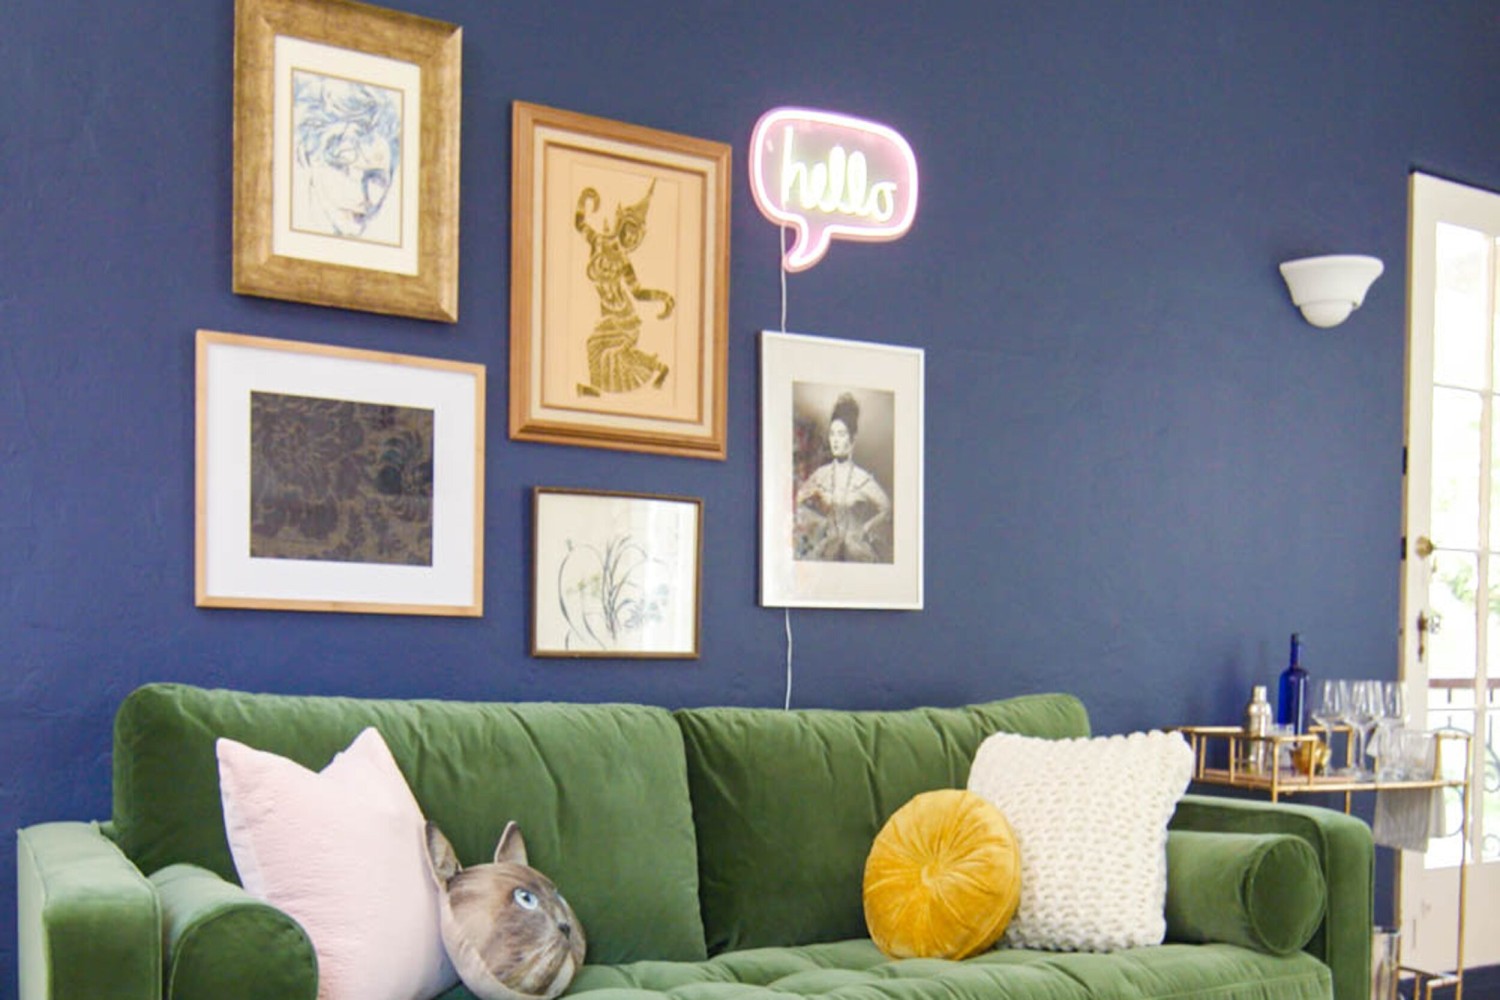
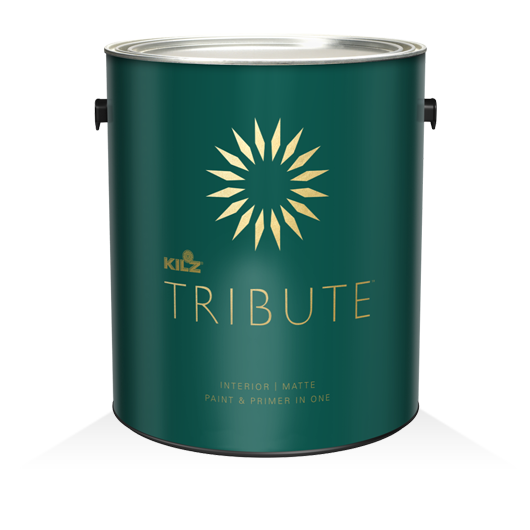
In this case, we’ve chosen one of the season’s most popular paints and colors: KILZ TRIBUTE® in a deep, rich blue color called Harbor Town (TB-49). To contrast, we created an accent wall with a complementary neutral—KILZ TRIBUTE in Champagne White (TB-06).
Add some additional color punch with some wild, graphic patterns on curtains or linens and suddenly your barely breathing living room is a fun, inviting space perfect for everything from entertaining to recharging your own batteries at the end of a long day.
Master Bedroom Refresh
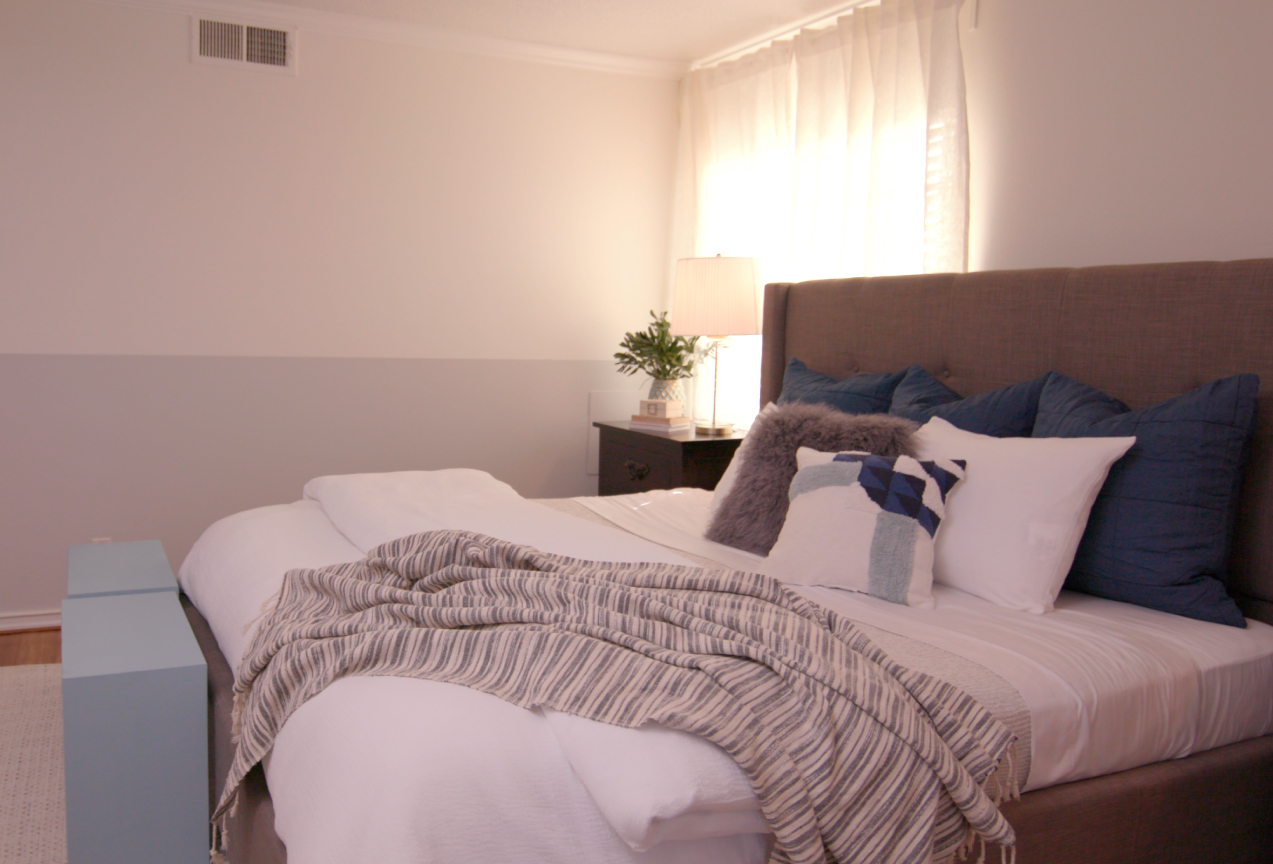
August 14, 2018A ready-to-use neutral creates the ideal base for your transformation. In this case, a coat of KILZ TRIBUTE® Paint and Primer properties in One—we’ve used a color called Architectural White here—leaves little guesswork and effort because it covers all four walls with one coat. After that, the magic happens.
To add a pop of contrast and sophistication, we’ve elected to paint the bottom half of the walls in a slightly contrasting neutral—another KILZ TRIBUTE® hue called Flying Dove. This combined neutral palette creates the effect that the ceilings are higher than they are, opening up the bedroom and making it feel more spacious.
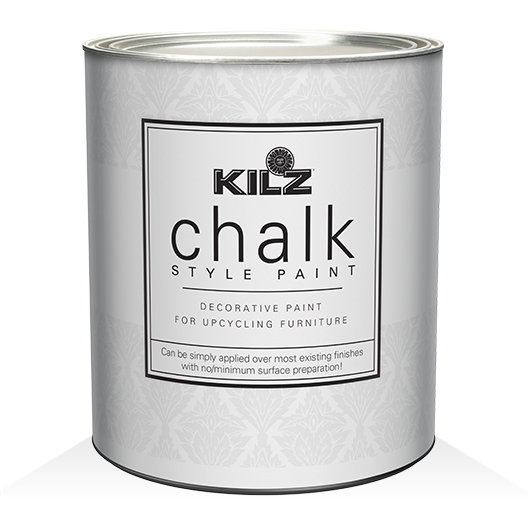
But our weekend bedroom transformation isn’t apparent only on the walls; a furniture refresh is in order, too. KILZ® CHALK STYLE PAINT upcycles fixtures with a soft finish, creating the perfect accent piece for our tranquil, welcoming bedroom refresh.
Architectural White
Flying Dove
Pale Emerald
This combined neutral palette creates the effect that the ceilings are higher than they are, opening up the bedroom and making it feel more spacious.
Ombré Wall Dressing Room Transformation
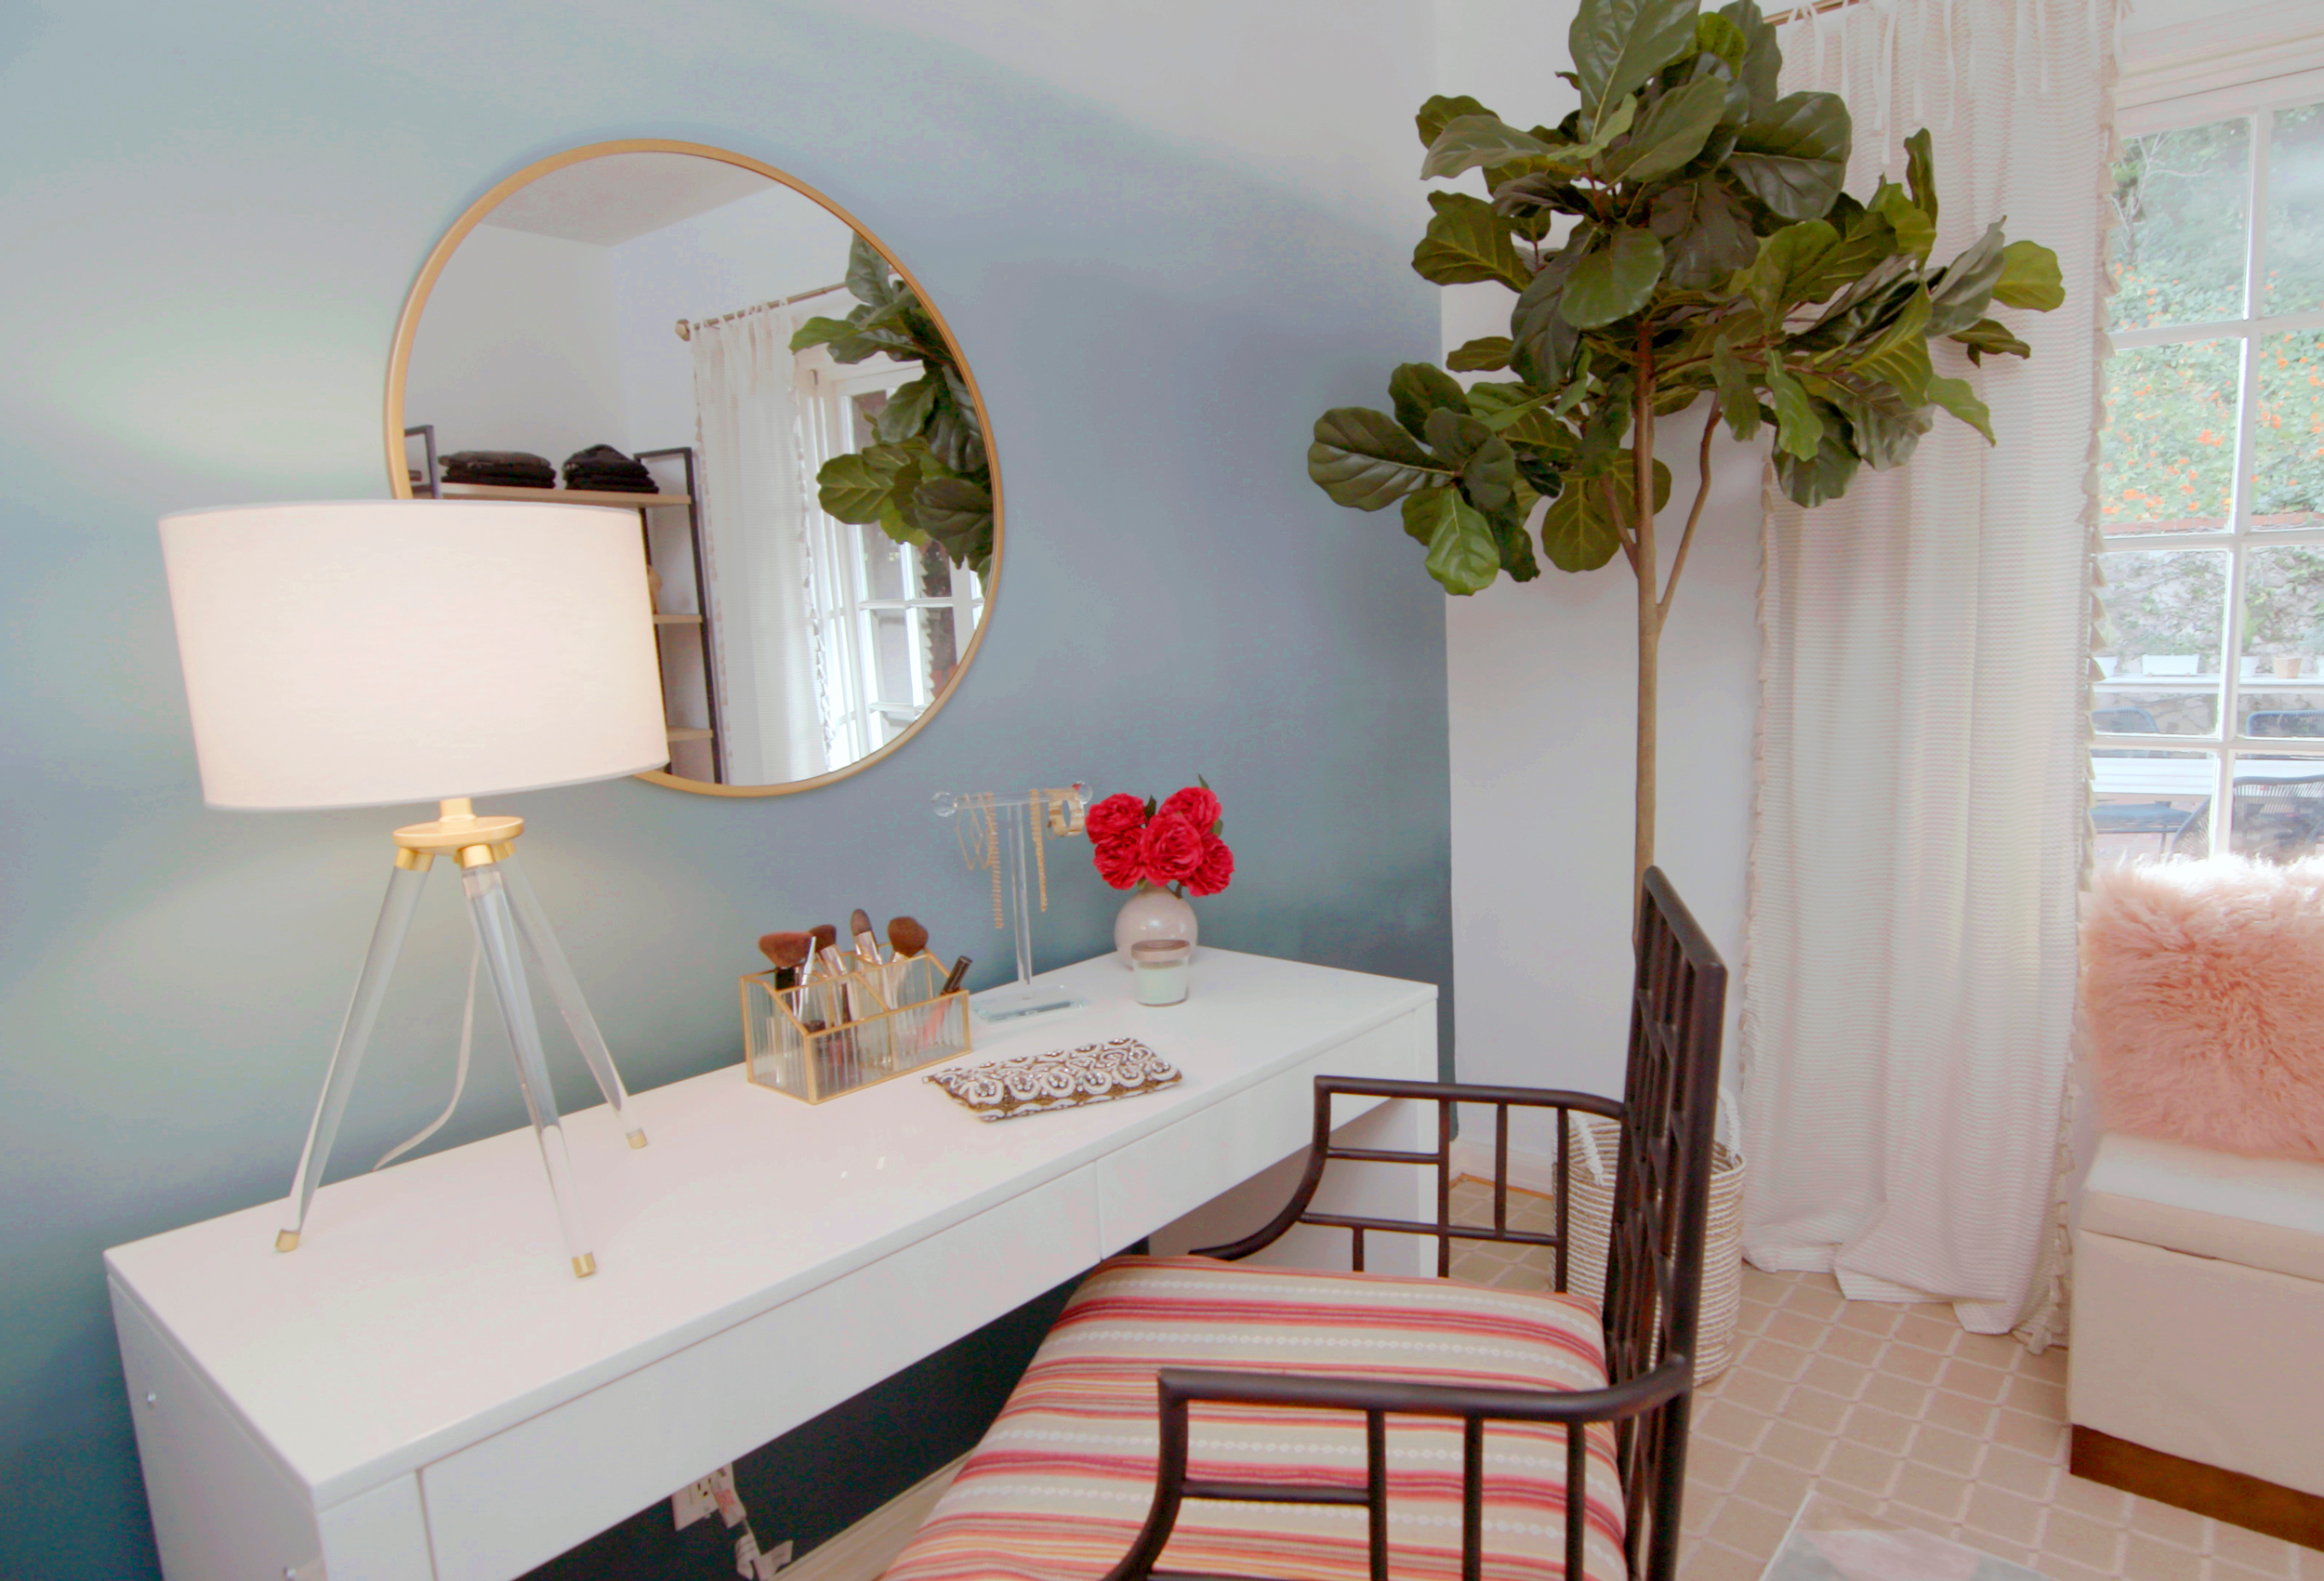
July 19, 2018Let’s be real: a small closet is hardly enough space for a modern professional woman to store her wardrobe and shoes (OMG, the shoes!). So what better way to make good use of a spare bedroom—maybe one that currently serves as a messy resting place for dirty laundry—than to turn it into a hip, functional dressing room. And the best part? This dramatic transformation can be completed in just one weekend.
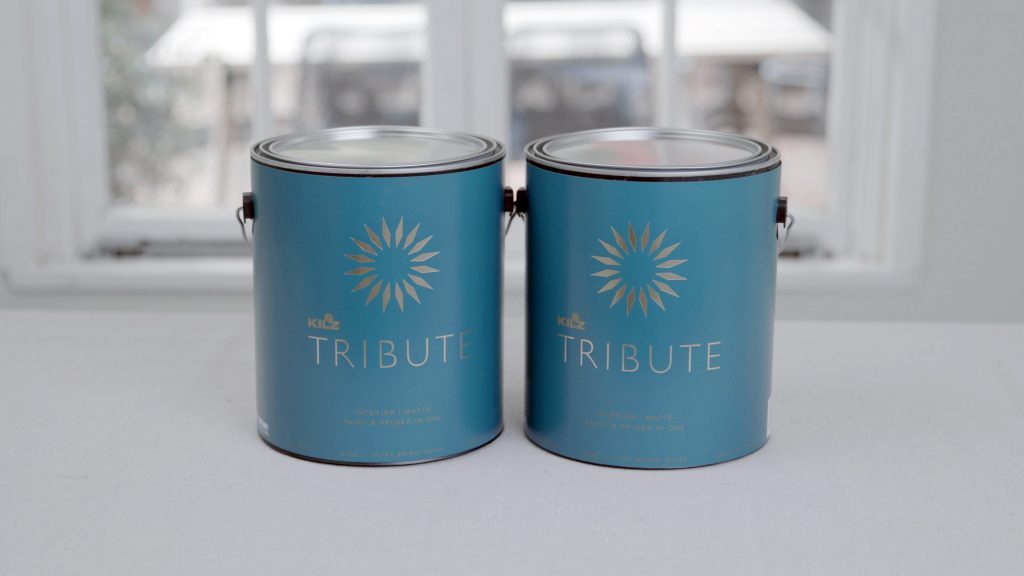
After emptying the room, the first order of business is picking a new wall color. While this process was once a tedious one, now you can start to search for your perfect colors online. In this case, our designer has chosen three ocean-inspired KILZ® TRIBUTE® paint colors: ULTRA BRIGHT WHITE (TB-01), TRUE TEAL (TB-59) and OCEANS DEEP (TB-60) to achieve this ombré accent wall look. Check out the video below to learn some techniques for this application!
Ultra Bright White
True Teal
Oceans Deep
Project Checklist: (All products available on Amazon)
- KILZ® TRIBUTE®
- Water Spray Bottle
- Mixing Stick
- Paint Roller Tray
- KILZ MASTER COLLECTION Foam Mini Paint Roller Cover
- KILZ Master Collection Wire Paint Roller Frame
- KILZ MASTER COLLECTION Handcrafted Nylon-Polyester Blend Angle Sash Paint Brush
- Drop Cloth
- Painter’s Tape
- Measuring Tape (to section off Ombré quadrants)
- Pencil
Feather together with a dry brush. Spray water to keep things moist. Keep going until you reach ombré perfection.
Stencil Wall Accents
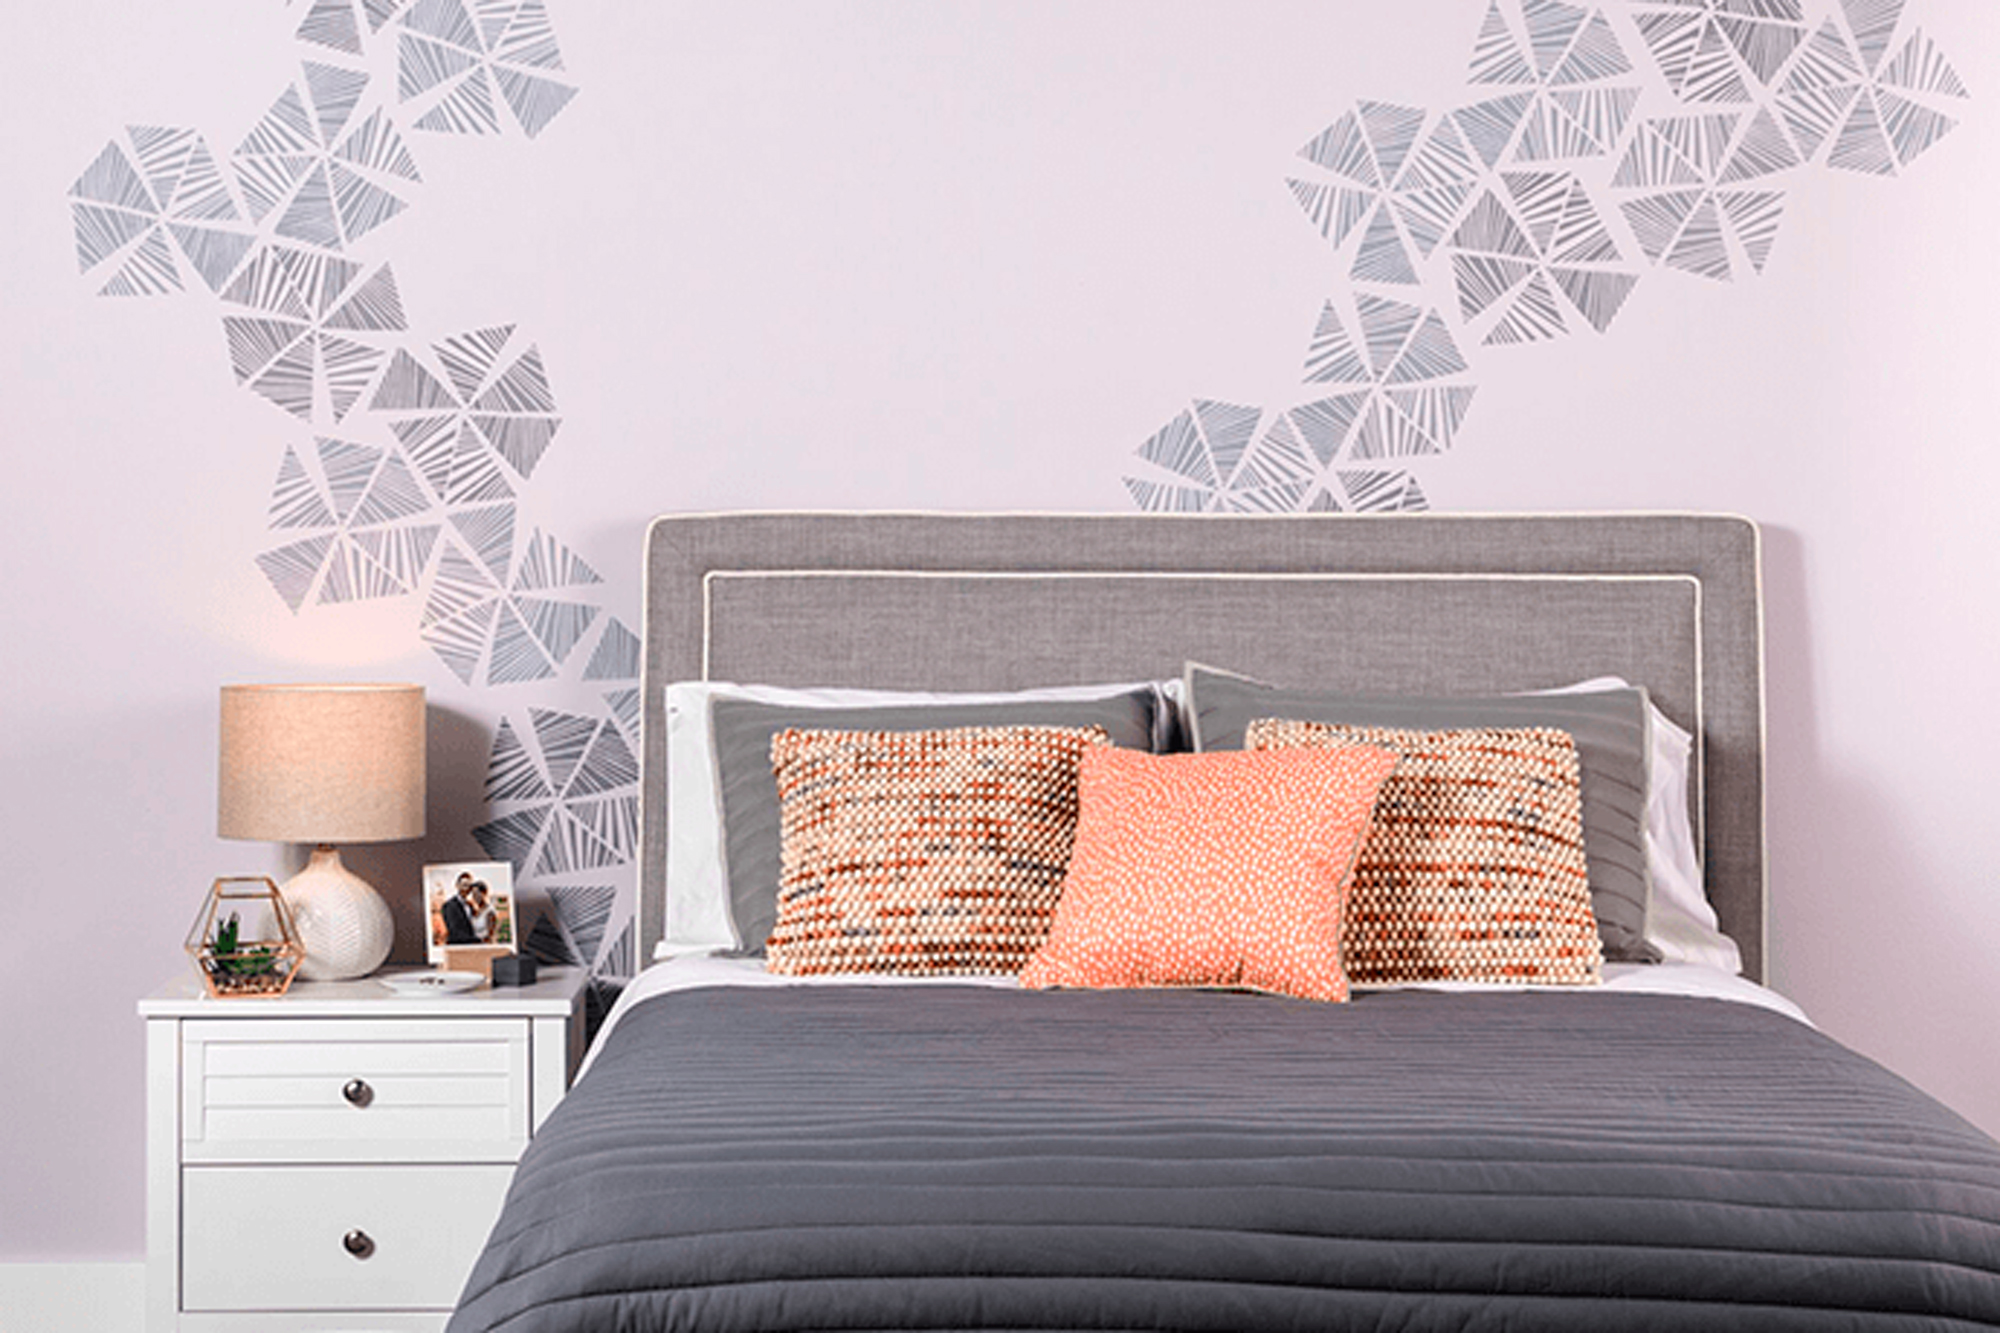
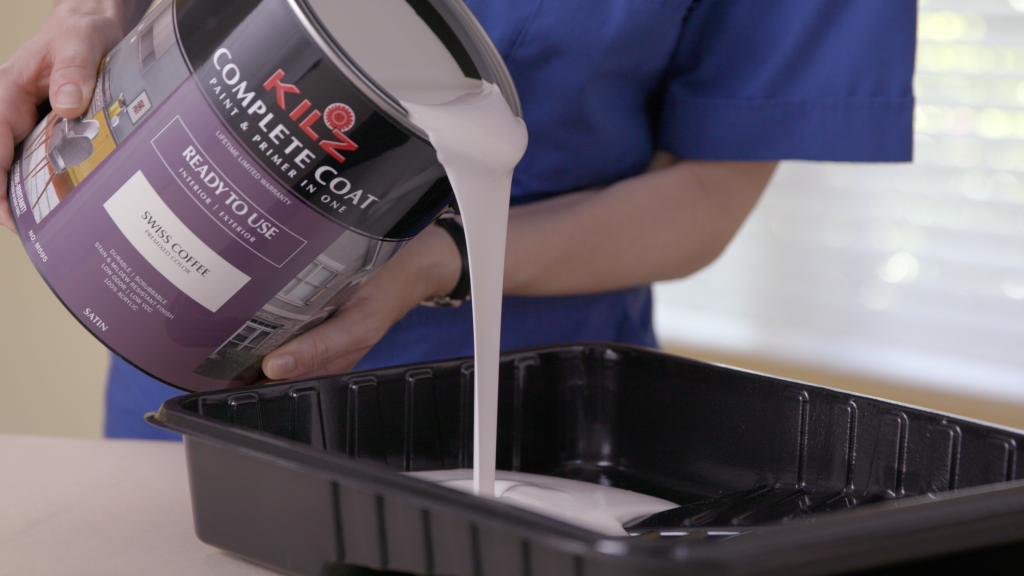
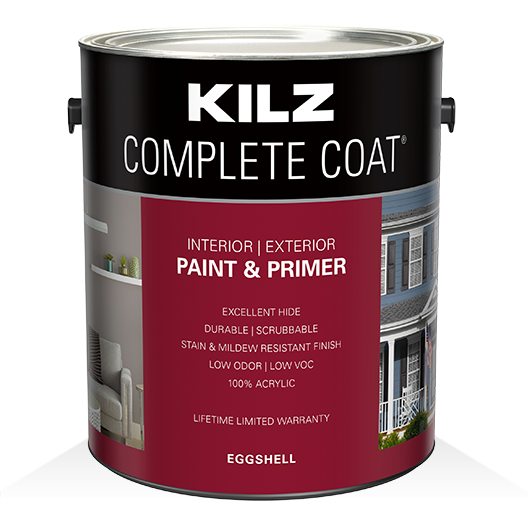
December 8, 2017For this project we used our KILZ COMPLETE COAT® Paint and Primer in One in neutral based colors to transform this plain master bedroom wall into the perfect statement. Although we chose more muted colors for this specific space, you could always go bolder, repeating more (or less) of the stencil patterns to accomplish a louder more extroverted look. The great news is that the stencils come in all types of styles leaving the opportunities virtually endless when it comes to which type of look you want to create.
Mix and match! Using the stencil patterns behind or above furniture pieces is a nice way to really make them feel custom to the room. You could also pull stencils in order to frame artwork or simply add extra dimensions to your décor. The color of the stencil here subtly pulls from other colors in the room. In this case, the tone of the stencil ties in with the bedding and comforter set. We could have also opted for an orange tone to really make the accent pillows pop. This could be a nice effect in a living room space, or even in a dining room above a serving unit.
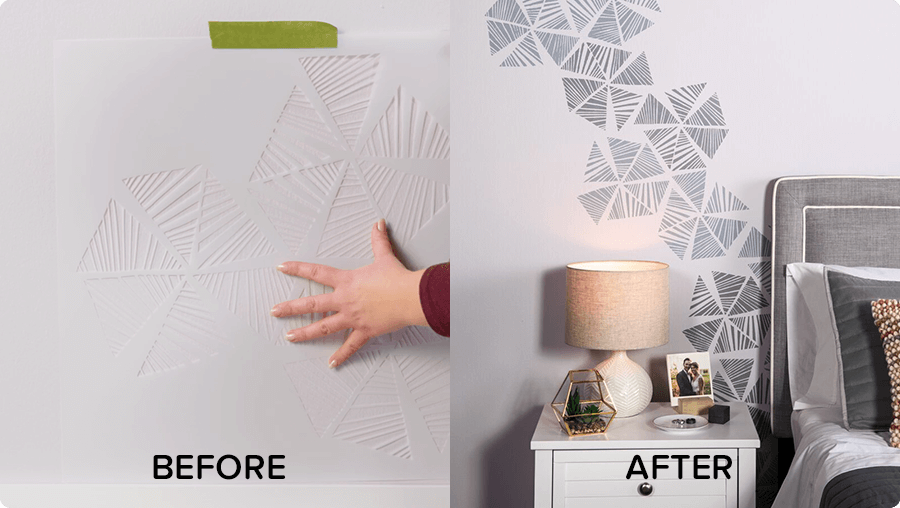
This project is simple! See below for a full tutorial about how you can achieve this look in your space. Loving it? Explore our full KILZ COMPLETE COAT® palette here.
Project Checklist:
- KILZ COMPLETE COAT® Paint and Primer in One
- Stencil
- Stencil Brush
- Painter’s Tape or Spray Adhesive
- Paper Towels
- Can Key
- Drop Cloth
- Stir Stick
Step 1:
Determine location of pattern to be stenciled on wall.
Step 2:
Stir paint to make sure it is mixed.
Step 3:
Spray stencil with adhesive or secure stencil with painters tape.
Step 4:
Level and then secure your stencil on the top middle of the wall with painter’s tape.
Step 5:
Stencil the pattern by lightly dabbing the paint until the areas are fully covered.
Step 6:
Move on to the second repeat of the pattern by following the registrations that are included in the stencil. These registration marks help you move and place the stencil along the wall perfectly every time!
Step 7:
Allow 2 hours dry time. Then call your best friend and invite them over for coffee because you’re all done.
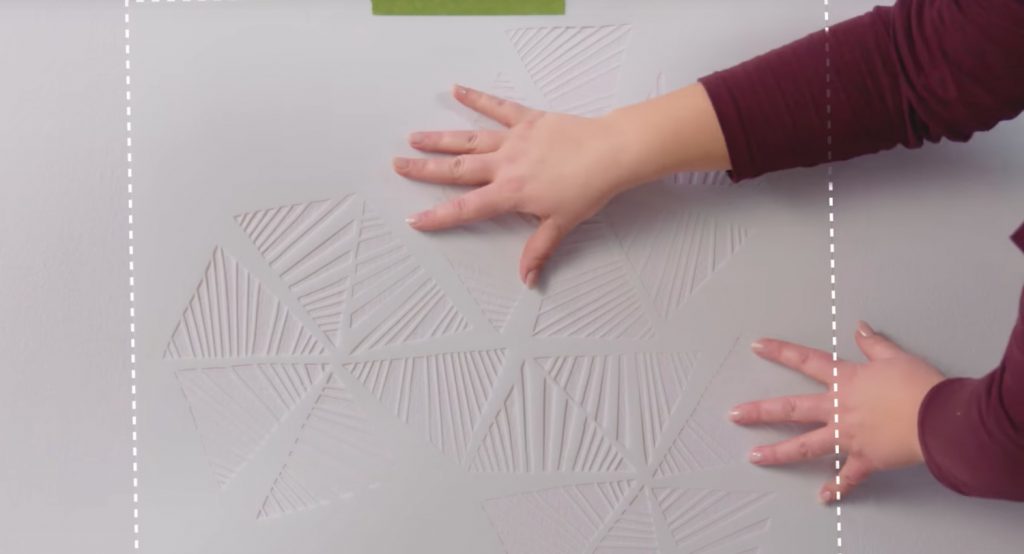 Pro-tip: Make sure the stencil is secure before you add paint.
 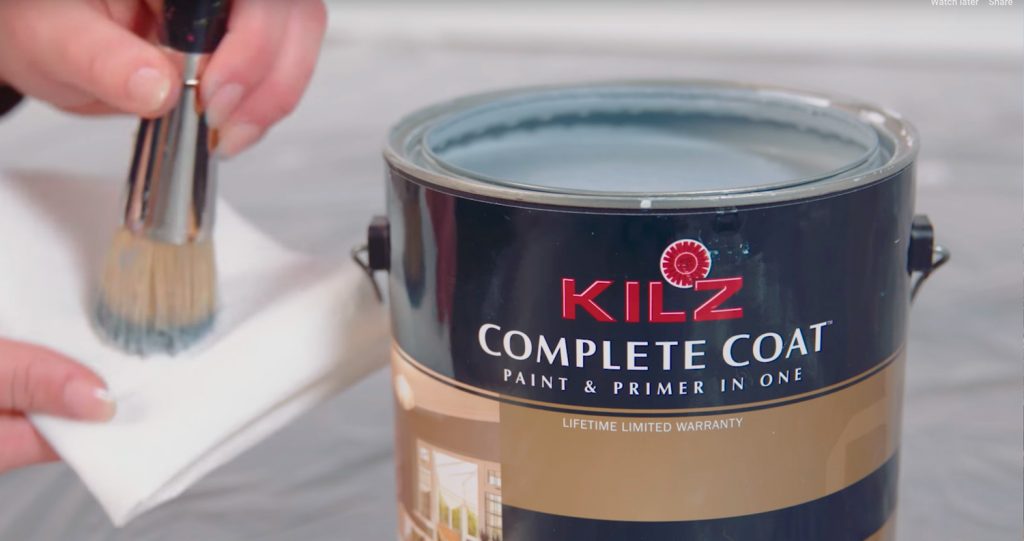 Pro-tip: Load your brush with paint and off-load most of the paint onto a paper towel. Using too much paint when stenciling is the number one reason for bleeding, so make sure to off-load excess paint before starting on the wall.
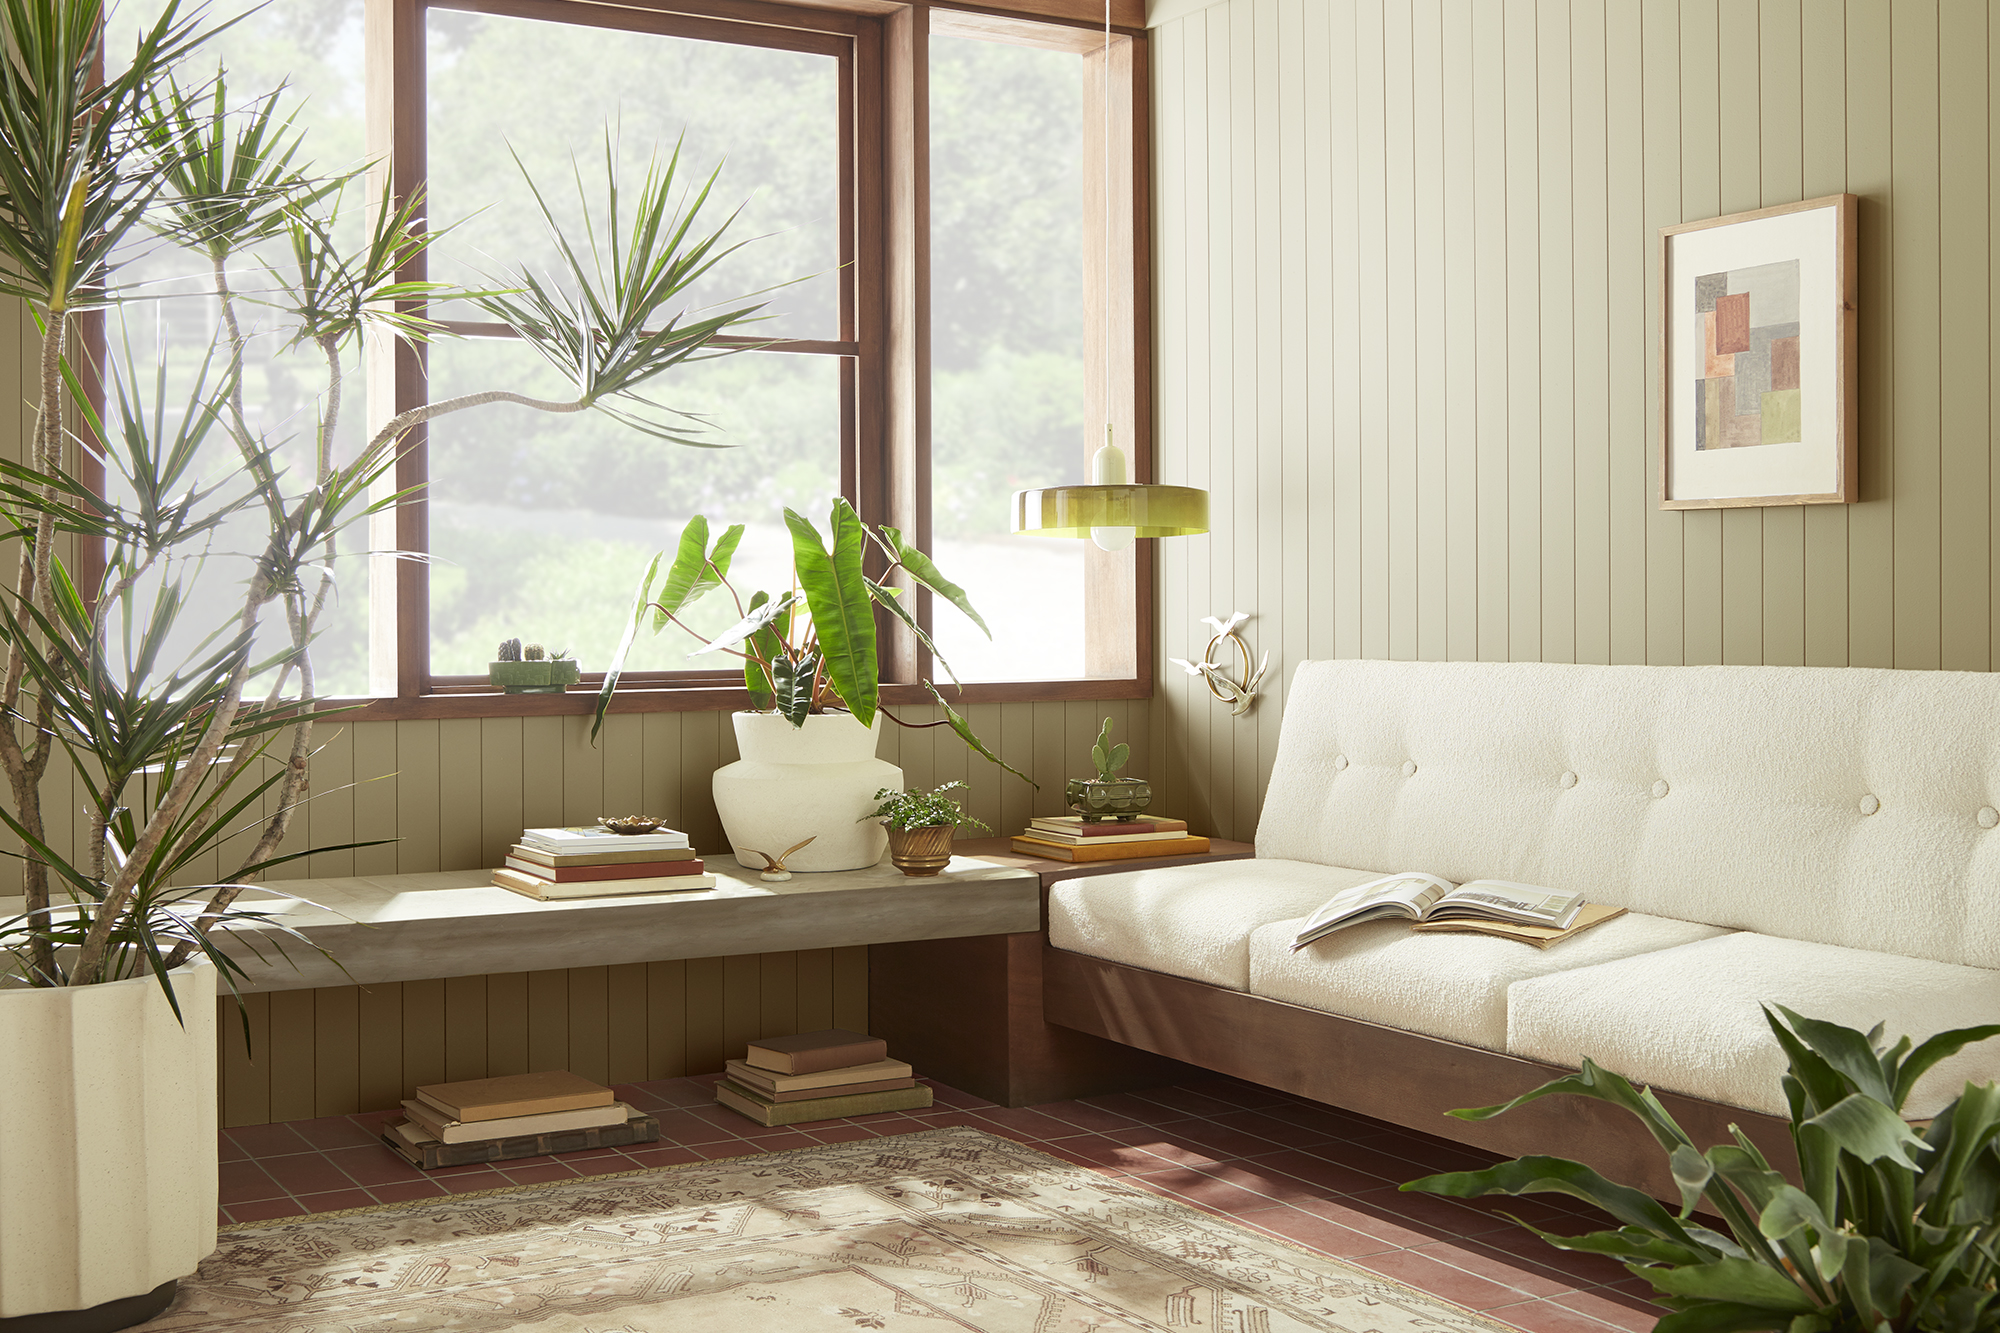
Mix and match! Using the stencil patterns behind or above furniture pieces is a nice way to really make them feel custom to the room.





join the conversation:
SHARE this post: