Tag: Bedroom
Our Favorite 2020 Design Trends
January 7, 2020While the KILZ® brand is known first and foremost for our hardworking primers, color and design are also important to our team! Primer might technically be colorless, but it is a crucial step in adding color to your walls, cabinets and furniture pieces. Primer should often be the first step in achieving a new look for your space, so in a sense you can consider primer a part of the design process just as much as paint.
As we enter a new year, we’re excited to share a few color and design trends to help you along the way to completing your painting and renovation projects. Color and design trends are everywhere, and there is no one size fits all in terms of the hottest hue or best design style – but we’ve rounded up a few of our 2020 favorites to help inspire your project planning process in this new year.
Kitchens Are King:
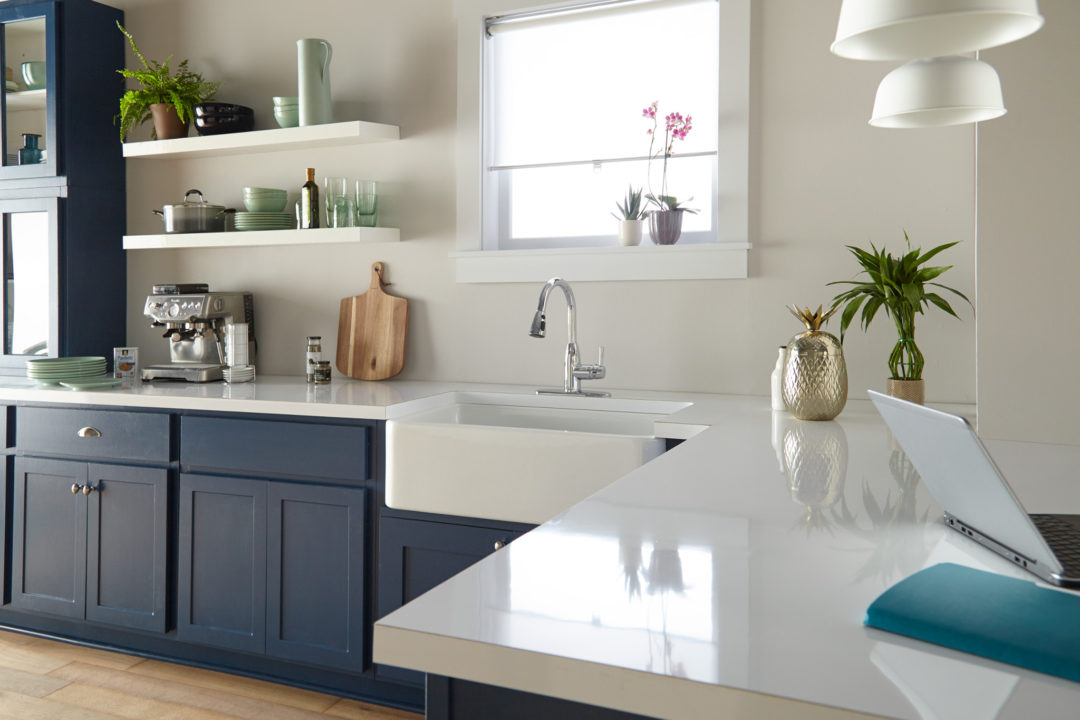
In 2020, you’re going to see kitchen renovations and remodels popping like corn at the movies! (Translation: they’re everywhere and on everyone’s minds). In 2020, we’ll be exploring more kitchen color trends and design hacks on the blog to help you renovate your kitchen on budgets both big and small. 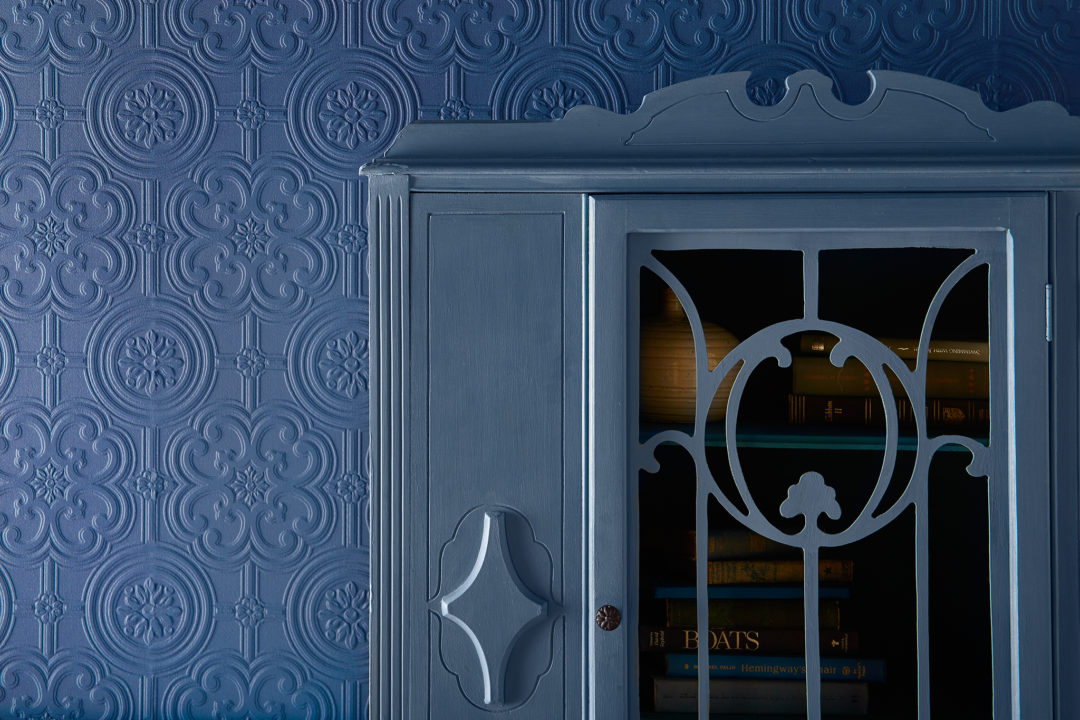
Not Over Navy:
Blues and grays have been popular paint colors in recent years and we’re nowhere near done with them. From kitchens to bedrooms and cabinets to walls, navy can often act as a “dark neutral” to give a pop of color to a space while also keeping it classic. And we’re not alone in our love for navy, Pantone named Classic Blue the Color of 2020. Look out for some of our favorite shades of Navy in upcoming How-To posts later this year (spoiler alert – we’re painting everything from living room walls to dining room chairs in this easy to love shade!). 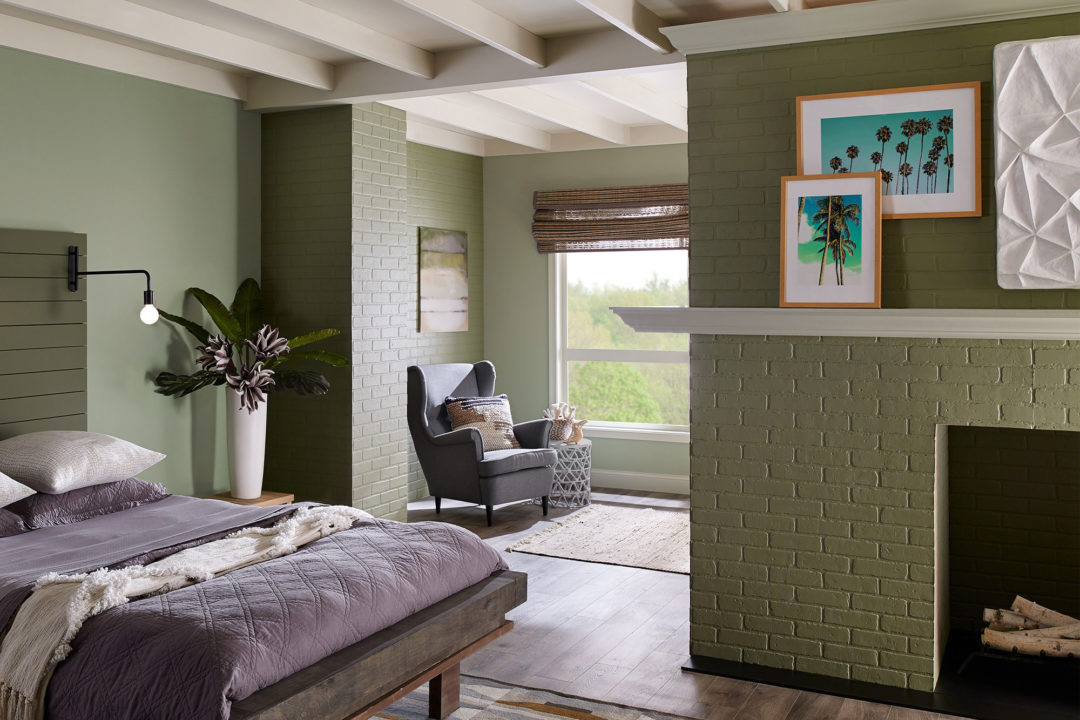
Fireplaces that Pop:
Who doesn’t love the crackling of a warm fire on a cold winter’s day? And for a fireplace design that pops both inside and out, we’re loving bright white bricks against colored walls and monochrome fireplaces in unexpected shades. 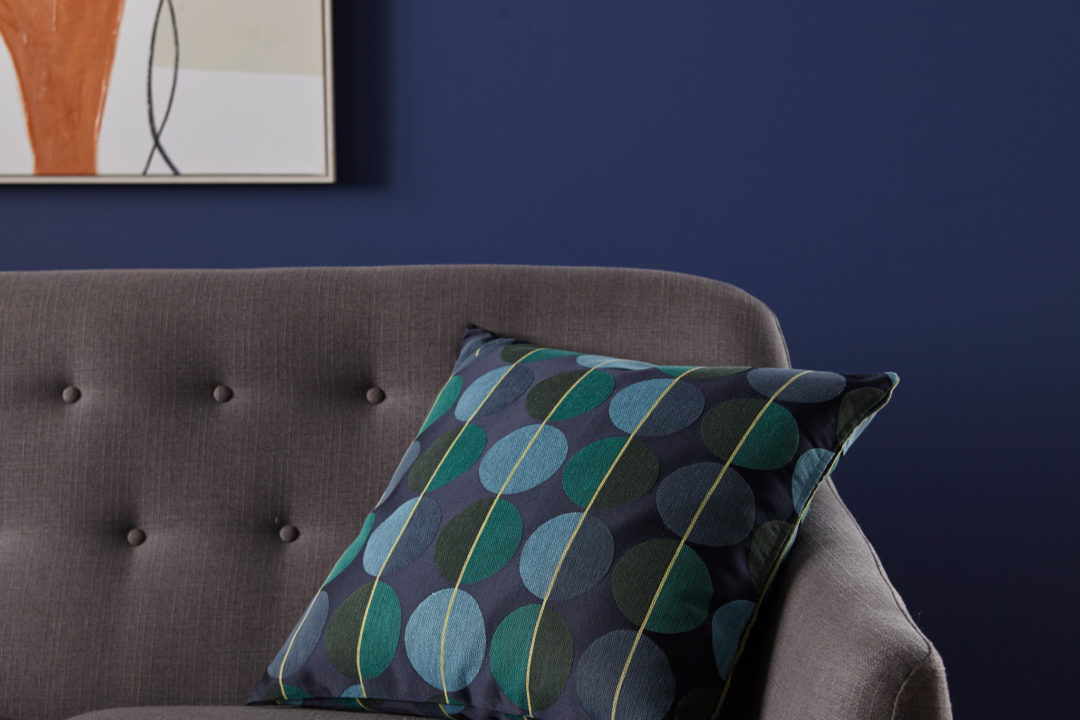
Full Circle Design:
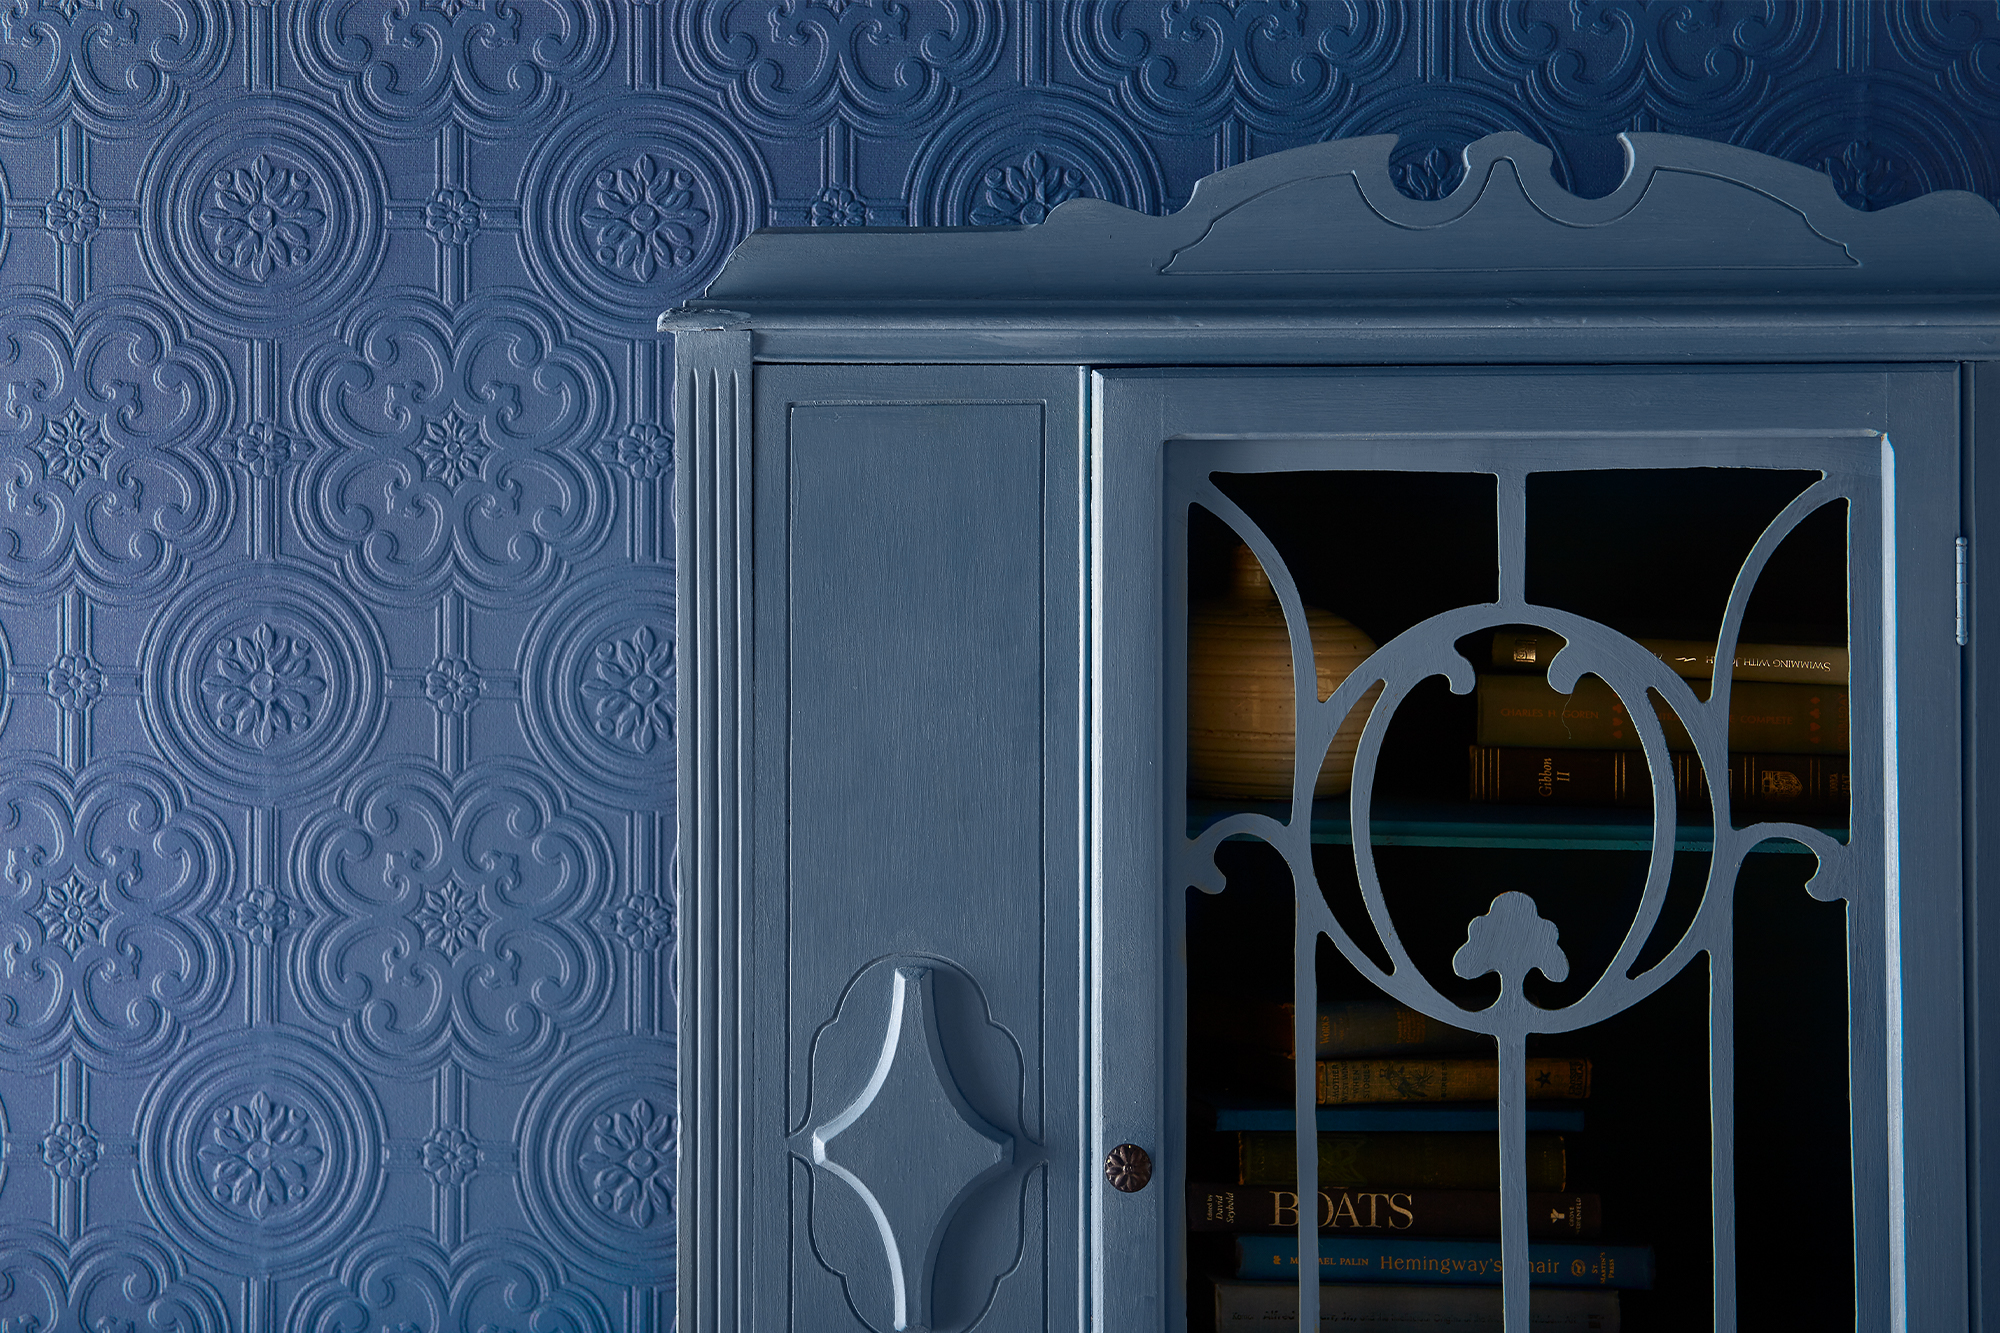
Patterns and shapes are easy ways to add fun and unexpected touches to any room, and for 2020 we’re loving circles! From painting round pops of color on an accent wall to circular inspired décor items like mirrors, fabric and lighting, curved shapes and lines bring a nice softness to any design style. 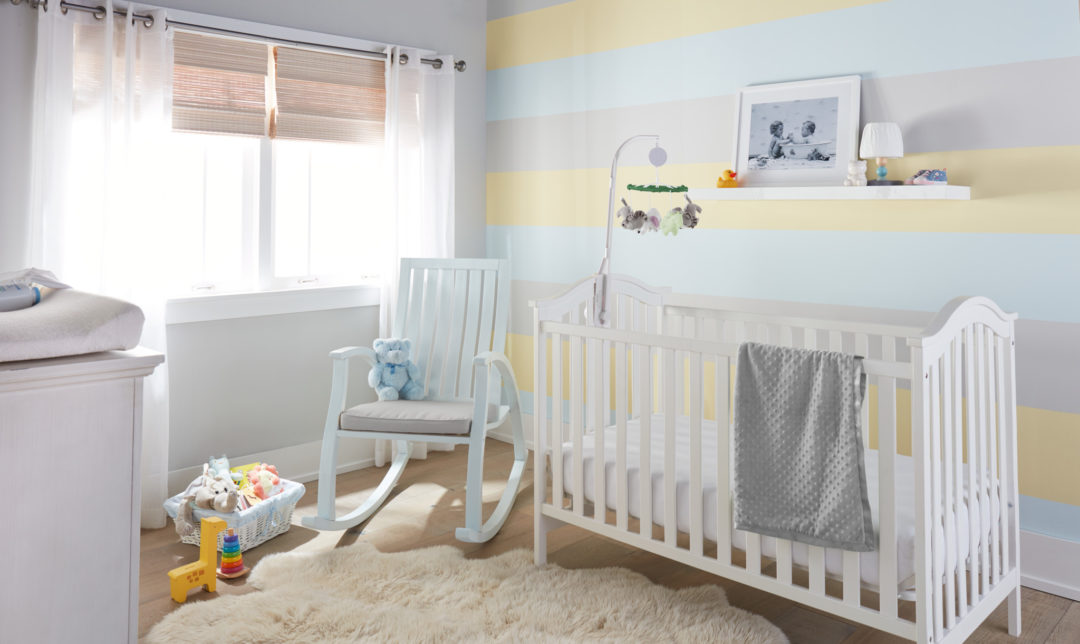
Color Blocking Children’s Spaces:
A little one’s room is the perfect place to play with pops of colors and interesting patterns or color placement. In 2019 we showcased a nursery makeover with a sweet striped wall, and we’re excited to explore more color blocking in 2020 for kid’s rooms.
Cover Crayon Stains & Paint a Colorful Accent Wall
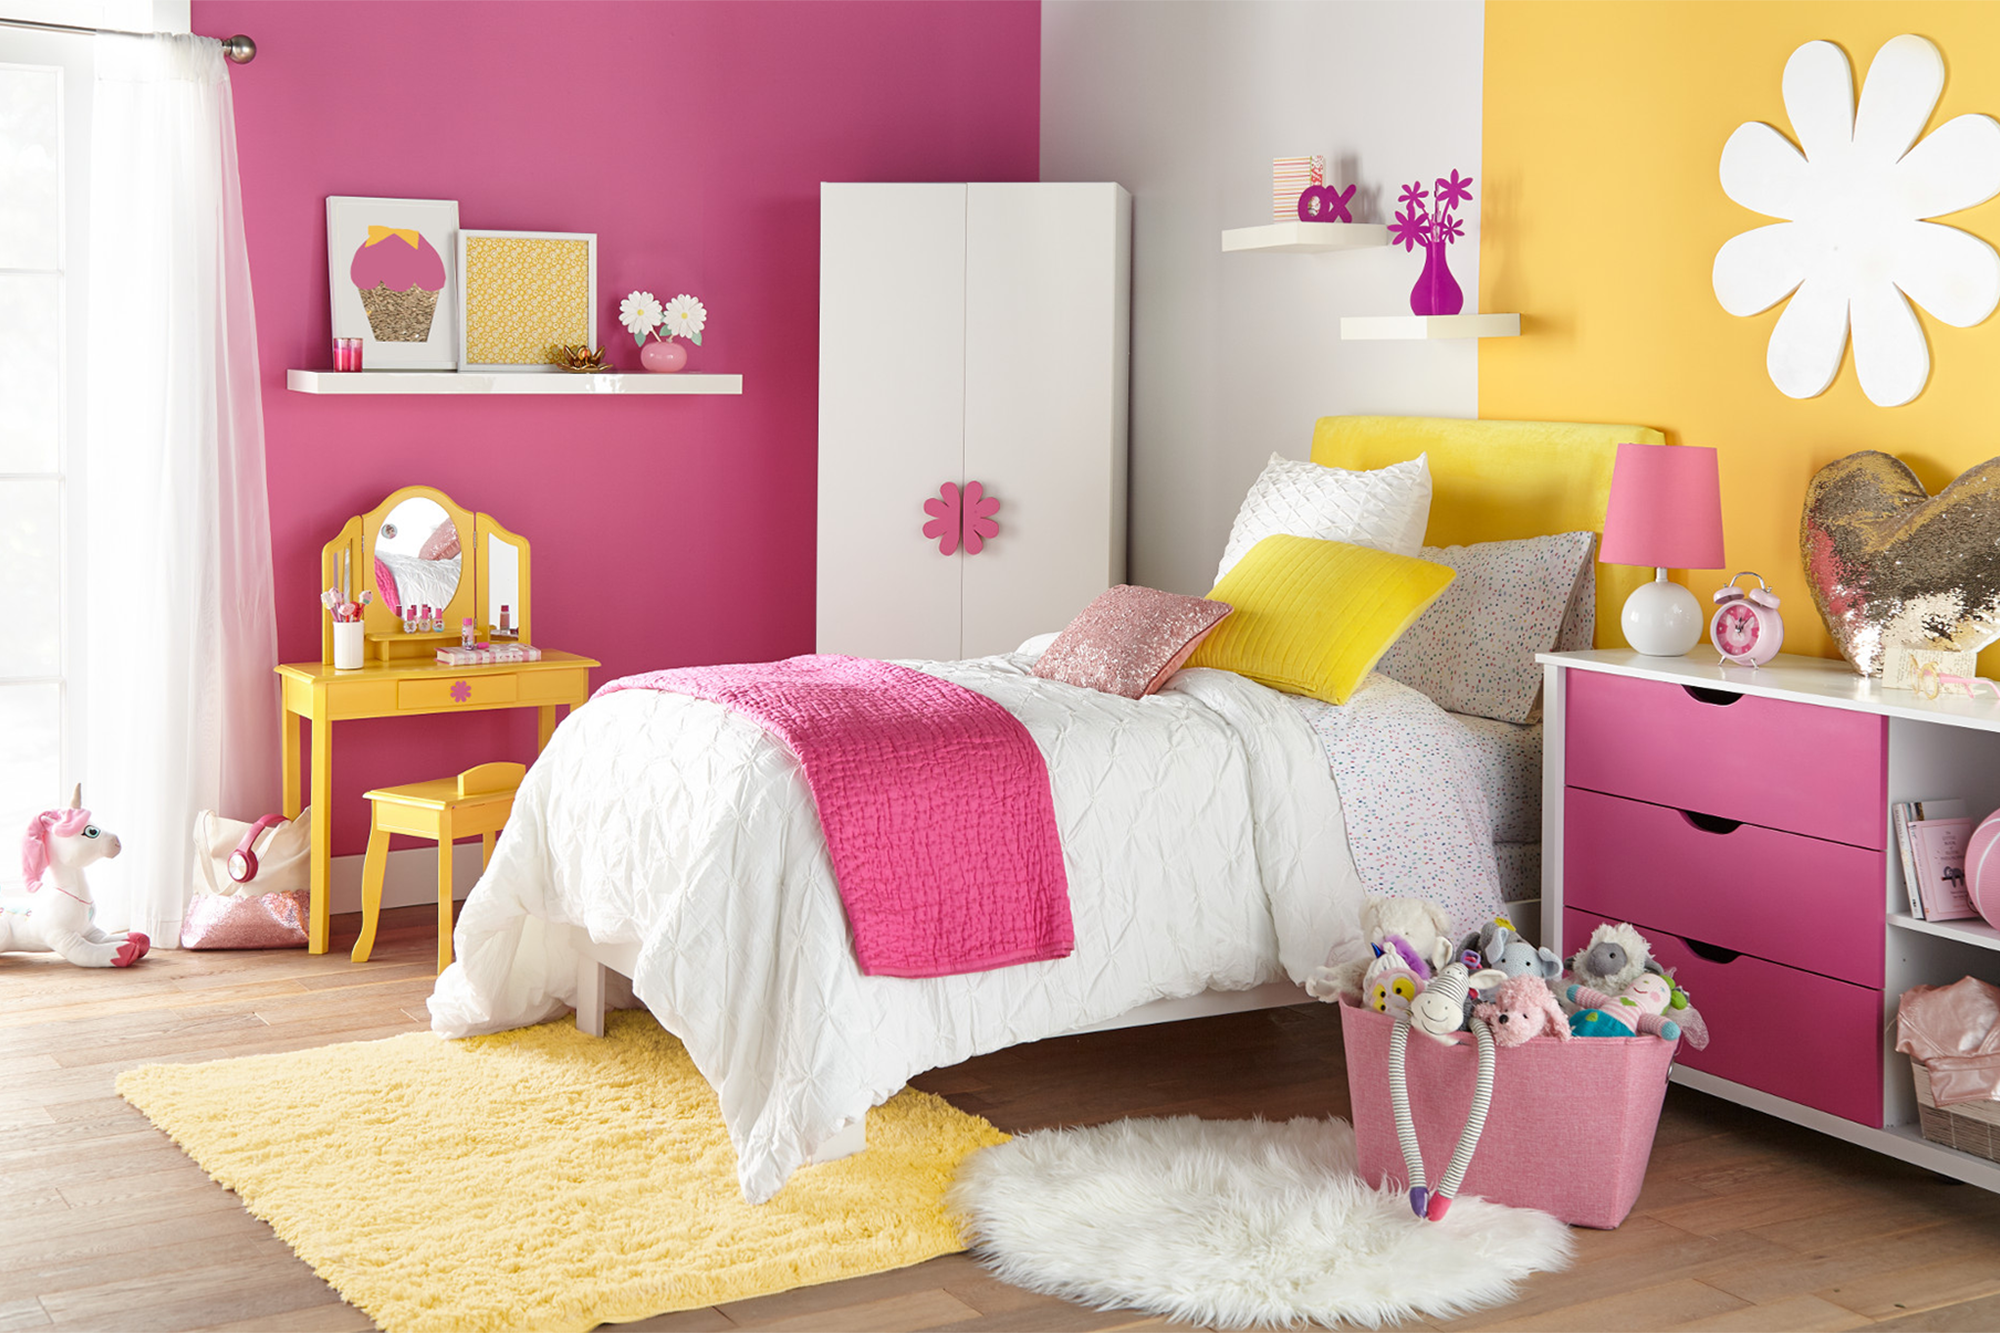
December 9, 2019Children love bringing their artwork home from school. But when the actual home becomes the artwork, what can you do to restore crayoned stained walls? In this sweet bedroom makeover, the walls are primed and painted as the first step to a total room refresh that includes a striking honey-hued accent wall and vivid pink and yellow furniture.
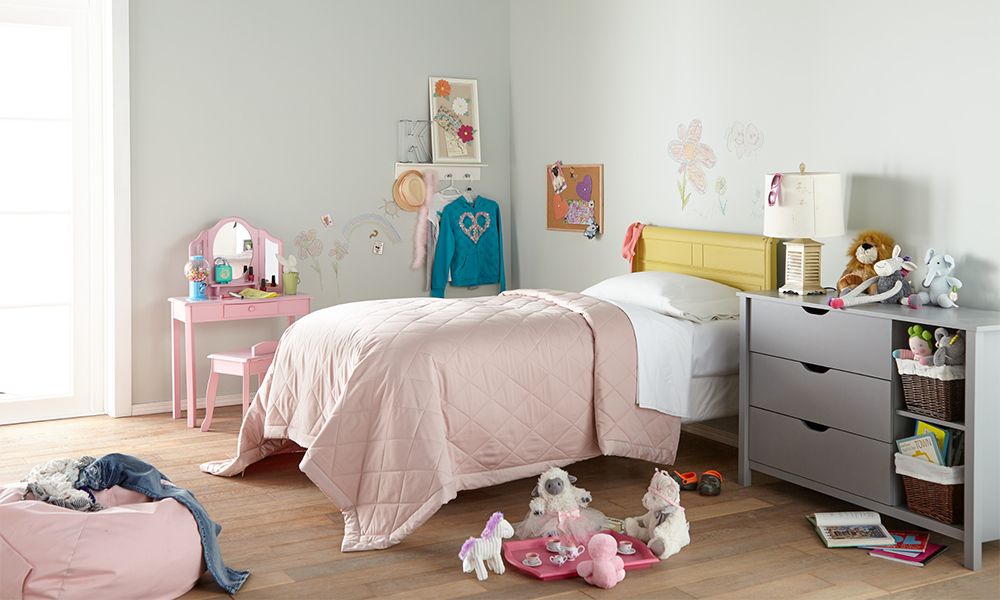
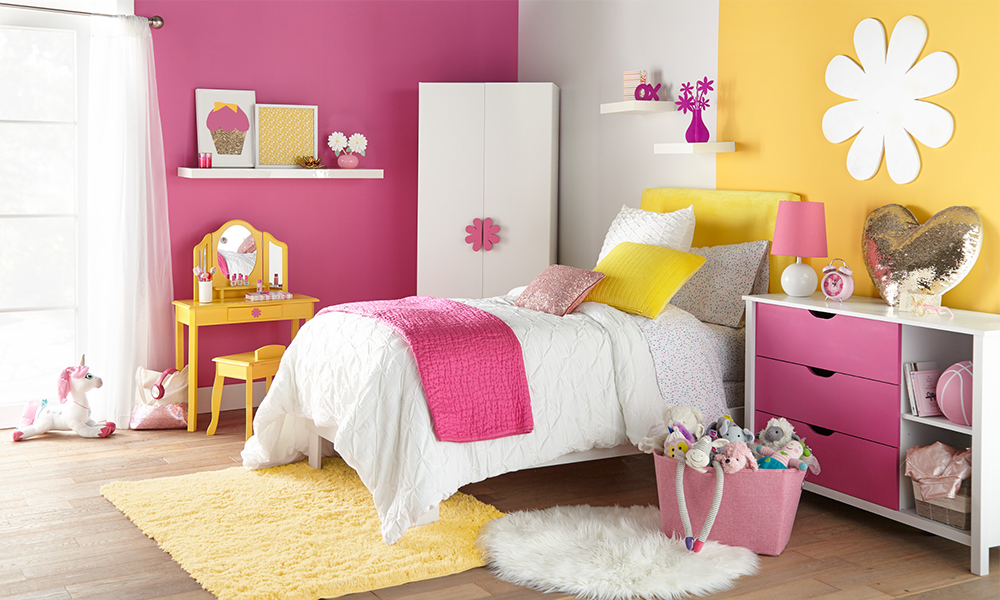
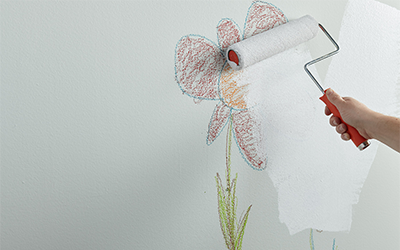
Crayon stained walls don’t stand a chance against KILZ 2® All-Purpose primer, used at the first step to create a sunny yellow accent wall in a little one’s dream bedroom. To begin, wipe down the chosen accent wall with a damp cloth to ensure it is clean and free of dust then allow the surface to dry. Next, tape around the baseboards, trim and moldings.
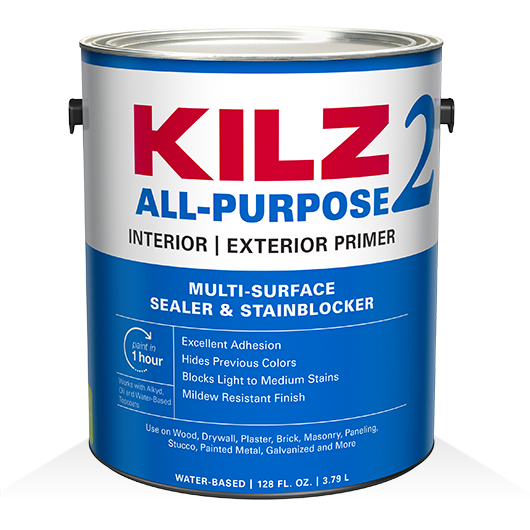
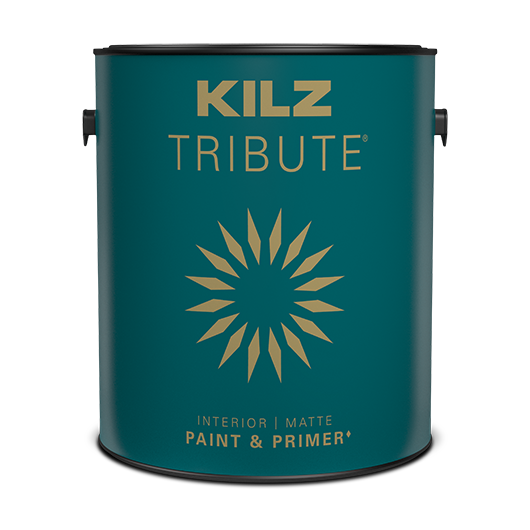
To block the light crayon stains and ensure a perfect finish, apply 1 coat of KILZ 2® All-Purpose primer using a brush first to “cut in” around the edges, then use a roller to fill in. Allow 1 hour of dry time. Finally, apply KILZ Tribute® in Jazz Age Yellow using the same method as the primer. Remove tape prior to paint drying, and the accent wall is complete!
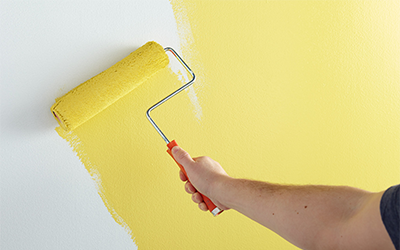
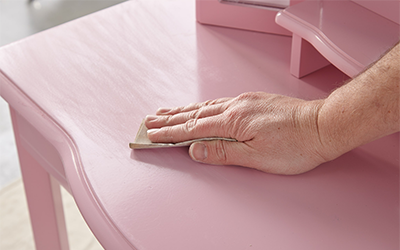
To match the yellow accent wall, paint the vanity in the same sunny yellow shade! Similar to the accent wall, start with KILZ 2® All-Purpose primer before painting. The fast drying, water-based primer offers enhanced hiding, making it ideal for changing colors on both walls and furniture. To begin, remove the vanity’s drawer and hardware. Next, sand the surfaces of the vanity. Do a first pass with 100-150 grit sandpaper then finish with a second pass of 180-220 grit sandpaper, always moving in the direction of the wood grain. After sanding, wipe down the surface with a damp cloth to remove any dust or residue and allow the surface to dry before moving on to primer.
Now it’s time to prime. Apply KILZ 2® All-Purpose primer, moving in the same direction as the wood grain and allow to dry for 1-hour. Next, apply KILZ Tribute® in Jazz Age Yellow using a nylon or polyester blend brush, moving in smooth strokes that go the same direction as the wood grain. Once the paint is dry, reattached your hardware and the transformation is complete!
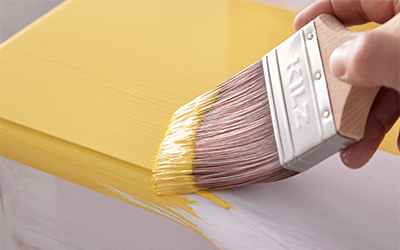
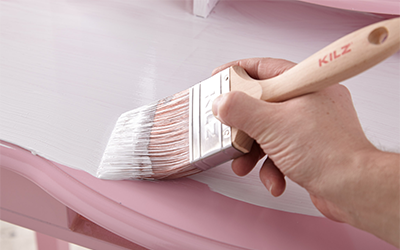
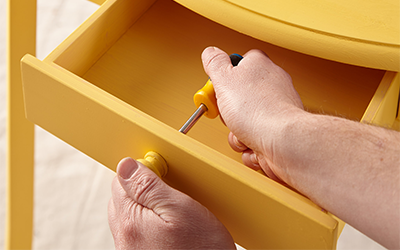
The final step in this child’s bedroom makeover is a pretty-in-pink dresser. Add a fun pop of color to a child’s dresser by painting the drawers a bright accent shade! Follow the same directions as outlined for the vanity, priming with KILZ 2® All-Purpose and then using BEHR Premium Plus® in Heart Breaker for the drawers and a favorite neutral for the dresser’s body.
Step 1:
Remove drawers and hardware.
Step 2:
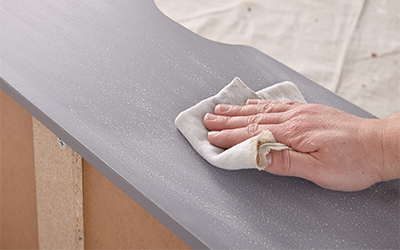
Wipe down the entire surface with a damp cloth to ensure it is clean and free of dust. Allow the surface to dry.
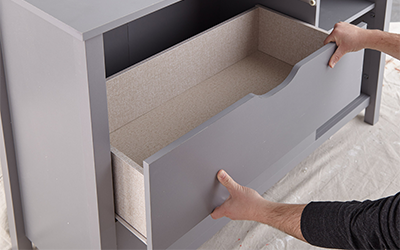
Pro-tip:
Put the screws back into the hardware, then seal the hardware and screws in painter’s tape and label it. It’s always best to put every screw back exactly where it came from. That will put the least amount of stress on the wood.
Step 3:
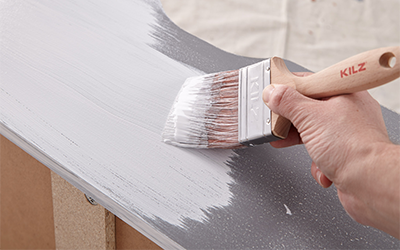
Apply KILZ 2® All-Purpose primer, moving in the same direction as the wood grain for best results. Allow primer to dry for 1-hour.
Step 4:
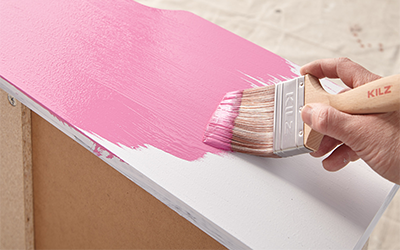
Topcoat with BEHR Premium Plus® Semi-Gloss Paint in Heart Breaker.
Pro Tips for Painting Over a Dark or Light Wall
December 6, 2019A fresh coat of paint can go a long way in changing the look and feel of your space, and the last thing you want after meticulously selecting your perfect shade of white is for the old, unattractive color to seep through! One of our favorite neutrals is KILZ® Tribute® paint in Alaskan Mist and it was the perfect color to lighten up this living room.
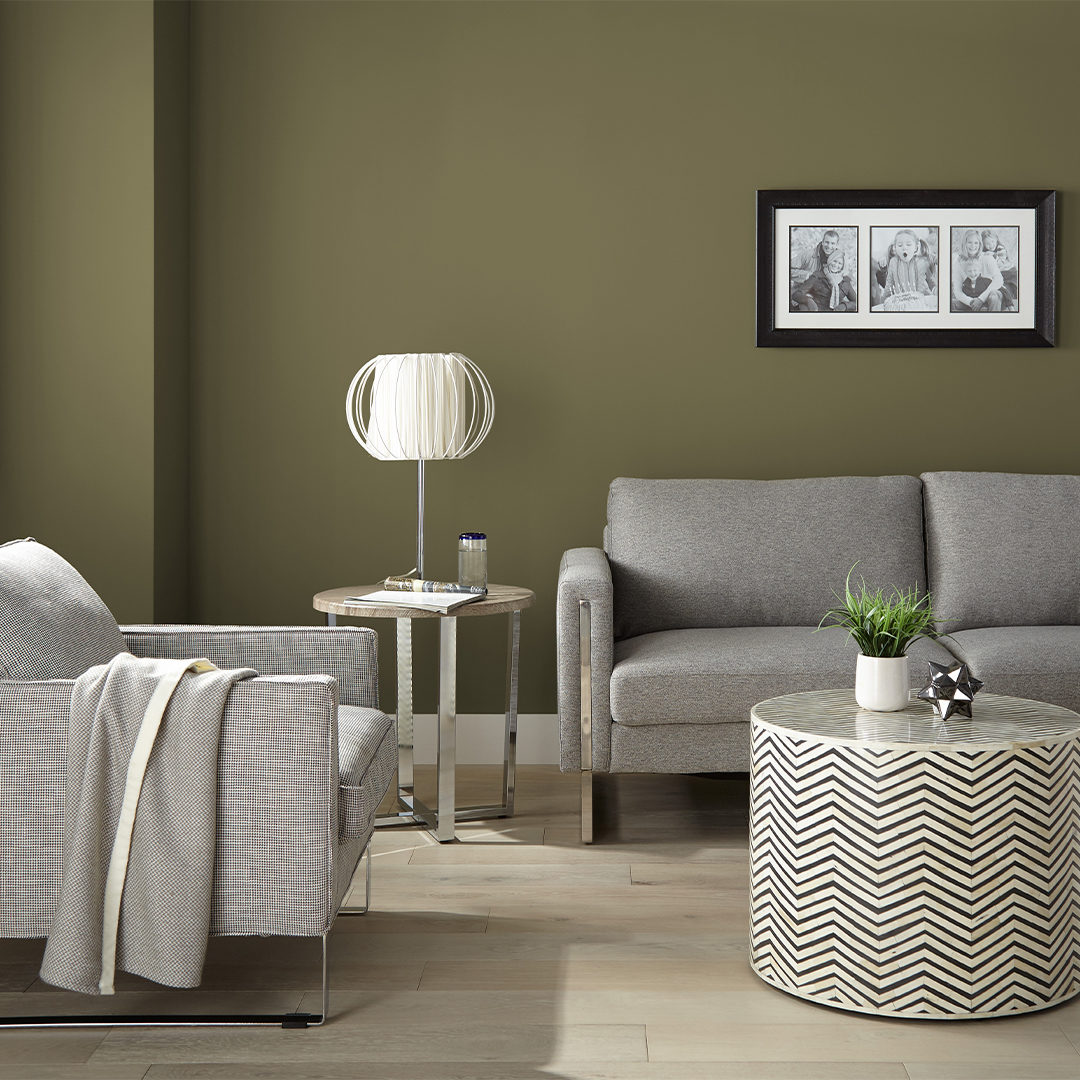
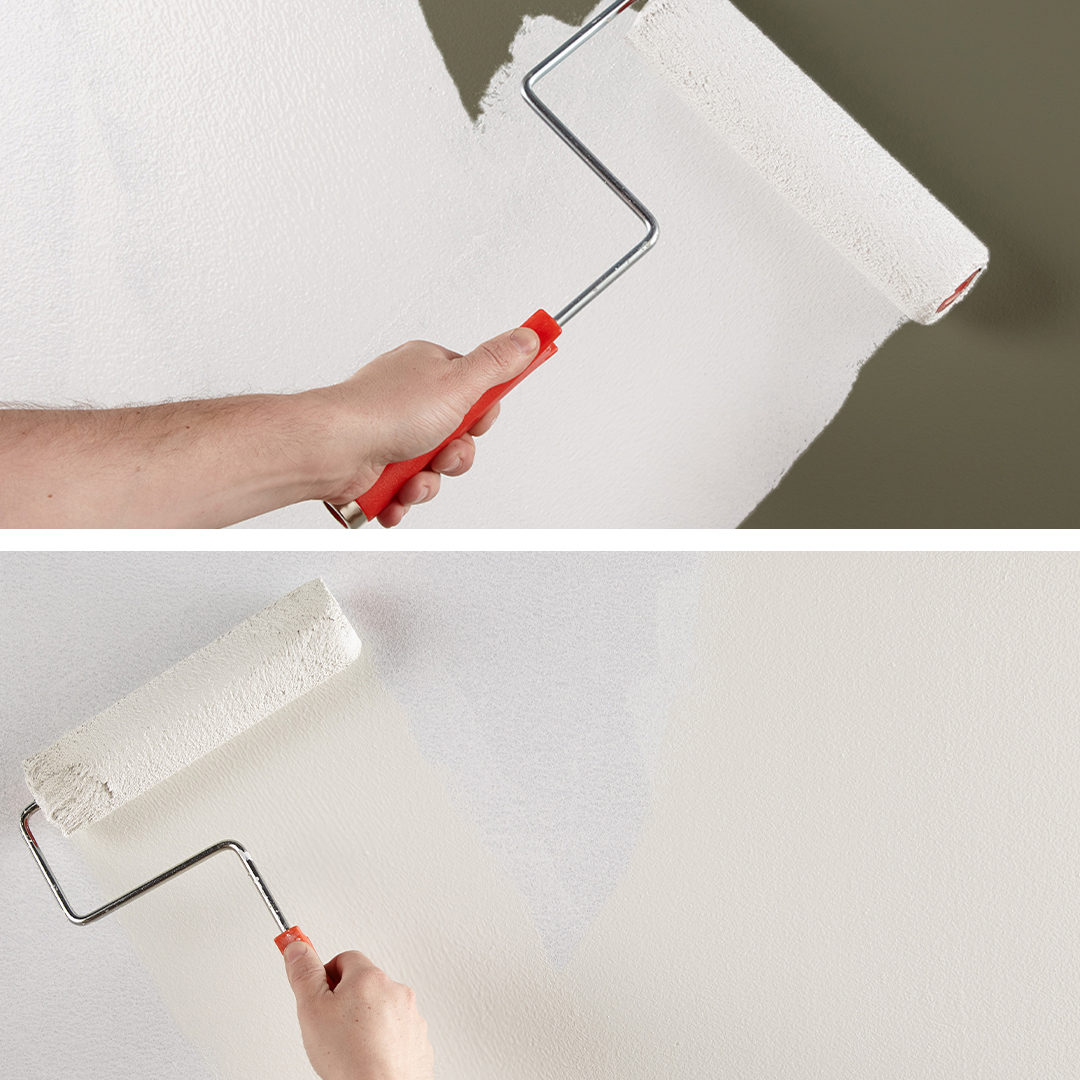
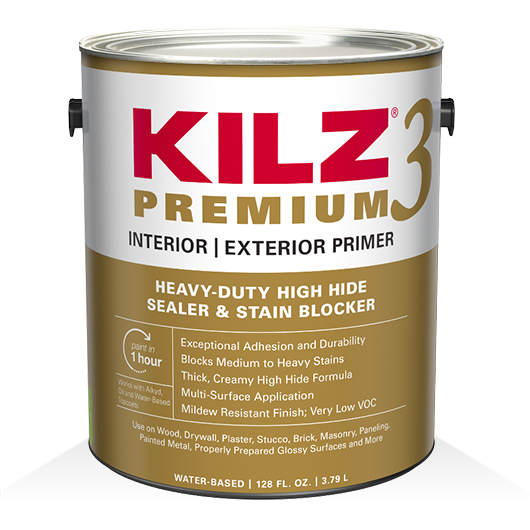
Taking the heavy olive-green walls to a bright white could have posed a challenge, including a need for excess coats of paint which we definitely wanted to avoid. It was time to prime! We chose KILZ 3™ Premium primer for its thicker, high hiding formula. This water-based primer hides surface imperfections and reduces the need for multiple coats of paint to allow a truer, richer color from the topcoat. A coat of KILZ 3™ Premium primer on the unpleasant green walls followed by paint in Alaskan Mist, and the color change was complete!
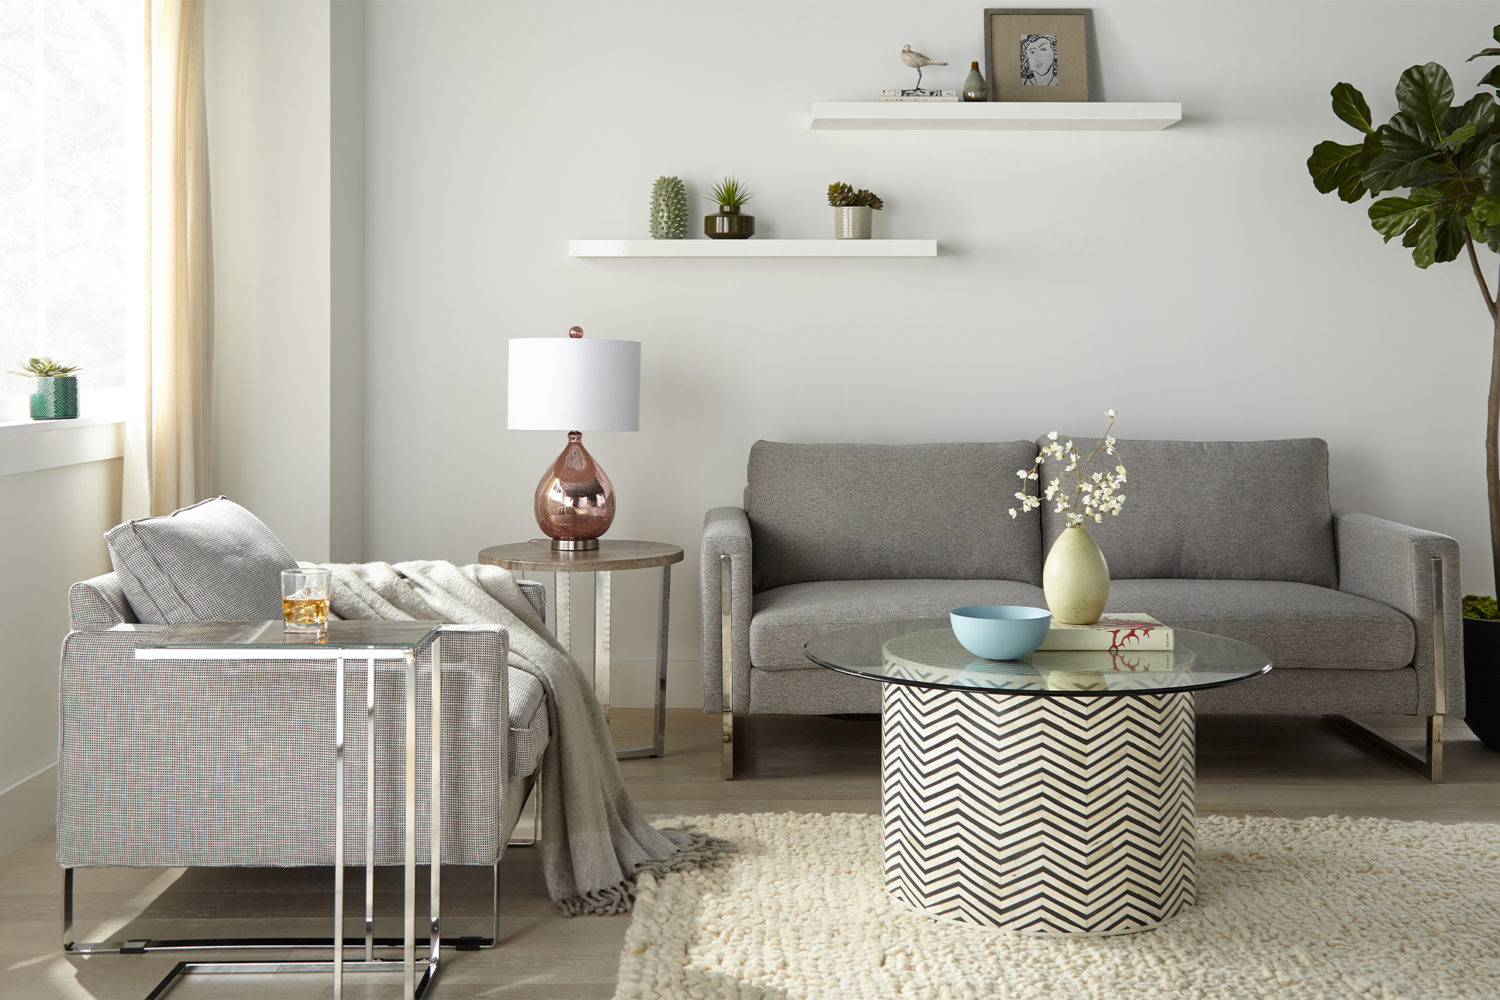
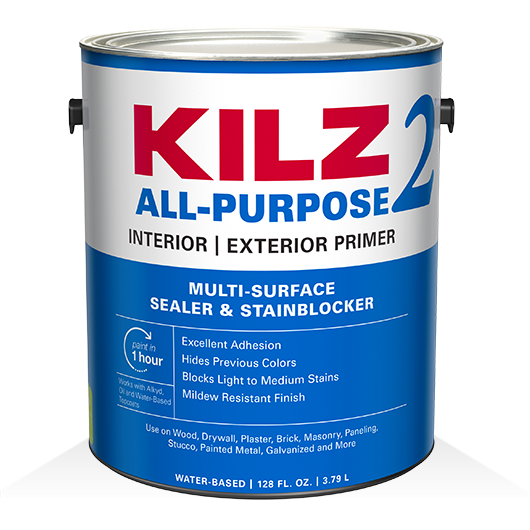
If dark paint colors are what you’re after, we have professional primer tips for a light to dark color change as well. It might seem like a dark color like BEHR® paint in Nocturne Blue can easily cover a lighter one in this bedroom refresh, so why prime? However, if you want that deep gray with dark blue undertones to look just right, we would suggest priming first with KILZ 2® All-Purpose primer. This water-based primer offers enhanced hiding, making it ideal for changing colors and helping to lessen the number of coats of paint required.
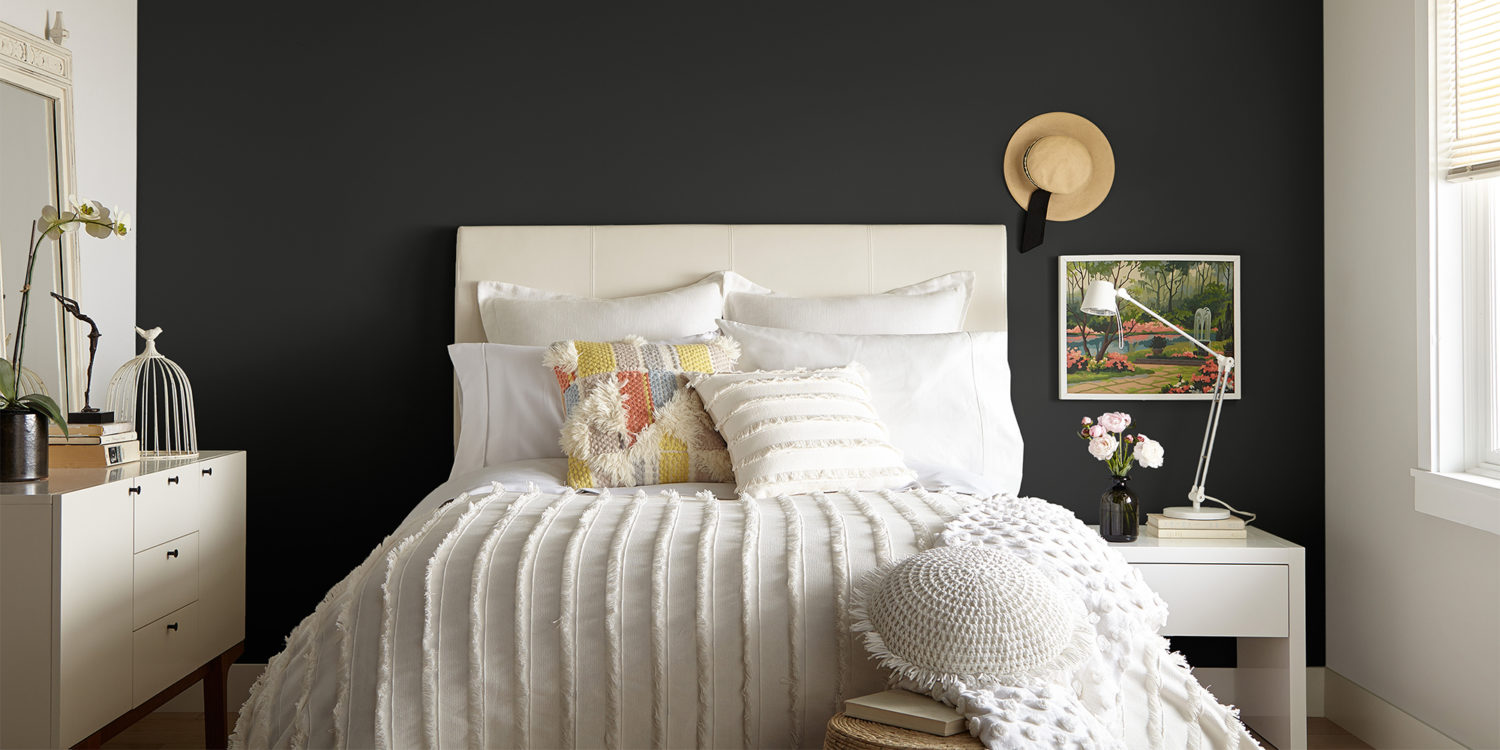
When painting to hide a previous color, KILZ® Primer reduces the need for multiple coats of paint to allow truer, richer color from your topcoat.
Prep & Paint a Porous Surface
August 20, 2019As with most any painting project, prepping and priming the surface is key before its time to paint. Choosing the right primer depends a lot on the surface type you’re painting, a choice that is second nature to professional painters but can be confusing to some! When selecting a primer, the first step is recognizing the surface you will be painting and taking into account its condition – and some surfaces are trickier than others.
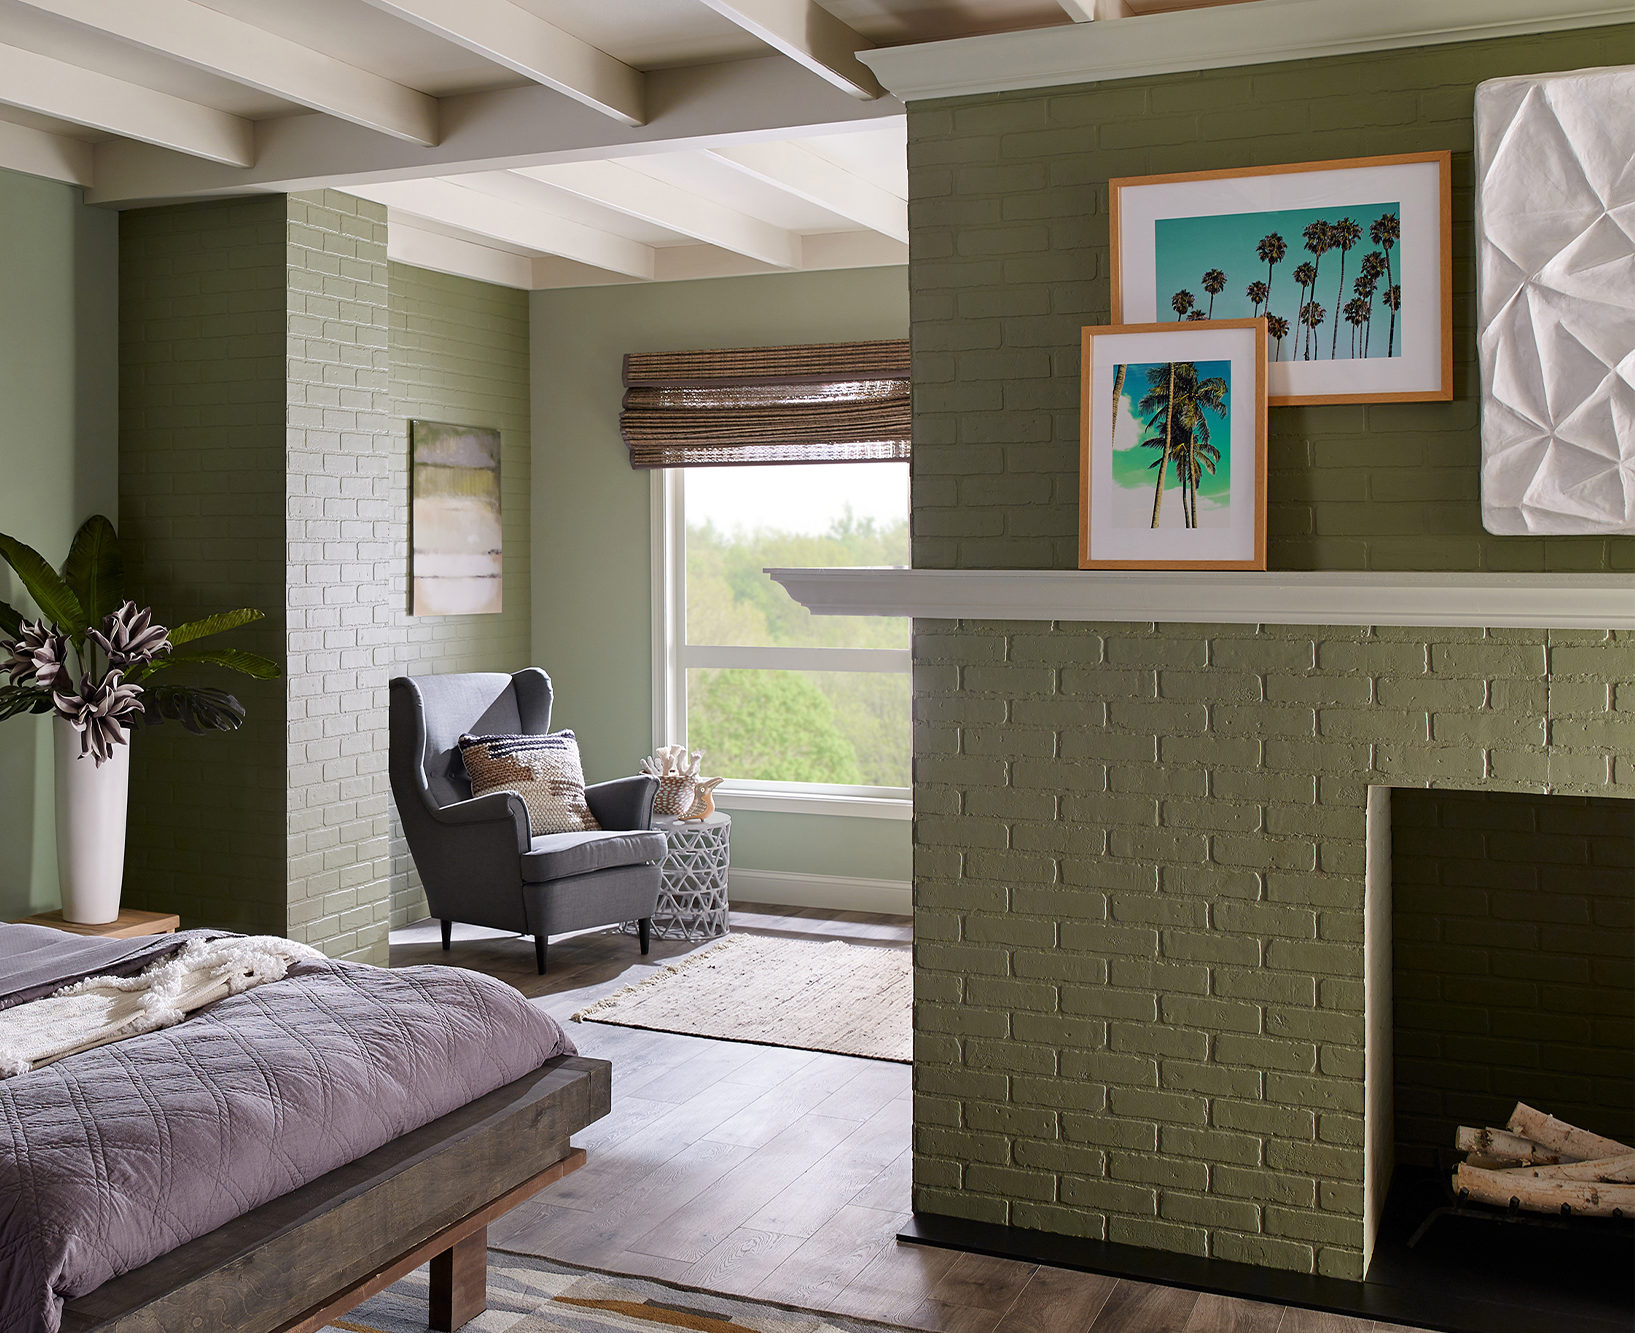
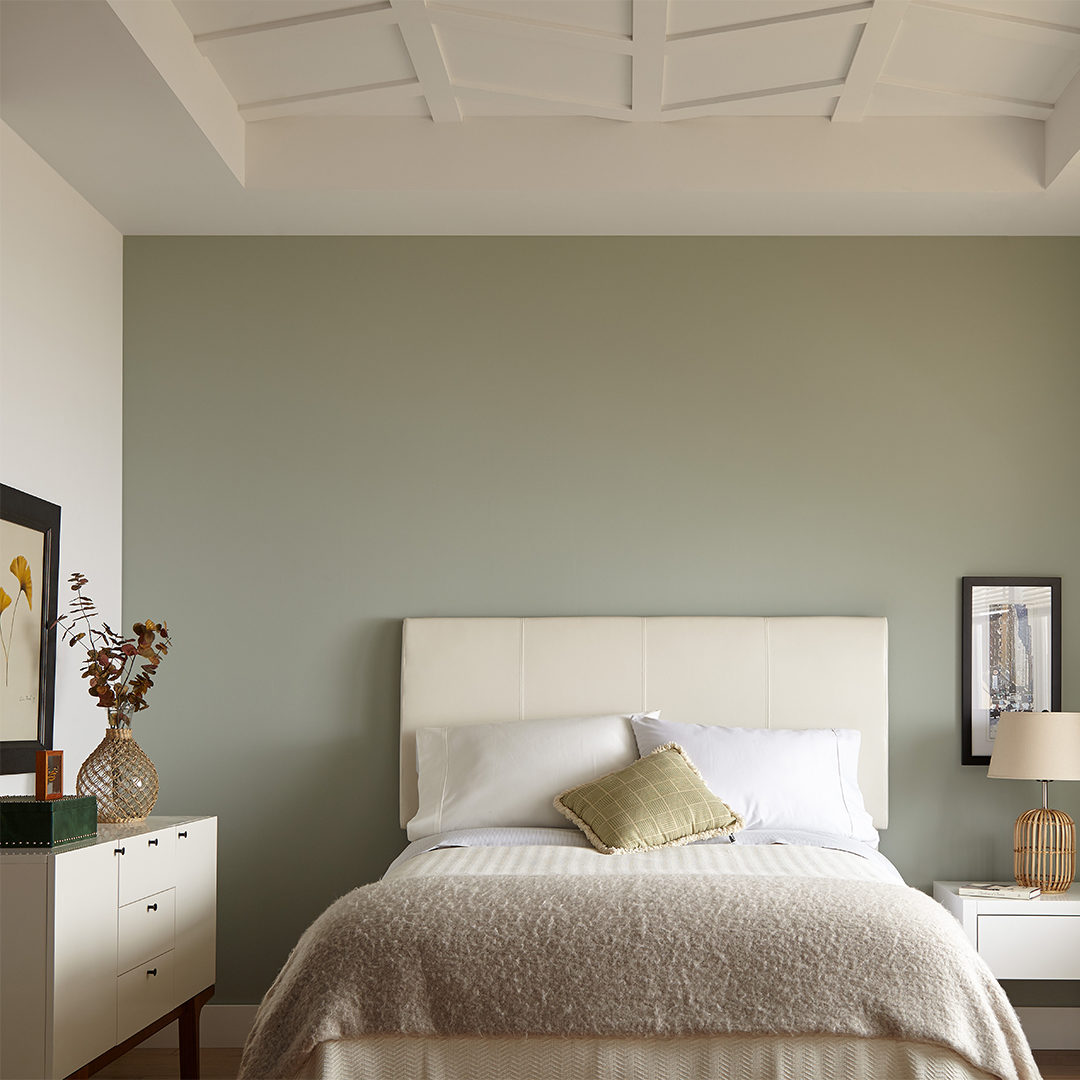
In this gorgeous green bedroom, the red brick fireplace was drawing too much attention and taking away from the serene and calming feel that was desired. The fix was easy, paint the fireplace! This led us to the first step in selecting the right primer – knowing and assessing the surface that will be painted. In this case, brick, a porous surface that if not properly sealed can soak up a lot of paint. And that can cost time and money!
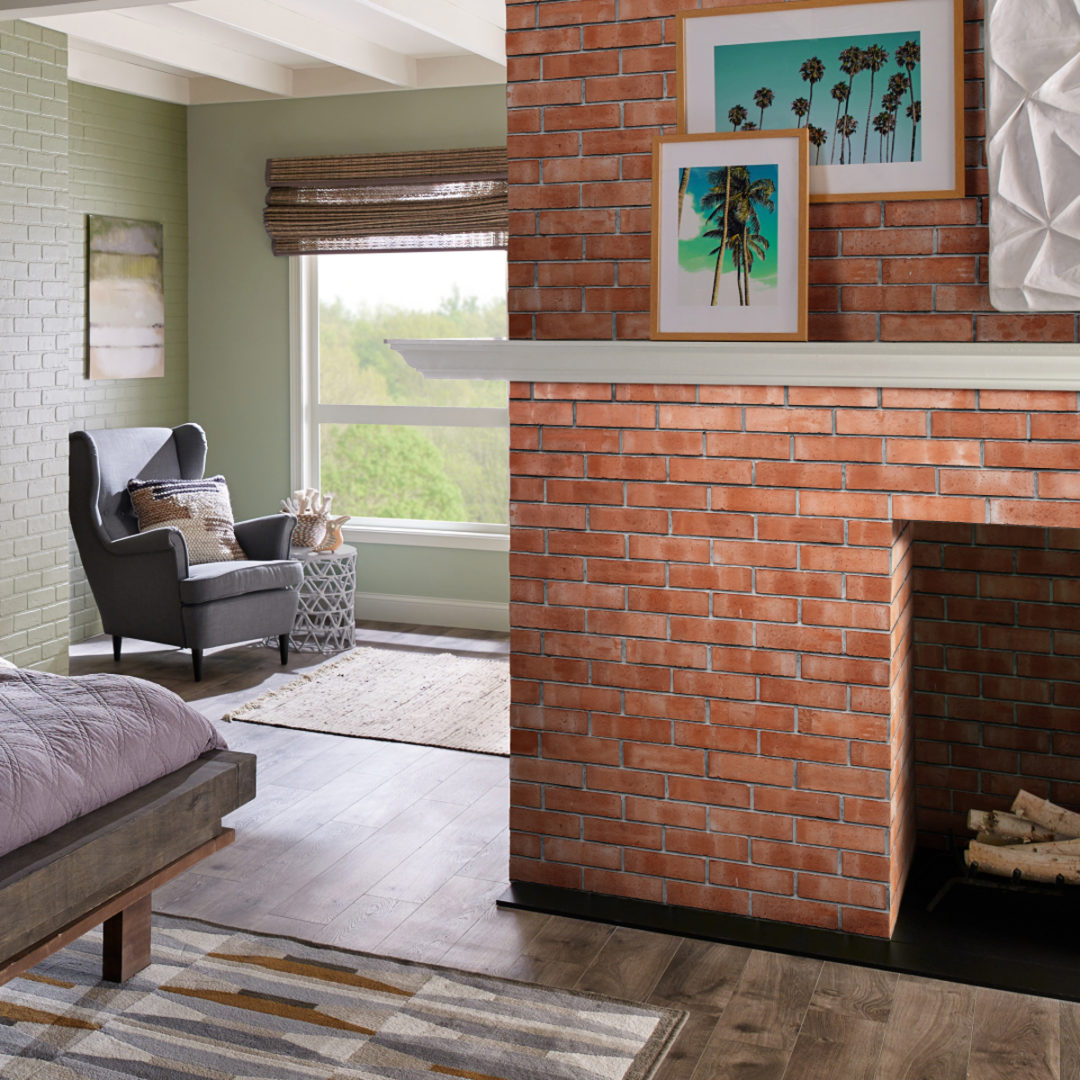
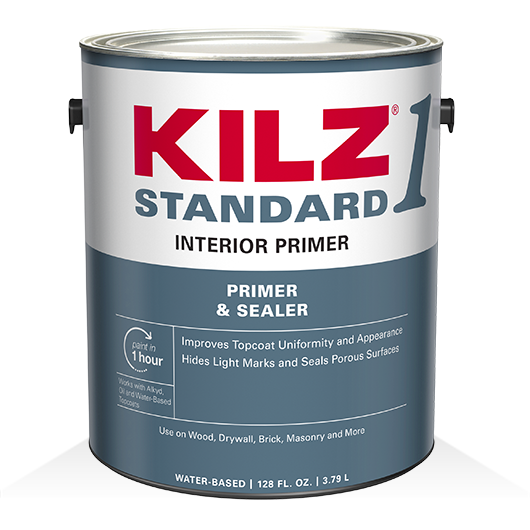
To prep this brick fireplace for painting we took a cue from the pros and chose KILZ® 1 Standard to seal the porous surface and ensure a professional looking finish. Other porous surfaces that are commonly painted include concrete, new wood and drywall. For any of these KILZ® 1 Standard or KILZ 2® All-Purpose are both great primers to choose.
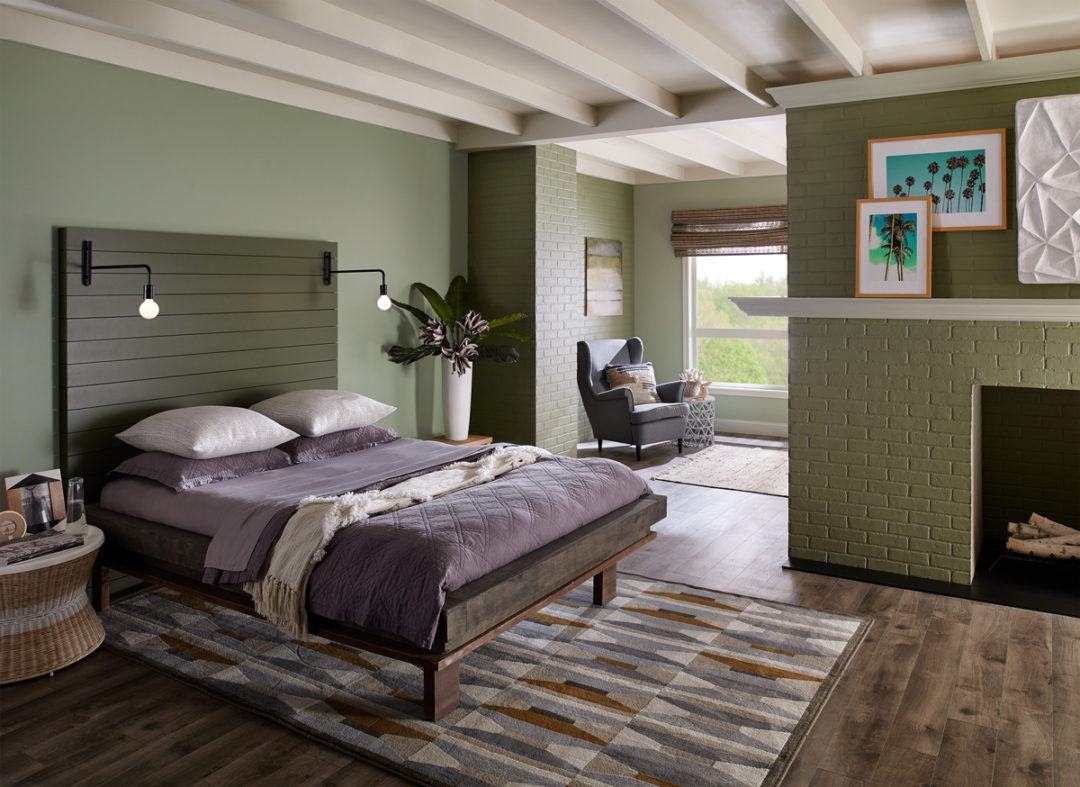
Priming a porous surface before painting ensures your topcoat will look its best.
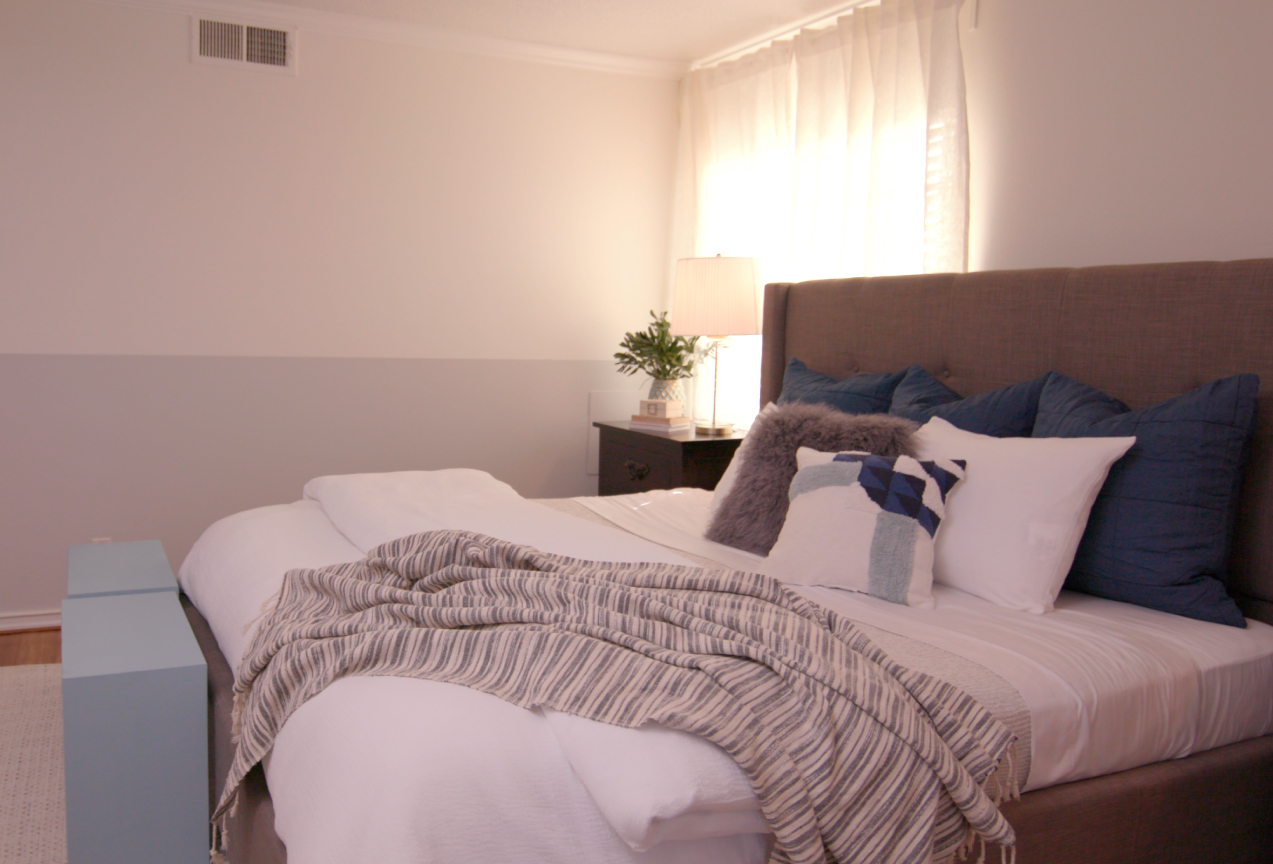
Master Bedroom Refresh
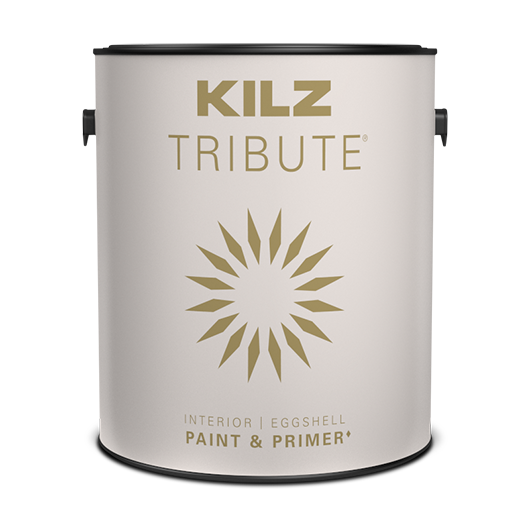
August 14, 2018A ready-to-use neutral creates the ideal base for your transformation. In this case, a coat of KILZ TRIBUTE® Paint and Primer properties in One—we’ve used a color called Architectural White here—leaves little guesswork and effort because it covers all four walls with one coat. After that, the magic happens.
To add a pop of contrast and sophistication, we’ve elected to paint the bottom half of the walls in a slightly contrasting neutral—another KILZ TRIBUTE® hue called Flying Dove. This combined neutral palette creates the effect that the ceilings are higher than they are, opening up the bedroom and making it feel more spacious.
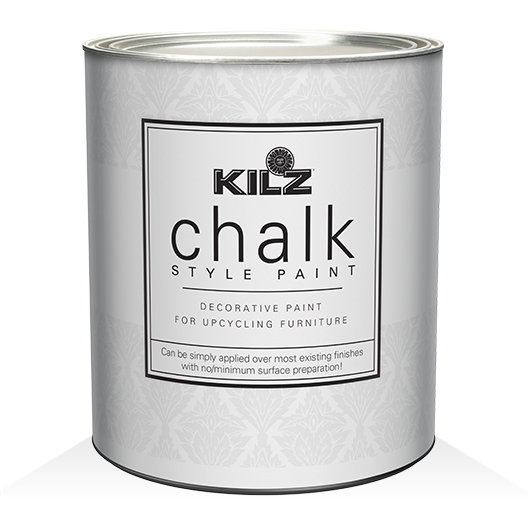
But our weekend bedroom transformation isn’t apparent only on the walls; a furniture refresh is in order, too. KILZ® CHALK STYLE PAINT upcycles fixtures with a soft finish, creating the perfect accent piece for our tranquil, welcoming bedroom refresh.
Architectural White
Flying Dove
Pale Emerald
This combined neutral palette creates the effect that the ceilings are higher than they are, opening up the bedroom and making it feel more spacious.
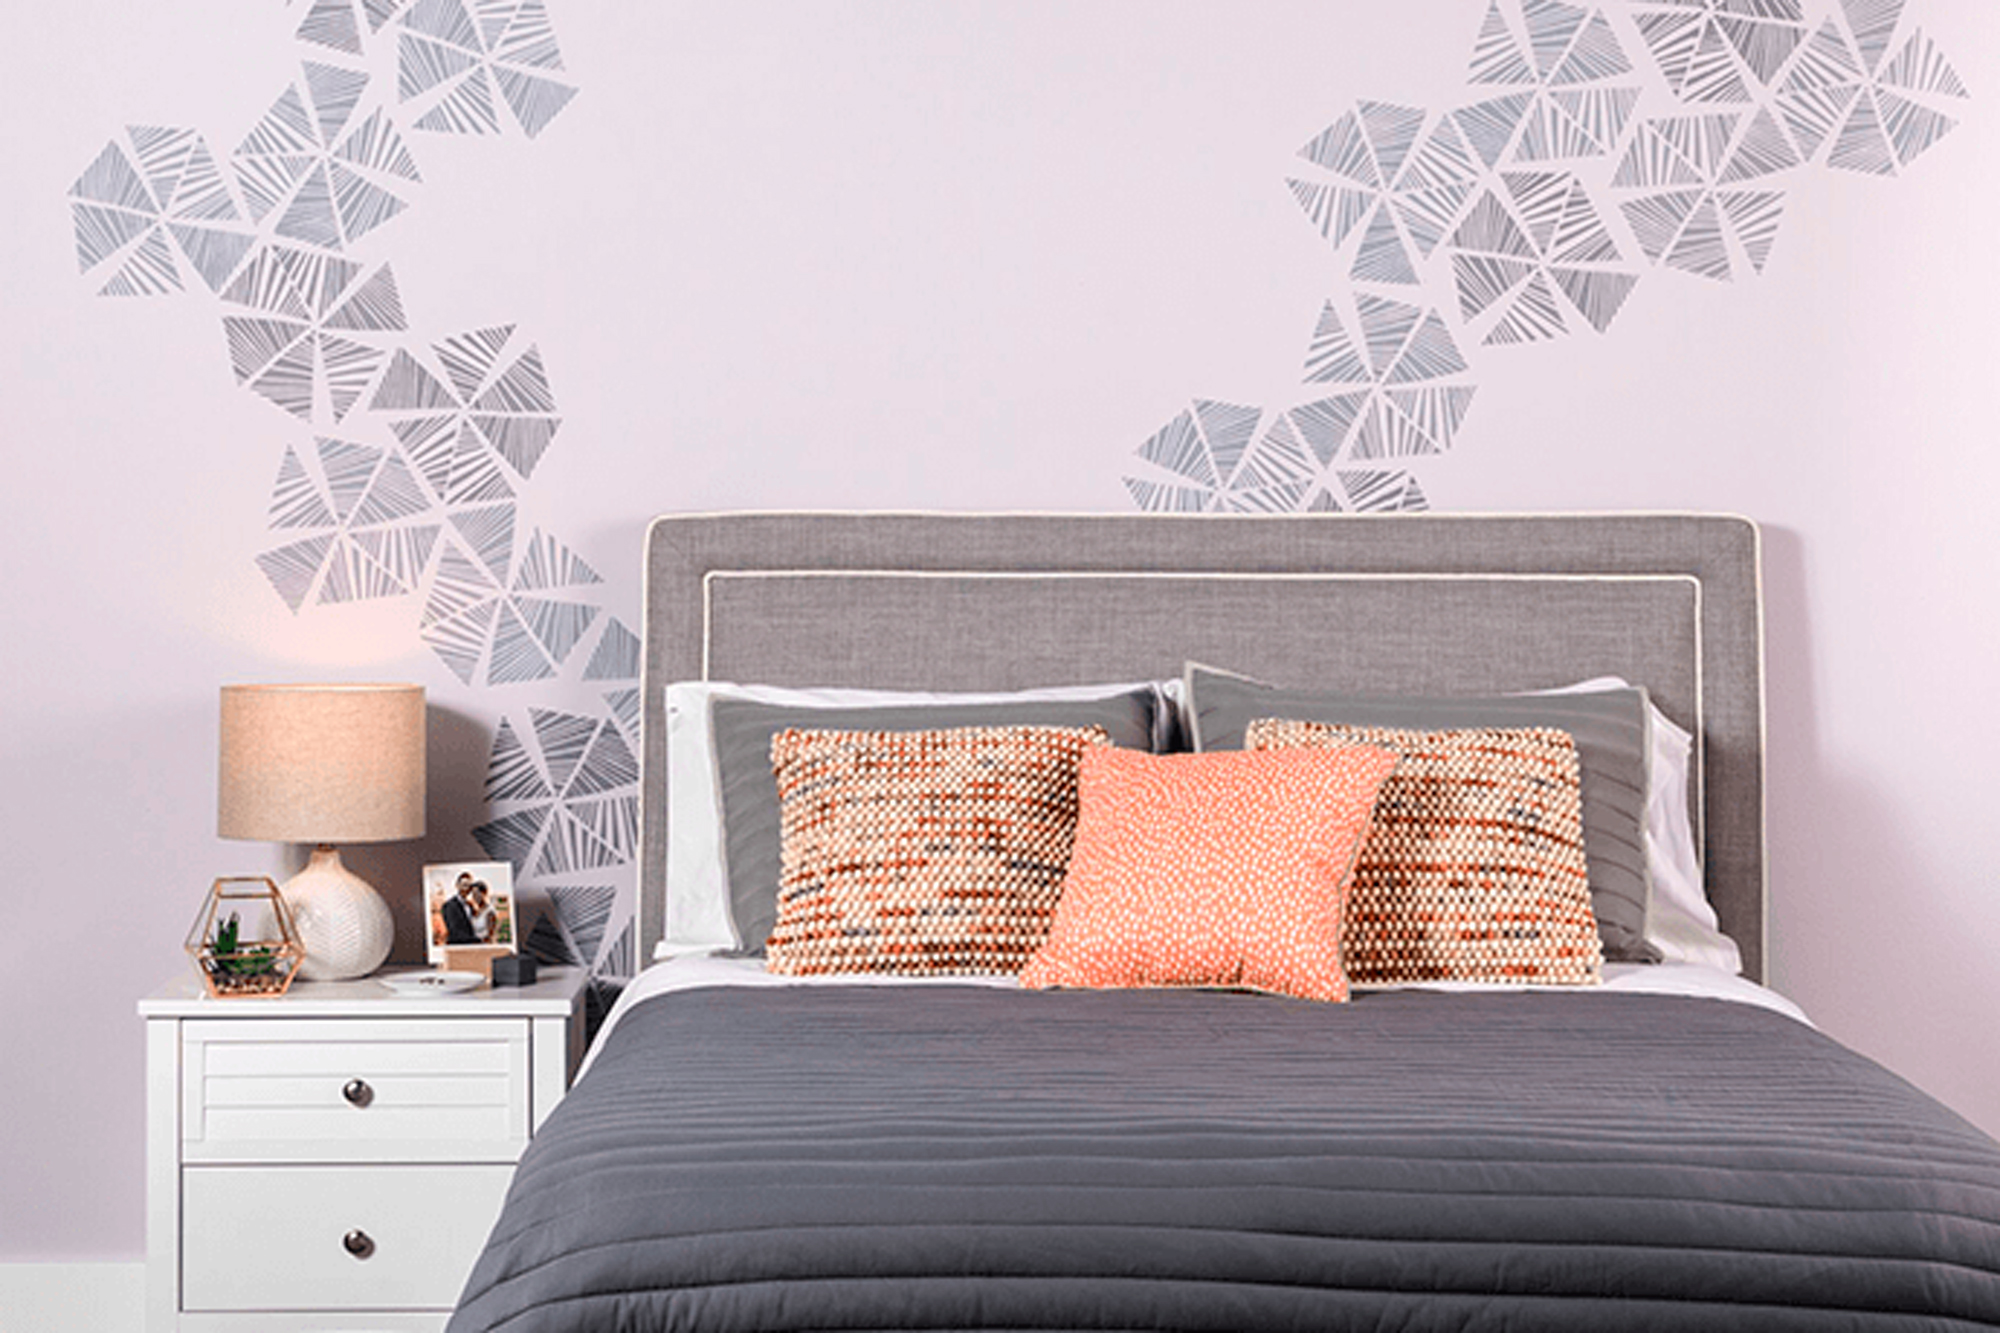
Stencil Wall Accents
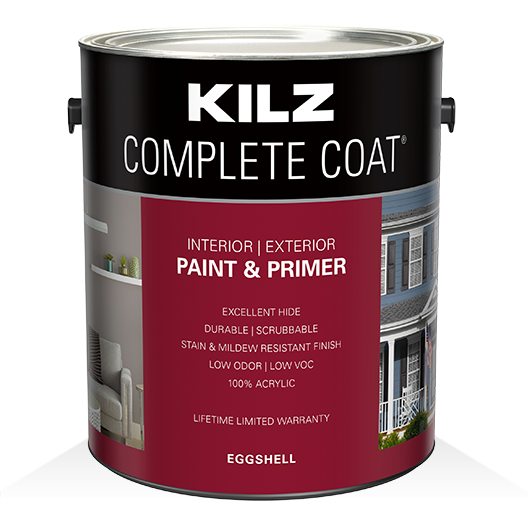
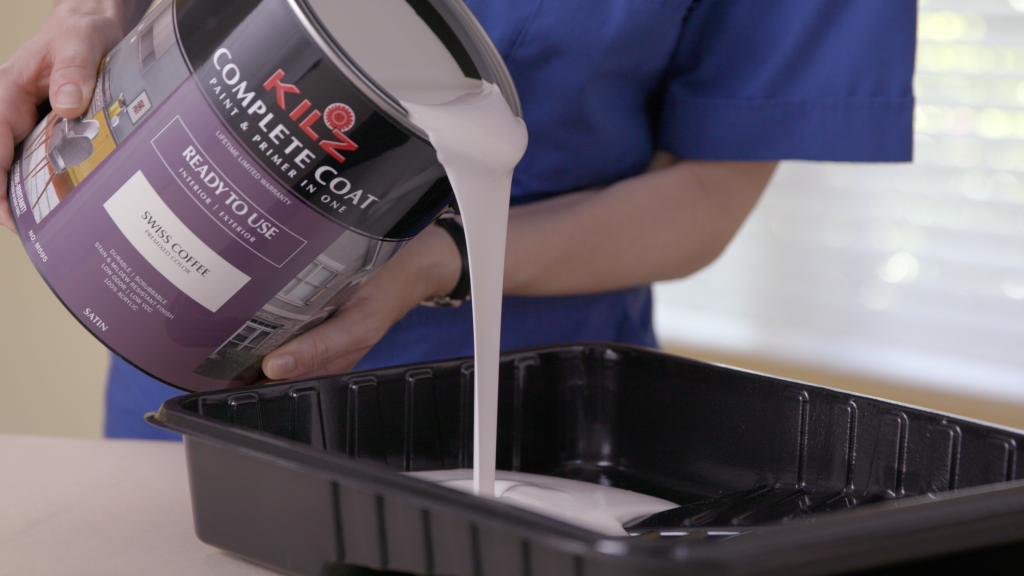
December 8, 2017For this project we used our KILZ COMPLETE COAT® Paint and Primer in One in neutral based colors to transform this plain master bedroom wall into the perfect statement. Although we chose more muted colors for this specific space, you could always go bolder, repeating more (or less) of the stencil patterns to accomplish a louder more extroverted look. The great news is that the stencils come in all types of styles leaving the opportunities virtually endless when it comes to which type of look you want to create.
Mix and match! Using the stencil patterns behind or above furniture pieces is a nice way to really make them feel custom to the room. You could also pull stencils in order to frame artwork or simply add extra dimensions to your décor. The color of the stencil here subtly pulls from other colors in the room. In this case, the tone of the stencil ties in with the bedding and comforter set. We could have also opted for an orange tone to really make the accent pillows pop. This could be a nice effect in a living room space, or even in a dining room above a serving unit.
This project is simple! See below for a full tutorial about how you can achieve this look in your space. Loving it? Explore our full KILZ COMPLETE COAT® palette here.
Project Checklist:
- KILZ COMPLETE COAT® Paint and Primer in One
- Stencil
- Stencil Brush
- Painter’s Tape or Spray Adhesive
- Paper Towels
- Can Key
- Drop Cloth
- Stir Stick
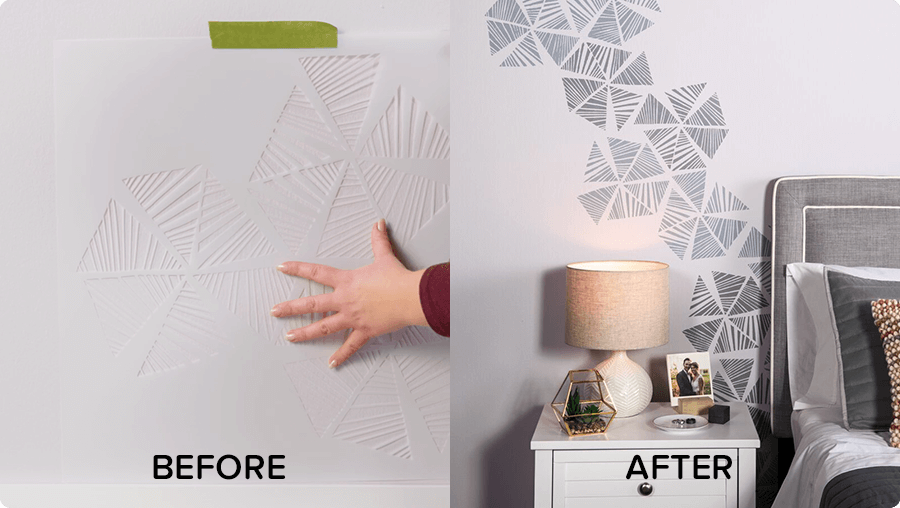
Step 1:
Determine location of pattern to be stenciled on wall.
Step 2:
Stir paint to make sure it is mixed.
Step 3:
Spray stencil with adhesive or secure stencil with painters tape.
Step 4:
Level and then secure your stencil on the top middle of the wall with painter’s tape.
Step 5:
Stencil the pattern by lightly dabbing the paint until the areas are fully covered.
Step 6:
Move on to the second repeat of the pattern by following the registrations that are included in the stencil. These registration marks help you move and place the stencil along the wall perfectly every time!
Step 7:
Allow 2 hours dry time. Then call your best friend and invite them over for coffee because you’re all done.
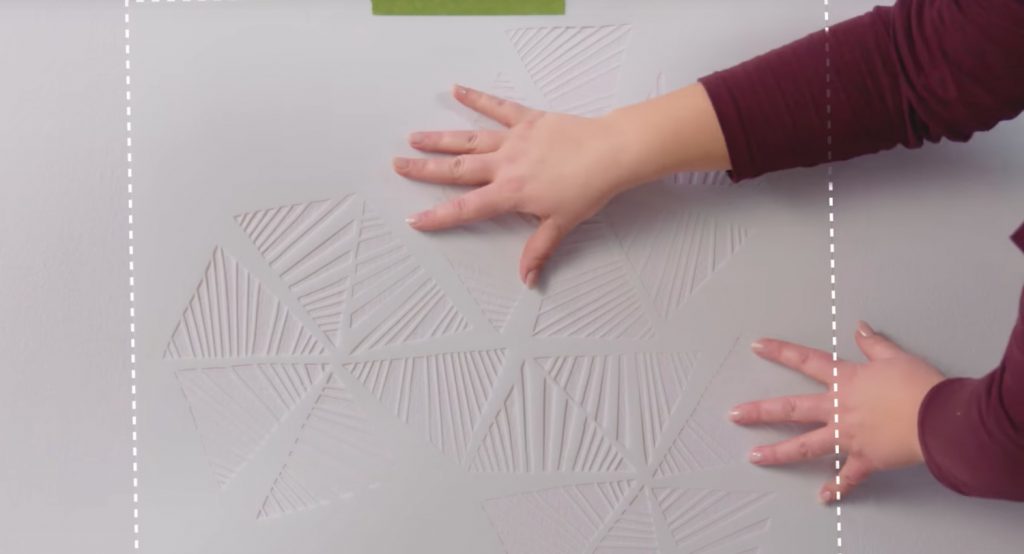 Pro-tip: Make sure the stencil is secure before you add paint.
 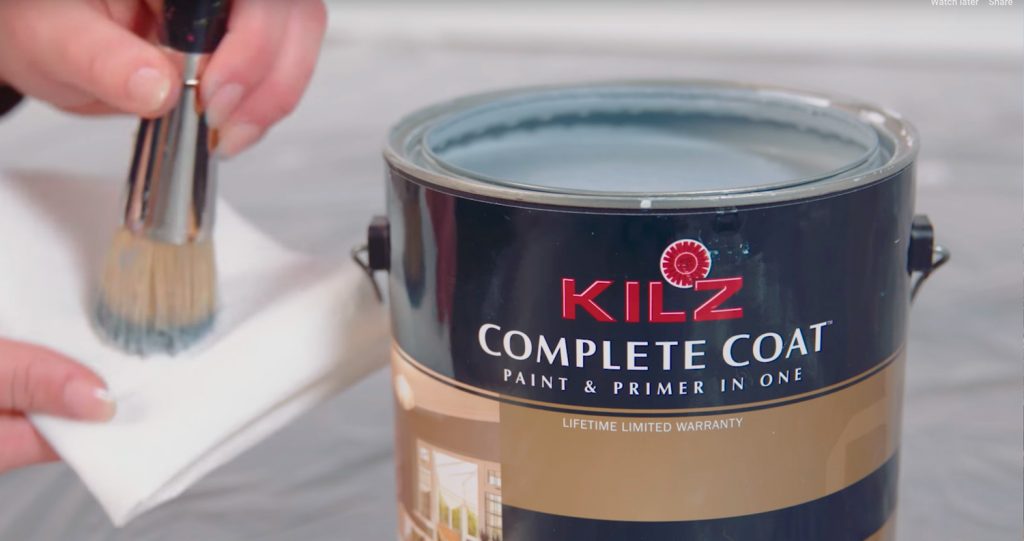 Pro-tip: Load your brush with paint and off-load most of the paint onto a paper towel. Using too much paint when stenciling is the number one reason for bleeding, so make sure to off-load excess paint before starting on the wall.
Mix and match! Using the stencil patterns behind or above furniture pieces is a nice way to really make them feel custom to the room.




join the conversation:
SHARE this post: