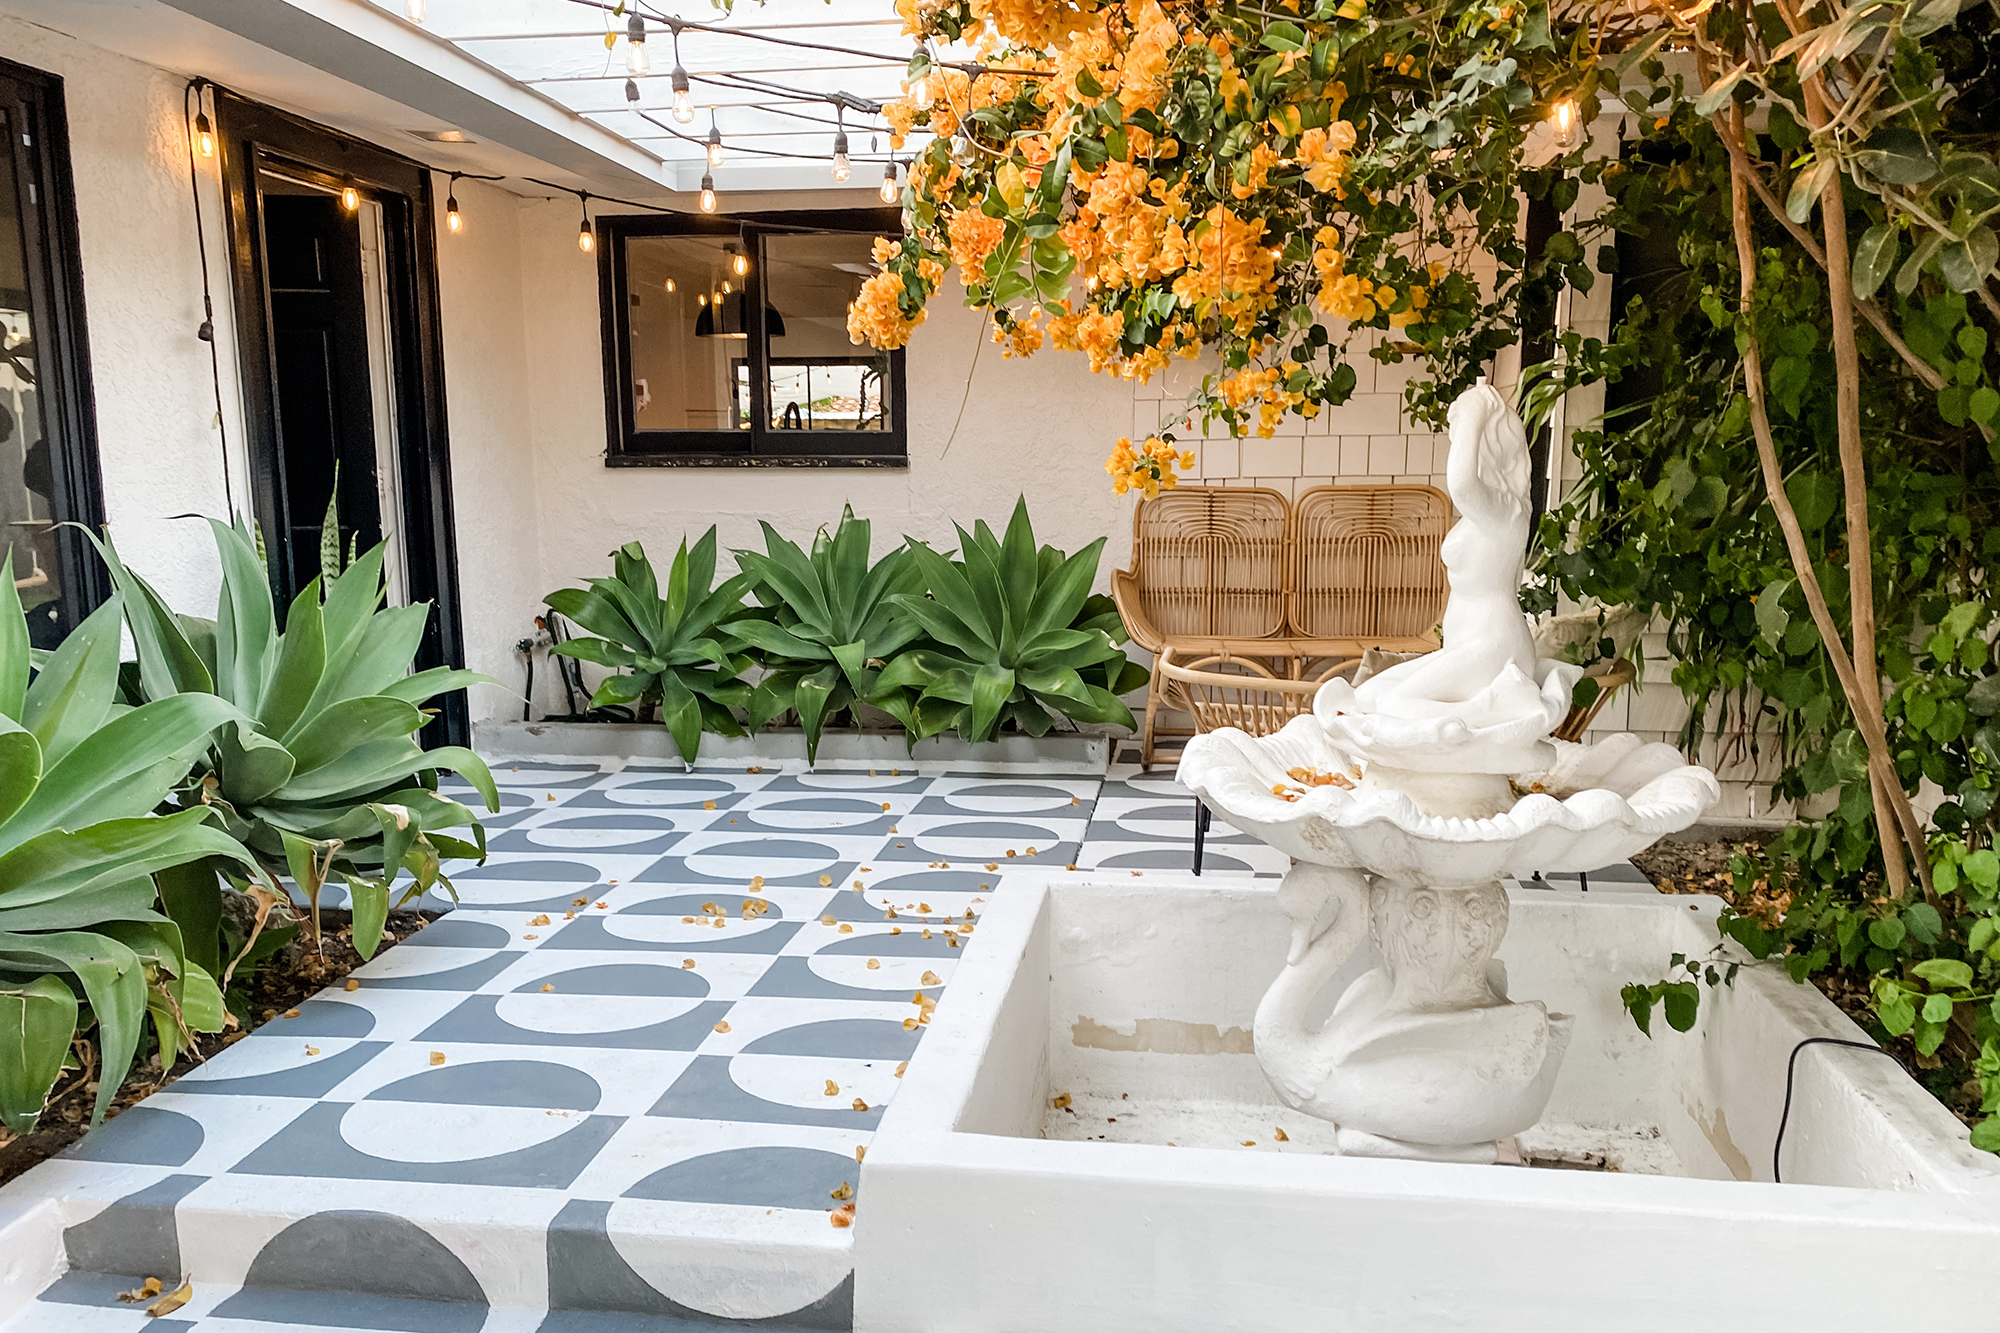
Pro Spotlight: Jesi Haack’s Mid-Century Courtyard Makeover
September 20, 2021 This month on The Perfect Finish, we have an inspiring Q&A to share that includes a stunning stenciled courtyard makeover. A friend of the KILZ team, Jesi Haack is a talented event designer with some serious interior design skills as well. Jesi’s full-service event design company, Jesi Haack Design, transforms traditional events into trendy affairs. She is also the Co-Founder of SLAACK Productions, a corporate event production company specializing in creative & interactive design experiences & installations.
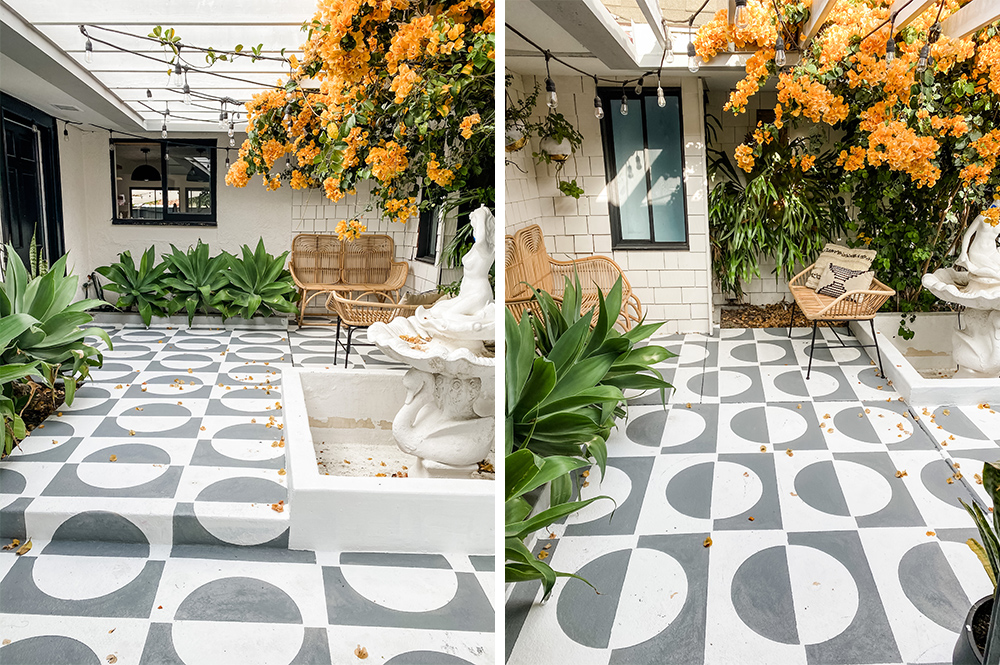
Jesi recently completed a jaw-dropping makeover of her home’s front courtyard, and it inspires some serious DIY envy. Read on to learn more about Jesi and how she completed this gorgeous transformation.
Before we talk about your stunning patio project, we’d love to delve into your DIY/designer background. You own an event design and production agency, and on top of that you’re a super talented DIY-er and interior designer. Tell us how you first got into interior design and DIY’ing and how that led to where you are now.
Well, I’ve always loved making things look cool. Whether it’s for events or in my home. So once Covid hit and turned the lights out on our busy production company, I suddenly had a ton of time on my hands and no creative outlet. Pair that with buying our first fixer home and a huge income hit, I became a DIY’er! Hahaha! I just started figuring stuff out on my own because of boredom, lack of funds and a need for creativity. Once I started sharing my projects on social media, I didn’t anticipate so many people would like what I was doing! And then they started asking me to help with their homes, offices, and projects! It’s been a blast!
Where do you find inspiration for your DIY home improvement projects? Has work for your event design business inspired any of your interior design projects?
I’m inspired by so many different outlets and people. I follow a bunch of different types of builders and creators (I think of them as more than DIY’ers because it truly is an art what they do) and other people’s work is truly an inspiration. And yes! My event installation background is a huge aspect to my work and my style. I try to think outside the normal interior design box and bring in more three-dimensional aspects to interiors. More like art installations that make a big impact. At least that’s where my thought process is.
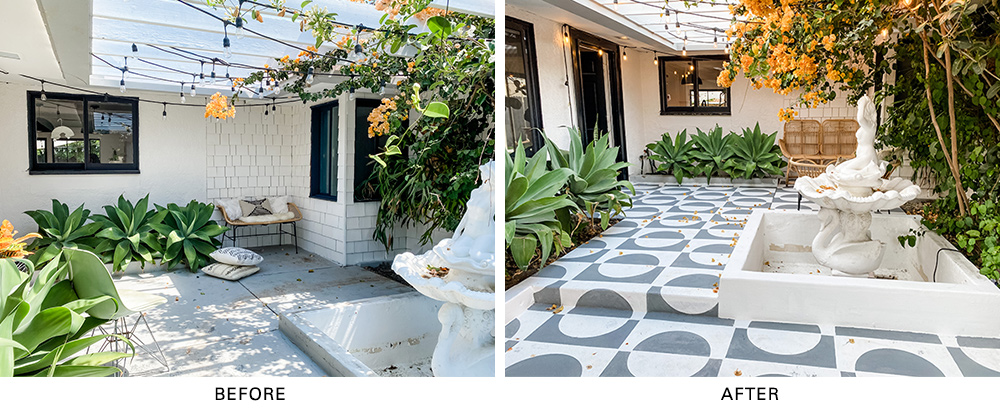
Let’s talk about your recent patio project. What inspired the design and what was the overall process?
I’ve spent a ton of time in Palm Springs for work and am so inspired by the architecture there and the mid-century design style. Our patio was so basic and the concrete so ugly, I knew I wanted to bring it alive with a pattern. I also knew it was an area I didn’t want to play it safe with. I wanted it to make people stop for a sec and notice before entering our home! It was a pretty simple process: clean – prime – stencil – seal!
Which KILZ product did you use for the patio makeover and why? How do you think it impacted the project?
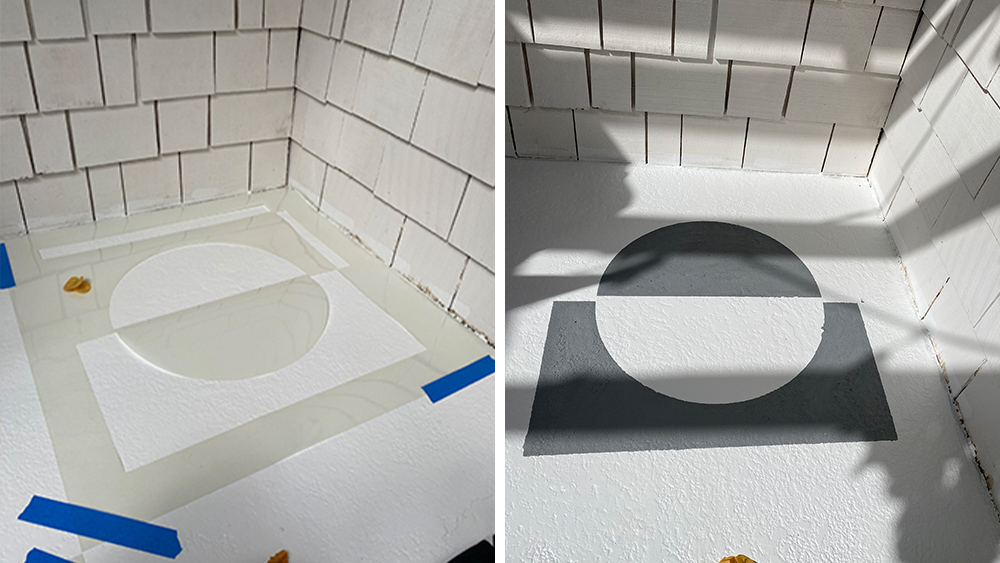
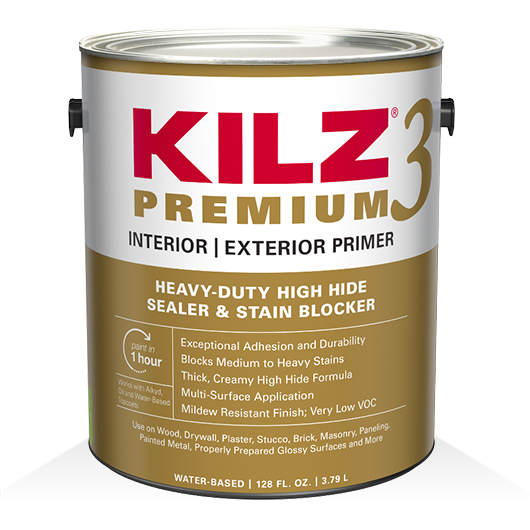
I used KILZ 3® Premium Primer and KILZ Over Armor® concrete coating. Kilz primers are my literal go to for any project because they seal the surface I’m working on. For this one in particular, a quality primer was clutch for covering up chipped paint and giving me a blank canvas to use for my stencils.
How did you first learn about KILZ? Have you used KILZ primers for any other projects?
I think my dad told me about Kilz long ago when I started creating. I’ve literally used the primer on everything! My baseboards which got rid of water stains and still have kept them away! Lots of painting projects for our events, the primer helps keep our wood sets from warping in outdoor settings.
When completing any DIY or interior design project, what are your tips and tricks for success?
A tough lesson I have learned is don’t rush! This is so hard for me. I love diving in and getting to the end result. But don’t skip prepping! Properly taping off and using primer will make your project look more legit in the end and will save you touch up work when all is said and done!
Jesi Haack’s Step-by-Step Directions for a Mid-Century Courtyard Makeover
1. Power wash cement.
2. Use a cement cleaner and pour it on with a plastic watering bucket. Don’t use metal! Scrub with a stiff bristle brush.
3. Let dry completely, typically a day or two.
4. Prime! Use a roller to get a smooth layer. I did 3 coats because I was using Kilz primer as my base coat. Wait a few hours between coats.
5. Map out your pattern with chalk line. (I skipped this step and I regret it). This will ensure each time placement lines up and is straight. Make squares that are the size of your stencil.
6. Time to stencil! Lay stencil down on each square. Use an angled brush to paint on cement paint. I had two stencils so I would alternate so it would give the paint on the stencil a bit of time to dry so it wouldn’t transfer the paint that got on the stencil to the new square. Wash off your stencil every so often to keep your lines nice and clean. Don’t stress too much about lines, you can touch up at the end!
7. Touch up messy lines and spot clean where needed.
8. Let cure for 72 hours.
9. Paint on a cement sealer! Wait 24 hours before using!
Always remember to refer to our website kilz.com or product back labels for additional information on which primer is right for your project and detailed instructions on how to apply our products.

join the conversation:
SHARE this post:
COMMENTS: