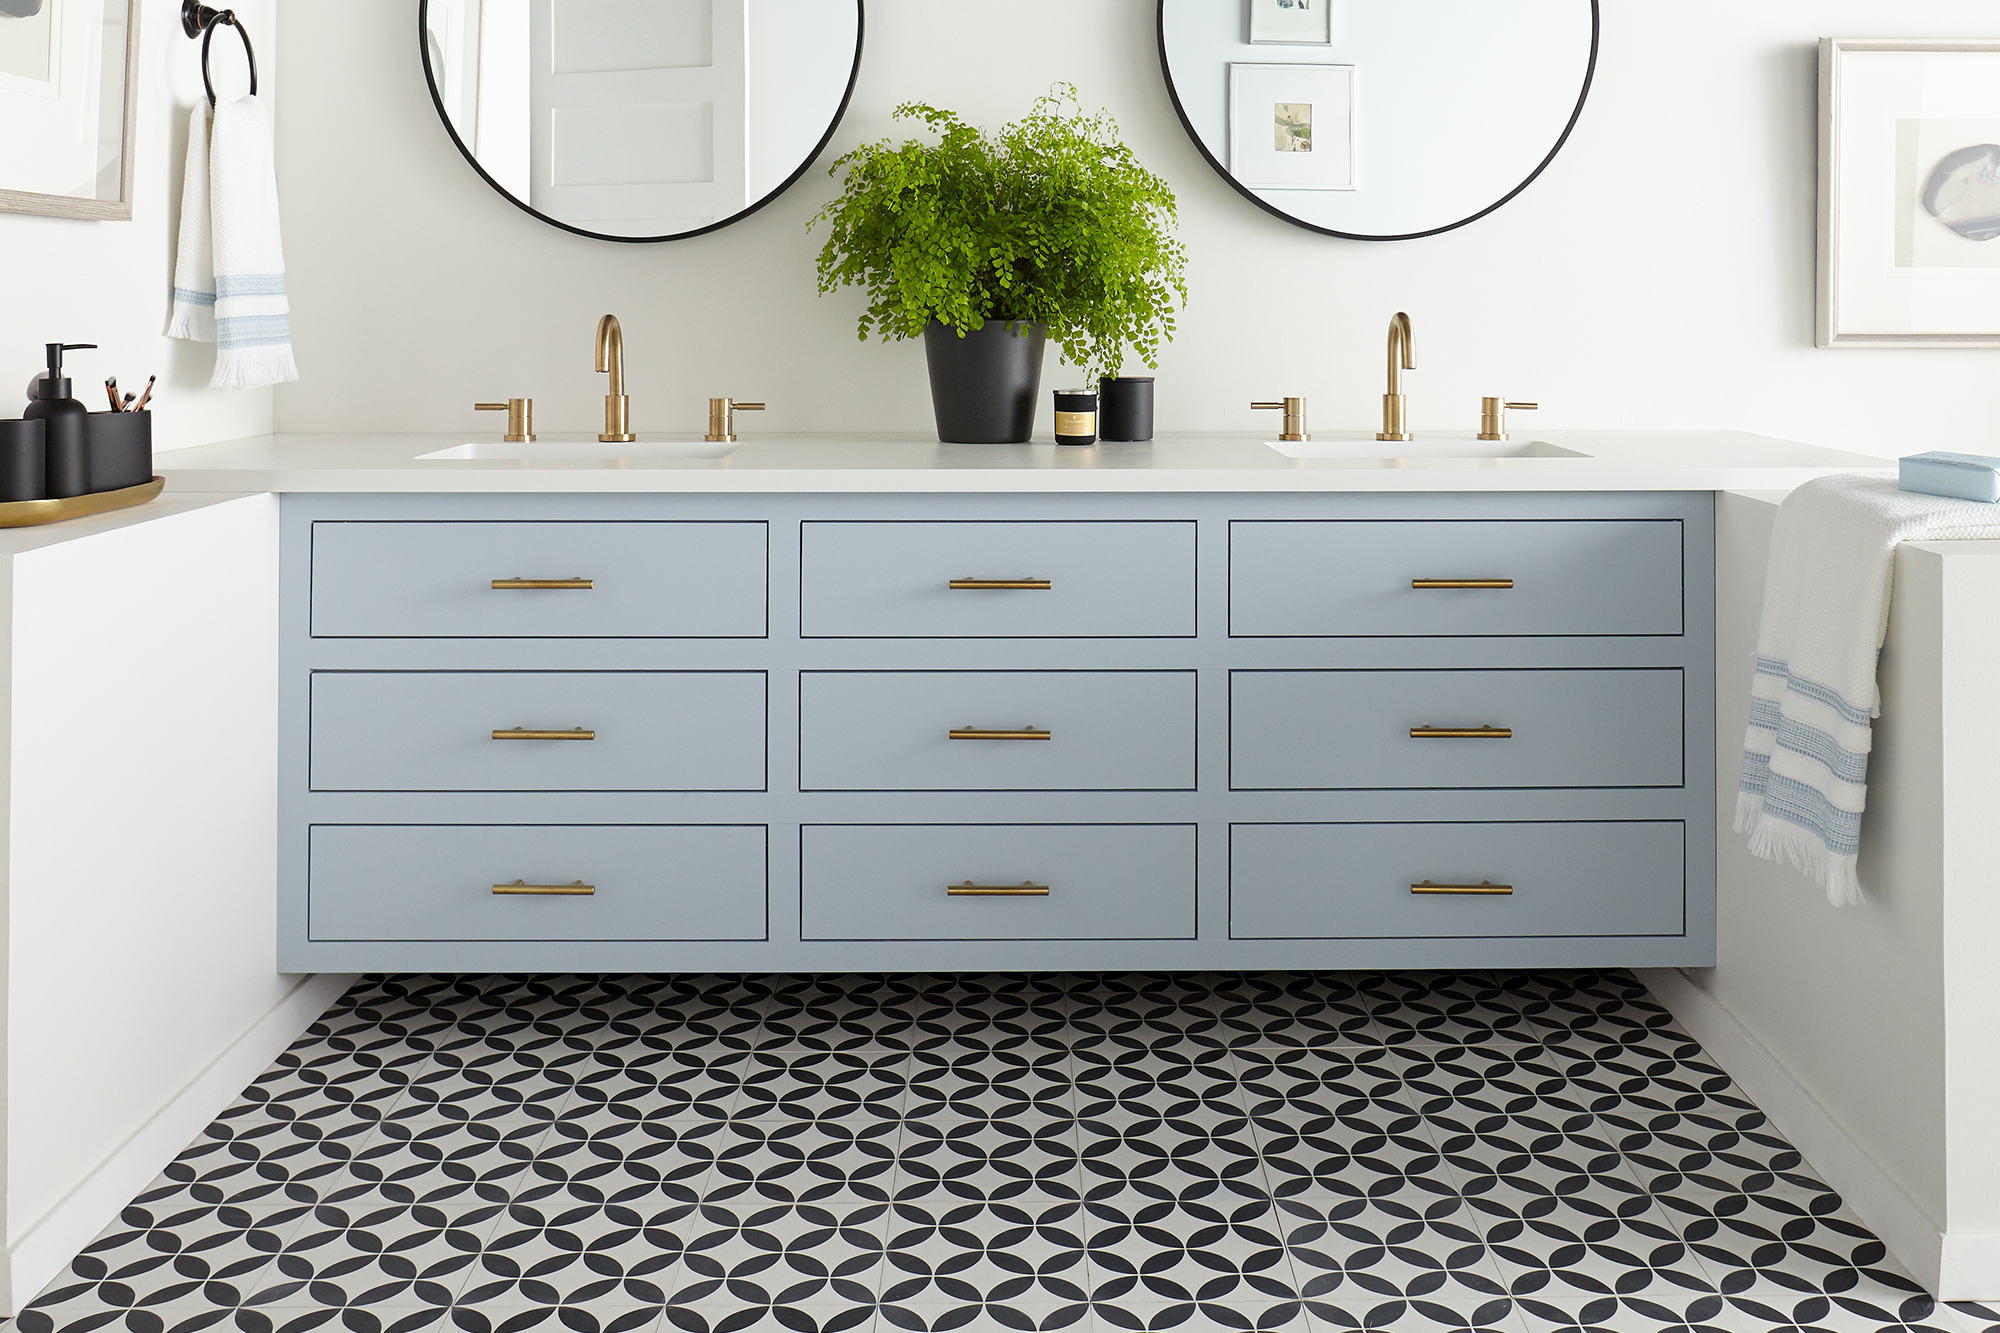
Modern White & Blue Bathroom Makeover
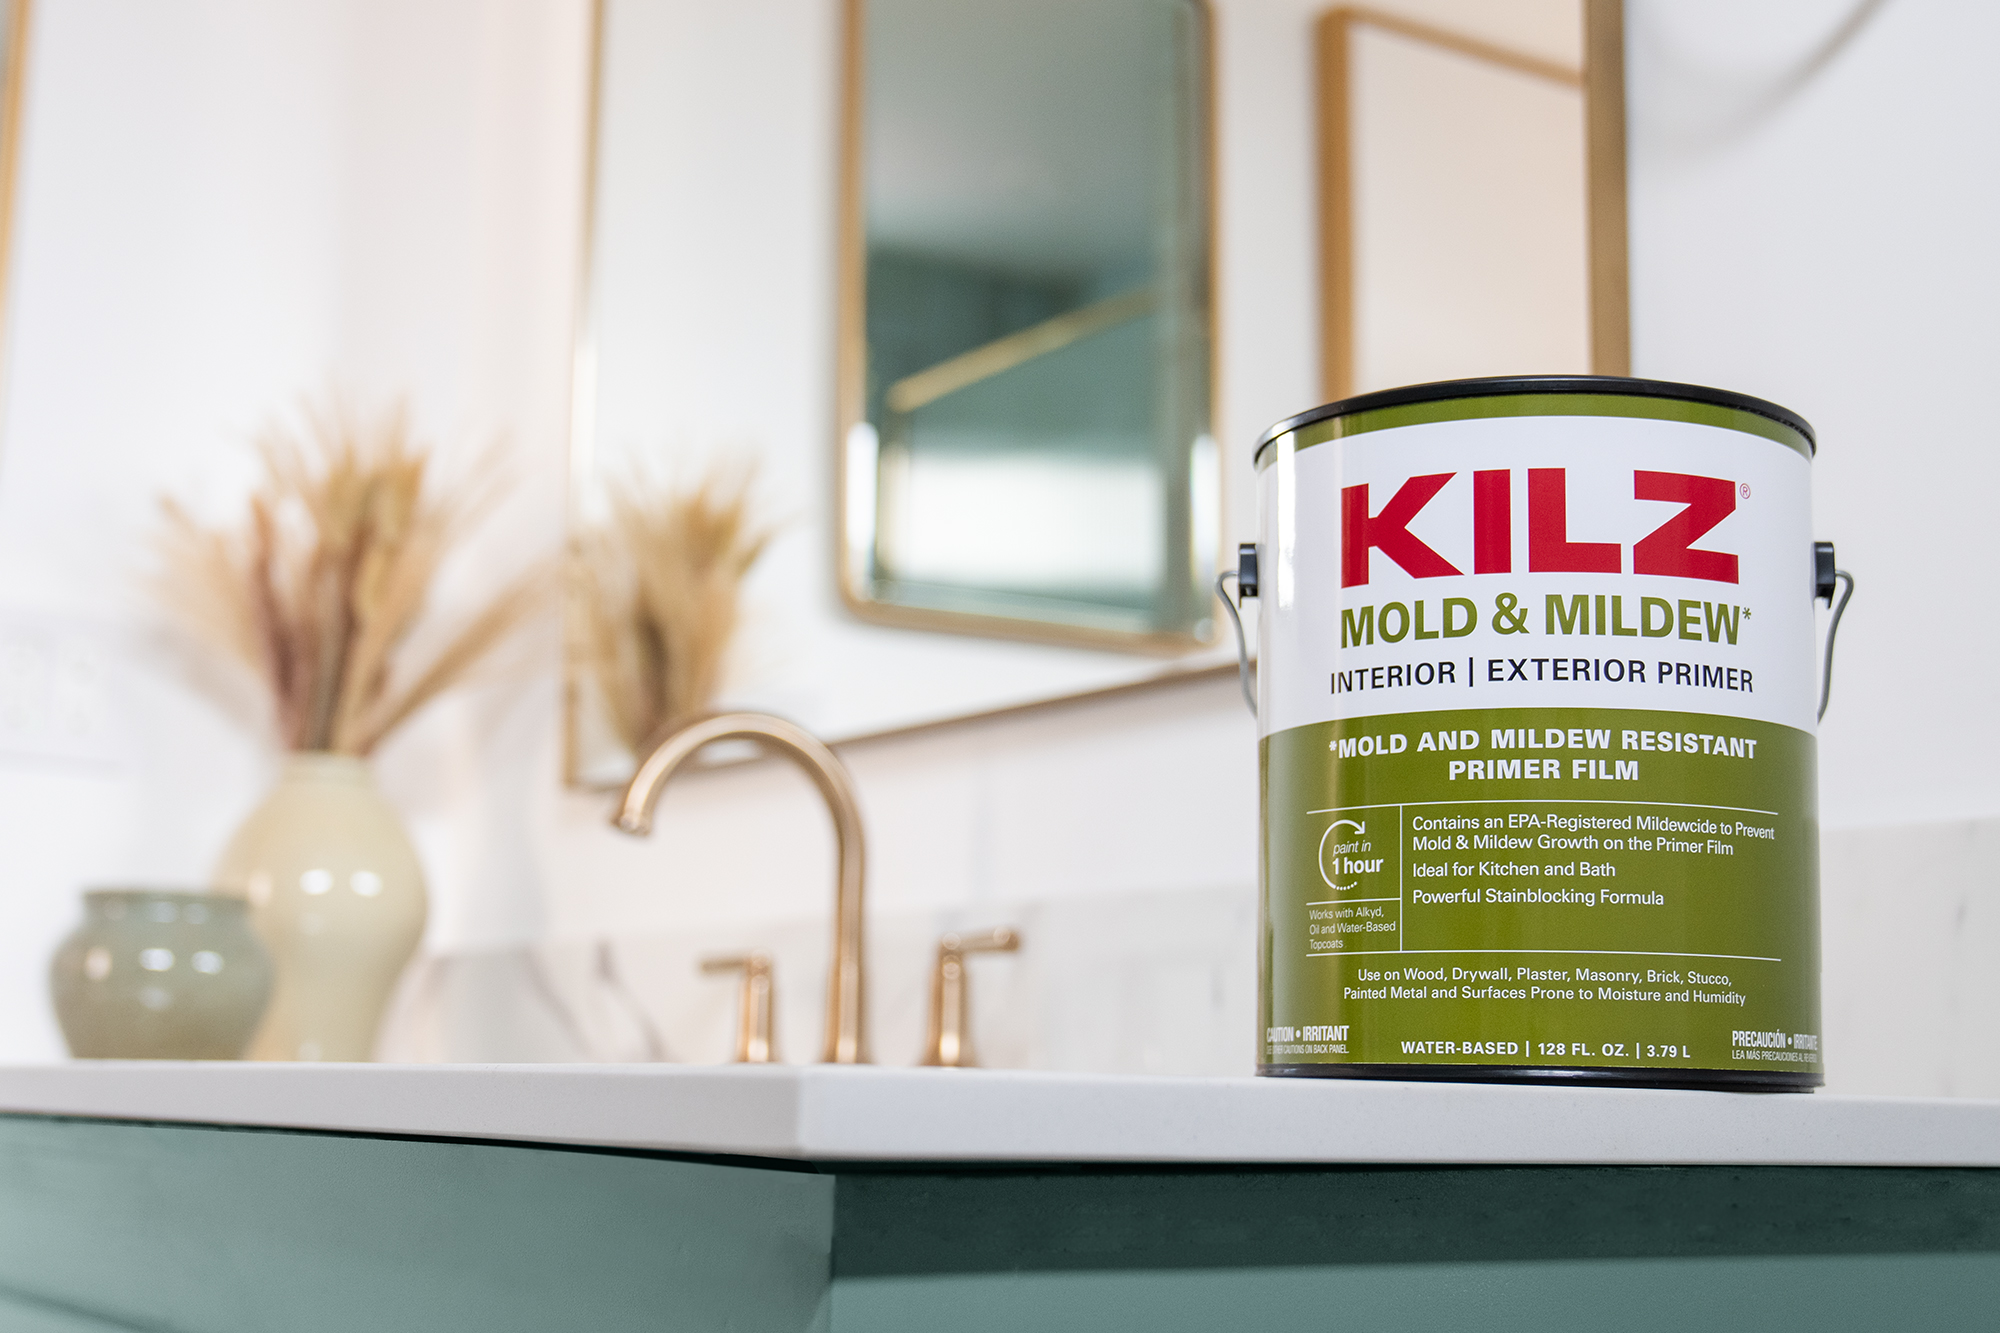
January 19, 2021A bathroom suspended in time is brought to the present with primer and paint freshening up a floating vanity and turning the boring beige space into a light and airy retreat. For this bathroom transformation, KILZ® Mold & Mildew primer is used prior to painting – easily covering dark beige walls to ensure the new white paint will shine in its purest form and properly preparing the wood vanity for a fresh coat of soothing blue paint.
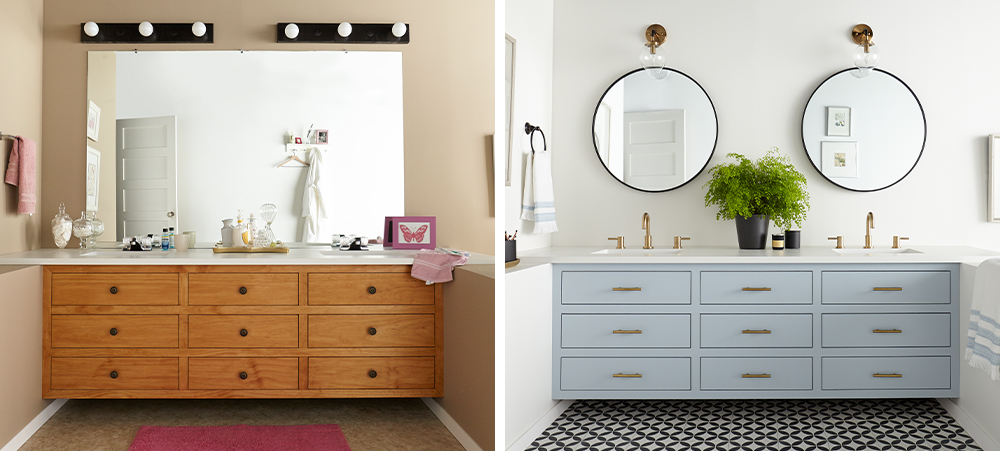
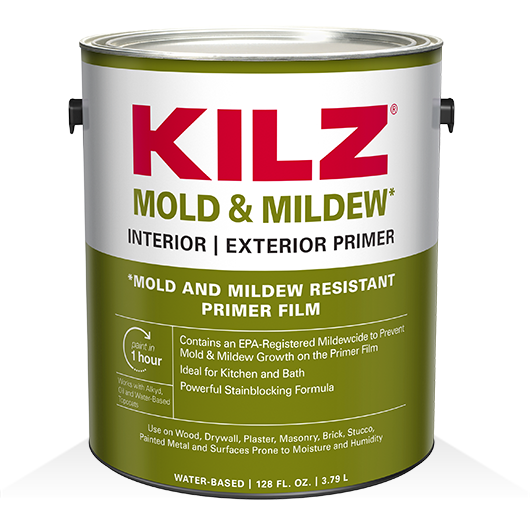
A water-based primer-sealer-stain blocker specially designed for residential surfaces in high humidity, moisture and temperature environments, KILZ® Mold & Mildew primer contains an EPA-Registered active ingredient that creates a mold and mildew-resistant film that protects the primer film from mold and mildew growth.
Once the primer is properly applied to the walls and vanity and allowed to dry, the bathroom is ready for paint! KILZ Tribute® in White Modern TB-09 brightens up the walls, while the same paint in Northern Sky TB-42 adds an airiness to the substantially sized vanity. KILZ Tribute provides a durable, highly scrubbable finish that resists staining, fading and peeling, ideal for DIY painting in bathrooms and beyond!
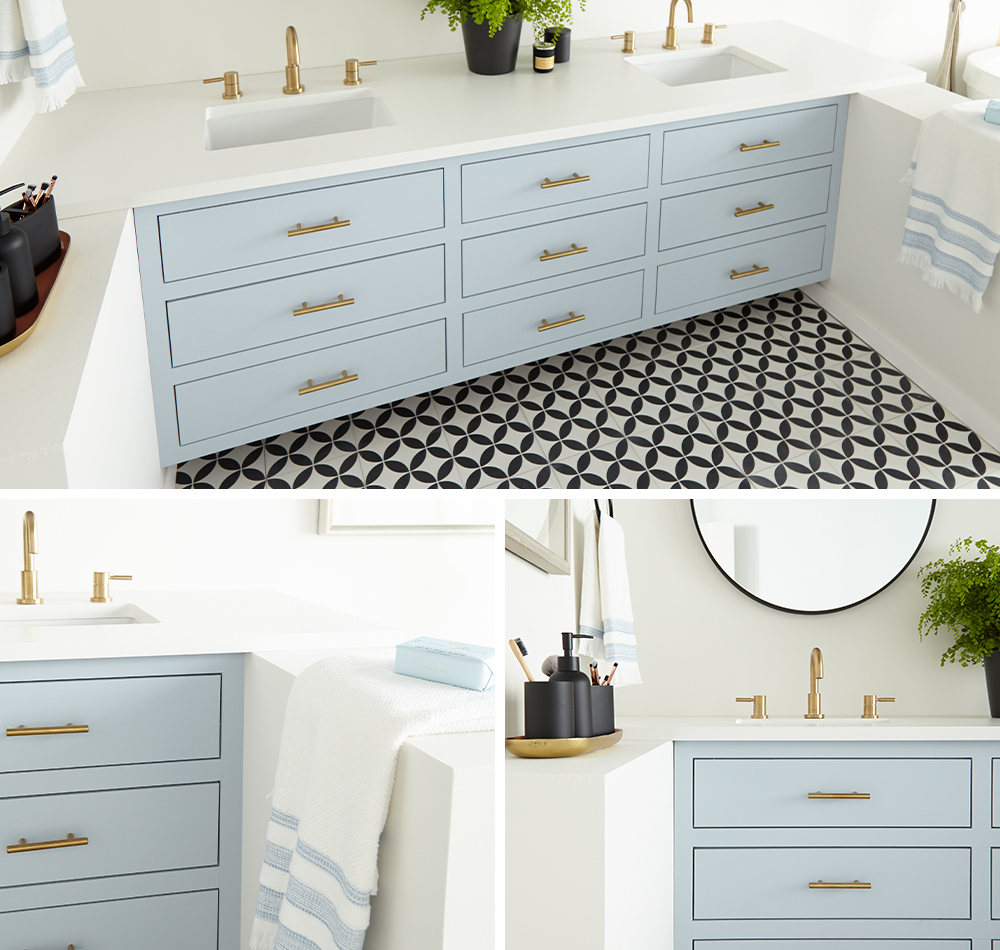
The light and bright bathroom makeover brings in a touch of contemporary flair with new brushed gold hardware and sleek circular mirrors topped with gold, globe-shaped light fixtures. And for the finishing touch, black and white tile flooring perfectly complements the new color scheme without competing – letting the beautiful blue vanity shine as the room’s focal point.
If you’re interested to create a calming and contemporary bathroom of your own, read on below for step-by-step instructions to prime and paint walls and cabinets.
WALLS
Step 1:
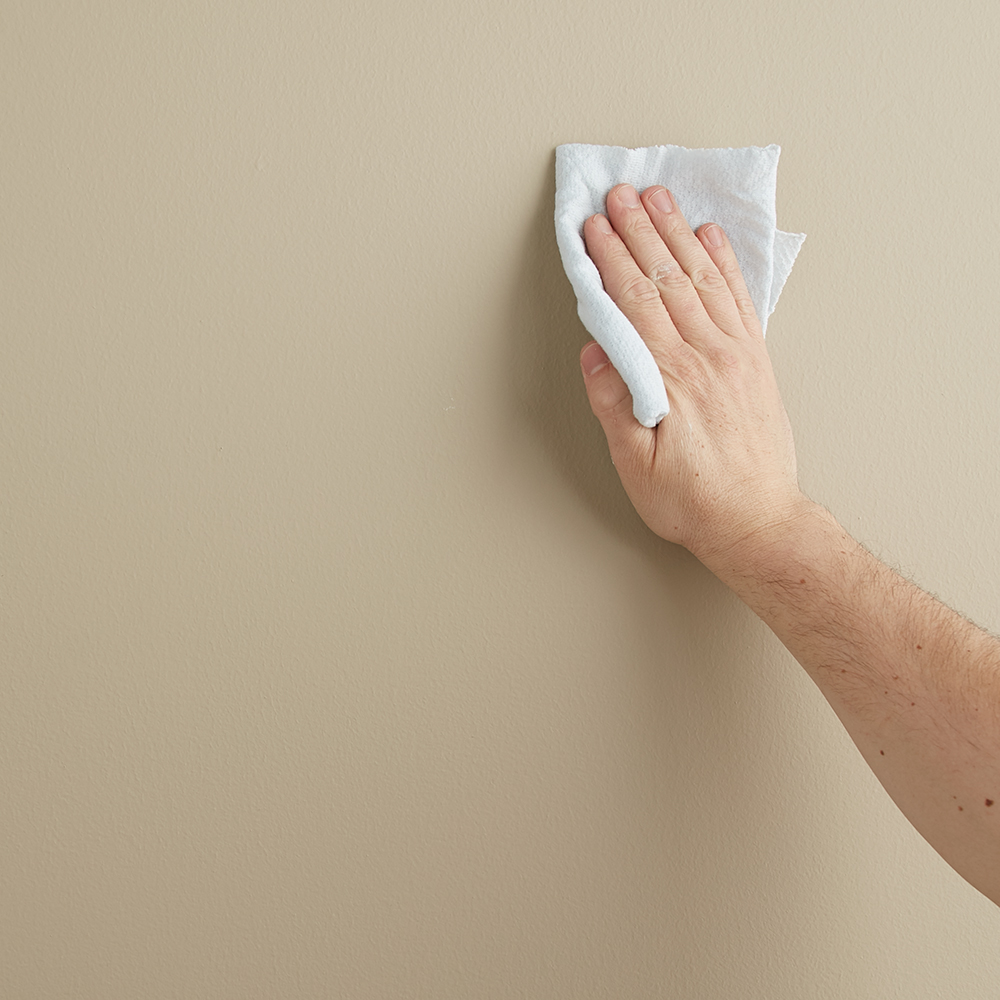
Wipe down walls with a damp cloth to ensure they are clean and free of dust. Allow to dry.
Step 2:
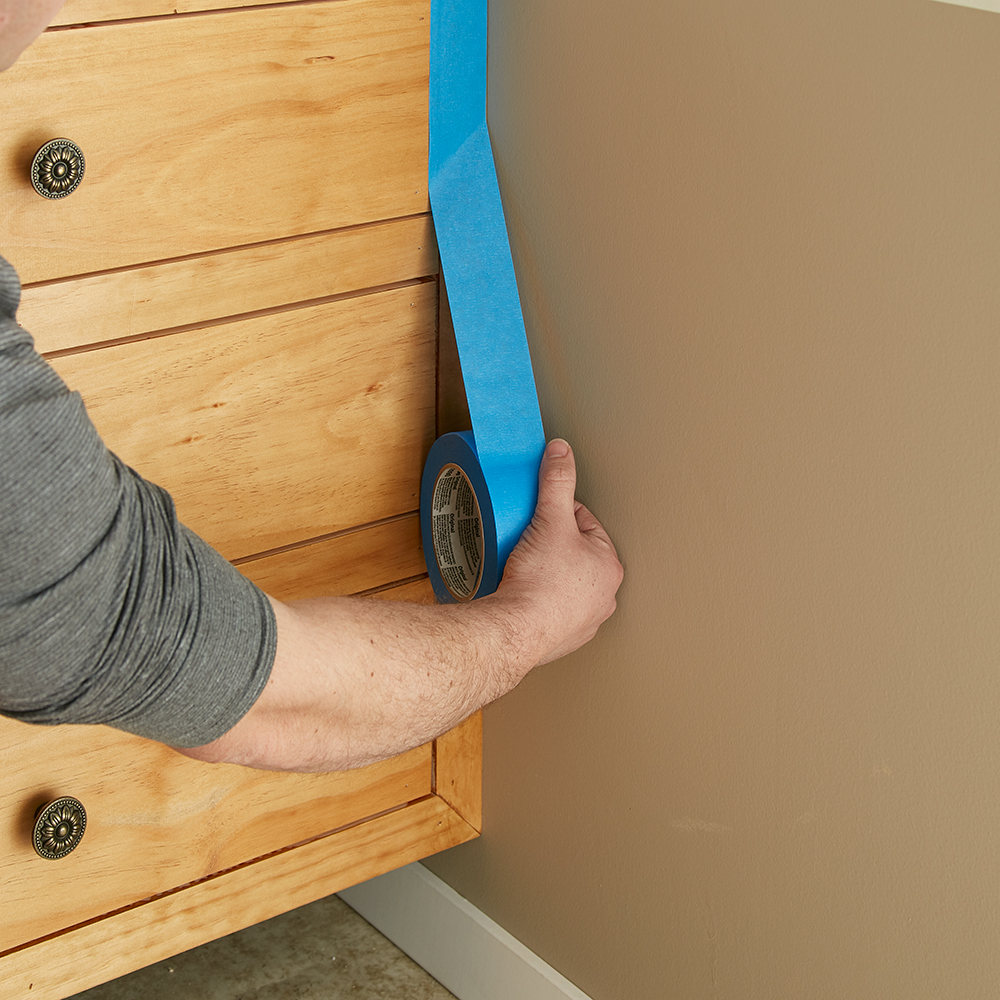
Tape around the vanity frame and countertop edges with painter’s tape to ensure you don’t get primer or paint where you don’t want it!
Step 3:
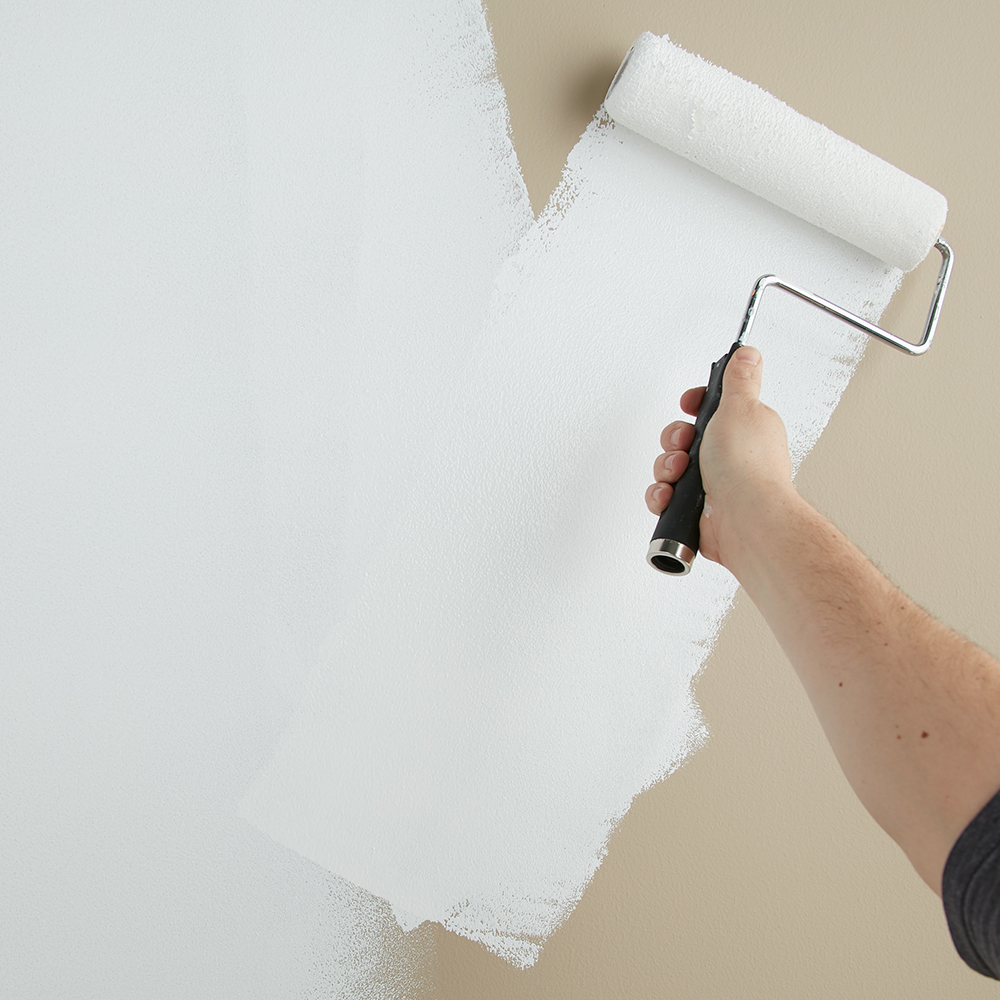
To ensure a mildew resistant primer coat, apply 1 coat of KILZ® Mold & Mildew (stirring thoroughly before and occasionally during use) to the walls and allow to dry. Apply primer using a brush first to “cut in” around the edges, then use a roller to fill in.
Step 4:
Once primer is dry, apply KILZ Tribute® in White Modern using the same application method as the primer (using a brush first to cut in around the edges 4 to 6 feet at a time, then use a roller to fill in those sections before moving along).
Step 5:
Remove the tape before the paint is fully dry.
VANITY
Step 1:
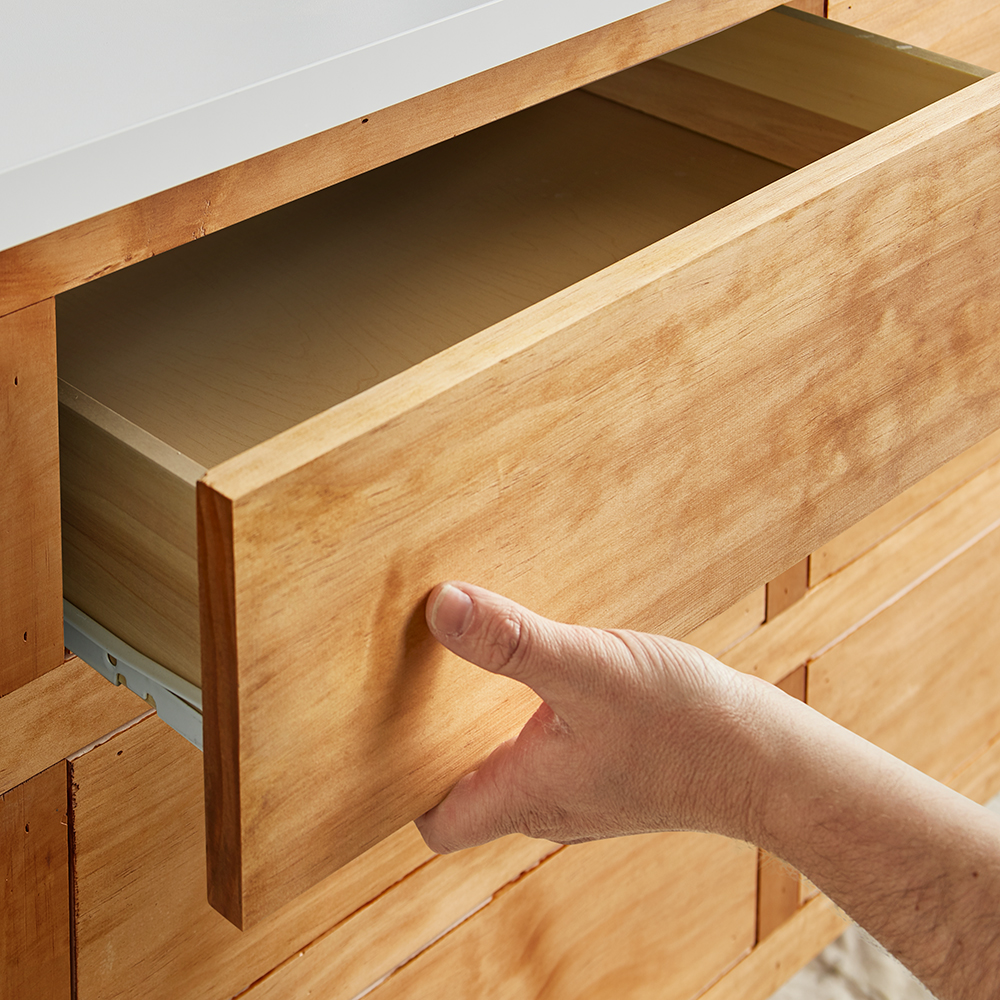
Remove vanity drawers and hardware, putting each screw back into its hardware and sealing them together with painter’s tape. You’ll want to label each set to ensure you can put each screw back exactly where it came from, ensuring the least amount of stress on the wood.
Step 2:
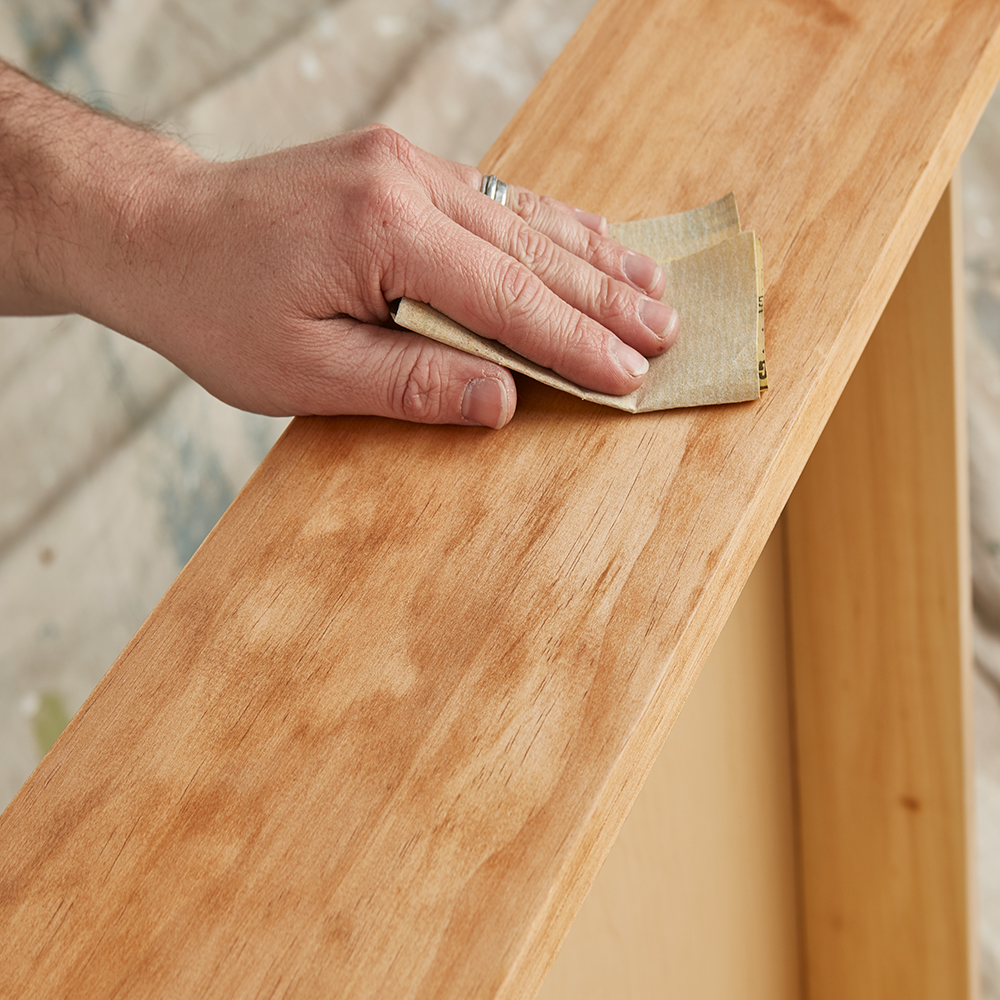
Sand the surface of the vanity body and all drawers, doing a first pass with 100-150 grit sandpaper then finish with a second pass of 180-220 grit sandpaper.
Step 3:
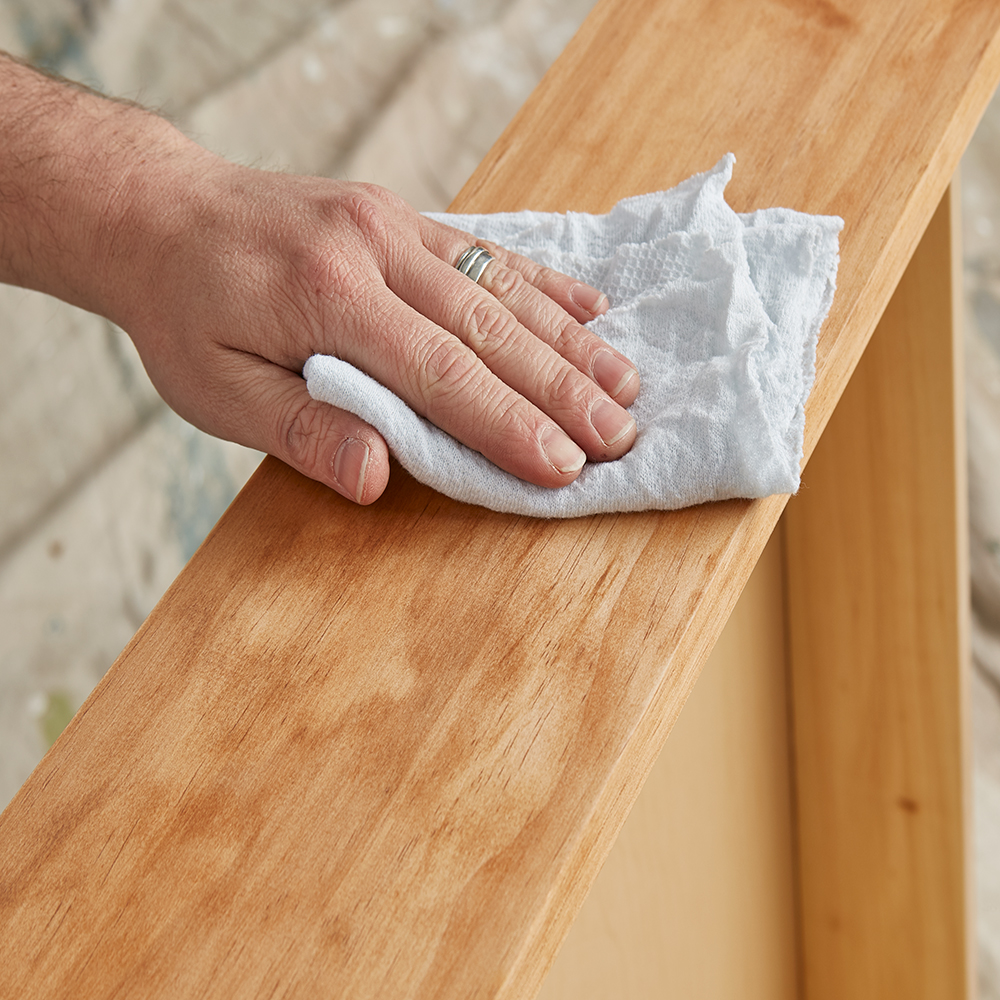
After sanding, wipe down the surfaces with a damp cloth to remove any dust or residue and allow to dry. Tape around the vanity body where the wood meets the walls and countertop to protect those areas.
Step 4:
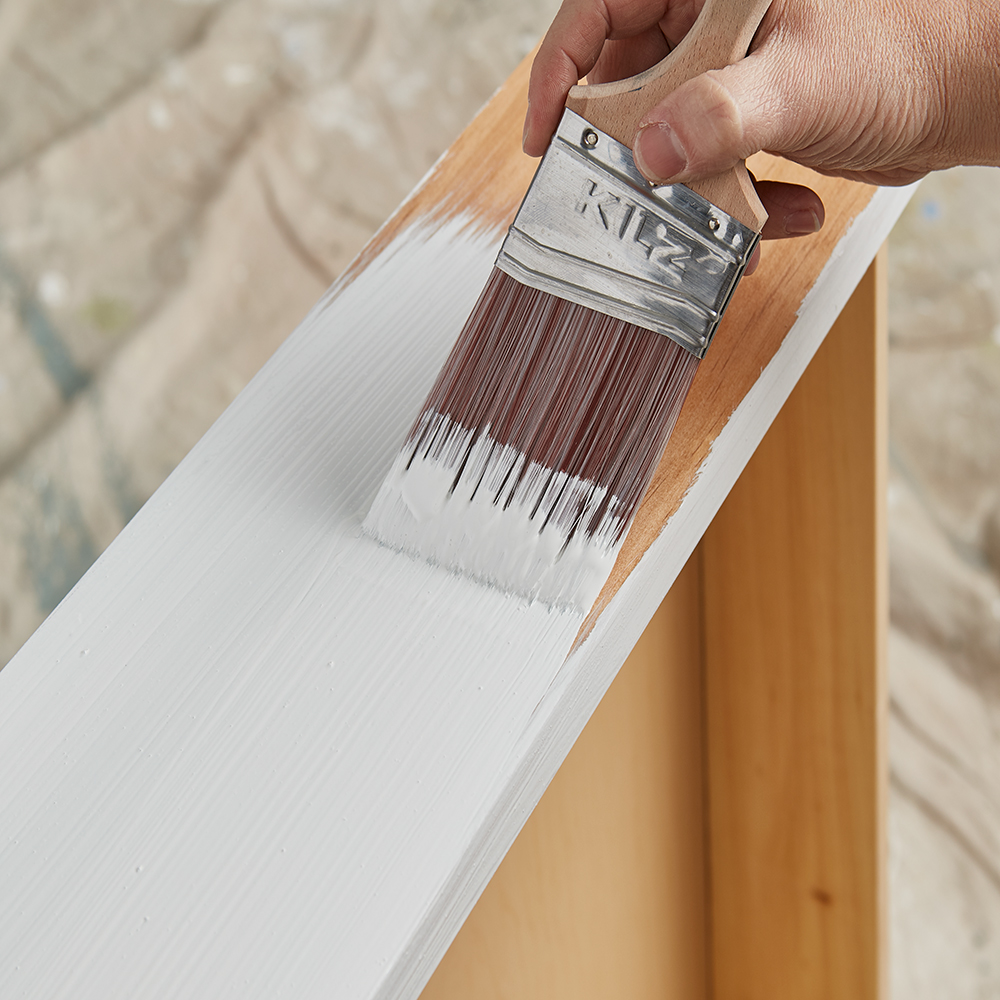
Apply KILZ® Mold & Mildew (stirring thoroughly before and occasionally during use) to the vanity body and drawers, moving in the same direction as the wood grain for best results. Allow primer to dry for 1 hour.
Step 5:
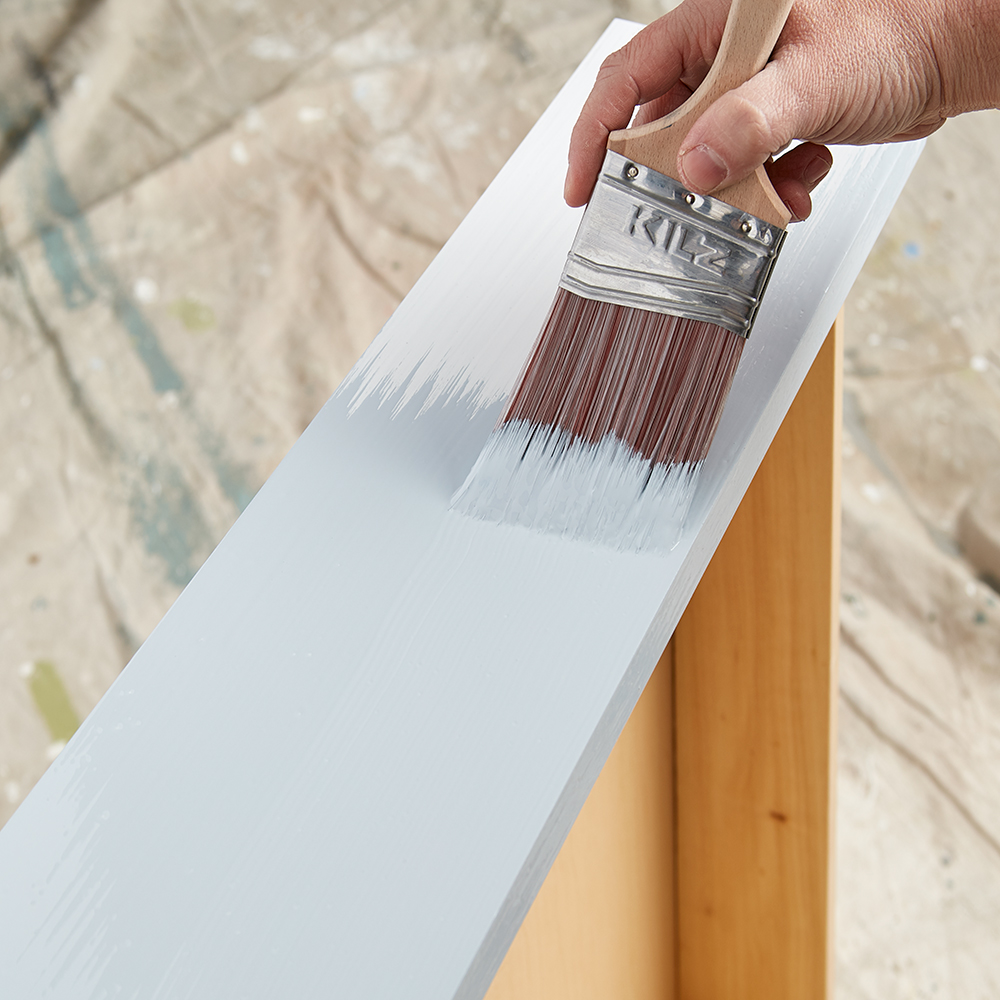
Once the primer is dry, apply KILZ Tribute® in Soothing Ocean. Remove the painter’s tape before the paint is fully dry.
Step 6:
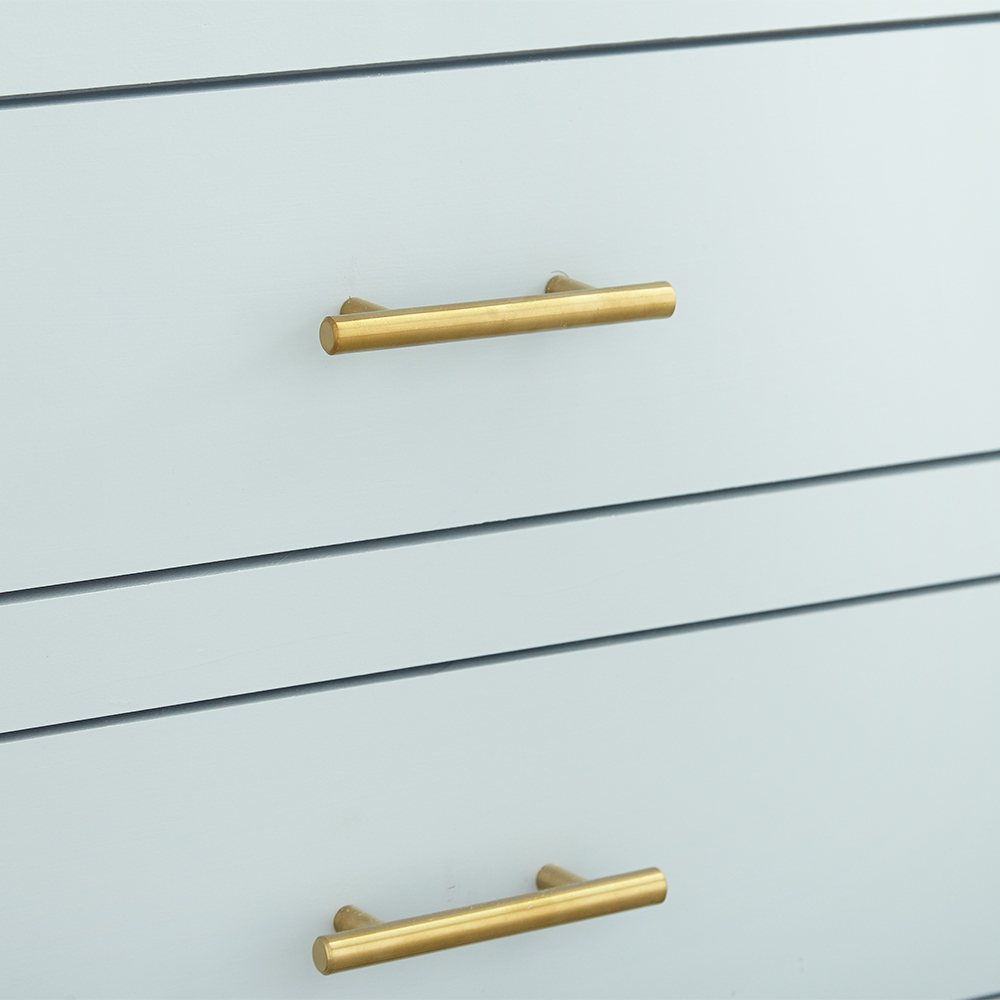
Once everything is dry, reattached your hardware and put the drawers back into place.
Always remember to refer to our website kilz.com or product back labels for additional information on which primer is right for your project and detailed instructions on how to apply our products.




join the conversation:
SHARE this post:
COMMENTS: