Category: Primer Tips
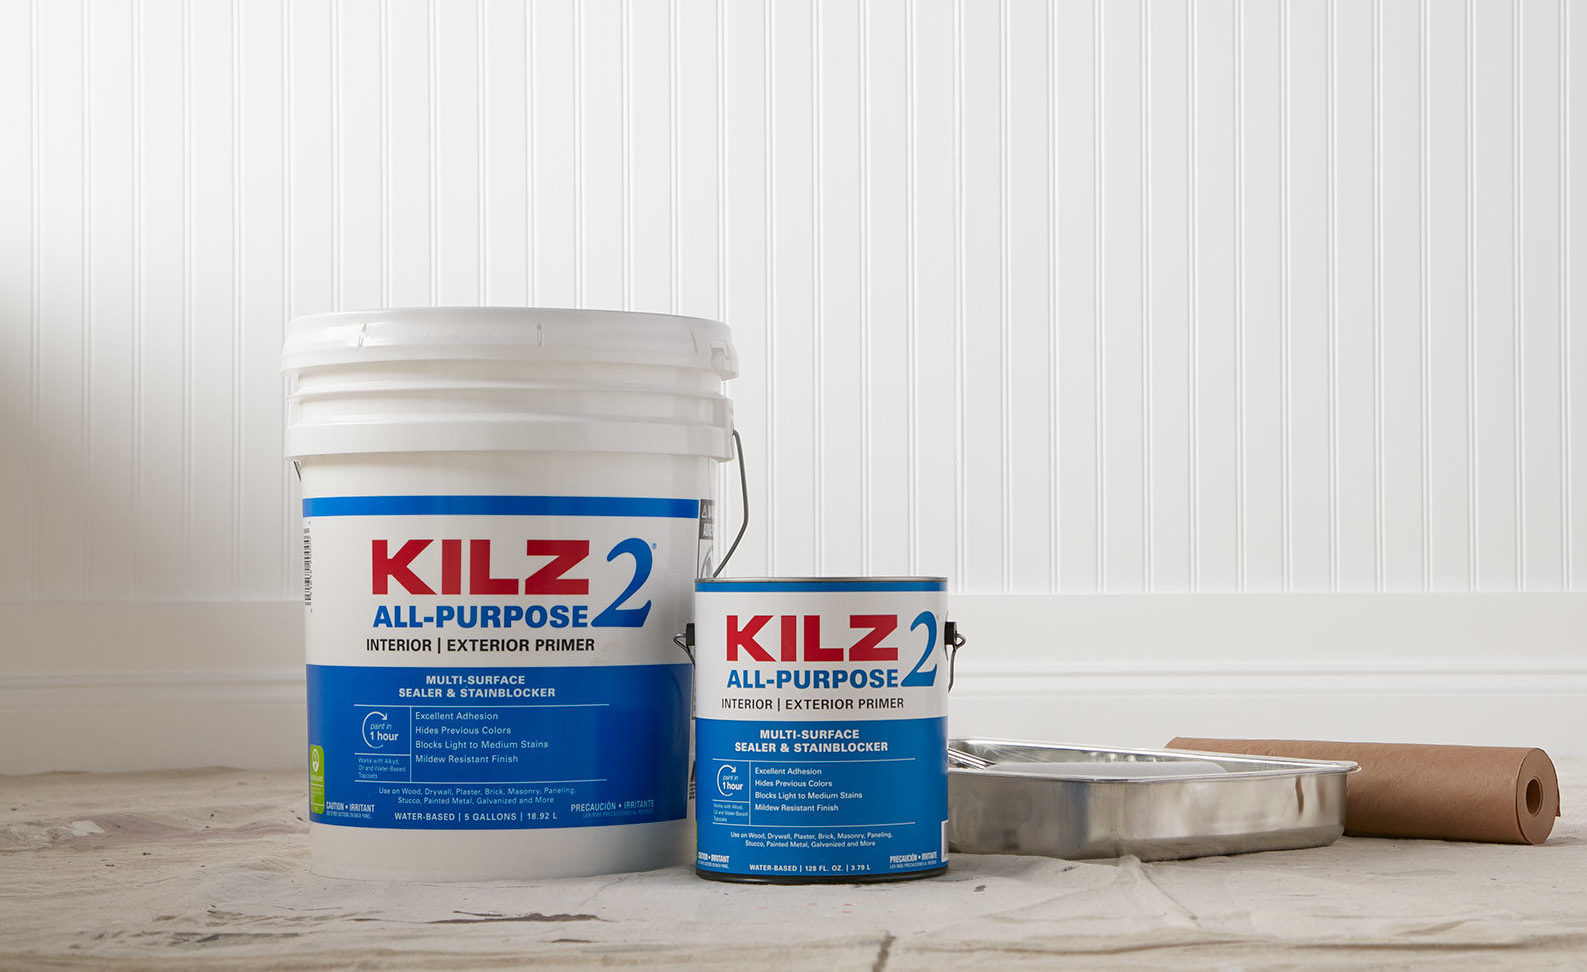
How to Choose the Right Primer for Your Paint Project
January 31, 2020Do your New Year’s resolutions include taking on that painting project you’ve been putting off? Or maybe you have a list of several different DIY home improvement projects on your list to complete in 2020. No matter the size or scope of your project, taking the time to do proper prep work will ensure results that you can be proud of for years to come. Prep can seem like a time-consuming extra step, but trust the pros, it’s worth the time spent.
If your next DIY venture includes painting, the first step is choosing the right primer for your project. The KILZ® brand offers a family of primers to help you complete a wide range of painting projects and tackle a wide variety of common painting problems. With so many primers to choose from, how do you know which is right for your project? To start, assess the type of surface you will be painting.
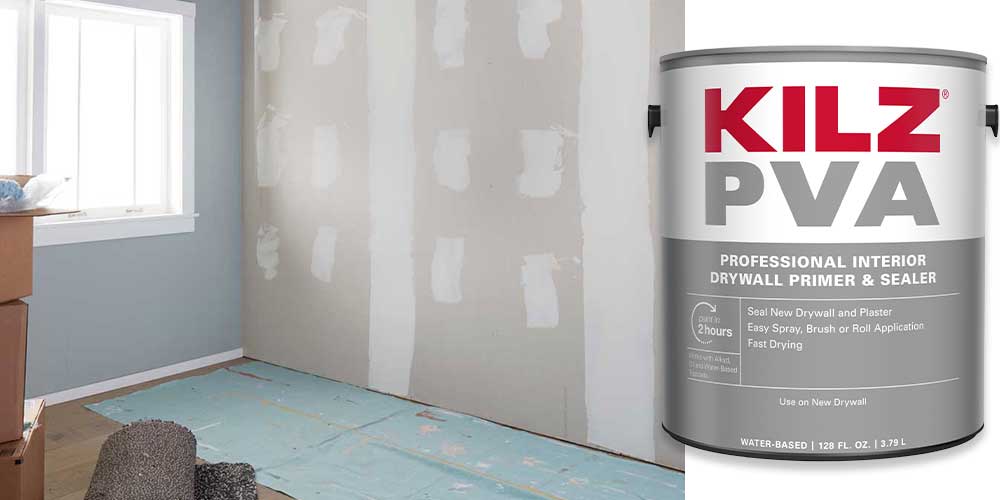
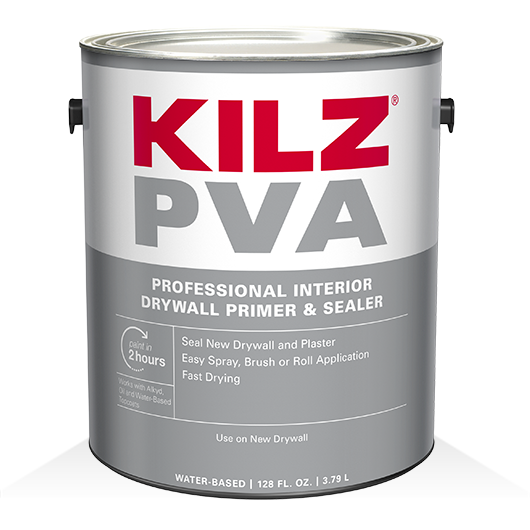
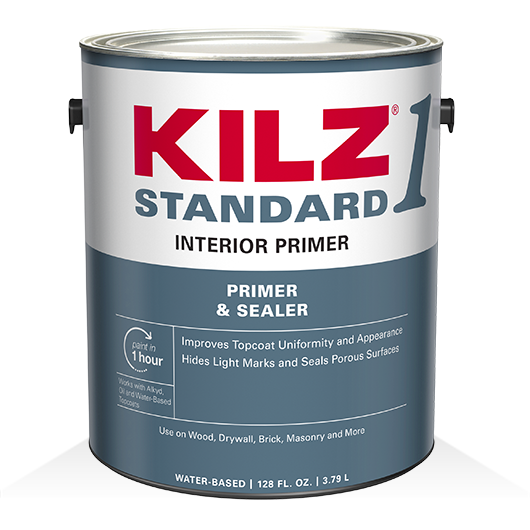
If you just moved into a new house or completed an addition and you’re painting new drywall, KILZ® PVA Drywall Primer or KILZ® 1 Standard Interior Primer are both made for the job.
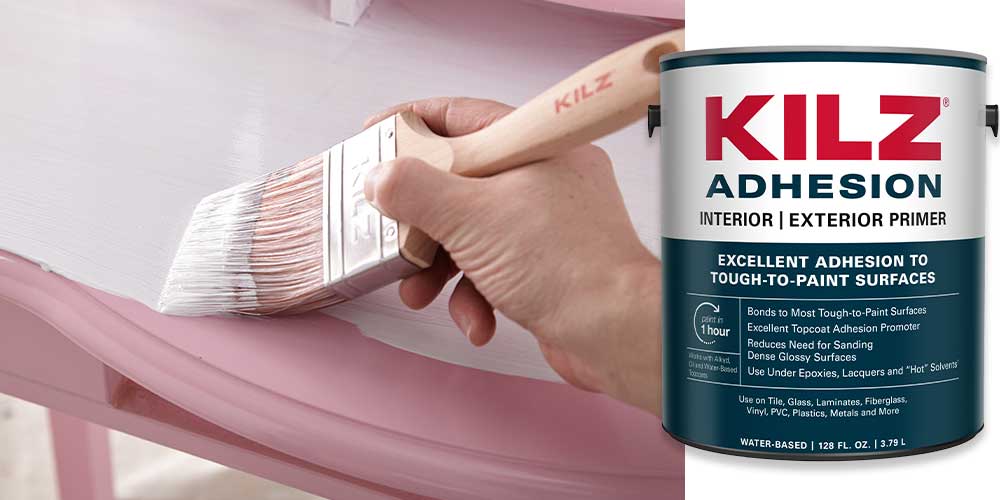
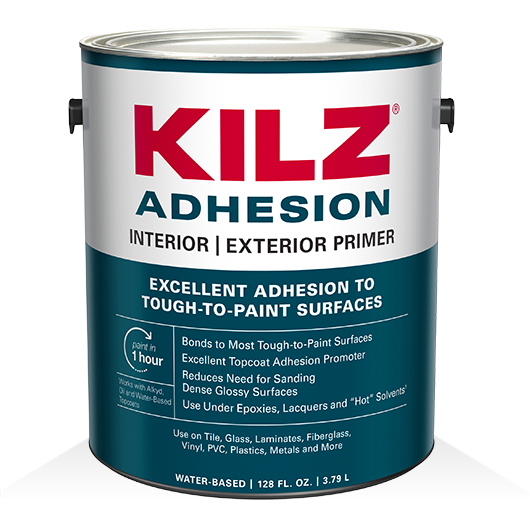
Perhaps you’re painting a surface that ordinary paint might not stick to, such as a slick glossy surface, aluminum, vinyl, ceramic tile or glass. In that case, KILZ® Adhesion Interior/Exterior Primer is an excellent choice.
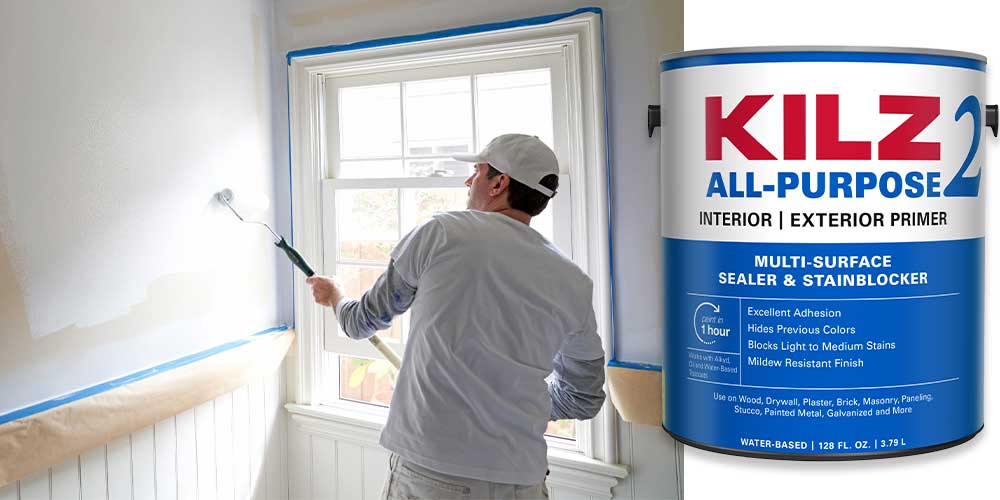
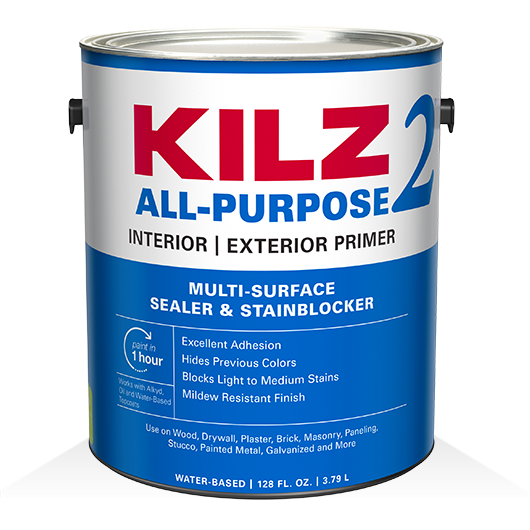
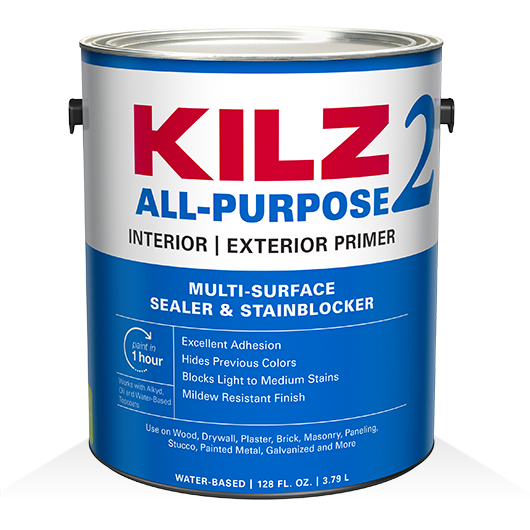
Pro painters and DIYers alike are often in need of a primer that offers multiple surface solutions – which is why KILZ 2® All-Purpose Primer is the choice of many! A fast drying, water-based multi-surface primer-sealer-stain blocker, it offers excellent adhesion, a mildew resistance primer film and can block light to medium stains like felt marker or minor water stains. It’s also a good choice for a simple color change, to ensure the truest color from your new topcoat.
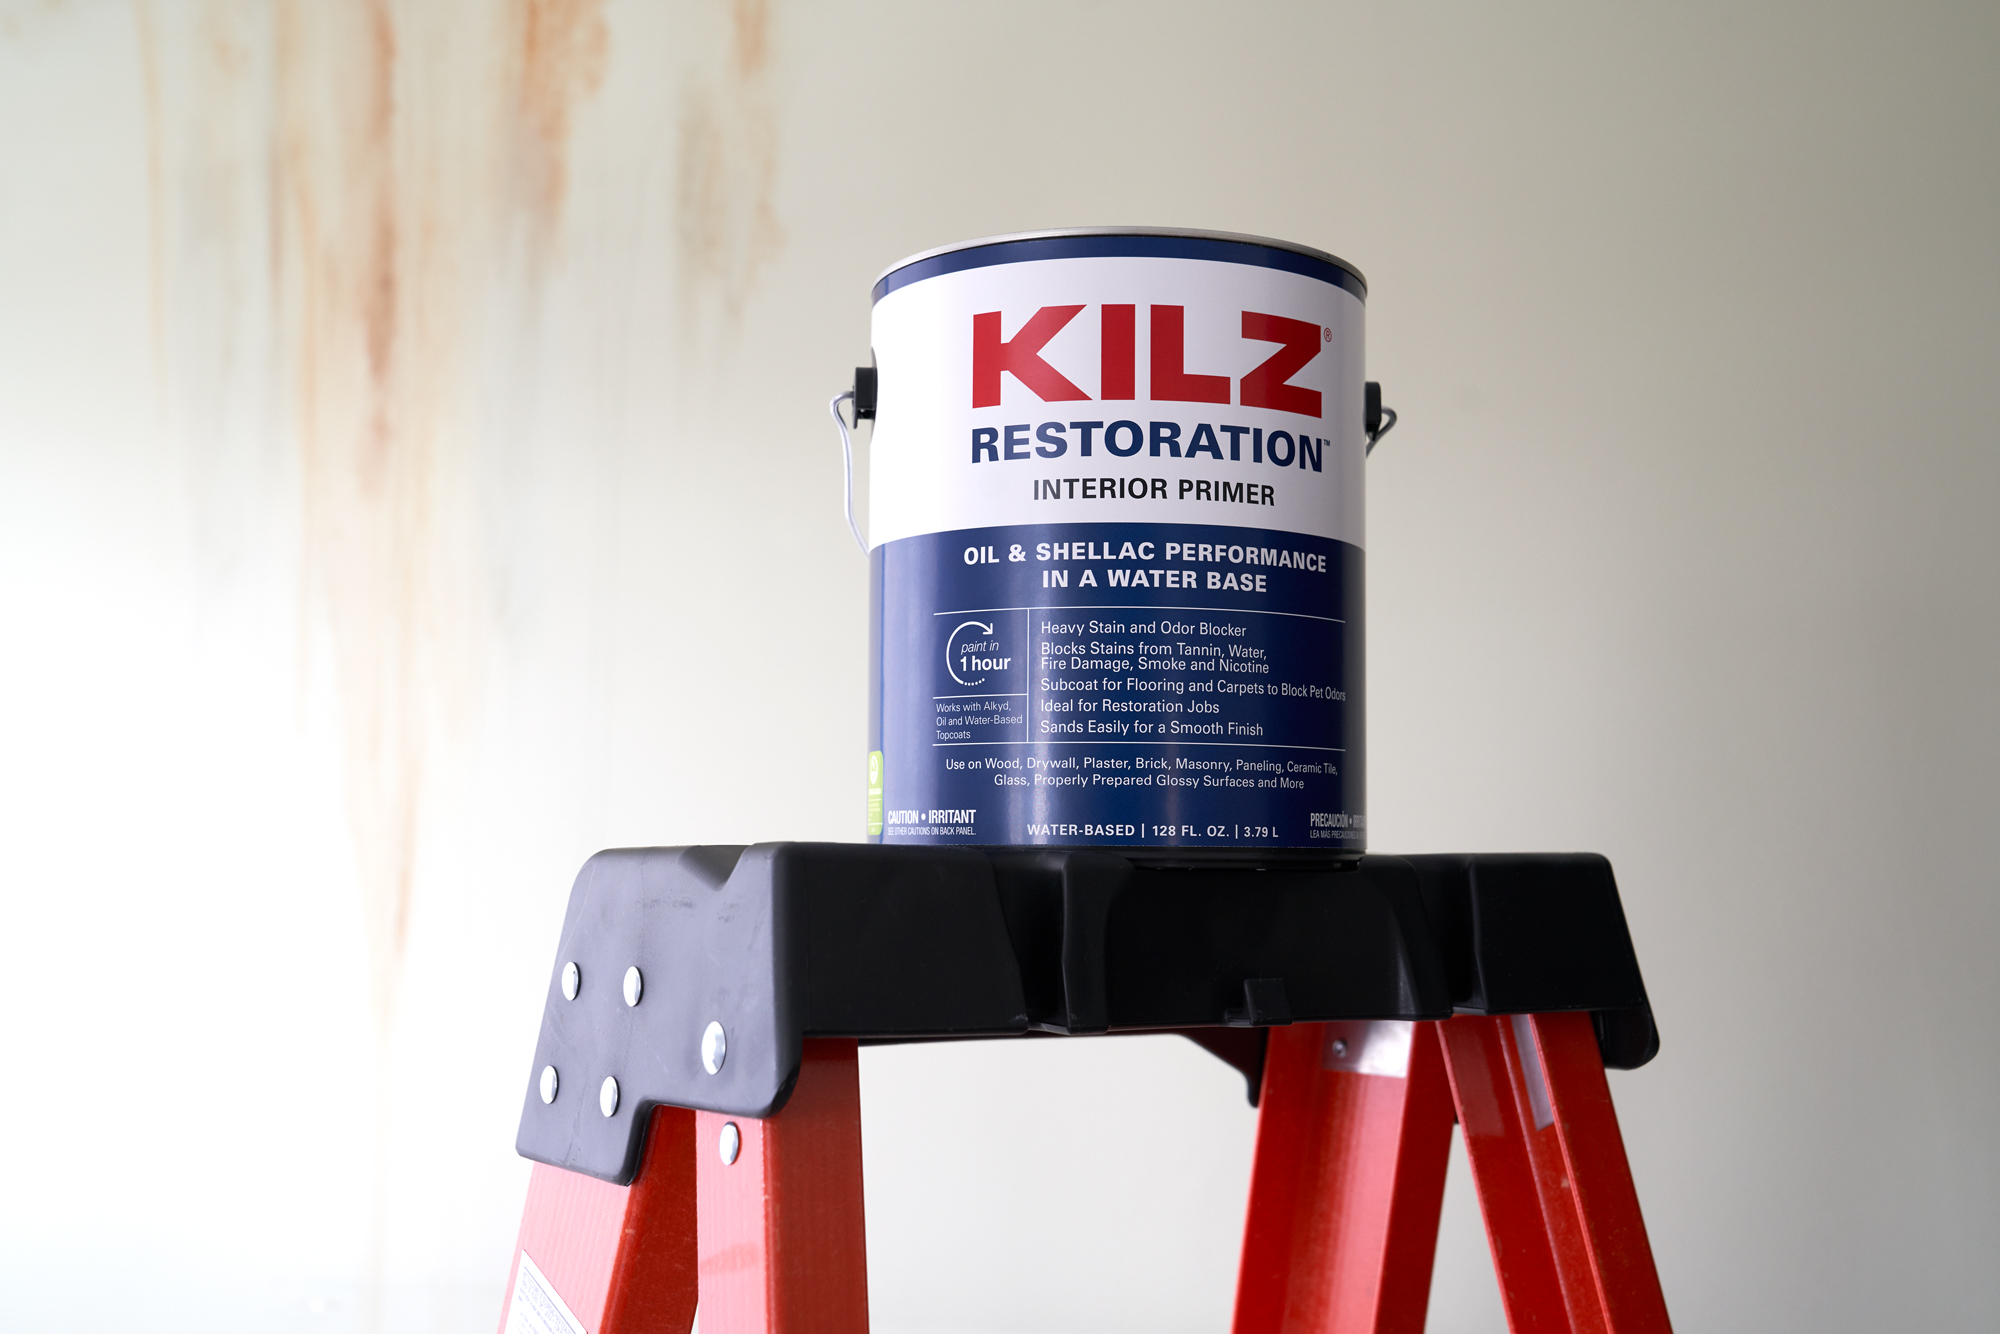
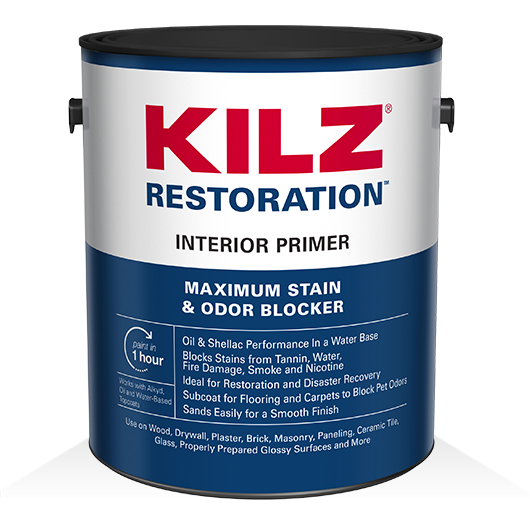
And for projects that require even heavier lifting, KILZ Restoration™ offers the performance of a traditional oil-based primer in a water-based formula and can tackled the toughest odors, stains and even fire damage.
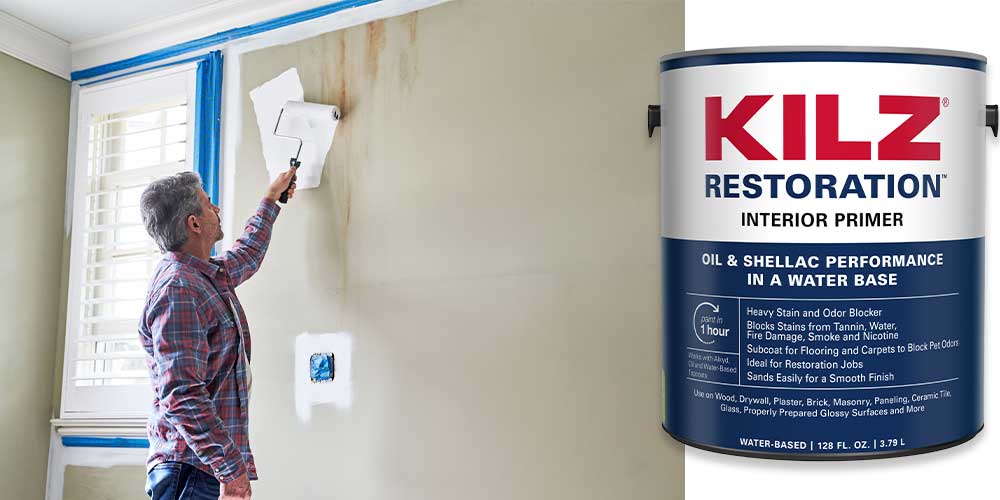
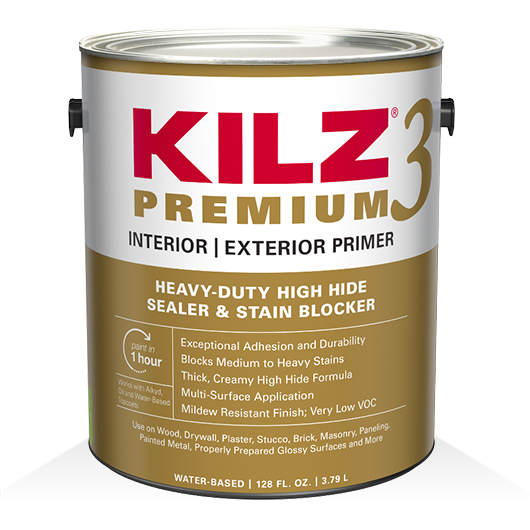
For those taking on more complex projects, including blocking smoke or pet odors, covering dark paint colors or heavy stains, there is a KILZ® Primer for you too! KILZ 3™ Premium is one of our more heavy-duty and high hiding formulas, making it ideally suited for blocking old dark colors or covering substantial stains.
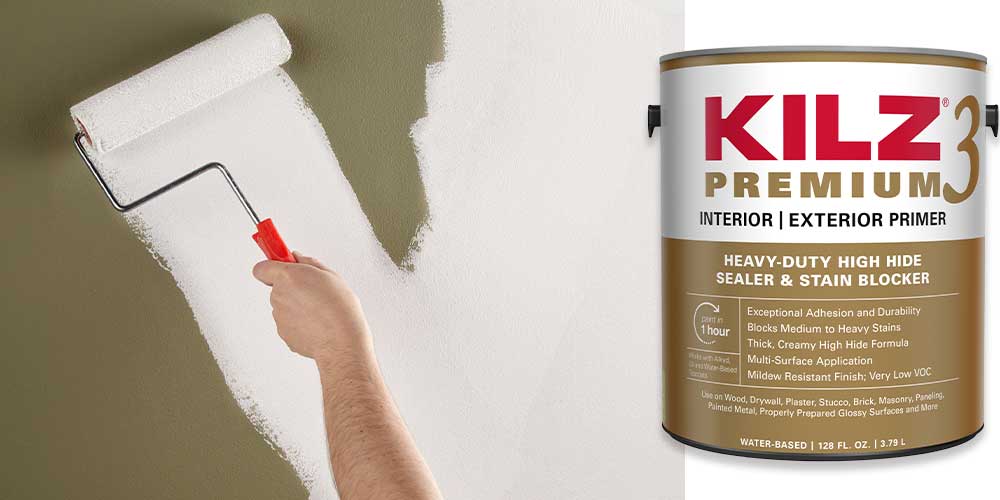
If you’re still unsure what primer to use for your next project, answer these simple questions below and don’t be afraid to ask a friendly pro at your local hardware or home improvement store for help.
Choosing the Right Primer:
- Identify the surface type you will be painting.
- Assess any problems you need to tackle, such as stain or odor blocking, and determine the severity of the issue.
- Take into account any unique scenarios like needing a mildew resistance finish coat (good to keep in mind when painting moisture prone areas like bathrooms and laundry rooms), or if you’re covering a dark paint color with a new lighter hue.
Always remember to refer to our website kilz.com or product back labels for additional information on which primer is right for your project and detailed instructions on how to apply our products.
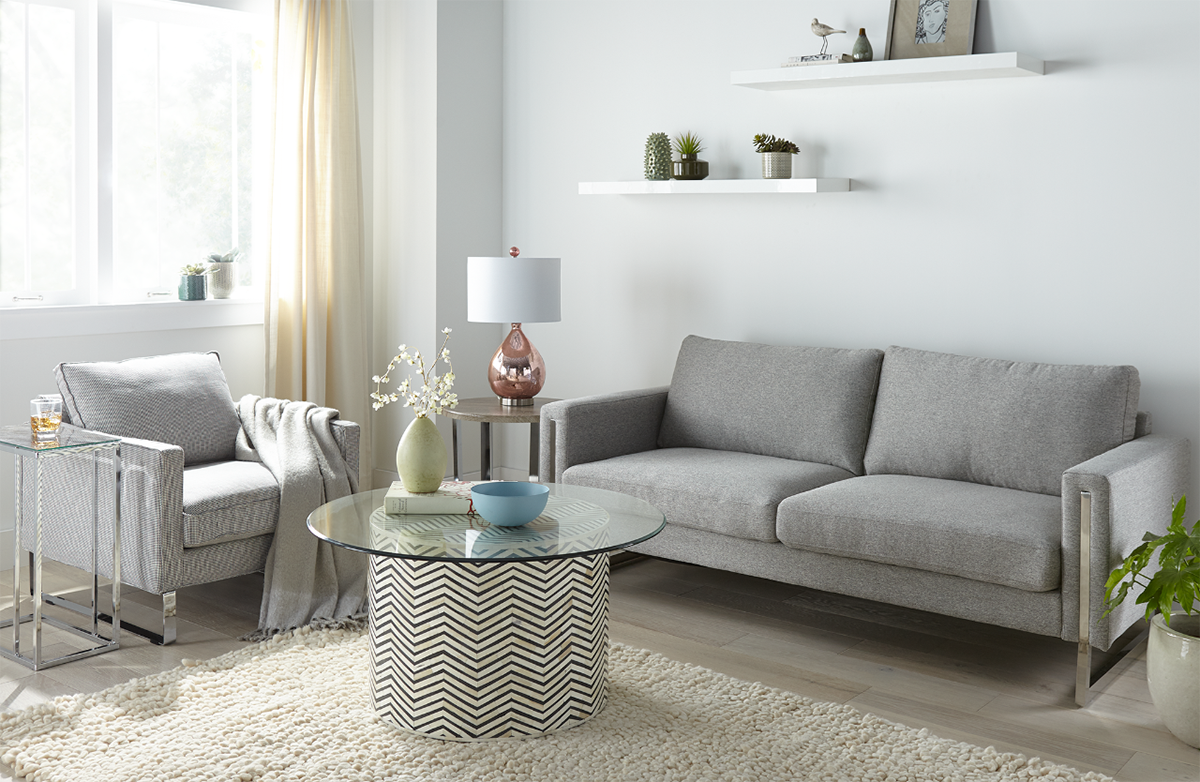
Pro Tips for Painting Over a Dark or Light Wall
December 6, 2019A fresh coat of paint can go a long way in changing the look and feel of your space, and the last thing you want after meticulously selecting your perfect shade of white is for the old, unattractive color to seep through! One of our favorite neutrals is KILZ® Tribute® paint in Alaskan Mist and it was the perfect color to lighten up this living room.
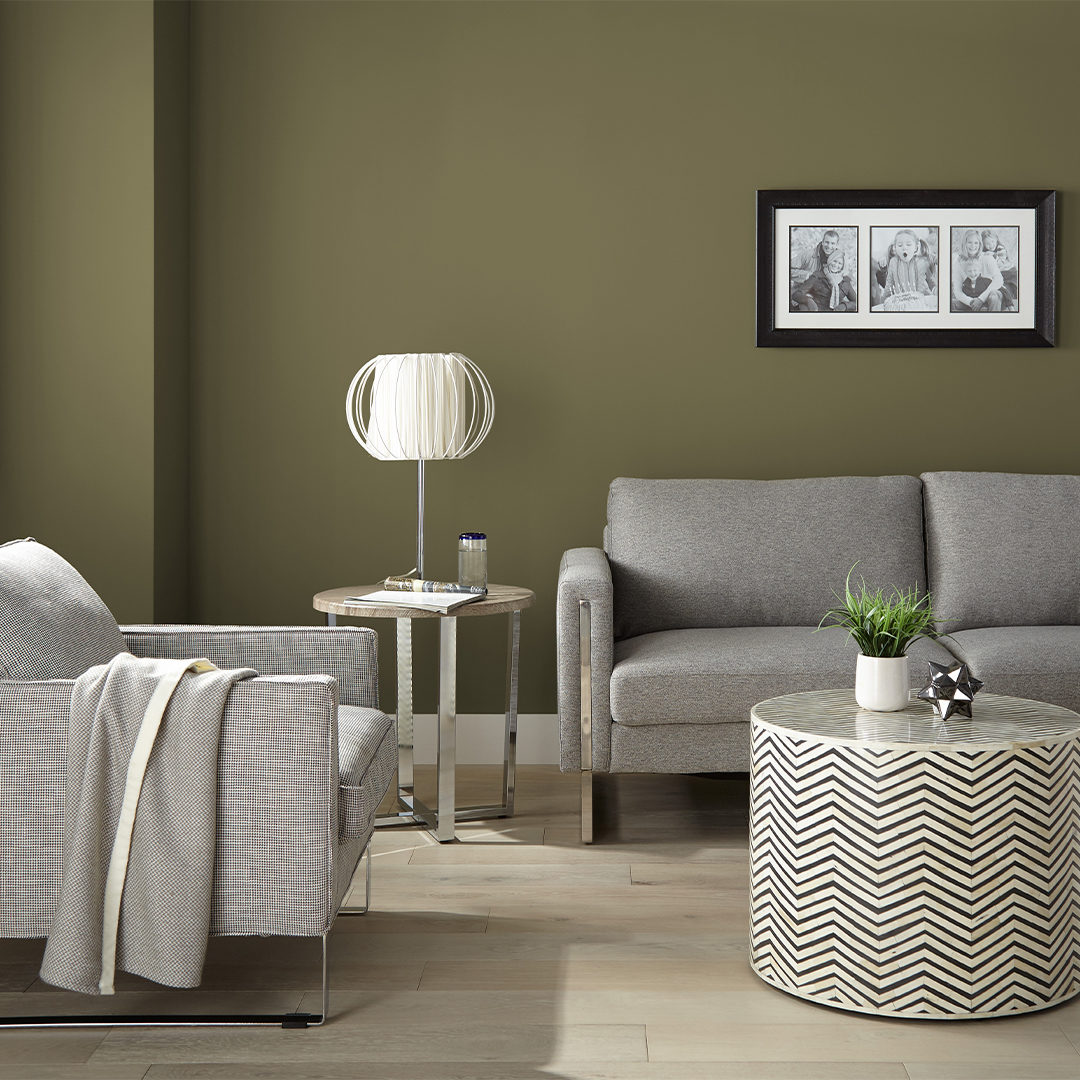
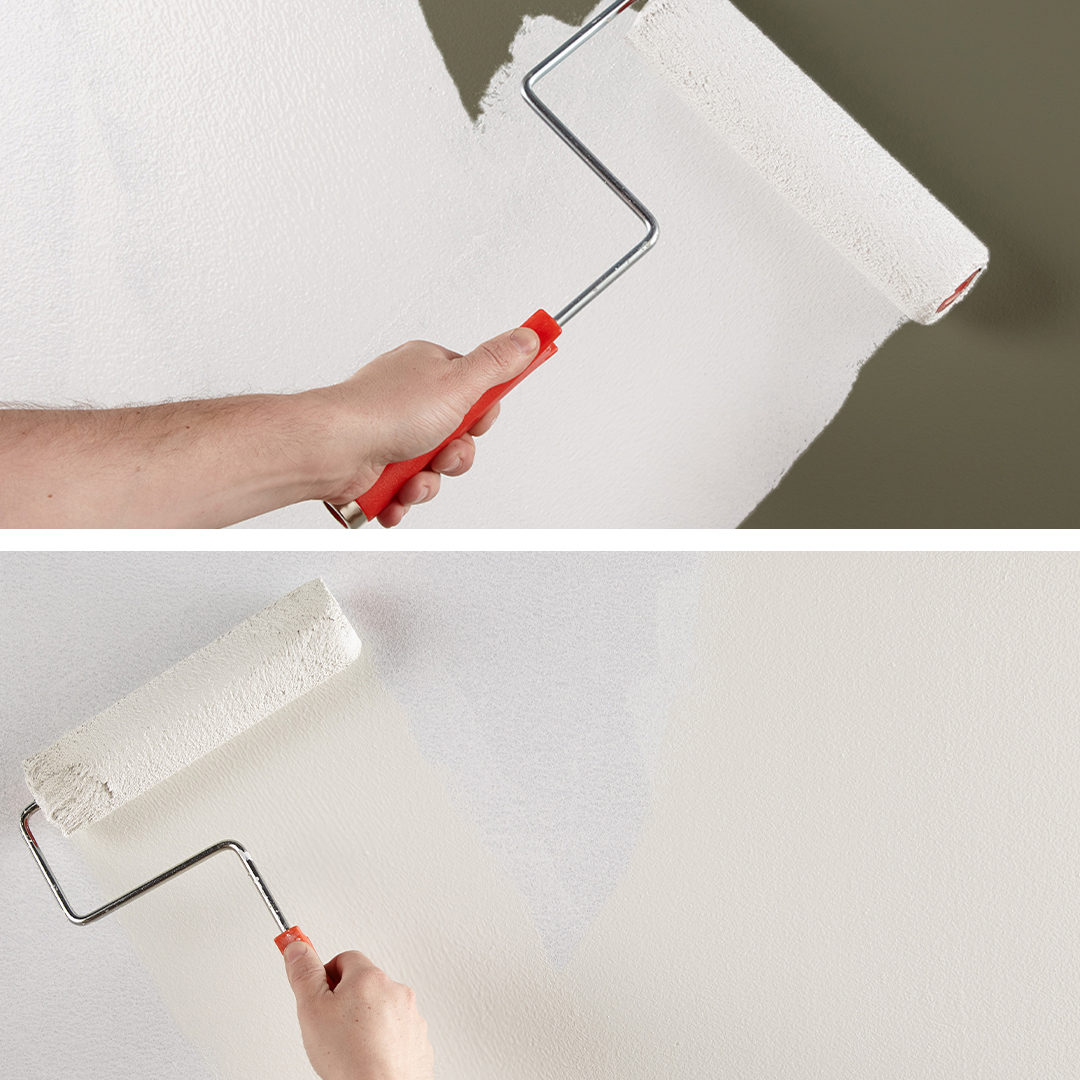
Taking the heavy olive-green walls to a bright white could have posed a challenge, including a need for excess coats of paint which we definitely wanted to avoid. It was time to prime! We chose KILZ 3™ Premium primer for its thicker, high hiding formula. This water-based primer hides surface imperfections and reduces the need for multiple coats of paint to allow a truer, richer color from the topcoat. A coat of KILZ 3™ Premium primer on the unpleasant green walls followed by paint in Alaskan Mist, and the color change was complete!
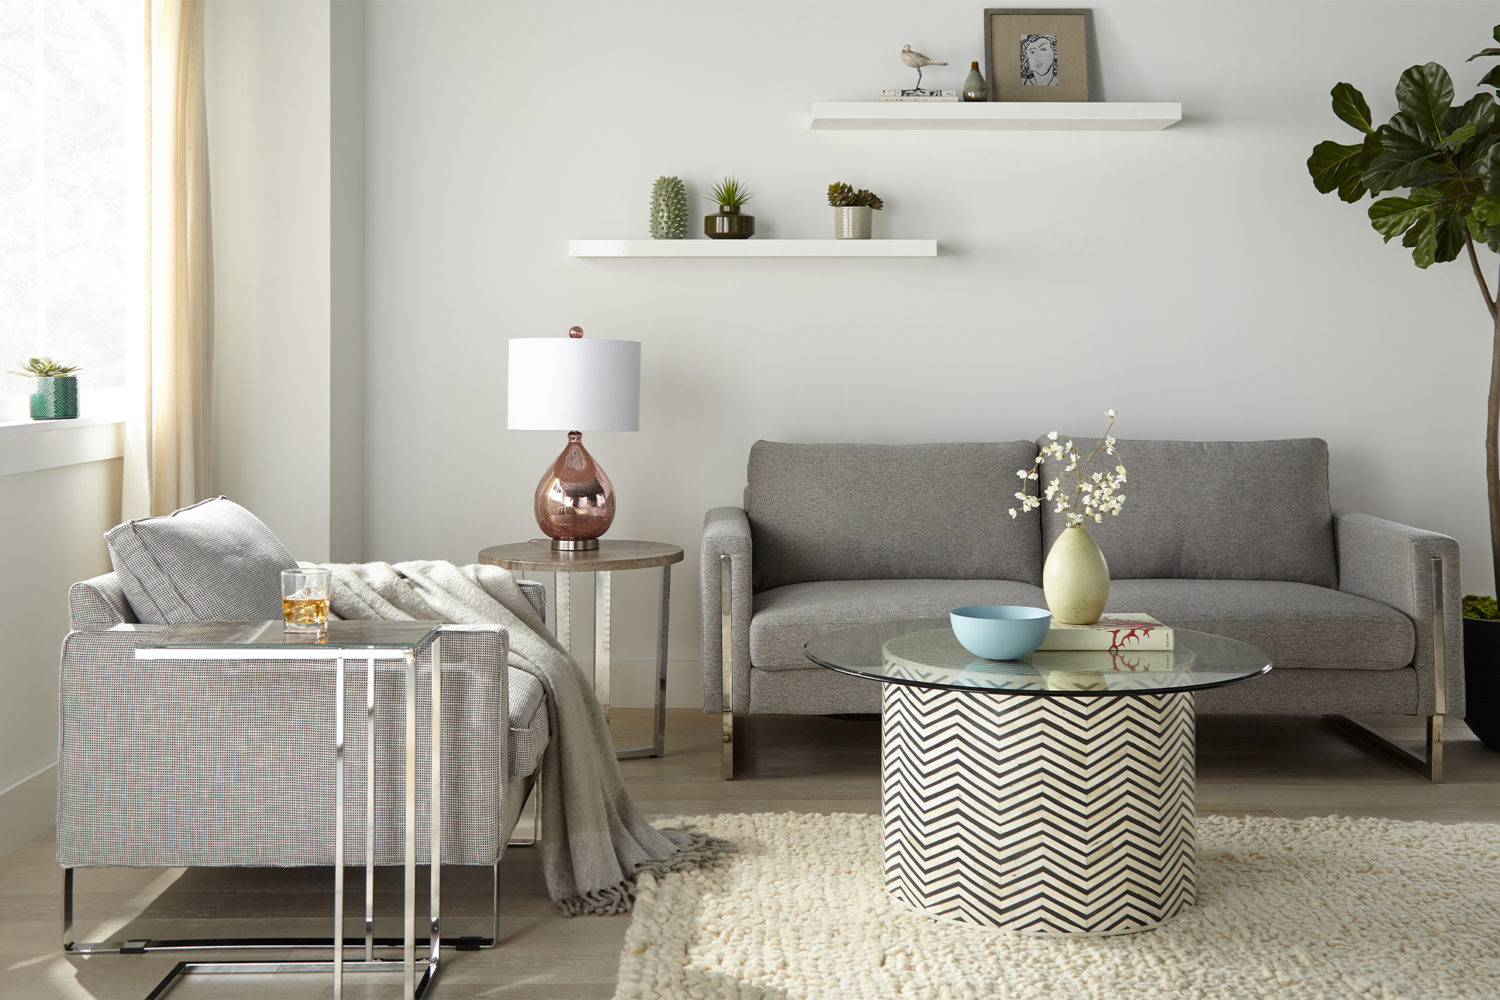
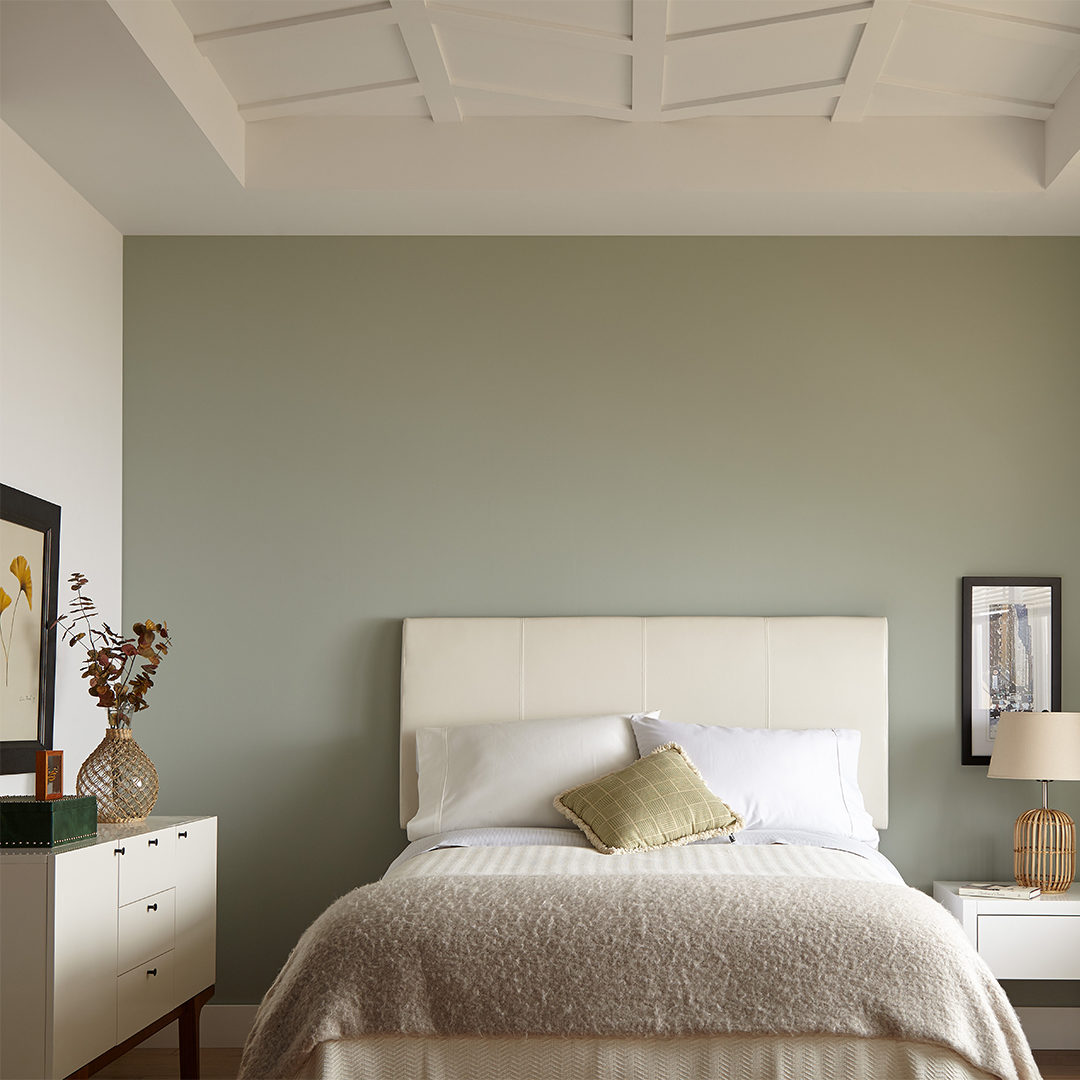
If dark paint colors are what you’re after, we have professional primer tips for a light to dark color change as well. It might seem like a dark color like BEHR® paint in Nocturne Blue can easily cover a lighter one in this bedroom refresh, so why prime? However, if you want that deep gray with dark blue undertones to look just right, we would suggest priming first with KILZ 2® All-Purpose primer. This water-based primer offers enhanced hiding, making it ideal for changing colors and helping to lessen the number of coats of paint required.
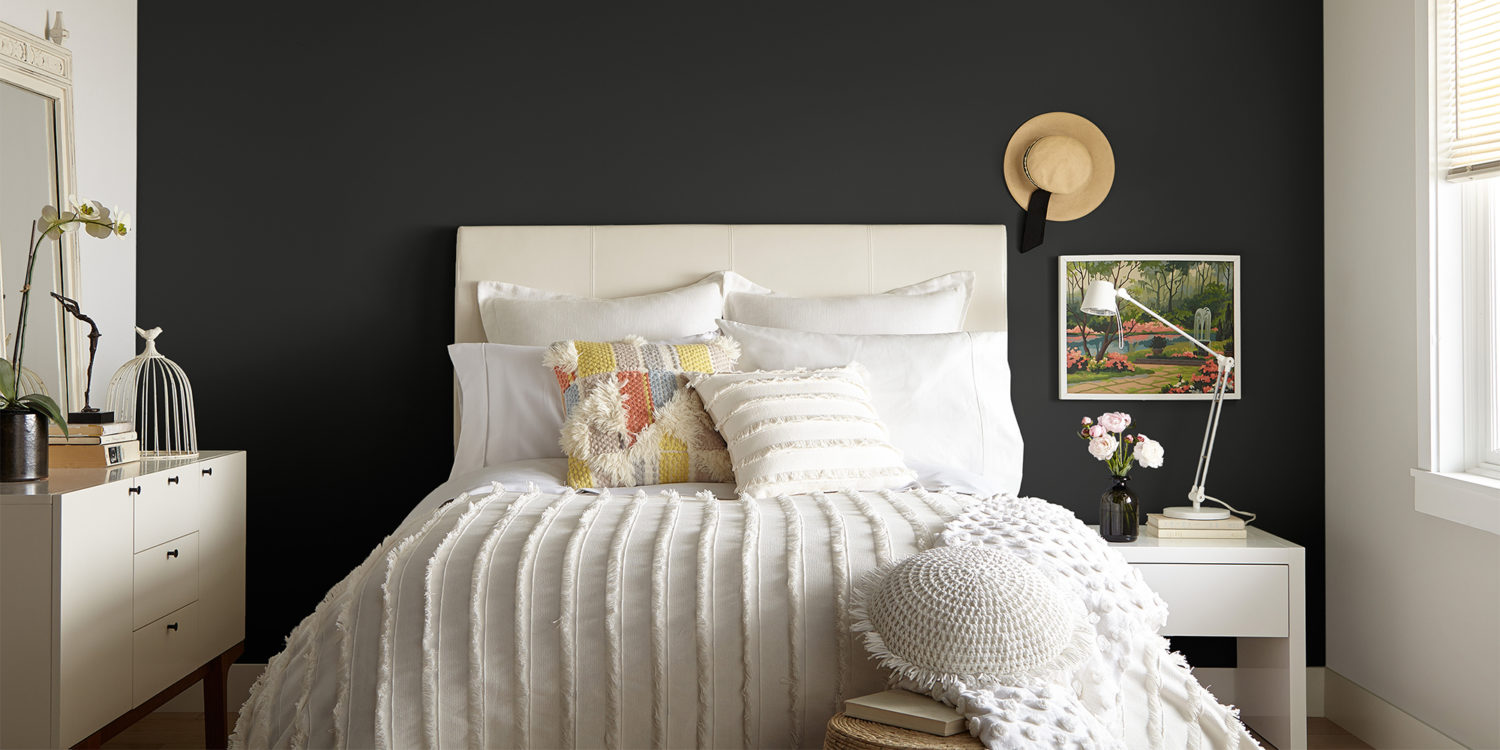
When painting to hide a previous color, KILZ® Primer reduces the need for multiple coats of paint to allow truer, richer color from your topcoat.
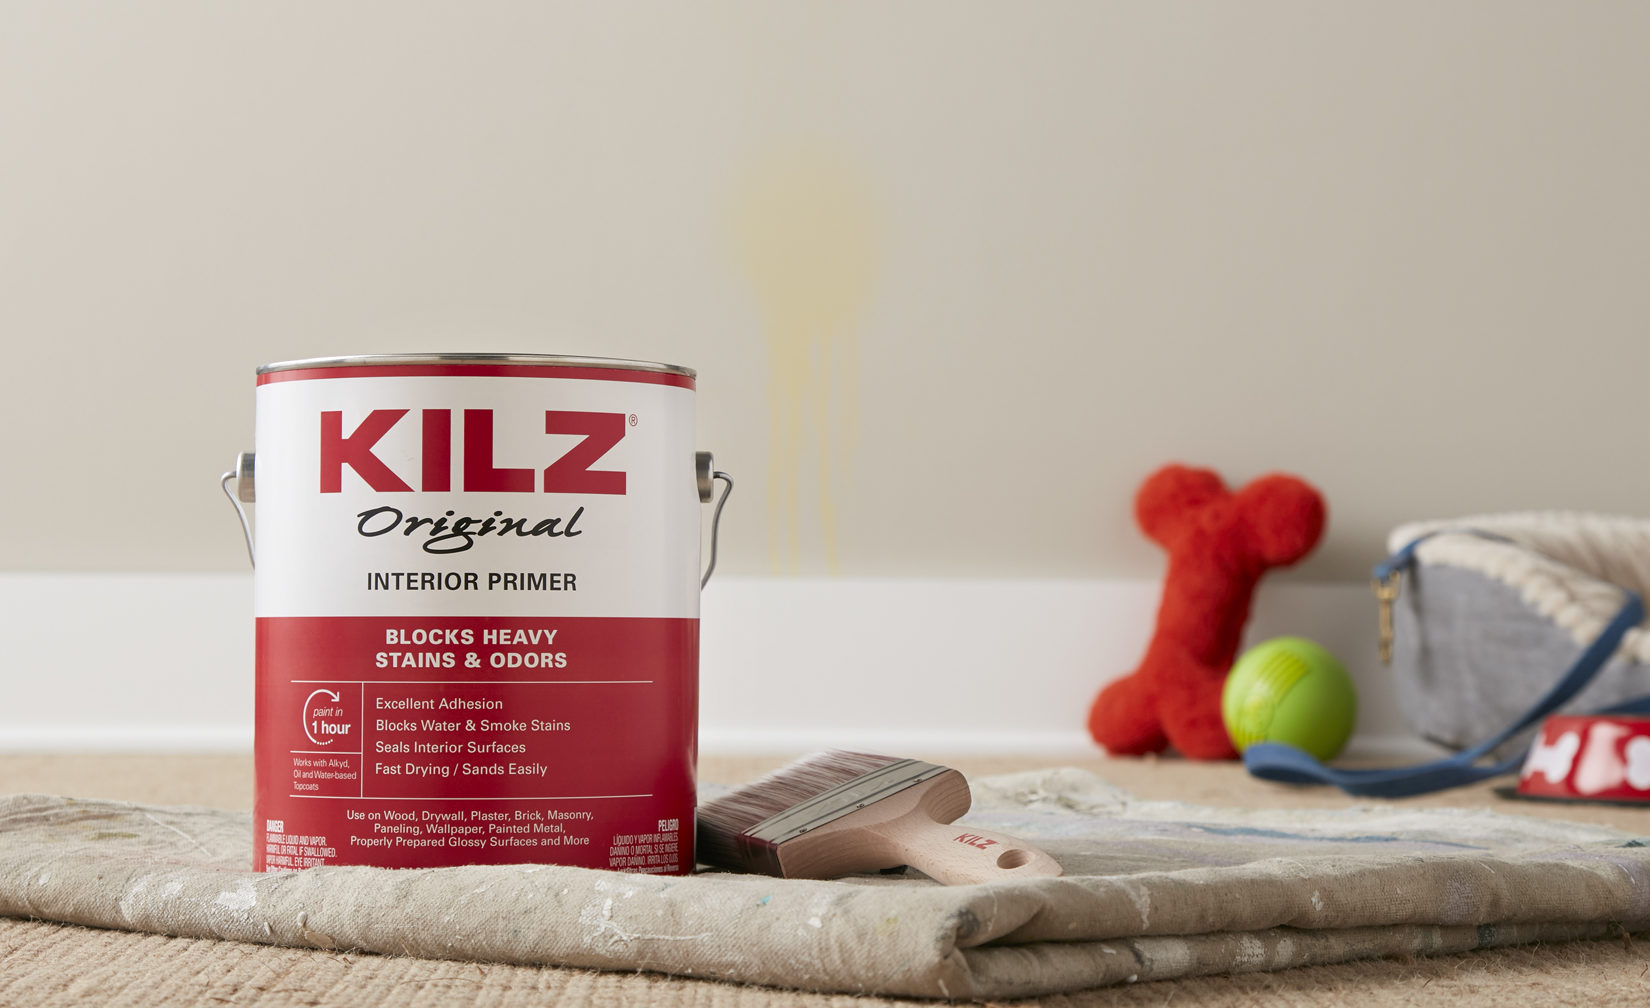
Seal & Block Odors
August 26, 2019There is a lot to love about pets and the KILZ brand loves furry friends. That’s why we’re excited to celebrate National Dog Day on August 26! In honor of the upcoming holiday, we thought it was a great time get real about odors – pesky pet odors that is.
While more than a few KILZ brand team members share our homes with dogs or cats, no one likes their home filled with unpleasant stains or odors left accidentally by the family pet. Seemingly hard surfaces in your home including floors and walls can actually absorb stains and smells, making it that much harder to get your place smelling and looking fresh after the dog has made a mess. Luckily, there are KILZ® Primers formulated specifically to seal and block odors.
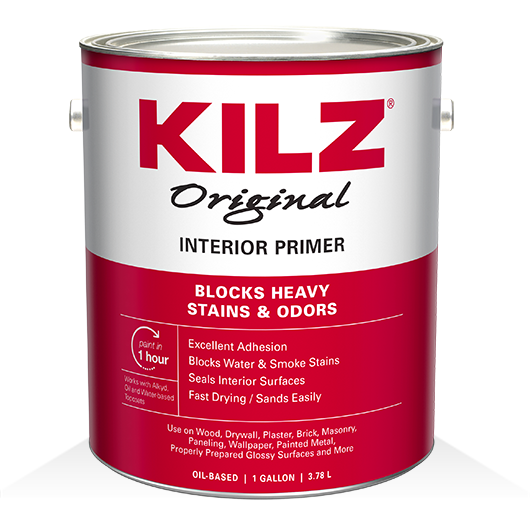
Simply painting over a blemished wall won’t always do the trick and you can be left with stains (and smells!) seeping through. Using the right primer before painting over a pet stain helps with providing a barrier that keeps odor from penetrating the new paint. A great choice for this purpose is KILZ® Original primer. Trusted by professional painters for over 40 years to tackle the toughest odors, this hardworking primer helps to block most heavy interior stains including water, smoke, tannin, ink, marker, pet stains and more. And if you’re looking for a water-based primer that can help seal and block odors, KILZ Restoration™ primer is a top pick.
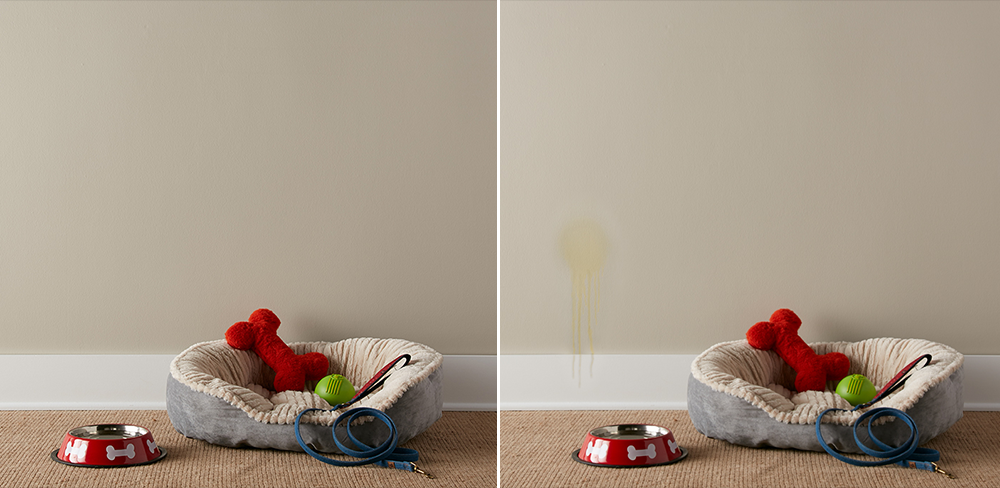
If you’re in need of ridding your home from unpleasant stains and odors, keep on reading. We’re sharing the simple steps below to tackle odors, repaint and leave your home fresh as new!
Steps to Seal & Block Odors:
Step 1:
Wipe down the wall with a damp cloth to ensure it is clean and free of dust. Allow the surface to dry. Ensure adequate cross-ventilation prior to priming.
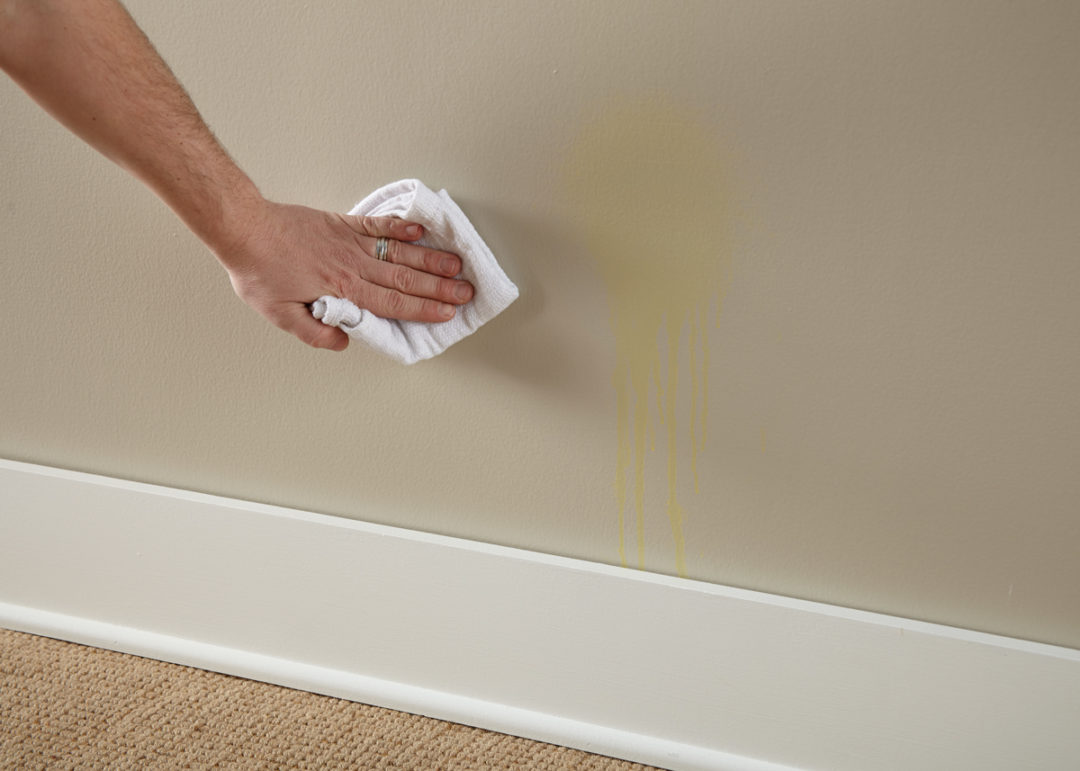
Step 2:
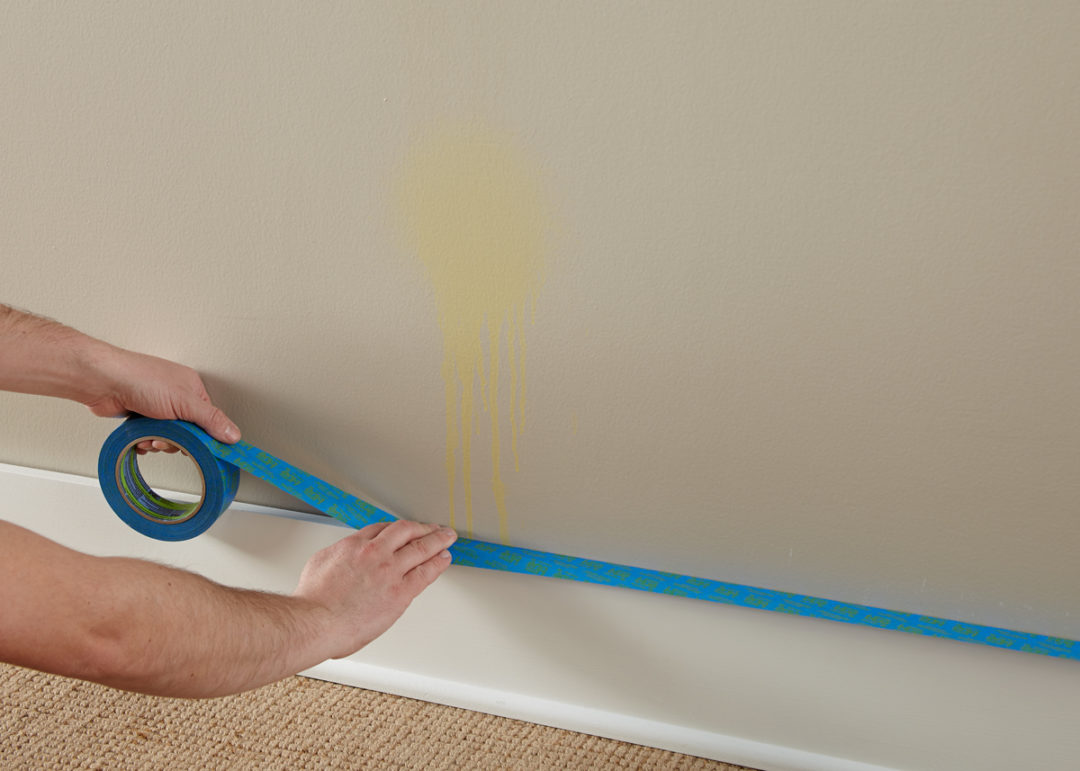
Tape around any baseboards, trim and moldings.
Step 3:
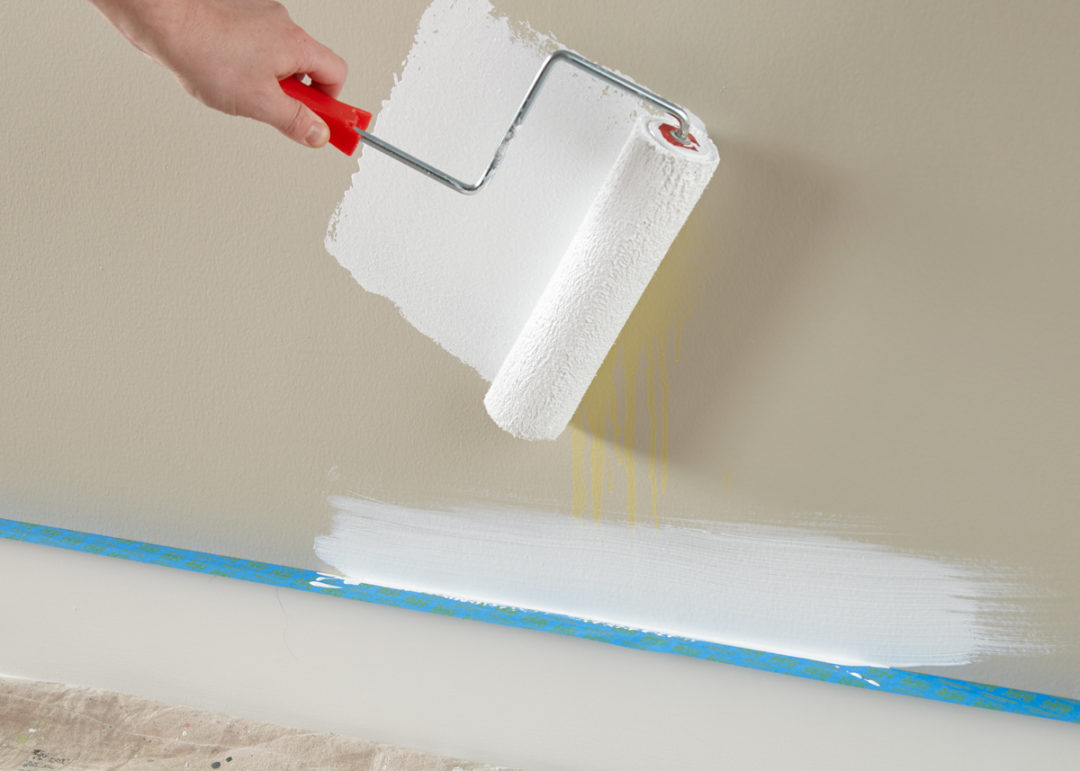
To seal and block pet odors and stains, apply KILZ® Original primer. Stirring prior to and during use, apply primer using a brush first to “cut in” around the edges, then use a roller to fill in.
Step 4:
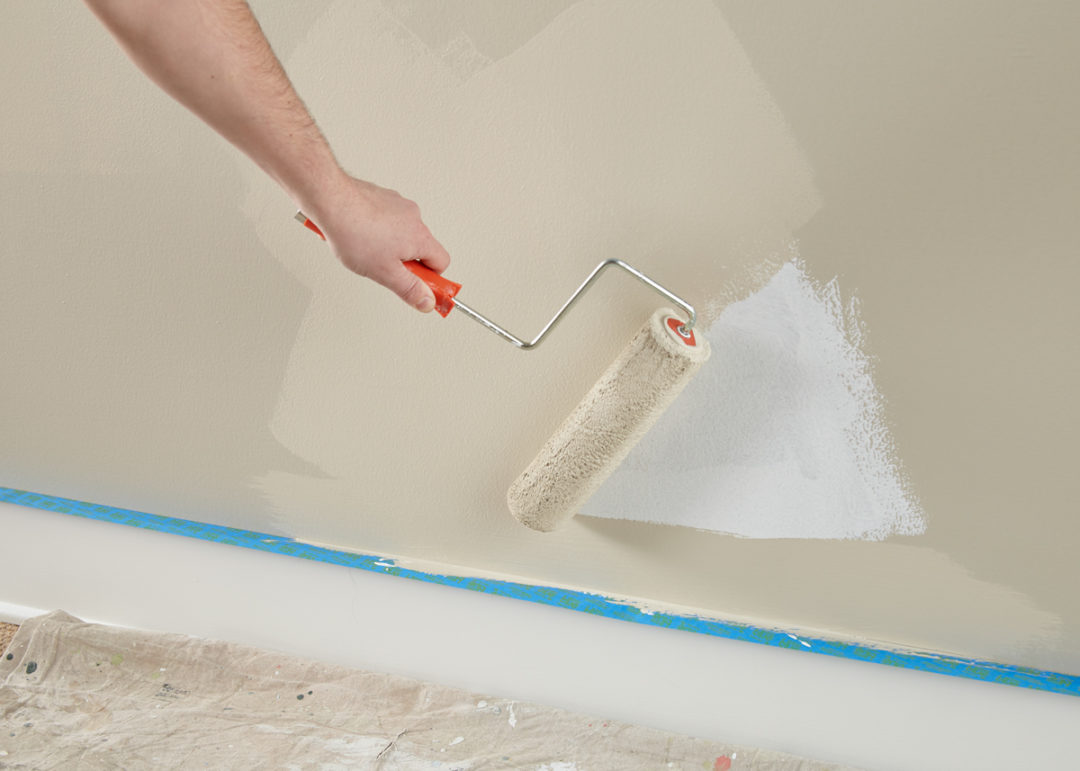
Once primer is dry (allow 1-hour dry time), apply a fresh coat of paint using the same application method as the primer – using a brush first to cut in around the edges 4 to 6 feet at a time, then use a roller to fill in those sections before moving along.
Step 5:
Remove tape prior to paint fully drying and your work is done.
Prep & Paint a Porous Surface
August 20, 2019As with most any painting project, prepping and priming the surface is key before its time to paint. Choosing the right primer depends a lot on the surface type you’re painting, a choice that is second nature to professional painters but can be confusing to some! When selecting a primer, the first step is recognizing the surface you will be painting and taking into account its condition – and some surfaces are trickier than others.
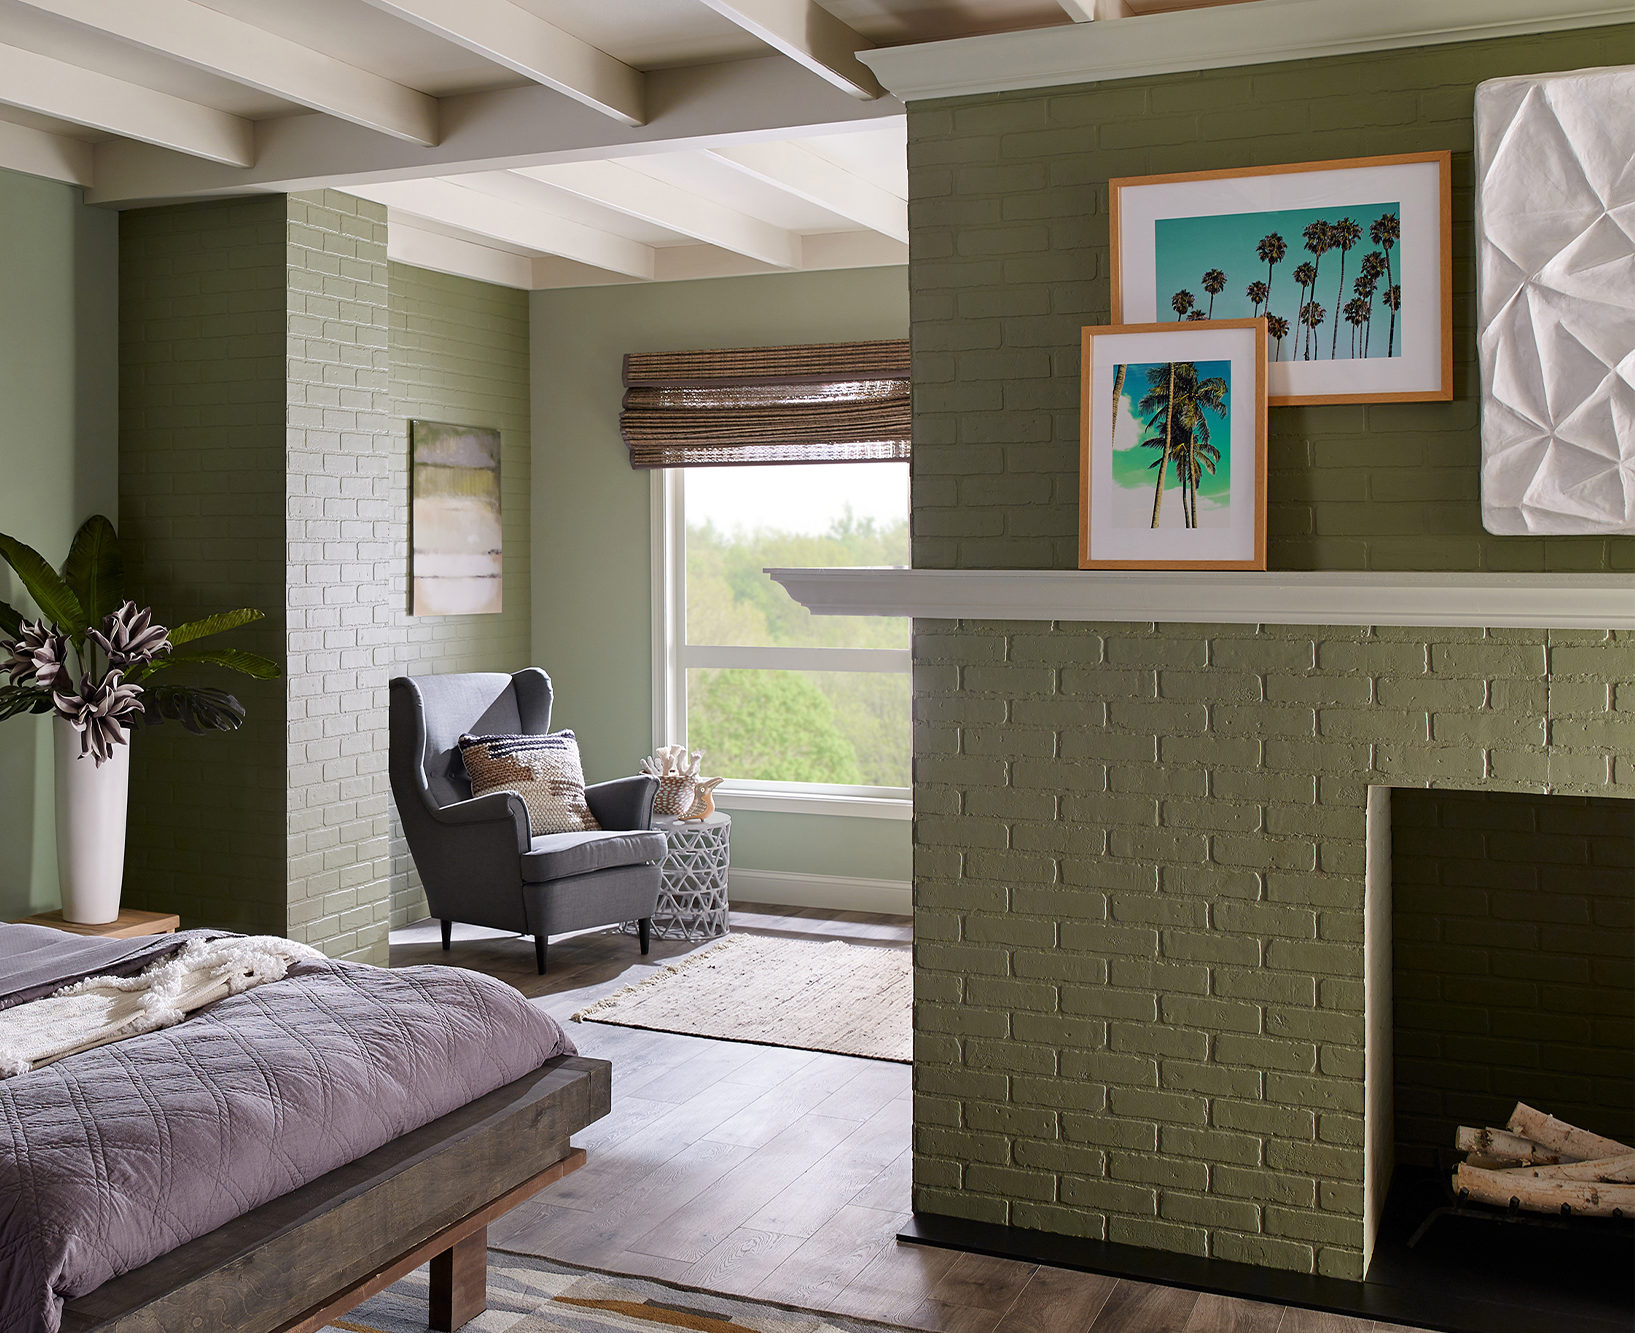
In this gorgeous green bedroom, the red brick fireplace was drawing too much attention and taking away from the serene and calming feel that was desired. The fix was easy, paint the fireplace! This led us to the first step in selecting the right primer – knowing and assessing the surface that will be painted. In this case, brick, a porous surface that if not properly sealed can soak up a lot of paint. And that can cost time and money!
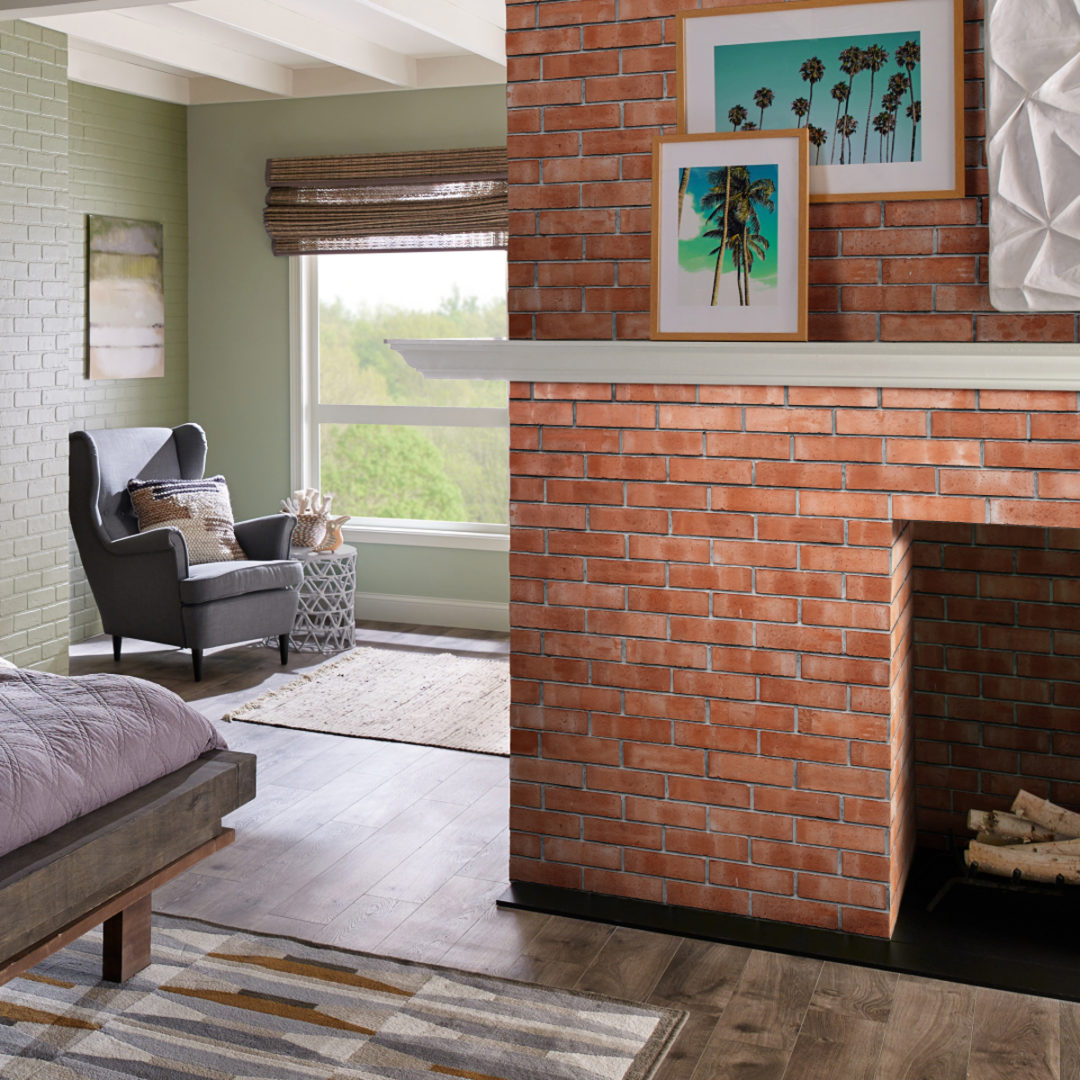
To prep this brick fireplace for painting we took a cue from the pros and chose KILZ® 1 Standard to seal the porous surface and ensure a professional looking finish. Other porous surfaces that are commonly painted include concrete, new wood and drywall. For any of these KILZ® 1 Standard or KILZ 2® All-Purpose are both great primers to choose.
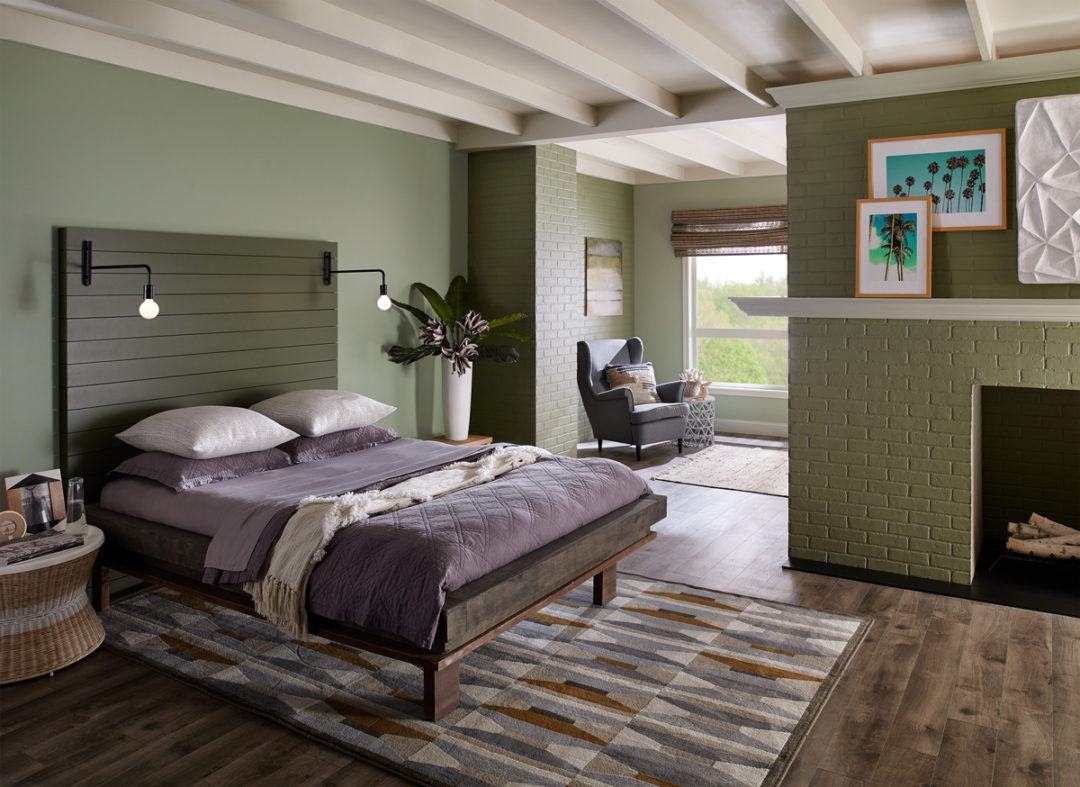
Priming a porous surface before painting ensures your topcoat will look its best.
Prep Mildew Prone Areas Like a Pro
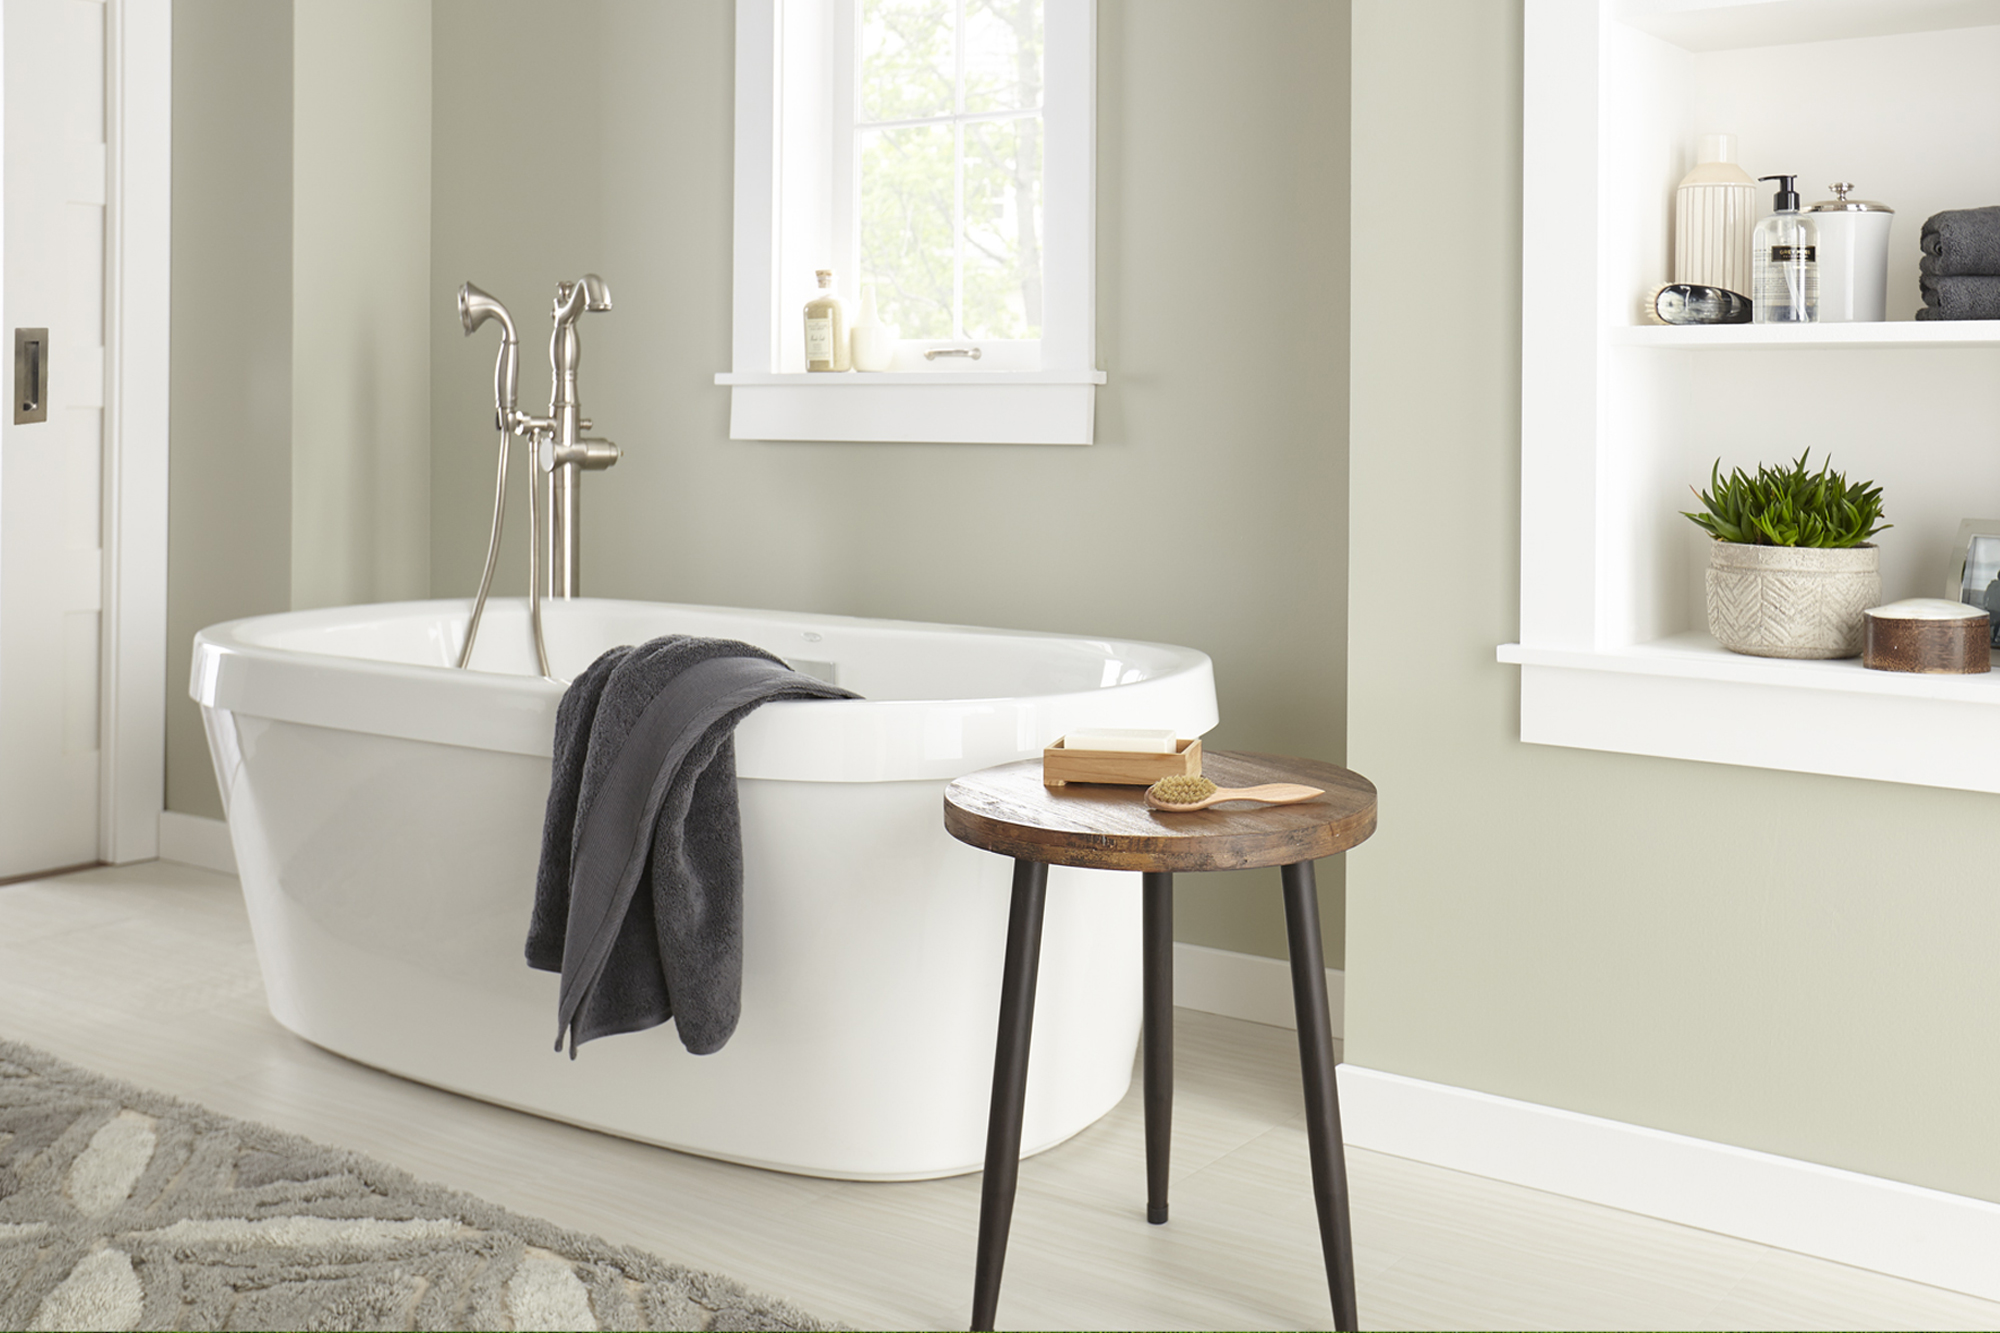
August 6, 2019Professional painters know that priming can be a crucial step for any paint project. Whether you’re painting fresh drywall or looking to hide a previous wall color, a primer should always be properly applied before your topcoat. The necessity of this prep step is even more advantageous in mildew prone areas like kitchens, bathrooms and laundry rooms. These rooms often have excessive moisture making mildew a common problem, and simply painting over the issue is only a temporary solution.
For results that last, a primer created with specific mildew-resistant properties is what professionals often choose. The last thing you want is a mildew ridden kitchen or smelly bathroom and KILZ® primer is here to help with professional tips for ensuring a mildew-resistant finish on your next paint project.
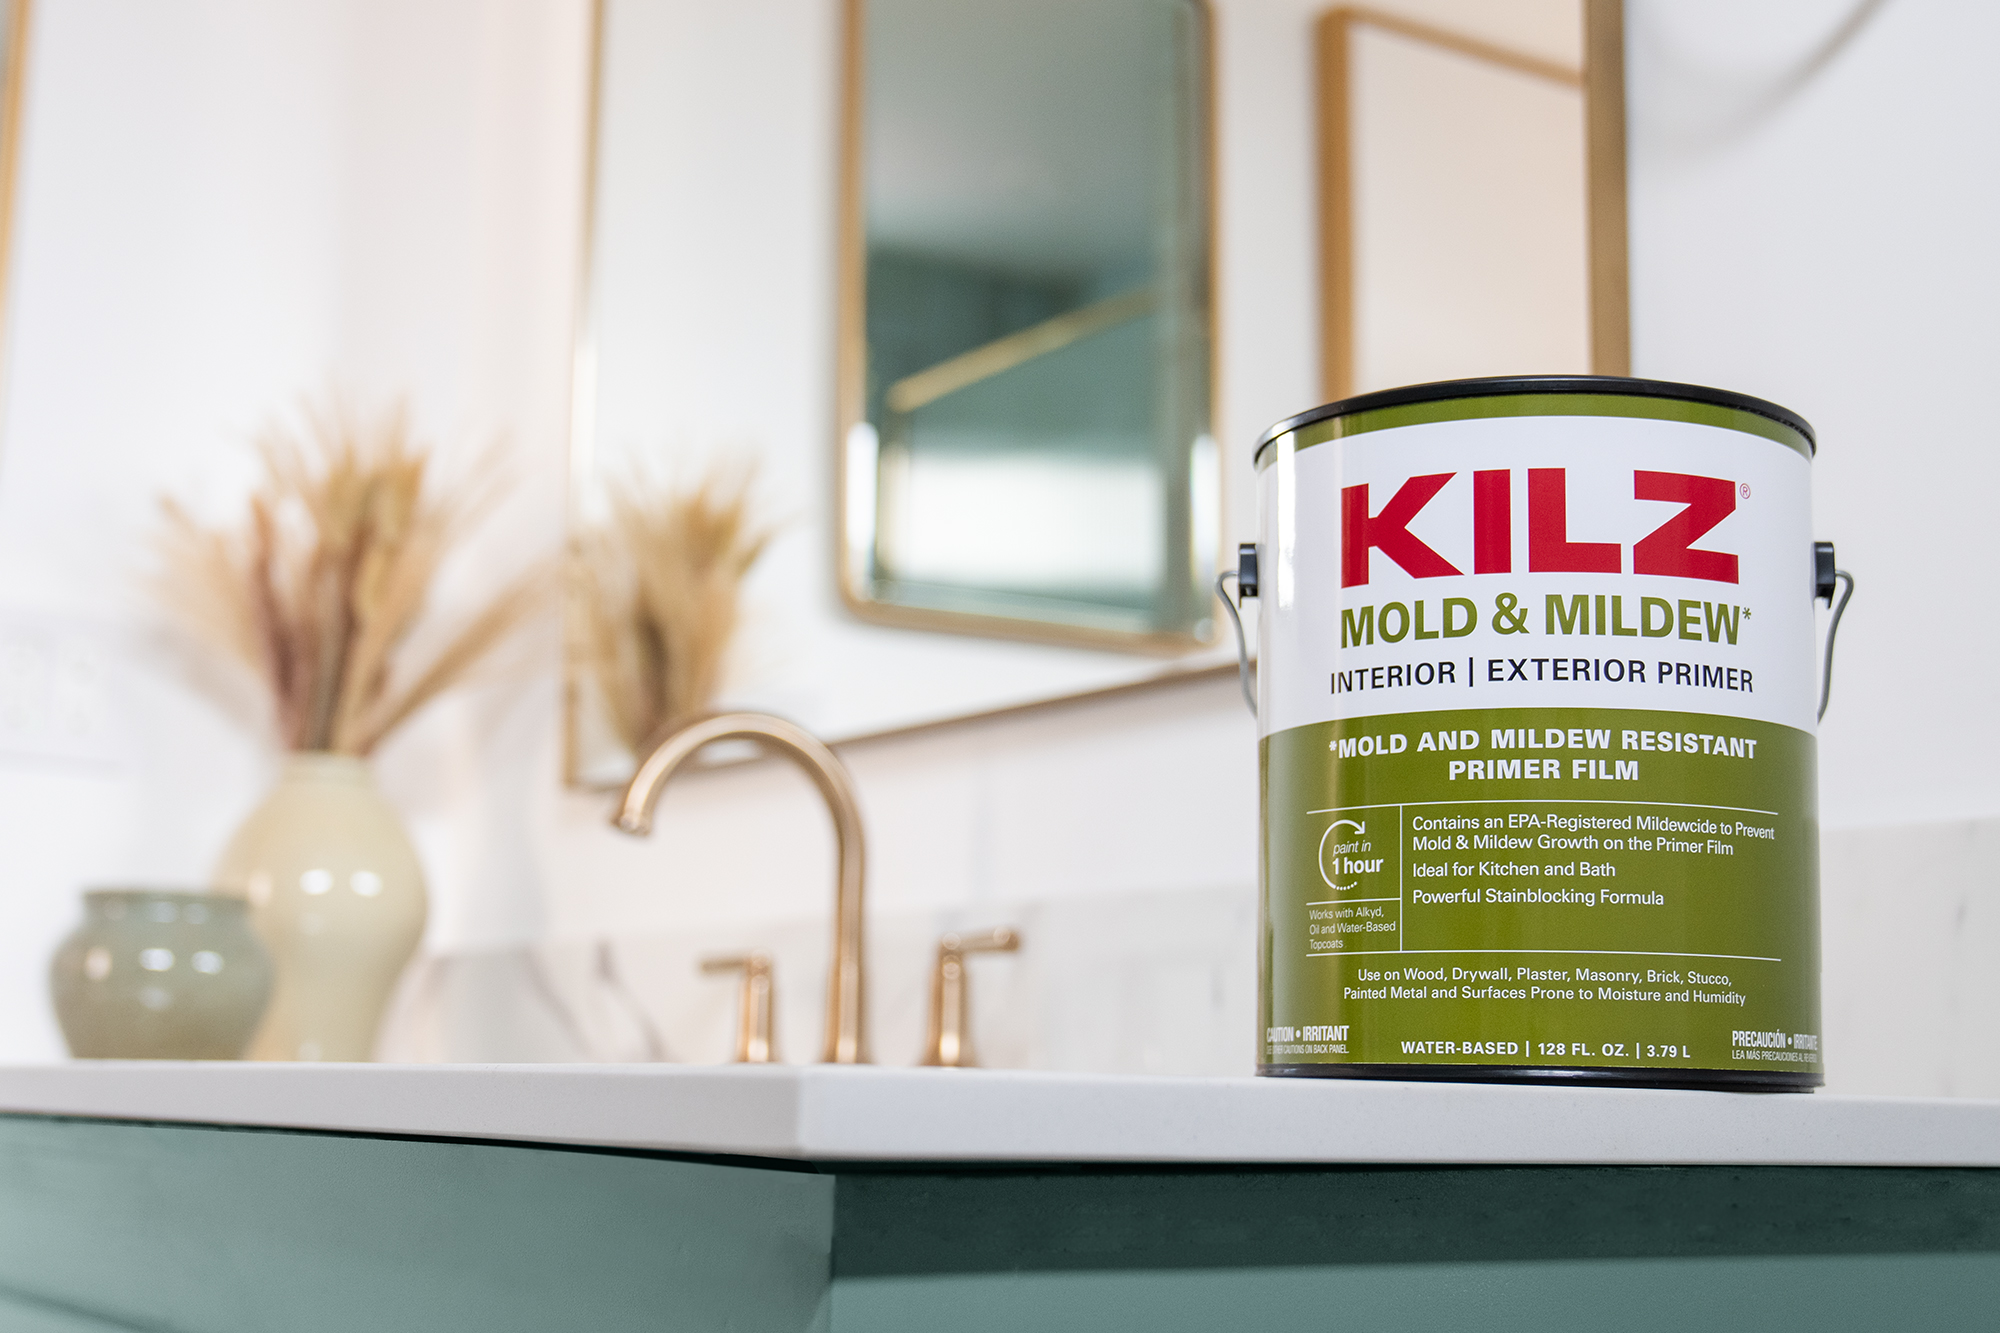
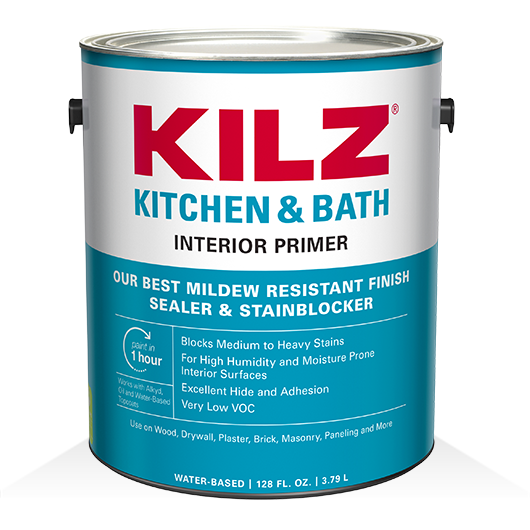
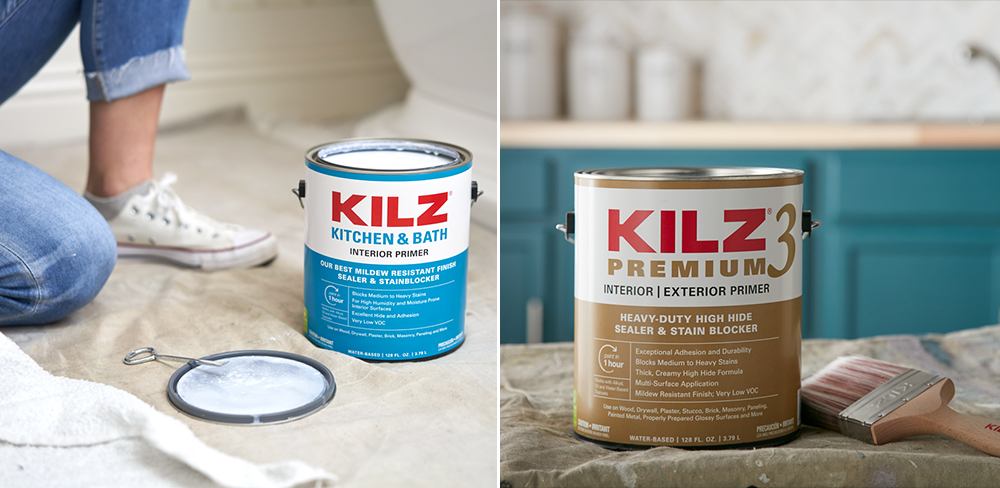 First things first, start by choosing the right primer. KILZ® Kitchen & Bath is specially designed for high-humidity and moisture-prone rooms like kitchens, laundry rooms and bathrooms. It has an enhanced mildew-resistant film that protects the primer from mildew growth. Another professional quality choice is KILZ 3™ Premium. Formulated for both interior and exterior use, this water-based primer works well for a variety of home improvement projects.
Now you’ve got the right primer, what’s next? Start by cleaning any existing mold or mildew off the surface you’re going to be priming and painting. Once the surface is fully dry, it’s time to prime!
For results that last, a primer created with specific mildew-resistant properties is what professionals often choose.
3 Secrets to Stain Blocking
June 10, 2019Simply put, stains are a pain. From a marinara sauce splatter on your white pants to a water leak that ruins your once pristine living room wall, stains are often tough to tackle. When it comes to painting over stained walls, you might think that a quick coat of paint will do the trick. But you’ll likely be left with a stain seeping through the new topcoat.
Professional painters know the secrets to successful stain blocking, and it all starts with primer. Don’t know which primer to use? That’s where we come in! We know more than a few professional painters, and we’ve collected their secrets to stain blocking.
Secret #1 – Not All Stains Are Created Equal:
The key to successful stain blocking starts with assessing what kind of stain you’re dealing with.
Light Stains:
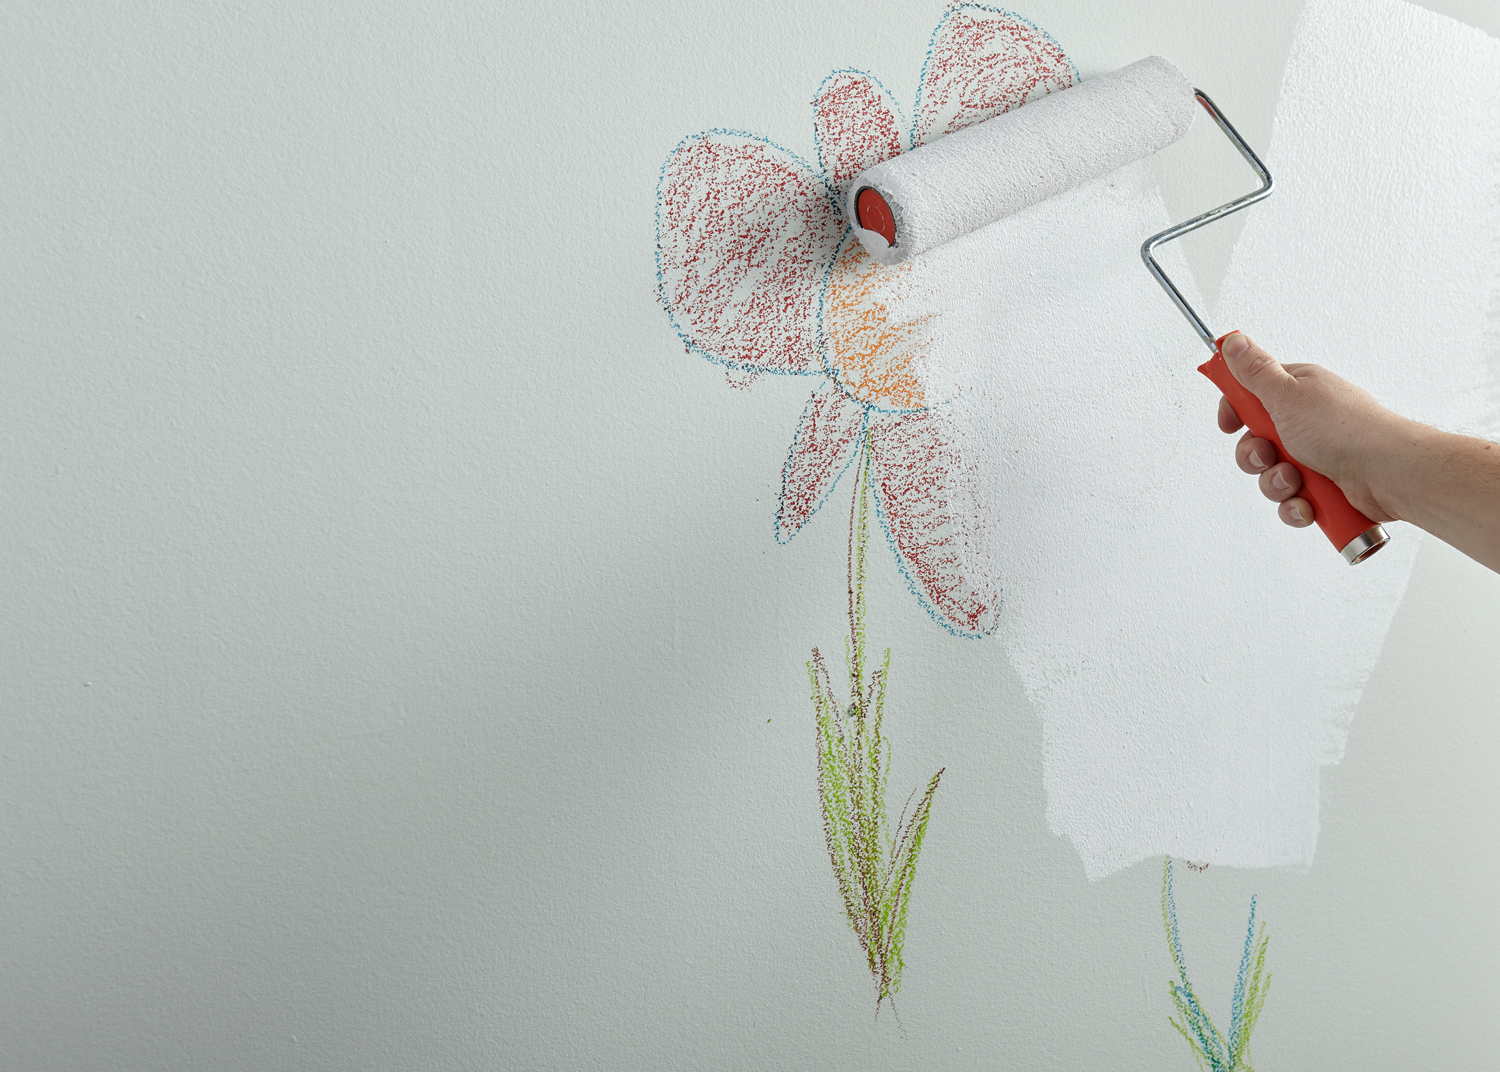
If you’re dealing with a light stain like scuff marks, pencil or crayon, you definitely still want to cover with a coat of primer before applying fresh paint. KILZ 2® All-Purpose is a great choice for blocking light stains – it’s fast drying and will get the job done!
Heavy Stains:
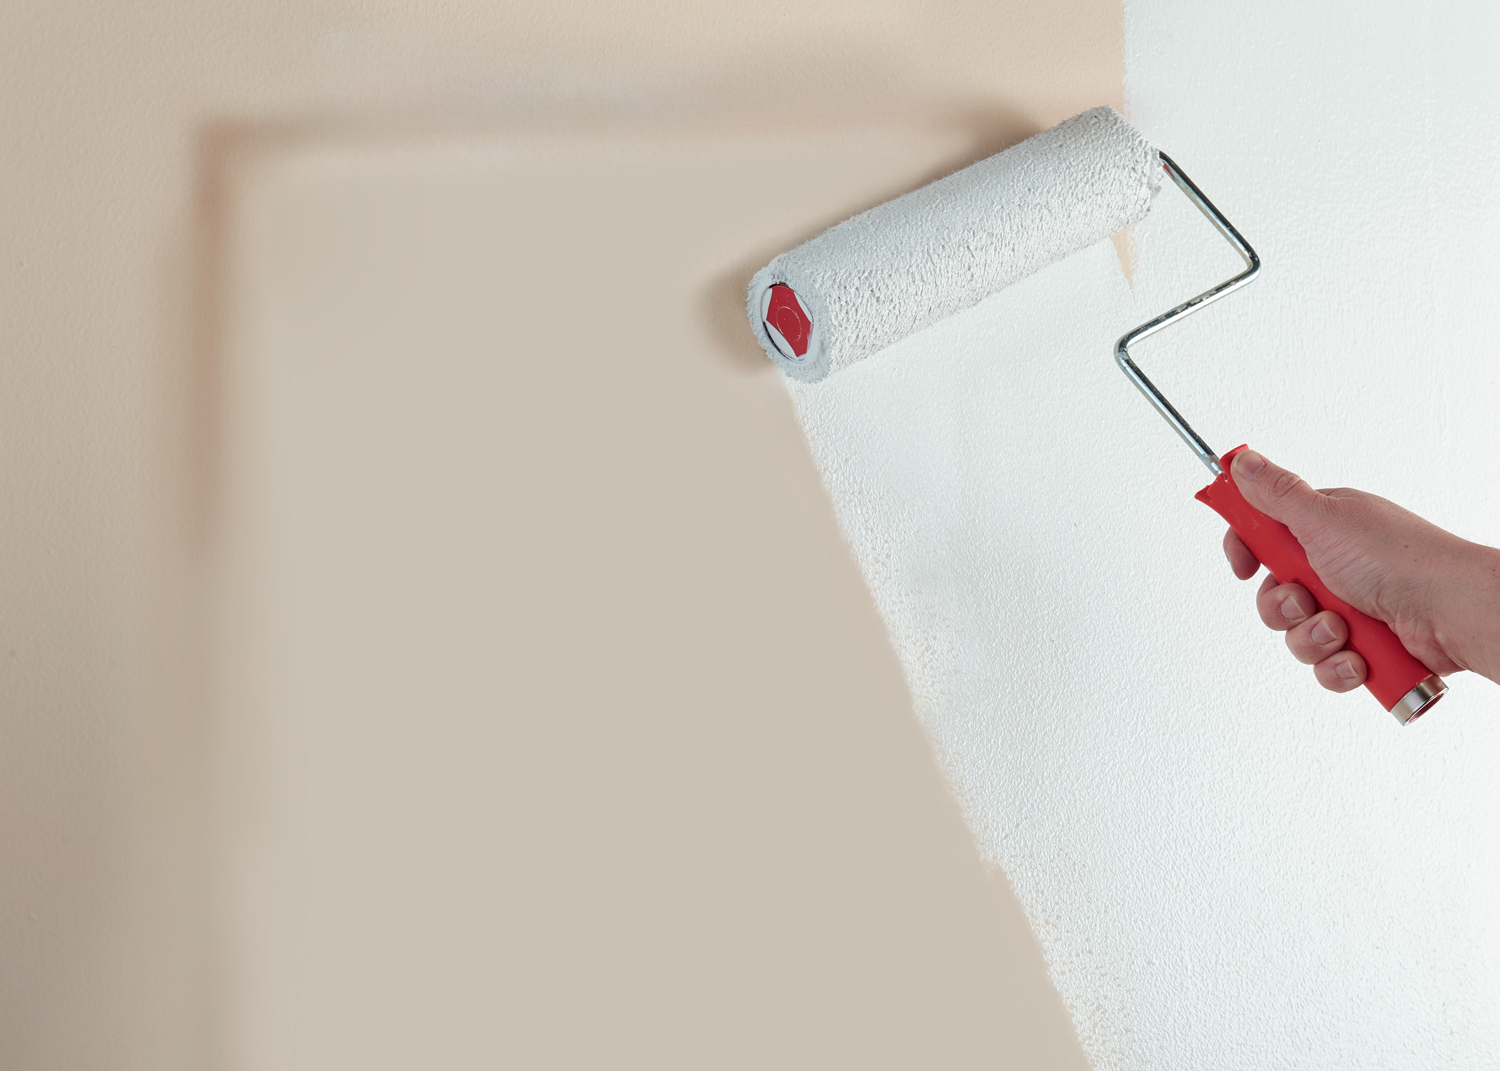
For severe stains like those caused by smoke, grease or tannins from certain types of woods, Pros will tell you it’s time to step up your primer game and use the oil-based KILZ® Original or water-based KILZ Restoration™ . Both are heavy duty stain blockers and trusted by professionals.
Secret #2 – Prep Work Leads to the Best Work:
Once you’ve assessed your stain type and procured the proper primer, it’s time to prepare the surface for stain elimination! Ensure that the surface is clean and free of dust, wipe down with a damp cloth if needed and allow to dry. You’re now ready to apply primer over the stain using a brush or roller.
Secret #3 – Do the Topcoat Test for Severe Stains:
When blocking sever stains you’ll want to test for stain bleed-through. Apply your topcoat paint to a small section after your primer is dry. If the stain bleeds through the topcoat, apply a second coat of primer and test again before top coating the entire area. If bleeding continues, a longer dry time is needed before top coating.
When you start with primer, blocking light and heavy stains doesn’t have to be a challenge!
Bold Living Room Color Change Made Easy!
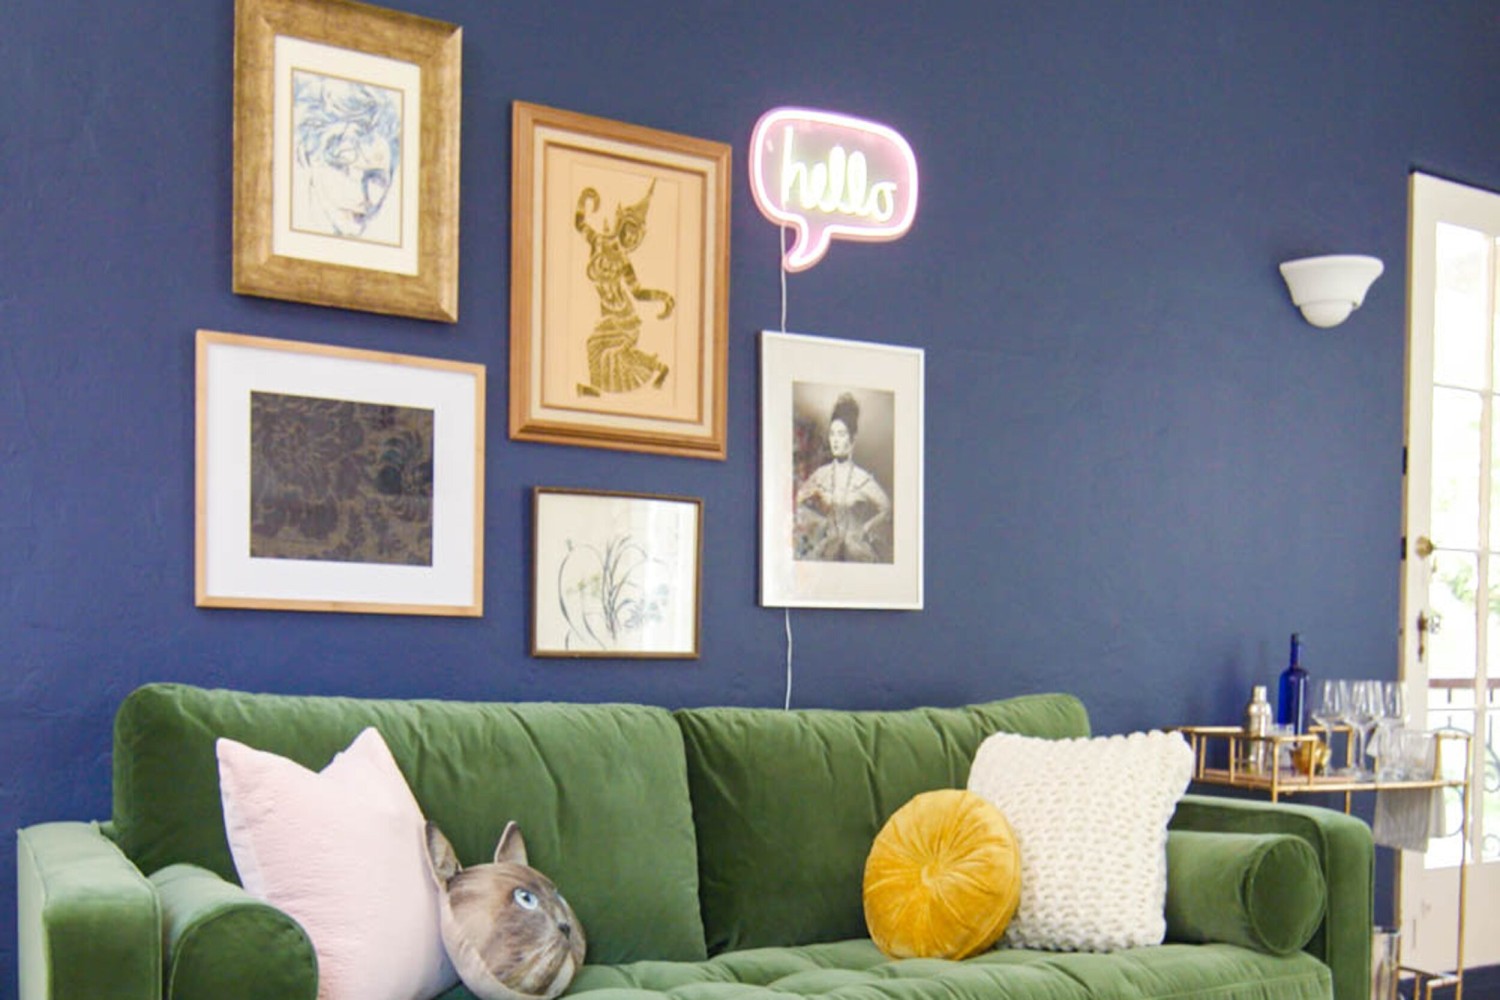
August 23, 2018The first order of business is updating the room’s wall color, beginning with a coat of KILZ 2® Latex Primer, which blocks stains, resists mildew and hides the old, outdated color. This step essentially returns the walls to a neutral white color—the perfect canvas for whatever color comes next.
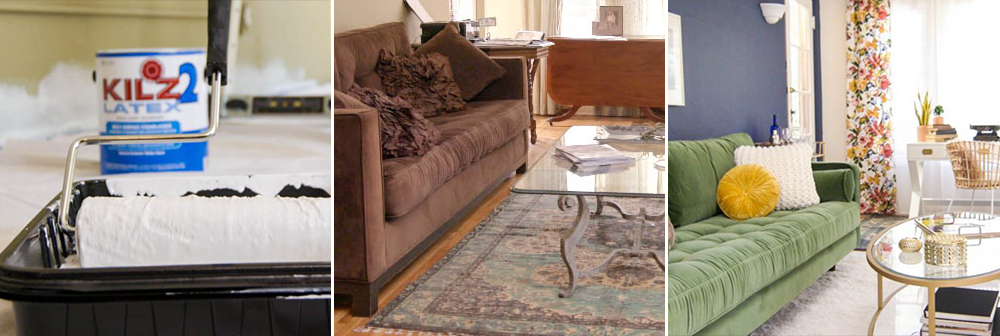
In this case, we’ve chosen one of the season’s most popular paints and colors: KILZ TRIBUTE® in a deep, rich blue color called Harbor Town (TB-49). To contrast, we created an accent wall with a complementary neutral—KILZ TRIBUTE in Champagne White (TB-06).
Add some additional color punch with some wild, graphic patterns on curtains or linens and suddenly your barely breathing living room is a fun, inviting space perfect for everything from entertaining to recharging your own batteries at the end of a long day.


join the conversation:
SHARE this post: