Category: Primer Tips
Tinting Primer
October 31, 2023What is tinting primer and what is the purpose?
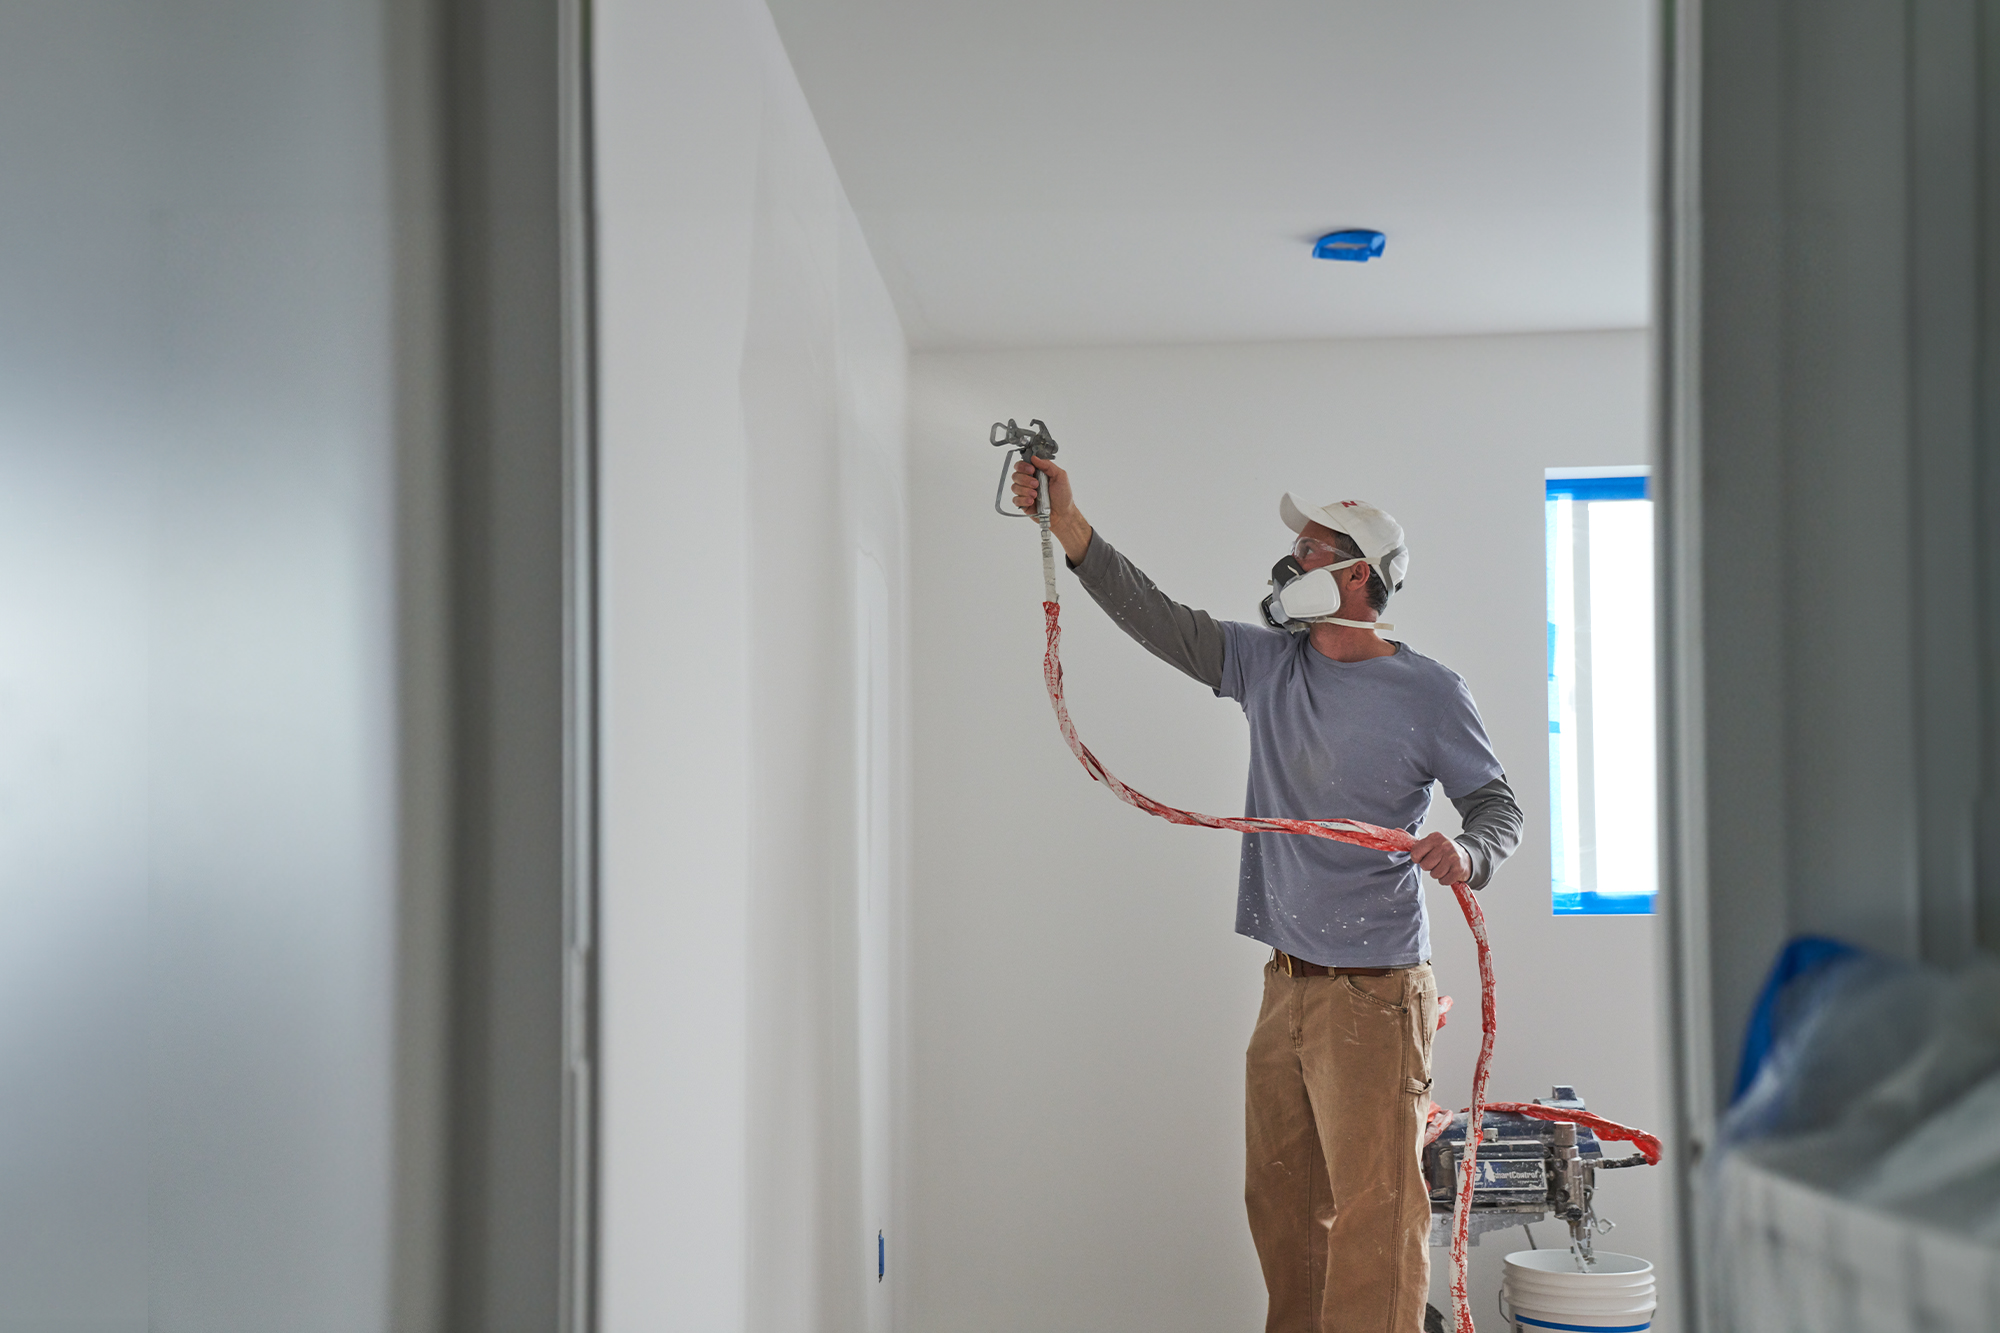
Primer acts as a base coat and helps the paint adhere to the surface. Tinting the primer can help you achieve color matching with your desired paint color in fewer coats.
 When is tinting primer necessary?
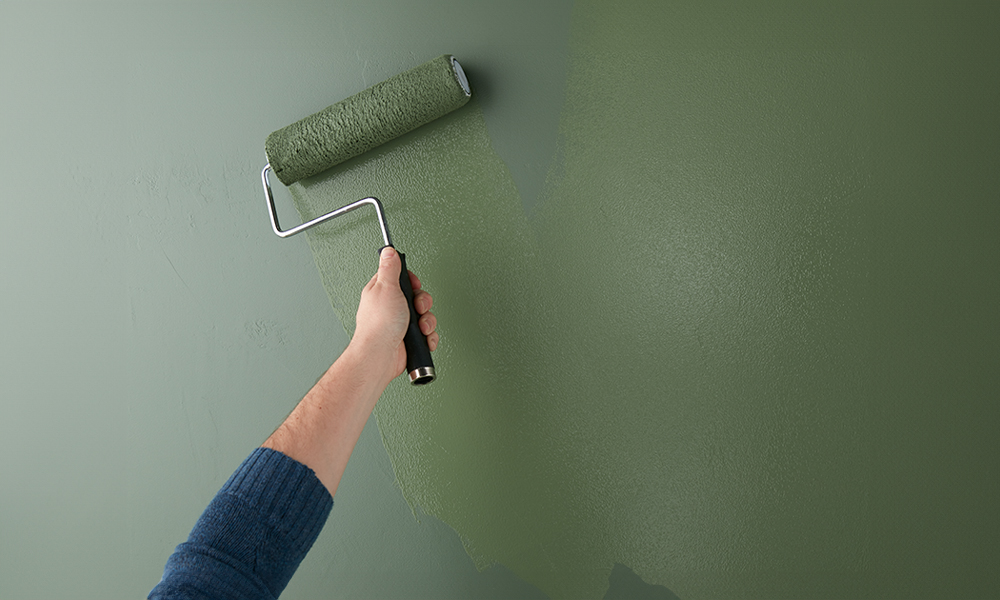
It is not absolutely necessary but recommended to help the topcoat paint achieve its true color in fewer coats. By tinting the primer especially if painting dark, deep, and rich colors or going from darker shade to a lighter one, it will lessen the work and coats needed to closely match the desired topcoat color.
Can I tint primer for drywall or previously painted walls?
Yes, most primers are white in color and can be tinted to a limited color palette.
How do I tint primer? Should I have a professional tint for me?
Most paint stores or home centers that sell paint have tinting machines and associates/employees who know how to do this.
Is there anything I should know before tinting the primer?
Label instructions about tinting of the primer should be followed. It is recommended to tint to a lighter shade than the topcoat color.
Can all primers be tinted?
Primers for residential painting typically come in white color and this is most suitable for tinting. Gray or pre-tinted primers do not need to be tinted. Aerosol primers cannot be tinted.
Can you tint a water-based primer?
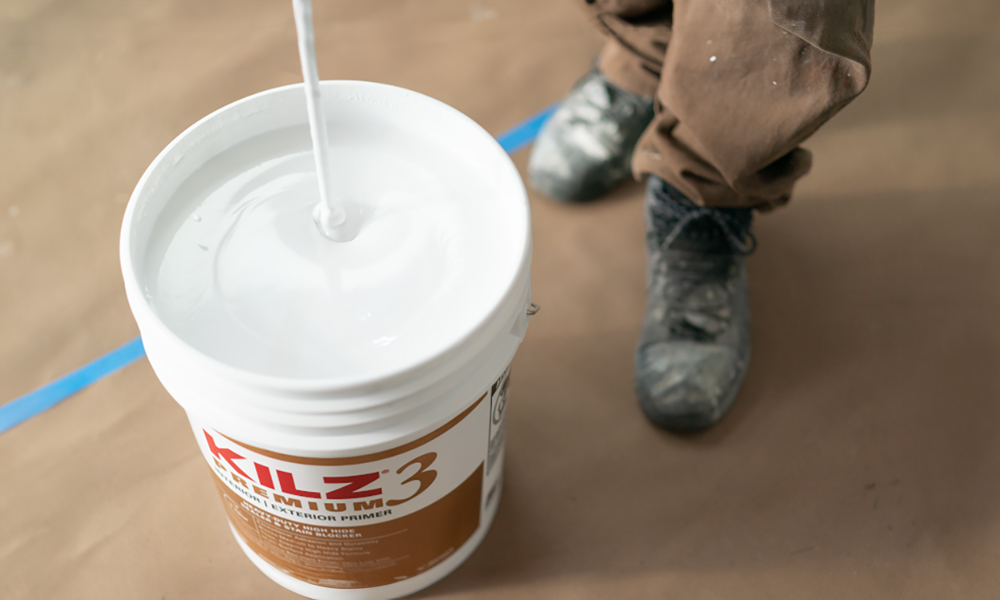
Yes, water-based primers that are white or light color can be tinted.
Should I tint primer that will be used on mold and mildew?
These types of primers can typically still be tinted unless the label claims it should not be tinted or does not say that it is tintable.
Do I tint my primer with regular colored paint, or with a colorant?
Most paint stores or home centers and hardware stores that sell paint and have tinting capabilities will use tint machines which have the color formulations specific to brand, tint base type and other specifics already in their tint machine software. It is recommended to have the primer tinted in a store using colorants dispensed by a tinting machine.
What is a colorant?
Universal colorants are materials containing a color pigment dispersed in a blend of surfactants and a liquid (most often a glycol). The level of pigment is dependent on the type, color strength and pigment surface area – from paintinfo.com
In what use cases should you not tint primer?
Tinting primers is not needed if you are painting the same color as before or there is little change from the old color and the new one. Tinting primers is particularly helpful to lessen the number the coats needed to achieve truest color and when doing dramatic color changes.
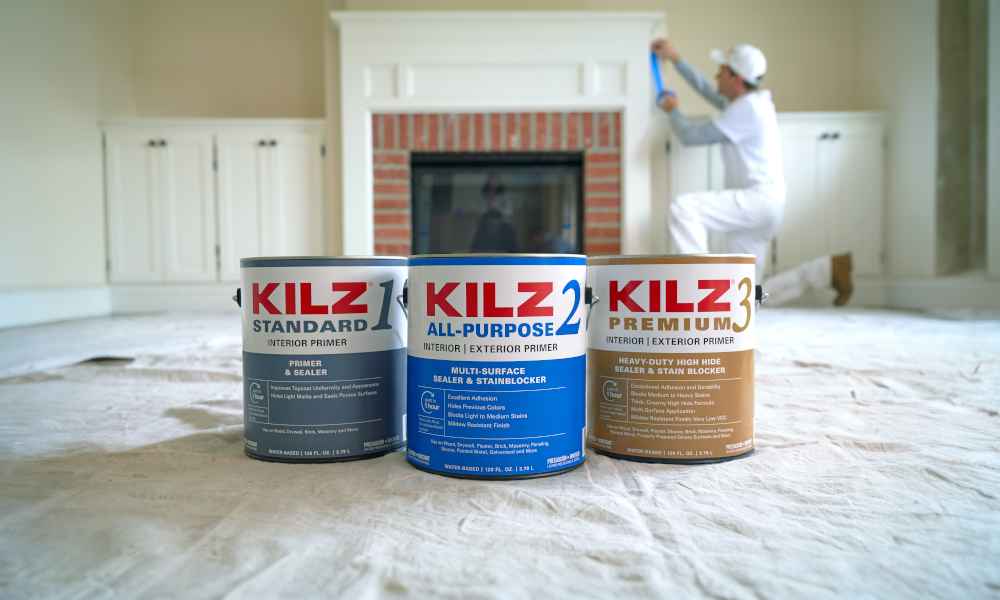
Always remember to refer to our website kilz.com or product back labels for additional information on which primer is right for your project and detailed instructions on how to apply our products. Check out our Coverage Calculator to understand your estimated paint needs for your upcoming project.
Primer Myths – 5 Common Myths About Primer
October 3, 2023If you’re new to DIY home improvement, there can be a lot to learn, which is why we’re here to help. We talk a lot about all the things primer can do—how it can improve your paint results, save you time and money, cover up stains, and block irritants like odors, mold, and mildew—but we don’t always discuss the many misconceptions about primer that prevent people from using it. So, today we’re going to address some common primer misconceptions, so you can feel confident you’re making the right choice for your next project.
Myth#1: Primer is Just Paint Without Color
This is one of the most common misconceptions, but the fact of the matter is, primer and paint are two completely different formulas. Paint is formulated to deliver color, and primer’s purpose is to adhere to the surface, create a clean and smooth foundation, protect the surface, and in some cases block stains or hide other imperfections.
Myth #2: Primer Doesn’t Make a Difference and It Takes Too Much Time
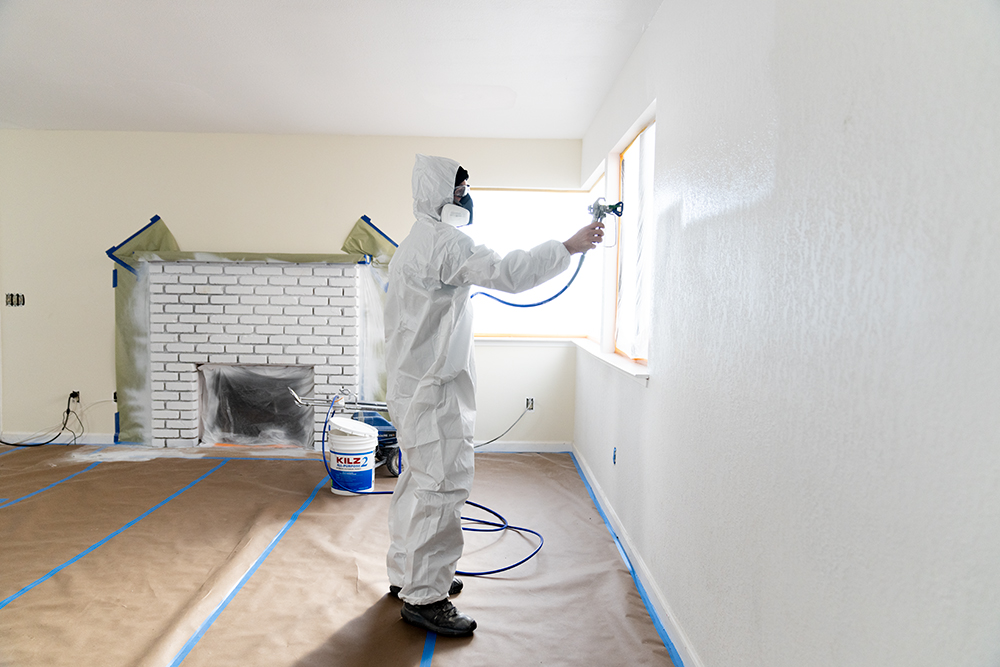
Applying primer will actually save you time and money in the long run. Depending on the condition and problem areas that exist on your surface, it’s smart to spend the extra step priming. Using primer to address a problem before applying paint may prevent the need to re-paint or add additional coats of paint to get the results you want.
Myth #3: I Should Use Multiple Coats of Primer if I Can Still See a Stain or Previous Color
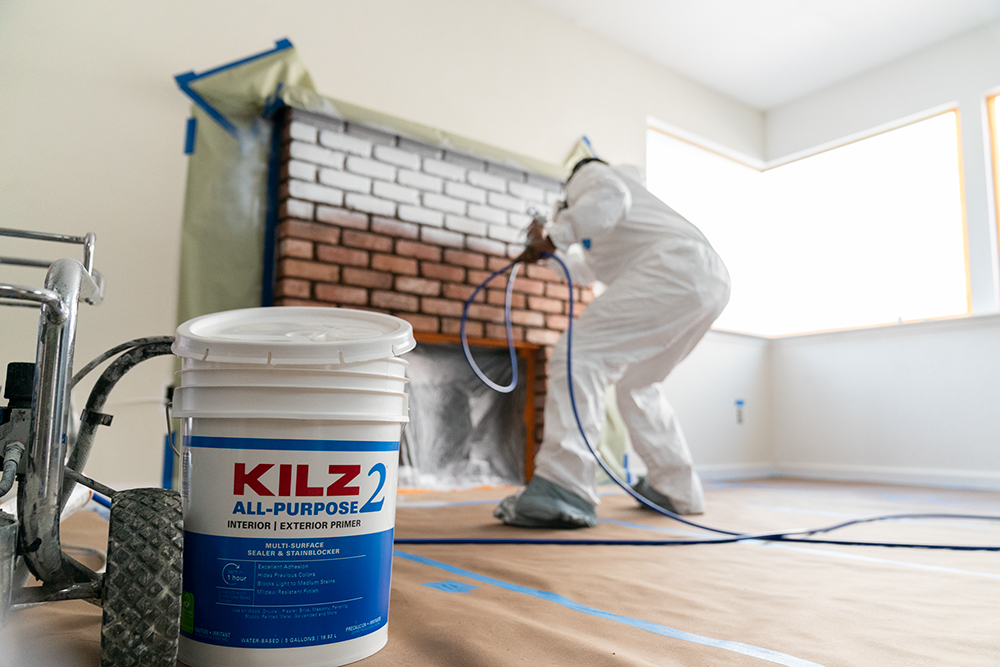
Not necessarily. If the previous color or stain is severe, you may need to apply more than one coat of primer, however, it’s not necessary to keep applying coats until a stain or previous color disappears. If the primer is applied uniformly over the previous color or stain, then one or two coats should be sufficient.
Primer works underneath a coat of paint to give you a uniform surface, hide robust colors, block stains, and enhance the paint’s ability to stick to the surface better and last longer. But even if the primer coat does not fully hide the stain or former paint, it will still perform these functions. With help from primer, a coat of paint should completely cover the surface — including previous paint or stains — and get you the results you want.
Myth #4: You Only Need to Prime Indoors, Not Outdoors
Priming outside is just as important, as priming inside because exterior surfaces are exposed to the elements and can experience expansion and contraction (from heat and cold), as well as UV exposure that may cause your paint application to fail due to lack of adhesion to the surface. For these reasons, using an exterior primer first on a properly prepared surface can make a huge difference. If you want to protect your painted outdoor surfaces from cracks, peels, and blisters, and ensure your paint lasts longer, using a primer formulated for these circumstances is a must.
Myth #5: You Don’t Need to Use Primer If Your Paint Contains Primer
Most paints do not contain primer, and if they do—such as an ‘all-in-one’ product—most pros and experienced DIYers will tell you to apply an external coat or two anyway to cover yourself. The only time you should use a combination paint and primer is if you’re touching up paint of the same color. For all other jobs, whether you’re changing the color, starting from scratch, or refreshing a surface, priming before you apply paint is always going to give you superior results.
We hope this information helps you with your next paint project. Be sure to come back to the blog for more tips like these and to get all your primer and paint questions answered beforehand to save you time and money.
To learn more about primer solutions, visit kilz.com.
Always remember to refer to our website kilz.com or product back labels for additional information on which primer is right for your project and detailed instructions on how to apply our products. Check out our Coverage Calculator to understand your estimated paint needs for your upcoming project.
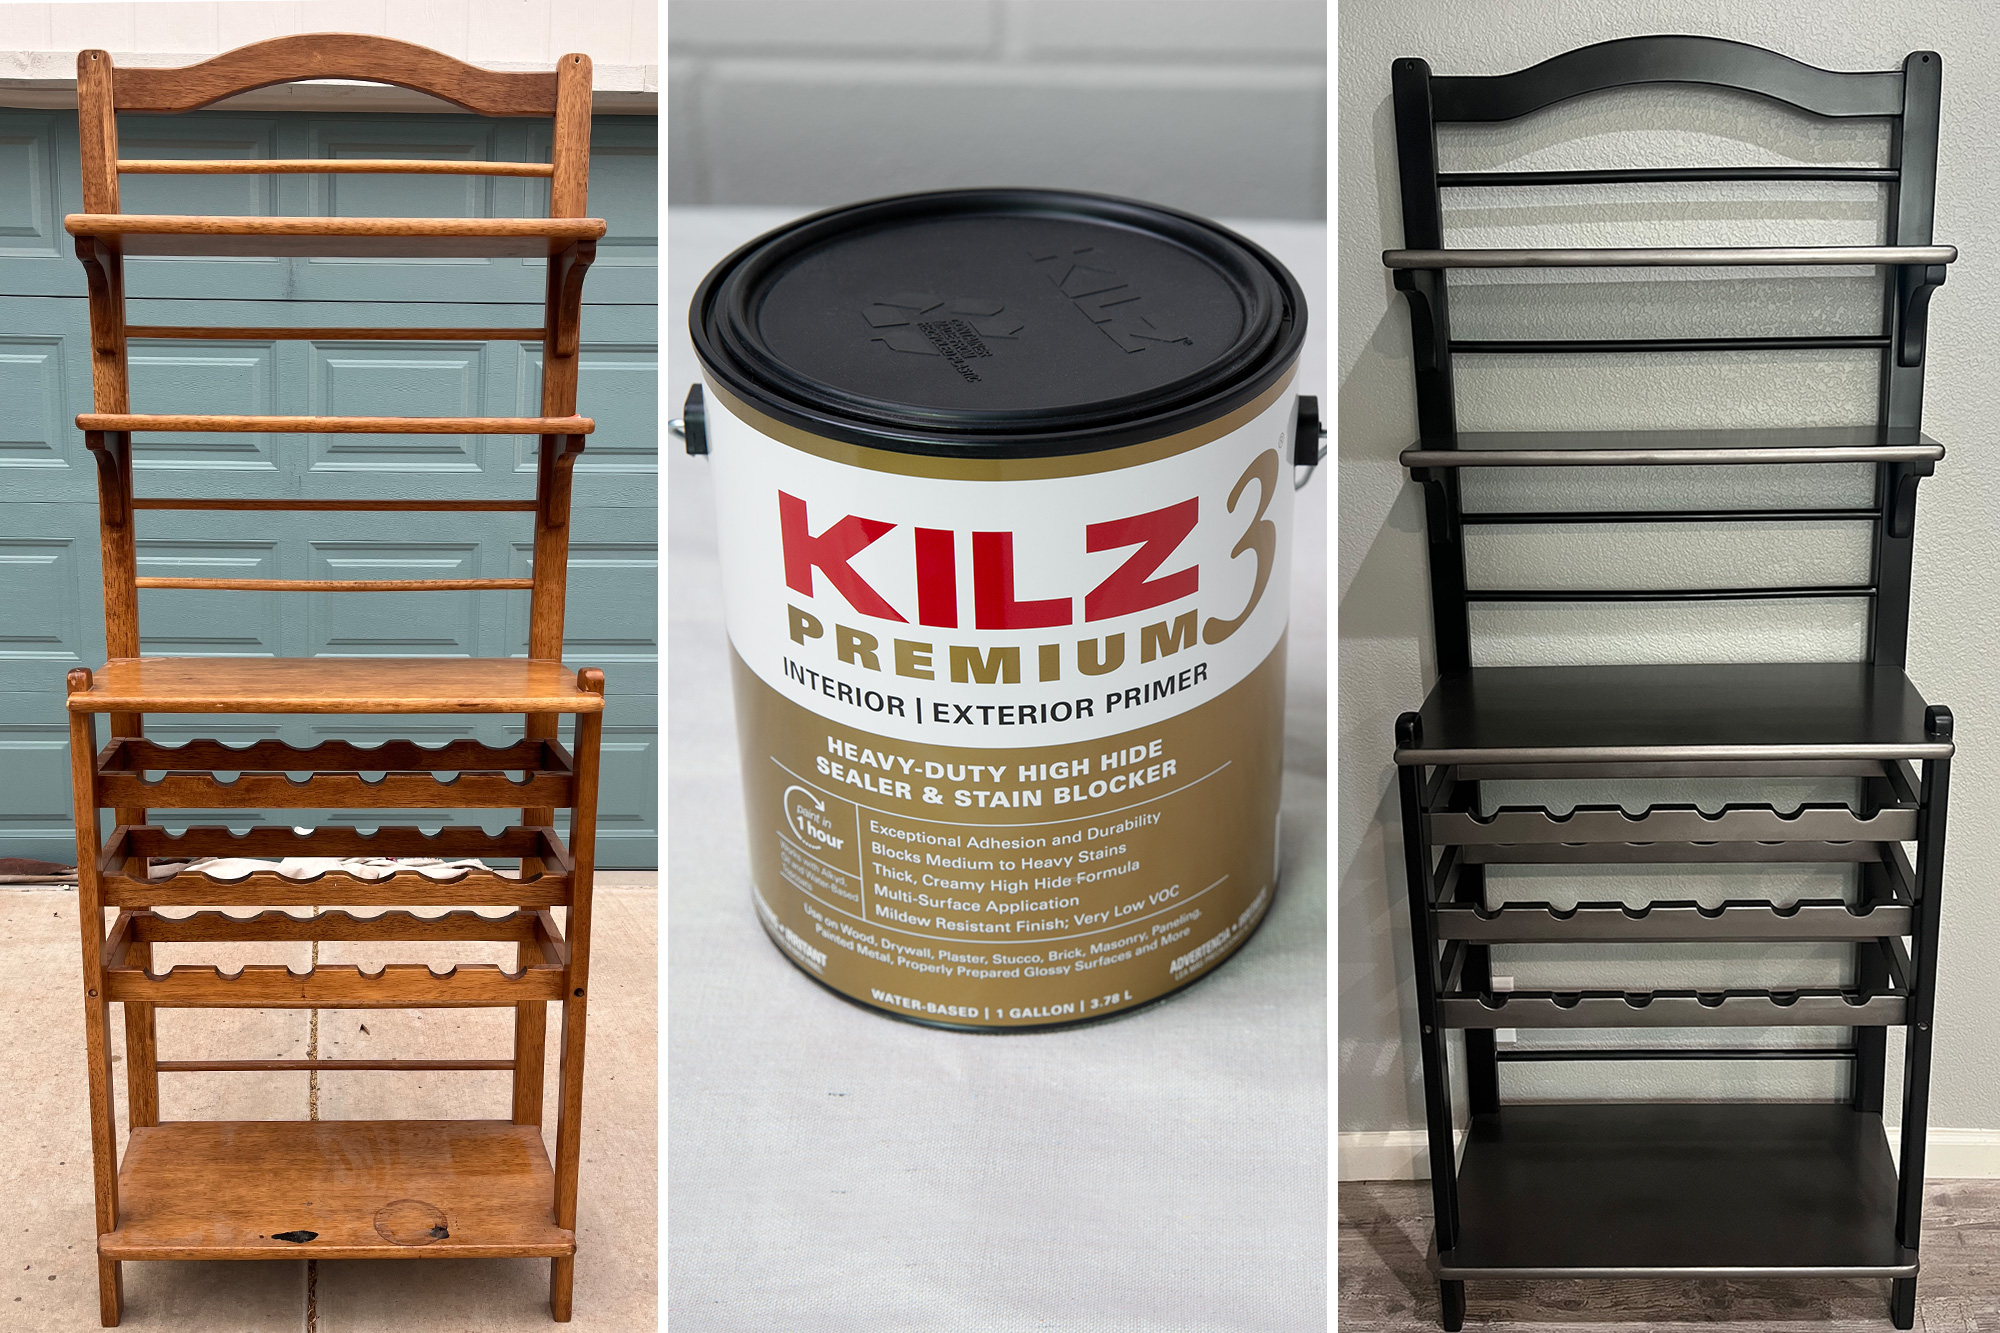
Pro Spotlight: James Mansour Shows The Power of a Good Primer when Upcycling
June 30, 2023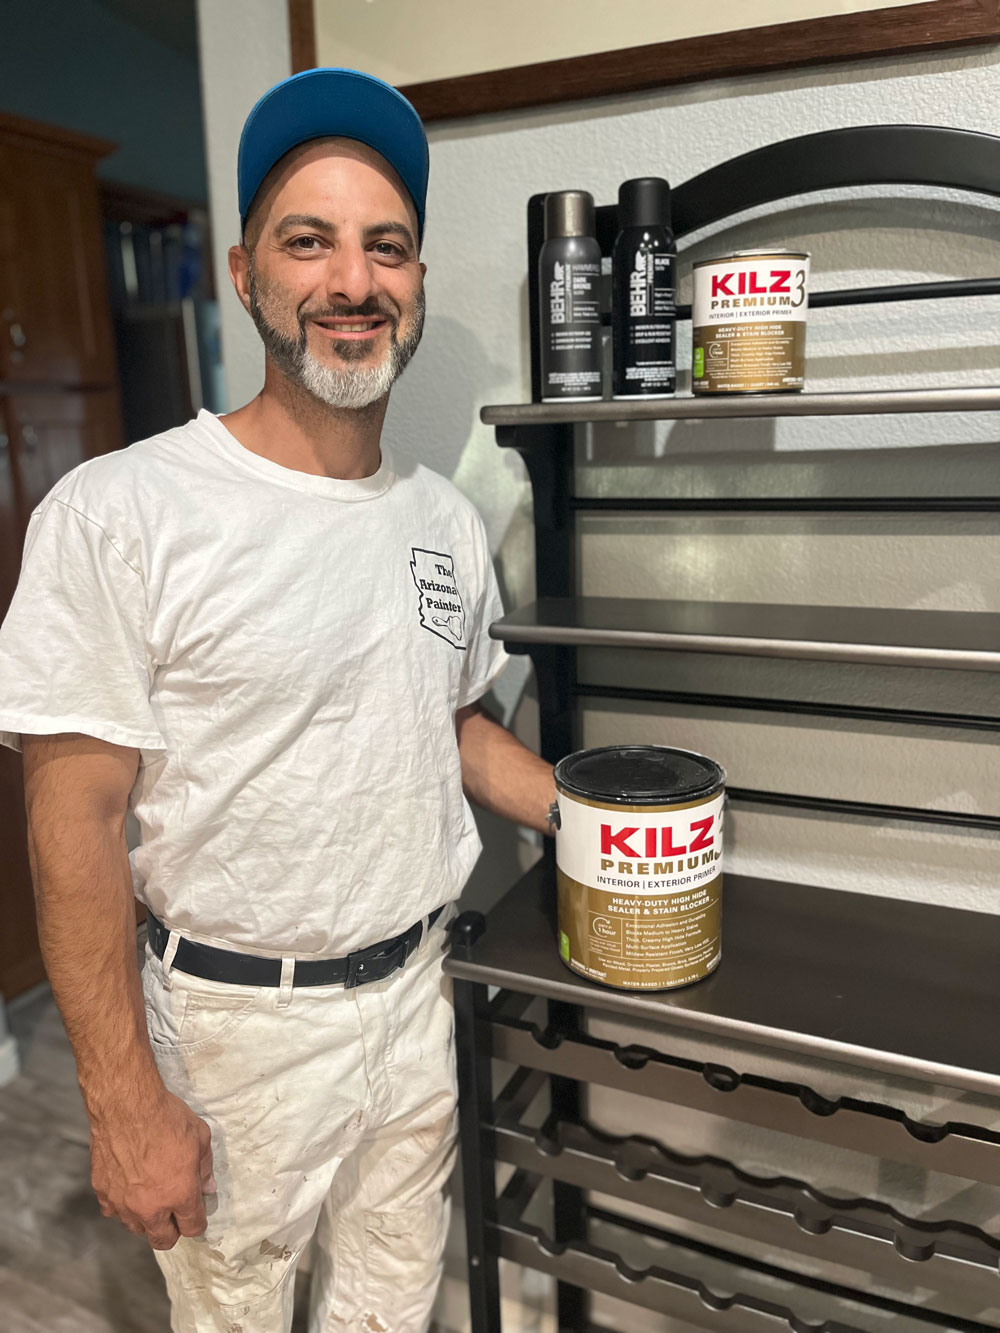 My name is James Mansour, and I am the owner and operator of Mansour Valley Painting in Mesa, Arizona. I also go by The Arizona Painter online where I work to educate and share my love of painting, including the intricacies of the craft. With over 20 years of experience, my company specializes in exterior and interior painting while always emphasizing the importance of proper prep work. I am partnering with KILZ to highlight one of my favorite products, KILZ 3® PREMIUM Primer. I chose a DIY upcycling project because I am a huge supporter of teaching my customers and online audience how to properly prepare surfaces for paint, and then use paint to completely transform an object or space.
I love the idea of upcycling. Not only does it allow you the freedom to create a unique accent for your living space, but it is also sustainable and environmentally friendly. Upcycling is a term used to describe the process of repurposing old, unwanted things into unique, creative, and new items. By choosing to upcycle I am also contributing to waste reduction, conservation of natural resources, and allowing myself an opportunity to innovate. I knew I had to find the perfect piece for this project, so I started by paying a visit to a few local Goodwill stores. After much deliberation, I found a wooden wine rack that my wife loved. It was the perfect size and shape for the dividing wall between our kitchen and living room. In order to kick this project off right, I would need the perfect primer. I chose KILZ 3® PREMIUM Primer because it provides excellent adhesion, high-hide coverage, and excellent stain-blocking performance, making it the ideal primer for surfaces like wood.
Along with the KILZ 3® PREMIUM Primer, I used the following supplies to get started: a scrubber pad, 220 and 320-grit sandpaper, latex gloves, drop cloths, and mineral spirits. As a helpful tip, be sure to properly follow the safety instructions listed on the product labels or online for the correct application and use of the products.
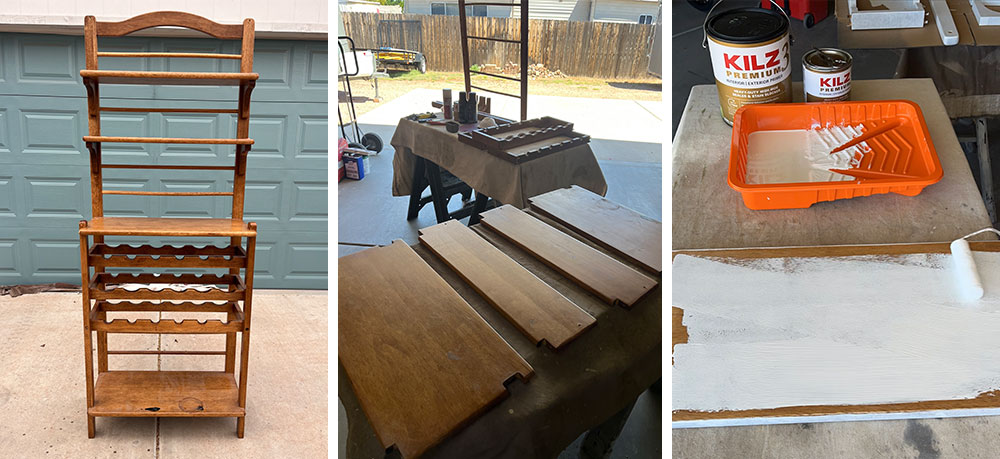
Setting up my workspace was the next step. I used two tables to hold each piece of the wine rack after the disassembling process. With a screw gun in hand, I broke the wine rack down into individual pieces. I then used 220 grit sandpaper to remove the current finish and wiped each piece clean with mineral spirits, preparing them for the first coat of primer. I used a small ½-inch thick roller nap to apply KILZ 3® PREMIUM Primer. After allowing it to dry for only an hour, I lightly sanded all surfaces again and then was able to apply a second coat using the same size roller nap. Due to the mil thickness of the primer, it fills in the wood grain and any small scratches and imperfections in the wood, providing a perfectly smooth surface for paint application.
Since this piece will get used quite often, the superior adhesion provided by KILZ 3® PREMIUM Primer will prevent the topcoat from scratching and chipping, ensuring a longer lifespan. After the surface was properly primed and restored, I allowed it to dry for 24 hours. Once completely dried I used 320 grit sandpaper to smooth down all surfaces in preparation for the topcoat. For this project, I decided to use BEHR PREMIUM™ Spray Paint in Black Satin for the main legs and shelf brackets. Then I used BEHR PREMIUM™ Spray Paint with a Hammered Finish in Dark Bronze on the shelves and wine racks to give the piece more visual interest with a two-toned finish.
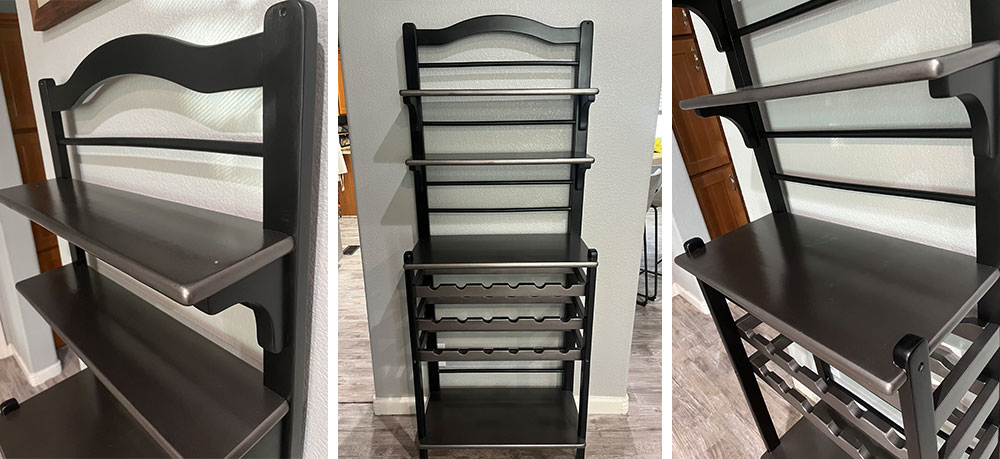
Finally, after another 24 hours of drying time, the rack was ready to be reassembled. It is important to give this additional cure time to make sure the surface is completely dry, and all the products are working together to provide the sleek, durable, and long-lasting finish I hope to get. Taking the time to prepare the surface properly helps save time and money as KILZ 3® PREMIUM Primer offers dependable and consistent results. Placing the piece in the perfect location on the divider wall, I felt I had achieved my desired outcome. It was another job done right with an Instagram-worthy finish, and a piece I can be proud of for years to come.
Thanks for joining me on another project,
James Mansour
The Arizona Painter
To learn more about primer solutions, visit kilz.com.
Always remember to refer to our website kilz.com or product back labels for additional information on which primer is right for your project and detailed instructions on how to apply our products. Check out our Coverage Calculator to understand your estimated paint needs for your upcoming project.
What Are Paint Sheens and What’s the Difference?
June 29, 2023If you’re unfamiliar with the nuances of paint sheen, you’ve come to the right place. In the broadest terms, the higher the sheen a paint has, the higher the shine and the more durable it will be. Flat paint has no shine, while high-gloss paint is all shine, and the rest of the spectrum includes matte, eggshell, satin, and semi-gloss, which can be used for practical and decorative purposes alike.
What’s a Paint Sheen?
 The paint sheen tells you how much light the paint reflects. Paints with higher sheens are shinier, and paints with lower sheens reflect less light. Higher-sheen paints have more enamel in them, which makes them shinier, more durable, and easier to clean. Lower-sheen paints are easier to look at because they have little to no glare.
Why does it matter?
 If chosen incorrectly, sheen can amplify surface imperfections, make a surface shinier (or flatter) than intended, or not provide enough durability for the space. Some sheens are easier to clean than others and can provide a barrier against moisture, mildew, and other grime.
The darker and richer a paint color is, the more colorant it contains, which boosts sheen. If you’ve chosen a rich or dark paint, and you don’t want it to turn out super shiny, choose one with a lower sheen. In the same vein, if painting a large, sun-washed, or flawed surface, a lower sheen paint is best for hiding imperfections.
What Are the Different Paint Sheen Types?
• High Gloss: A highly reflective, glass-like finish that’s most durable and easiest to clean.
• Semi-Gloss: A sleek and luminous finish that is mildew, moisture, and wear resistant.
• Satin: A pearl-like finish that’s easy to clean and has moderate durability.
• Eggshell: A soft, velvety finish that covers imperfections while offering some durability.
• Matte: A low-luster finish that’s less durable, but easy to clean, touches up well, and hides minor surface imperfections.
• Flat: A non-reflective finish that touches up well and can hide minor surface imperfections.
Where to Use Common Types of Sheen
The type of sheen you choose for a particular room or surface is up to you, and many types can work well for the same area, but you may choose one over another depending on how much traffic the room sees (durability), how prone to dirt or moisture it is, or simply the decorative look you’re going for. Here are some recommendations to help get you started.
• Kitchens: A high or semi-gloss finish in the kitchen ensures your surfaces are more durable and easier to clean.
• Dining Rooms: For moderate-traffic areas like dining rooms, an eggshell finish will provide smooth, clean-looking walls.
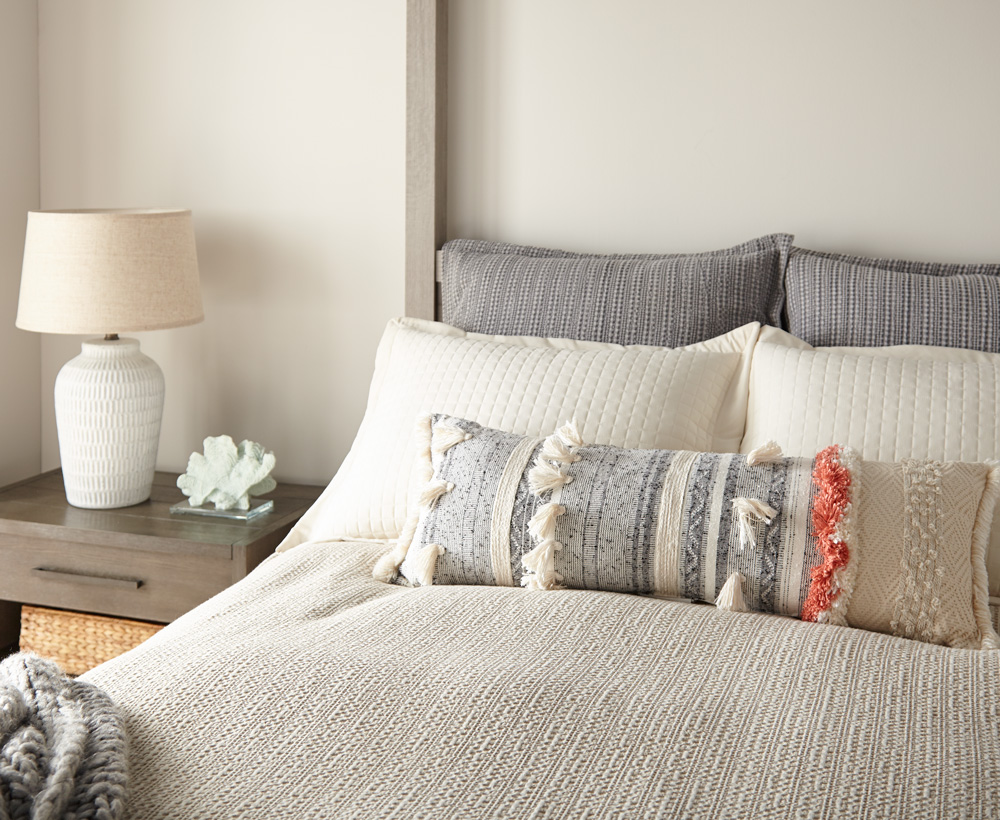
• Bedrooms: A flat or matte finish is recommended as these absorb light, which can make those bright mornings more bearable.
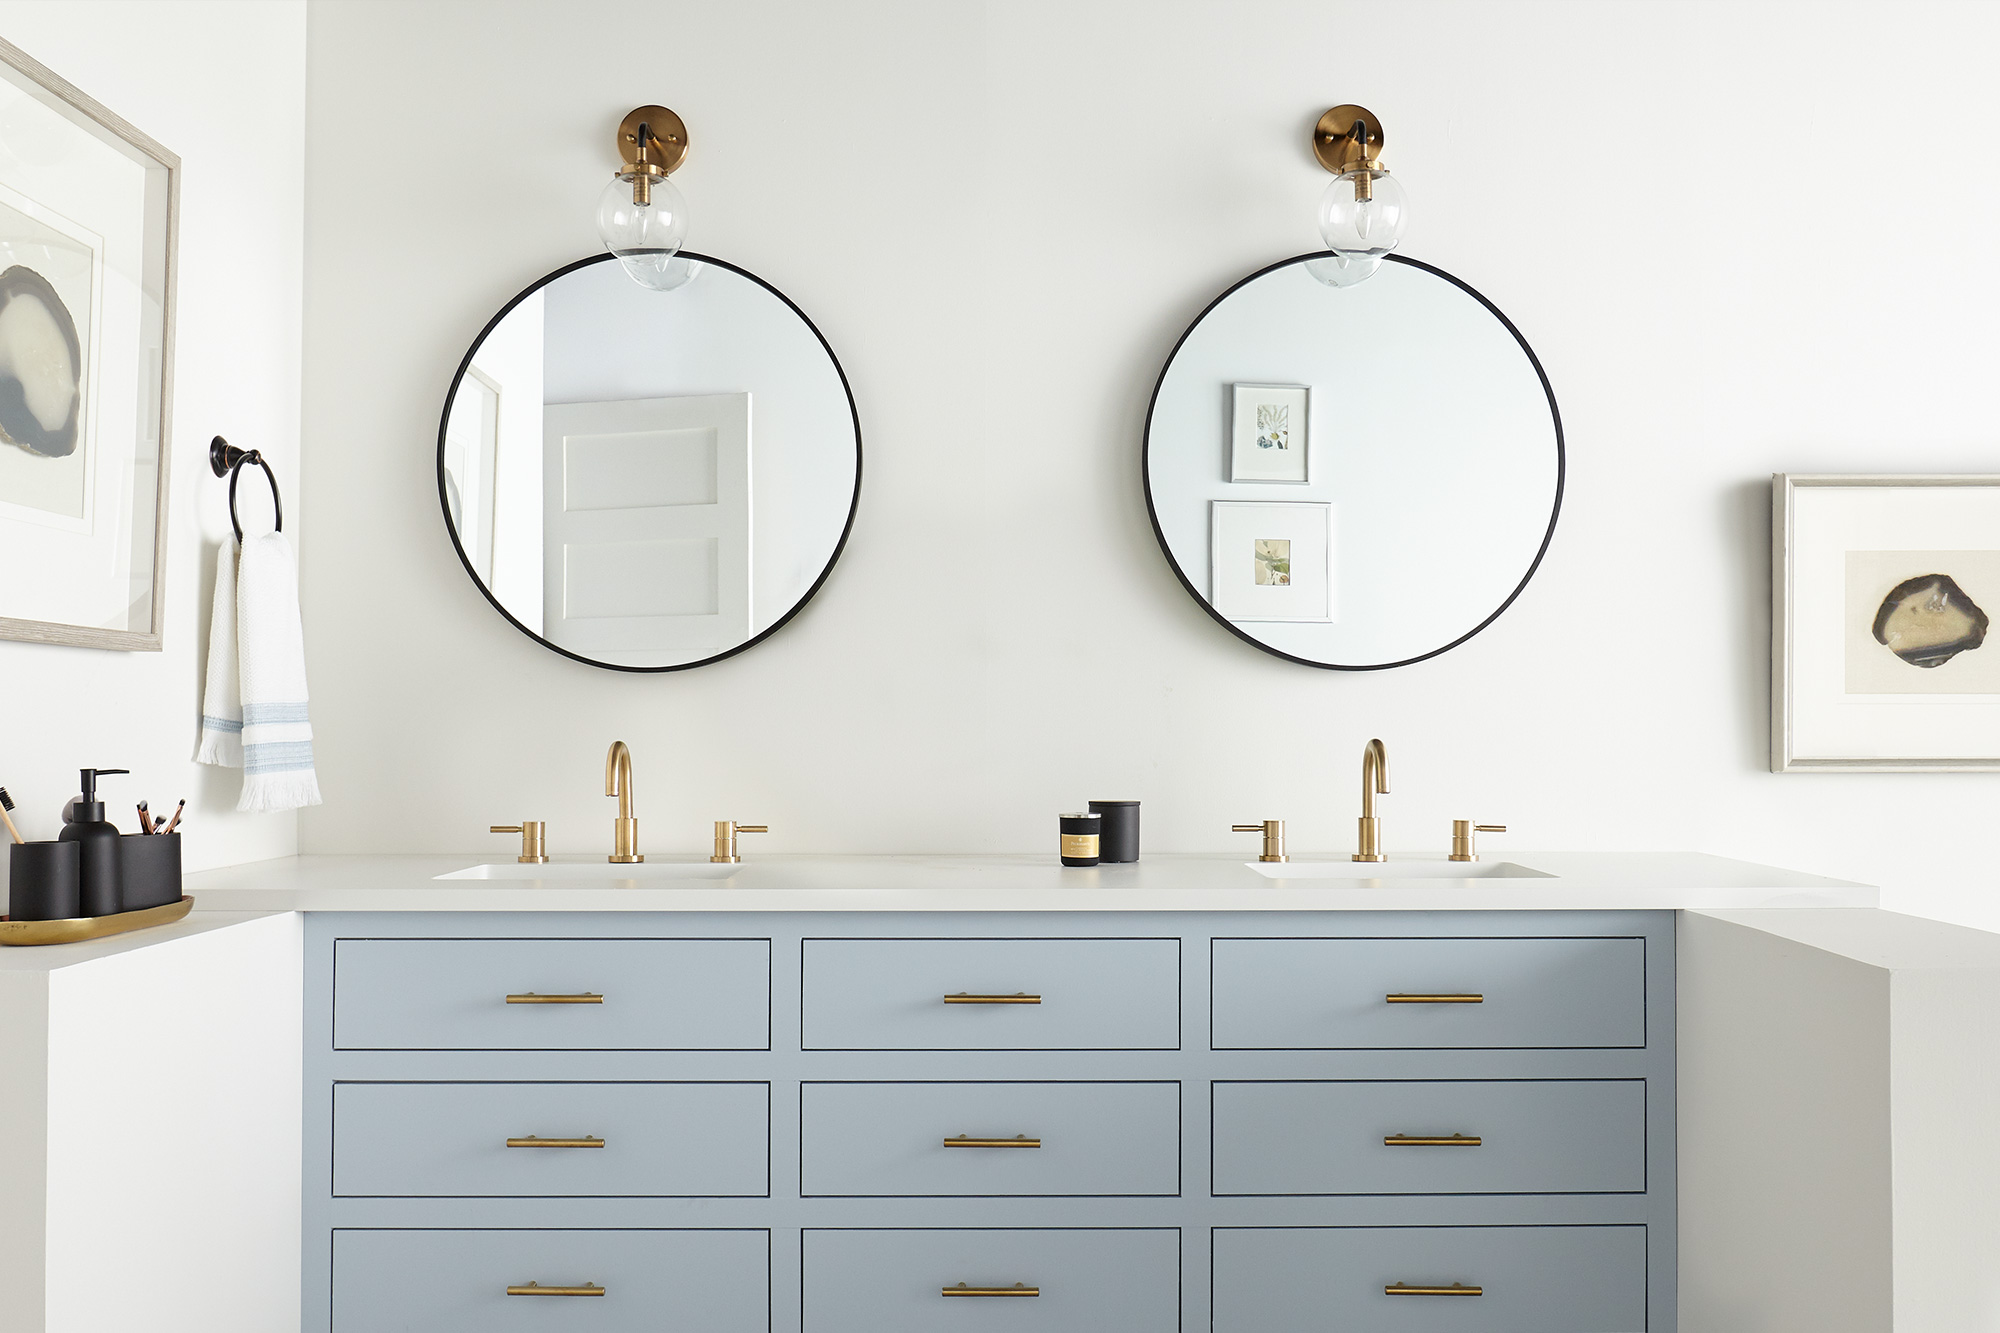
• Bathrooms: Semi-gloss is great at protecting surfaces without being too reflective.
• Living Rooms: A satin finish is your best bet. It’s easy to clean and can stand up to high traffic.
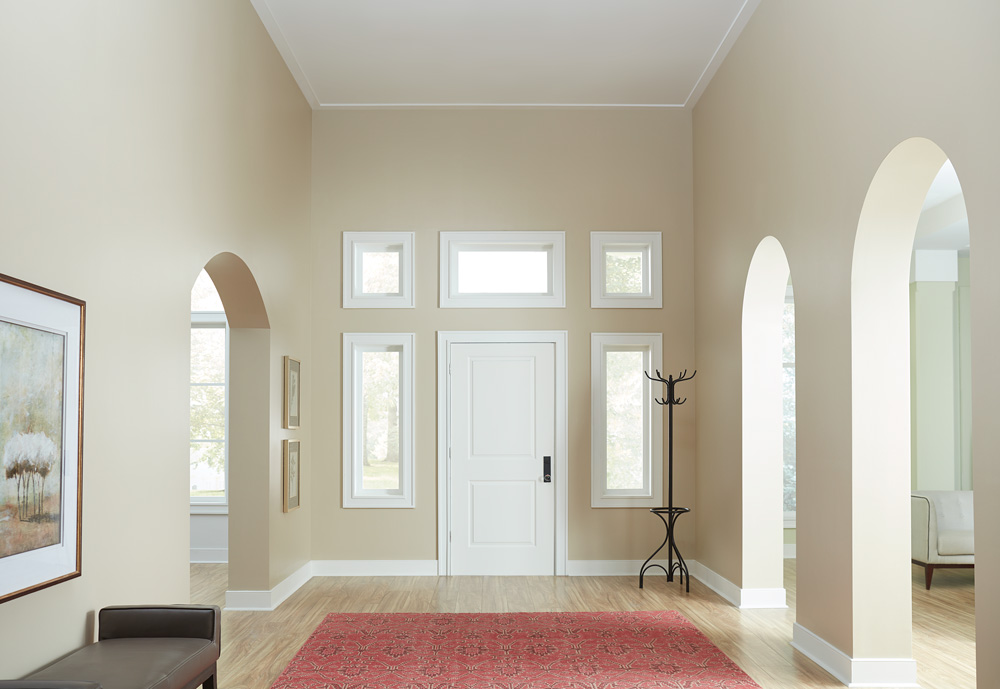
• Hallways: An eggshell finish that’s easy to clean and resists dirt and grime is perfect for these moderate-traffic areas.
• Ceilings: Ceiling flat sheens are designed for ceilings and are extra splatter resistant.
• Brick/Masonry: Satin or eggshell is perfect for highly textured surfaces like brick; a moderate shine can help to conceal imperfections while giving off a pleasing glow.
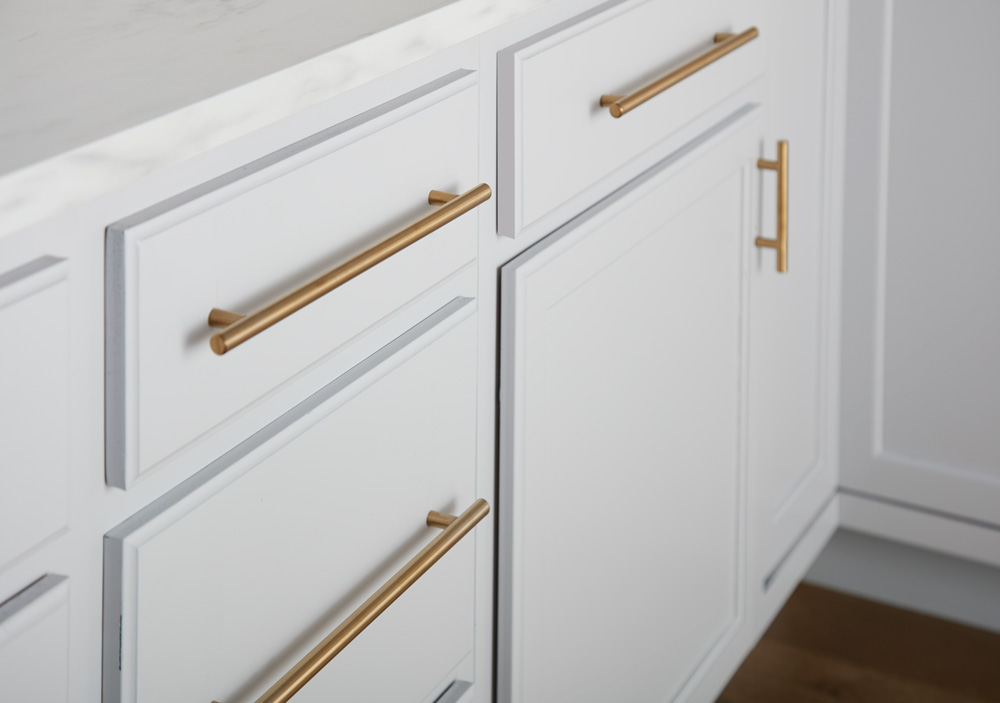
• Cabinets: The higher the gloss, the easier it will be to clean and care for your cabinets.
Always Prime Before You Paint
We always recommend using one of our professionally trusted primers to ensure your hard work turns out as beautifully as you intended. Primer provides adhesion for any paint you choose, covers stains, prevents chips, and blocks odors, and helps your topcoat perform its best while achieving the truest possible color. Our primers are made for every project, so choosing the best one for the job is easy.
Always remember to refer to our website kilz.com or product back labels for additional information on which primer is right for your project and detailed instructions on how to apply our products. Check out our Coverage Calculator to understand your estimated paint needs for your upcoming project.
What’s Really in the Can? Primer vs Paint & Primer in One
June 29, 2023Primer vs. Paint and Primer: Can All-in-One Do It All?
If you can skip a step in the painting process and still get the same results, it seems like a no-brainer. Many paint and primer in one (PPIO) products boast this claim, but should you always combine these steps and skip using a separate primer?
When to Choose a Self-Priming Paint
The benefit to using PPIO is that you can achieve similar results in less time. However, there are some things to know before you choose to go this route.
PPIO can work for some jobs, but different products will give you better results depending on the situation. For example, PPIO can work well on pre-painted surfaces without a drastic change in color or texture. However, this is possibly the only reason to choose it.
Why You Should Prime Separately
The goal of any primer is to prepare the surface for a coat of paint. This ensures good adhesion to the substrate and the topcoat. You may also need to block stains and odors, protect walls from mold or mildew growth, change the color, or refresh an old or damaged surface. Be mindful of the nature of your job before deciding to forgo primer as a first step, as it is often explicitly formulated to alleviate many of these surface problems, whereas an all-in-one product is typically not.
When to Choose a Primer
Suppose a surface has never been painted, as with drywall, a traditional primer is a must. If painting a glossy surface with less glossy paint, priming beforehand will ensure adhesion, and your results remain uniform. Priming separately is essential if painting over oil-based paint with acrylic or latex.
Other cases that require a primer before paint include:
• Any bare surface
• Porous surfaces
• Raw, unfinished wood
• Knotty wood
• Woods with tannins – like Cedar or Redwood
• Uncoated metal
• Unfinished drywall
• Masonry
• Stained surfaces
• Slick surfaces – like tile or laminate
Summary
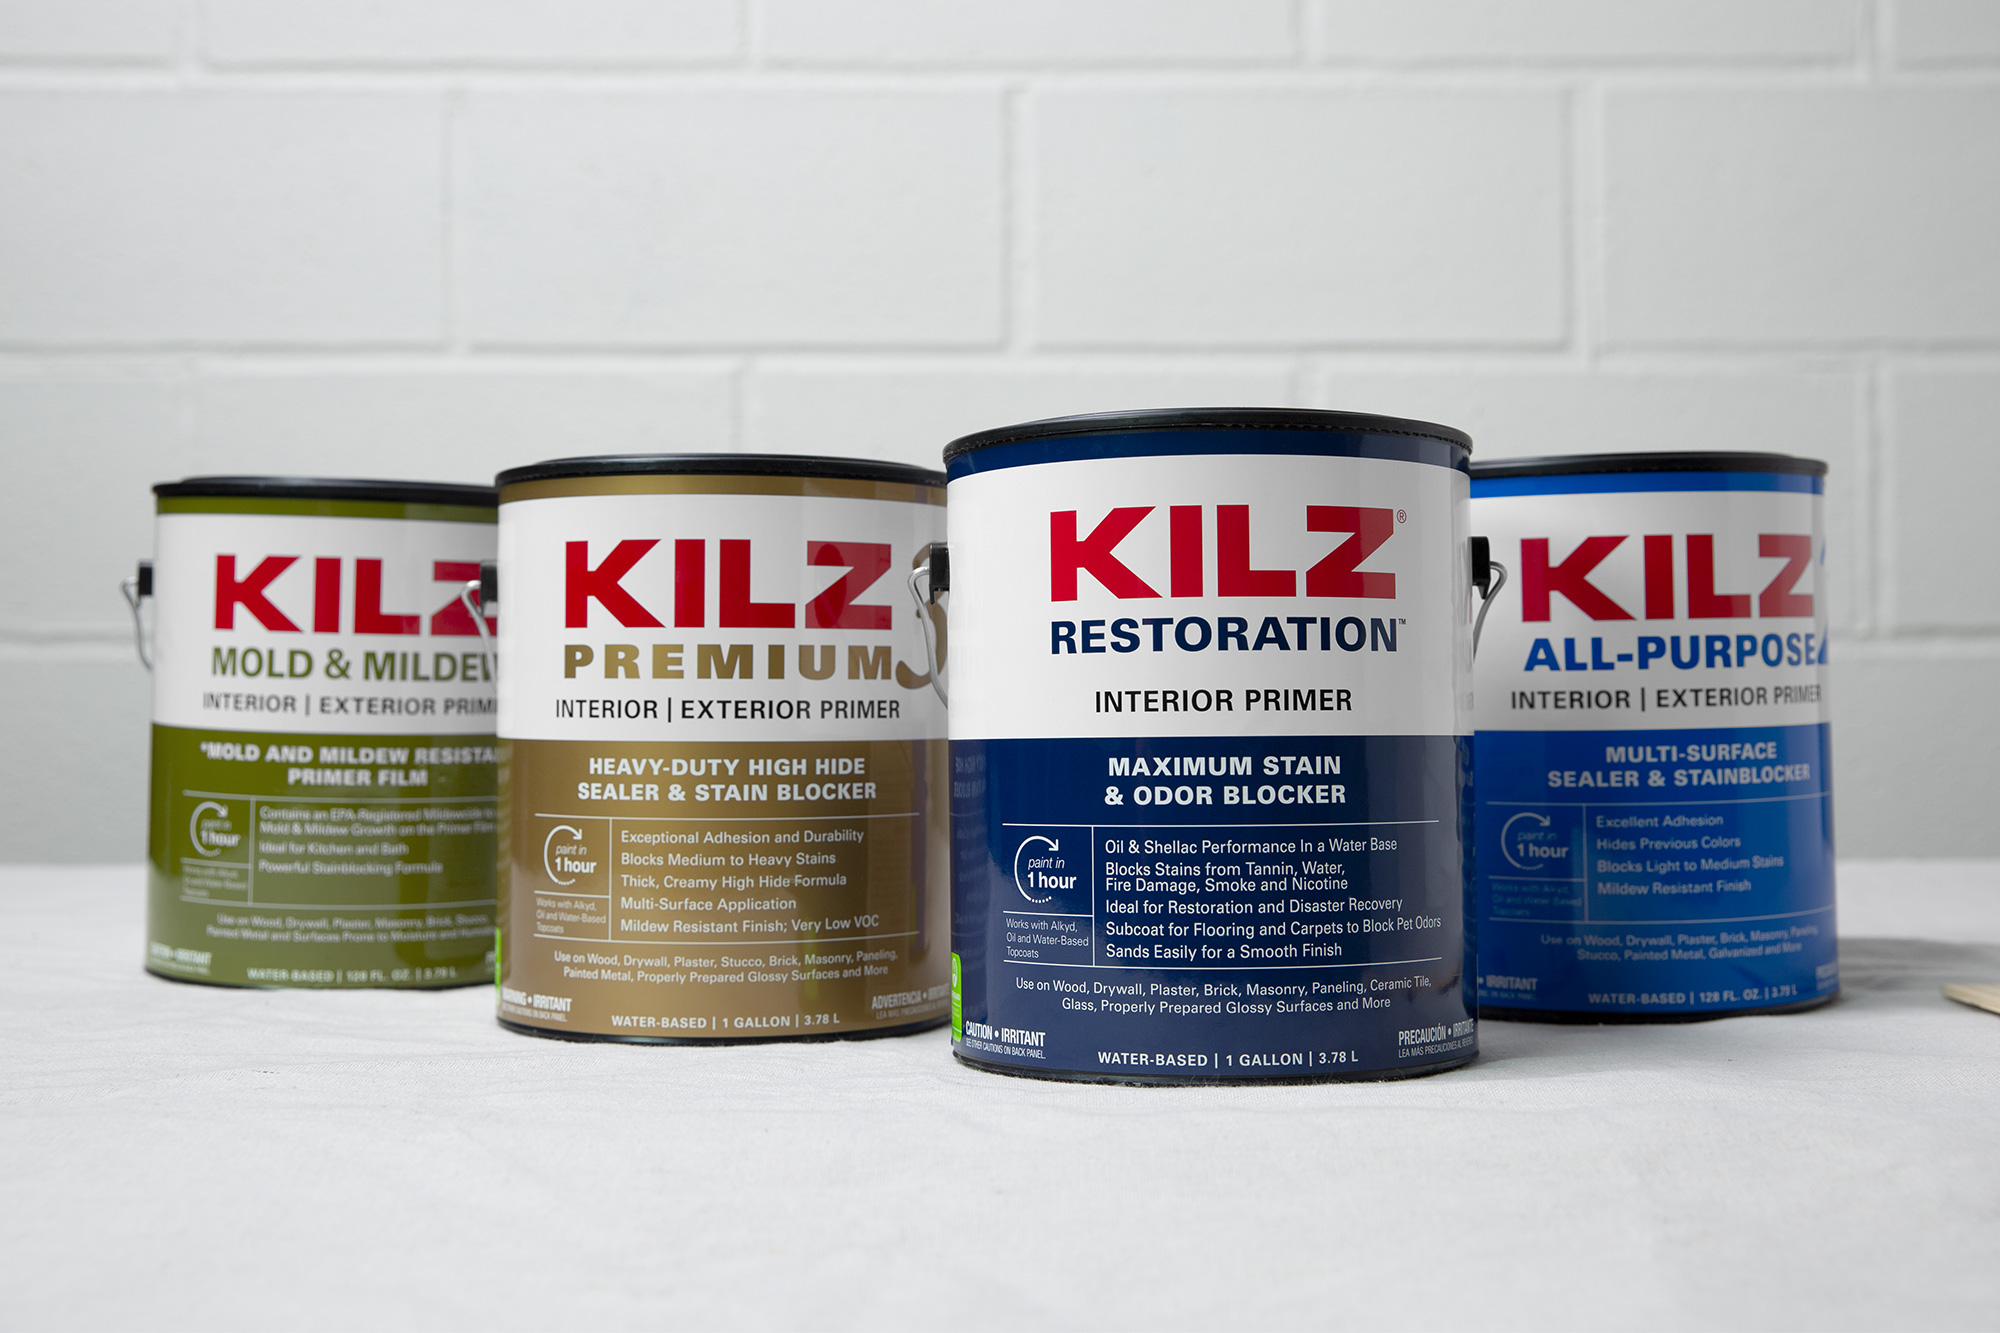
Whether you choose to go the all-in-one route or choose a separate primer and paint, choosing high-quality products suited for your surface’s condition is crucial. KILZ® primers are formulated for your specific surface issues, such as KILZ RESTORATION® to block tough stains like water damage or KILZ® MOLD & MILDEW to create a mold and mildew-resistant film for use in high-humidity rooms. KILZ 3® PREMIUM is designed to have a thicker formula to improve customer experience and hide. No matter the surface, you can be sure there’s a primer formulated for the job. When you consider how much time and money you invest in your project, choosing the best quality products from the start makes all the difference.
Come back for more tips, tricks, and inspiration, and as always, happy DIY-ing.
Refer to our website, kilz.com, or product back labels for additional information on which primer is right for your project and detailed instructions on applying our products. Check out our Coverage Calculator to understand your estimated paint needs for your upcoming project.
Pro Spotlight: Update Bathroom Cabinets with Britney Mroczkowski of Build It Brit, Inc.
May 31, 2023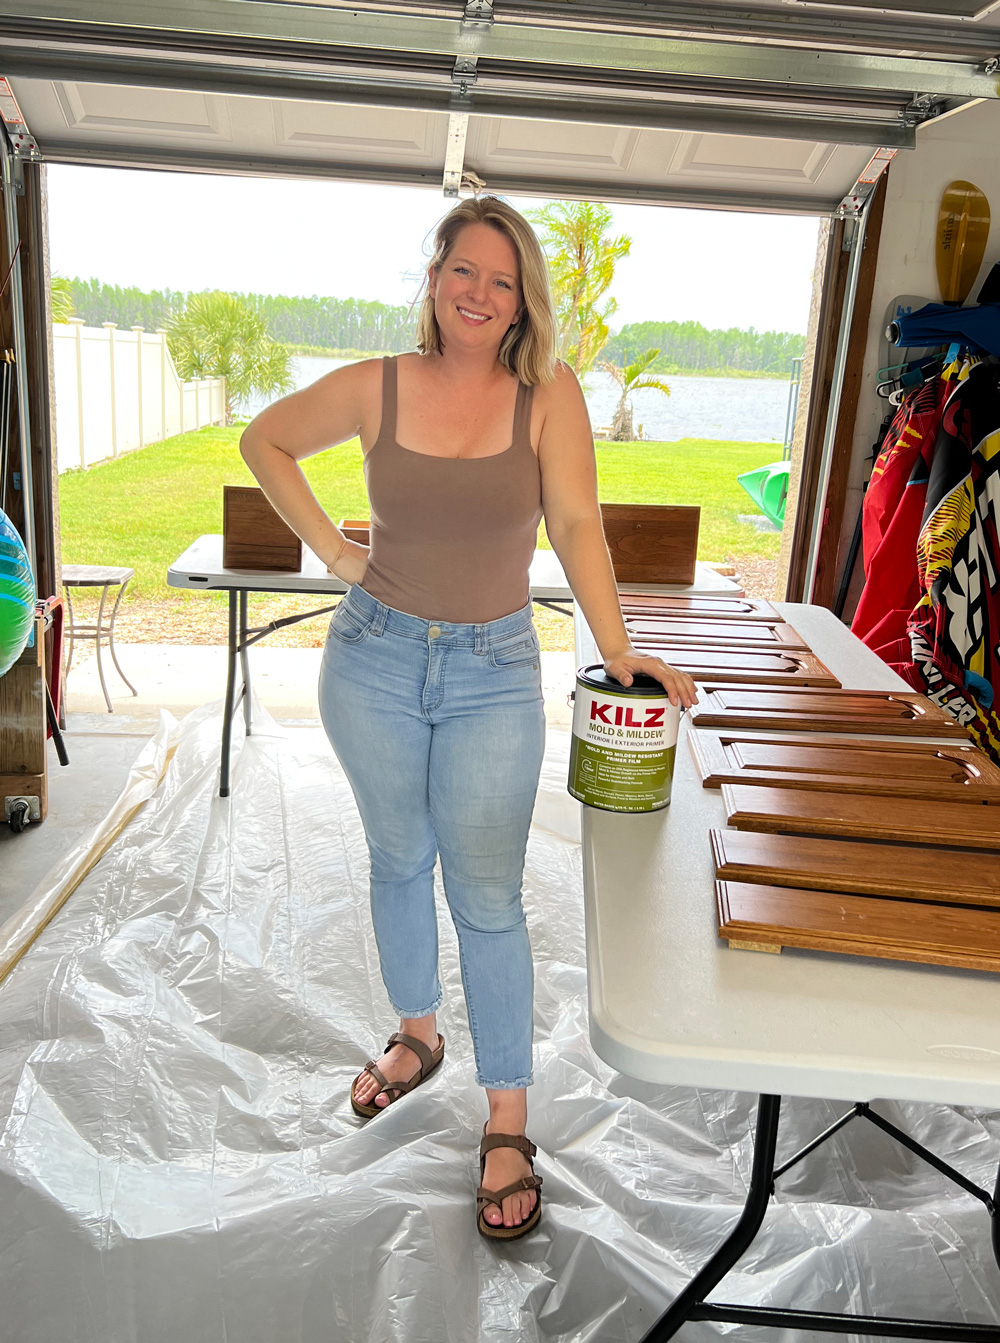 As a licensed general contractor and real estate investor, I know that priming is a fundamental step in completing any paint project. Without primer, paint may peel, crack or flake, resulting in a poor and unsatisfactory finish. And when it comes to achieving a flawless and Instagram-worthy finish, primer is absolutely essential. KILZ® Primers are a good choice as they offer consistent, dependable results.
Recently, I decided to do a quick weekend project to update my mom’s ensuite bathroom cabinets. The bathroom has beautiful solid wood cabinets but are a little outdated with a medium-to-dark wood finish. The bathroom has also not been renovated in over 20 years and needed a modern refresh. Painting the cabinets was the perfect solution to updating the space quickly while also making the room brighter.
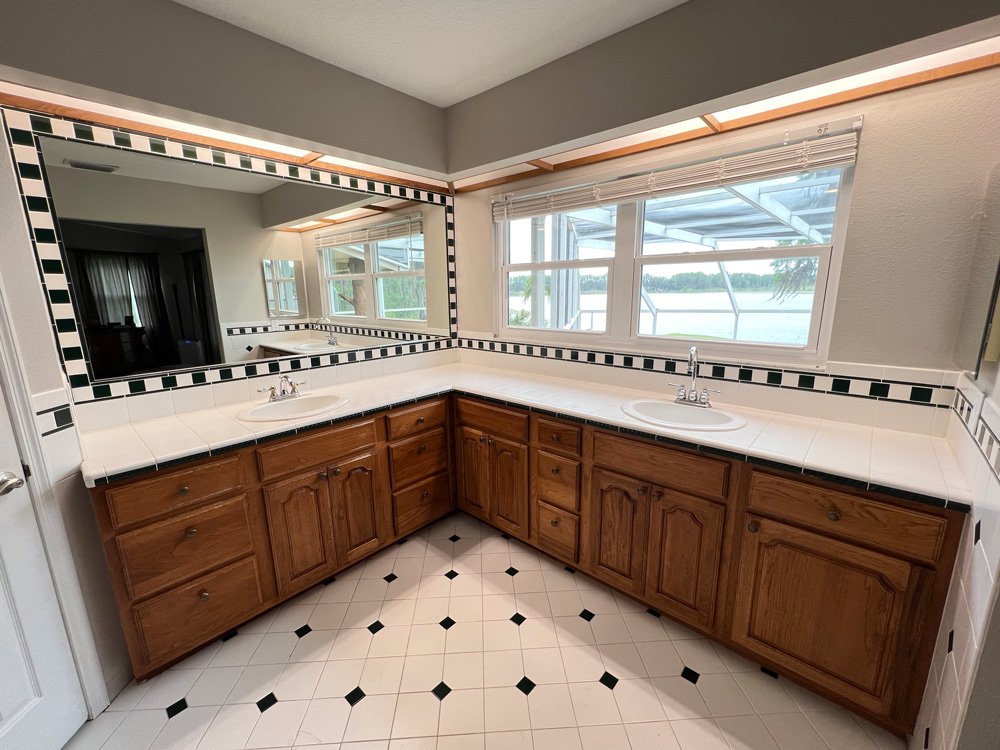
Her primary suite is located on the second floor of the home overlooking a beautiful lake just outside Tampa, Florida. She has been in this home for over 35 years and raised our family here, so it was nice to be able to give back to our family home. To minimize the mess, I removed the cabinet drawers and doors and took them downstairs to the garage where I set up a workstation.
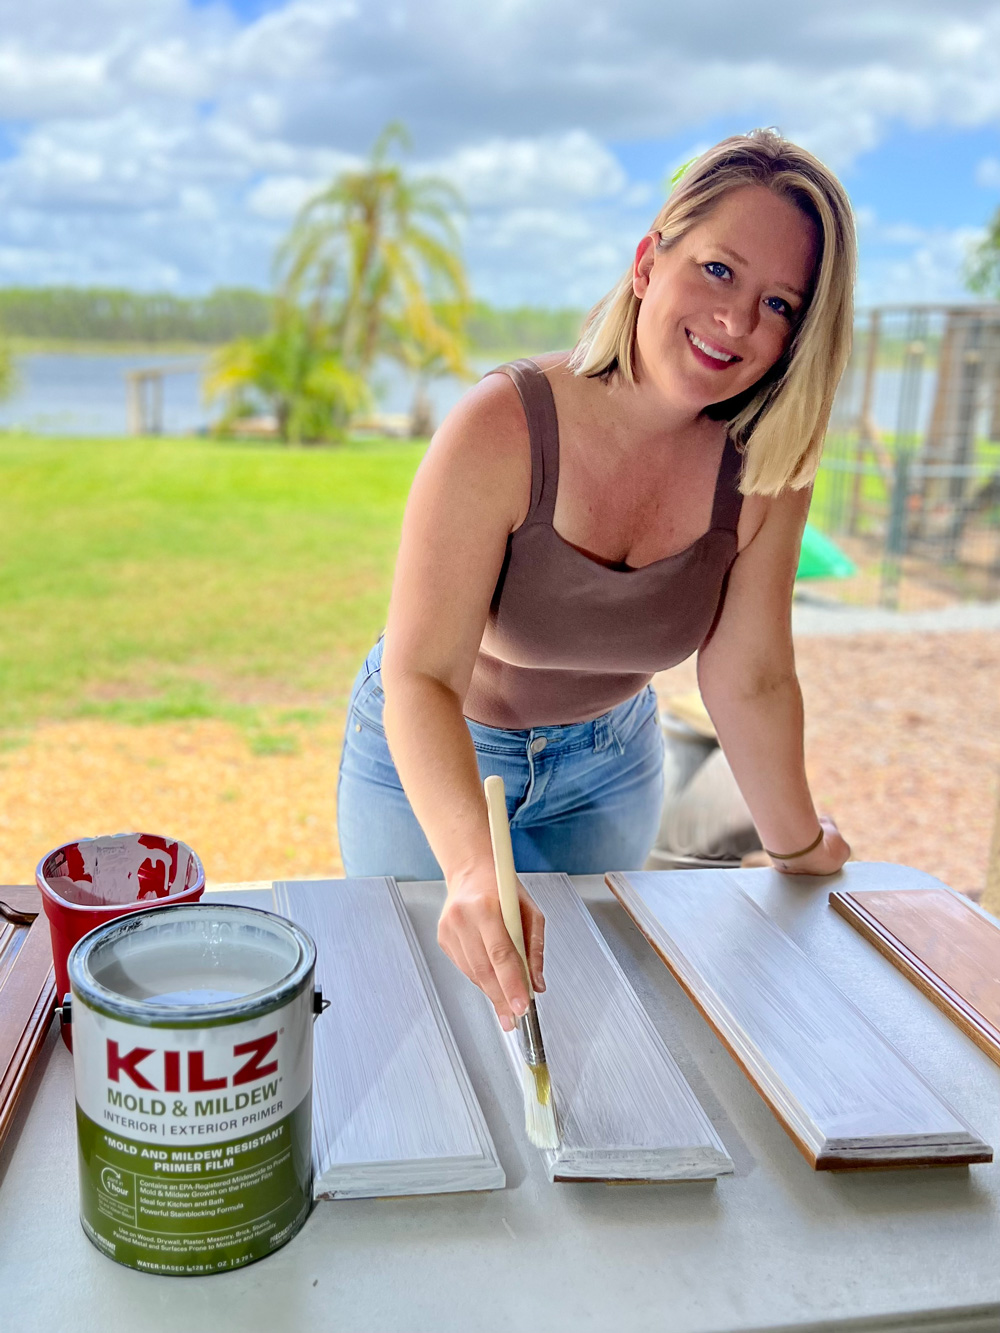 In the garage, I used a few drop cloths to make sure everything stayed clean and pristine. I set up two tables to create an “assembly line of painting,” where I would sand, prime, and paint. The cabinets were solid wood but had a lacquer finish that I wanted to make sure we could cover. To start the process and ensure a beautiful end result, I scuff sanded down all of the doors and drawers with 150-grit sandpaper and then did a final pass with 220-grit paper. Don’t forget to wear safety gear during this step, I made sure to wear a mask and eye protection.
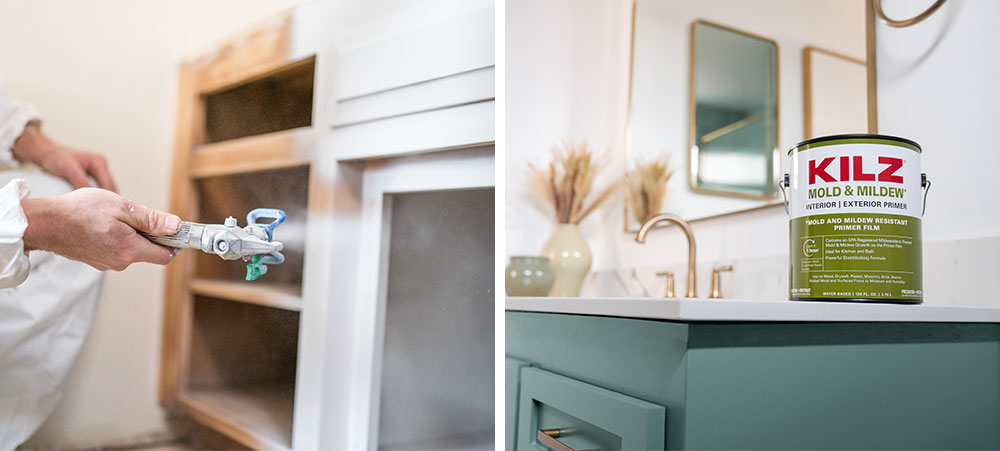
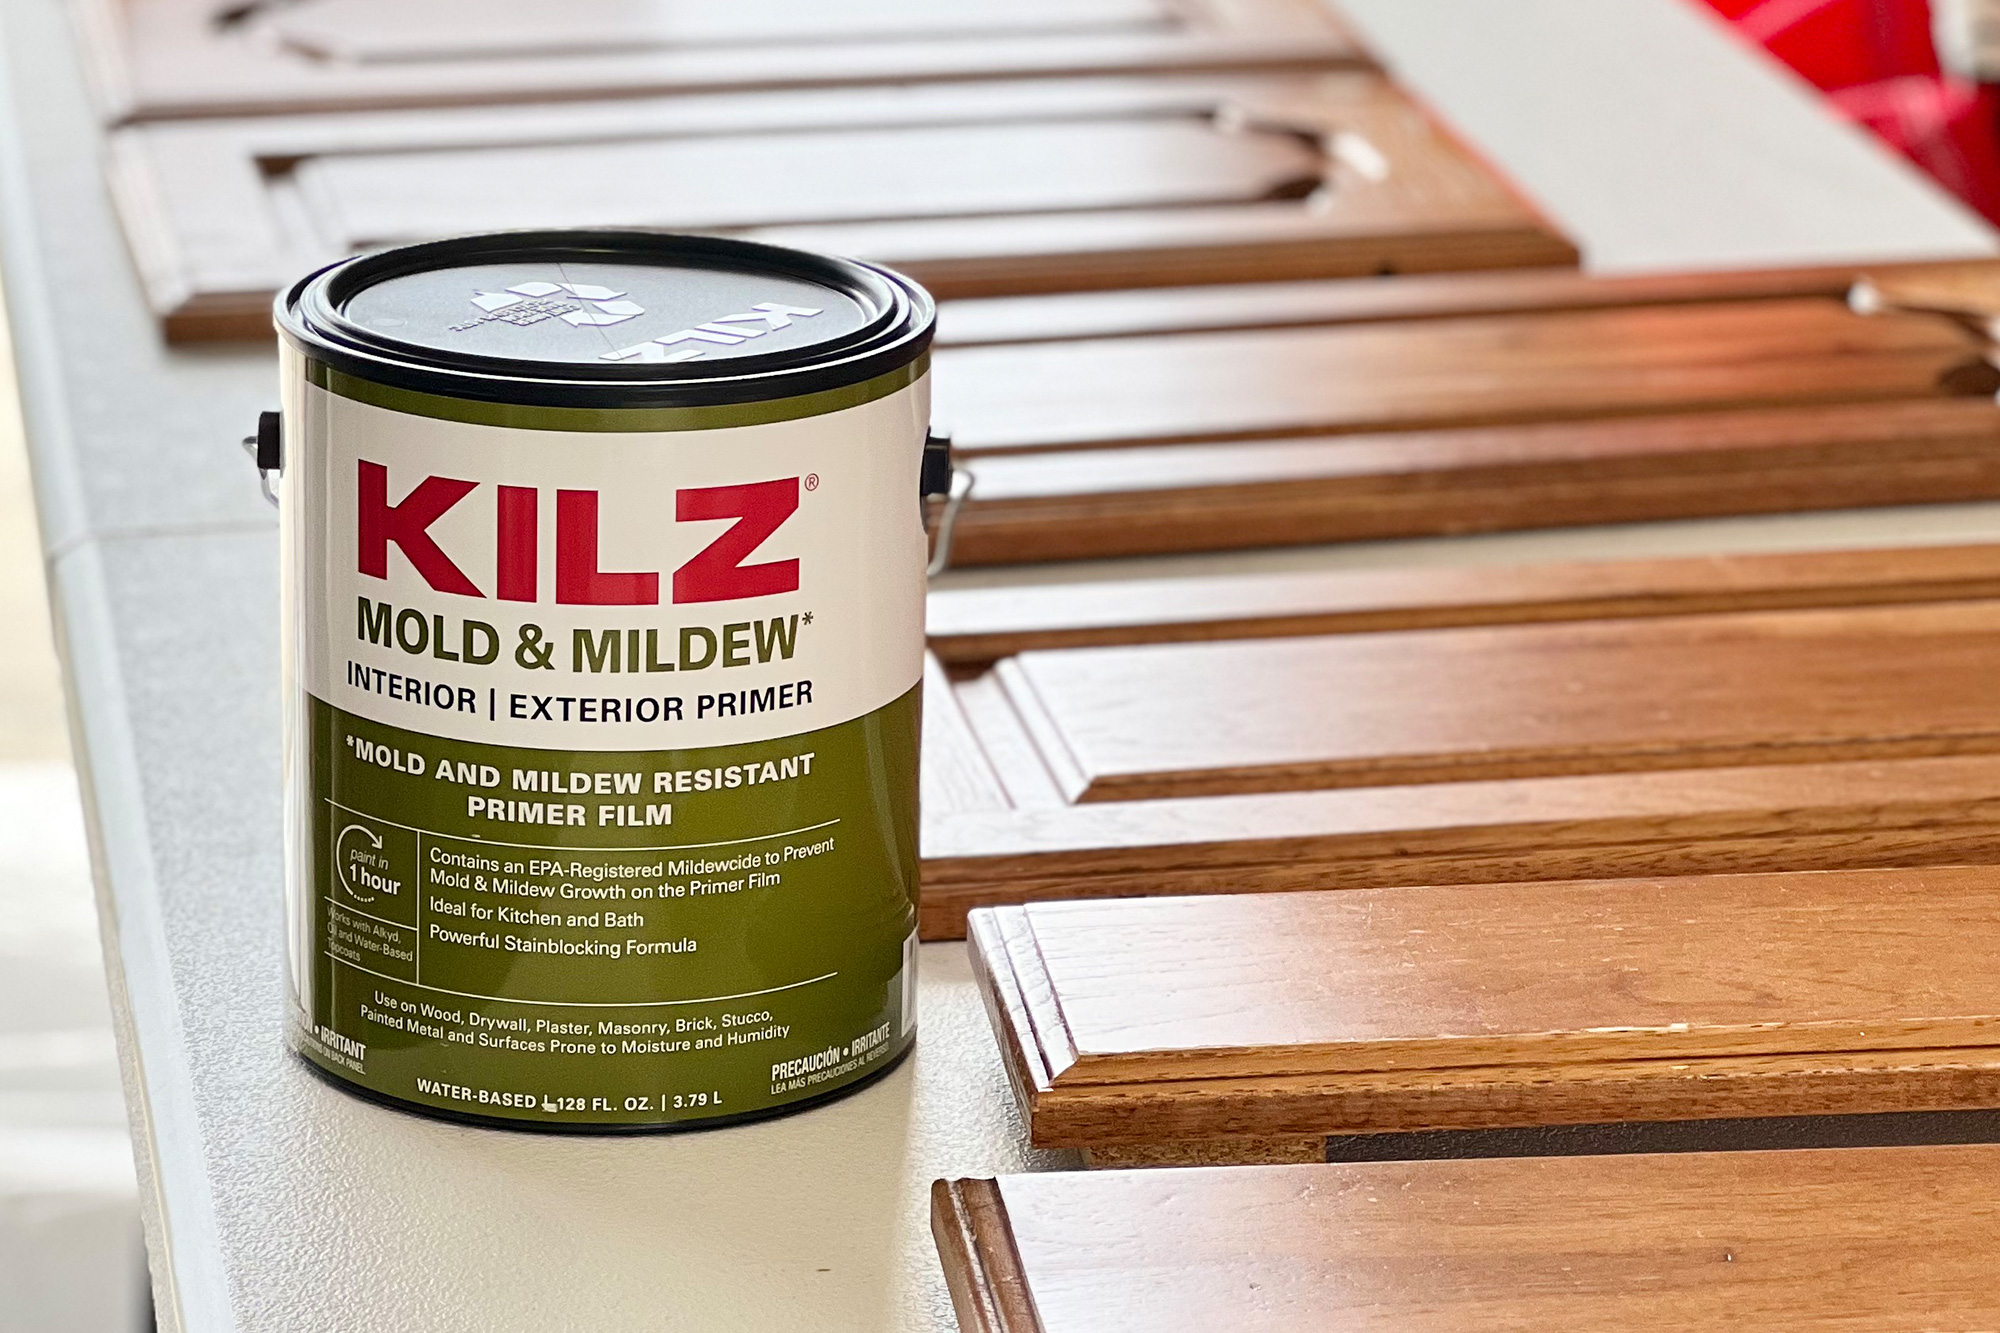
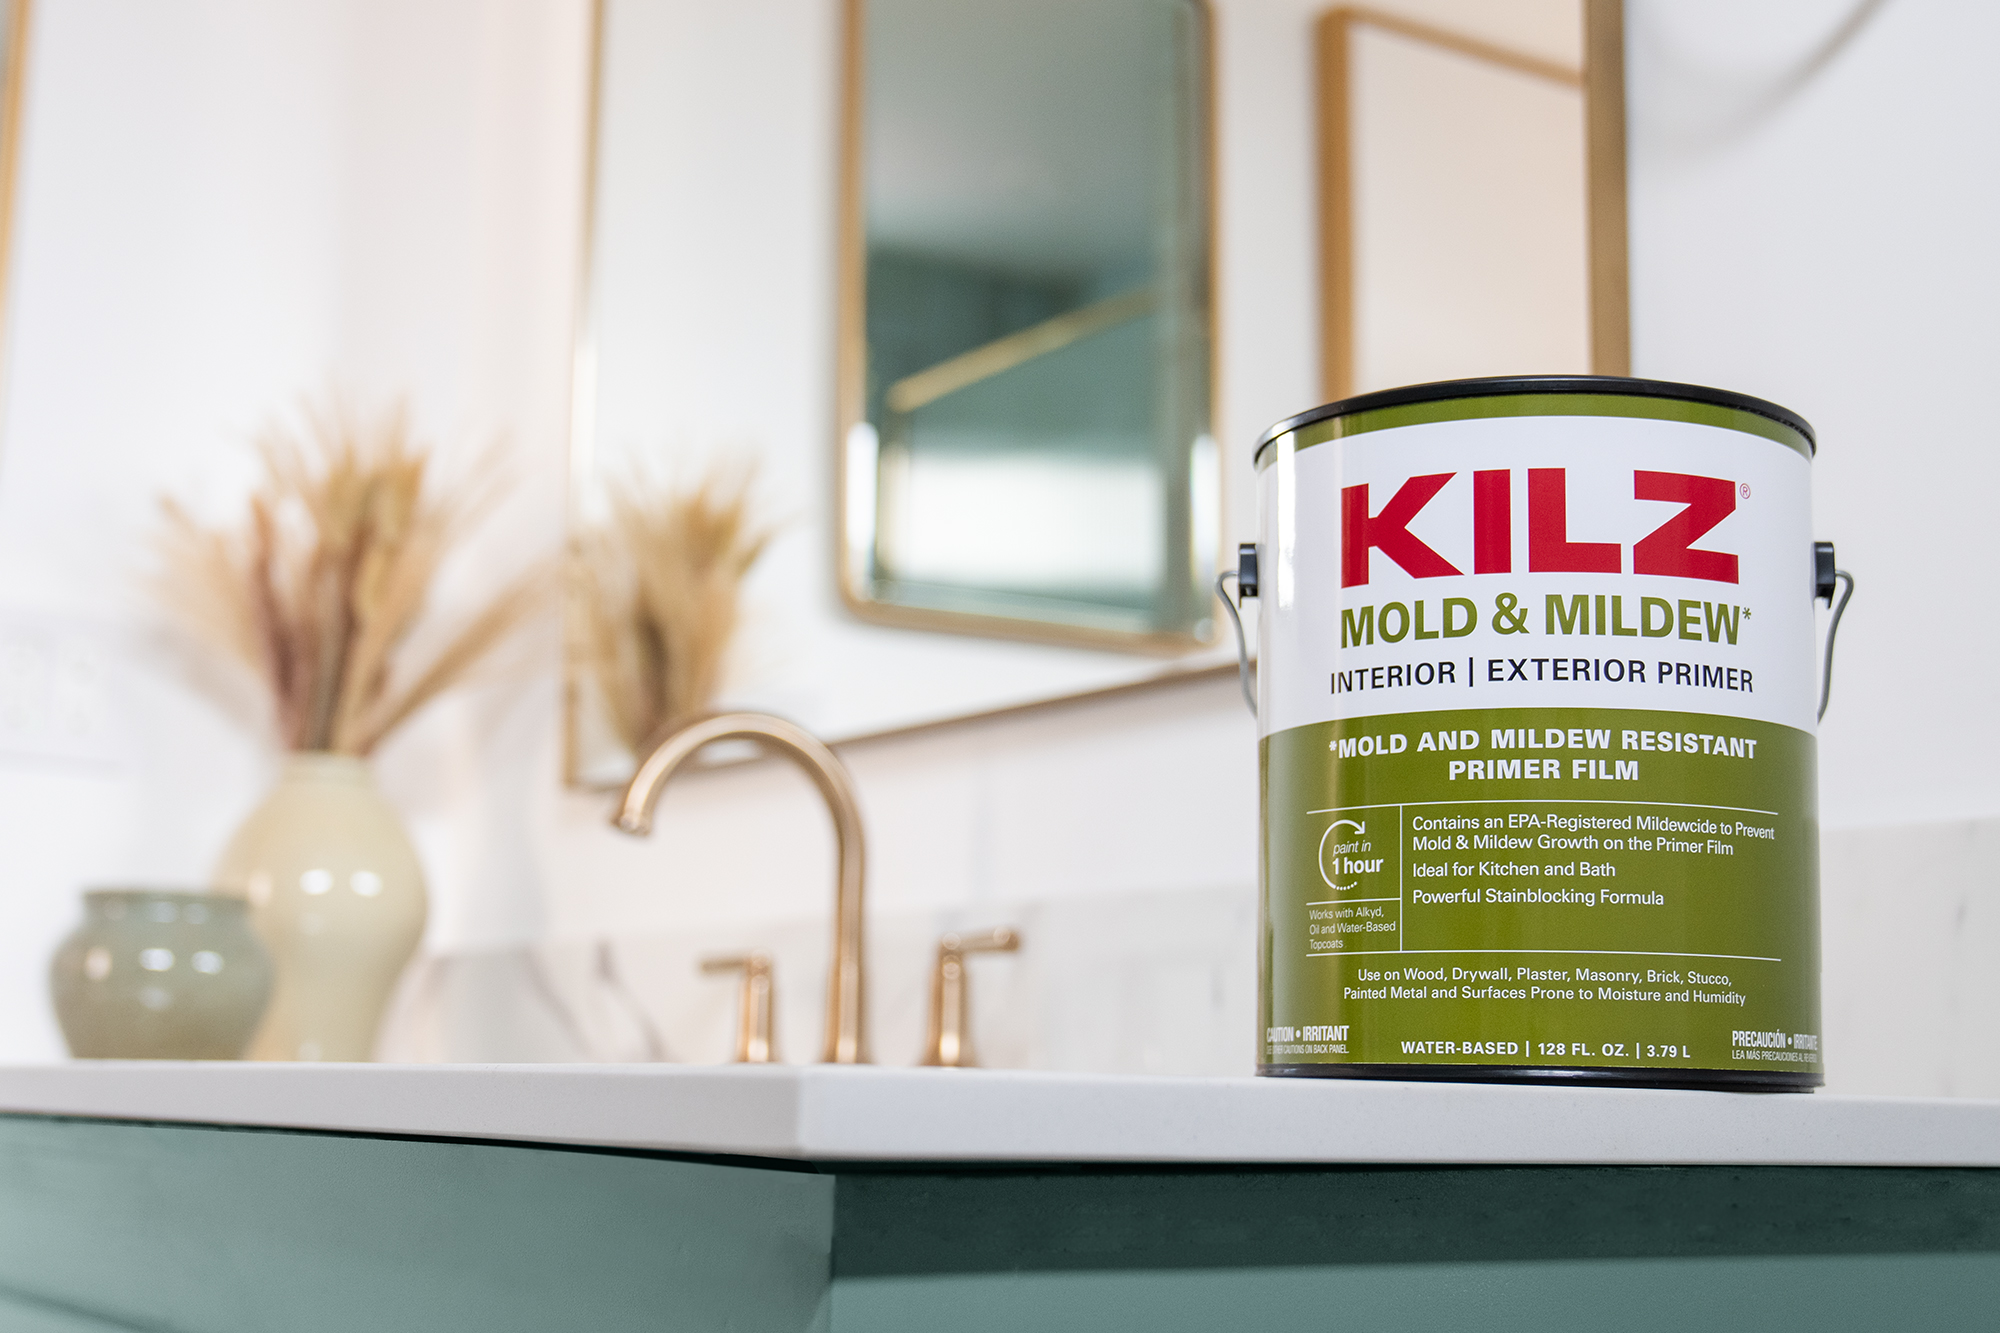
After sanding, I was ready to prime! The primer that we used for this project was KILZ® MOLD & MILDEW Primer. This primer is a water-based, primer-sealer-stain blocker that is specially designed for residential surfaces in high humidity, moisture, and temperature environments such as kitchens, bathrooms, powder rooms, and laundry rooms.
KILZ® MOLD & MILDEW Primer offers excellent adhesion to the surfaces of the bathroom cabinets, ensuring that the paint would stick and stay in place even with high moisture levels typical of bathrooms. Additionally, the EPA-registered active ingredient in this primer creates a mold and mildew-resistant film that protects the primer film from developing mold and mildew growth.
This was particularly important for this personal renovation project for my mom, as it would ensure that her bathroom cabinets would stay mold-resistant in the damp environment. The primer also helped us to achieve a smooth and flawless paint finish.
I applied one coat of KILZ® MOLD & MILDEW Primer, allowing it to dry for 2 hours before moving on to the topcoat. We chose Magnolia Home by Joanna Gaines® Cabinet and Trim Paint which I was excited to use for the first time. My mom looked at the color options online and choose the color “Emmie’s Room” which is a very light shade of green.
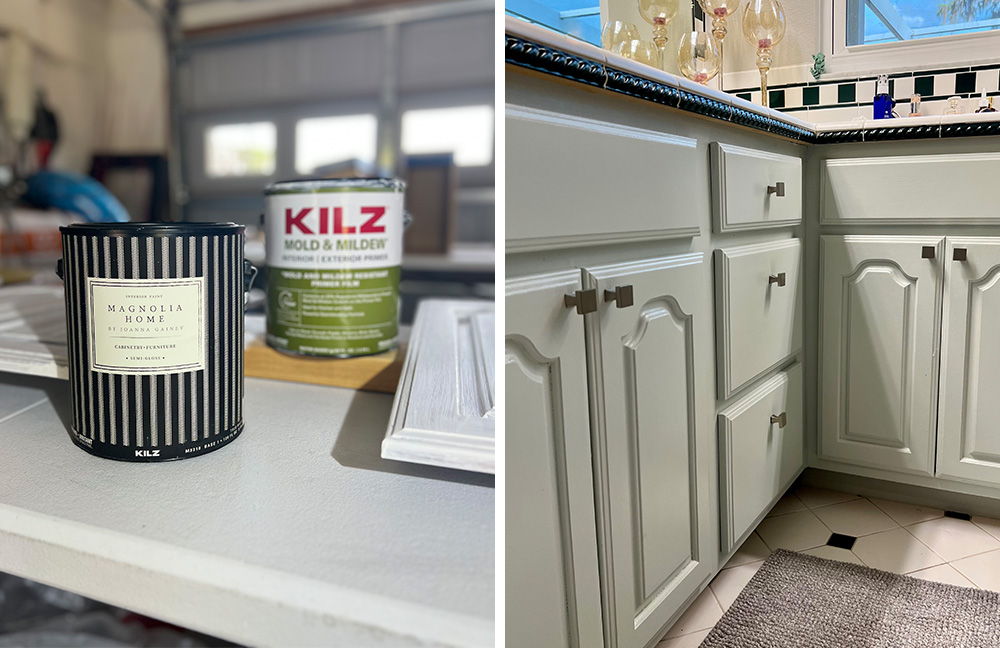
This very light green color complemented the existing white and green tiles in the bathroom perfectly, creating a cohesive and modern look. We applied two coats of the topcoat, allowing each coat to dry completely before applying the next. The final result was stunning and transformed the old and dated bathroom cabinets into a fresh modern look and personally, I think it made the room look much larger.
Not only did this bathroom cabinet refresh make the room look brighter and more modernized, but it also saved my mom a significant amount of money compared to a complete bathroom renovation. When I finally let her come in to see the final results, she couldn’t believe it was the same cabinets. She told me they looked brand new and straight out of a home renovation TV show.
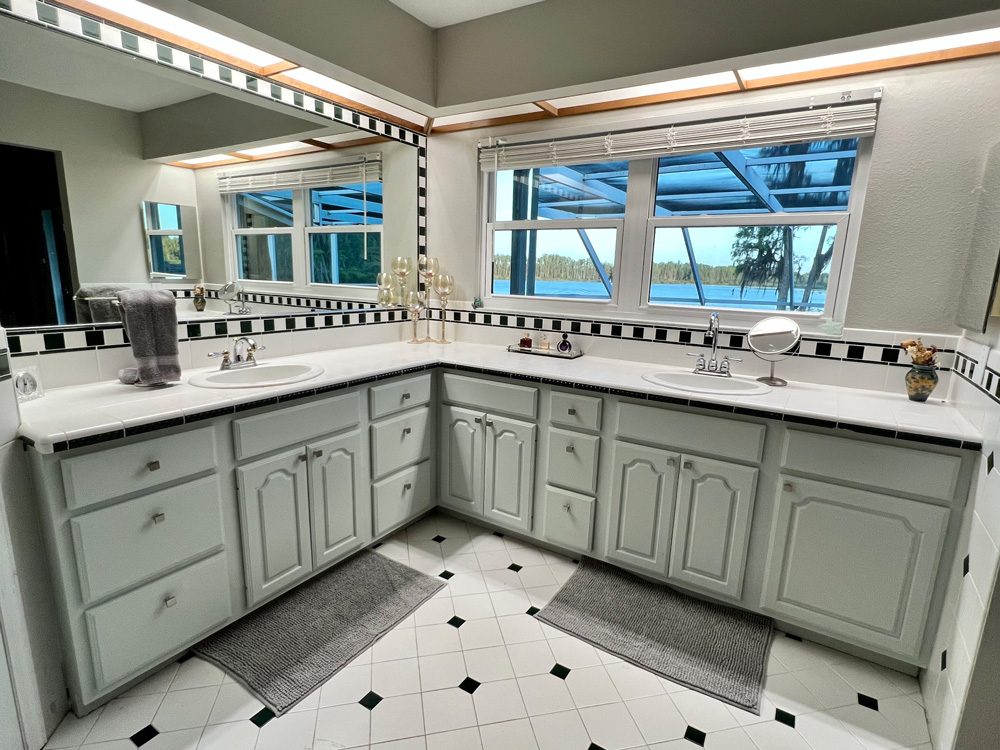
In conclusion, priming is a crucial step in any paint project, no matter how big or small. Not only does it set the foundation for a long-lasting and beautiful finish, but it also ensures that the paint adheres properly to the surface. KILZ® MOLD & MILDEW Primer is an excellent choice for bathrooms and kitchens.
Overall, this project was a personal one for me, as it was a renovation for my mom, who has been my biggest supporter throughout my career. Recently, we started renovating a few investment houses together so it was an honor for her to ask me to work in our family home as well. With KILZ® MOLD & MILDEW Primer and the right workspace, we were able to achieve a beautiful and modernized look for her bathroom cabinets.
To learn more about primer solutions, visit kilz.com.
Always remember to refer to our website kilz.com or product back labels for additional information on which primer is right for your project and detailed instructions on how to apply our products. Check out our Coverage Calculator to understand your estimated paint needs for your upcoming project.
The Right Applicator Can Make a Big Difference
April 27, 2023
When doing a paint project, does the applicator (brush, roller, etc.) make a difference? Why?
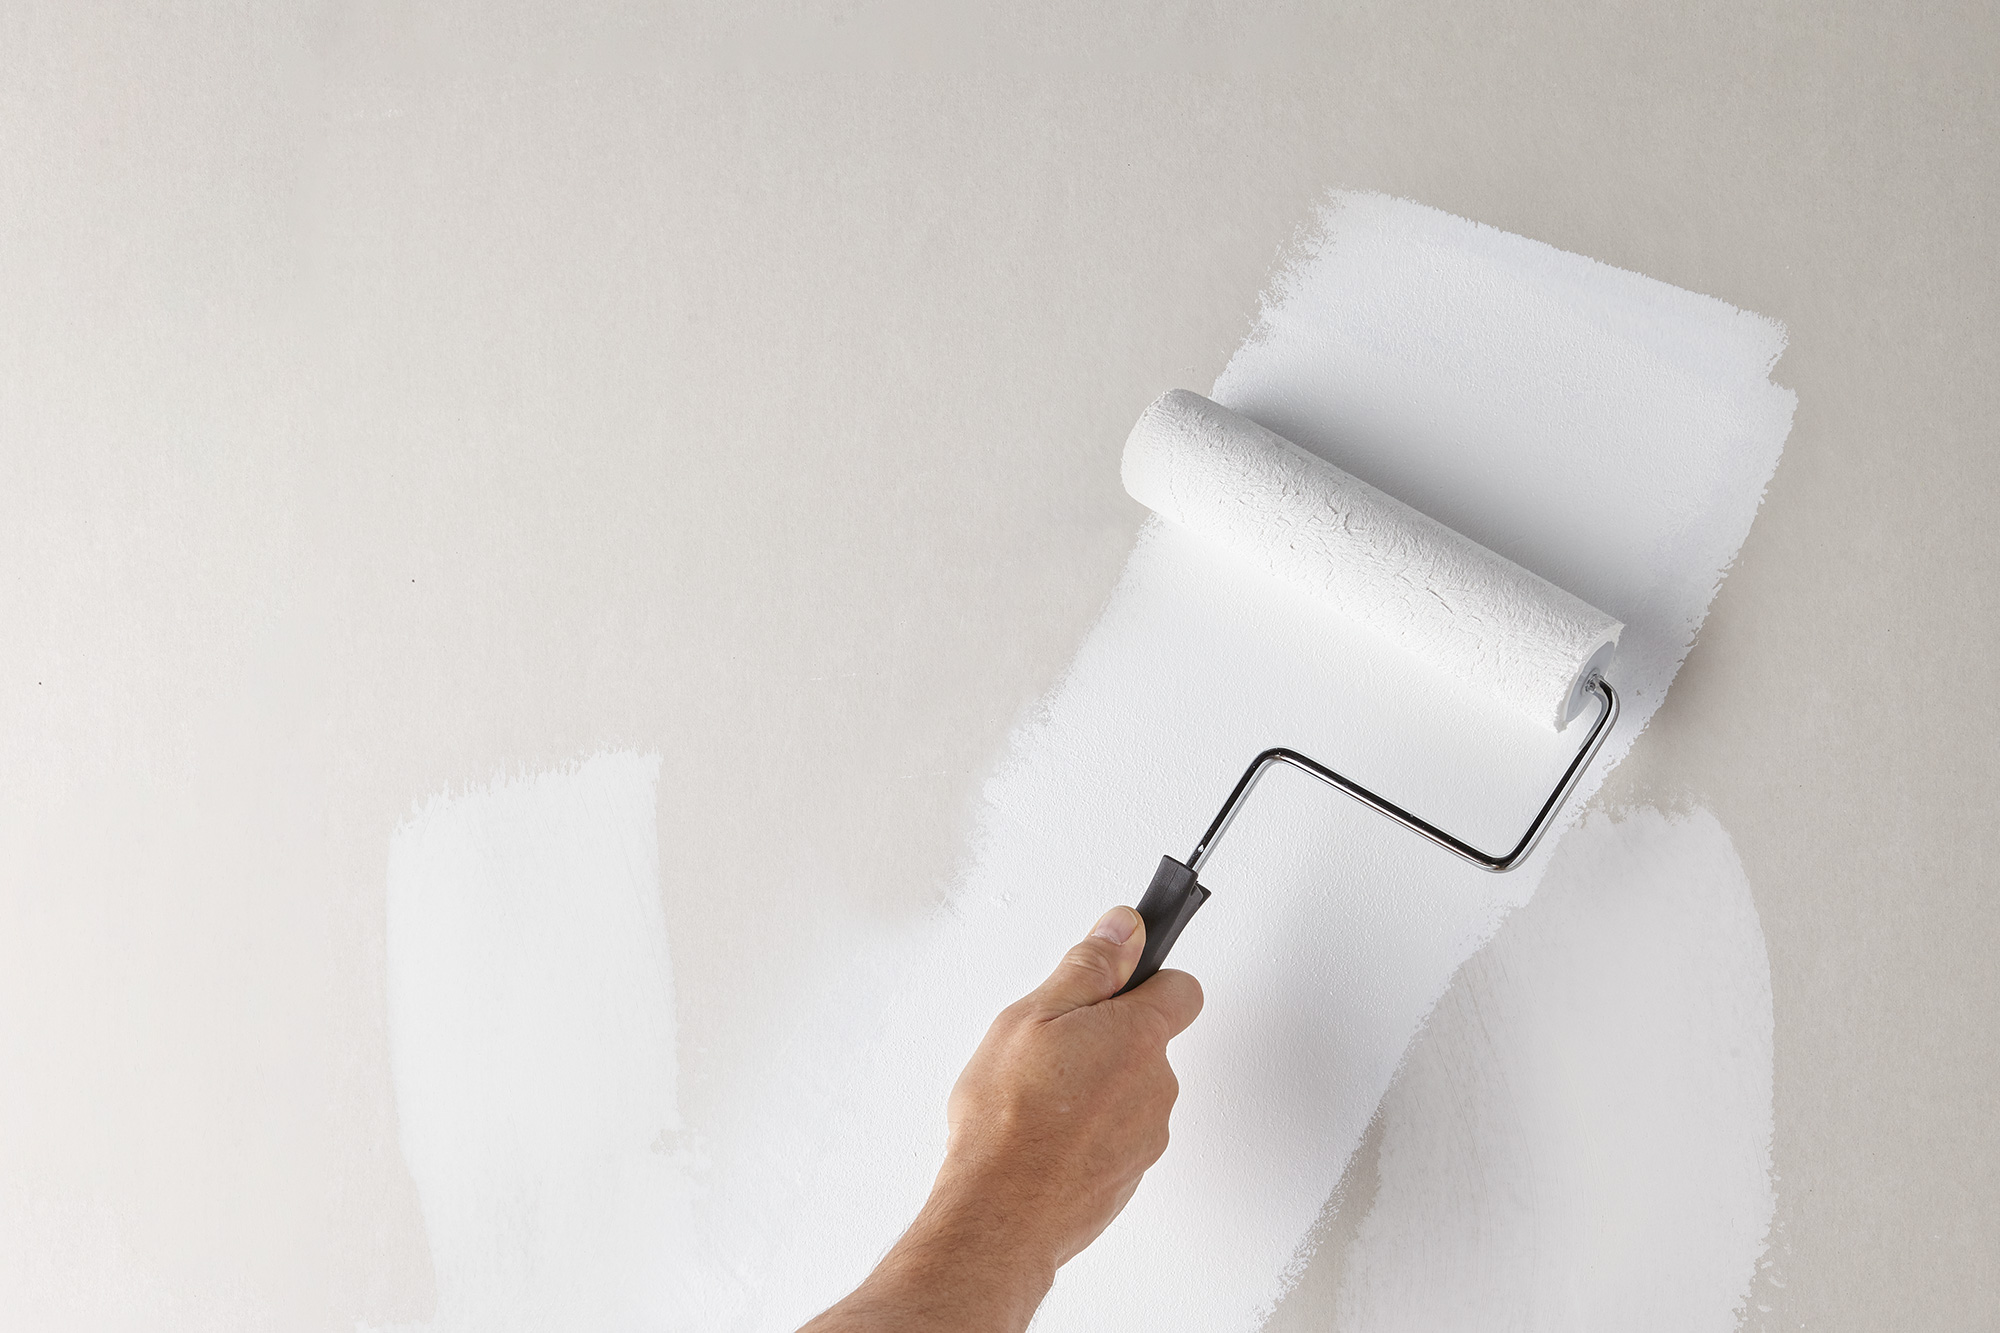
The right applicator can make all the difference! I often spend extra time with customers explaining how a quality applicator can save time and frustration during a project. Quality usually comes at a higher price than a cheaper alternative, but the results are worth it. One of my favorite comments to hear from customers is, “I’m glad I ran into you today.”
Besides selecting a quality applicator, the construction of the applicator should be compatible with the chemistry of the coating being applied. Some brushes are built for water-based products, some are designed to work with oil-based products, and some are designed to work with both. Most rollers are compatible with oil- and water-based products. This information is usually listed on the packaging, so make sure to check for it when selecting an applicator. Regardless of how you choose to apply the coating, the quality of the applicator makes a big difference.
How do you choose the right applicator? What should you look for?
I look for quality applicators that will deliver the best results for the project. The best applicator for the project should have characteristics that match the features of the coating you are applying and the surface conditions. When painting with a higher sheen, like satin or semi-gloss, on doors, trim, or crown molding, customers want the smoothest finish with the fewest brush marks. For this project, use a high-quality brush with nylon bristles. Nylon bristles are soft and compatible with all paints, so they leave a very smooth finish.
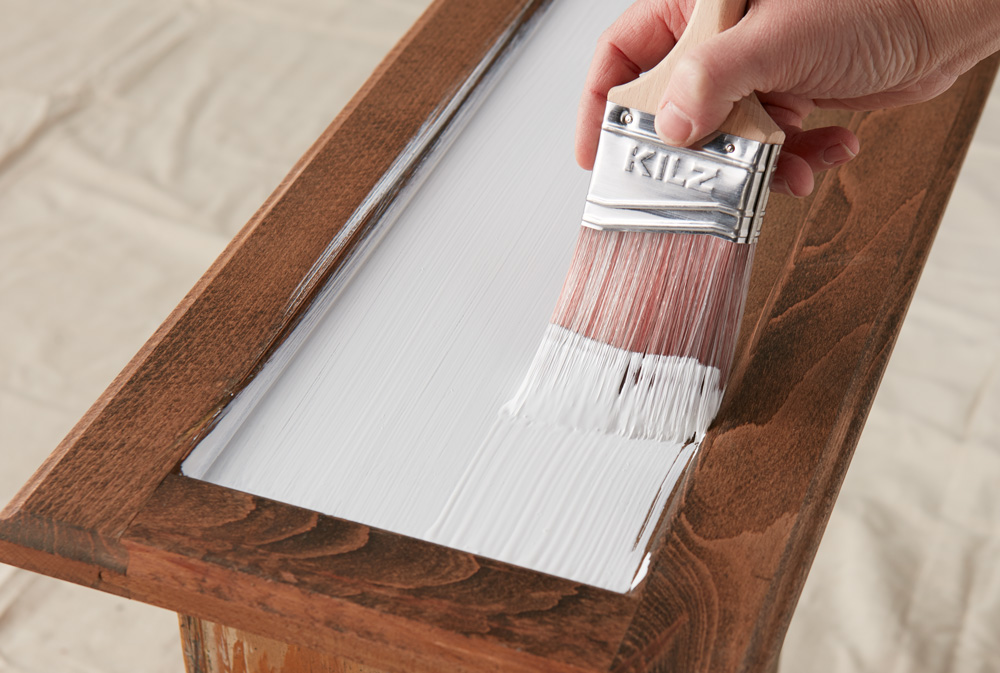
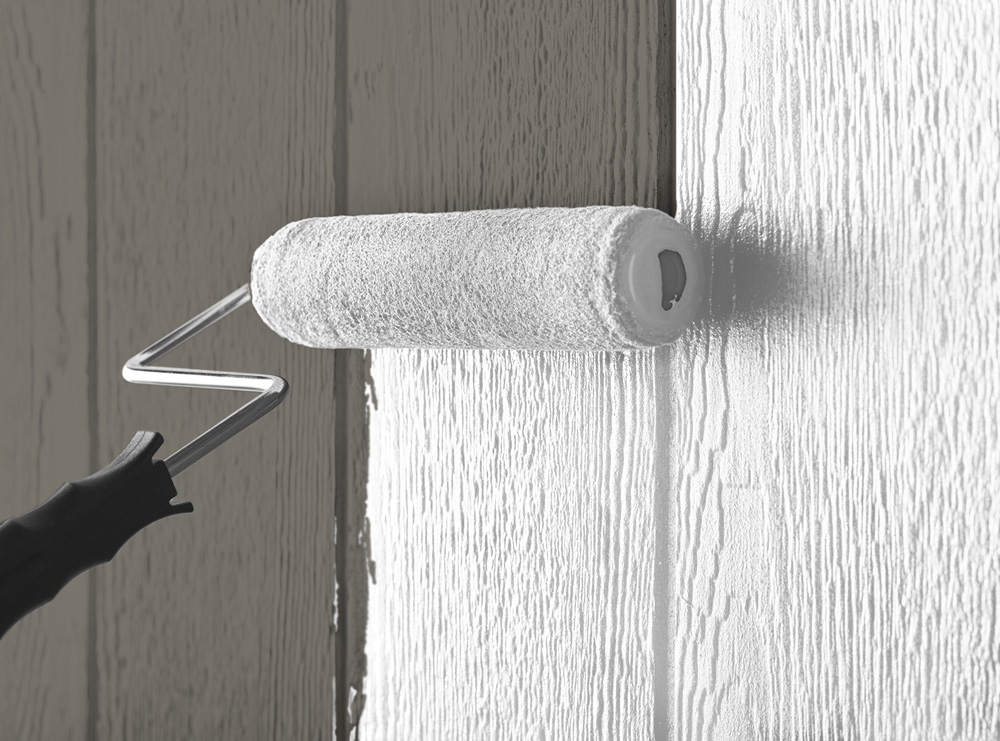
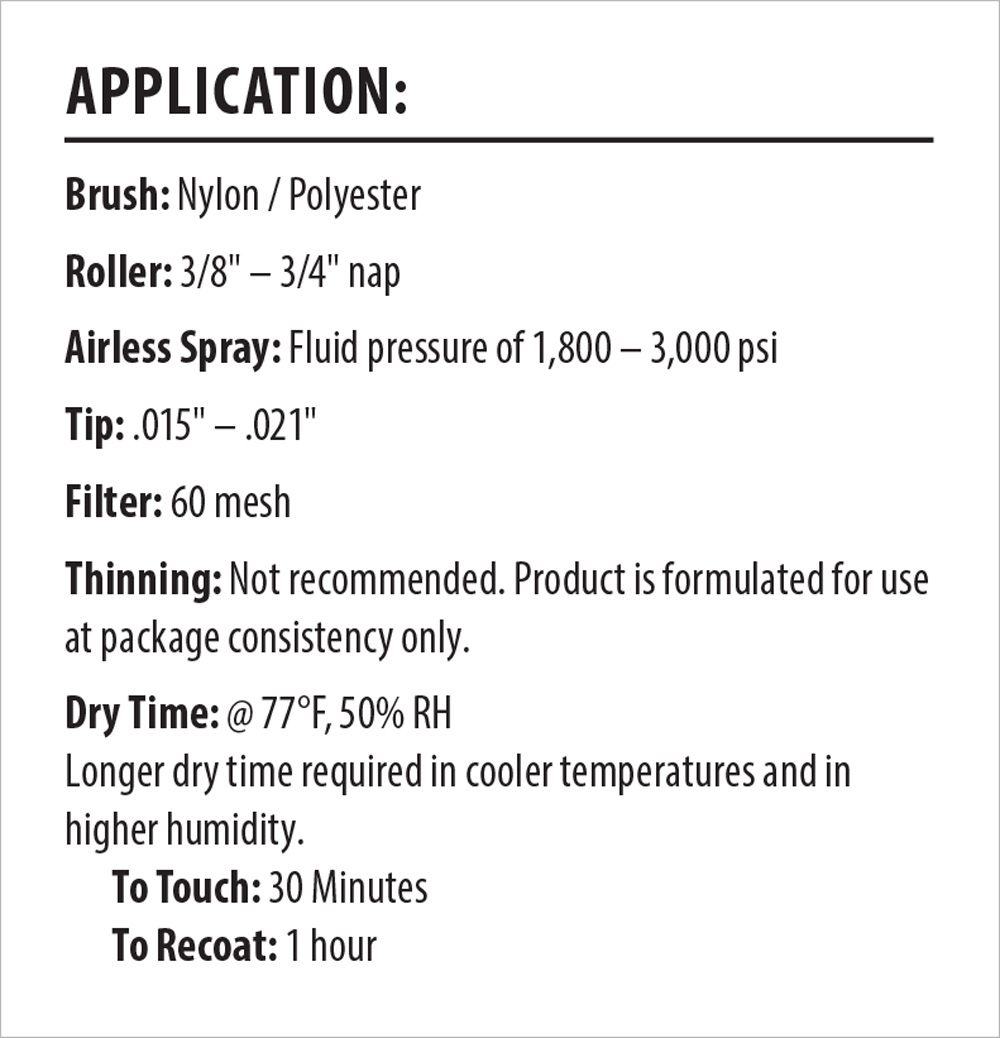
Consumers should look for brushes that are packaged in reusable storage sleeves which usually means better construction and longer life. Rollers should be chosen based on the roughness of the surface: larger nap rollers for rougher surfaces, and shorter nap rollers for smoother surfaces. You can reference the paint can’s label and the technical data sheets (TDS) for application recommendations (see example below).
When should you use a brush vs. a roller vs. sprayer? Are sprayers only for professionals?
The choice between a paint brush, roller, or sprayer depends on the type of surface you are painting, the type of paint you are using, and the results you want to achieve.
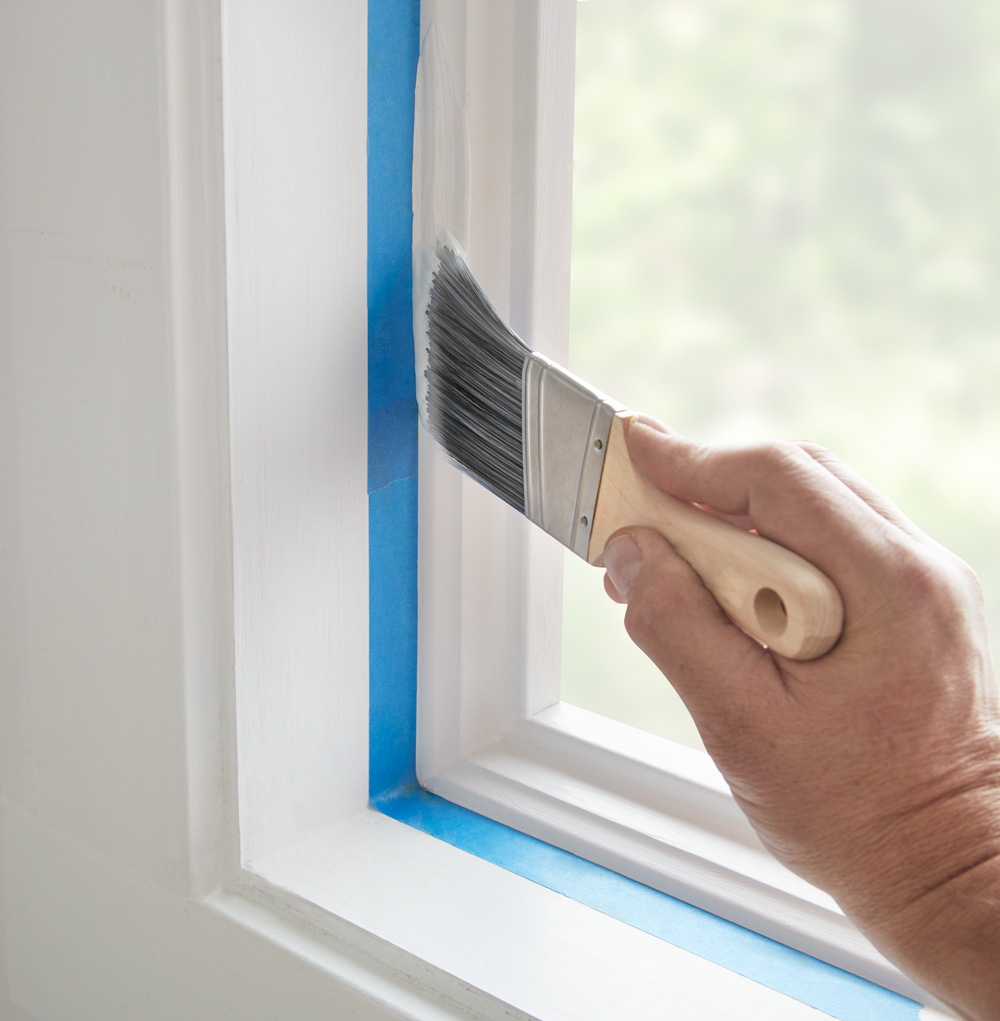
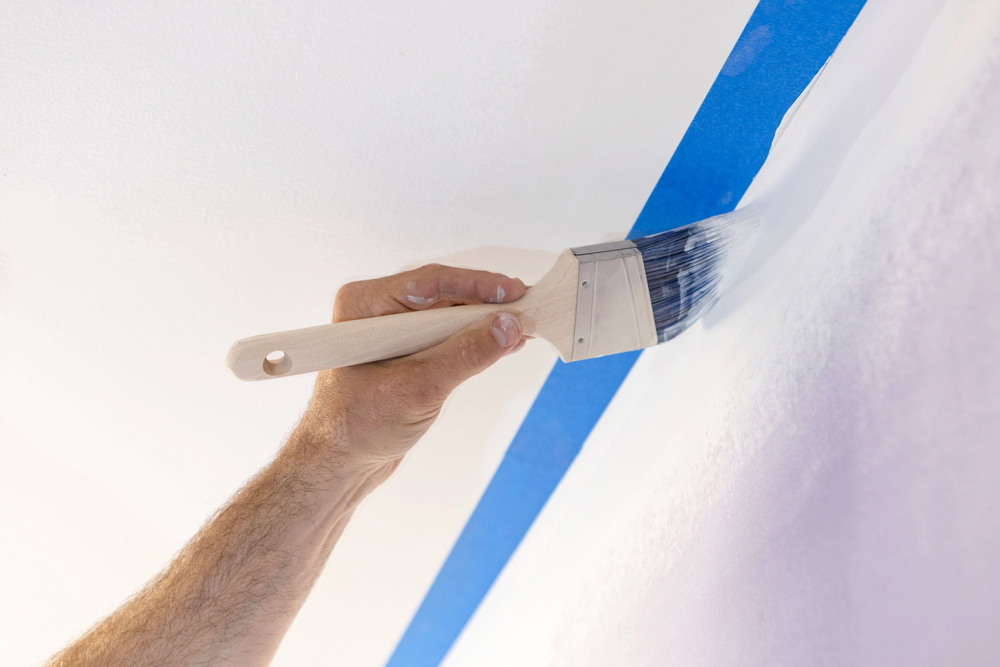
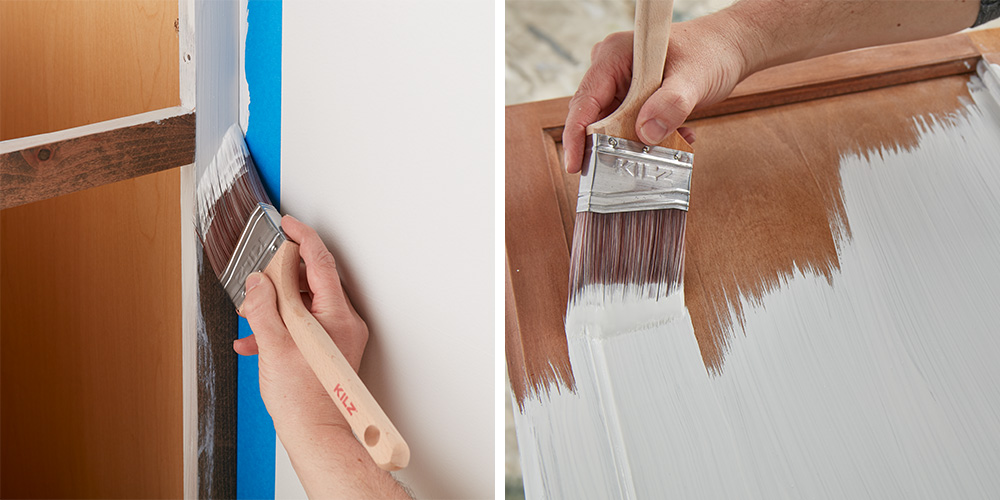
A paint brush is ideal for smaller surfaces such as trim or molding, painting into corners between walls, and where a high degree of precision is required. Brushes offer the most control and the least product drips and spatters (paint thrown off during application). They are also the best choice for thin products like stain or polyurethane. They are very useful on uneven or textured surfaces by allowing you to work the coating into any grooves. Angled brushes are great for painting straight lines and cutting in around trim or door casings. Flat brushes are suitable for filling in large areas like clapboard siding.
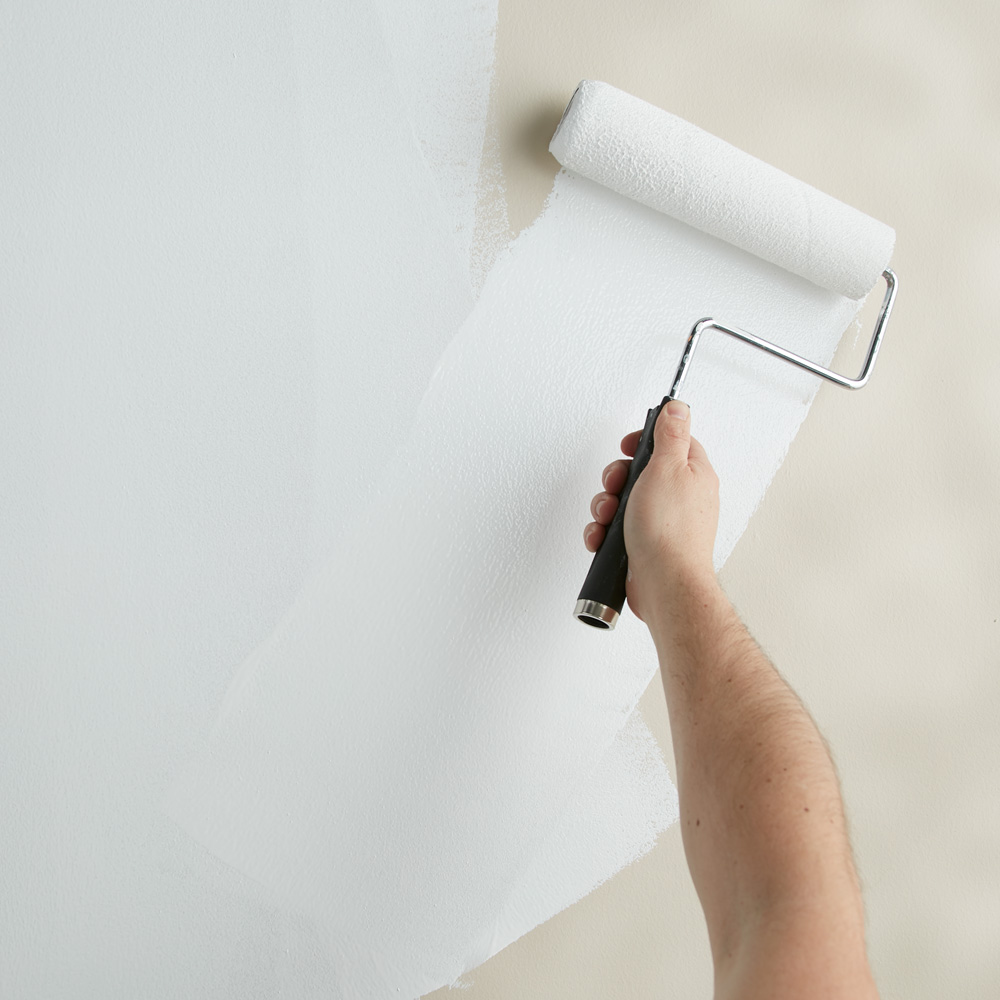
Rollers are great for large, flat, and unbroken surfaces with uniform texture, like ceilings and walls. They are very versatile and can be used to apply wall paints and even heavy-bodied coatings like textured paints. It is important to pick the proper nap length, depending on the coating recommendations and the texture of the surface. Rollers can cause spattering so care should be taken to minimize this to avoid a mess. The choice of high-quality paint, comparable roller cover, and proper pacing usually help mitigate spatter.
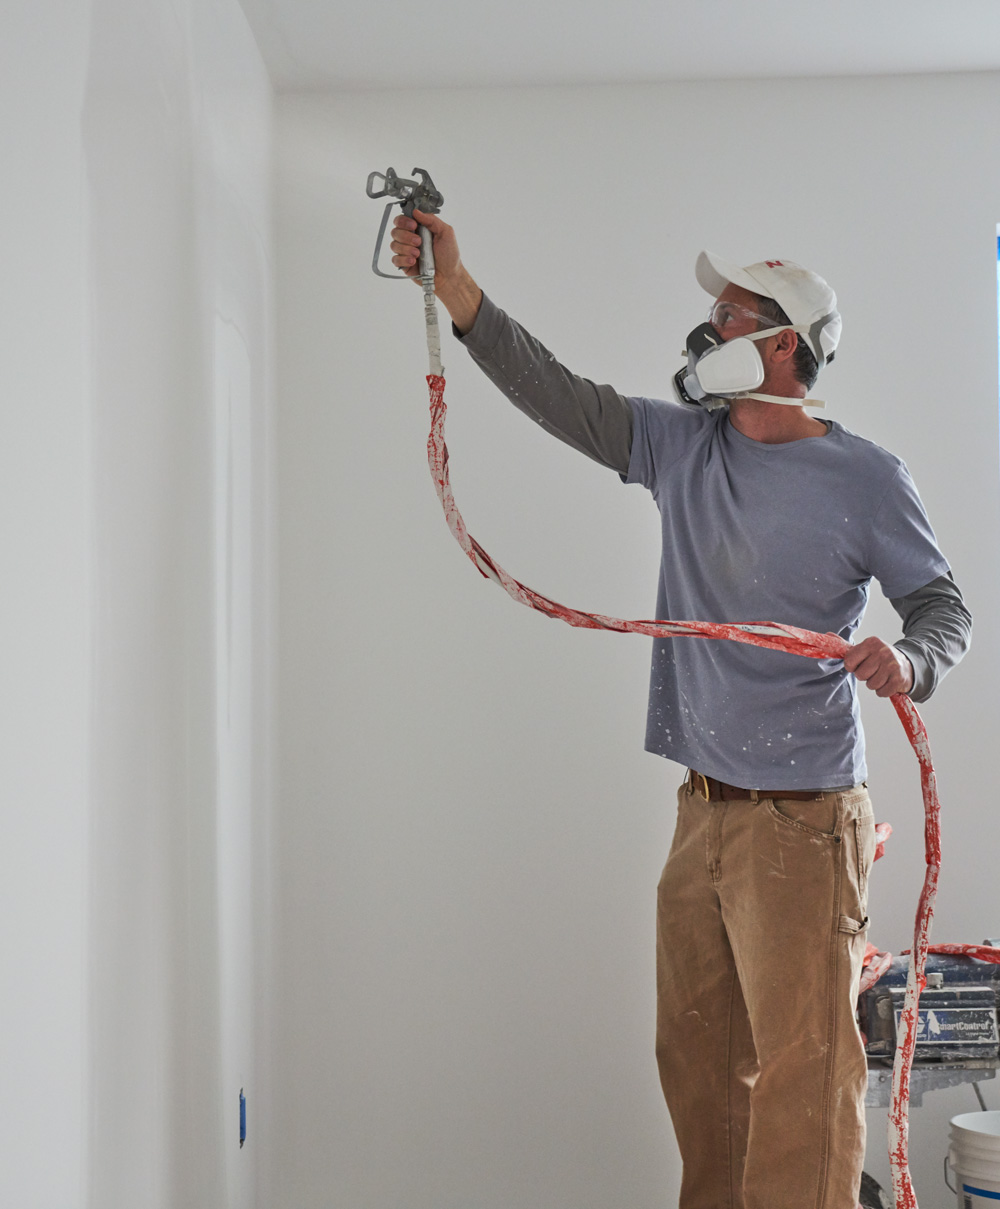
Airless paint sprayers offer the best potential finish but require the most preparation and user skill. These sprayers push paint at very high pressure so adjacent surfaces must be thoroughly masked and protected to avoid overspray. You don’t have to be a pro to use a sprayer, but you must take great care to ensure the project is done safely. Anyone interested in using a paint sprayer should carefully follow the instructions from the manufacturer. Some sprayer companies have great how-to videos on their websites and on YouTube for tips and to ensure an excellent project result.
Any tips on how to correctly use a brush or roller?
For Brushes: Hold the brush like a pencil when painting tight, precise areas. This will give you greater control and make it easier to keep straight lines. Place your fingertips on the ferrule (the area where the brush handle connects to the head) and the handle between your thumb and index finger. This will create balance and help with control. Hold the brush with the slightest pressure required to maintain control as this will help reduce fatigue. To fill in large expansive surfaces and smooth any sags before they dry, hold the brush sideways.
For Rollers: Use an extension pole whenever possible to offer leverage and save you from fatigue. Think of the principle of the lever: the longer the handle you can use in the space, the less effort you must exert on the end of the handle to control the roller. Even a short extension pole can make the job a lot easier. Most extension poles are adjustable to allow you to shorten or lengthen as needed.

Listen to the sound the roller makes while applying the product. A properly loaded roller makes application easier and more uniform. A roller that is too dry can lead to uneven coverage or sheen. When the roller cover becomes too dry it will make a sticky sound as it moves over the surface, like an alert to you to reload to ensure uniform performance. This leads to a second reason to use an extension pole; it makes it easier to spin the roller handle while moving from the paint source to the wall. Spinning the handle during this step helps minimize drips from the applicator.
Follow these tips and refer to label recommendations to ensure great project results.
Always remember to refer to our website kilz.com or product back labels for additional information on which primer is right for your project and detailed instructions on how to apply our products. Check out our Coverage Calculator to understand your estimated paint needs for your upcoming project.

The Ultimate Painting Checklist for Any Project
April 26, 2023Preparation is key before starting any paint project in your home. You should know the products you’ll need and what steps to follow. Whether you’re looking to spruce up some old cabinets, repaint an entire room, or refresh an outdoor patio, knowing what to expect will help ensure things run smoothly from start to finish.
Plan Your Approach
There’s a lot to consider when painting different spaces. For indoor and outdoor paint jobs alike, you’ll need to think about the surface—wood, brick, drywall, etc.— its condition, and the function of the space. Are you painting a backyard deck or refreshing kitchen cabinets? Are you changing the color of your bedroom or restoring a water-stained ceiling?
The chosen primer directly influences the success of your project. This crucial step will save you time and money in the long run and make your final color the best it can be.

Choose Your Color
With so many available options, it’s a good idea to test a few different color samples in various lighting conditions before making a final decision. If you’re keeping existing furniture or art in a room, consider how they work with your chosen shade beforehand.
 Choose the Right Primer
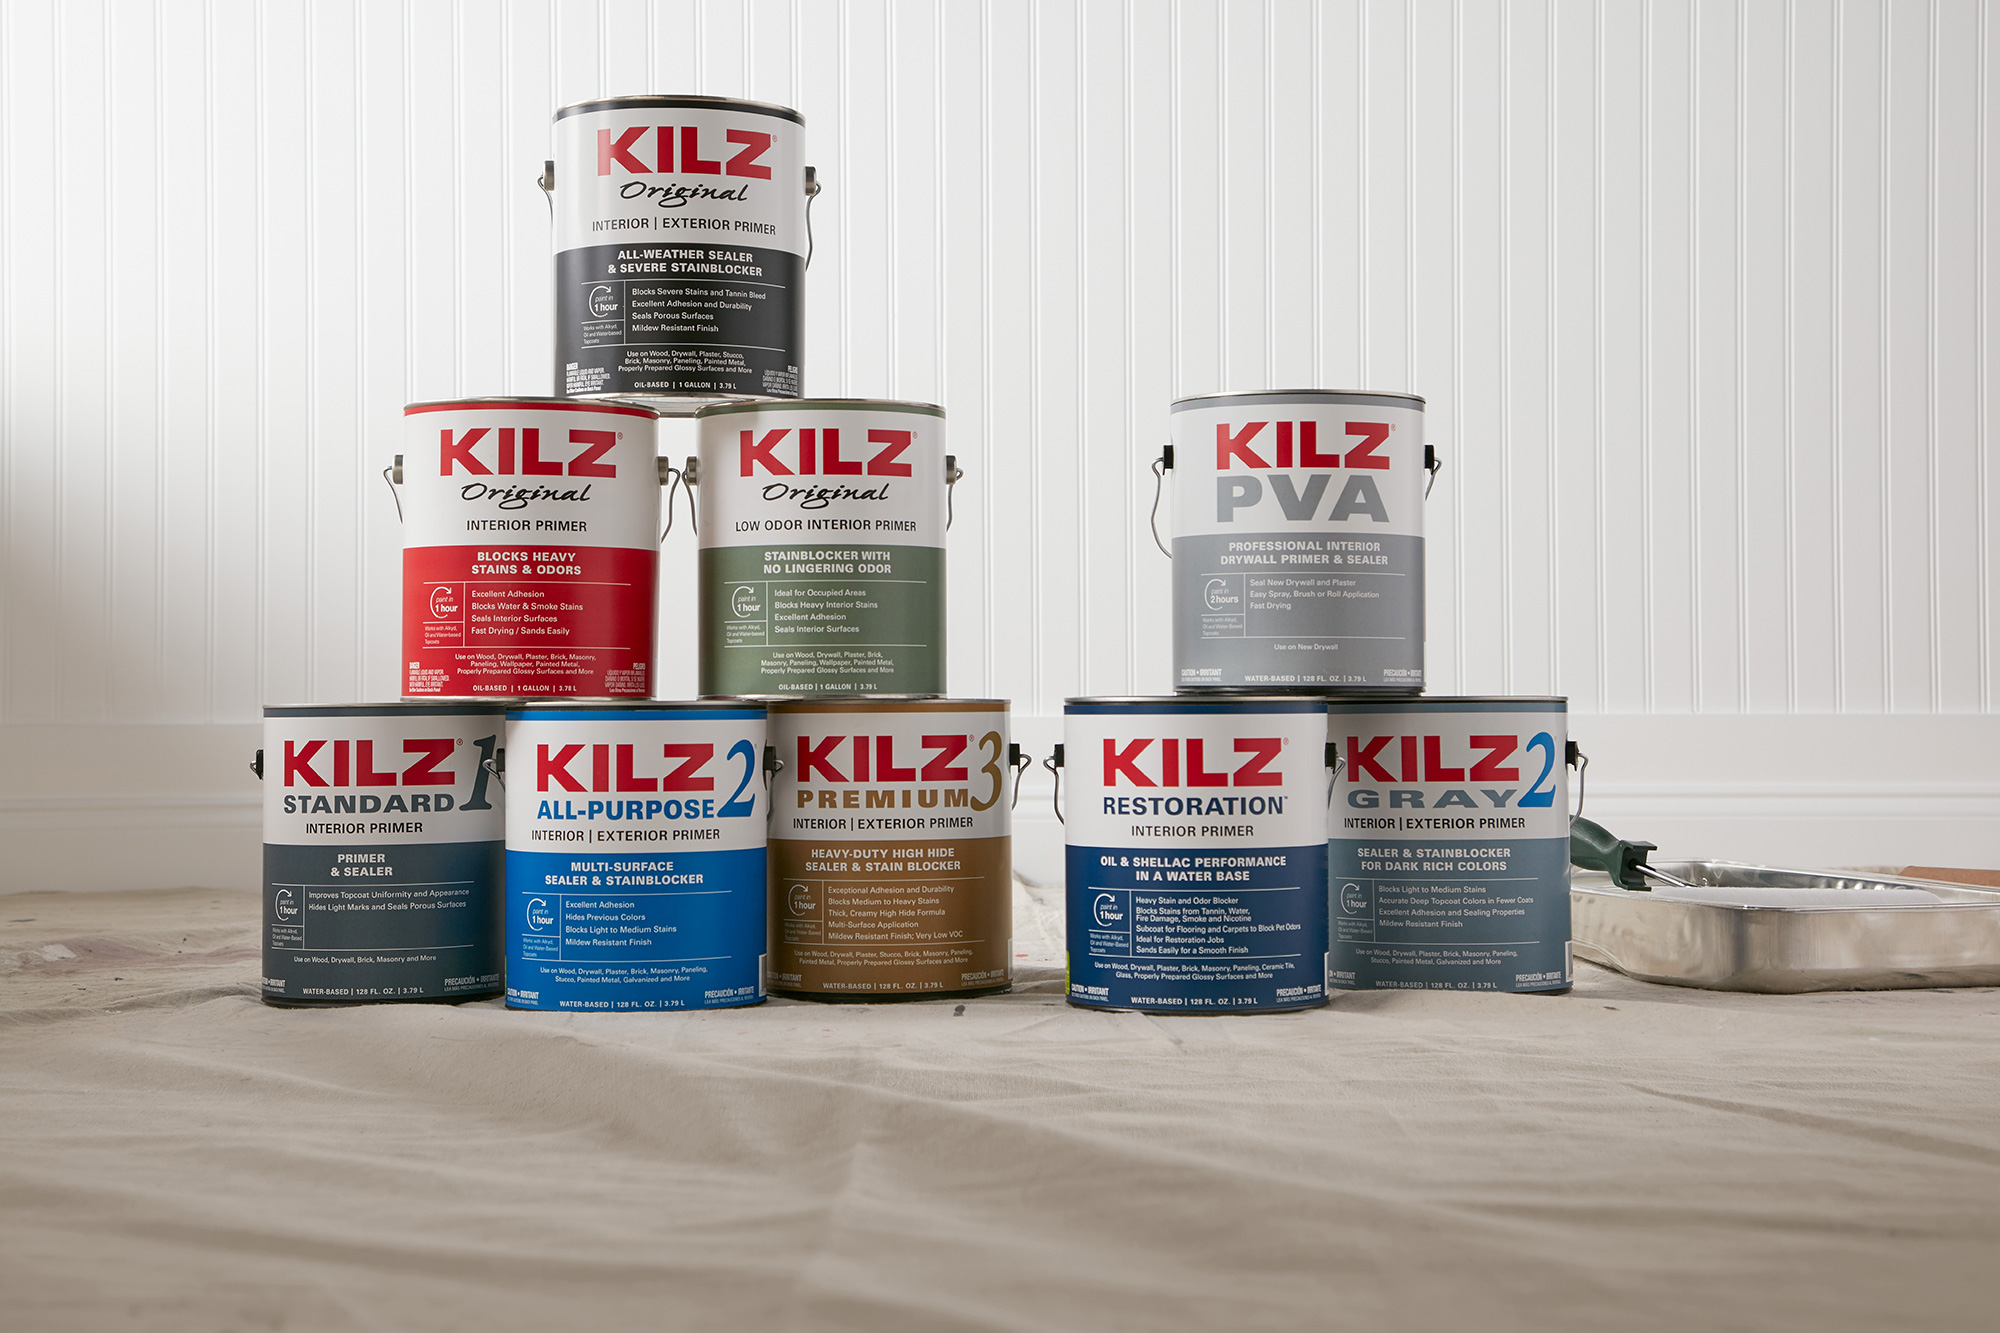
For most projects, you can trust a multi-surface primer to prepare the surface for painting. More complex situations require a primer specially engineered for those cases—such as mold, stain, and odors.
Oil-based primers are often better at blocking or sealing stains, especially water-soluble stains. They’re also usually superior at blocking tannin bleed and unwanted odors.
• Choose to prime over a previous oil-based paint.
• Choose to prime on fresh, unsealed, or knotty wood.
• Choose if you need to cover severe stains or odors.
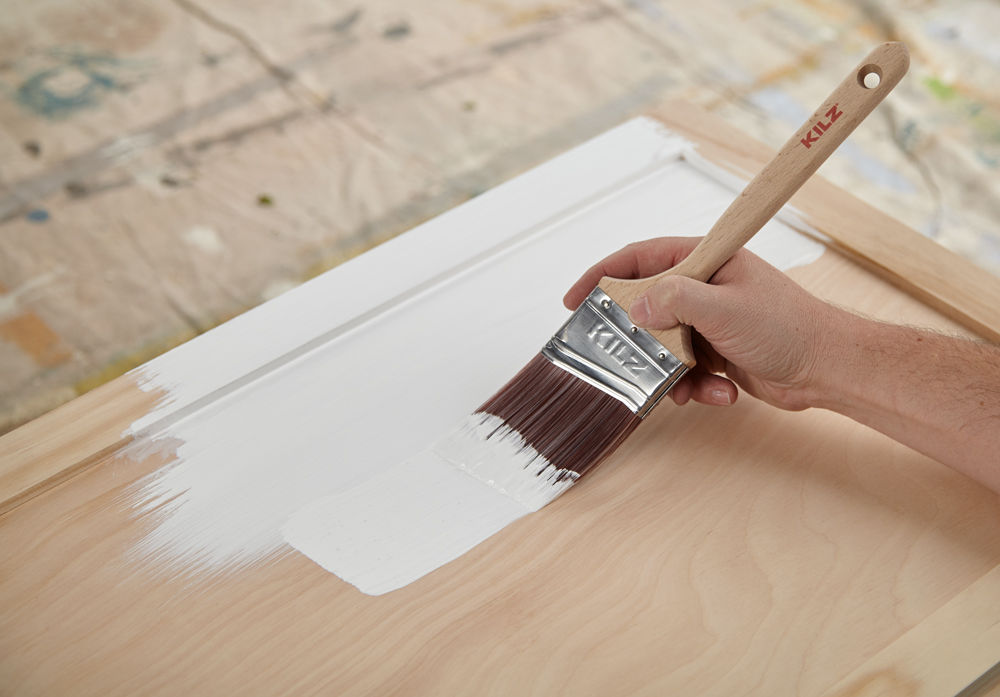
Water-based primers—or “latex” primers—are easier to clean (using soap and water), dry fast, and have low VOCs, making them healthier for you and the environment.
• Choose if priming indoors where ventilation is poor and in spaces sensitive to strong odors.
• Choose when projects require a lower VOC level product, if there is a flammability concern, and/or when there is a preference for clean-up without harsh chemicals.

Our Pro Primer Recommendations:
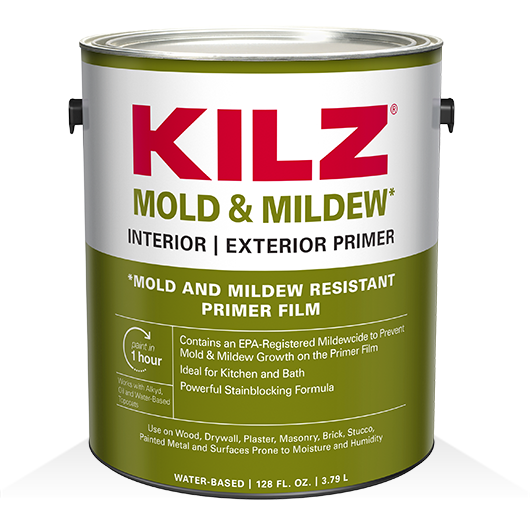
• KILZ® Mold & Mildew Interior and Exterior Primer: Water-based primer. Ideal for use in high humidity, high moisture, and high-temperature environments.
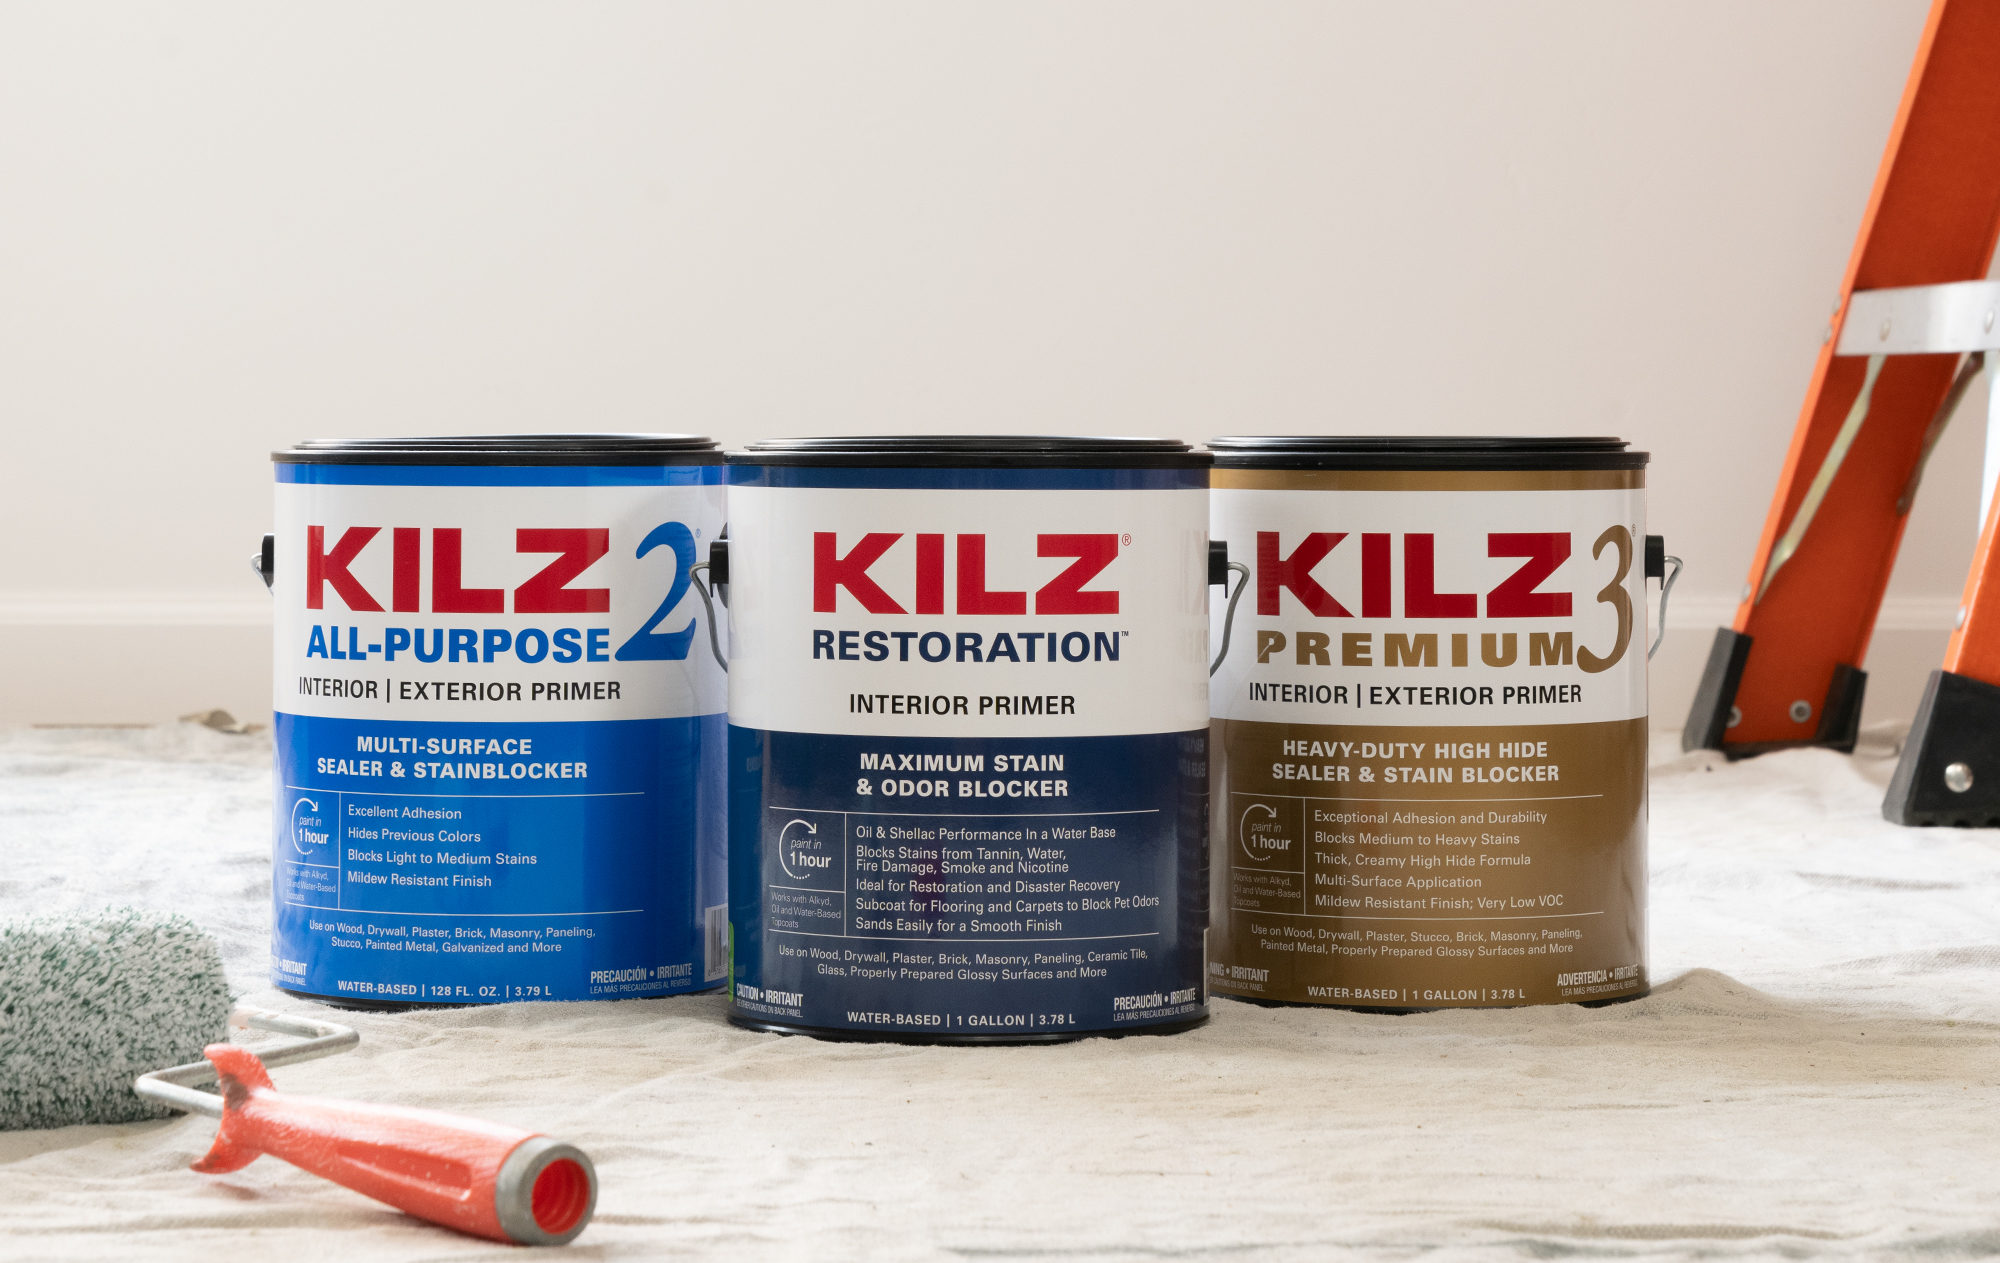
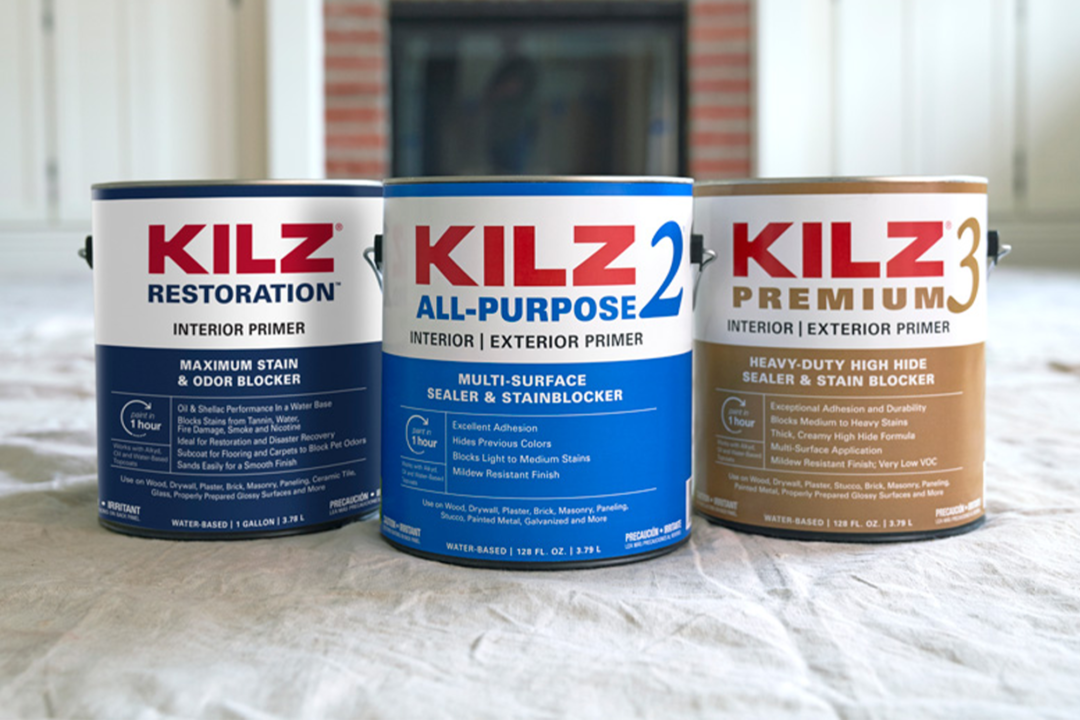
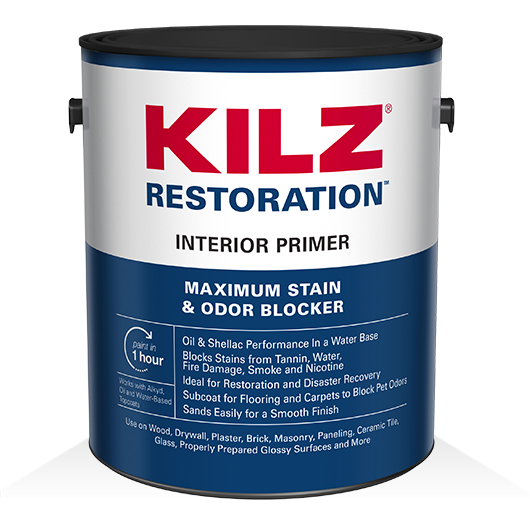
• KILZ Restoration® Interior Primer: Water-based primer. Ideal for interior, multi-surface paint jobs that may require tough stain blocking and heavy odor coverage.
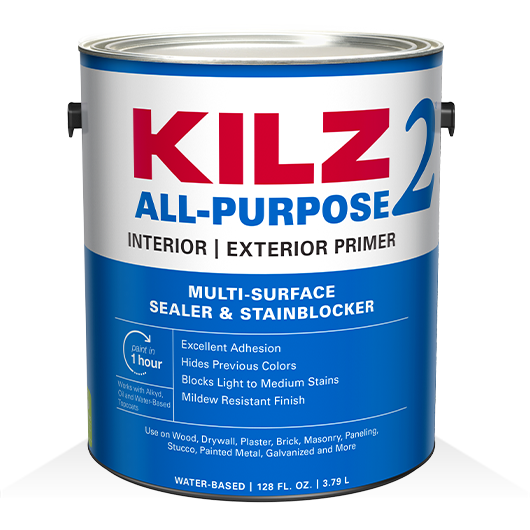
• KILZ 2® All-Purpose Interior and Exterior Primer: Water-based primer. Great overall interior/exterior primer. Ideal for changing wall colors.
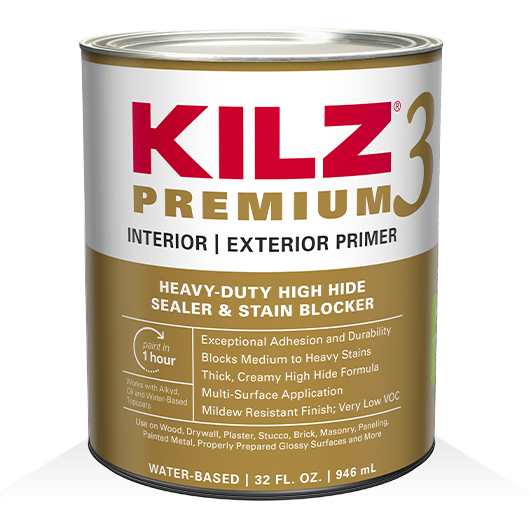
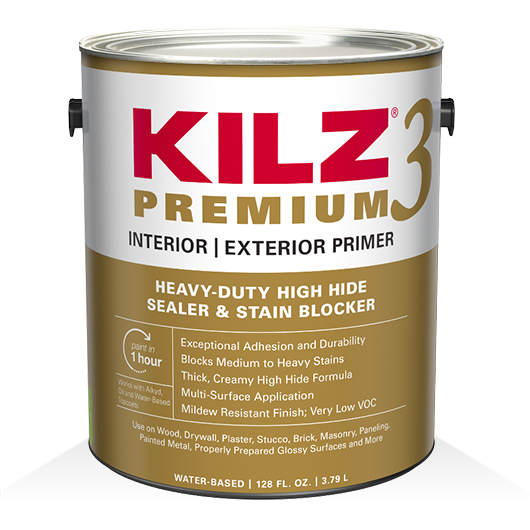
• KILZ 3® Premium Interior and Exterior Primer: Water-based primer. Fast drying, great for adhesion and hiding surface imperfections. It provides a mildew-resistant coating, making it ideal for moisture-prone areas.
What Else Do I Need to Paint a Room? (Supply Checklist)
Depending on the nature of the job, these items can make your life easier.
• Paint roller + Tray – Rollers hold more paint than brushes and can distribute even layers of paint much faster.
• Paint sprayer – For a smooth, professional finish.
• Paint scraper – Removes unwanted layers of paint.
• Trim paint brush – For trimming around windows, molding, and door frames.
• Painter’s tape – A must for creating precise lines and neat edges.
• Sandpaper – For smoothing and prepping surfaces.
• Putty knife – Creates a smooth wall or ceiling surface.
• Drop cloth – Use to protect your furniture and floors.
• Stepladder – For reaching ceilings and the tops of walls.
• Extension pole – To extend your roller’s reach without a ladder.
• Paint guide (edge guard) – Neatly paint molding, trim, and windowpanes without painter’s tape.
Any painting project takes focus, but having the right plan, primer, and tools ahead of time will save you time and money and make you feel like a pro in no time. We hope this inspires your next project, no matter how big or small. Be sure to come back to the blog for more DIY tips, tricks, and ideas.
Always remember to refer to our website kilz.com or product back labels for additional information on which primer is right for your project and detailed instructions on how to apply our products. Check out our Coverage Calculator to understand your estimated paint needs for your upcoming project.
Choose the Right KILZ® Primer for Your Substrate
February 23, 2023Whether you’re painting inside or outside your home, choosing a primer suitable for the surface is the difference between success and, well, a not-so-great job. That’s why there are several different KILZ® Primers to choose from.
Starting with the right primer could prevent your paint from failing. So, we’ve asked our primer expert, Product Manager John Golamco to answer a few questions about primers and surfaces (substrates) for us.
What to know before starting a paint project
Before beginning any painting project, Golamco says it’s crucial to identify the type of surface you want to prime and paint. Because different substrates accept coatings differently, KILZ formulated with each surface type in mind.
Once you’ve identified the surface type, take note of its condition. Are there any particular circumstances that need addressing before applying a coating? Attend to things like peeling paint, mold or excessive dirt first.
Finally, determine the environmental conditions of the location. Is it damp? Are you painting outside where the surface is exposed to the weather? Or will the paint be subjected to extreme temperature fluctuations? Each of these conditions dictates the primer and paint you choose to use.
Correctly identifying the substrate
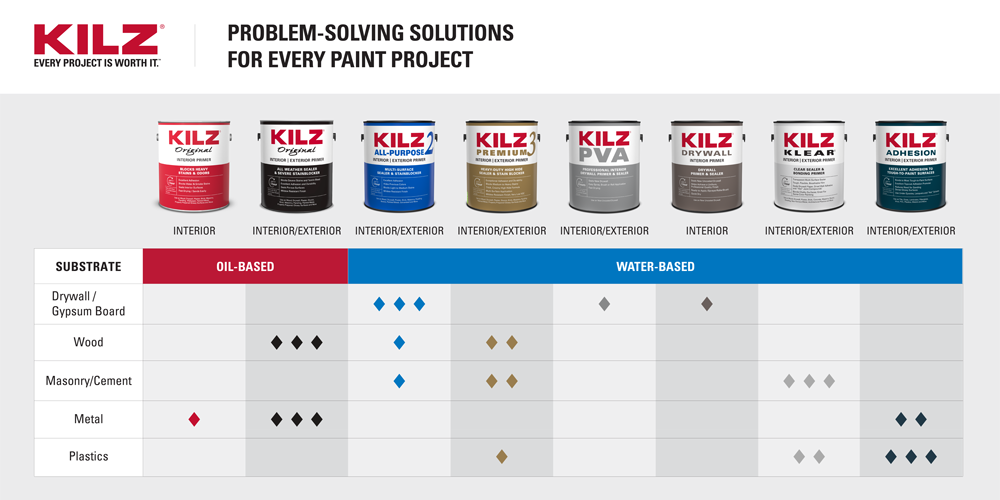
Drywall / Gypsum Board
Most interior walls and ceilings are covered in drywall. According to Golamco, the new drywall is very porous and absorbs much paint. So, to avoid applying excessive coats of paint to get the desired color and finish, he recommends using a drywall primer or PVA. The primer will seal the surface before painting so that less paint is required. Since paint typically costs more than a primer, you get a superior finish with less cost. Priming drywall also smooths out the finish and evens out seams, giving better results with fewer coats of paint.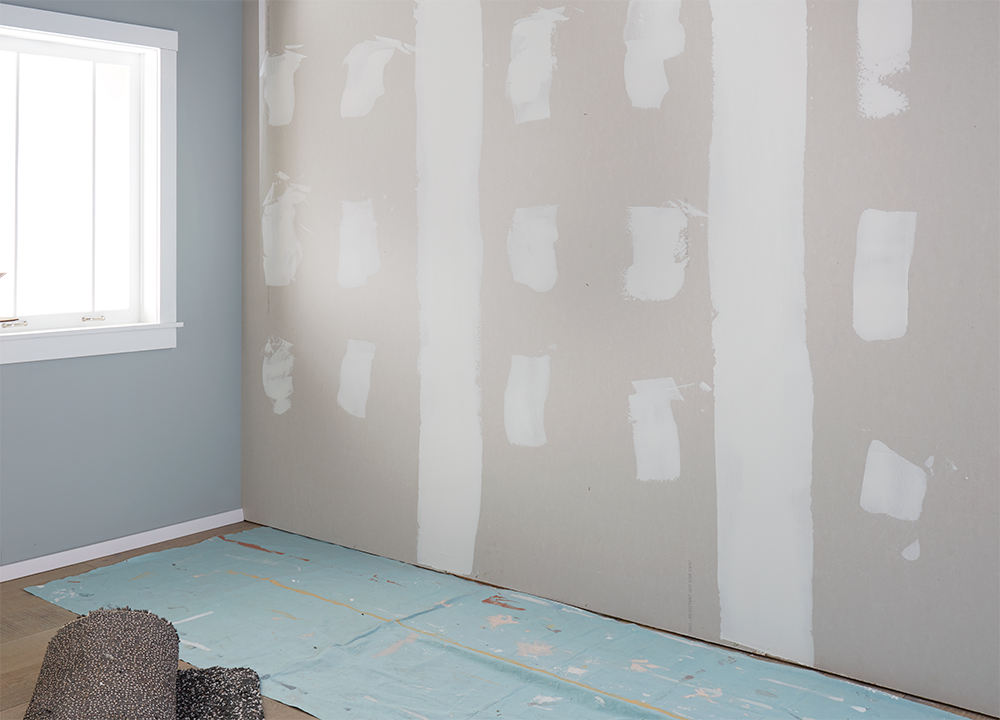
Unfinished wood
Bare wood is porous and grainy. A primer penetrates the wood fibers, seals the porous surface, and creates a smooth, even surface. Golamco says that applying paint to bare wood without a primer coat produces a dull, blotchy finish. Also, some wood species, like red wood , secrete tannins that could leach through the topcoat paint, impacting its appearance. To avoid this, apply a stain-blocking primer to the bare wood before finishing with the topcoat.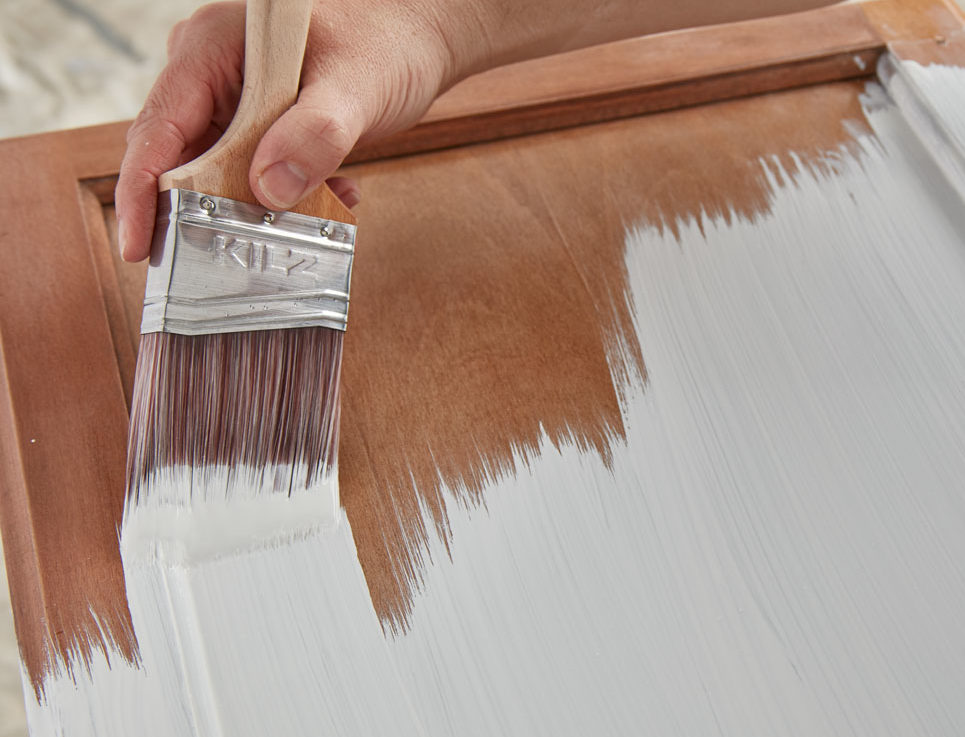
Masonry/ Cement
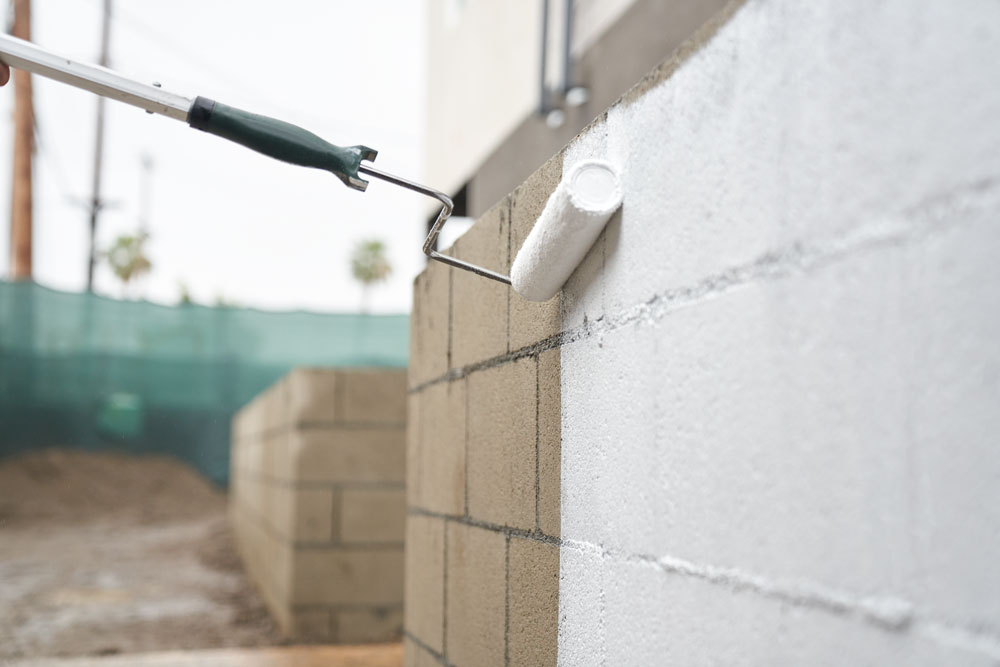
A coat, or two, of primer seals porous surfaces like masonry and concrete, creating a smooth finish for the paint to go on. Without primer, masonry tends to absorb too much paint. And as with drywall, you’ll need to apply more coats to account for the uneven porosity and color. Also, according to Golamco, fresh concrete has a high pH value because its cement binders contain many alkalis. Their presence causes adhesion problems when applying paint and can cause the topcoat color to fade (alkali burnout). But an alkali-resistant primer will better help the paint bond to the masonry and protect the finish over time.
 Metal
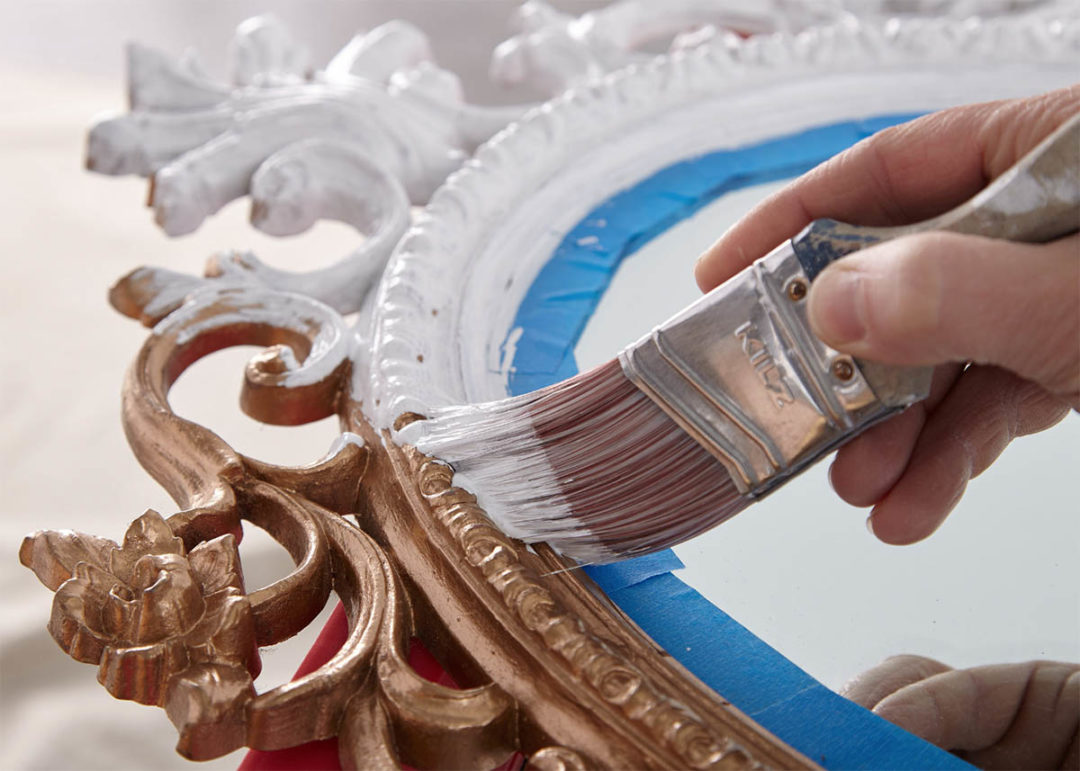
Metal
Many people don’t realize that some metals can rust under a paint coating, especially if the metal surface is exposed to moisture. For this reason, it’s essential to prime metal surfaces before painting, particularly when it’s uncoated or bare. Golamco says that metal primers have unique ingredients to make the metal more resistant to rain, humidity, and salt, which cause corrosion.
Plastics
Since plastics are non-porous, paint doesn’t like to stick to them. As a result, paint on plastic often cracks, blisters, or peels. Golamco recommends first sanding the plastic surface, especially around any edges, curves, and areas with intricate detail to prevent this. Once sanded and cleaned, he says to prime the plastic with a high-adhesion primer. This process will help the topcoat paint adhere the way it should.
The importance of choosing the right primer
Applying primer before painting ensures a beautiful outcome that lasts, but not all primers are created equal. KILZ Primers are engineered and formulated to solve the unique types of challenges presented by different substrates.
“Some multi-purpose primers solve a combination of issues with one product,” said Golamco. “But they’re not formulated to address more severe or complex issues.” If you know the surface type, its condition, issues to be addressed and the environmental factors, then this can help you to choose the right primer for the job. So, if you want to cover a dark color with a light one, paint metal to prevent corrosion, or any other challenging substrate, use a specialty primer for a successful outcome.
Check out the chart below for the best primer for your project!


join the conversation:
SHARE this post: