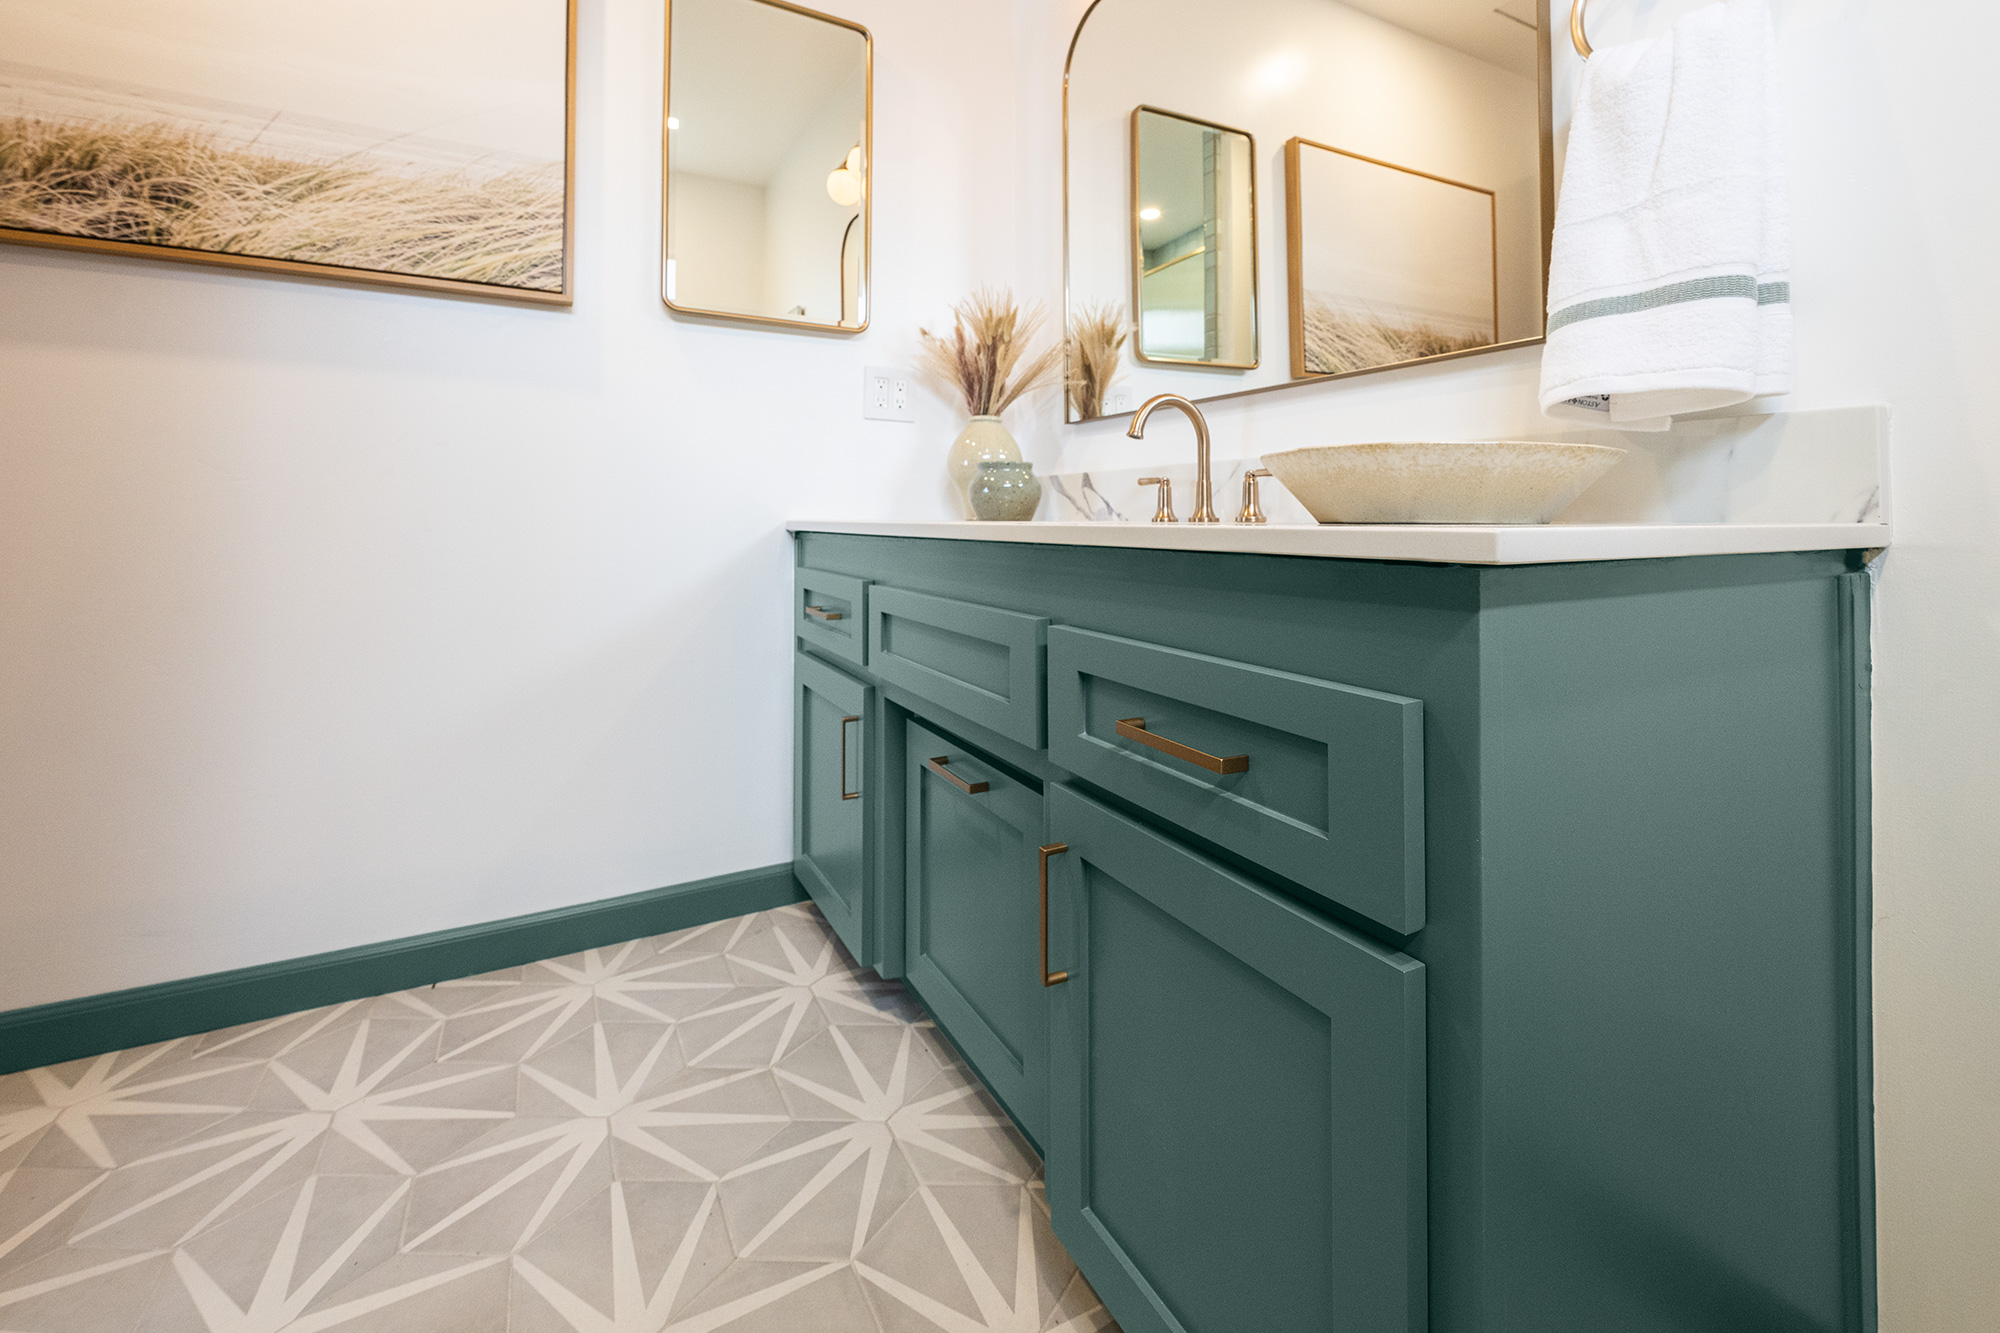
Bringing a Primary Bathroom Back to Life
April 17, 2023In this episode of our Destination Restoration series, we show you how to update a primary bathroom past its prime. This bathroom, like the rest of the rooms in this house, was outdated, dark, and in need of some attention. But, with a few cosmetic fixes, our pros, Jason Lai (interior designer) and Jared Foster (contractor/professional painter) transformed this room into something truly special.
This series demonstrates how you can breathe new life into an older home (in this case, a 4th generation family home), while keeping its structural integrity intact.
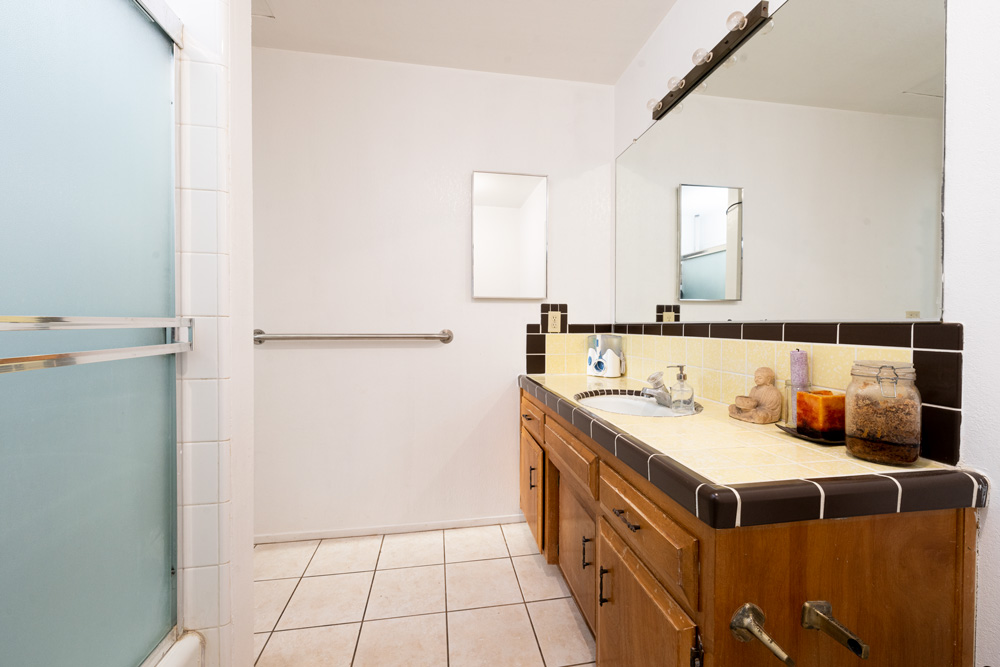
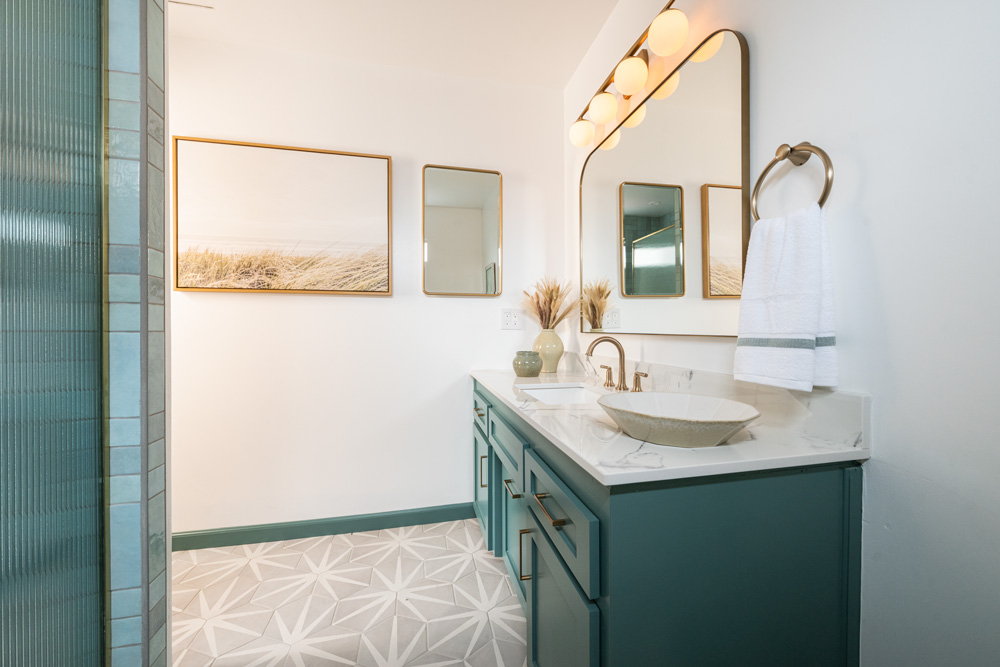
Just off the primary bedroom, the small, 4-piece primary bathroom was in desperate need of a facelift. Like a kitchen, there are many elements to consider in a bathroom, including hardware, tile, glass, and lighting. Not to mention a color scheme and décor. Using KILZ® Mold & Mildew Primer, we were able to restore the existing vanity and give it a fresh topcoat. We also replaced the tile and countertop, updated the walk-in shower, and painted the walls for a fresh new look that complemented the rest of the home.
While the bathroom is a smaller room compared to the others in your home, that doesn’t make it any less of a project. All it takes is a great concept and a team who knows how to execute, and you can bring any bathroom up to date in no time. For some bathroom inspiration, see the breakdown of our project in more detail below. We’ve also included a step-by-step guide on how to paint bathroom cabinets.
Vanity, Cabinets & Walls
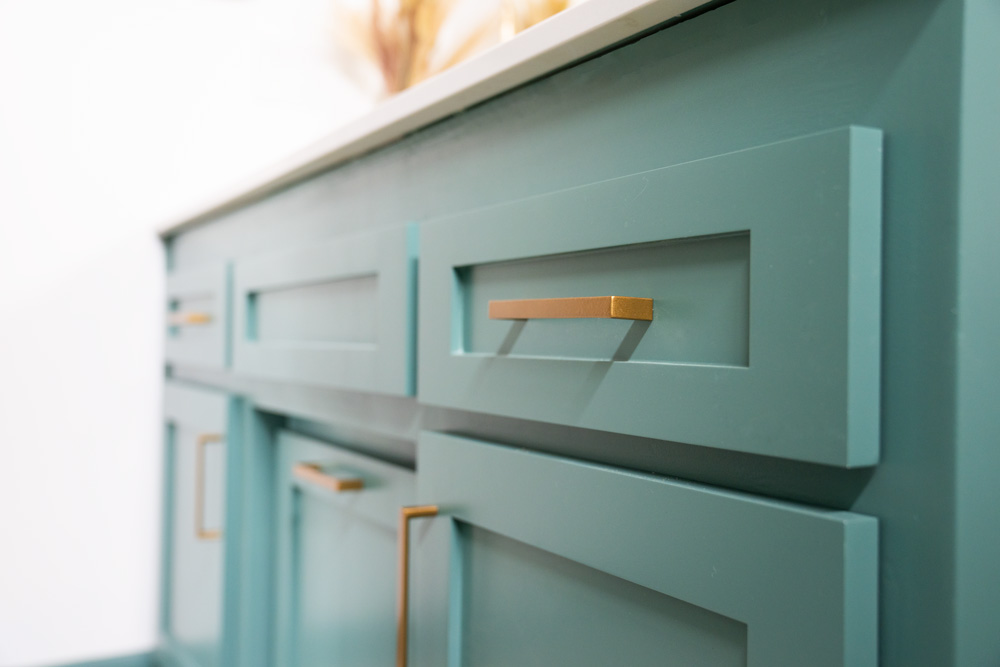
To start, we primed the vanity using KILZ® Mold & Mildew Primer and painted it with Aspen Valley, a color by Behr Paint, for a teal effect that tied in well with other areas of the home. We also updated the cabinets to shaker style to mimic the update we made to the kitchen cabinets. For the other bathroom paint colors, we painted the walls, ceiling, and door with Whipped Cream, a color by Behr.
Shower & Hardware
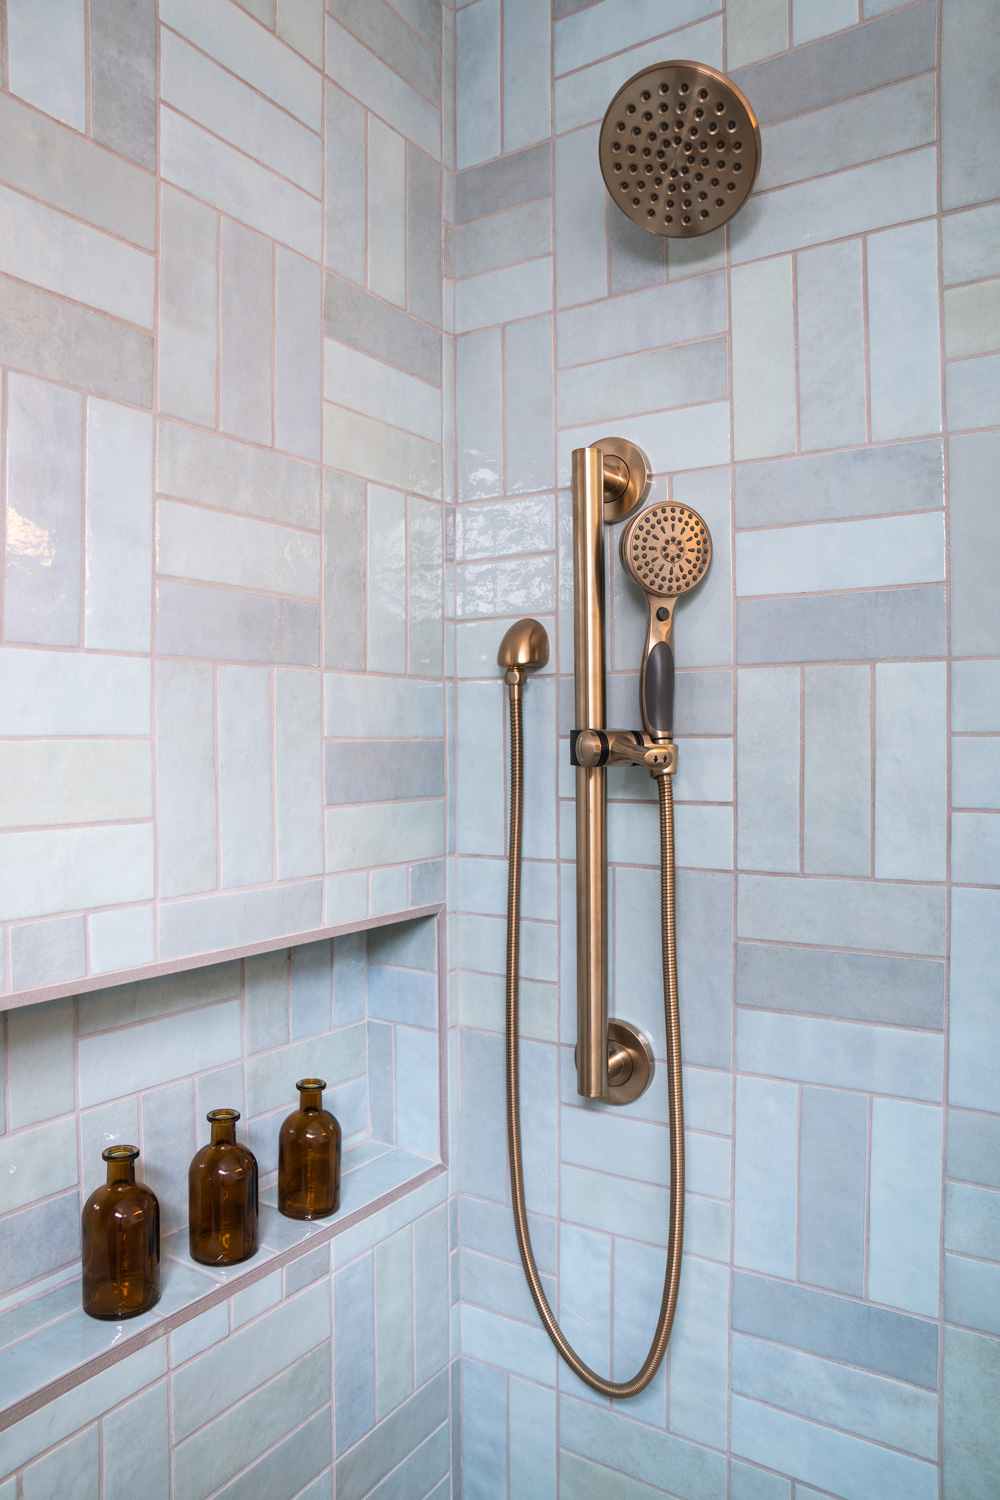
We replaced the bathtub with a sleek walk-in shower, which we also retiled using a multicolored eggshell tile to contrast with the teal of the vanity. Lastly, we installed all new fixtures by Delta Faucet.
Other Changes
The floor was old and dingy, so we replaced it with an updated, geometric pattern tile—a fun detail that tied in well with the rest of the décor—and we added new overhead lighting and sconces by Kichler Lighting.
Why Do You Need to Prime?
Priming is essential for proper surface preparation for any paint project. It’s the difference between a job done and a job done right. Priming helps solve a wide range of problems, including highly porous surfaces, stains, odors, uneven surfaces, texture differences, and adhesion problems.
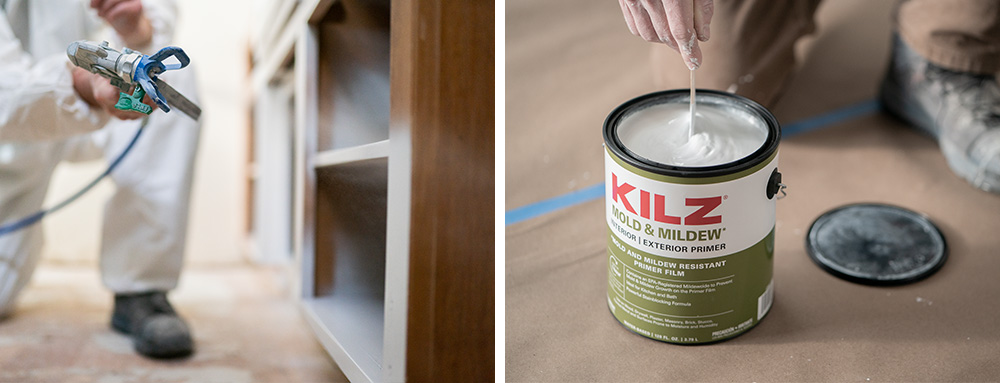
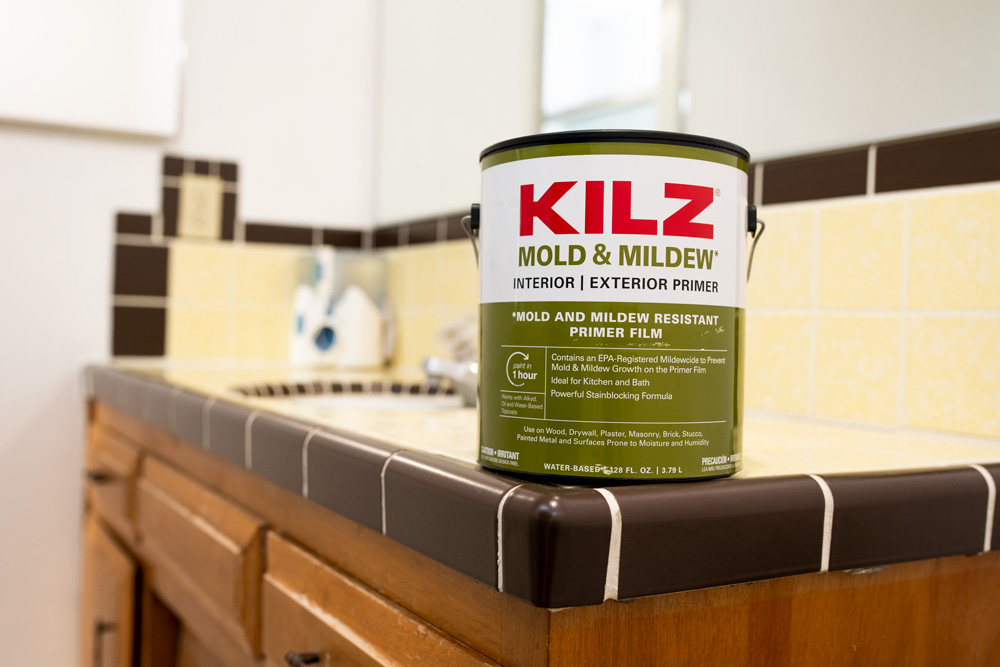
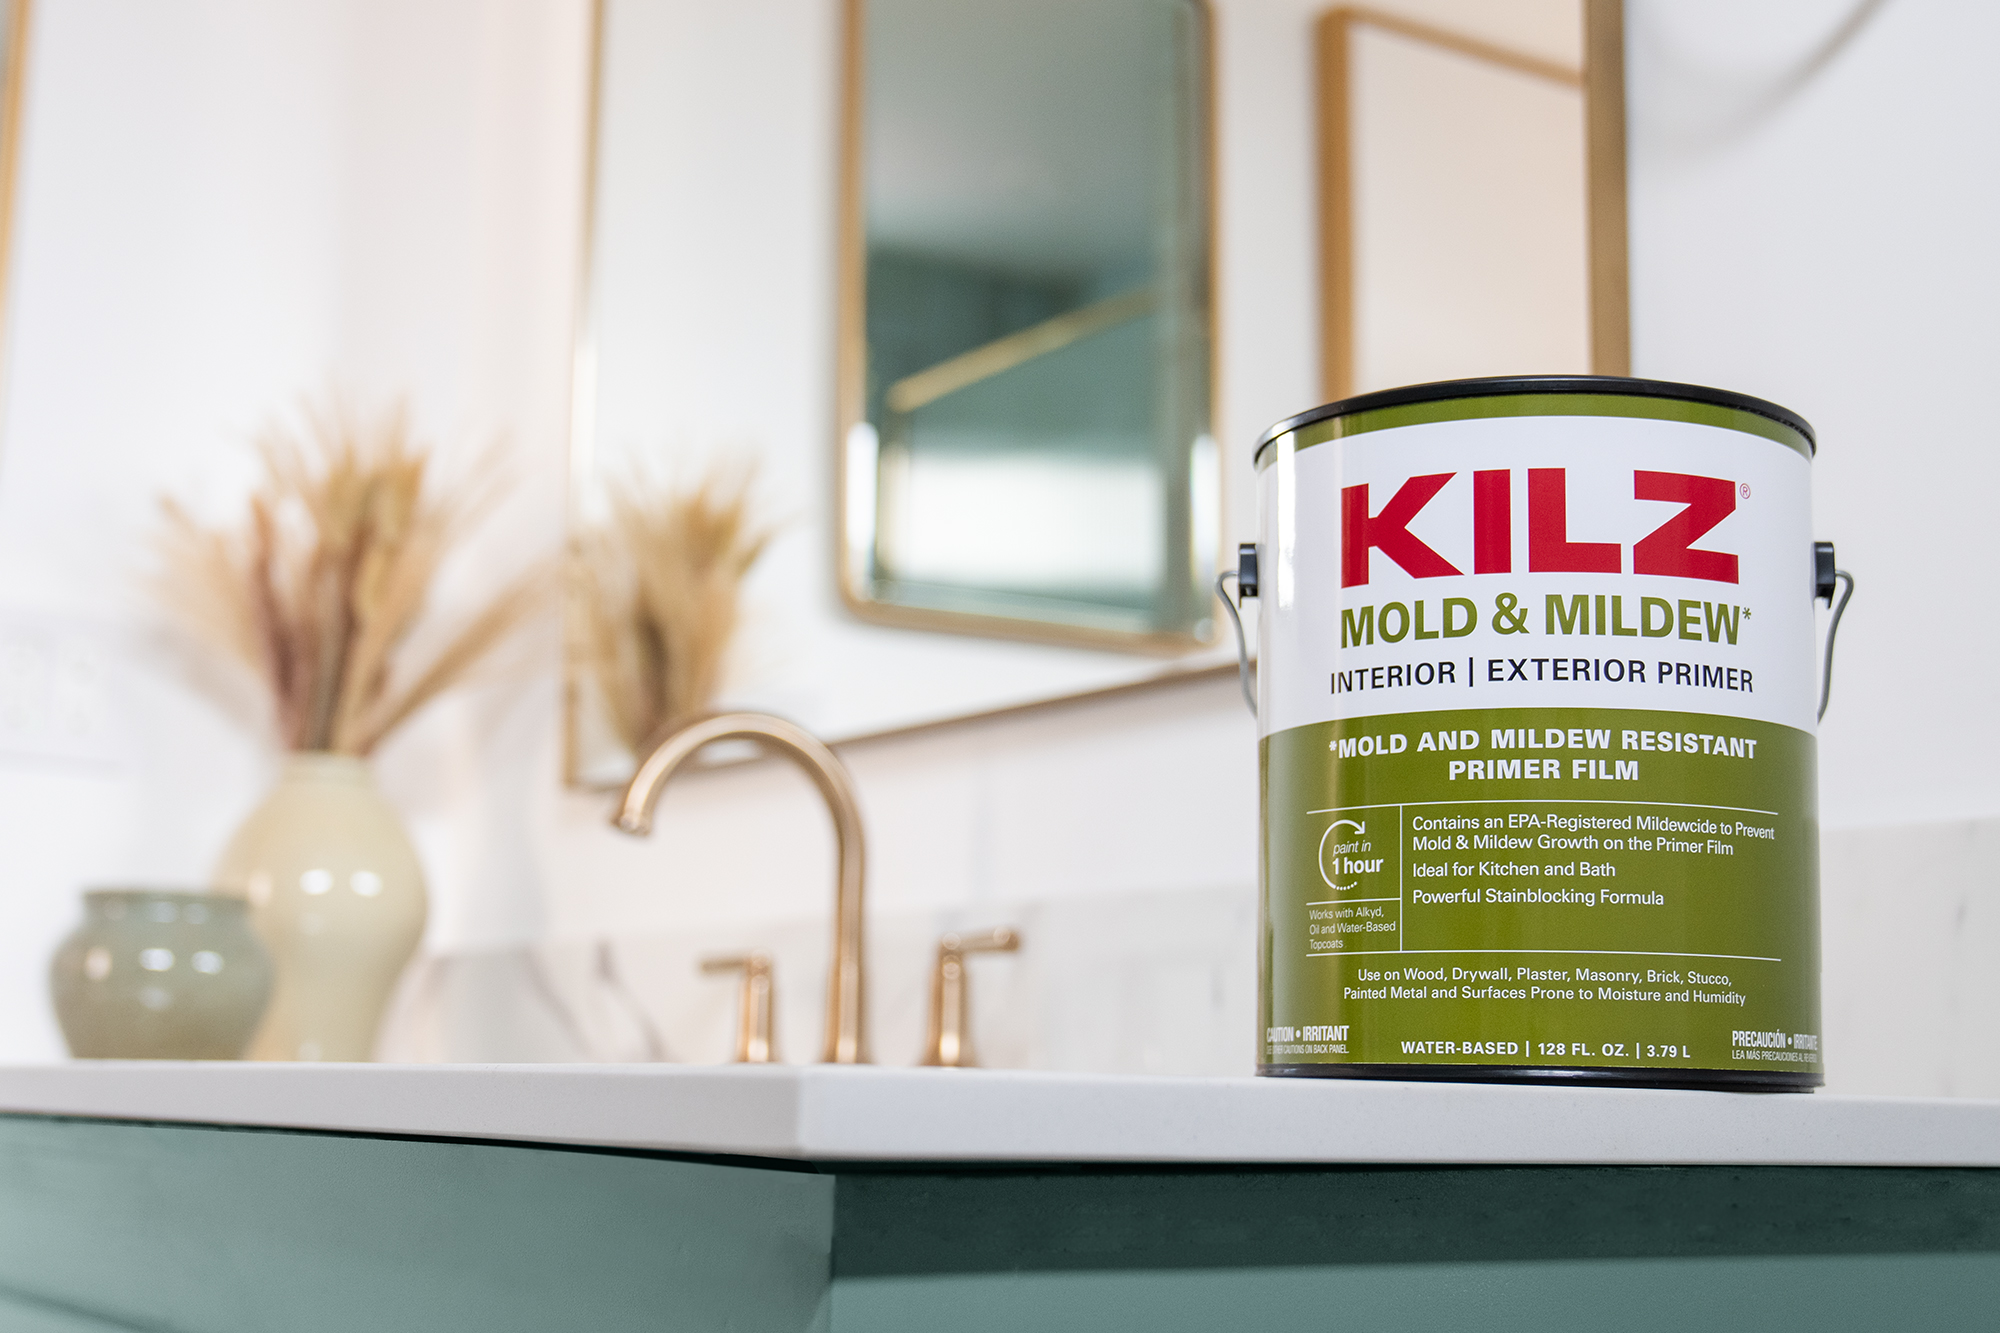
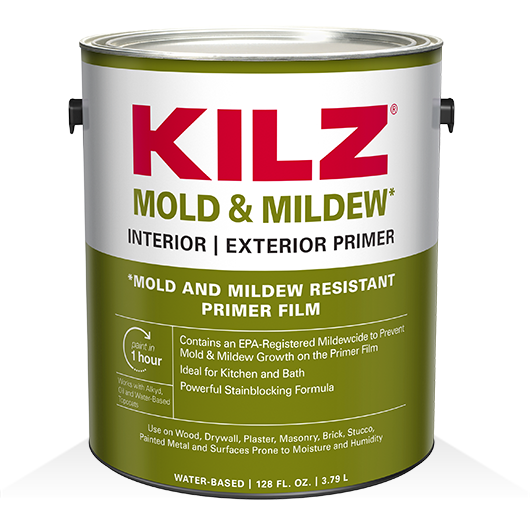
KILZ® Mold & Mildew Primer is a water-based primer-sealer-stain blocker, specially designed for residential surfaces in high humidity, moisture, and temperature environments, and a perfect choice for our bathroom makeover. It offers excellent adhesion, while providing a sound anchor for paints. The EPA registered active ingredient creates a mold and mildew-resistant film that protects the primer film from mold and mildew growth, so you can enjoy your newly-restored bathroom for years to come.
Step-By-Step Guide To Painting Bathroom Cabinets:
Refinishing a bathroom vanity requires a few basic steps to get the smoothest finish and results that will last in a humid environment. Here’s an easy guide to follow for your next project:
1. Use a screwdriver to remove the cabinet doors and drawers from the vanity and to remove all door handles and hardware.
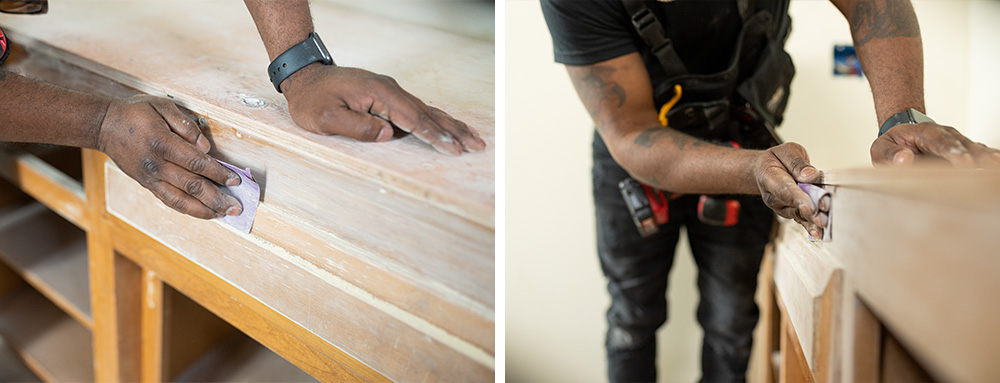
2. Sand the surfaces of the doors, drawer faces, and vanity to create a smooth surface for priming. Do a first pass with 100-150 grit sandpaper then finish with a second pass of 180-220 grit sandpaper. Remember, the higher the “grit” number, the smoother the finish.
3. When sanding, move the sandpaper in the same direction as the wood grain. If you go against the grain, you will end up with a lot of scratches that will show through your topcoat.
4. After sanding, wipe down the surface with a damp cloth to remove any dust or residue. Allow to dry.
5. Protect your floors and workspace from paint and primer by covering it with a drop cloth.
6. For mildew-prone areas like a bathroom, select a primer formulated for high humidity, moisture, and temperature environments like KILZ® Mold & Mildew Primer.
7. Now it’s time to prime! Using your primer, use a brush to make smooth strokes that go in the same direction as the wood grain.
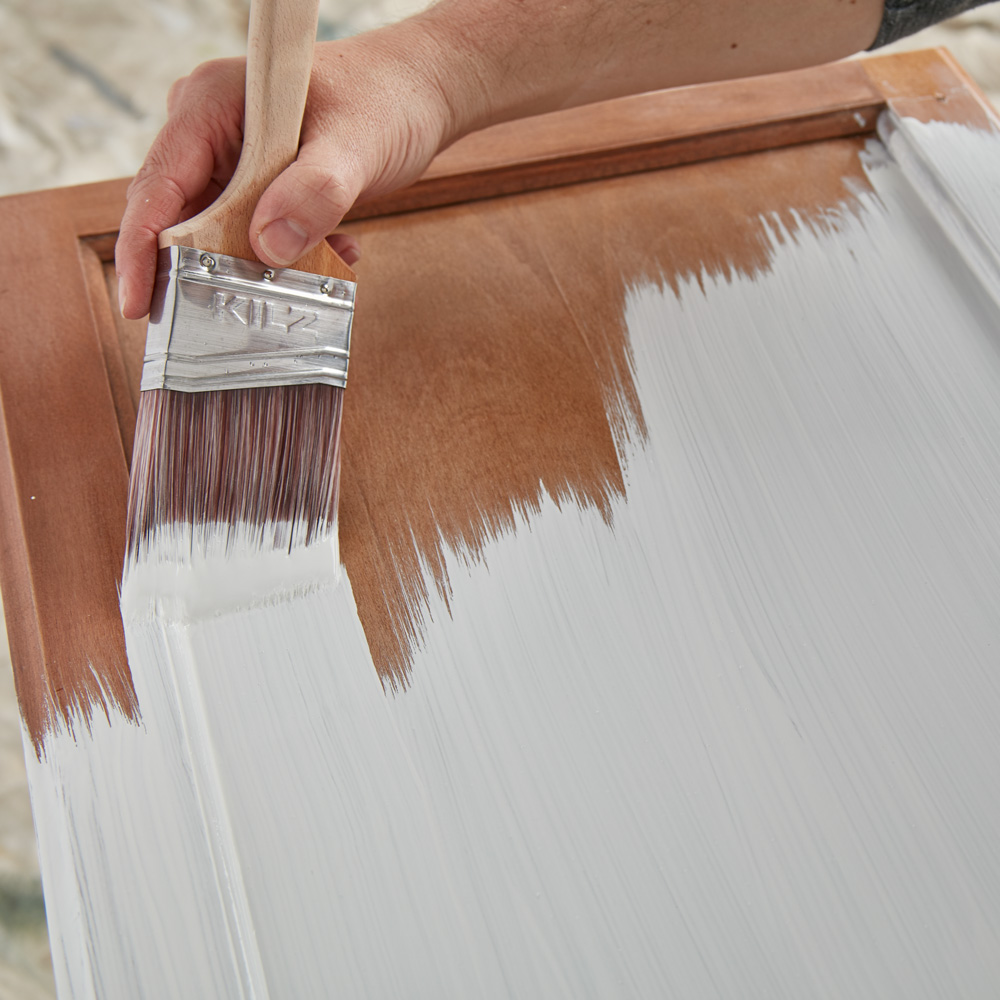
8. Allow to dry for 2 hours.
9. Once the primer is dry, apply paint of your choice using the same application process at the primer.
• Pro-tip: For a really great result, apply primer and paint with a sprayer.
10. Once your paint is dry, reattach hardware to doors, and then reattach the doors to the vanity.
You Will Need:
• Screwdriver
• Dust mask
• 100-150 grit and 180-220 grit sandpaper
• Rags to wipe dirty and dusty surfaces
• Drop cloths, canvas, or other reusable material
• Paint roller, brush, and paint tray
• Paint of choice
We hope this episode of Destination Restoration inspires you to tackle your own bathroom remodel this year. Be sure to keep KILZ® products in mind for your next project, and come back for more ideas, tips, and project inspiration.
If you loved this restoration, be sure to check out the other episodes of Destination Restoration. Jason and Jared took on the Kitchen, Primary Bedroom and Living/Dining Room.
Always remember to refer to our website kilz.com or product back labels for additional information on which primer is right for your project and detailed instructions on how to apply our products. Check out our Coverage Calculator to understand your estimated paint needs for your upcoming project.

join the conversation:
SHARE this post:
COMMENTS: