A Quick Color Change: Angela Cacace
October 18, 2021The bedroom. It’s the first space on this earth that an individual can claim as their own. There is that pivotal moment in every person’s life when they find themselves covering yesteryears’ painted walls with any cool poster or sticker they can find. And what’s left? A hodgepodge of a room that doesn’t fully reflect their newfound identity in the world as they leave their formative years and enter their tween years. With so much going on in the world today, I can only imagine what todays’ kids are having to cope with as they have navigated through this last year and a half. So as a designer and contractor for a remodeling company, I can’t think of a more deserving clientele in need of a space of refuge to call their own.
After a year of a pandemic that kept her out of school, my tenacious client, Saegan, was ready to tackle a fresh, new beginning. Excited at the prospect of finally being able to throw sleepover parties and hang out with her best girlfriends, she needed a major bedroom update. This room was going to be epic. A full reflection of the young woman she is growing up to be, I was so excited to help her find her design voice and style.
So where to begin? Few projects provide transformation in a bedroom but paramount to the small list is paint. A quick color change is exactly what this makeover so desperately needed to literally set the tone of the room.
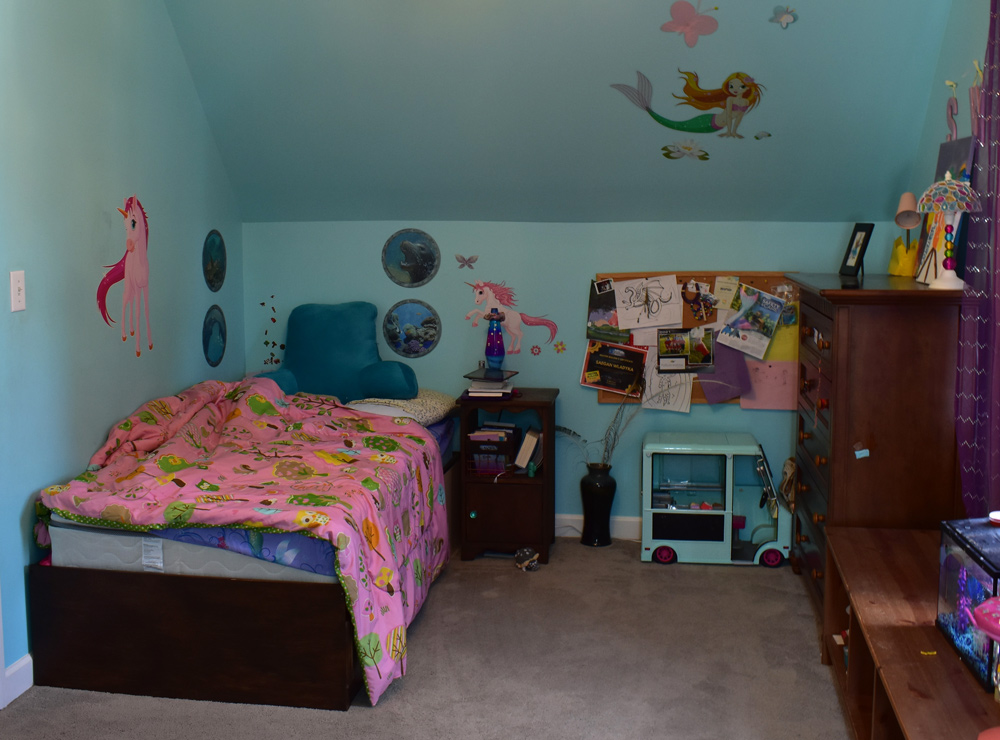
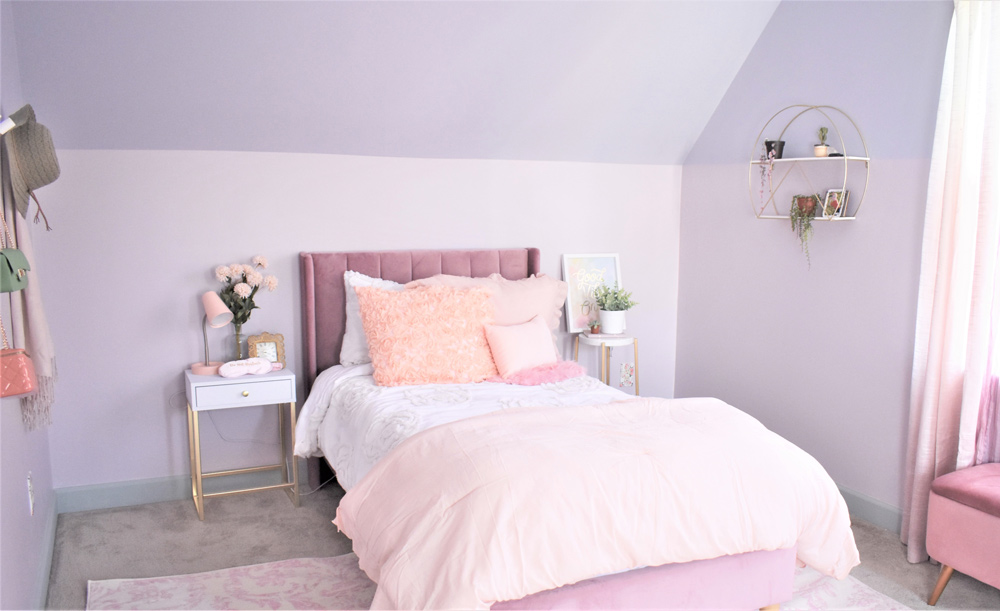
Quite on-trend, Saegan wanted a two-tone wall, because why settle for one color when you can have two?! This technique is achieved by painting the area on the lower half of the wall (typically below standard chair rail height which is around 32”+) a different color than the upper half of the wall. This painting technique was not only beneficial in decision-making for a dynamic tween, but it was also a great choice for her dormer-walled room. Dormers are an architectural detail commonly found in the cape-cod style of home that Saegan’s family lives in. Along with a fun window nook, these types of rooms in a home boast steeply angled walls that follow the roof’s pitch. So in addition to providing visual interest, this two-tone technique worked with the shadows and angles of the walls rather than against them.
Sagean knew she wanted to paint colors that were lighter, brighter, and full of girl-power. So, after a quick field trip to the local paint store, Saegan decided on her two colors. She chose “In Bloom” and “Cement Pots” from the Magnolia Home by Joanna Gaines® Paint Collection.
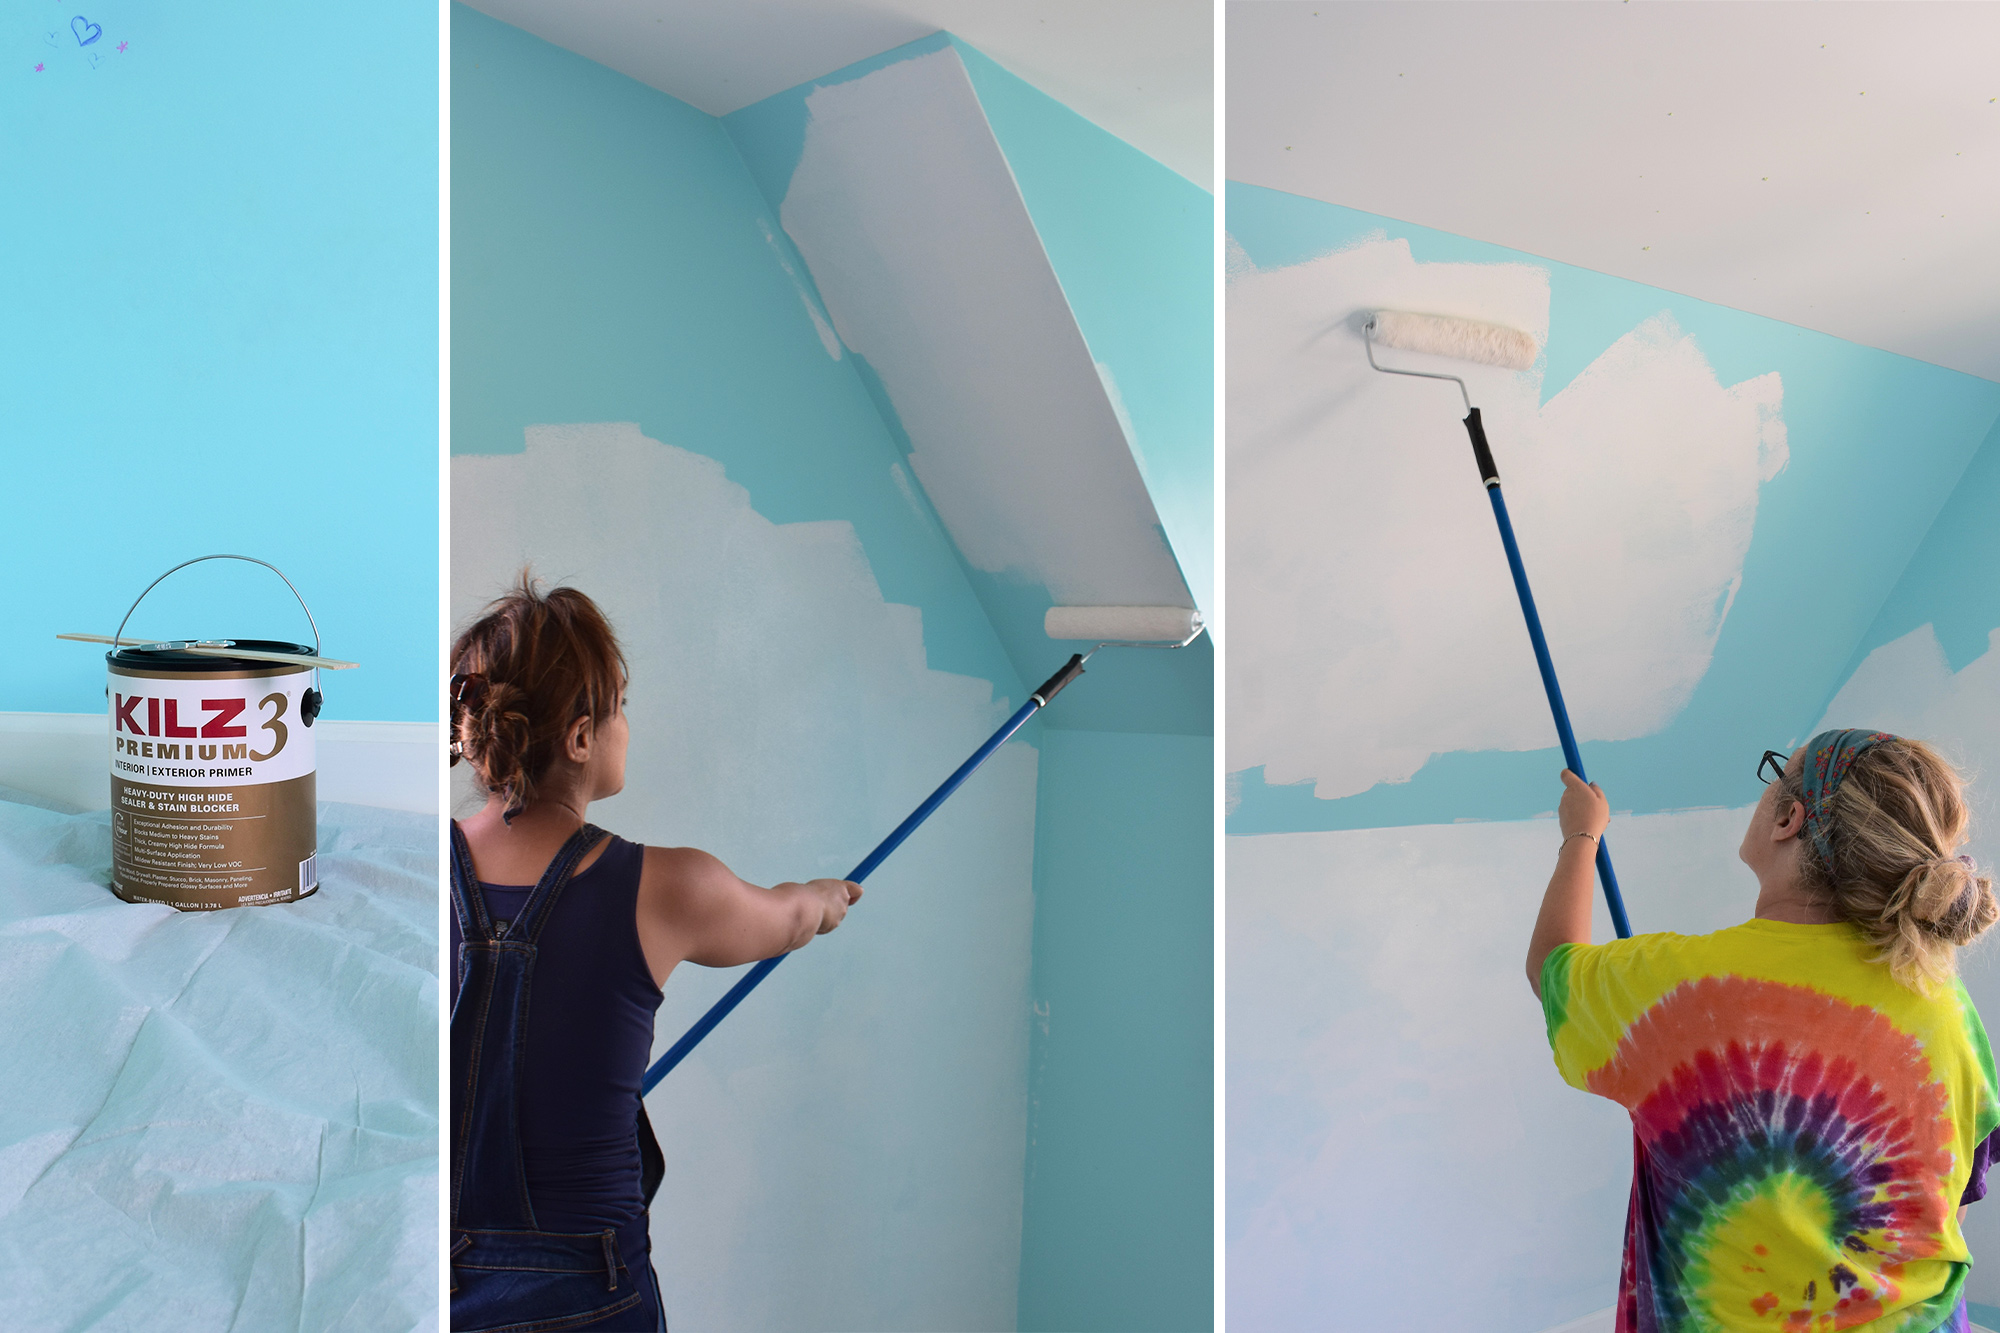
Bringing your paint swatches into the space and purchasing a sample to test it out on your walls is a must. Lighting differs from house to house and room to room, so it is crucial in ensuring that you have chosen the right color. However, in Saegan’s room, this step was not so simple because there was no way the reflection of her brightly colored room was going to allow us to see the true color in her space. With bright teal paint on the existing walls and stickers and doodles abound, good prep was a must to ensure a favorable outcome.
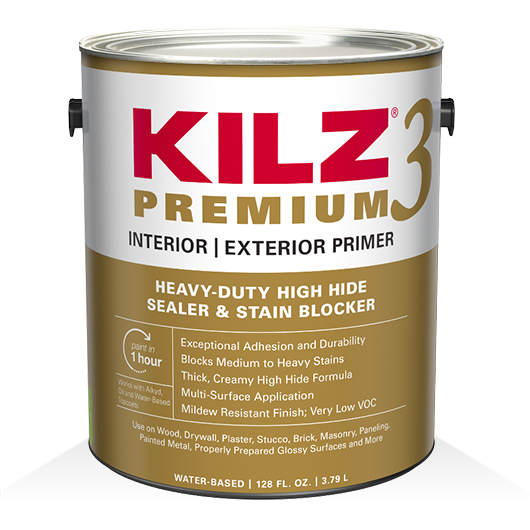
With proper prep in mind, we purchased KILZ 3® PREMIUM primer. This is the ideal primer when you are going from a darker to lighter paint color. And in Saegan’s case, we wanted to make sure that her new softer, more mature colors showed true without having to apply multiple coats to cover up the intense teal paint. Also, this primer’s thicker high hiding formula hides surface imperfections like marker artwork! Now, having grown out of wall scribbles and sticky hands, this very low VOC, water-based primer-sealer-stain blocker provided the clean slate we needed for a fresh start.
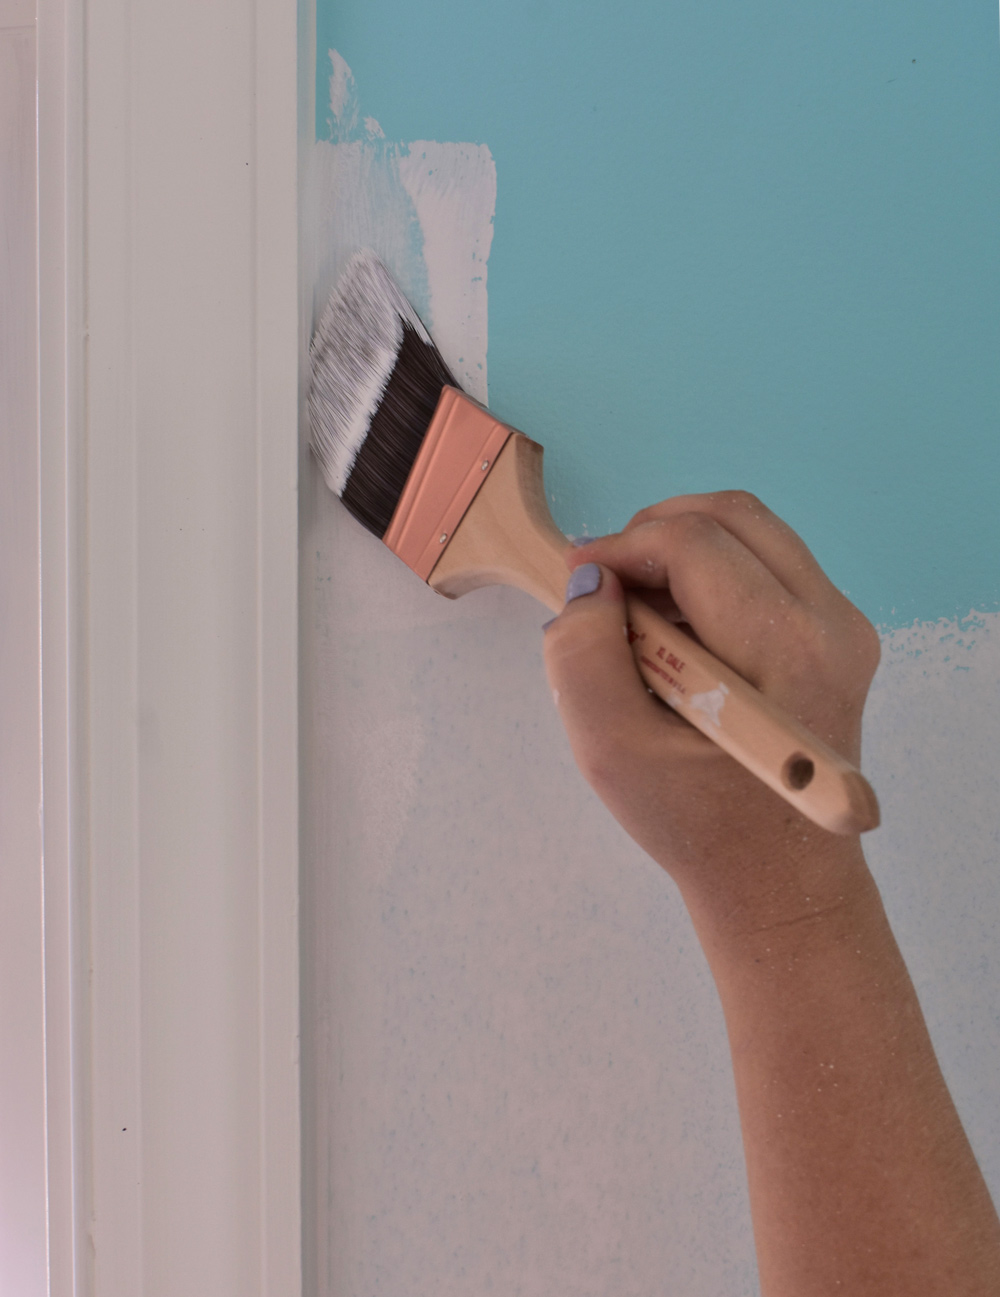
Kids’ rooms always seem to have a layer of gunk and grime, so a good wipe down of the walls is first on the list. Now, we were set to cover up years of scuff marks, stains, and “artwork”. After scraping stickers, filling holes in the wall, and removing screws and nails, we scraped off loose paint and lightly sanded it for a smooth finish. For the application, a high-quality nylon/polyester roller with a 3/8-1/2″ nap is recommended on smooth surfaces, like Saegan’s. If you are prepping a semi-rough or porous surface, you will want to go with a 1/2-3/4″ nap.
After an even primer application, we were left with a bright, clean surface that served as the perfect blank slate to begin. And best of all, it was dry to the touch in only 30 minutes, and we were ready to begin applying our new colors in an hour!
The break in the dormer walls was the perfect guide for where to separate our two colors. Using painter’s tape and a steady hand, we applied our soft color palette to the primed walls. After the addition of plenty of blush tone furniture and fabrics and gold accents, Saegan’s room transformed. Prepping the walls to ensure a beautiful finish, the two paint colors provided the perfect foundation to bring her lighter and brighter blush tween room to life.
*This is a paid partnership with Angela Cacace.
Always remember to refer to our website kilz.com or product back labels for additional information on which primer is right for your project and detailed instructions on how to apply our products.

join the conversation:
SHARE this post:
COMMENTS: