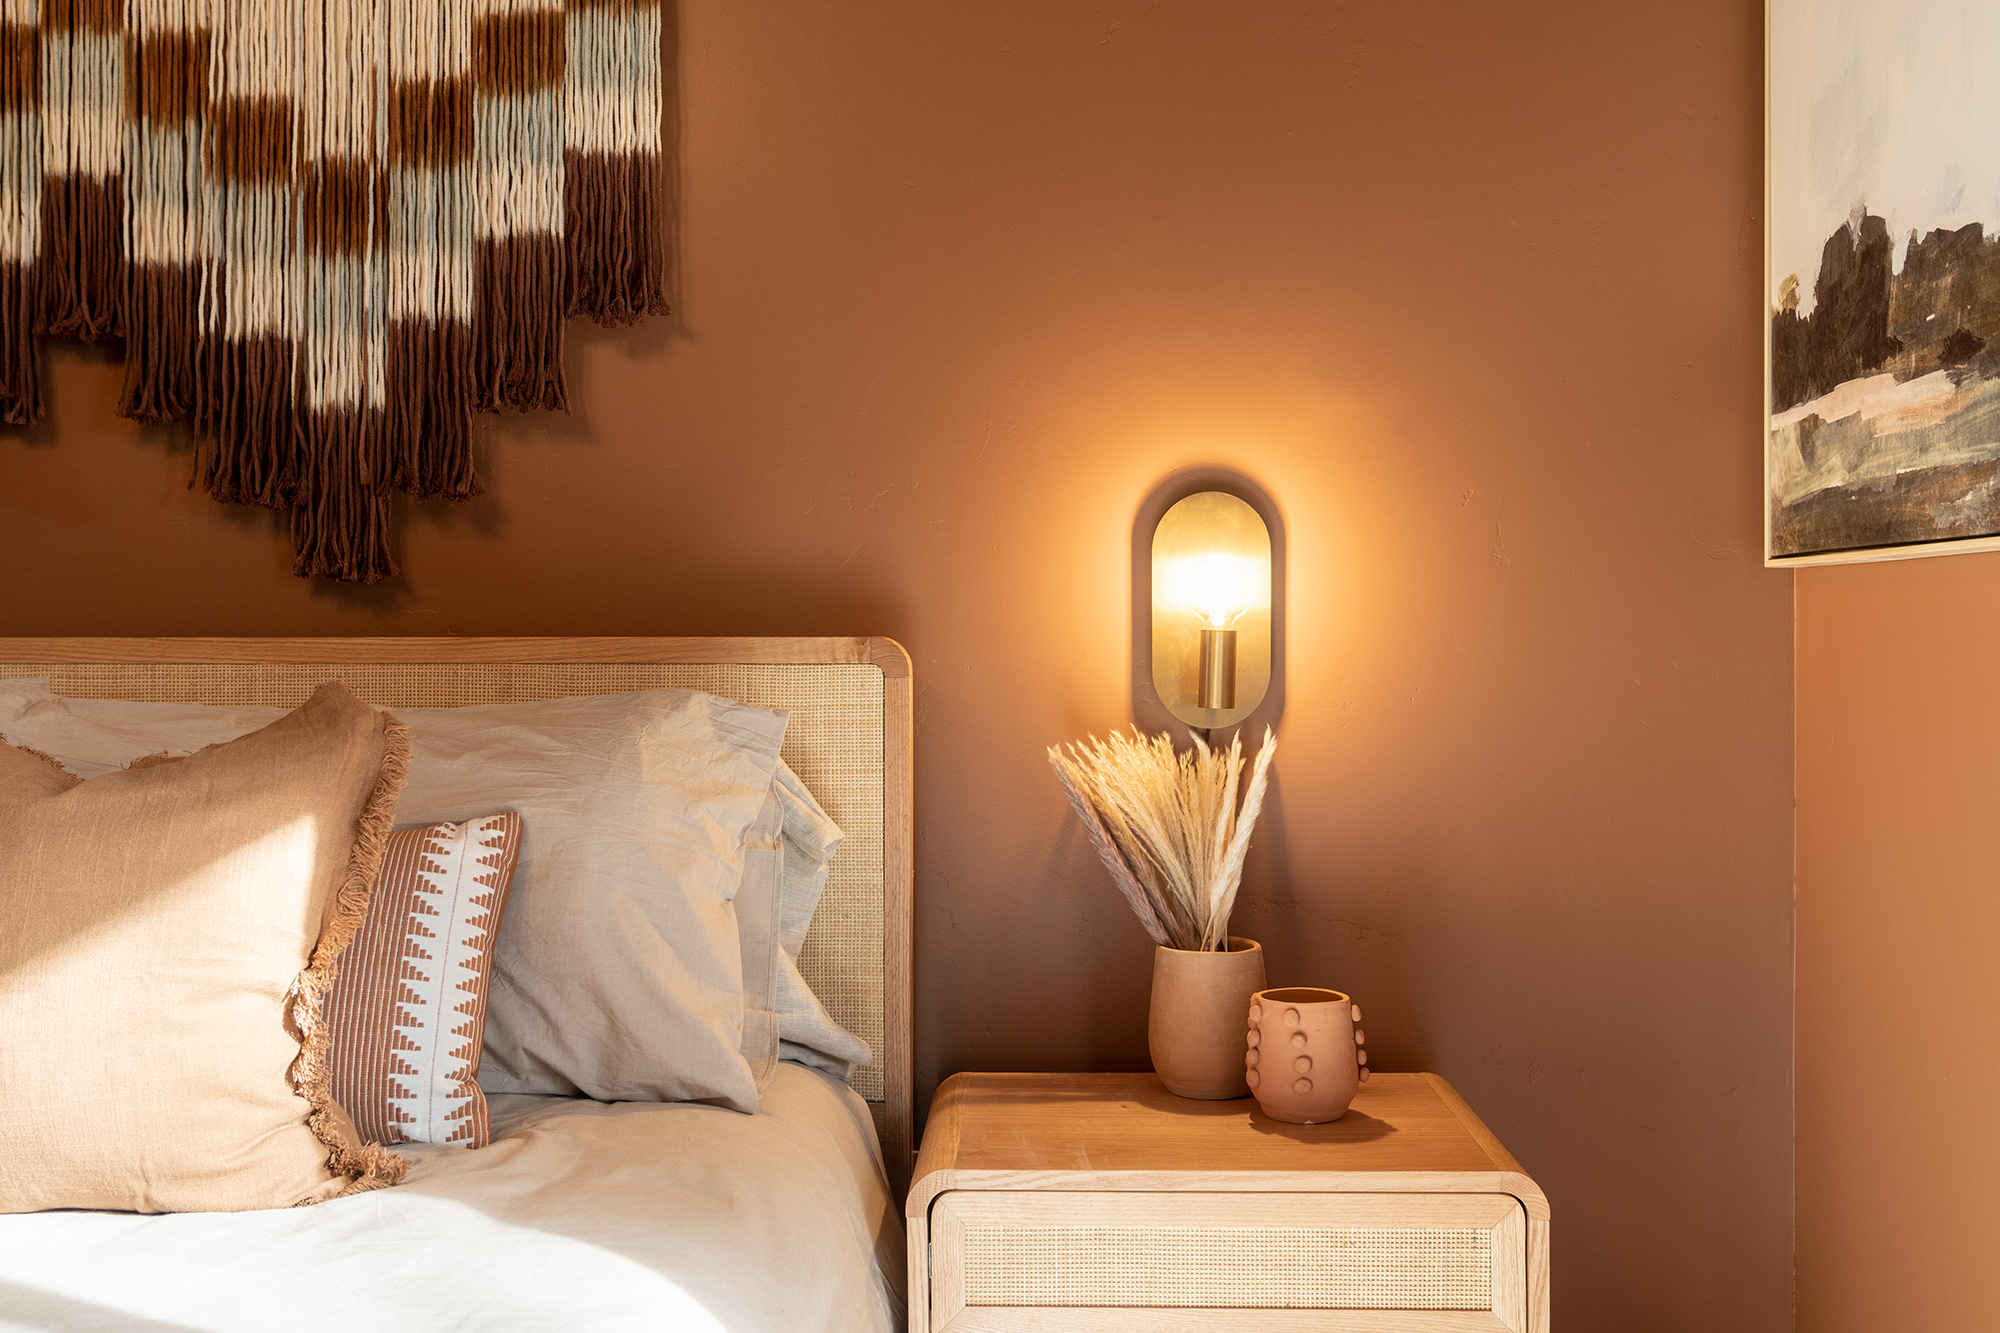
From Stained to Stunning: Restoring a Primary Bedroom
April 17, 2023On this episode of Destination Restoration, we show you how to restore a room that’s suffered a bit of damage. Older generational homes can accumulate imperfections over time, especially stains from things like water damage. In the case of today’s refresh, not only do we take a standard primary bedroom and update it for a new era, but we also tackle how to restore unsightly, odorous stains using primer and a fresh coat of paint.
This series demonstrates how you can breathe new life into an older home (in this case, a 4th generation family home), while keeping its structural integrity intact.
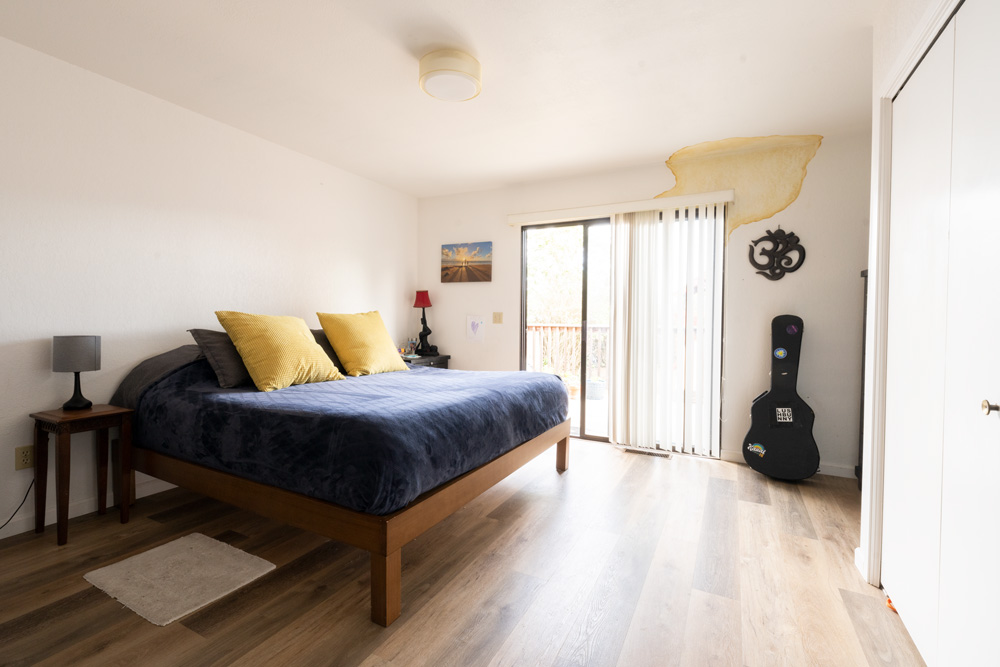
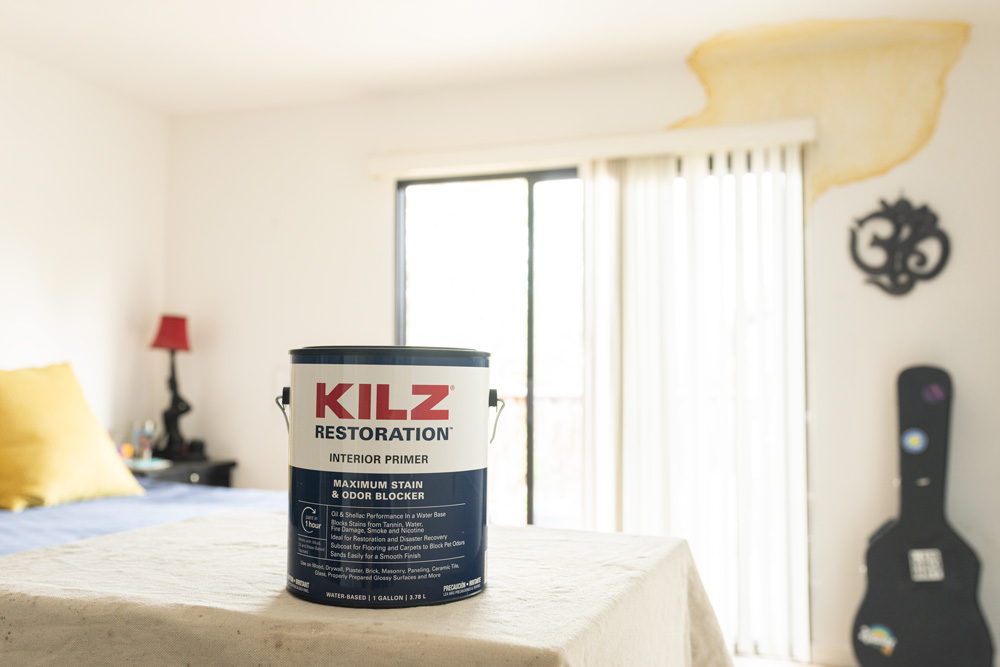
Once again, our fabulous design duo—Jason Lai (interior designer) and Jared Foster (contractor/pro painter) —found a way to update this modest room while addressing the large yellow stain that had leaked its way around the sliding glass door. Our goal was to both cover it up and ensure it wouldn’t show through, which we achieved with a thorough coat of primer and a new coat of paint. Due to the lack of storage in the room, we also wanted to install a custom unit, with ample cabinets to make the space more functional and a modern haven for the parents of this lovely family home.
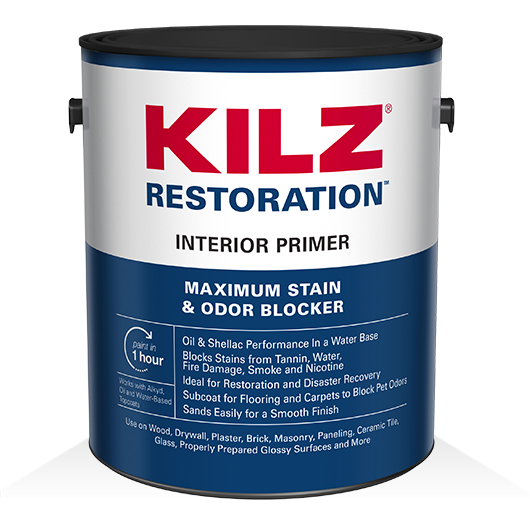
Covering up stains takes a little extra effort but is totally doable with the right tools. Make sure you choose a sturdy primer that’s right for the job, like KILZ RESTORATION® Interior Primer when tackling a similar project of your own, and follow along to see how our pros approached this room makeover. We’ve also included a step-by-step guide on how to paint over water stains using primer.
Stain Coverage
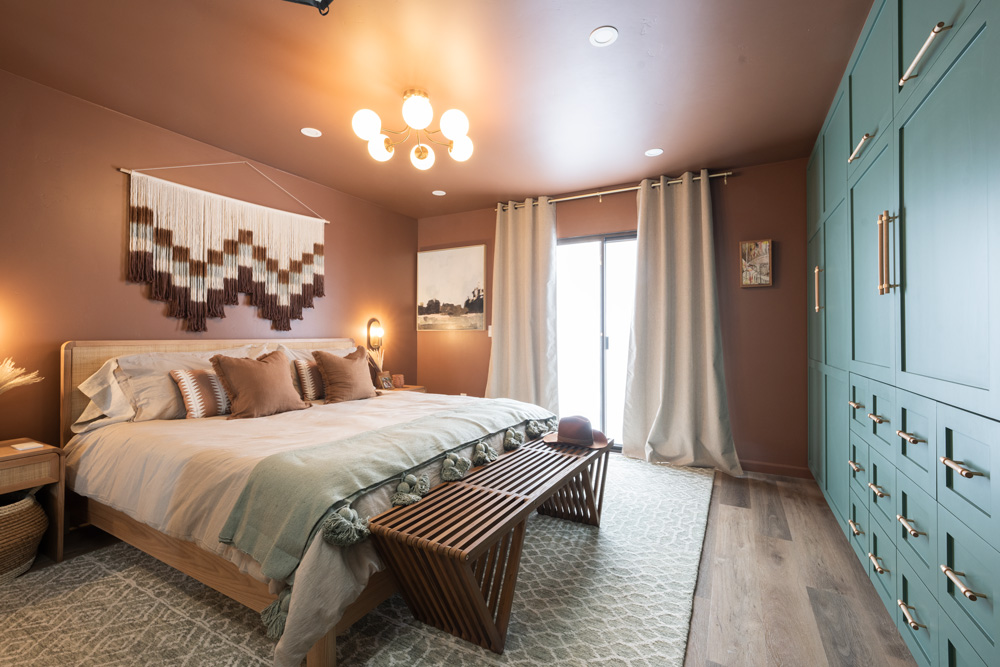
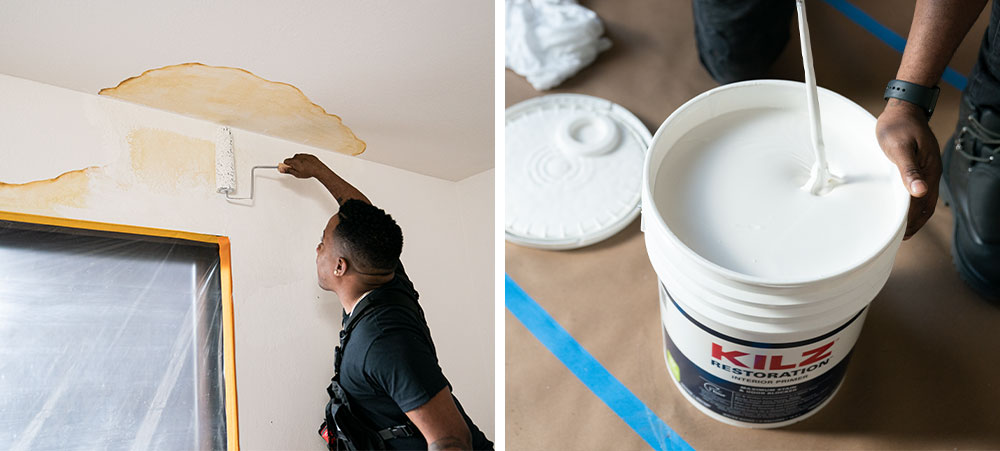
The main goal of this room refresh was to remove any trace of the water stain and get rid of its foul odor at the same time. To do this, we primed over the water stain using KILZ RESTORATION® Interior Primer then painted the walls, ceiling, and molding with Rio Rust, a color by Behr Paint.
Extra Storage
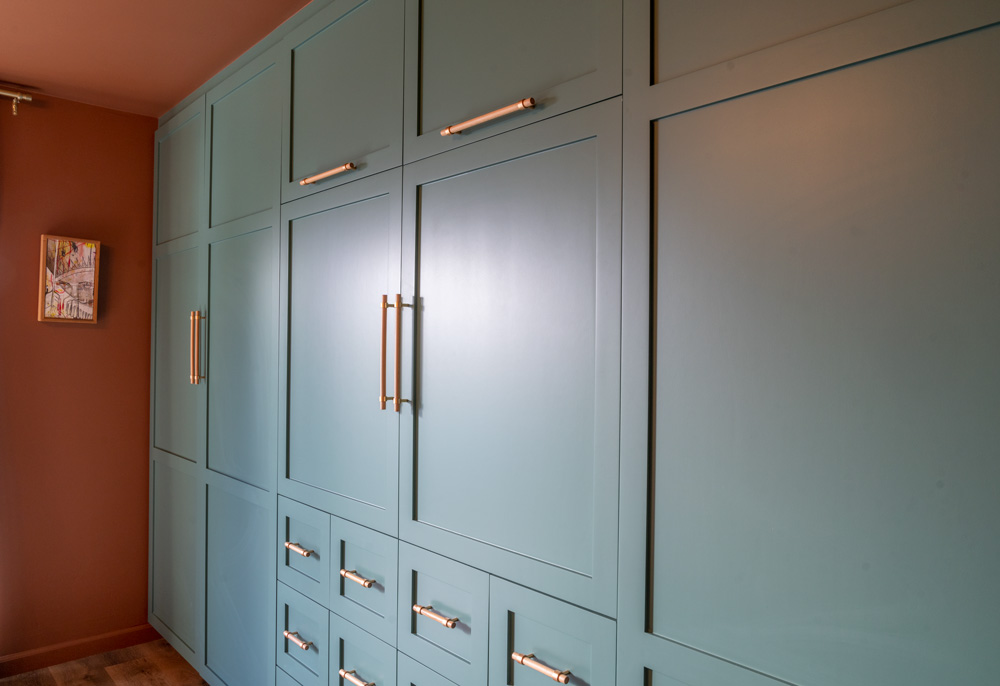
To replace the lackluster closet, we added a custom, built-in closet system with a hidden TV display, perfect for unwinding after a long day. We primed the unit, and then painted it with Forest Edge, a color by Behr Paint, for its ability to stand out and complement the color of the rest of the room. Together, these colors elevated the room and gave it a warm, modern, and cozy feel.
Other Changes
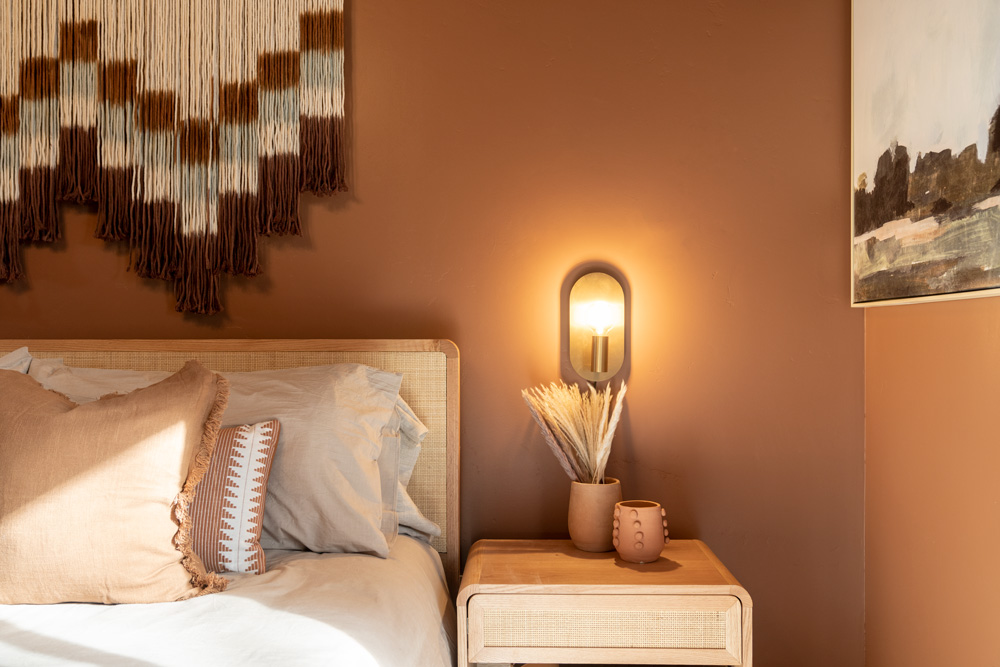
We wanted to update the existing lighting to complement the new design and bring more warmth to the space, so we added a modern chandelier by Kichler Lighting, as well as additional recessed lighting fixtures on the ceiling. We also replaced the door hardware, updated the electrical throughout, and added carefully chosen décor to bring this refined boho-chic look together.
Why Do You Need to Prime?
Priming is essential for proper surface preparation for any paint project. It’s the difference between a job done and a job done right. Priming helps solve a wide range of problems, including highly porous surfaces, stains, odors, uneven surfaces, texture differences, and adhesion problems.
Because this room required stain coverage we used, KILZ RESTORATION® Interior Primer for its superior, water-based sealing and stain blocking formula. It can tackle tough stains from heavy water damage, rust, smoke, nicotine, grease, tannin, ink, pencil, felt marker, pet stains and more. It’s also a champion odor blocker and can be used on many interior surfaces including drywall, woodwork, plaster, masonry, brick, painted metal, ceramic tile, glass, and most other glossy surfaces.
Step-By-Step Guide to Stain Blocking and Priming Walls:
Painting over water stains requires a few basic steps from start to finish. Here’s an easy guide to follow for your next project:
1. Patch any holes from damage and sand smooth to prep the surface (if needed)
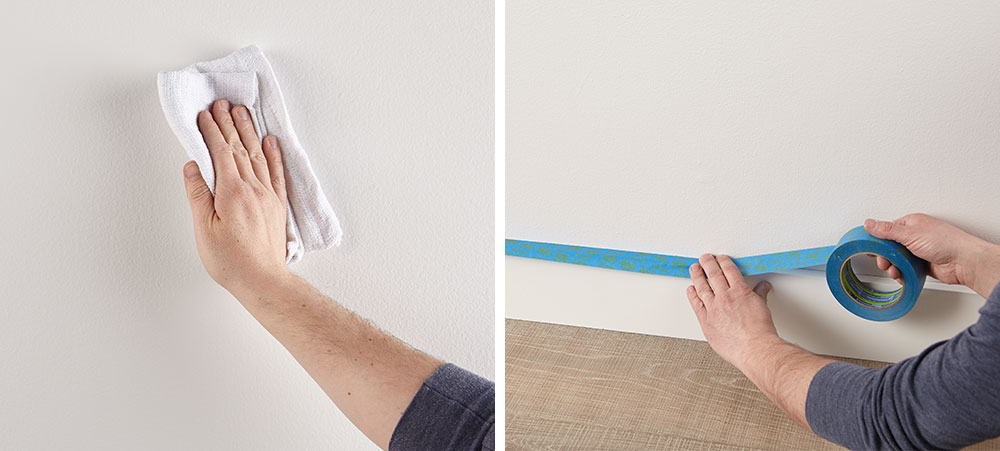
2.Thoroughly clean your surfaces with a damp cloth to ensure they are clean and free of dust. Allow to dry.
3. Tape around the baseboards, trim and moldings.
4. Protect your floors and furniture from paint and primer by covering it with a drop cloth or plastic sheets.
5. For major stains like water, grease, or smoke, select a heavy-duty stain blocker like KILZ RESTORATION® Interior Primer.
6. Now it’s time to prime! Using a brush first to “cut in” around the edges and small crevices, then use a roller to fill in the larger areas.
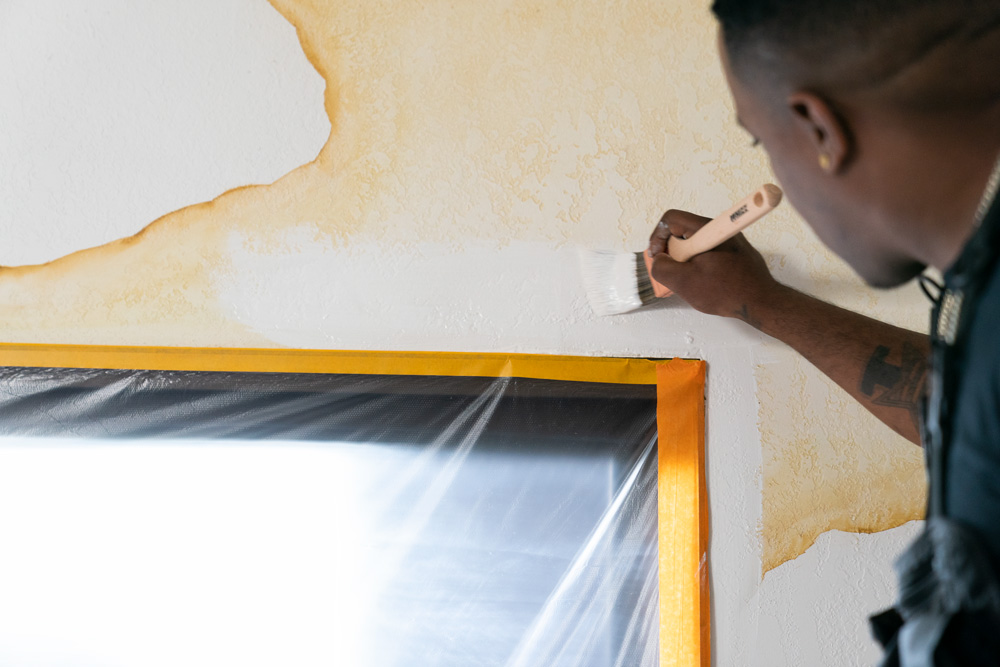
7. Allow to dry for 1 hour.
8. Once the primer is dry, apply paint of your choice using the same application process at the primer.
9. Remove the painter’s tape before your paint is fully dry.
You Will Need:
• Dust mask
• Pole sander with sandpaper, 60-80 grit
• Extension pole for prep and painting, 3’-7′
• Step ladder for hard-to-reach areas
• Rags to wipe dirty and dusty surfaces
• Painter’s tape
• Drop cloths, canvas, or other reusable material
• Plastic sheets, for protecting furniture
• Spackle and applicator
• Paint roller, brush, and paint tray
• Paint of choice
• KILZ RESTORATION® Interior Primer
We hope this episode of Destination Restoration inspires you to tackle your own bedroom remodel this year. Be sure to keep KILZ® products in mind for your next project, and come back for more ideas, tips, and project inspiration.
If you loved this restoration, be sure to check out the other episodes of Destination Restoration. Jason and Jared took on the Kitchen, Living/Dining Room, and Primary Bathroom.
Always remember to refer to our website kilz.com or product back labels for additional information on which primer is right for your project and detailed instructions on how to apply our products. Check out our Coverage Calculator to understand your estimated paint needs for your upcoming project.

join the conversation:
SHARE this post:
COMMENTS: