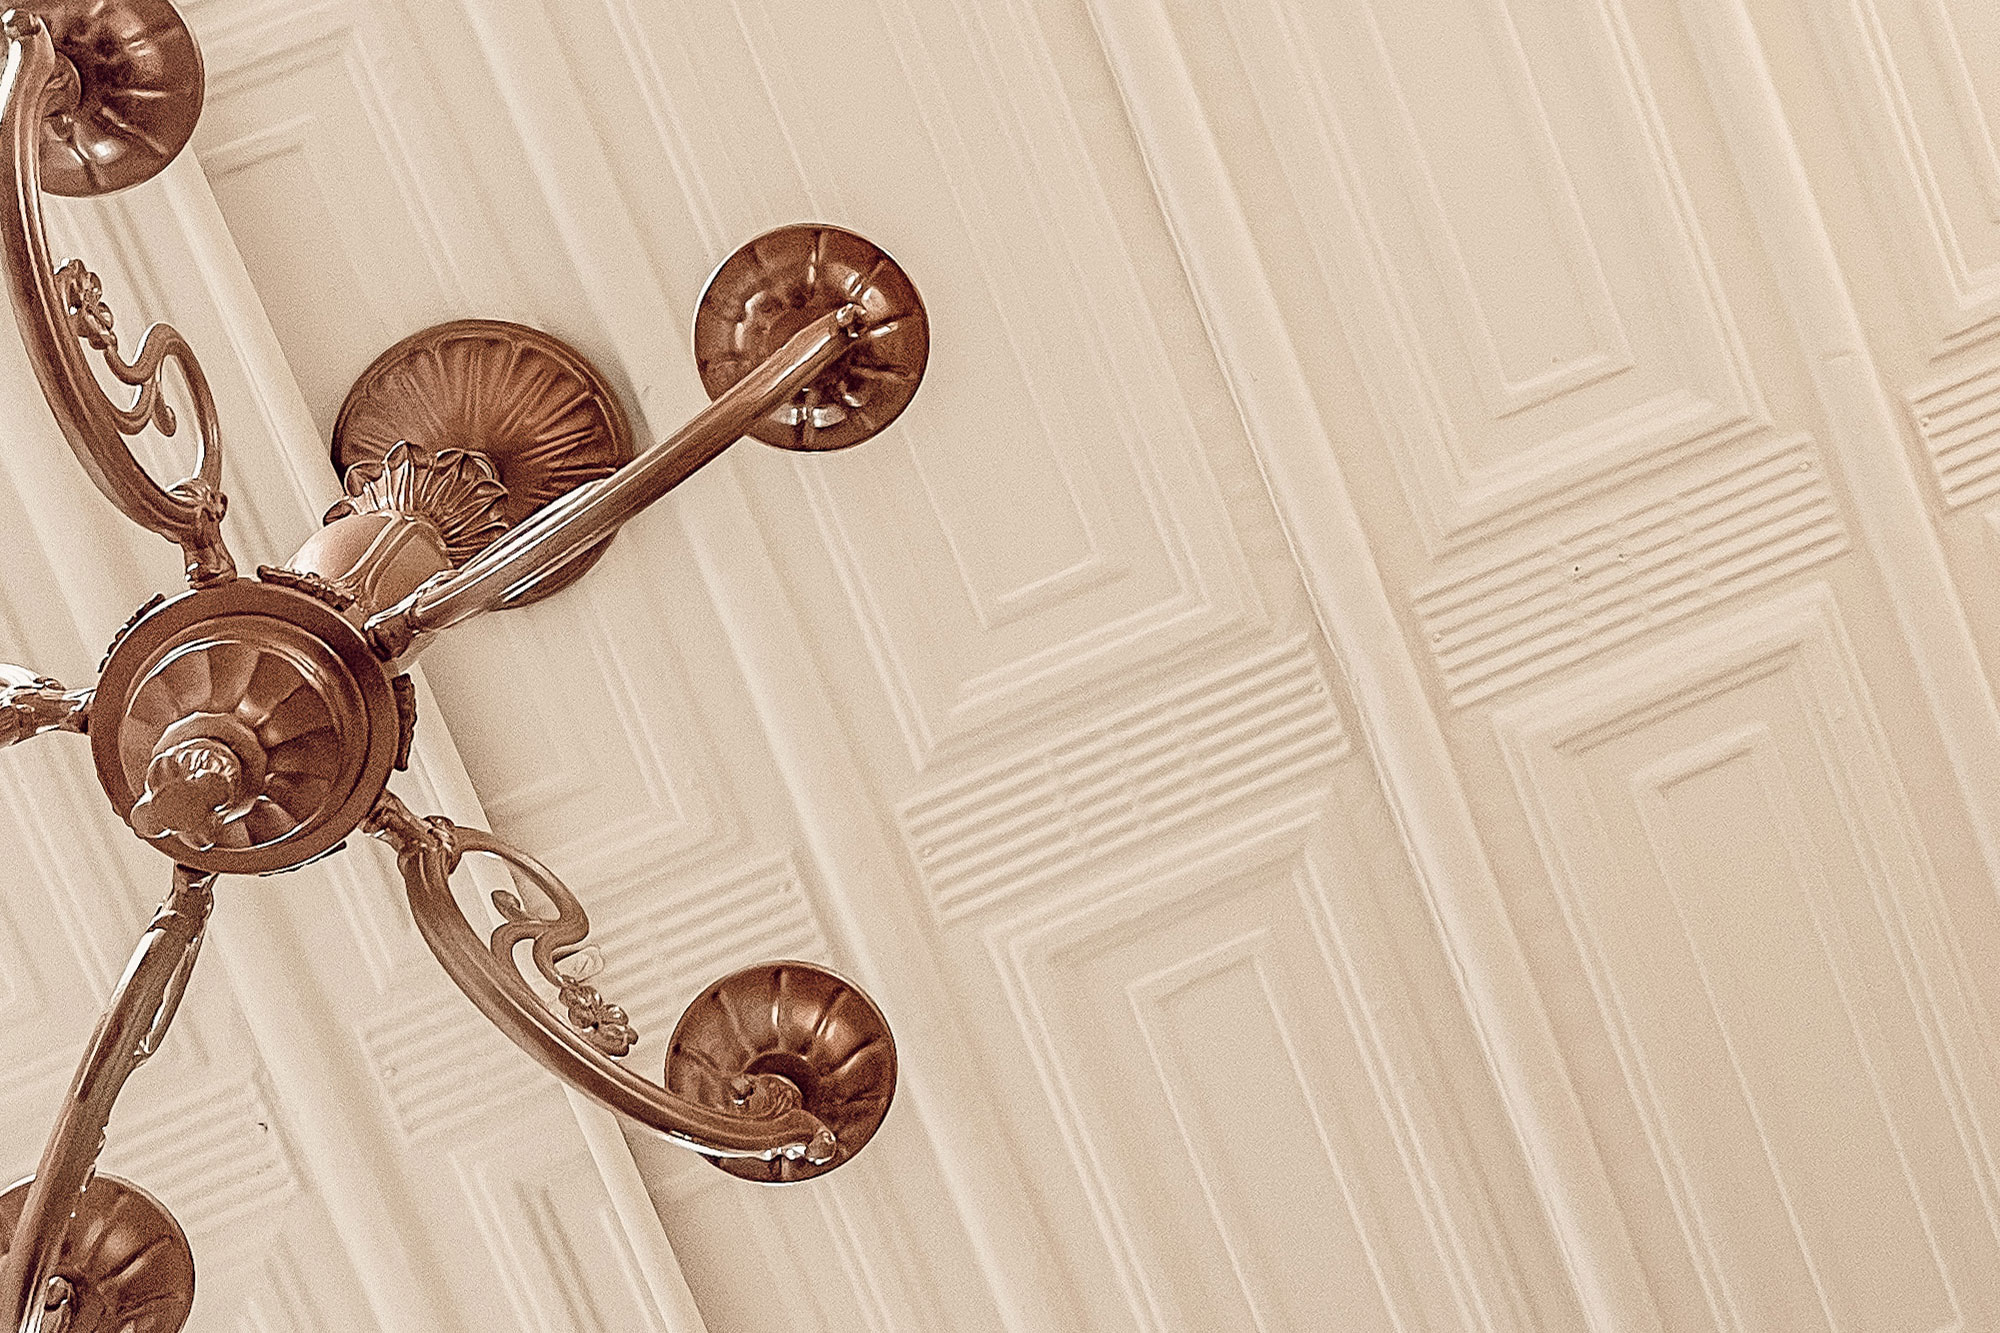
Pro Spotlight: Kenny and Kate Transform Historic Tin Bedroom Ceiling
August 31, 2022Hi there! We are Kenny and Kate-Home Renovation/DIY husband and wife duo based in northern Alabama. Although most of the time you will find us renovating a space or DIYing a project, on the weekends we can often be found on a hike at our nearby state park with our daughter Remi. Whether playing fetch with one of our three dogs, Kessa, Scout, and Lola or snuggling our guinea pigs, Kipper and Gus, we are also huge animal lovers. Our DIY journey began when we purchased our little 1972 fixer-upper home in 2019. We began renovating the home room by room and ultimately fell in love with the process of transforming each space. When most of the world was shut down in 2020, we found comfort in making our home a place of peace and restoration. We loved it so much that in January of 2021 we started our own local home remodeling business, Kaleidoscope Home Co. LLC, to help others embrace and improve the spaces that make up their homes. As the business grew, so did we. By the end of 2021, we had decided to sell our 1972 fixer-upper home and purchase an 1800s downtown brick mercantile building to live in/operate our business out of. That building is currently where we reside. Our business is located on the ground level and our living space is located on the second floor.
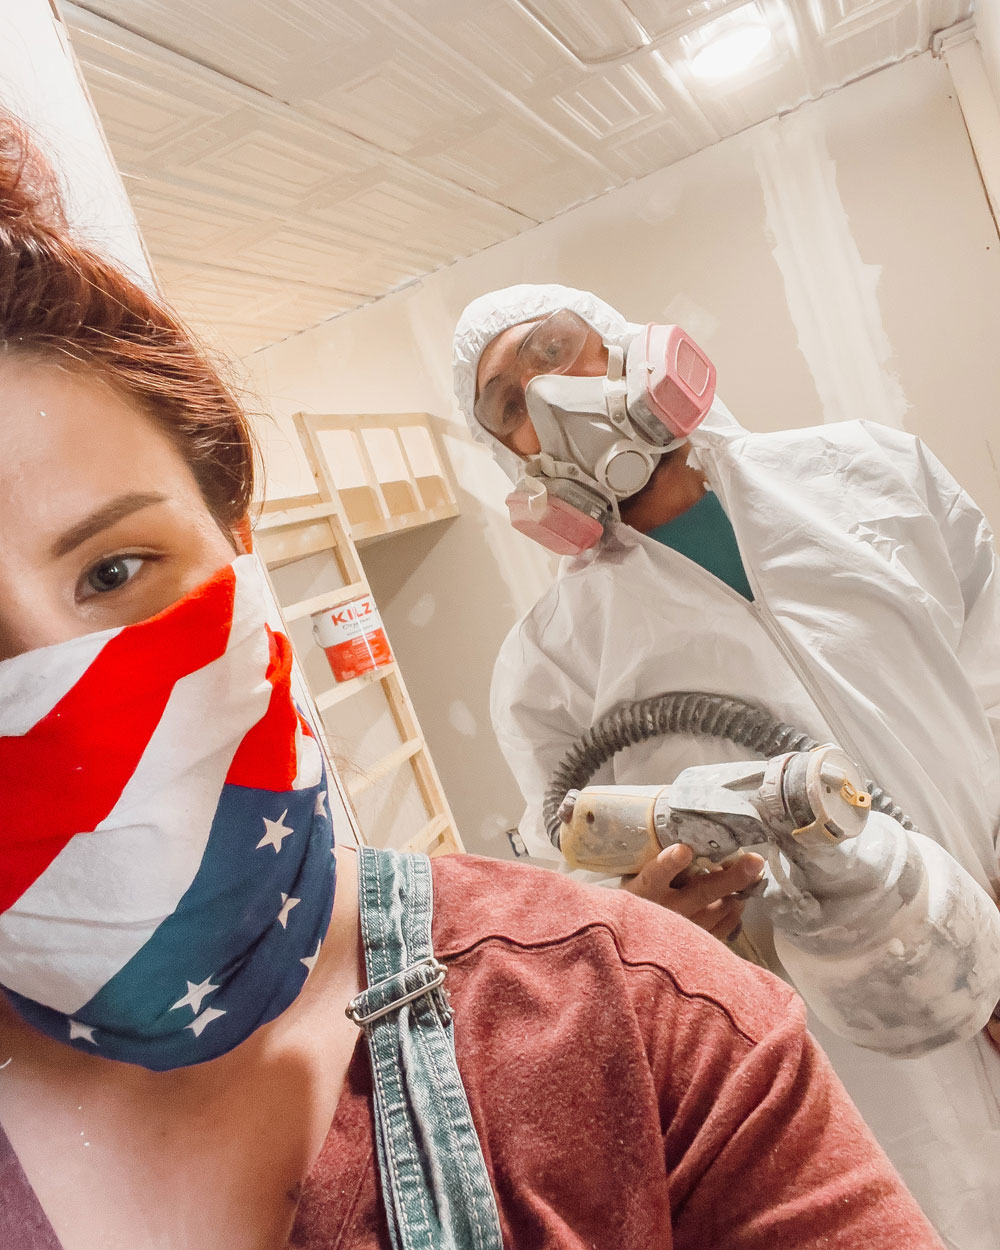
Because the decision to purchase and move into the building was made rather quickly, we did not have the time or resources to renovate any of the spaces before moving in. Our daughter, Remi, has been sleeping in a makeshift closet area for the last seven months. It is finally time to give her the room she deserves!
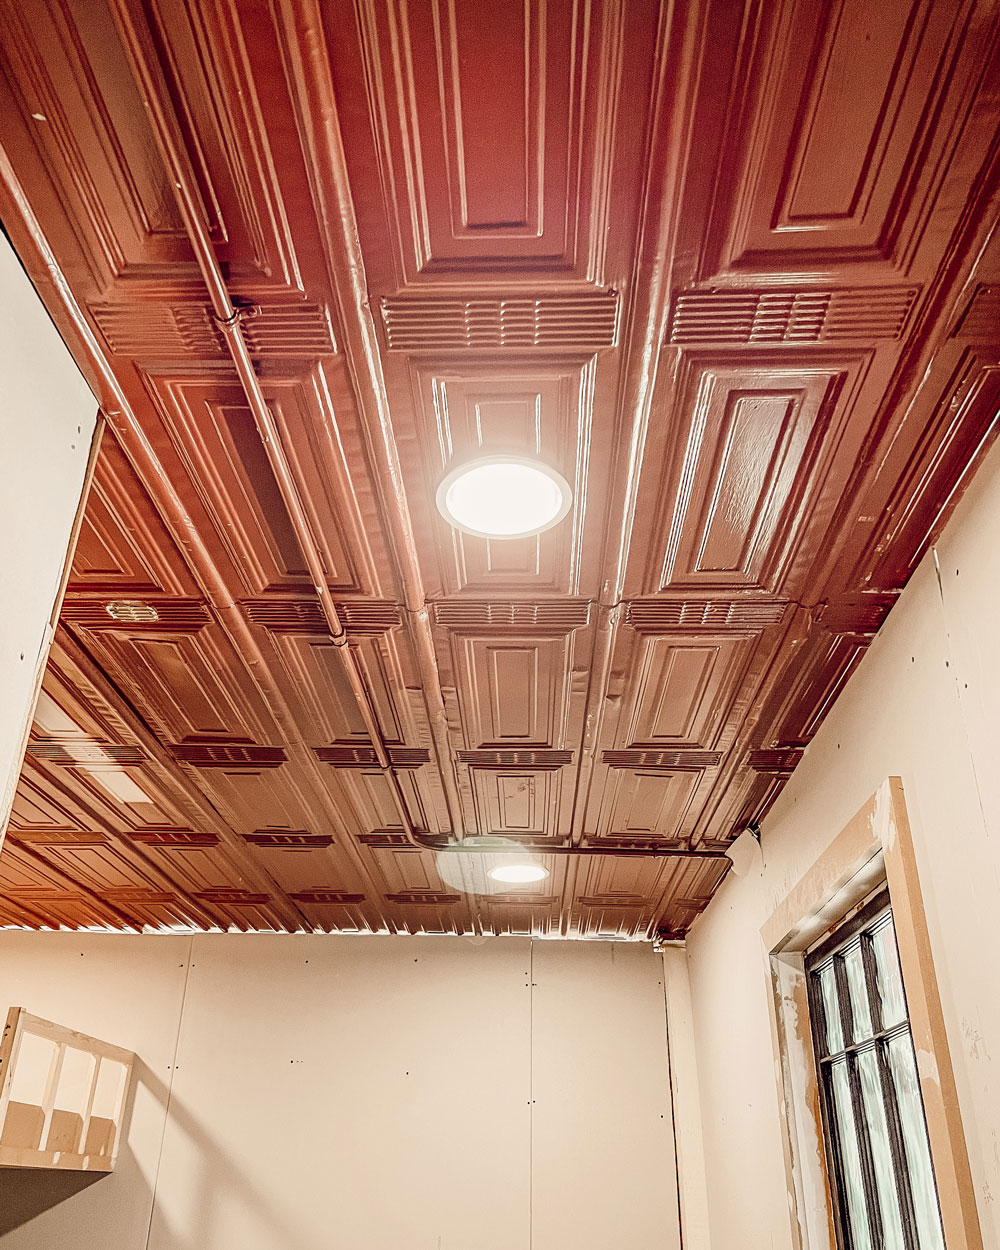
As mentioned above, this is a commercial property (now zoned for mixed-use). This means it does not have designated bedrooms. We have quite literally built Remi’s “big girl bedroom” from the ground up in a portion of the upstairs loft. Now that the walls are up, the closet and bed are built, and the hardwood floors are sanded, it is time to paint the ceiling. The beautiful, crimson red ceiling color works wonderfully in the rest of the building, however, it is just not the vibe in this room. We are painting the walls green and we’re afraid it would look like the holiday season threw up in here. So, as you might have guessed, we’ve decided to paint the ceiling a creamy white color. The historical tin ceilings in this building are worth preserving, and we believe a creamy white color will help accentuate all of the intricate details.
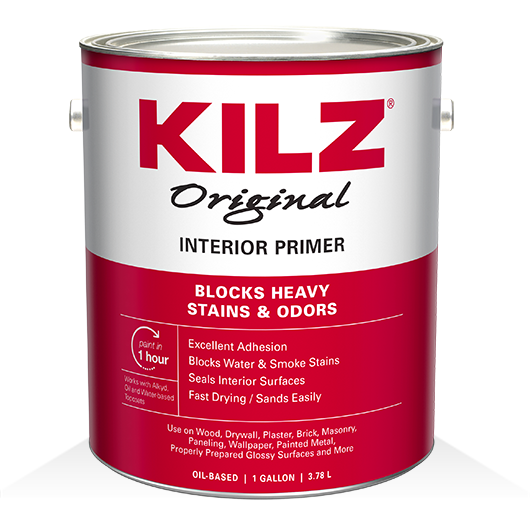
Although the ceilings were previously painted, there are spots where the paint has been chipped or scuffed. Because of this, we need to prime the ceiling with an oil-based primer to prevent the tin from rusting when painted. Priming is fundamental for completing any paint project. It is the difference between a job done and a job done right. Quite simply, primers create an ideal surface coat for the topcoat paint to perform and look its best: paint delivers color and makes that color and beautiful finish last as long as possible, while primers do the “dirty work” underneath. Of course, we would use no other primer on this project than our favorite KILZ Original Interior Primer.
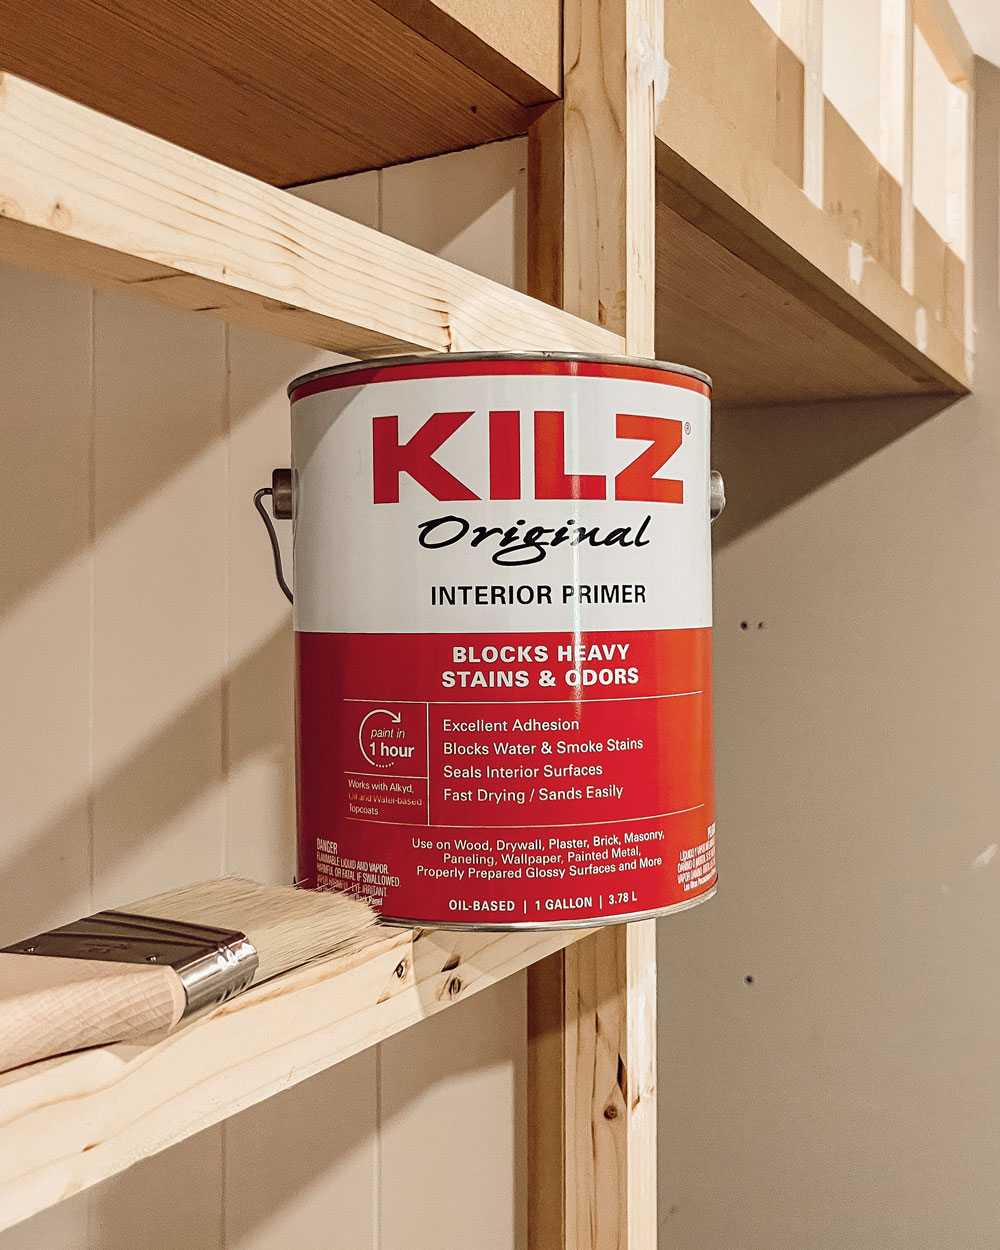
When painting over an existing color, thick, high-hide primer formulas like KILZ Original Interior Primer are important for preparing surfaces, blocking color bleed-through, and covering surface imperfections. And believe us, these 100+-year-old tin ceilings have some imperfections!
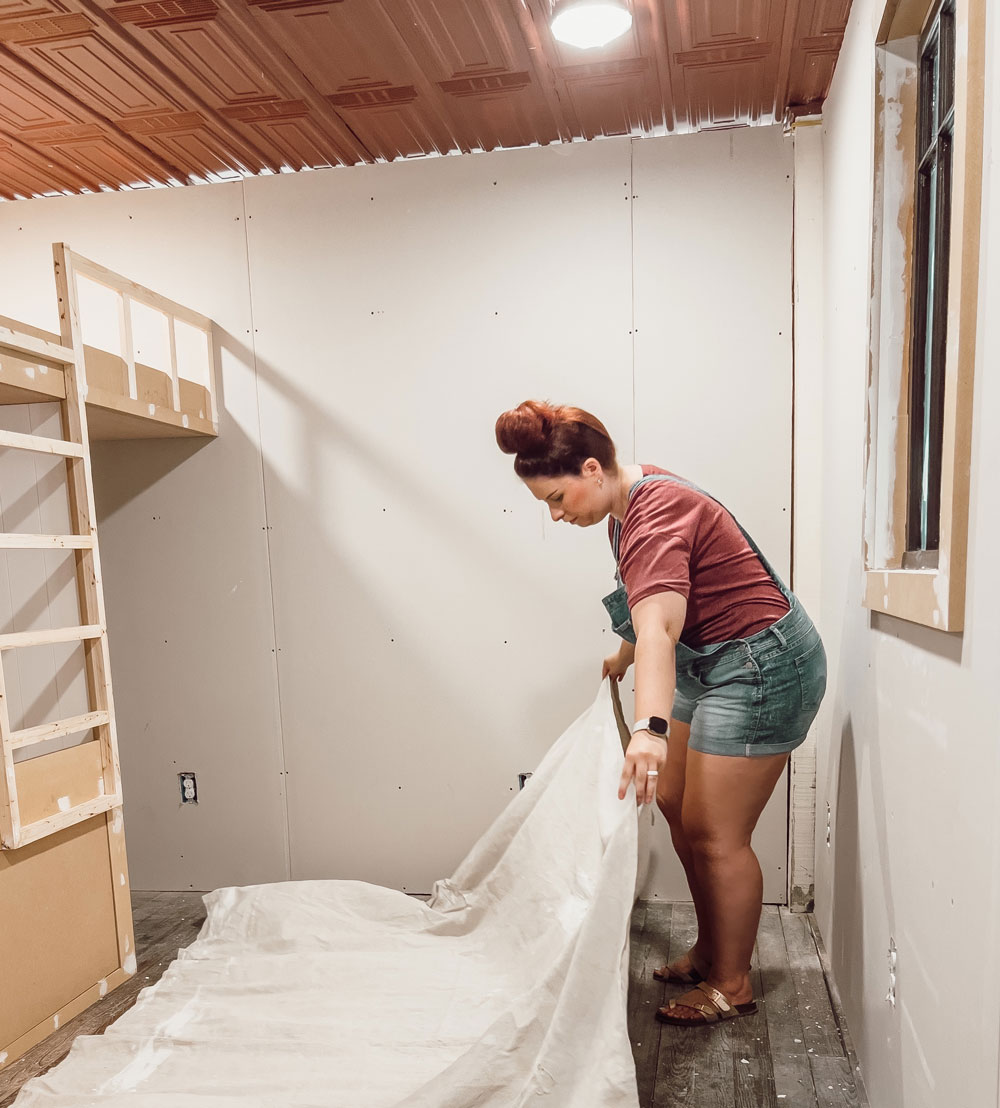
First things first, we need to cover the recessed lighting with plastic bags and lay drop cloths over the hardwood flooring. We will be spraying the primer over some areas that also need to be primed (like the walls and bed), so there is no worry of overspray on these areas.
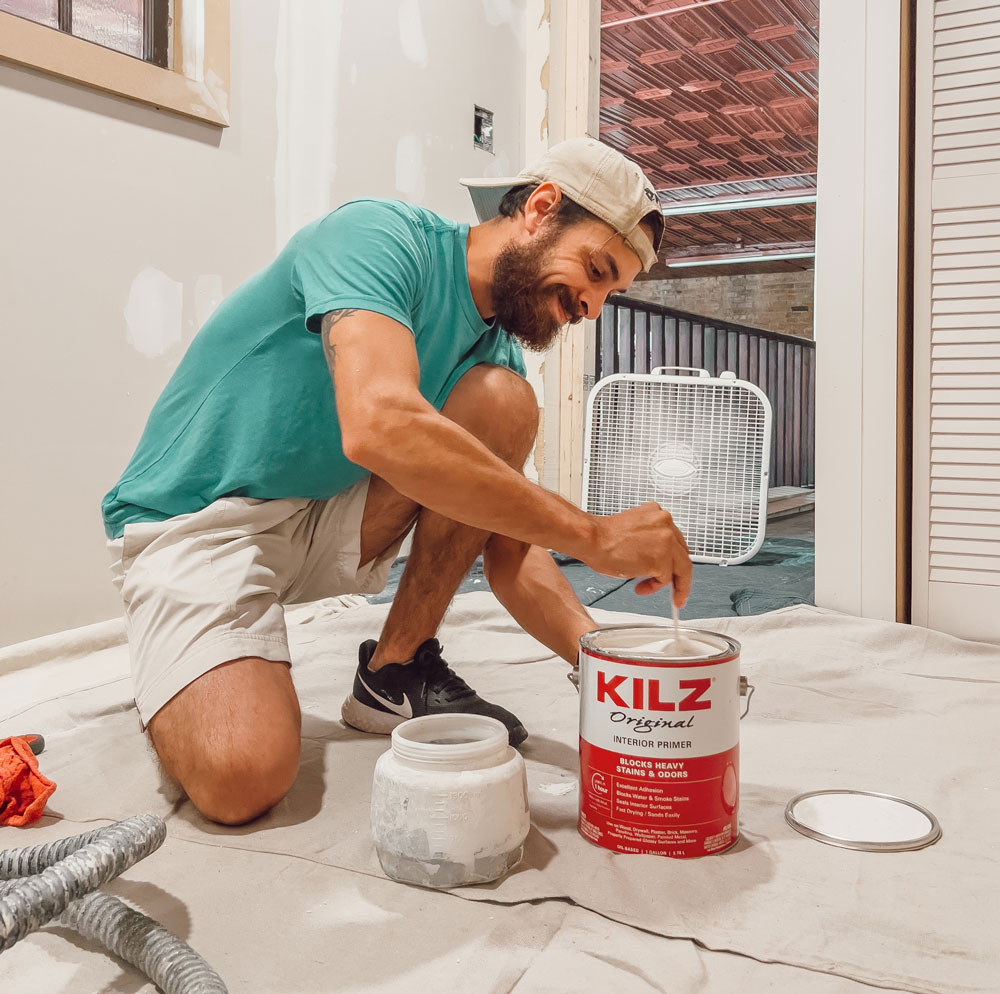
We always, always make sure to stir KILZ Original Interior Primer before painting because it is very common for the ingredients to separate while sitting in the can.
Now that our primer is stirred and the bedroom is fully prepped and ready, it is time to start painting. Always be sure to use proper PPE when painting with oil-based paint. We like to gear up with a face respirator mask, a hooded paint suit, and protective eyewear.
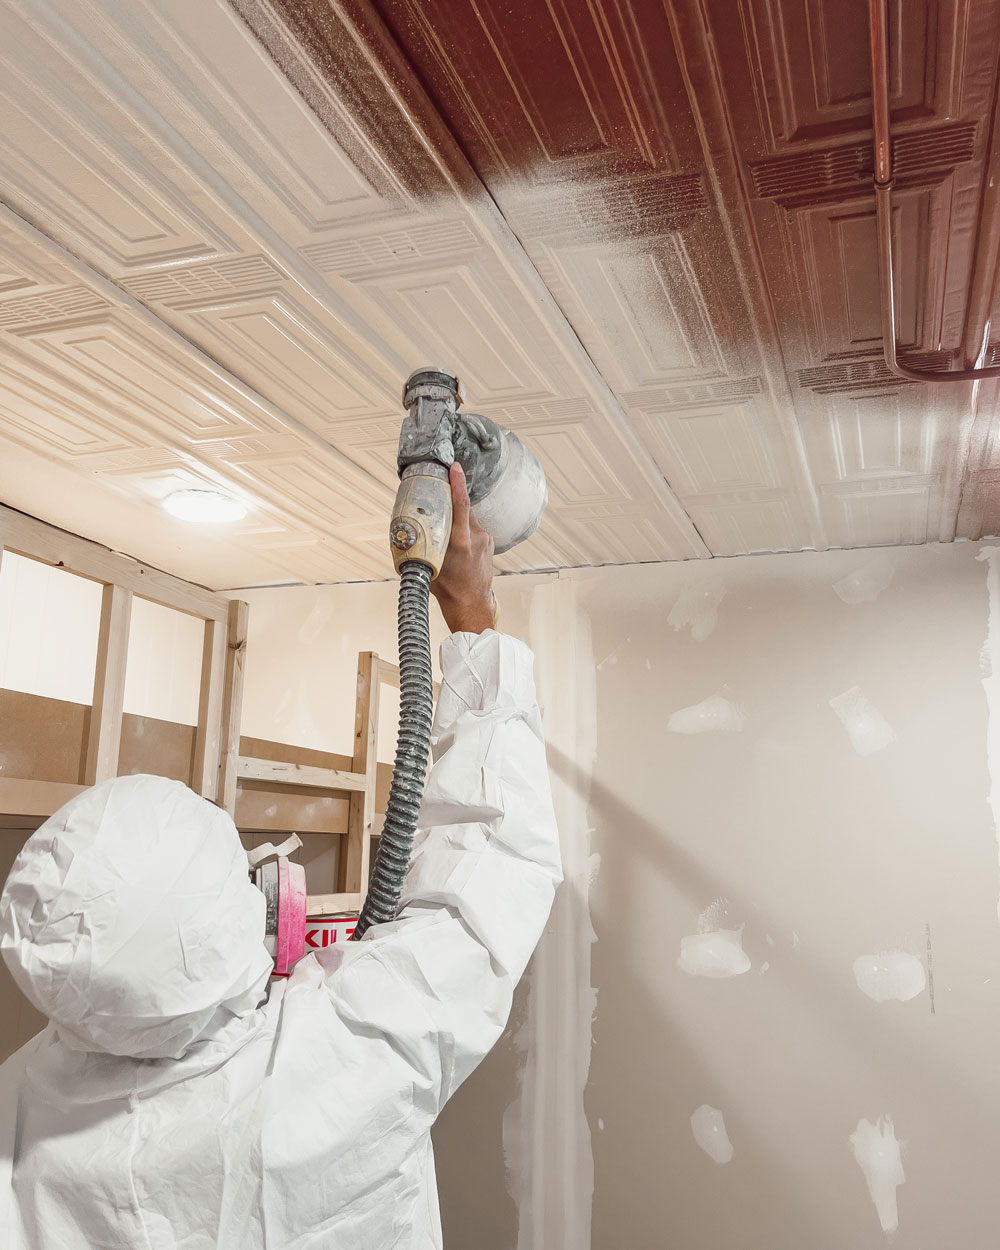
We have found that slow and steady is the best method for even coverage with KILZ Original Interior Primer. It dries quickly, but not so quickly that the process needs to be rushed. Back and forth motions are the easiest way to get in all the grooves of this super detailed tin ceiling.
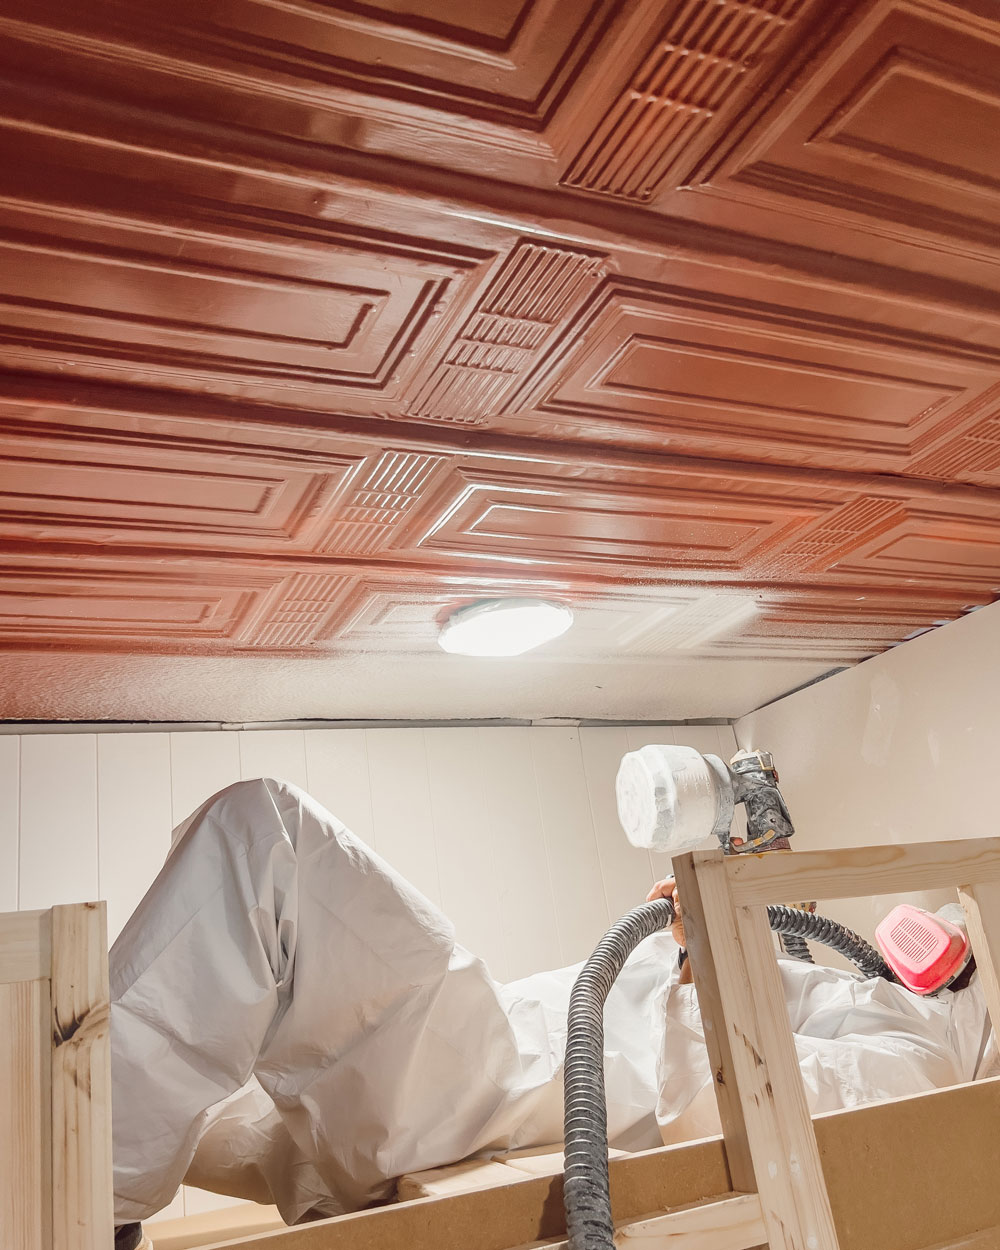
And without further ado…drumroll, please… it is time for the final reveal of the painted tin ceiling!
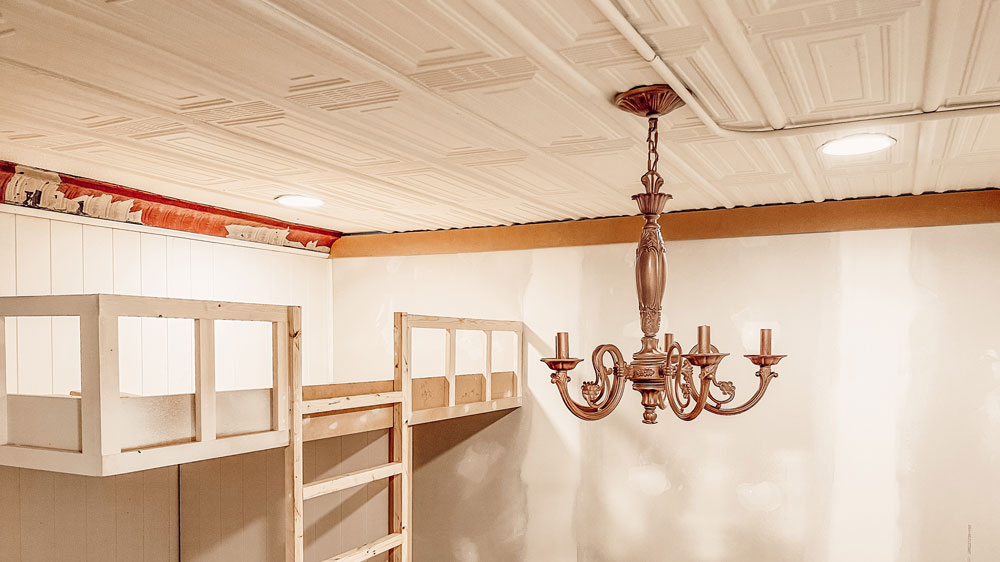
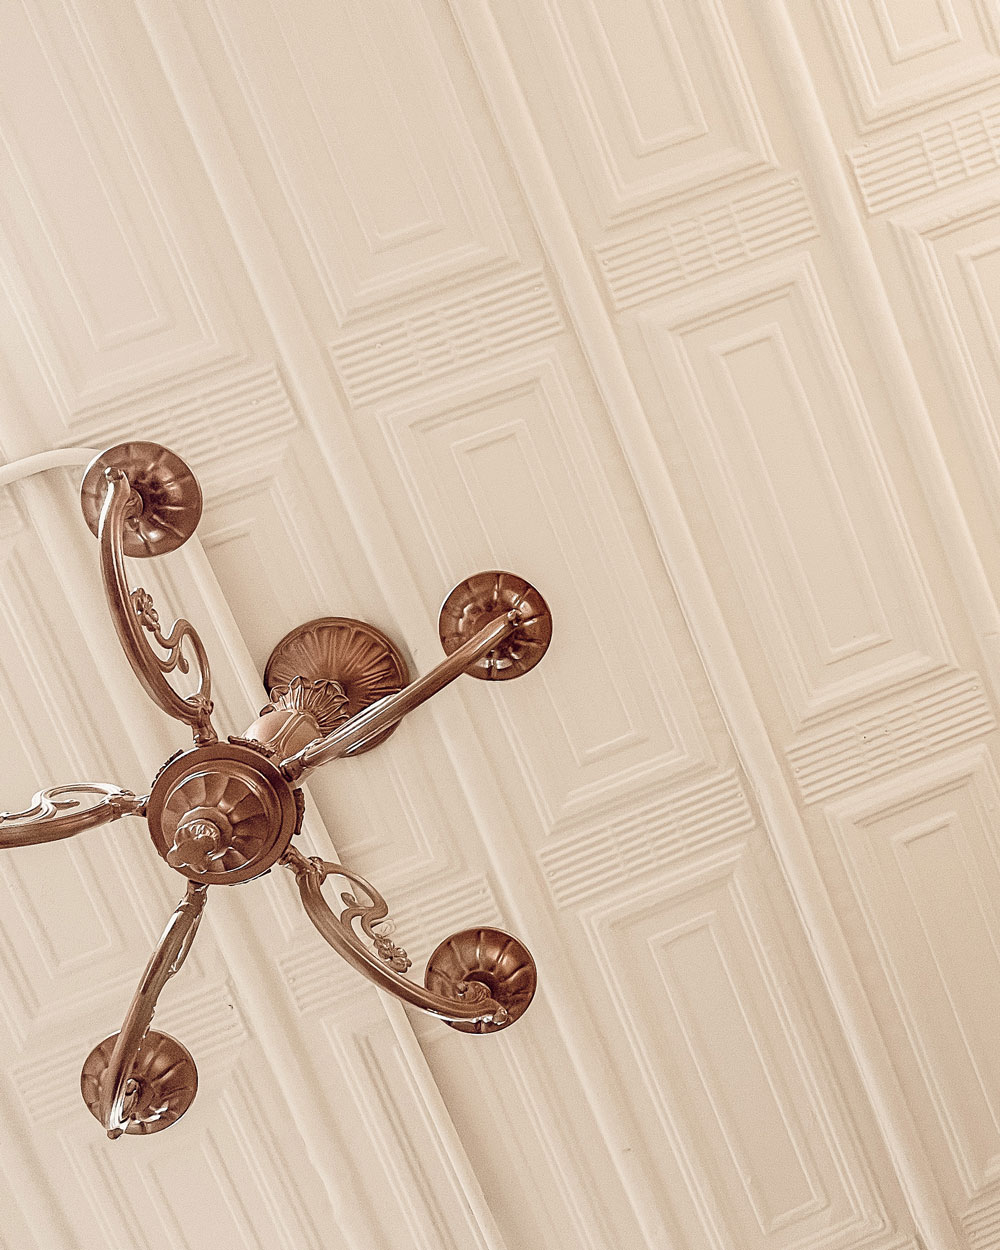
We finished this project by coating the primer with Behr Premium Plus Interior Ceiling Flat paint in the shade Warm Marshmallow. The ceiling now has a soft, warm glow to it, and all of the scuffs, scratches, and imperfections are covered. We could not be happier with this finish. If you have ever wanted to paint a tin ceiling of your own, KILZ Original Interior Primer. is the way to go. It can be used on wood, drywall, plaster, paneling, wallpaper, masonry, brick, painted metal, and properly prepared glossy surfaces. It is, however, not recommended for mold or mildew-prone surfaces or flooring. You can learn more about preparation, application, and product specifications HERE.
Thank you for following along on this project!
Kenny & Kate
*This is a paid partnership with Kenny and Kate
Always remember to refer to our website kilz.com or product back labels for additional information on which primer is right for your project and detailed instructions on how to apply our products. Check out our Coverage Calculator to understand your estimated paint needs for your upcoming project.

join the conversation:
SHARE this post:
COMMENTS: