Turn a Bland Bathroom into a Serene Spa
May 11, 2021Who wouldn’t love to have an elegant, relaxing spa in their own home? If you’re in need of a little extra rest and relaxation these days, we hope you’ll be inspired by this next transformation – where we took an outdated and sad-looking bathroom and transformed it into a bright and spa-like retreat. The essential first step? You guessed it, primer and a fresh coat of paint!
We decided upon a modern Scandinavian-meets-coastal theme to evoke the perfect spa setting and started with the walls, because color is the single component that makes the biggest impact in one’s perception of a room. The right colors can relax the mind while stimulating the senses, and that’s what we were aiming for — the sensation of being relaxed and refreshed, exactly the way you should feel after a spa treatment.
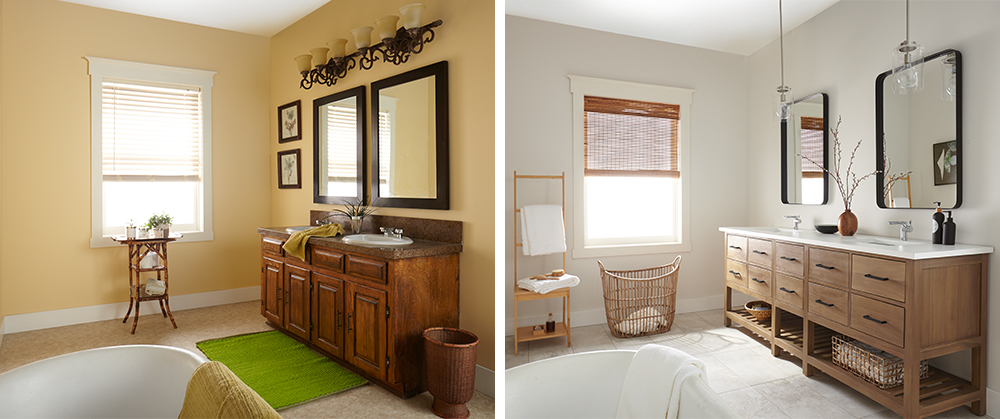
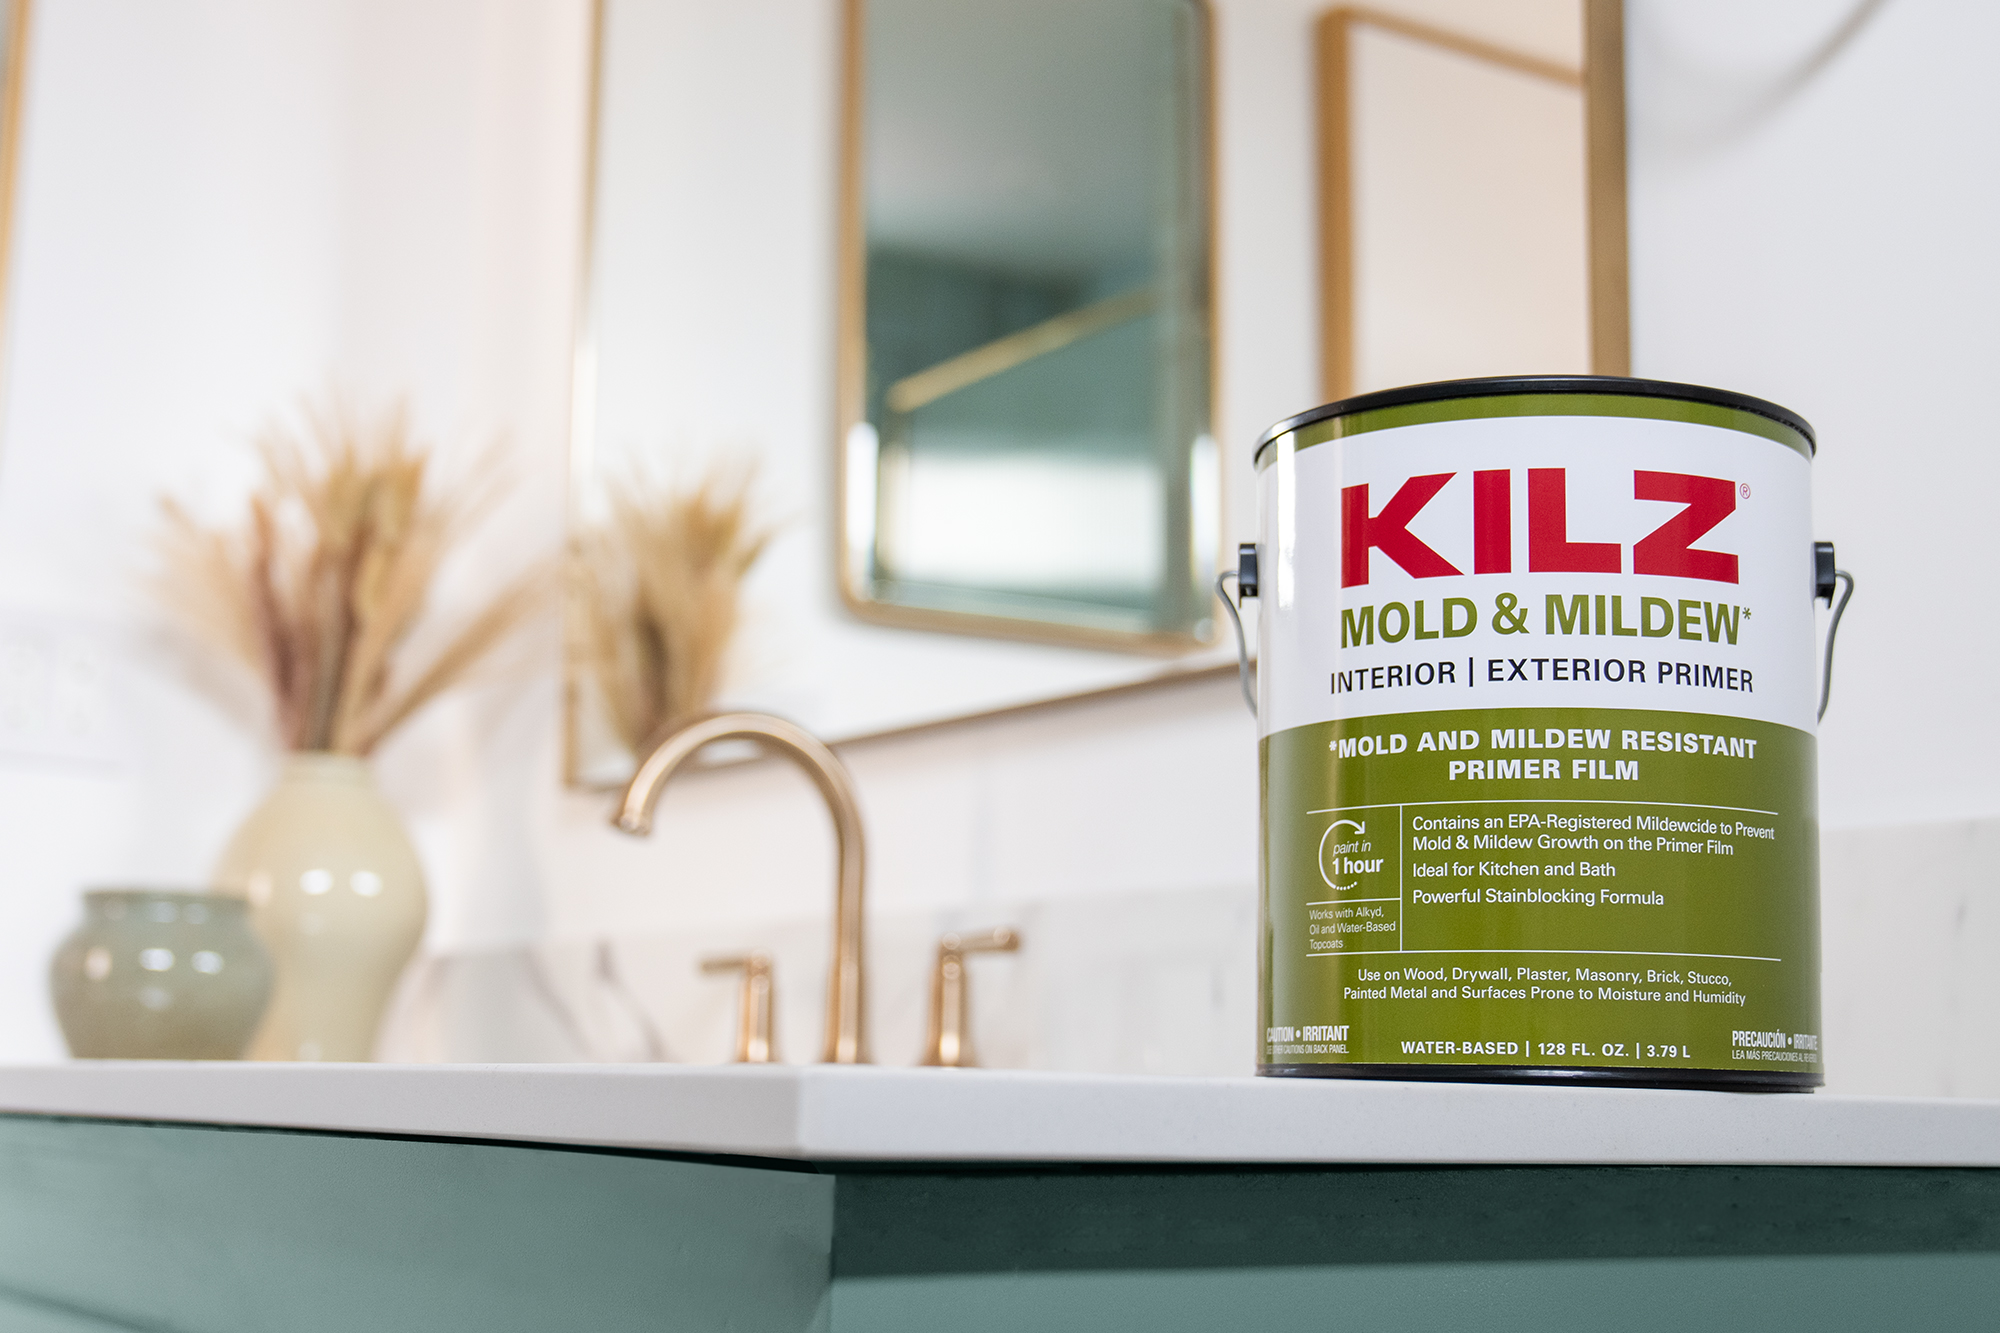
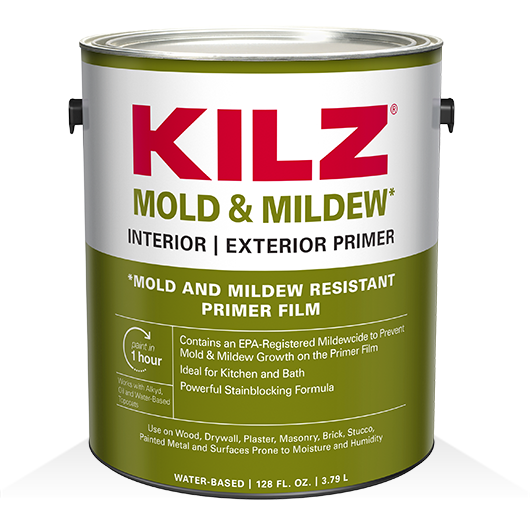
The first step was a coat of quality primer. Our choice, KILZ® Mold & Mildew Primer, has an EPA registered active ingredient that creates a mold and mildew-resistant film that protects the primer film from mold and mildew growth. KILZ Mold & Mildew Primer also provides complete coverage that hides old paint, ensuring the previous butter yellow paint color would be a thing of the past. In addition, it helps the new paint adhere beautifully, so your paintbrush or roller will glide with ease.
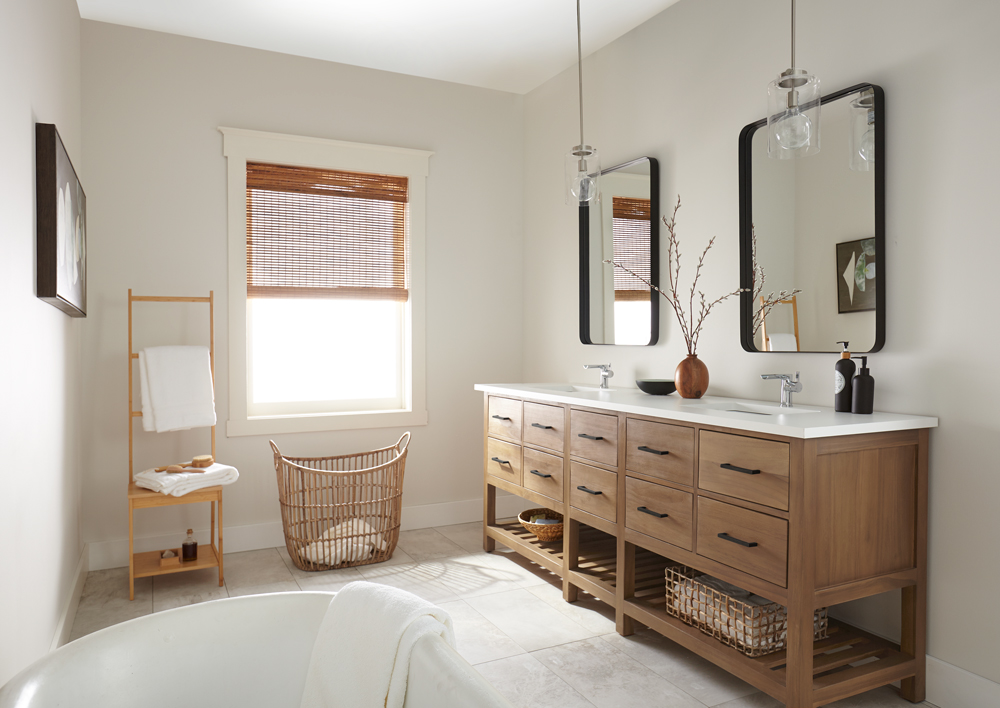
After the primer dried it was time for the topcoat paint. We opted for a classic – Magnolia Home by Joanna Gaines® paint in Shiplap, which is a creamy weathered white. There’s not a hint of harshness in this white, with the creamy undertones softening the color throughout, even when sunlight fills the room.
We were going for a total overall in this project, so we didn’t stop at the walls. For the flooring, we replaced the outdated laminate with gleaming white marbled tiles flecked with gray. Fortunately, we were able to keep the existing bathtub, because its elongated oval contours provided an elegant counterpoint to the rest of the room.
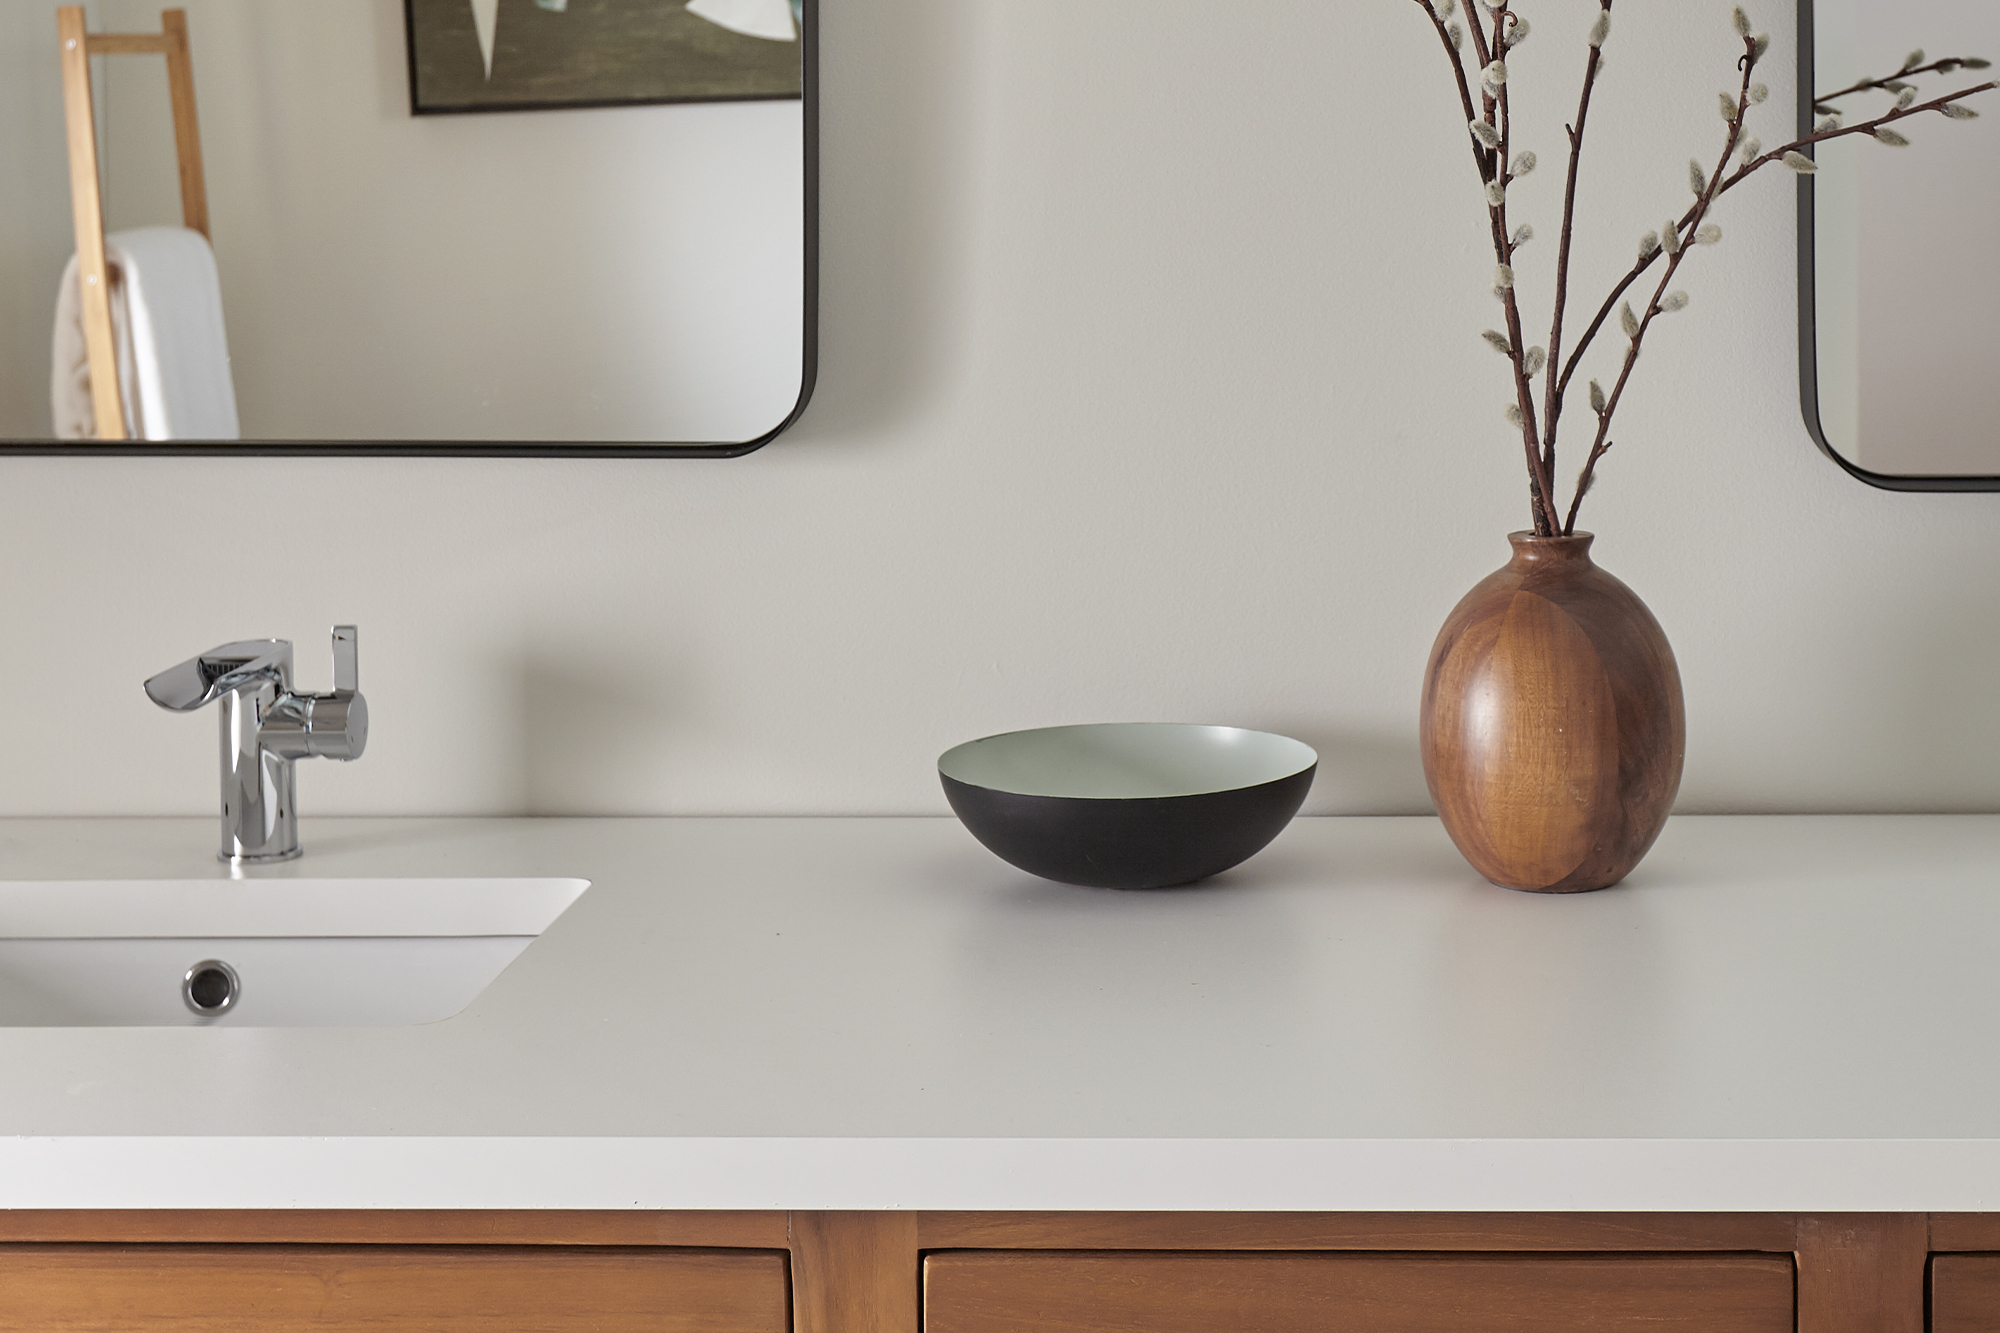
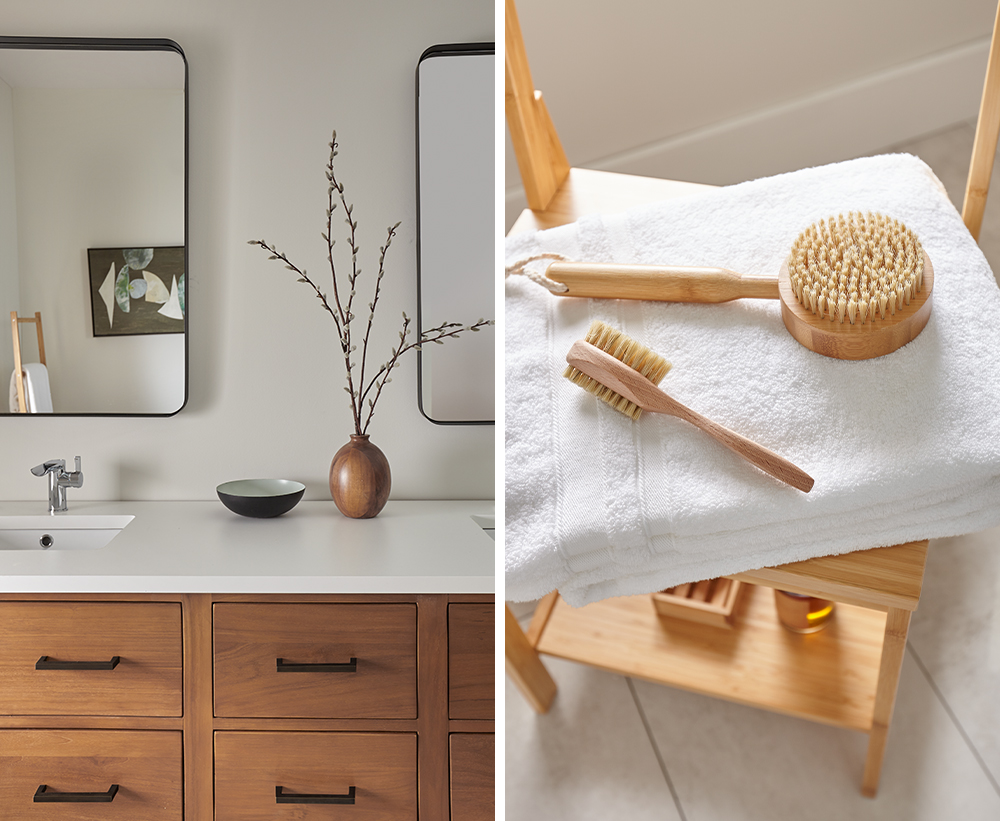
To enhance our spa look, we choose natural wood furnishings that evoked the Scandinavian theme. For the focal point, we installed a heavy farmhouse-style sink cabinet in warm natural wood with a white countertop, brushed silver faucets and brushed black drawer pulls.
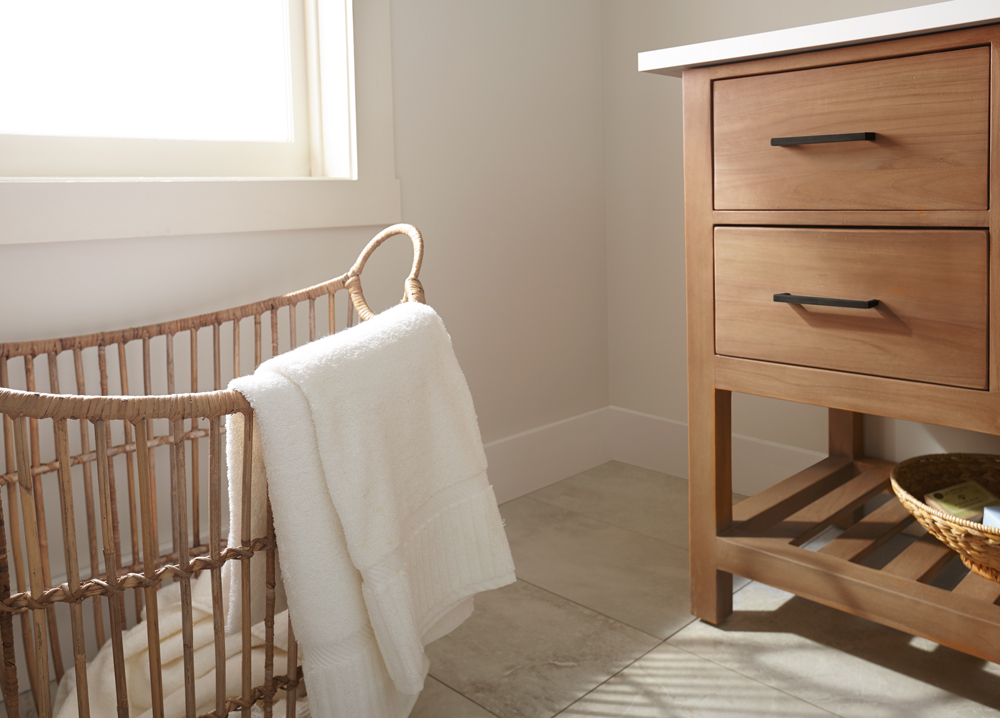
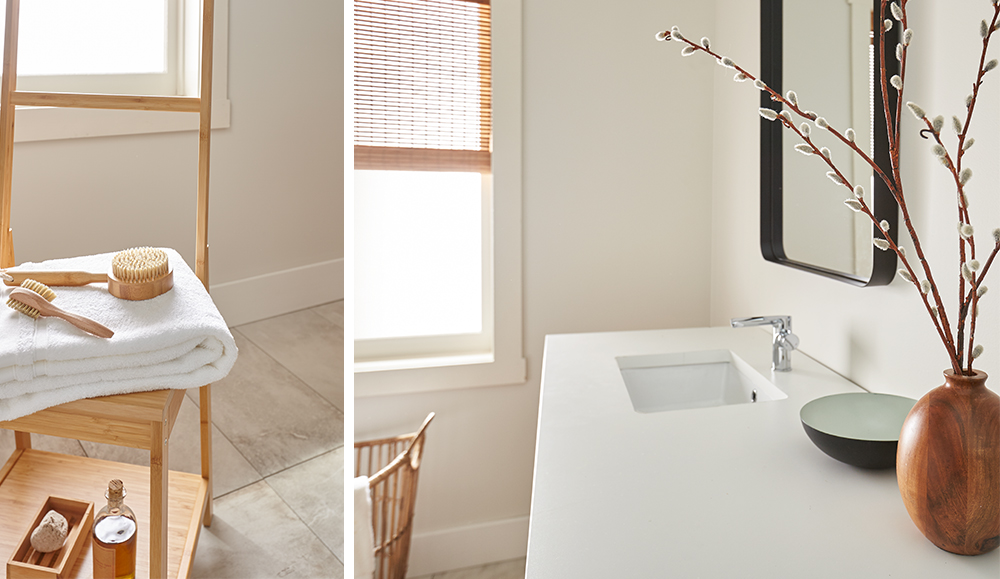
To add to the authenticity, we brought in a natural wood towel stand (complete with spa brushes) and a large seagrass laundry basket. For a touch of Danish Modern, we included a set of handsome mirrors with thin black frames and added a few modern cabinet accessories in black and gold. To complete our spa transformation, we fitted the window with a vintage-style wooden blind that filters the light beautifully and keeps it from overwhelming the room on sunny days.
As you can see from the photos, the airy, creamy white colors, combined with natural wood furnishings and matching accessories, perfectly create the look of a high-end spa, while evoking feelings of calm and relaxation. Decorative touches such as the wooden blinds and towel rack give the room a sauna-like feel, while the retro curved tub and heavy farmhouse-style cabinetry create the ambience of a luxurious bathroom in an expensive resort.
Most importantly, we managed to achieve our design scheme while also paying close attention to important essentials. In particular, we chose a high quality primer that has an EPA registered active ingredient that creates a mold and mildew-resistant film that protects the primer film from mold and mildew growth.
By starting with primer and a coat of paint, you can transform a dreary room into an interior design masterpiece. Just identify the design scheme you want to follow — vintage, retro, contemporary or eclectic — and choose the right colors to reflect the mood you are hoping to create. After that, just add a few pieces of furniture and accessories within your budget — and voila! A DIY room transformation, in sparkling colors that will raise your spirits every time you enter the room.
Always remember to refer to our website kilz.com or product back labels for additional information on which primer is right for your project and detailed instructions on how to apply our products.


join the conversation:
SHARE this post:
COMMENTS: